What did you do today? 2023
What did you do today? 2023
- This topic has 473 replies, 109 voices, and was last updated 28 December 2023 at 08:43 by
 Matt T.

.jpg")
.jpg")
.jpg")
.jpg")
.jpg")
.jpg")
.jpg")


- The topic ‘What did you do today? 2023’ is closed to new replies.
Latest Replies
-
- Topic
- Voices
- Last Post
-
-
Scam email
Started by:
Ian McVickers
in: General Questions
- 16
-
9 May 2025 at 19:42
duncan webster 1
-
S&B Sabel lathe quick change tool post
Started by:
gerry45
in: Beginners questions
- 2
-
9 May 2025 at 19:37
Clive Foster
-
What size gear cutter for gear
1
2
Started by:
David George 1
in: Help and Assistance! (Offered or Wanted)
- 18
-
9 May 2025 at 19:24
Pete Rimmer
-
bolts harness and head shearing?
Started by:
jon hill 3
in: Related Hobbies including Vehicle Restoration
- 13
-
9 May 2025 at 19:06
bernard towers
-
Stuart Twin Victoria (Princess Royal) Mill Engine
1
2
…
50
51
Started by:
Dr_GMJN
in: Work In Progress and completed items
- 33
-
9 May 2025 at 18:35
Dr_GMJN
-
Mystery Object found in FE College
Started by:
Master of none
in: The Tea Room
- 3
-
9 May 2025 at 17:54
larry phelan 1
-
Myford Super-7 chuck – unacceptable run-out??
Started by:
flatline
in: Manual machine tools
- 8
-
9 May 2025 at 17:40
old mart
-
FreeCAD v1.0 tutorials
1
2
Started by:
Michael Gilligan
in: CAD – Technical drawing & design
- 11
-
9 May 2025 at 17:30
Michael Gilligan
-
Comm Ads
Started by:
bernard towers
in: Website Questions, Comments, and Suggestions
- 3
-
9 May 2025 at 14:44
Hugh Stewart-Smith 1
-
Countersinking carbon fibre sheet with my Sieg CNC Mill
Started by:
Sarah F
in: CNC machines, Home builds, Conversions, ELS, automation, software, etc tools
- 6
-
9 May 2025 at 12:41
Sarah F
-
Adaptation of the Proxxon Milling machine
1
2
3
Started by:
Graham Meek
in: Manual machine tools
- 13
-
9 May 2025 at 12:16
Graham Meek
-
Building Bernard Tekippe’s Precision Regulator
1
2
3
4
Started by:
Chris Raynerd 2
in: Clocks and Scientific Instruments
- 12
-
9 May 2025 at 12:13
Michael Gilligan
-
connectors for NEMA17 motors
Started by:
Roger Hart
in: General Questions
- 3
-
9 May 2025 at 11:51
John Haine
-
Clarkson T&C Grinder
Started by:
Ian Owen NZ
in: Manual machine tools
- 5
-
9 May 2025 at 09:25
renardiere7
-
Tasteless advertising?
Started by:
Mike Hurley
in: Website Questions, Comments, and Suggestions
- 8
-
9 May 2025 at 07:46
Graham Titman
-
LMS 2F Experiences
Started by:
Bryan Cedar 1
in: Locomotives
- 8
-
9 May 2025 at 07:16
Diogenes
-
Kia Ora from the bottom of the world. Tool hoarder & enthusiast.
Started by:
gimme72
in: Introduce Yourself – New members start here!
- 8
-
8 May 2025 at 22:51
Nigel Graham 2
-
What Did You Do Today 2025
1
2
…
4
5
Started by:
JasonB
in: The Tea Room
- 28
-
8 May 2025 at 19:42
Diogenes
-
Purpose of pivot on carburettor linkage ? ?
Started by:
Alan Donovan
in: Help and Assistance! (Offered or Wanted)
- 5
-
8 May 2025 at 19:03
Howard Lewis
-
Half Scale 1/4HP A J Weed Engine
Started by:
JasonB
in: Stationary engines
- 4
-
8 May 2025 at 18:40
JasonB
-
Photos
Started by:
petro1head
in: Website Questions, Comments, and Suggestions
- 7
-
8 May 2025 at 17:35
Colin Bishop
-
Help needed to price a Myford lathe going for sale
Started by:
Mick Durkin
in: Help and Assistance! (Offered or Wanted)
- 2
-
8 May 2025 at 17:30
Mick Durkin
-
Oilite bush sizes
Started by:
Nick Taylor 2
in: Beginners questions
- 13
-
8 May 2025 at 11:02
Peter_H
-
Rain Gutter Power
Started by:
Michael Gilligan
in: Suggested Online Resources
- 8
-
8 May 2025 at 09:54
duncan webster 1
-
Lathe improvements?
1
2
…
4
5
Started by:
Niels Abildgaard
in: Manual machine tools
- 23
-
8 May 2025 at 09:23
Niels Abildgaard
-
Scam email
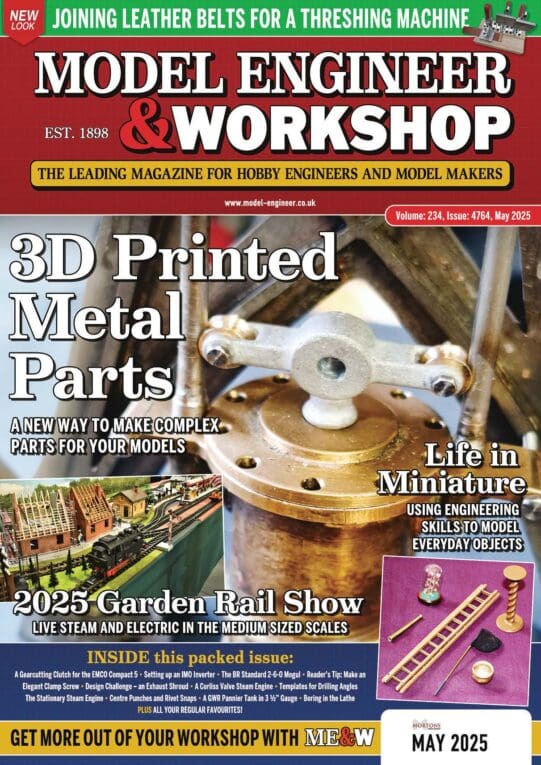
Latest Issue
Newsletter Sign-up
Latest Replies
- Scam email
- S&B Sabel lathe quick change tool post
- What size gear cutter for gear
- bolts harness and head shearing?
- Stuart Twin Victoria (Princess Royal) Mill Engine
- Mystery Object found in FE College
- Myford Super-7 chuck – unacceptable run-out??
- FreeCAD v1.0 tutorials
- Comm Ads
- Countersinking carbon fibre sheet with my Sieg CNC Mill

