I'd asked on here about verifying a small anvil as being for jewellery work. That done I passed it to a friend who does some silver-smithing as a hobby, and started making a box for it, using oddments of plywood.
Completed that today (varnishing).
Continued another task for him – refacing his bench-block. This is chunk of 4.5 inch square mild-steel about an inch and a half thick; that had been sawn and heavily stamped "18" – possibly a batch number, but someone had faced the opposite face for use.
This was all now very rusty.
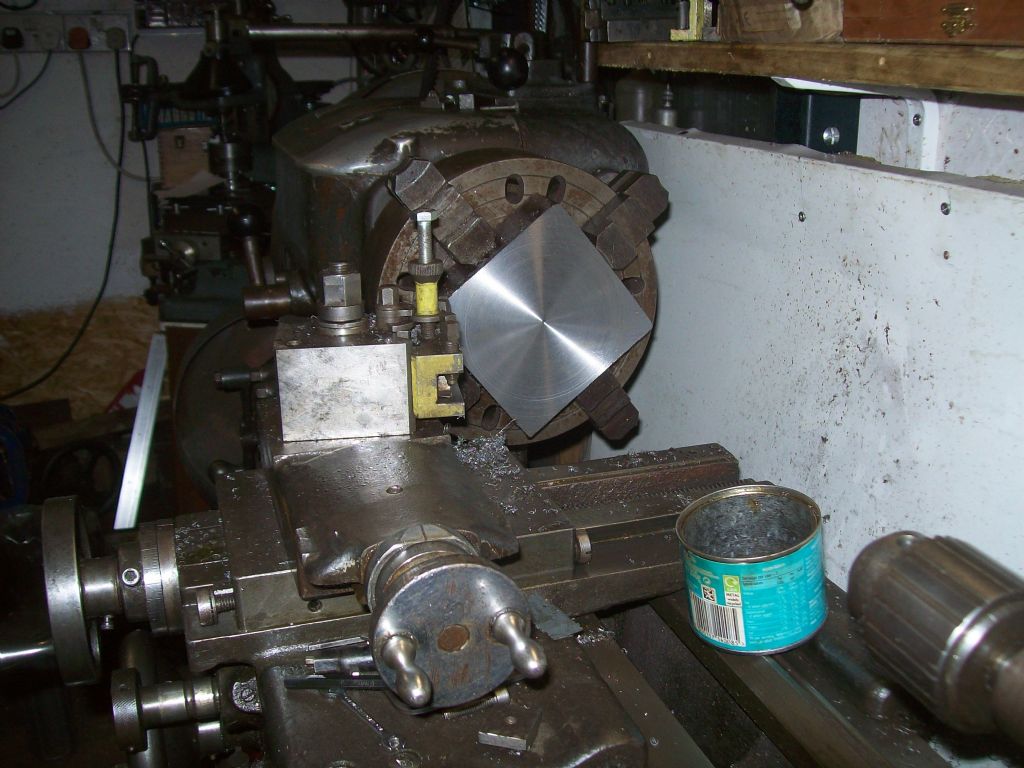
Refaced the original working face on the Harrison lathe, but I was unable to obtain a really good finish: no tearing or chatter but rings as if the tool had dug in very slightly in places.
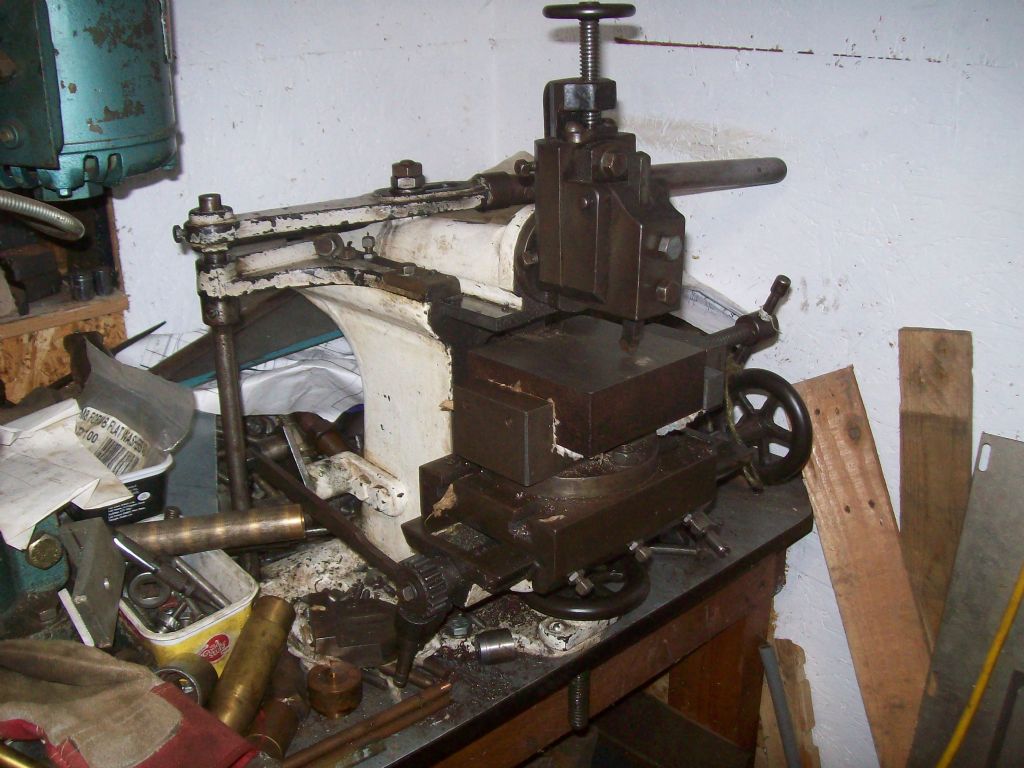
I put it on the Drummond manual shaper – it just fits the vice with the moving jaw replaced by a piece of plastic bar – put the radio on and commenced wearing my arm out flattening the sawn side. So he'll have a choice of which face to use!
The first attempt produced a vavy surface I credited to slack in the table and knee gibs, and slightly poor tool-grinding. I've now reground the tool, nipped the gibs up a bit and lock them for the cutting. I've still another layer to scrape off to remove the worst of the "18 " but now seem to be obtaining a decent, flat surface with a reasonable finish.
Why not mill it?
A couple of weekends ago my friend had artlessly asked me, "Do you have a milling-machine"
I replied, "Y- yes" , very guardedly, his wife and our companions grinning as they twigged immediately he wanted something doing (this block).
I collected the block, examined it, was not confident I'd obtain any better results by milling, and a manual shaper doesn't use electricity… except that necessary for the operator's fuel (tea).
.
The exercise, using the shaper to almost full capacity, is proving useful in showing where it needs some fettling. Adjusting the ram gibs to remove slight twisting and possibly up-lift make the ram stick on its outer travel, showing the upper surfaces of its slideways have worn slightly concave or wedge-shaped along their lengths. I will have to measure it to establish what needs facing down where.
I've already replaced some of the plain, very short grub-screws for the gibs with new square-head ones fitted with lock-nuts (the photos on lathes. co do show some samples so fitted), so it will appreciate the remaining ones treating similarly.
Here it is:
The centre mark on the turned surface is a shallow centre-drilling to prevent creating a pip, and to give a starting edge for outwards feed. Spindle speed about 70rpm with the motor at nearly 1000rpm, fine feed change-wheel train. HSS tool. The worst ring is faintly visible just within the outline square, but the spandrels are all to a very good finish despite the interrupted cut! Odd.
On the shaper, the steel looks still rusty but that's a lighting effect. It's actually posed: I'd already shaped the worst roughness off but had gained a torn surface, before turning it. The tissue to protect the turned face is visible. Note though hard to see, the near-proper shaper-tool form (it's probably a lathe spring-tool, in high carbon steel). Also the bread-bag tie on the vice handle, to stop it dangling in the way of the advancing table hand-wheel. Leather glove (to the left), to avoid blisters.


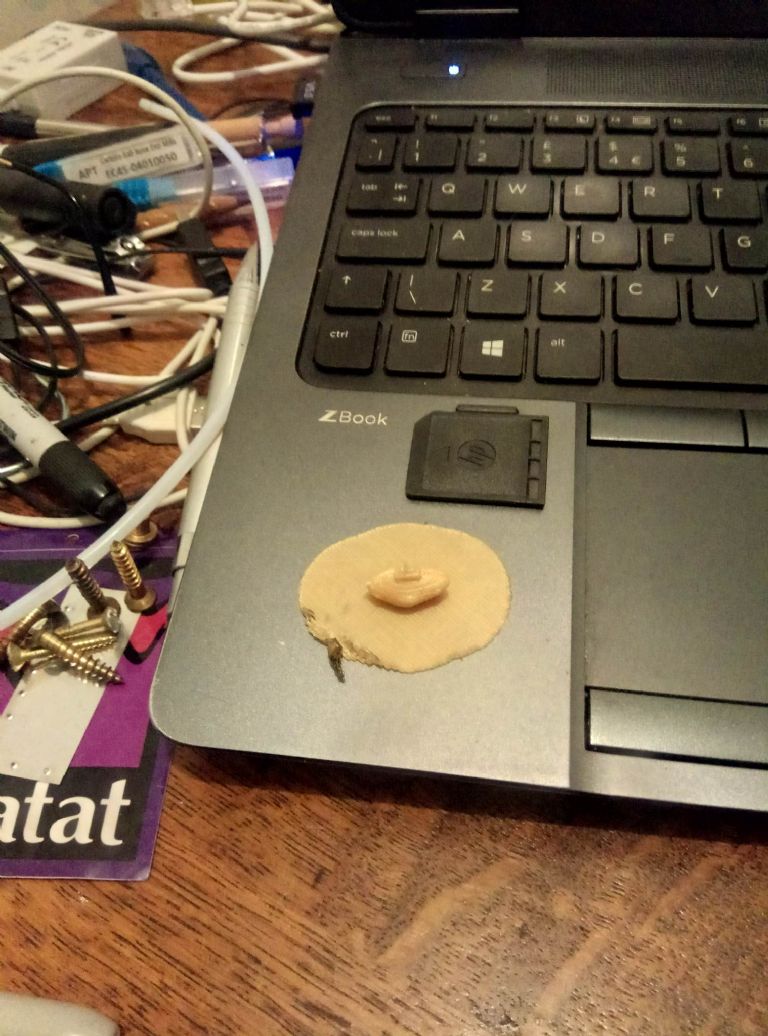
Reputedly there is a bench under all that clutter!
Matt T.


