What Did you do Today 2022
What Did you do Today 2022
- This topic has 546 replies, 117 voices, and was last updated 1 January 2023 at 07:02 by
 JasonB.


.jpg)


- Please log in to reply to this topic. Registering is free and easy using the links on the menu at the top of this page.
Latest Replies
-
- Topic
- Voices
- Last Post
-
-
E Bay shot in foot
Started by:
duncan webster 1
in: The Tea Room
- 3
-
21 February 2025 at 21:10
bernard towers
-
CAD – Target Enigma
1
2
3
4
Started by:
SillyOldDuffer
in: CAD – Technical drawing & design
- 18
-
21 February 2025 at 20:28
SillyOldDuffer
-
indexing head lathe
1
2
Started by:
Danni Burns
in: Manual machine tools
- 15
-
21 February 2025 at 20:17
Danni Burns
-
Kelsey Media buys Mortons titles
Started by:
Colin Bishop
in: Website Questions, Comments, and Suggestions
- 9
-
21 February 2025 at 20:00
Ray Wood 3
-
Wooden item – what is it
Started by:
Bazyle
in: The Tea Room
- 1
-
21 February 2025 at 19:50
Bazyle
-
Cannot access homeworkshop.
Started by:
Graham Titman
in: The Tea Room
- 5
-
21 February 2025 at 19:41
Chris Gunn
-
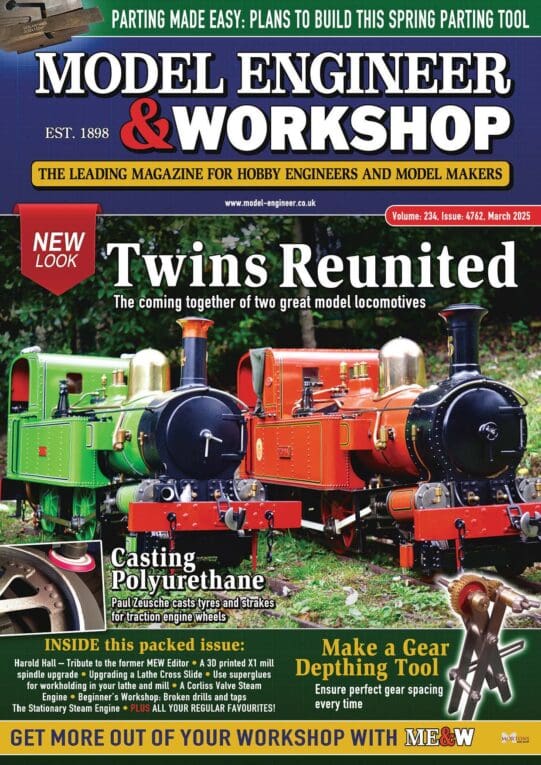
NEW LOOK – Model Engineer & Workshop
1
2
…
6
7
Started by:
sohara
in: Model Engineer & Workshop
- 52
-
21 February 2025 at 19:38
Phill Spowart
-
Just purchased a lot of stuff
Started by:
beeza650
in: Beginners questions
- 3
-
21 February 2025 at 19:17
beeza650
-
VERY delicate rust removal
Started by:
beeza650
in: Beginners questions
- 11
-
21 February 2025 at 19:08
jimmy b
-
Lathe Chuck thread size
Started by:
Bootlegger Blacky
in: Workshop Tools and Tooling
- 3
-
21 February 2025 at 18:25
DC31k
-
Lathe help information
Started by:
maccecht
in: Help and Assistance! (Offered or Wanted)
- 11
-
21 February 2025 at 16:59
Bootlegger Blacky
-
Electric Mobility
Started by:
Vic
in: The Tea Room
- 3
-
21 February 2025 at 16:00
Michael Gilligan
-
Discussion on the Future Direction of Model Engineer and Workshop
1
2
…
10
11
Started by:
Neil Wyatt
in: Model Engineer.
- 68
-
21 February 2025 at 14:30
duncan webster 1
-
Interesting USB C Cable
Started by:
Vic
in: The Tea Room
- 2
-
21 February 2025 at 12:54
Vic
-
End mill sharpening fixture
Started by:
celso ari schlichting
in: General Questions
- 2
-
21 February 2025 at 10:18
JohnF
-
New Member – Unimat 3 Owner
Started by:
pennyblack
in: Introduce Yourself – New members start here!
- 2
-
21 February 2025 at 09:57
Graham Meek
-
Digital Log In
Started by:
John Ross 4
in: General Questions
- 2
-
21 February 2025 at 09:46
John Ross 4
-
New member – hobby engineer
Started by:
zymurgy2289
in: Introduce Yourself – New members start here!
- 4
-
21 February 2025 at 09:36
noel shelley
-
New Myford Owner with Problems!!!
Started by:
Richard Bartholomew 3
in: Introduce Yourself – New members start here!
- 11
-
21 February 2025 at 09:12
Charles Lamont
-
SHARP PRACTICE ?
Started by:
Speedy Builder5
in: The Tea Room
- 10
-
20 February 2025 at 23:41
Vic
-
Cranko No2 Oscillating Horizontal Steam Engine from New Zealand circ 1940 – 1950
Started by:
Blue Heeler
in: Stationary engines
- 1
-
20 February 2025 at 23:23
Blue Heeler
-
Cut & Paste Oddity (Textual)?
Started by:
Nigel Graham 2
in: The Tea Room
- 1
-
20 February 2025 at 22:53
Nigel Graham 2
-
Telephone call-blocking
Started by:
Michael Gilligan
in: The Tea Room
- 7
-
20 February 2025 at 21:07
Paul Lousick
-
A Marine Condensing Engine
1
2
…
5
6
Started by:
Ramon Wilson
in: Work In Progress and completed items
- 26
-
20 February 2025 at 18:12
Ramon Wilson
-
Unimat SL renovation – any tips?
Started by:
rjenkinsgb
in: Manual machine tools
- 9
-
20 February 2025 at 17:48
Michael Gilligan
-
E Bay shot in foot