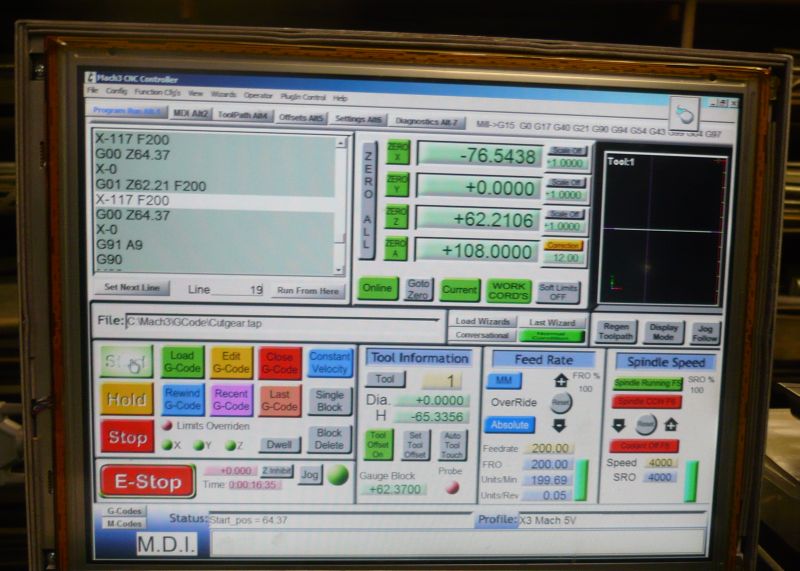
Right, coffee supplied, so on to tool setting. It turns out to be very simple.  In Mach3 the tool setter is activated once and the offset noted for each tool. In PathPilot the tool setter is activated twice, ostensibly for better accuracy. Why oh why didn't the manuals say that? It would have saved a lot of grief and confusion.
When the set tool offset button is clicked the machine moves down in Z at the feedrate that has been manually set. Once the tool setter is activated the tool rises slightly and then starts moving down again at a much slower rate, about 12mm/min, until the tool setter is activated again, upon which the tool is retracted. What confused me is that on the second move the distance to go was over 100mm, which would have driven the tool into the table. I was disinclined to put an expensive tool setter in the way to see what happened.  So not only did I fail to get the tool offset recorded, but the system was left in a state with an incredibly slow feedrate, which looked like a metric/imperial problem, and an error saying the tool setter hadn't been activated when I thought it had been as I'd clicked it.
Now that I've finally got the idea I ran though a couple of tools measuring the offsets. Then I set an arbitrary Z work offset using a gauge block and then checked that each tool change has the correct zero, which it did.
The only disagreement with Tormach is regarding the method of measuring tool offsets. As Bob says Tormach push the concept of positive real tool offsets, which is the distance from the tool tip to the mating surface with the spindle nose. In one sense this is good because the number is always positive and is the length of the tool. It is also simple to measure offline using a granite surface block and height gauge as sold in the Tormach TTS kit. I don't have the kit, so I prefer to use a master tool (0 in my case) which is generally longer than all the other tools. This should, in theory, create safe clearances after tool changes. However, it does mean that the tool offsets recorded are negative numbers and are cumbersome to measure without a tool setter. However my method suits me and I think I will be sticking with it. As Bob has mentioned the spindle nose stops short of the table due to soft limits, so you have to reference off something else, most obviously the machine vice. For me that's a PITA as most of my CNC milling is done with the work mounted directly on the table or on a sacrificial plate. The vice is probably used less than 10% of the time.
I hope that PathPilot is better at saving and applying tool offsets. In Mach3 you had to open, and apply, the tool table after measuring the offsets, otherwise it ignored them. Also, they weren't actually saved until you shutdown, when you were offered the choice of saving tool and work offsets.
I will need to have a careful trawl through my CAM post-processor file, as I get the impression from CNCZone that PathPilot is quite fussy about the code generated, particularly for tool changes and offsets. I'll probably end up writing some simple hand code and air cutting to make sure things do what I expect.
I am very impressed with the level of support from Tormach and I'm pleased that the most critical issues have been resolved. So I'm going to change my mind and stick with PathPilot for the time being while I check out it's capabilities and foibles. I will be hanging onto the old Tormach controller with Mach3 though, jut in case. 
Andrew
 JasonB.


 John.
John.

