Got a 14 cu yd skip of wood delivered today for the wood burners, it's quite a crude thing made out of 1" thick ply sheets 8' long x 4' high and wide with a hinging front panel.
Probably about 4 years old and had some serious use.
Sooooooooooo picked it up with the fork truck, pulled the locking pins and gave it a good shake to empty it and one end and the bottom fell out !!!!!!!!!!!!
Now got to repair and reinforce it or no more wood and the temperature in the workshop is dropping to the low 20's C that is
Got the other 24 rim fittings turned and then milled
Looking quite like a wheel now, just nee dto knock up a jig to assemble them so the hub stays central to the rim and then soft solder them together, they are actually quite rigid already.
But that will have to wait until Sunday as I'm off the the traction engine group tomorrow, expect to see a couple of forum members there.
I made a fly wheel for a hot air engine similar to that Jason, I tapped the hub, drilled through the rim, threaded the spokes, put Loctite on both ends, poked the spokes through the rim, and screwed into the hub, centred the wheel, and when the Loctite cured turned the outside of the rim. I like your design, it looks much more like a casting.
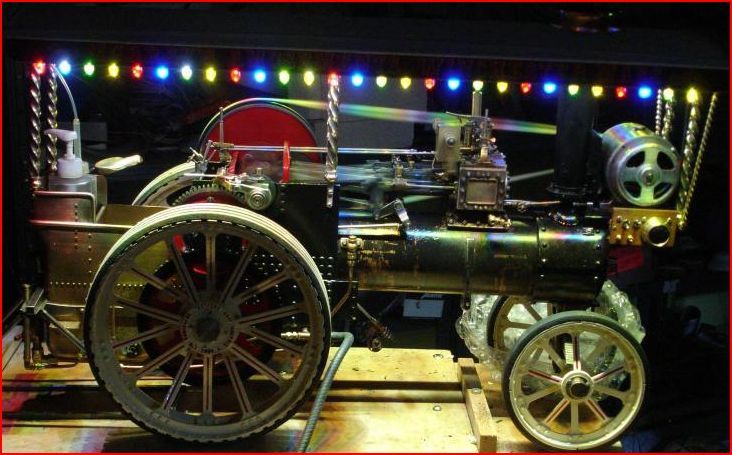
Yesterday I went to a Southern Counties Model Traction Engine Group meeting, near Reading, with a fellow engine builder from the Cambridge area. It's an opportunity to expose one's work to fellow builders; of course it's a moot point as to whether that is wise. It's also a chance to talk to other builders, which often results in a 'Doooh, why didn't I think of that?' moment.
Today, as payback for yesterday, I've been in the garden. The grape vine has been pruned, along with the herbs underneath it. Also cut out last years growth, and tied this years growth to wires, for the loganberry, a bramble and the massive blackberry on the back fence. Now that the green wheelie bin is full, and it's dark, I can unpack the odds 'n' sods I took yesterday, and get into the workshop and continue fettling the flywheels for my engines, prior to machining.
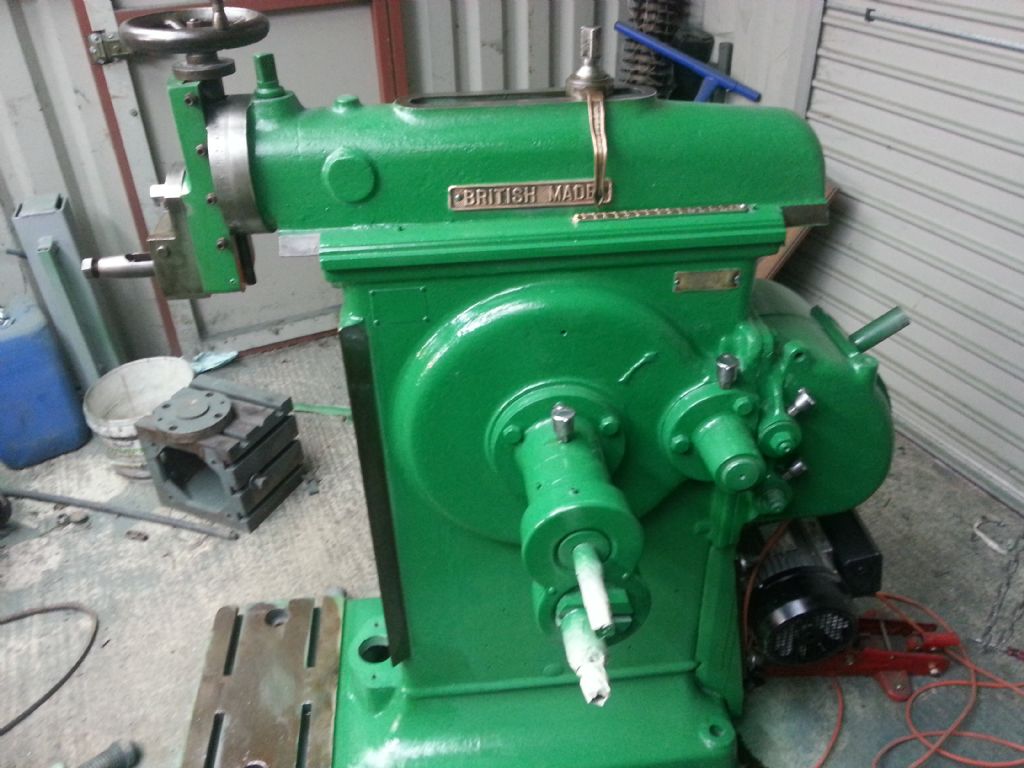
Today I dismantled my venerable Record No111 bench vice. This is a real heavy sucker and we have been through a lot this old vice and I so I decided it was time to take the old girl apart, get the big bits shot blasted, make some new Aluminium jaws for it (I do not use the steel jaws in the vice, never have) and a nice shiny new coat of paint.
This is a real Vintage piece but there is minimal wear and I have never abused it and she had been taken care of by the previous owner(s) AND it is really heavy duty. Besides, I have owned it for a long, long time.
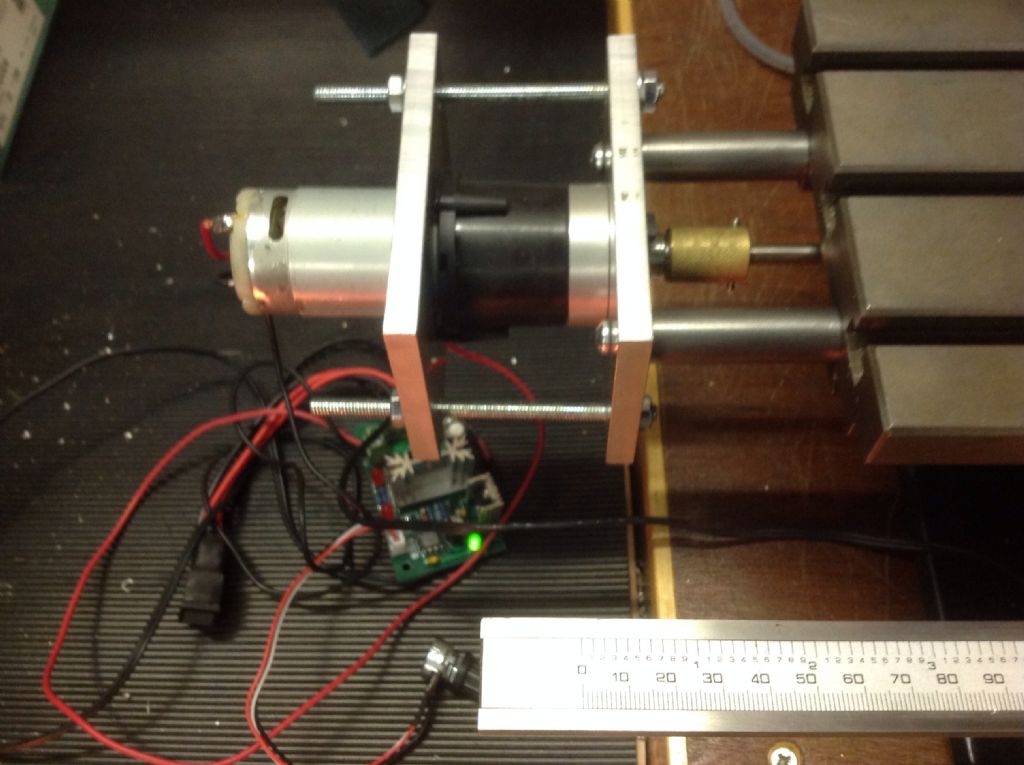
I've managed to get some time to work on my DIY SX2 power feed. It's based upon a couple of examples I've seen on the web, so no apologies if you recognise any bits! First run today, and really pleased with the result. Next step is to mount the electronics. I think I may mount this remotely on the other side of the mill, not on the drive as per the examples I've seen. Spent less than £30 so far, so really pleased with that as well.
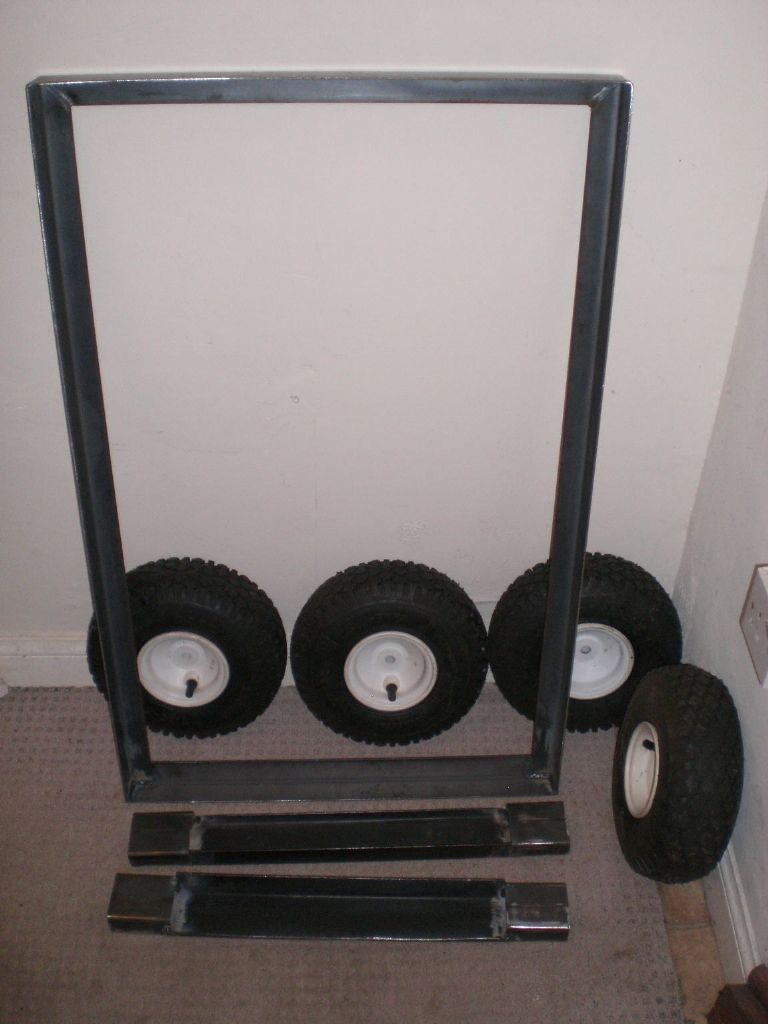
Hi, not today but yesterday afternoon, started to make a small four wheel trolley to suite four wheels that I've had for quite a while. It will be approx 900mm long by 560mm wide, the wheels have pneumatic tyres and are 10" diameter. The trolley will fit in the back of my Astra Estate comfortably and will be reasonably lightwieght and will have a simple turntable for steering.
I've made the basic frame, which is a couple of offcuts used as a test pressings from work and a couple of cross bearers made from a couple of parts that I salvaged from an old reclining chair I once had.
I have had some work trickling in from the Bee Shop, customers wanting me to make my bespoke hives. All the hives come in flat pack form, roofs, shallow boxes and Brood chambers. All the joints are of the Comb type, glued and pinned (Hidden nailing) Also a hive stand to do, they are just screwed and nailed. I do sand them down and the end grain is given 1 coat of clear cuprinol.
Thursday, the bees were flying and some pollen coming in, I doubt if any nectar was taken though. Did a numpty the other day, went to sharpen a friends Jack plane blade, unscrewed the clamp screw and laid it on the bench still in the clamp plate. Sharpened the blade and went to reassemble it and the screw was nowhere to be found. I will make a new one, its 5/16 BSW and luckily I have a die.
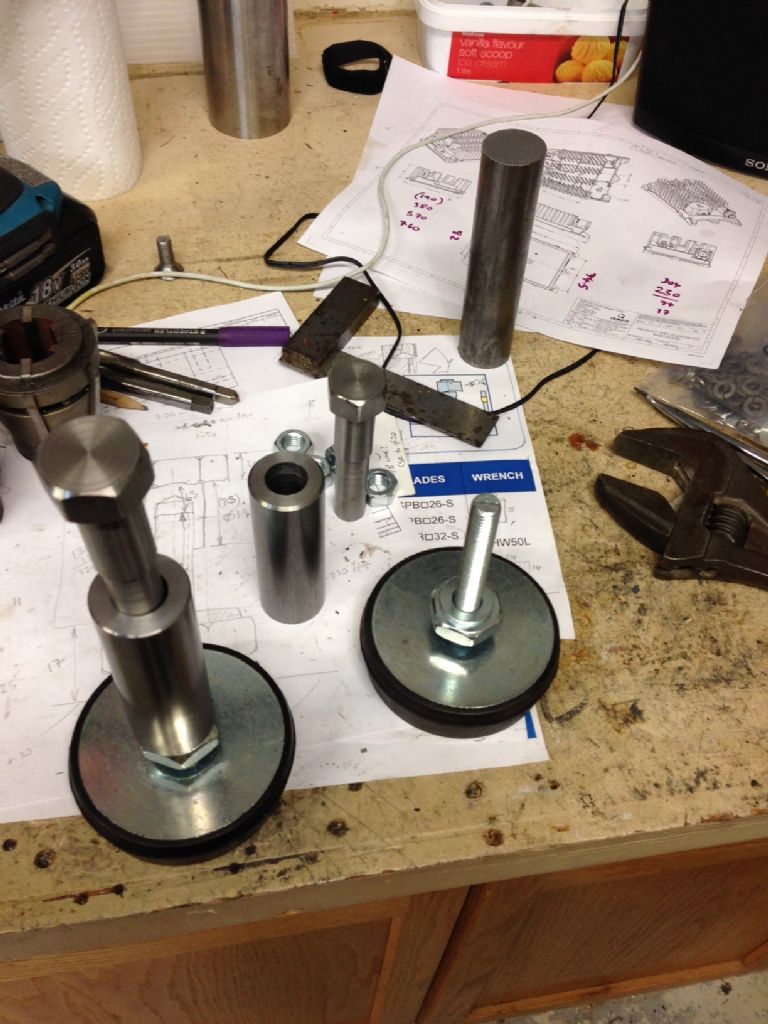
The only machine mounts I could find (and there were quite a few of them to choose from) all had short fixing studs, so I had to make up some female bolts (looks like a bolt with a female thread at the end) so they could fit on my Bridgeport clone milling machine. And the front 2 mountings on the base of the machine are hollow, so I also had to make up a couple of spacers to pass the load from the feet up to the inside of the machine base, 4" from the ground. Nothing's easy!
Worked out nicely and after a bit of trial and error, the machine is finally on the level and a lot more stable.
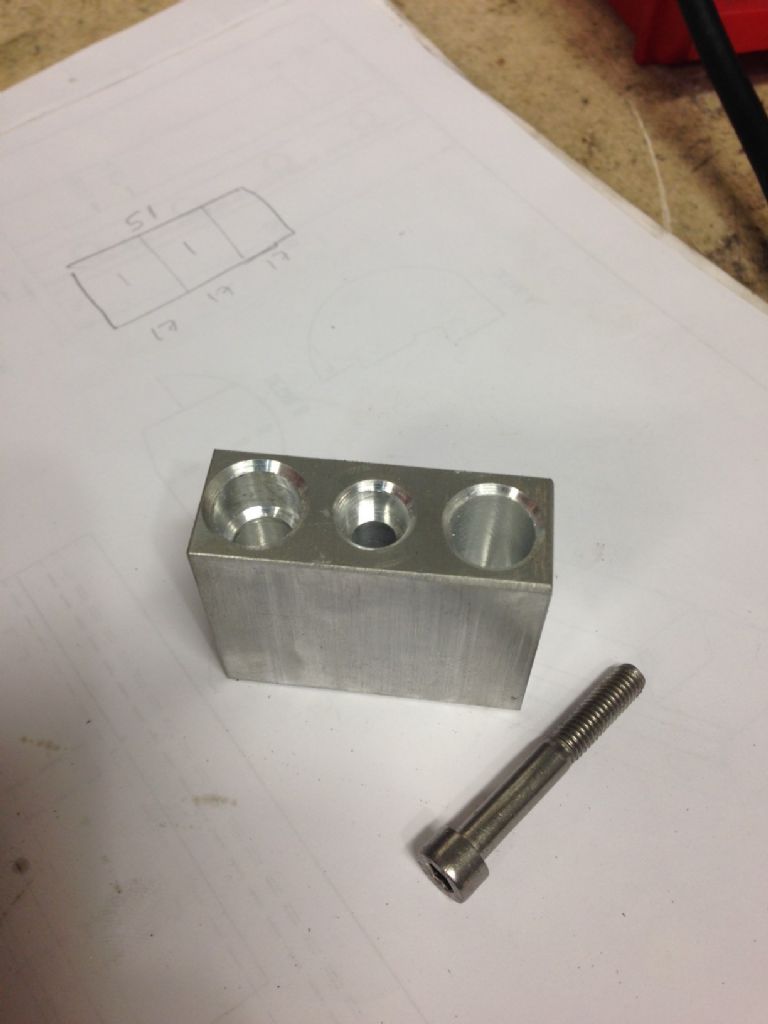
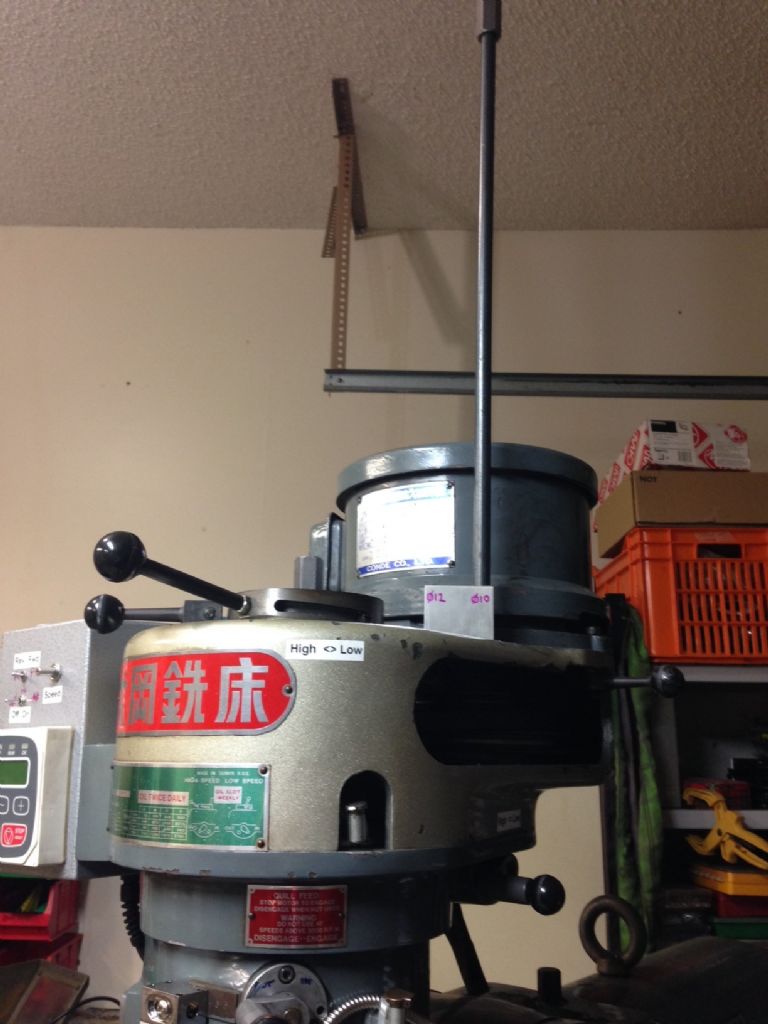
Next day (Sunday), I made up a small block to hold my 2 drawbars on the head of the milling machine. The previous holder I mounted on the side of the machine near the knee works fine but each time I want to change from the drilling chuck to the collet chuck I have to swap the drawbars over. Sounds simple enough but doesn't speed things up keeping the spare at the other end of the machine.
This is what it looks like in use. The spare drawbar is literally only inches from where it is needed now, ready to be swapped over:
Didn't take long to make but should save a lot of time in the long run. Been meaning to do this for months…..
Darn it Muzzer, you're showing me up; I never bothered to bolt down, or level, my Bridgeport. The most I did was stick a wedge under one corner to stop it rocking. Still, really nice work. How's the parting tool holder going?
Garage floor's not very flat or on the level and any wedges I put under the edges soon worked free. Now it doesn't shake so much and the table is actually level too.. Besides, they don't seem to sell tapioca here – almost as rare as metric fasteners which is odd, given that Canada is even more metric than the UK. The system may be metric but the materials come from the US.
Started fitting new kitchen worktop. I have to do two posh mitre joints with a router and template, the router also tidies up sawn ends really nicely. Using a router is strangely similar but completely different from milling. Woodworkers are spoilt with all those funky cutter shapes. My joints are nice and square, but the walls are absolutely crazy…
The hardest part so far was the plumbing – I had to use speedfit elbows (now they really ARE neat) and dig around for some spare 15mm pipe because the new tap is so far from the old location. Got in my usual 30mm/40mm waste pipe muddle.
The tap is very tall and wobbles a bit in the stainless sink. Why don't they brace these sinks? It has a big stud that reaches below the level of the worktop so I'm going to make a steel brace for that and screw the other end onto the worktop.
You may be able to hunt down a tap brace, several makes of tap supply a plate to sandwich between the C clamp and the Sink. Or just make one from some 3mm plate.