It needs the protective grease cleaning off it then I'll give it an oil service before fitting either a VFD or Static Converter, not decided which yet. Will post more pics as i go. It's an ex college machine so is in good nick, made 1994. Emcomat 17s. 700mm between centres, 170mm centre height, 3.2 kw (4.3hp), 8 speeds from 55rpm to 2350rpm, weighs 725kg. Coolant and Light. For more info **LINK**
I was going to have a go at milling the worm for the steering gear on my traction engines today. The extra toolholder I needed arrived from the USA this morning. But, when I went to assemble the cutting tools, no 3mm endmill in stock.
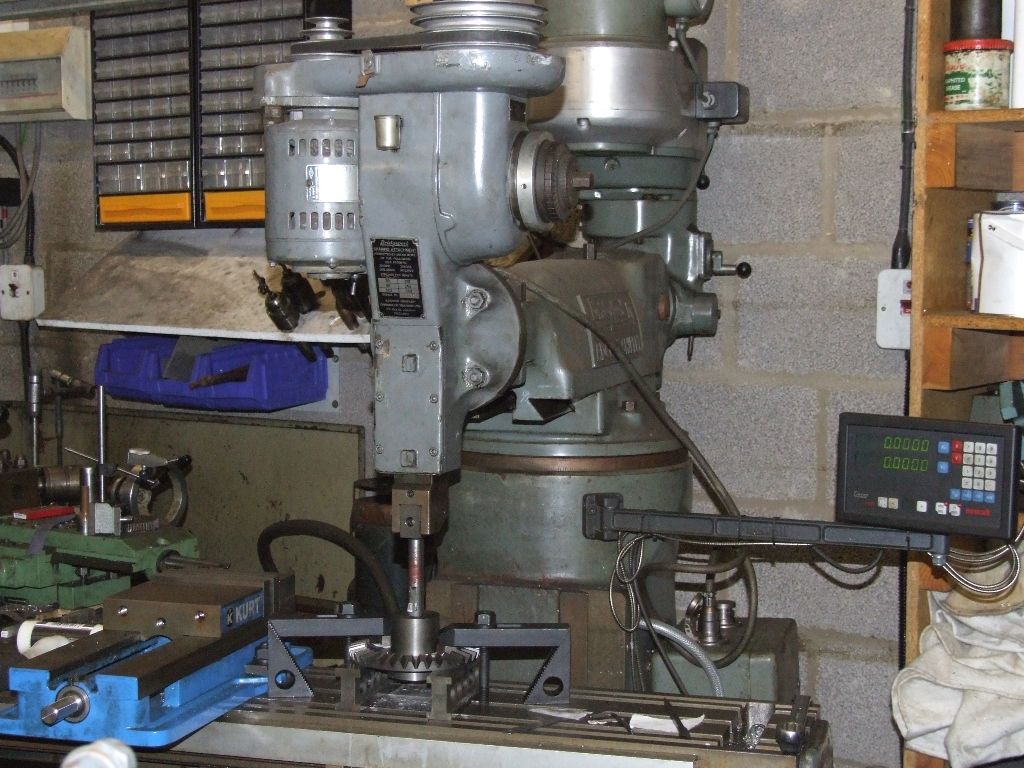
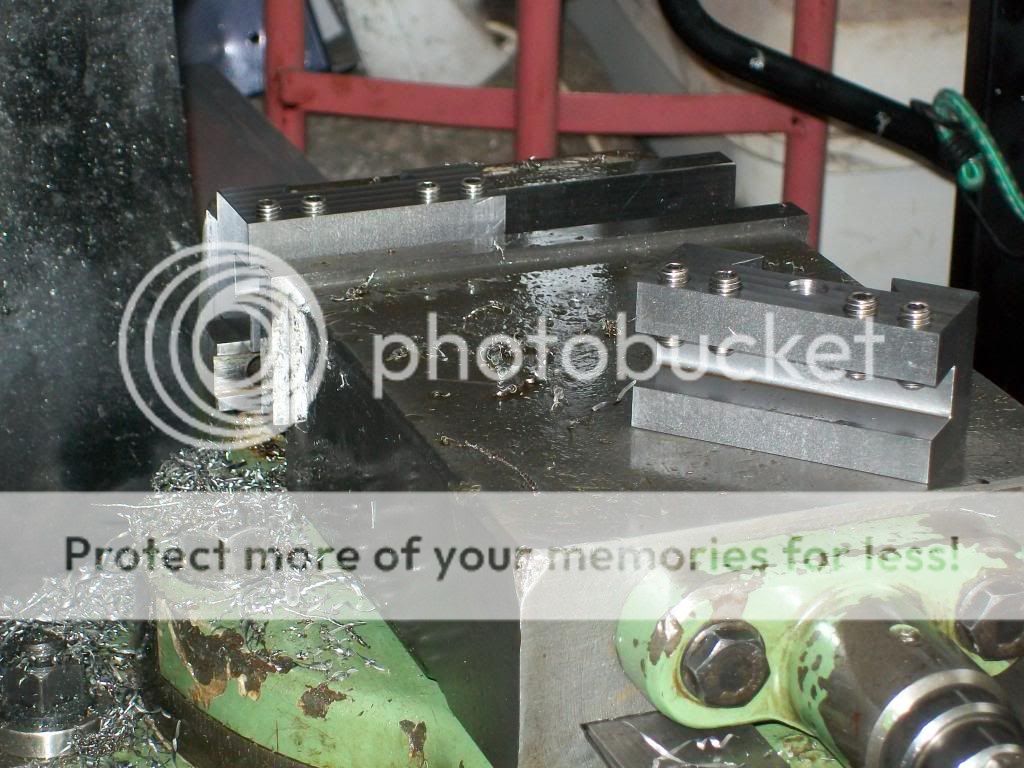
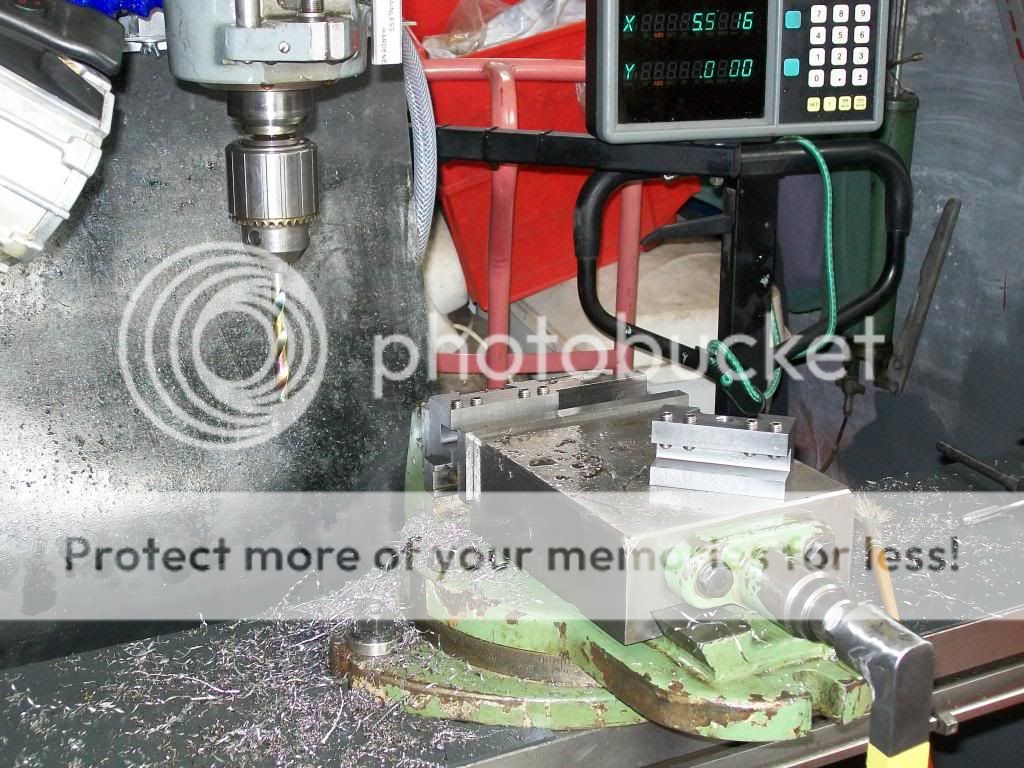
So instead I decided to have a keyways-r-us day. Here's the basic set up with the slotting head:
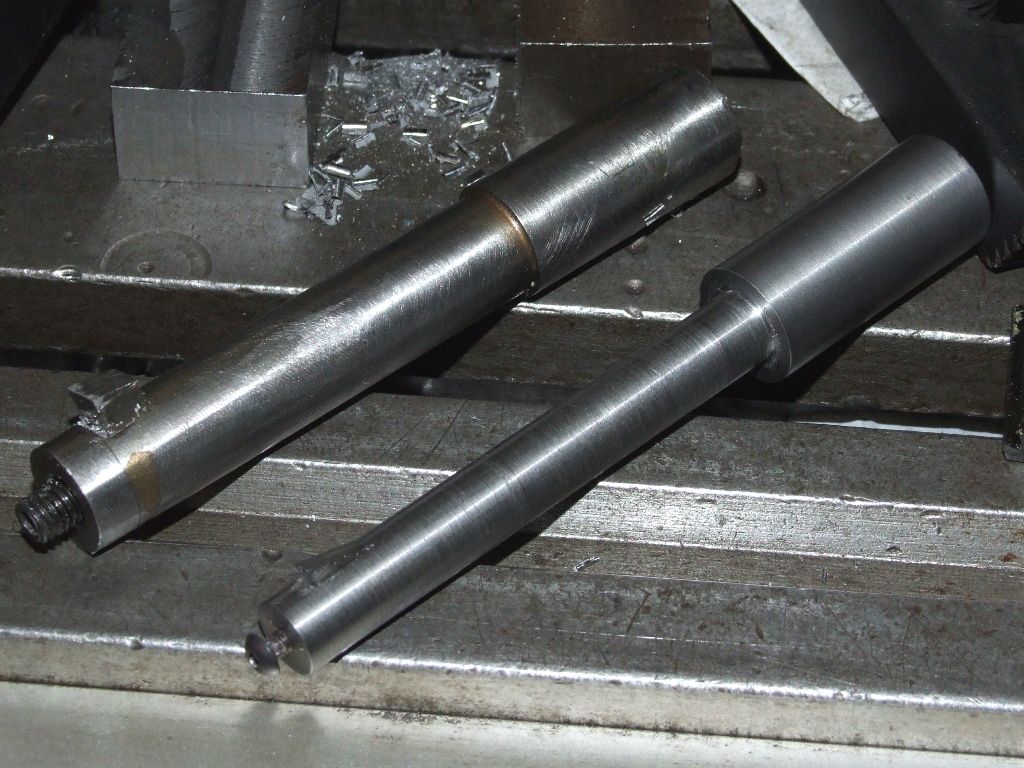
The only iffy part is swivelling the ram on the mill through 180° to swap the milling and slotting heads, while avoiding the shelves on the right. Here are the tools I used:
I made the tool at the back ages ago by milling a slot in the end of the bar and brazing on the cap. If you look closely you can see the joint. I made the tool at the front today. The slot for the toolbit was drilled each end and then filed to fit by hand, as I didn't think there was enough metal for a proper brazed joint. The cutting bits are ground by hand from HSS blanks, using a micrometer to check width. The smaller (1/8" ) bit at the front was easy, as I just happen to have some 1/8" x 5/16" HSS offcuts.
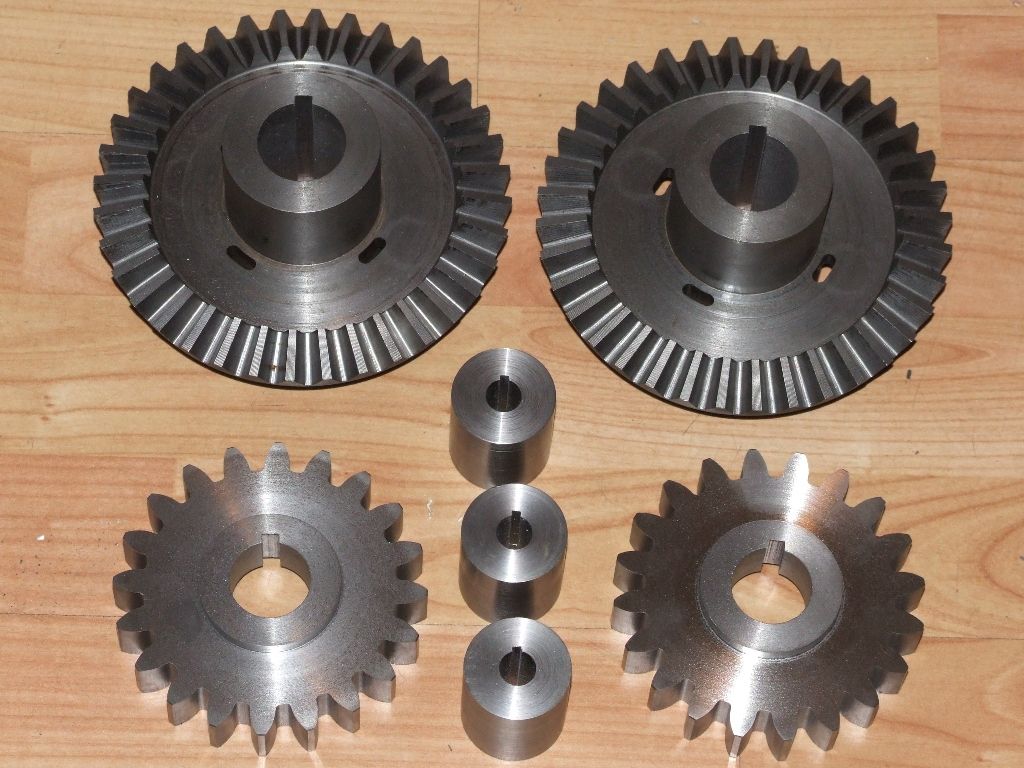
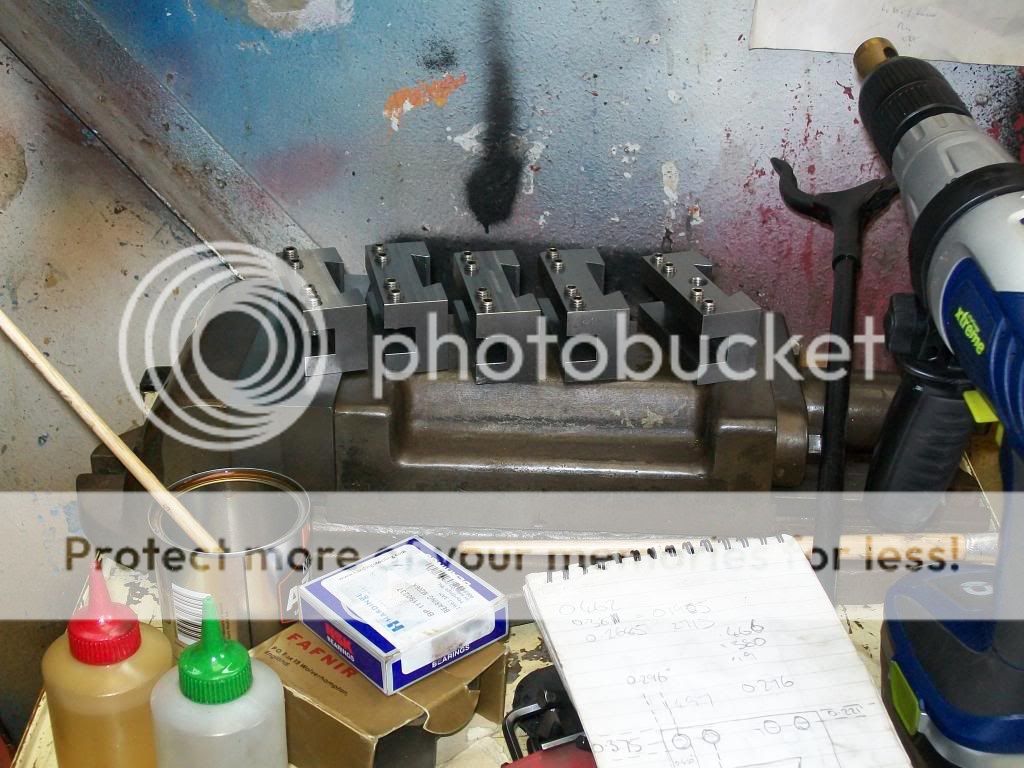
Here are the parts in which I've cut keyways today:
Picked the first round of plums, now quartered, stoned and in the freezer ready for a hot plum crumble in the depths of winter.
Picked more blackberries, made a jelly – eaten half of it already.
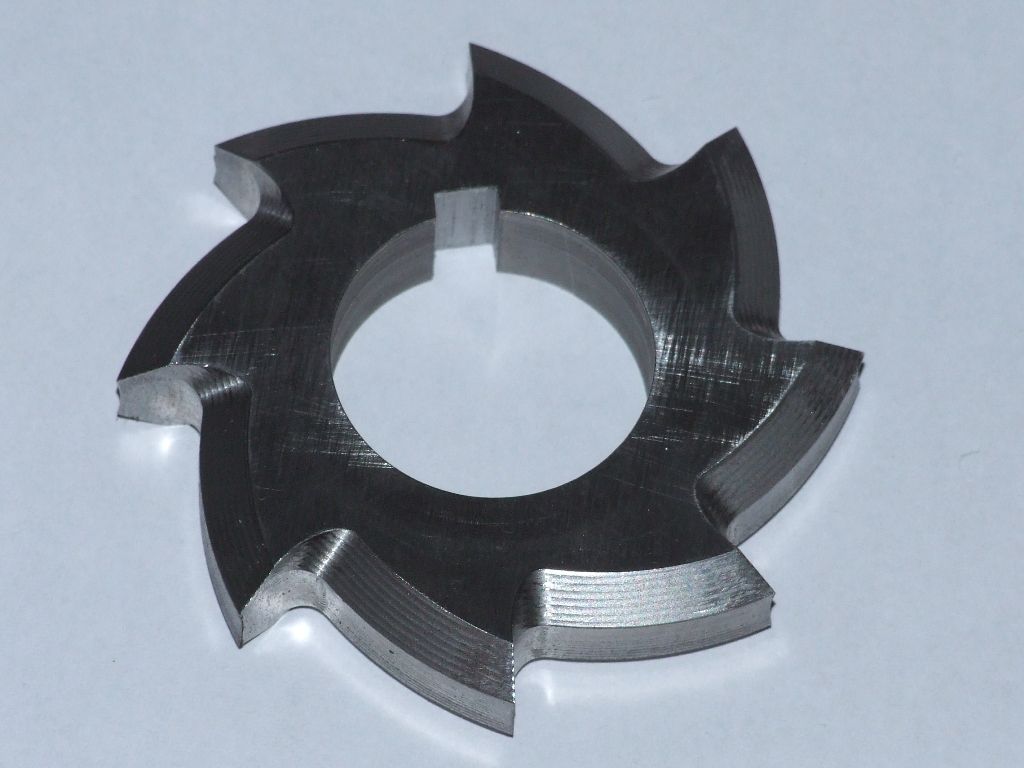
Cut a keyway, and cleaned up the edges, on my home made spline cutter, now ready for hardening and tempering:
Massive clear up on lathe and the floor around it. Moved over 20kg of cast iron and steel swarf. Gave the lathe a good clean and oil, including taking tailstock off to clean underneath.
Swung ram on vertical mill to swap slotting and milling heads.
Experimented with aluminium specific inserts and higher feedrates. Interesting, still some birdsnesting of the swarf, but I did find roughing and finishing cuts where the swarf was well behaved.
Made a blank for the worm on my traction engine steering gear from an offcut of delrin to test out the hand written G-code, when I get round to buying a 3mm endmill. I feel a trip to the local tool warehouse coming on! I need the 3mm cutter, some drills and spot drills to replace those I've badgered, some silver steel and some slideway oil. Oh, and some threading inserts for Whitworth 20tpi and 32tpi.
Cleaned up some collets and die holders for the Britan lathe; put same on Ebay, as they're duplicates.
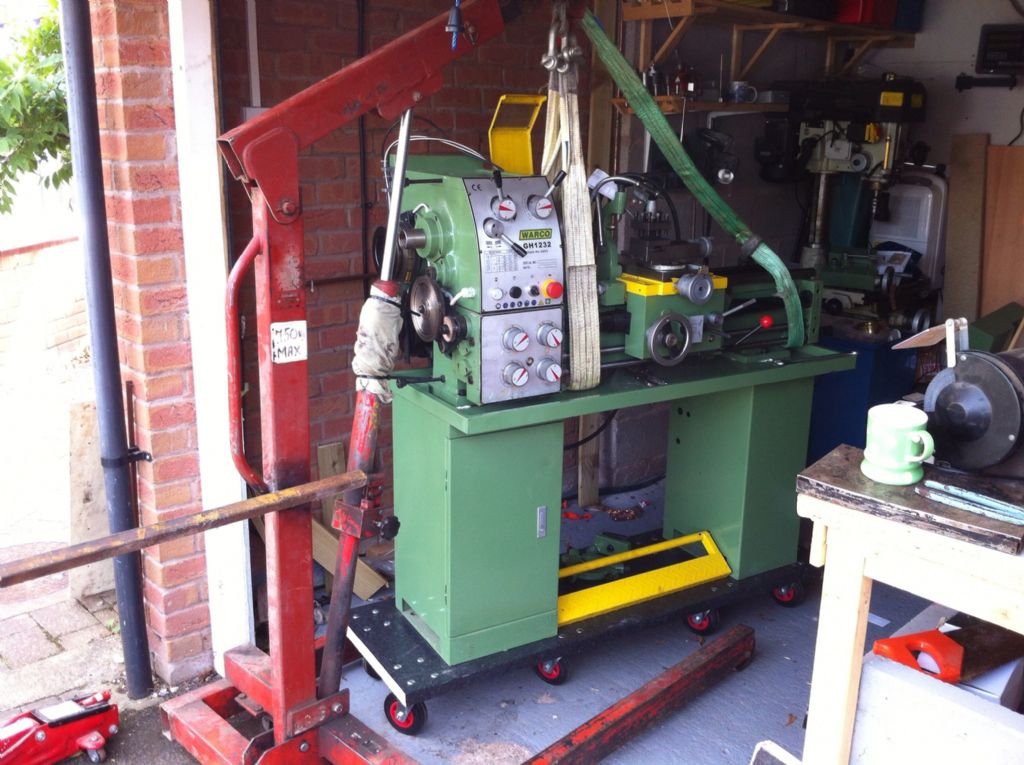
Today I united my new Warco 1232 lathe with its cabinet stand. A few nervous moments with 500kgs of precision equipment dangling a metre off the ground on the engine crane waiting to slide the stand underneath! Gave it a good degreasing and oiling then ran it up and had a good play to familiarise myself with all the knobs & levers. Quite a difference from the ageing ML7 that it replaces.
I have to say, everything seems to work ok and I found my way around the machine quite easily, no thanks to the extremely poor instruction manual that comes with the lathe. It never ceases to amaze me how importers go to great lengths to continuously improve on the quality of machinery coming from the Far East but completely ignore the ludicrously translated, poorly illustrated manuals which accompany them. My lathe manual has several illustrations that appear to have been photocopied so many times that they are illegible. Surely it wouldn't cost much to get the things translated properly and get a decent set of illustrations printed.
Anyway, there are one or two things I am not sure about that are sadly not covered in the manual such as how to remove and attach the cam lock chucks, so any advise would be greatly appreciated!
Martin, go onto the Grizzly site in the US and look for a lathe called a G0750G not quite the same as yours but very close and the manuals are downloadable and good.
if its the same as my 1224 then use the chuck key, I had to extend mine so I didn't keep loosing the odd knuckle – make sure you make a wooden tray to go under the chuck to protect the slideways
Prepared biltong two hours ago, been marinating for two hours sprinkled with spice, and now ready to go into the dryer.
Installed additional supports in the HobbyRoom bookshelves to prevent them collapsing – paper is sodding heavy!
All the shelves had sagged, the worst by about 1/2" between supports I HAD installed at ri,eof comstruction.
OK chipboard is not the best, but the wood is resting on shelf brackets every 16", those that clip into slotted uprights screwed into the wall.
Supports consist of 10mm Allthread rod, fed through holes drilled in the shelves where the brackets end, with nuts and washers supporting the weight. I just forgot that chipboard sags something horrid when loaded.
Martin, go onto the Grizzly site in the US and look for a lathe called a G0750G not quite the same as yours but very close and the manuals are downloadable and good.
John S.
Thanks for the link John, the Grizzly machine is pretty much identical to mine. I've downloaded the PDF file for the manual and WOW what a difference! Every aspect of the lathe is clearly explained in good English backed up with clear, well annotated illustrations. Another shining example of how far ahead the Americans are when it comes to customer service. I think I will forward a copy to Warco and ask them why they can't produce a similar manual for their machines!
Hardened and tempered my home-made spline cutter today. It was pre-heated at 500°C, then raised to 810°C and left to soak for half an hour. I don't have any quenching oil, so I compromised and used brine. After hardening testing showed it was at least 65Rc. It was then tempered at 210°C for half an hour, and quenched in brine again. After tempering the hardness had reduced to around 61Rc, pretty much where it should be for the tempering temperature.
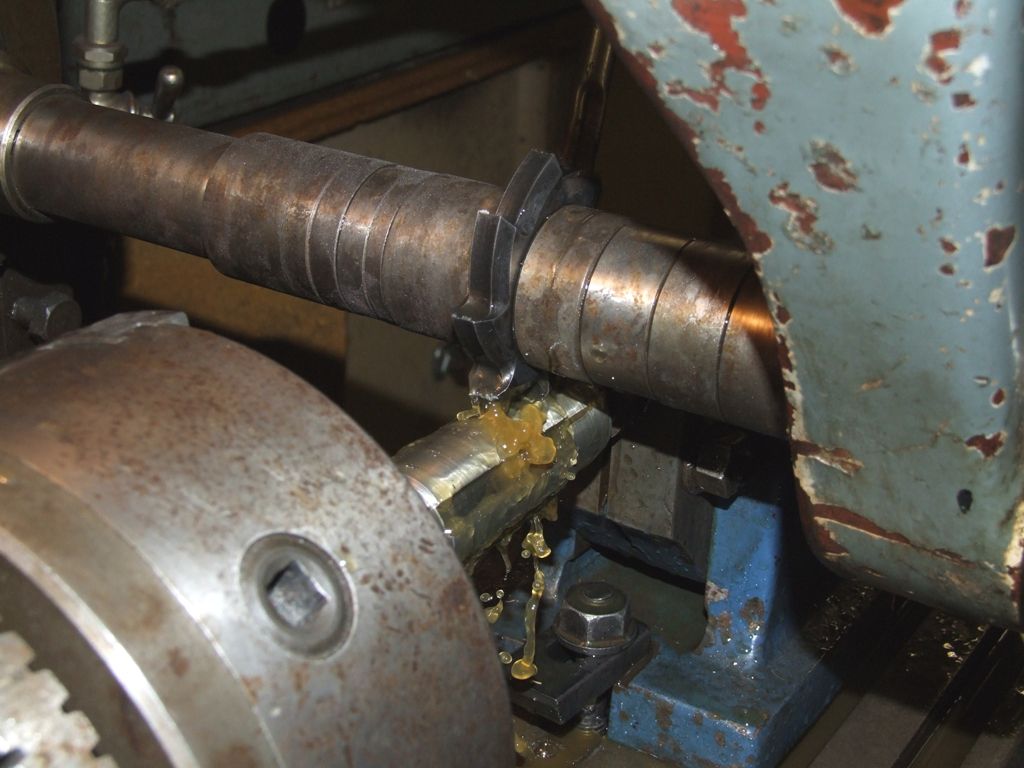
This evening I cut my first test spline with the cutter. I choose a conservative speed of 67rpm, giving about 55sfpm and a feedrate of 28mm/min, about 2 thou per tooth. Here's the cutter in action:
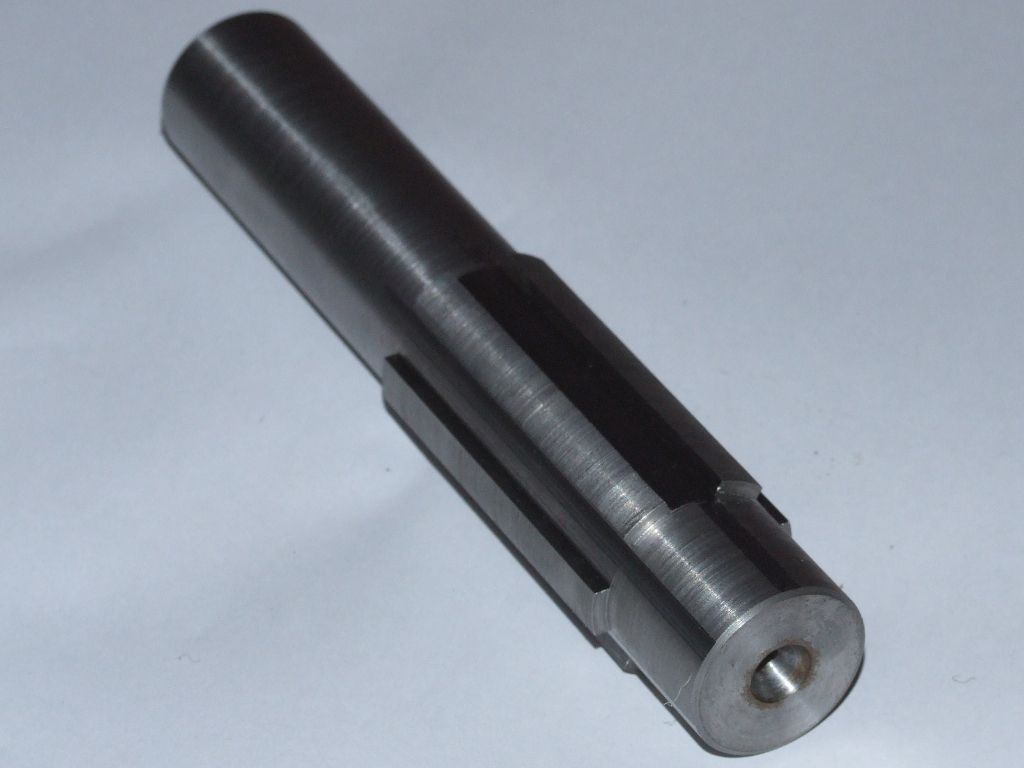
And the finished spline:
The core is supposed to be 1-1/8"; on every opposite pair it measures 1.125" at one end and 1.126" at the other. The splines are supposed to be 5/16" wide, ie, 0.3125". They all measure 0.309"±0.001". Good consistency, but a bit undersize. Never mind, I can adjust the width of the tool used when I cut the slots in the mating gears.
Am I the only one doing anything, or just the only one daft enough to post the warts and all results?
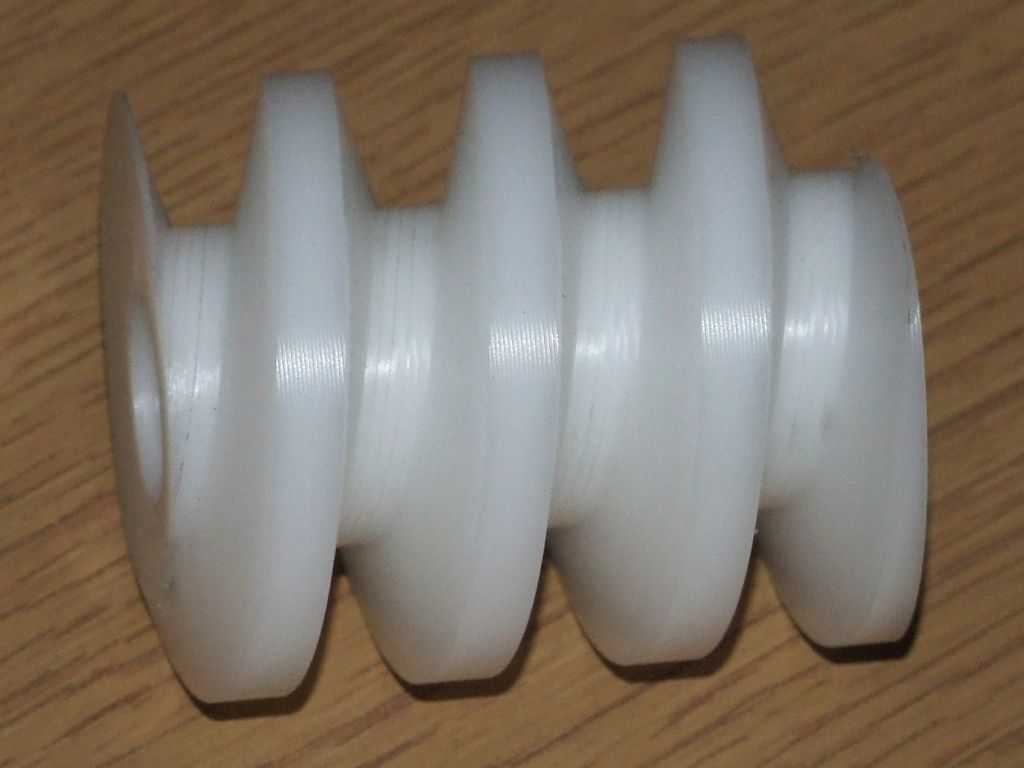
Anyway, the outcome of this evening's work is a single start worm for the steering gear for my traction engine. The drawings call for a RH 2-start worm, but don't give anywhere enough detail to actually make the thing. So I've been through several design iterations, and was then told it shouldn't be 2-start, as it'll back drive. Correct, so back to the drawing board. Here's the picture of the first worm, machined in Delrin as a test:
The part is 1-3/4" long. I'll hold my hand up (that's a hint) and say that there's a 'deliberate' mistake. Can anybody spot it?
Graeme: I'm holding up my left hand, which is good because I'm left handed. But it's bad because the worm is supposed to be right handed. I can either ignore it, and swap the chains on the steering shaft, or change it. I'll probably change it, as it's only a case of deleting the minus signs in the G-code so that the rotary axis goes the other way. I'll need to swap the two finishing passes as well, as I want to ensure that the cutter is climb milling.
I am planning to free hob the worm wheel. Rather than clutter up this thread I'll start a new thread on the steering gear worm and worm wheel. Unfortunately we often learn more from failure than success, so I'm very interested to know what you did and where it went pear-shaped on the worm gear.
Death by DIY… painted the walls of the halls, stairs and landing today
Actually got into the workshop for something other than fetching tools. Started on a tidy up. fixed (I hope) a saucepan handle with steel reinforced epoxy putty (dubious this will work.. much testing/bashing required).
Realised the stalled four-stroke project will require high-temperature retainer to keep the valve seat/guides in place.
Neil
<edit> I am now convinced of the strength of steel reinforced epoxy putty. After much energetic waving around, the saucepan handle broke – through the original handle material, , not through the putty. Admittedly the bakelite was probably weakened by heat.
Neil I'm not too sure that fixing a dodgy saucepan handle is a good idea. As well as the health and safety risk there is also the danger of the supper ending up on the kitchen floor. If you also have a dog like mine, if that were to happen, she would naturally assume that anything on the floor is hers and it would be gone before you could get near to it. What's more saucepans are pretty cheap these days……
DIY mostly ended for now but photography club restarted – which takes up endless time. ( Advice to all try to keep off committees!)
left wife and mother in law at Manchester `airport' for a weeks holiday. yeas yeas a weeks freedom. well not really as i will miss her.
So, i got into the workshop. Making good progress on the 4" Durham traction engine. Got most of the motion made. I just need Graham at Brunel to come up with the castings i need and then i carry on with the eccentrics. A finish in sight after 6 years. Fingers crossed
Despite being a physical wreck with seriously deteriorating eyesight I got back into the workshop today and turned a wee bit of brass. Bliss – the world is a much better place!