Hacksawed through 2 1/2" square aluminium. Got bored after that and cut the grass instead. Thank crunchie it wasn't steel! Must get round to buying a powered saw!
My thoughts exactly Chris! Steve, I'm not having too much success with parting off big stuff at the moment. More work required on the tooling I suspect. I have a replaceable tip parting off blade but it's never been t5he same since I had a dig in. The tip is very slightly off now. I can ease it back to being in line but I think it possibly isn't being held as tightly as before so it deviates from the plane of the blade again.I bought a normal parting off blade and holder but close inspection of that shows that it doesn't hold the blade properly upright so there's clearance on both sides. Ho hum!
32 deg here in France today so outside it is. Will finish cleaning up the ally block tonight. It's going to be the crankcase for a Bobcat (hopefully!)
Chris H, love the colour of those racks, what paint did you use?
Knocked up a couple of 5C collet racks last night from some surplus 6mm MDF (not my favourite materiel but it was free), painted with some leftover from a repair job on one of my MG's (ZS180)
Then turned attention to producing a close coupled drive for my cylindrical grinder refurb project.
First mock up looks promising and seems to work as intended, need a tacho adding as the motor is capable of overspeeding the grinding wheels. Also going to add a temp gauge as the optimum running temp for the bearings is around 50 Centrigrade!
Graeme: That's a lot of collets The surface grinder looks to be a pro job, but if I though I had issues with a bench grinder throwing dust around then god knows what a tool like would do!
Thanks Neil, and the paint was Myford green synthetic enamel, but there are quite a few other colours available as tins of 'Radiator Enamel Paint' from your local DIY store, same stuff I think. Good for painting metal anyway.
Yes the motor was 'pinched' from a redundant X2 clone, soon to be CNC'd with a high speed engraving spindle so the motor was 'surplus to requirement'.
Chris,
One set is metric, the other imperial, covers most requirements.
The Cylindrical Grinder is a Studer type 0B and is a wet grinder. I have a heavy duty clear rubberised curtain to surround that area of the workshop and extraction facilities so I am hoping the grinding dust does not become an issue.
After trying several times over the last 12 months finally managed to load Windows XP SP 3 today onto the workshop PC by rebooting into safe mode & then installing SP 3. Ian
Made a long handled spindle drive for manual screwcutting, not having the need to do any large threads have not needed to have machine set up for single point threading, always been leary of machine cutting a thread at the best of times..although have done it years ago, must get back into it..
Made out of the odds 'n' sods box & a book binder handle
Did a bit of recycling – sorting through (one of) my scrap boxes. I have a lot of sawn alloy offcuts that I trimmed up on the mill and returned to usable stock.
edit – 1 minute ago, got a phone call to say the missus has dislocated her shoulder on a dry skii slope. Ambulance called, youngest daughter stranded with her, her car stranded over there in the car park now, she'll be taken to a distant hospital. F***. Have to go.
Not shown is the standpipe that needed reducing in length, after the application of brute force and iggerance, plus a large hammer, got it separated from the cast iron lump on the end that allowed it to be connected to the 4" water main.
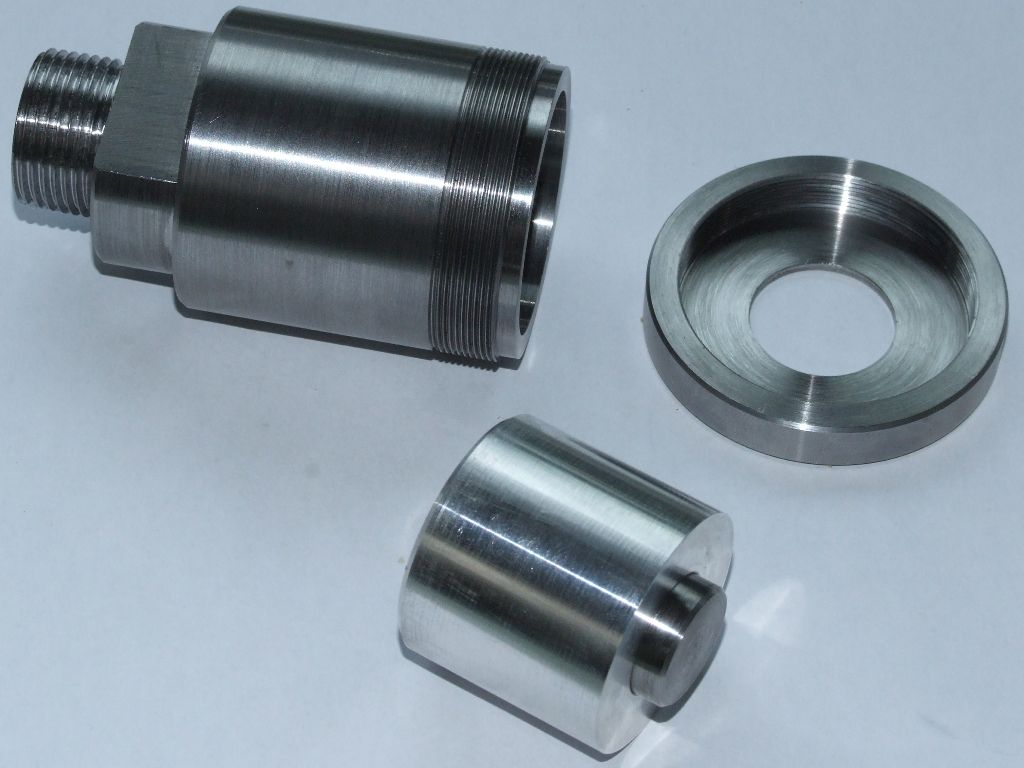
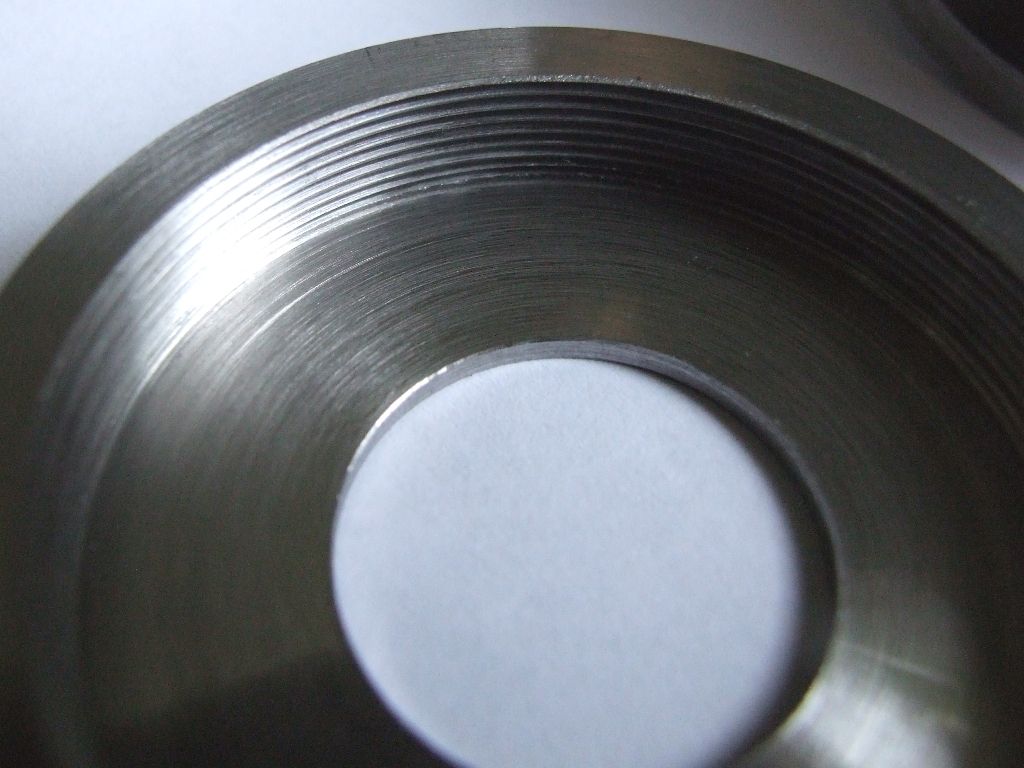
The thread top left is 3/4" BSP. The thread on the right hand side of same part, and the internal thread on the part to right of that is a weird one. The OD is 50mm, the thread is Whitworth form, 26tpi. There were good reasons for choosing such an odd combination. Here's a close in picture of the internal thread:
All the threads were screw cut. The external threads were cut at 540rpm, and the internal one at 370rpm. It took some nifty work on the half nuts to avoid running the tool into the shoulder on the internal thread, although I may have had some help.
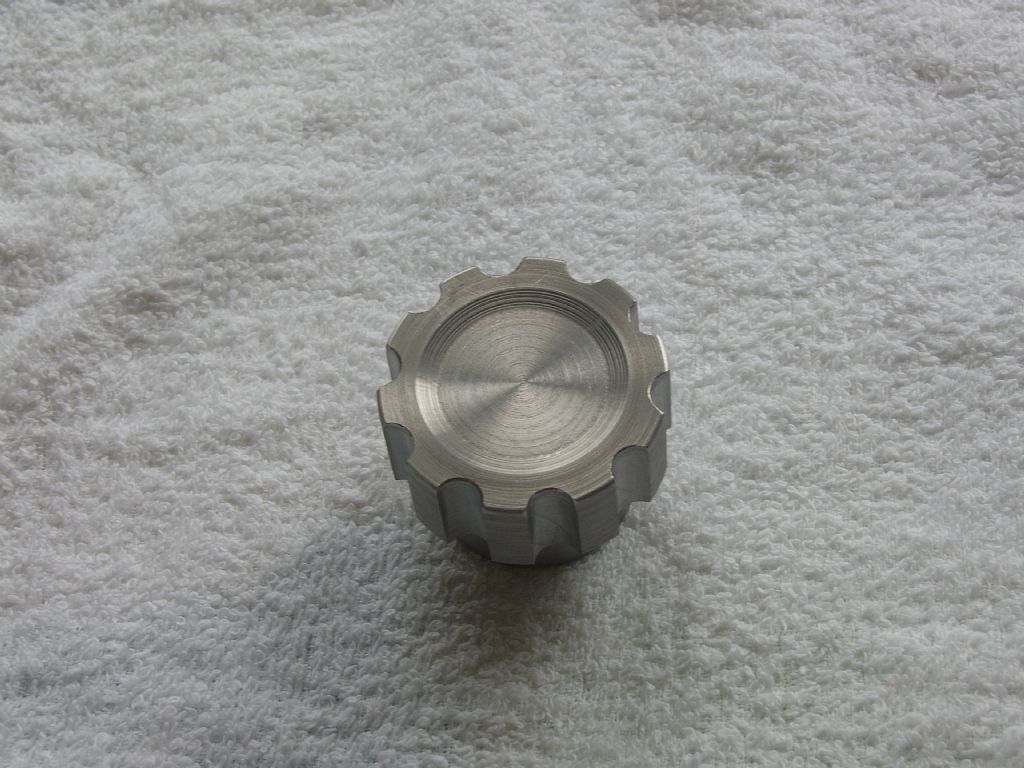
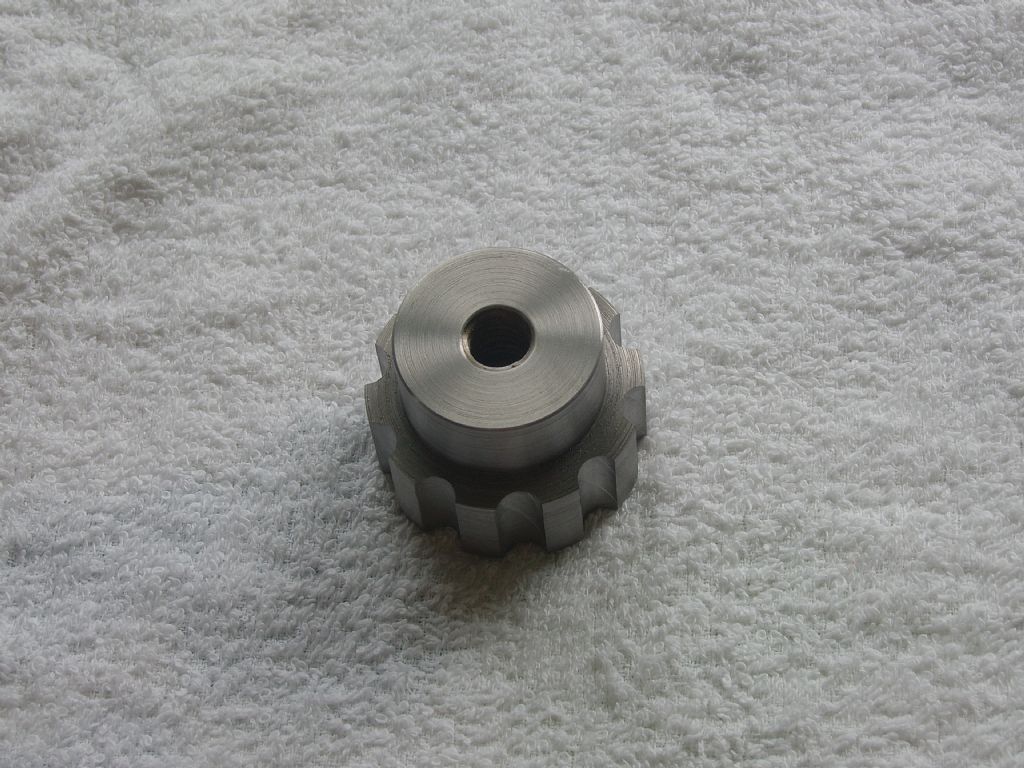
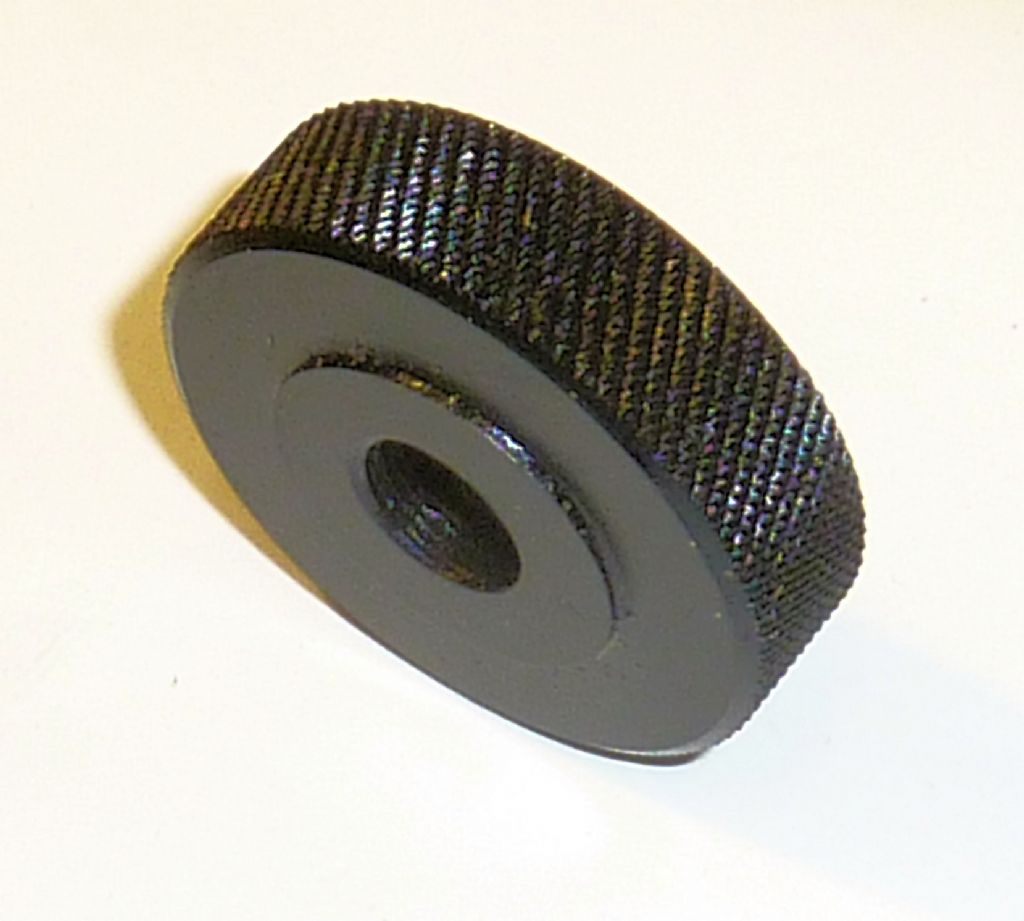
Well after what seems eons of missed opportunity due to work and family (young kids) I managed to find some workshop time yesterday and this morning. Not having a major project to have a go at until the new workshop gets built I decided to tackle a small job – the missing knob for the gear change on my Elliott 10M shaper.
Starting point – the 1/2" 12tpi thread on the gear change stud.
Result =
Now my question is how can I prevent this rusting over? It's mild steel and I made some spacers for the motorbike which rusted very quickly. This won't be going outside but I think some protection is needed. I'm thinking Hammerite over primer as I can get 15% off today. Will pop out and buy some.
It's just good to exercise the brain and cranking arms after what seems like ages
I would heat it to bright red then drop it into (old and dirty by preference!) engine oil. It will go nicely black and resist rusting quite well. The black finish will be much more durable than any paint.
Chris
Cheers Chris
Have plenty of old engine oil from the bikes! Got another job to lure me back into the garage now
I usually heat small bits up with the torch slowly, when the colour I want comes up, I quench it in clean water, remove it while still hot, and when it air drys, and still warm, rub it oil, if it's not to be used for some time it gets left with wet oil, and wrapped up and put away some where safe, where I won't be able to find it when I want it, so I'll make another one, and then when all is finished the origional bit will turn up. Ian S C
i went to sharpen some wood chisels with no success the 2 sided oil stone had hollowed on both sides . then wandered if can refurbish the oil stone had a good route in my tool box then
i put a Diamond dressing tool the type with the diamond braised on the end in to a fly cutter and milled it flat with a very good result it is good for the next 10 years
Kevin, if you'v got a carbide tipped face cutter for your mill, fit it with a set of old tips in it, put pleanty of oil on the oil stone, clamp the stone on the mill, and at a low speed, mill it flat. You only need one tip in the cutter, or if you have a fly cutter that will take a carbide cutter thats ok. Put a bit of paper under the stone, and covering the table. Ian S C
Refilled my coolant tank on the mill – and managed to leak 1/2 gallon soluble oil+water over the floor of the 'shop. Only simple way to fill it is to tip it into the tray and let it drain (slowly) back into the tank, however the seal had perished on the tray. Plus – the fill gauge wasn't working so there was too much anyway. Had to get the hosepipe on the floor!
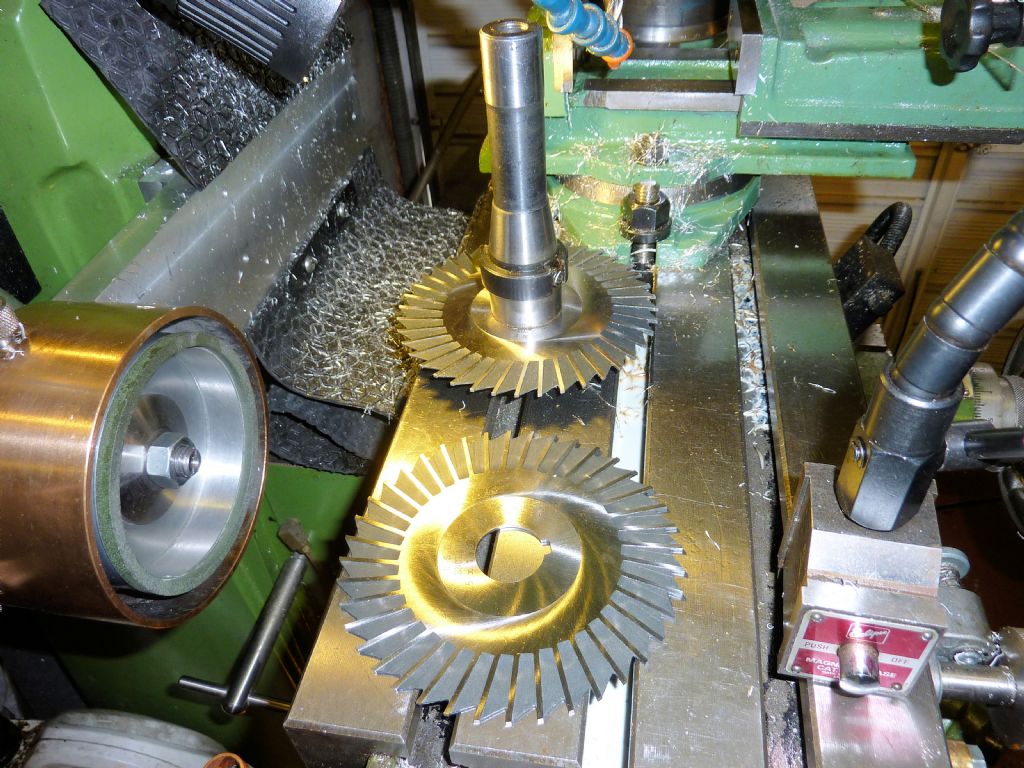
Received a nice pair of 5" x 1/16" HSS side-clearance slitting saws (British make) from Tracy Tools for just £12 the pair. I don't know why they have keyway cutouts because I'd rather it slipped on the arbour if it jams rather than shatter!