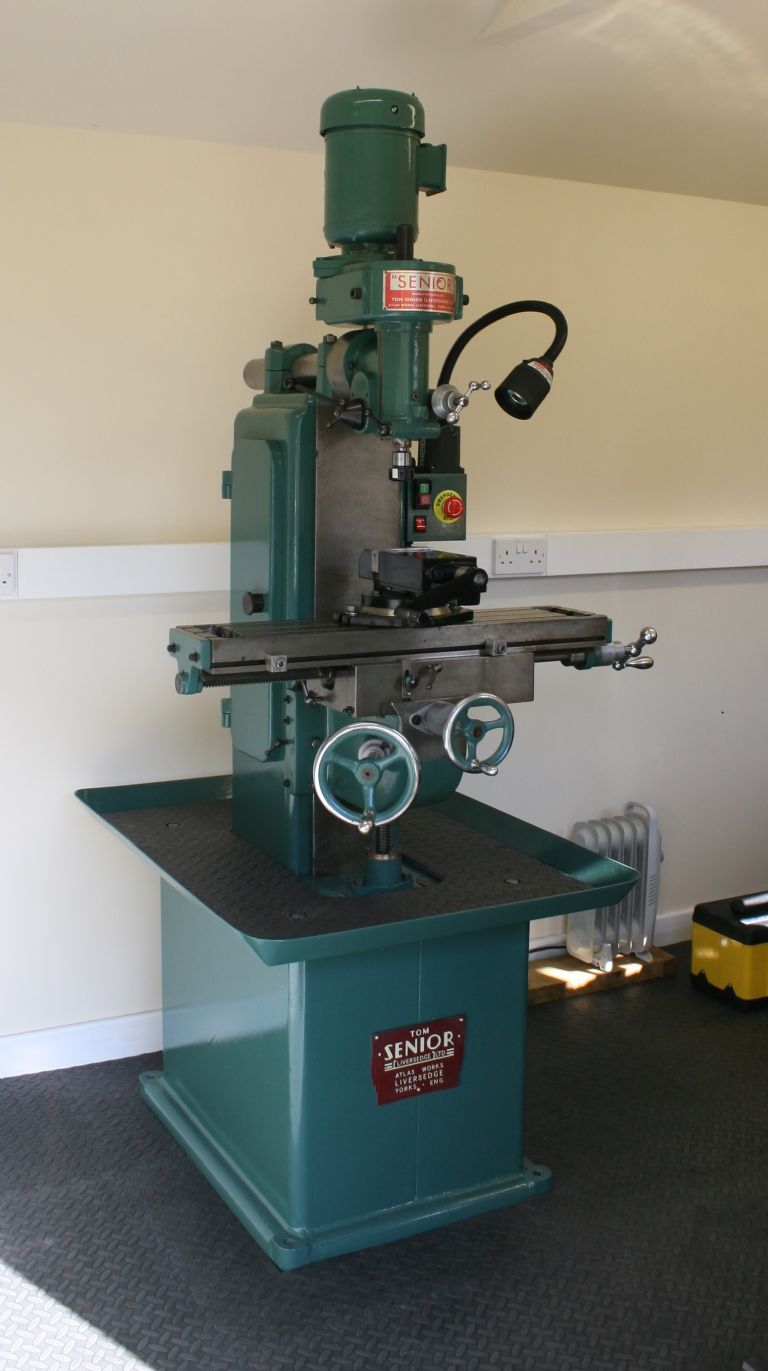
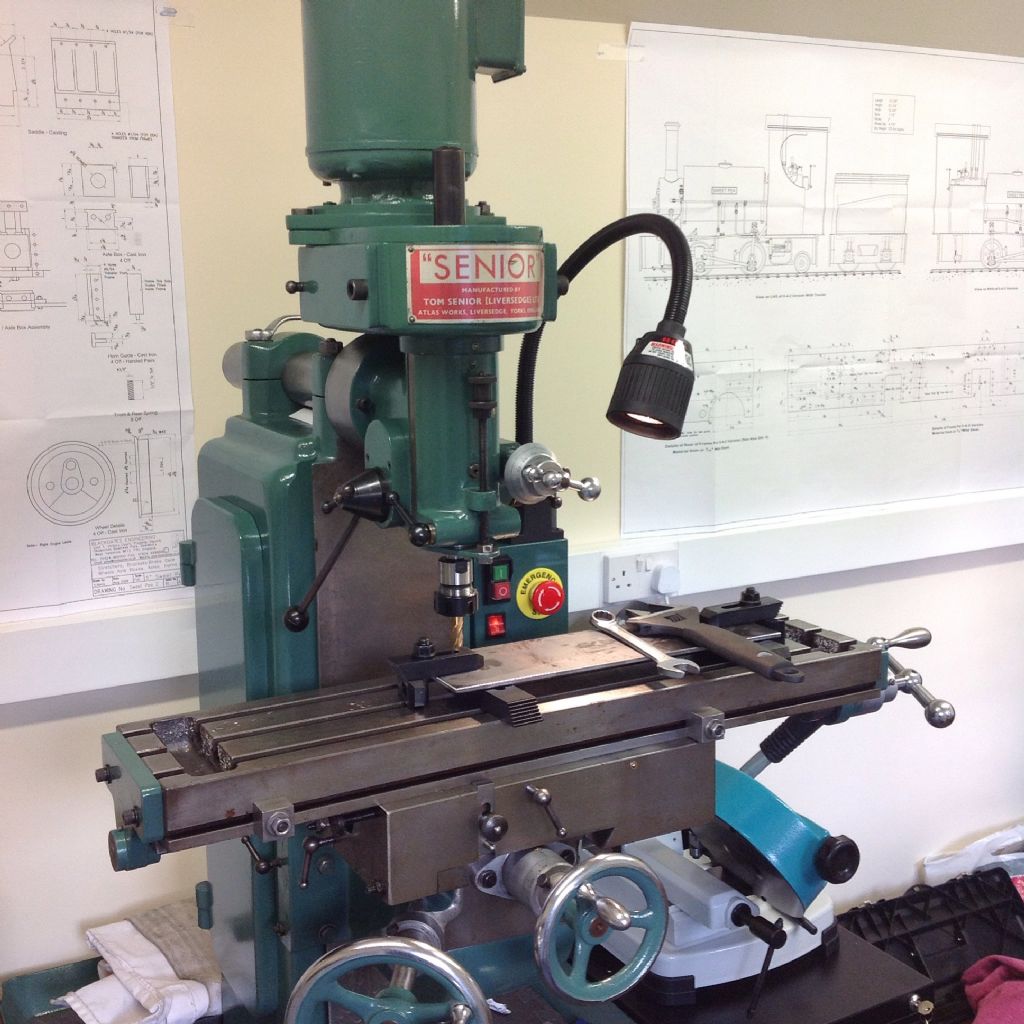
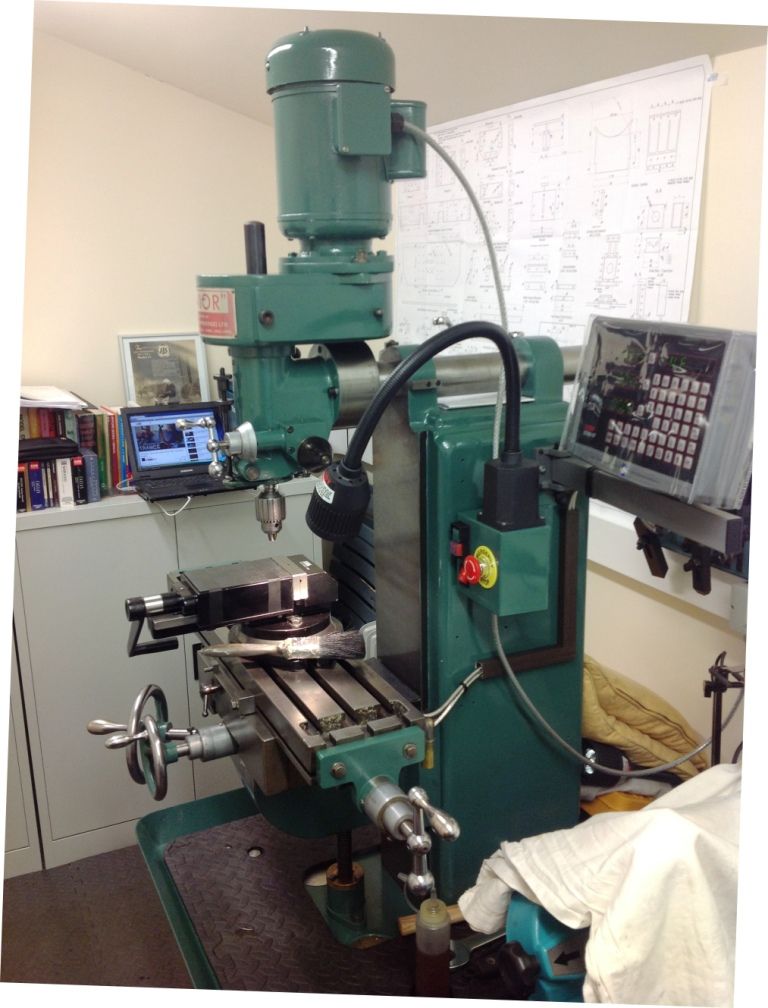
Tom Senior Light Vertical Milling Machine

Advert

Tom Senior Light Vertical Milling Machine

Home Forums Workshop Tools and Tooling Tom Senior Light Vertical Milling Machine

Viewing 25 posts - 26 through 50 (of 129 total)
  • Author
    Posts
  • #251562
    damian
    Participant
      @damiannoble34800

      20160819_183605~2.jpg

      Advert
      #251563
      damian
      Participant
        @damiannoble34800

        Some more work to do on it before it gets painted but coming on

        #251566
        thaiguzzi
        Participant
          @thaiguzzi

          Thats what i mean. So for a bigger job say, you want to move the round ram forwards, you are going to lose tram on the head, and have to recheck everything. Unless there are scribed marks or similar for a rough but not precise positional check. But no keyway.

          Edited By thaiguzzi on 20/08/2016 03:54:31

          #251876
          damian
          Participant
            @damiannoble34800

            Bit more cleaning today guys . Managed to strip back the suds tray.

            Is it supposed to have the large square hole at the rear. I know the small screw holes shouldn't be there and I was thinking of having them welded and ground back. Just wasn't sure about the square hole as the diagrams don't show the tray?

            20160822_151817.jpg20160822_151743~3.jpg

            #252165
            damian
            Participant
              @damiannoble34800

              Hi all,

              The suds tray has had the small screw holes tigged up and have now been dressed back. A little filler and the tray can now be painted.

              I was going to initially use UPOL acid etch #8 as I've seen this done on another forum when restoring machinery but there are others and paragon paints sell various self thinned ones which will work out cheaper. Any other suggestions would be welcome though. I have access to a small compressor and spraying equipment so I intend to spray it up in the original colour enamel which apparently can be sprayed direct to bare metal although I have always used a primer.

              I think a few on the forums have bought from here.

              **LINK**

              The interior of the column and base I will go for the off white colour enamel again from paragon

              **LINK**

              I have already started to strip the S type head down to sand blast the parts for paint. I will then check everything before re-assembly.

              Cheers for reading and any help guys

              Edited By damian noble on 25/08/2016 09:31:56

              #252181
              mark smith 20
              Participant
                @marksmith20

                Im currently renovating a different mill ,i used the paragon stuff (different colour) And sprayed some parts with a small compressor (in link below, had it three years and done loads of similar jobs with it) and a cheap HVLP gun. The guns generally need bigger compressors but it seemed to work out fine without any problems and far less overspray than a normal gun.

                . I just thinned the paint slightly with white spirit (not there own expensive thinner). I applied fast drying high build zinc primer first which was from toolstation and it is quite good and easy to wet sand to a very smooth finish ready for spraying.

                I prefer primer first as you get a better surface for spraying.

                **LINK**

                **LINK**

                #252266
                damian
                Participant
                  @damiannoble34800
                  Posted by mark smith 20 on 25/08/2016 11:32:20:

                  Im currently renovating a different mill ,i used the paragon stuff (different colour) And sprayed some parts with a small compressor (in link below, had it three years and done loads of similar jobs with it) and a cheap HVLP gun. The guns generally need bigger compressors but it seemed to work out fine without any problems and far less overspray than a normal gun.

                  . I just thinned the paint slightly with white spirit (not there own expensive thinner). I applied fast drying high build zinc primer first which was from toolstation and it is quite good and easy to wet sand to a very smooth finish ready for spraying.

                  I prefer primer first as you get a better surface for spraying.

                  **LINK**


                  **LINK**

                  Thanks for that Mark. I have a small spraying set up available so all is good on that front. I shall be going down the primer route as I agree it gives a better finish but I still have lots more prep to do on the pieces until the paint stage which I shall try to get done this weekend.

                  Damian


                  Edited By damian noble on 25/08/2016 22:23:30

                  #252272
                  damian
                  Participant
                    @damiannoble34800

                    This morning I stripped the S type head so I could paint the housing.

                    The whole assembly came apart quite easily but I left the clarkson autolock chuck in. I'd slackened off the draw bar and gave it a tap (as I've done on other machines) but the MT2 seems to be stuck in? Daft question but am I doing this wrong guys I've left it overnight until some penetrating oil seeps through. I thought I'd check back before damaging anything.

                    With it all stripped it was into the glass bead blaster, protecting the various orifices that hold the quill etc. It is only very gentle unlike the shot blaster that I used on the column door.

                    The results on the head below

                    20160825_211155.jpg

                    20160825_211224.jpg

                    20160825_211205.jpg

                    20160825_211254.jpg

                    20160825_211308.jpg

                    20160825_211325.jpg

                    I also did the end plates from the table screw

                    20160825_211354.jpg

                    With a bit more cleaning and refining to do it will be a while before it is paint stage.

                    Damian

                    #252296
                    thaiguzzi
                    Participant
                      @thaiguzzi

                      The belt and pulley housing with 2 access doors left and right is alloy. Look nice polished a la Bridgeport….

                      #252297
                      ianj
                      Participant
                        @ians

                        " but the MT2 seems to be stuck in?"

                        I had the same problem when I first got my machine. One bit of advice I received was to have the fine feed disengaged to prevent damage. I did the same as you & applied WD 40 over night the following morning I was expecting to struggle but a quite heavy belt with the copper end of a small Thor hammer released it.

                        Even now it sometimes requires a heavy belt to release it.

                        #252304
                        ianj
                        Participant
                          @ians

                          Just out of interest is your machine metric or imperial ? Mine is metric X & Y feed screws but the fine feed on the vertical head is imperial, which seems a little strange ! But as I have fitted a DRO and prefer to work in imperial it's not a problem.

                          #252707
                          damian
                          Participant
                            @damiannoble34800
                            Posted by ian j on 26/08/2016 07:59:30:

                            Just out of interest is your machine metric or imperial ? Mine is metric X & Y feed screws but the fine feed on the vertical head is imperial, which seems a little strange ! But as I have fitted a DRO and prefer to work in imperial it's not a problem.

                            Hi Ian thanks for the advice the taper is still soaking .

                            I'm looking at the micrometer scales but unsure if they are metric as they look that way to me. A bit of education wouldn't go a miss on these though. I intend to fit a DRO so won't be relying on them.

                            Heres the quill feed 20160828_125205.jpg

                            Edited By damian noble on 28/08/2016 13:17:17

                            #252708
                            damian
                            Participant
                              @damiannoble34800

                              Heres the x feed

                              20160828_125238.jpg

                              #252710
                              damian
                              Participant
                                @damiannoble34800

                                And the Y feed and table raise

                                20160828_125411.jpg

                                #252757
                                ianj
                                Participant
                                  @ians

                                  Yes thats the same as mine:-

                                  Z axis each increment .001". . 0-130 which takes a bit of getting used to

                                  X & Y each increment .05mm

                                  Knee each increment .025mm

                                  Ian

                                  #252783
                                  damian
                                  Participant
                                    @damiannoble34800
                                    Posted by ian j on 28/08/2016 18:29:32:

                                    Yes thats the same as mine:-

                                    Z axis each increment .001". . 0-130 which takes a bit of getting used to

                                    X & Y each increment .05mm

                                    Knee each increment .025mm

                                    Ian

                                    Thanks Ian that explains a lot. Its been 25 years since I even looked at an imperial micrometer back in the training centre. Will take some converting in the old grey matter.

                                    I think it will be the DRO route for me has the set up that you put on been reliable?

                                    I've  today cleaned up the head casting with a dremel and put some plop (filler) on to prep for paint. Also done the base, door and lots of sanding.

                                    I've not looked at removing the taper. Has anyone replaced the spindle bearings. The manual says timken precision taper bearings. Mine feel a bit sticky so may just need a strip and grease.

                                    Damian 

                                    Edited By damian noble on 28/08/2016 22:35:35

                                    #252788
                                    Andy Freeman 1
                                    Participant
                                      @andyfreeman1

                                      Hi Damian,

                                      Looks a very thorough job you are doing there!

                                      I have posted elsewhere on this forum about this problem and thought you might be able to help.

                                      I am trying to remove the driven pulley from the spindle on my Tom Senior E-Type mill will looks very similar to yours. Did you have any trouble removing your pulley.? I have removed a grub screw from the pulley, the pulley moves freely up /down about 5mm but will not slide off the spindle.

                                      I look forward to watching your re-build.

                                      #252791
                                      damian
                                      Participant
                                        @damiannoble34800
                                        Posted by Andy Freeman 1 on 28/08/2016 22:51:20:

                                        Hi Damian,

                                        Looks a very thorough job you are doing there!

                                        I have posted elsewhere on this forum about this problem and thought you might be able to help.

                                        I am trying to remove the driven pulley from the spindle on my Tom Senior E-Type mill will looks very similar to yours. Did you have any trouble removing your pulley.? I have removed a grub screw from the pulley, the pulley moves freely up /down about 5mm but will not slide off the spindle.

                                        I look forward to watching your re-build.

                                        Hi Andy,

                                        Thanks

                                        I have seen quite a few rebuilds on these and people seem to pour a great amount of time and patience into each well sought after one. I am just picking up on their experiences.

                                        The E type has the same head so I believe

                                        I used a three leg sykes pickevant puller on the pulley but after removing both the grub screws (and locking screw) it extracted really easy.

                                        I will try to post as many photos as possible. Hoping to get some paint on it by next weekend

                                        Damian

                                        #252910
                                        damian
                                        Participant
                                          @damiannoble34800

                                          Over the last couple of days I have cleaned up the door which is now ready for a coat of paint.

                                          20160829_171559.jpg

                                          Also the head casting as much as I could smoothing out the majority of the rough parts so I could use the bare minimum of body filler.

                                          20160829_171636.jpg

                                          20160829_171649.jpg

                                          20160829_171617.jpg

                                          One side was a little rougher than the other but all is smooth and ready for the paint. I have also been working on the base, suds tray and the column but with these being larger and a lot rougher in places I've had the angle grinder out to smooth off the worst bits.

                                          More work over the next few days and I've got to order the paint. Standard colour enamel and then white/off white for the inside.

                                          I'm really looking forward to the spraying as it will mean I'm moving on and can at least get some of the large bits assembled. Need to also order some anti vibration levelling feet.

                                          More soon

                                          Damian

                                          Edited By damian noble on 29/08/2016 19:18:01

                                          #253124
                                          damian
                                          Participant
                                            @damiannoble34800
                                            Posted by Nick T on 14/08/2016 07:54:52:

                                            I finished rebuilding mine a year ago, Wonderful piece of kit that I have grown very fond of. It was originally covered in grey Hammerite but is now resplendent in Tom Senior green from Paragon paints. I brushed the smaller parts and rollered the two main lumps and the drip tray.

                                            Nothing too demanding with respect to a rebuild but be very careful when taking the main spindle bearings apart. From memory there is a left handed thread locking device on there or something similar so proceed with caution.

                                            There is a Yahoo Tom Senior Group (HERE) with some useful information and photos

                                            Let me know if you need any help or information. Nick

                                            senior crop.jpg

                                            tom senior mill completed sept 2015.jpg

                                            nick thorpe tom senior mill.jpg

                                            Edited By Nick T on 14/08/2016 08:09:55

                                            Hi Nick

                                            I've been on the Paragon paints website and had a look at the colour. There are different finishes on it? Did you go for gloss?

                                            #253142
                                            Nick T
                                            Participant
                                              @nickt

                                              Hi Damian. Yes its was gloss. My first restoration was an Elliot Progress pillar drill that just happened to be the same colour as the Tom Senior. On that I used the heavy build primer that can be rubbed down but by the time I got round to the Senior I was using the acid etch primer. The Paragon paints are very good and are very forgiving with hand brushing although I realise that you are spraying yours.

                                              Picture is the beast when I bought it. The very well known dealer's staff insisted that the Hammerite grey was the original Senior colour scheme despite the green peeking through the motor housing and in other areas of the paintwork. I am wise enough nowadays to just keep quiet!

                                              15-senior-a.jpg

                                              #253149
                                              damian
                                              Participant
                                                @damiannoble34800

                                                Cheers Nick for the very quick reply.

                                                It's amazing what a bit of paint and affection does for anything.What a transformation and a pleasure to look at and use I imagine. Worlds tidiest workshop too

                                                I was thinking of ordering a litre to be on the safe side and half a litre of off white.

                                                Thanks again

                                                Damian

                                                #253156
                                                Andy Freeman 1
                                                Participant
                                                  @andyfreeman1

                                                  Damian, if it works, I sent a message to you.

                                                  #253533
                                                  thaiguzzi
                                                  Participant
                                                    @thaiguzzi

                                                    # The Great Shrine to Bling…

                                                    # Is there a Concors D'elegance class for post WWII original British milling machines?

                                                    # The grey one in the above pic – looks nothing wrong with that to me.

                                                    # The original TS green restored one in the above pics – i'd be too scared to use it and get it dirty. Presumably photos taken prior to useage…

                                                    # As per my previous post, whilst the thing is in pieces prior to repainting, i'd have got some keyways machined and fitted to the clamp castings and a long keyway machined on the ram for keeping tram and being able to move the ram further forward to give you a larger work envelope for that odd big job.

                                                    # My M1 unfortunately has the S head fixed to the Z dovetails, and for boring out bearing housings on m/c wheels etc, i run out of room. I've done disc brake mount mods on a 17" wheel rim, just, with difficulty, and one day, will get round to making an adapter for the head where i can fit in a 19" wheel on a table extension,and do brg housing mods without dismantling the wheel.

                                                    #253554
                                                    Alan Jackson
                                                    Participant
                                                      @alanjackson47790

                                                      A while ago I fixed up my M1. I did not have a vertical head so I added a Dore Westbury head. This gives plenty of daylight.

                                                      Alan

                                                      head assembly - right side.jpg

                                                    Viewing 25 posts - 26 through 50 (of 129 total)
                                                    • Please log in to reply to this topic. Registering is free and easy using the links on the menu at the top of this page.

                                                    Advert

                                                    Latest Replies

                                                    Viewing 25 topics - 1 through 25 (of 25 total)
                                                    Viewing 25 topics - 1 through 25 (of 25 total)

                                                    View full reply list.

                                                    Advert

                                                    Newsletter Sign-up