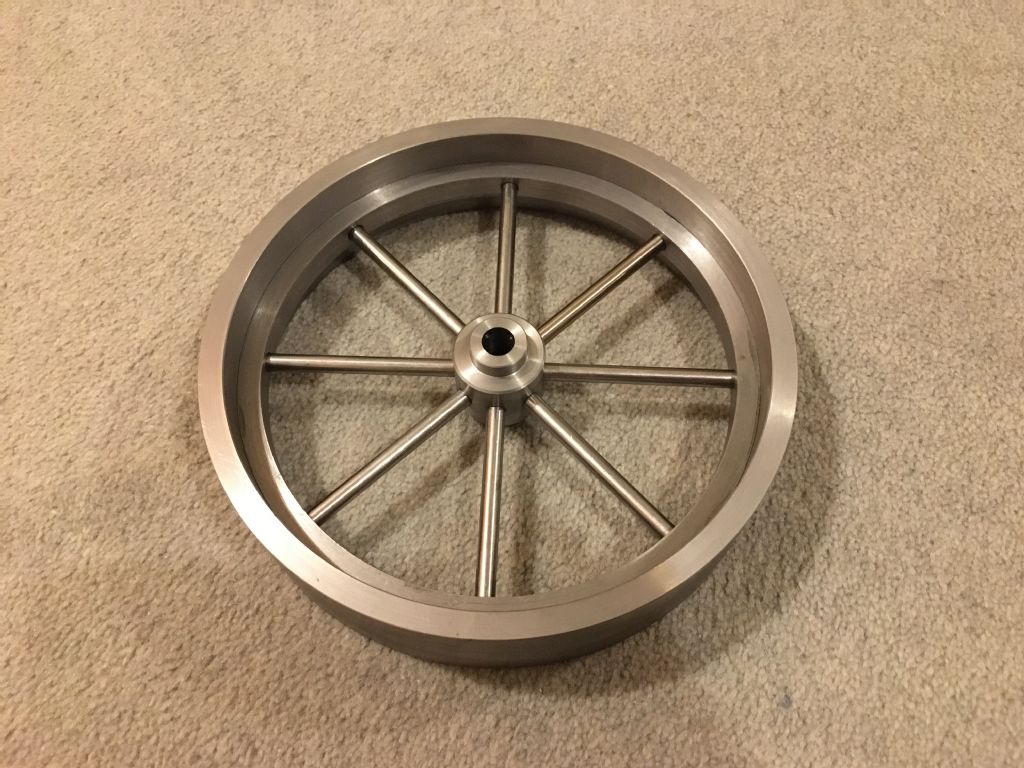
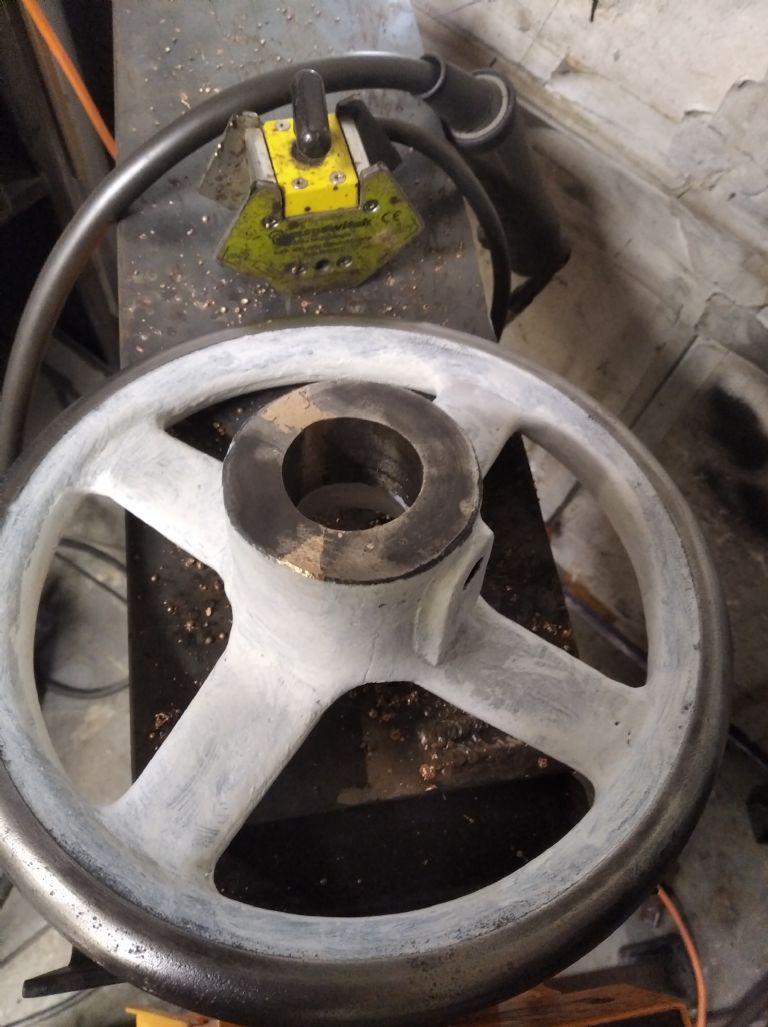
I've finally got the flywheel for my Corliss engine as one part, rather than a bag of bits. I seem to spend more time making tools to make tools to make things than actually getting bits made! Just need a couple of rattle cans from Halfords to finish it (after cleaning off the excess adhesive).
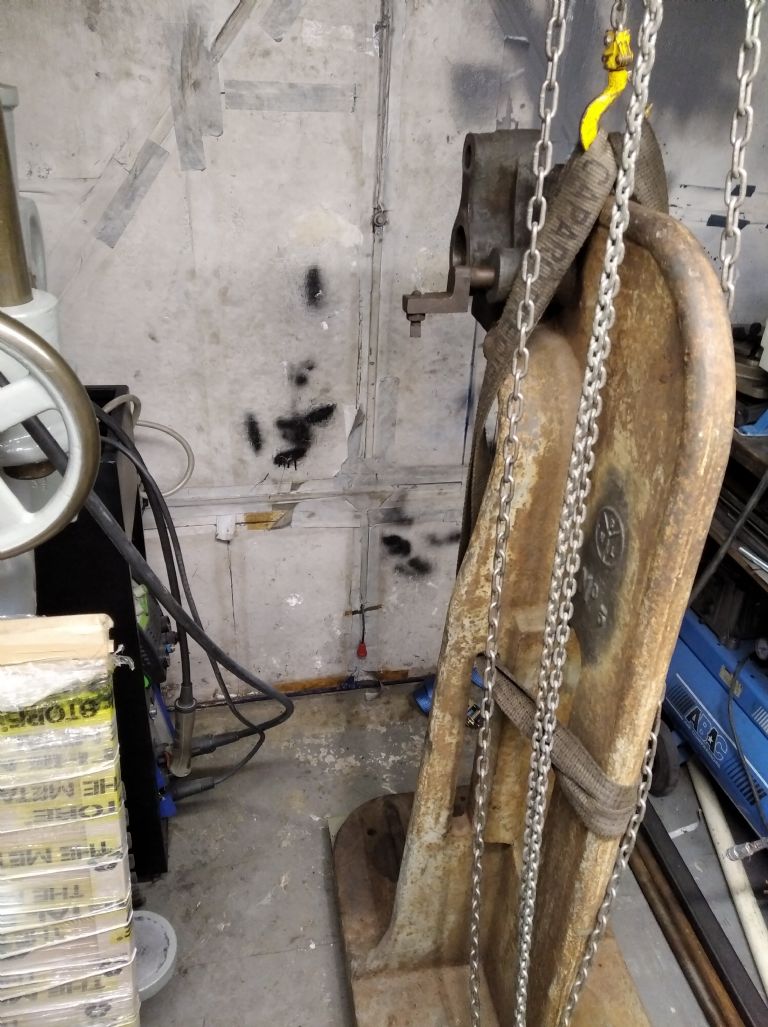
Since this 600kg lump of iron was delivered it has sat blocking the entrance to the workshop.
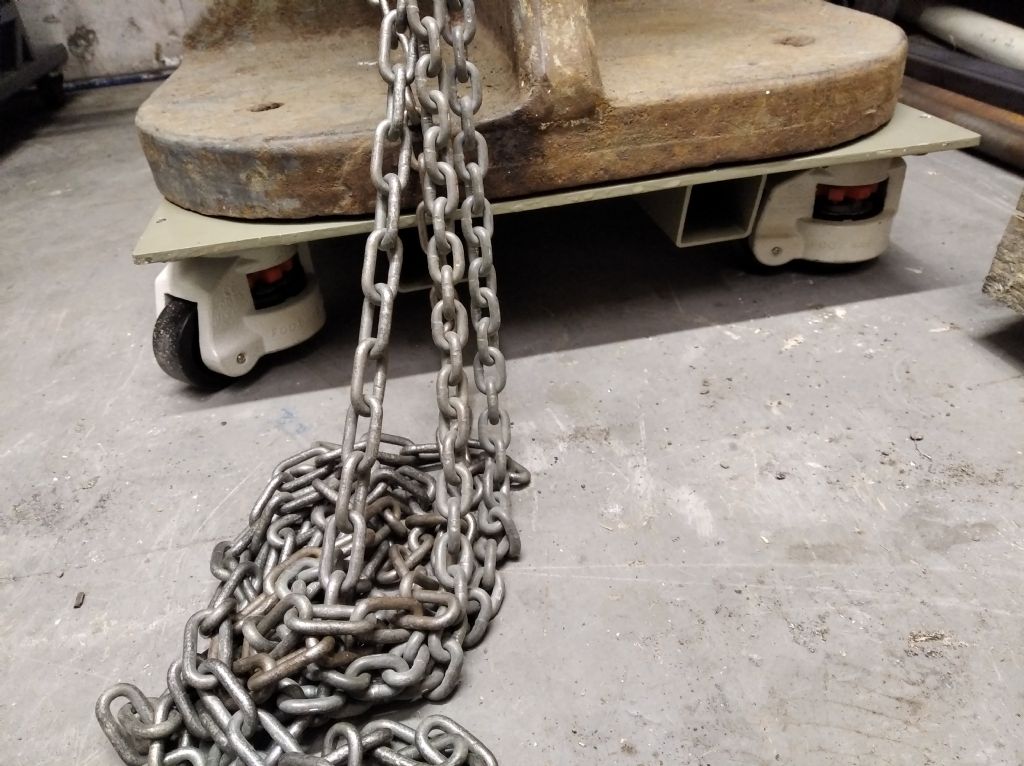
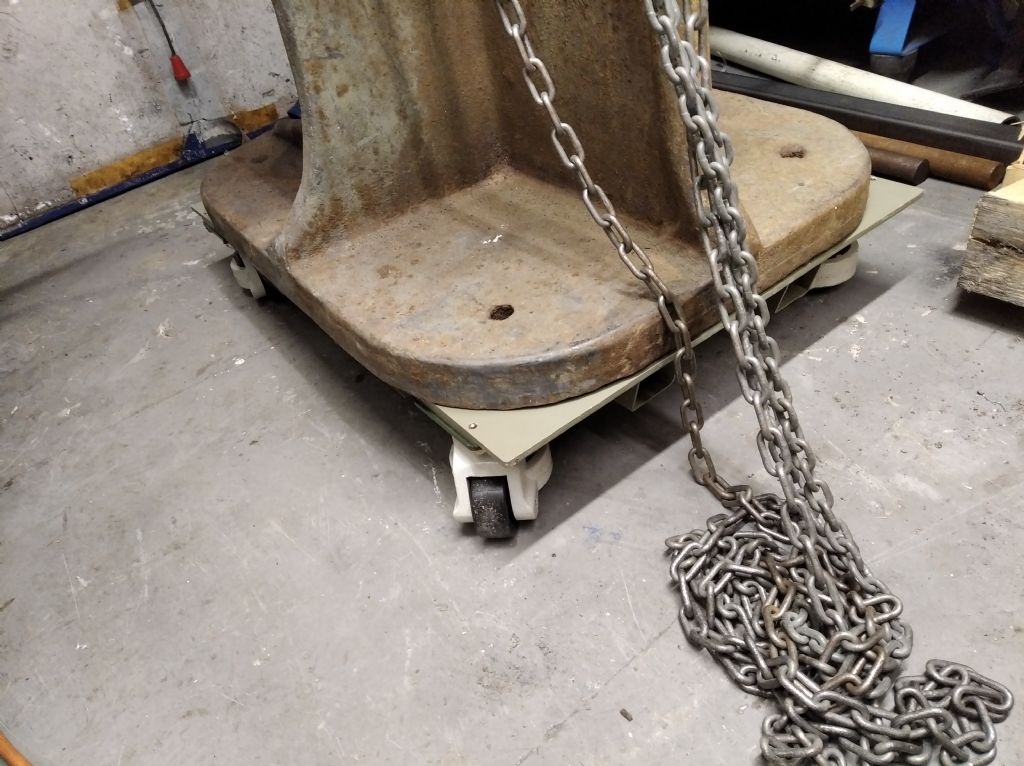
I bought a sheet of 6mm steel plate, some 50mm box section, and fabricated a base, added some machine feet with inbuilt castor wheels, then used a chain hoist to lift into the air enough to pull the pallet out and slide my base underneath, the base plate was doubled up where the castor wheels sit, so the bolts holding the press to the base can be drilled and tapped in place.
It actually moves around quite easily, the restoration will now begin, you can see around where BNL and number 5 in the casting has been wired brushed by hand, the surface rust is actually much easier to take care of than removing paint so it shouldn't be too bad.
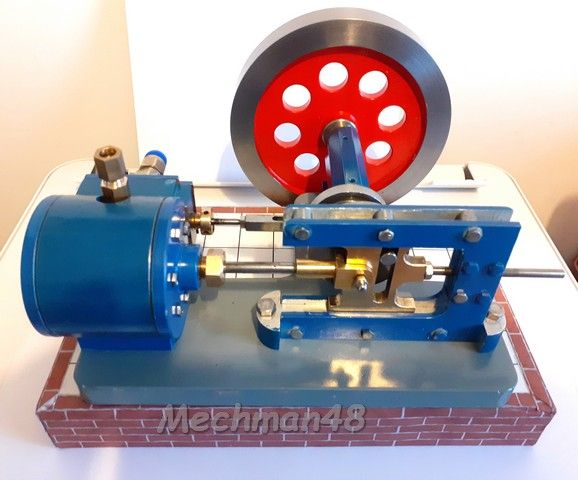
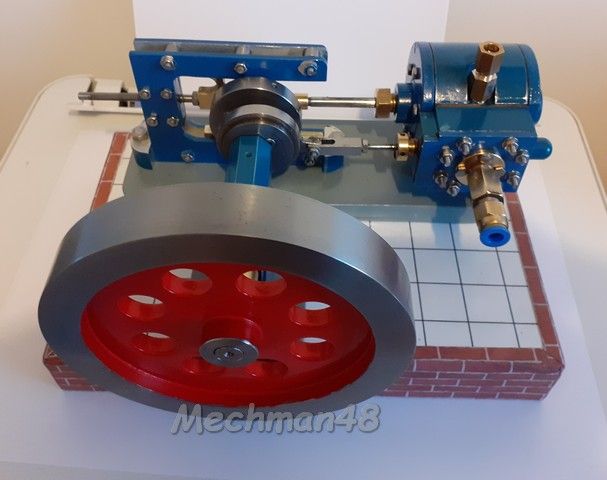
At last, finally got to the trial assembly & trial run on my Scotch Yoke engine. It sounds as though there is a knock on it somewhere, I reckon it may be the clearance between the crank pin & the yoke although I have maintained the clearances as per dwg. I've att. link to you tube channel for you look see. Next step will be to strip it back down & see if I can eliminate 'knock', followed by clean & paint job. Excuse the compressor noise, it takes a large volume of air for the cylinder bore size.
After stripping it down I found out what the loud knocking noise was on my Scotch yoke engine; the piston securing nut had worked loose so on ea. motion the piston rod was sliding to and fro, butting up & taking up slack against the piston on ea. cycle, piston slap in essence. Spent a few hrs this week cleaning up parts, etch priming & rattle can spraying parts, making up base to suit model with brick & tile effect paper. Gave it a run & although quieter it still has a 'knock' on it, I can only put this down to crank pin slapping in the yoke slot even tho' measurements were checked & are as per dwg, more thinking required but for now it works.
A fine looking and interesting model George. Good luck with finding the knock. I once had an engine with a similar problem which wasn't apparent when turned by hand, only when running; found the bugger in the end but it took a while. The design of the Scotch Yoke seems to me to be set up for a knocking noise as it changes from "push" to "pull" on the crank, there must be some clearance for the pin to slide in the slot after all.
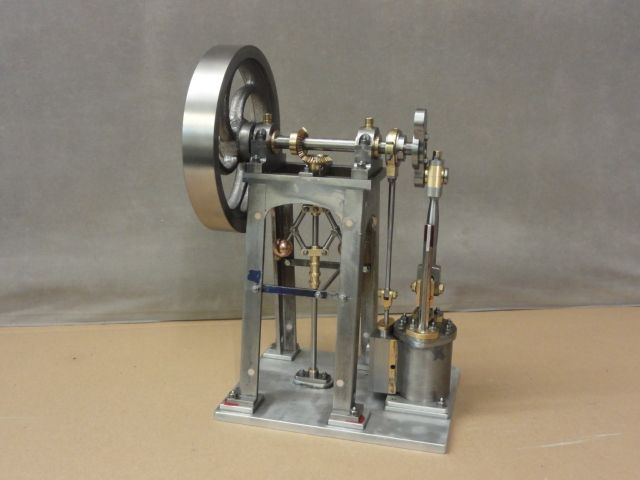
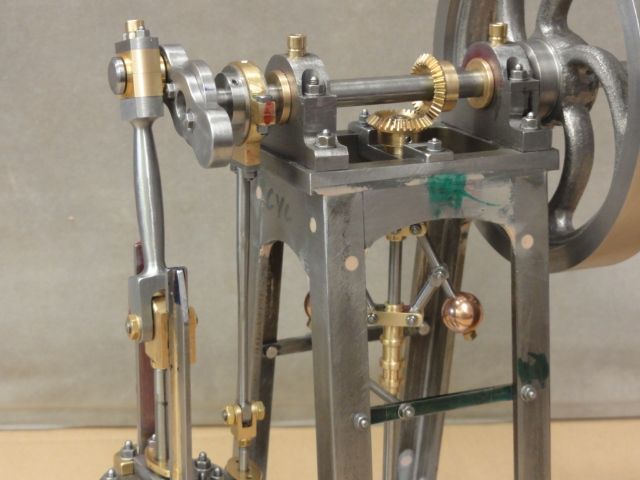
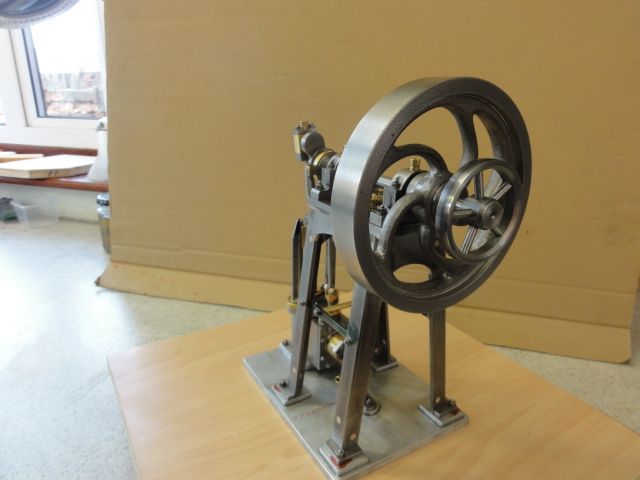
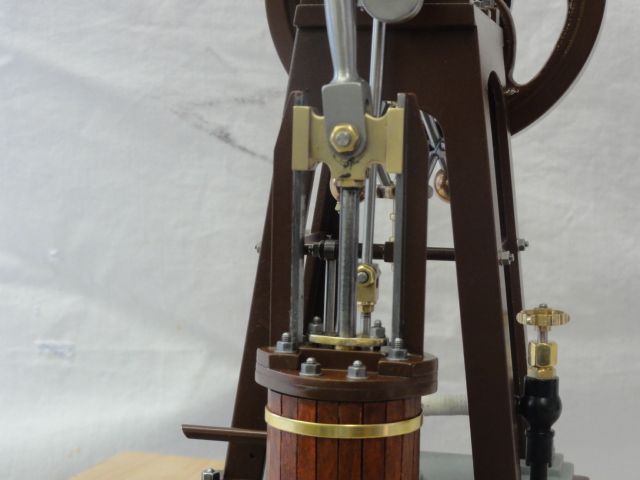
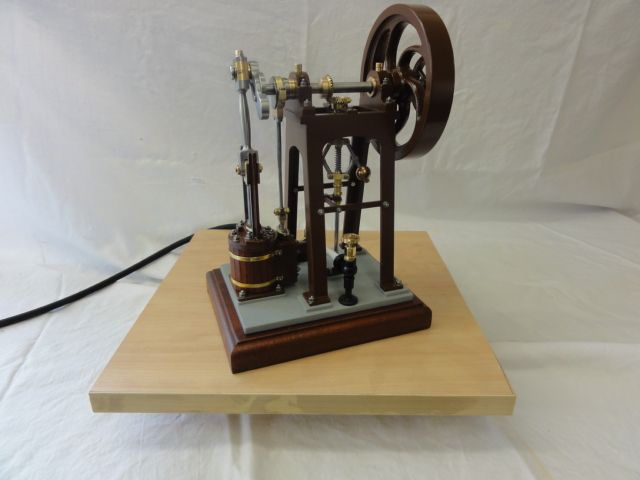
Another phase of my Norden engine complete. The initial build is done with a couple of temporary bits and pieces to get it ready for a first run
And, hopefully, the run:
At the moment there are no seals in any of the joints or glands and no piston seal so air is leaking from everywhere. Hopefully when I reassemble it after painting it will be a bit quieter and run a bit smoother
As Jason has found it was indeed in ME, I picked it up from Neil's later piece in 2014.
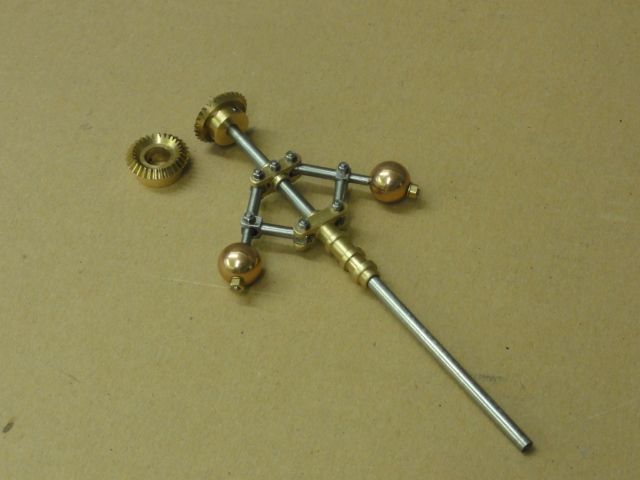
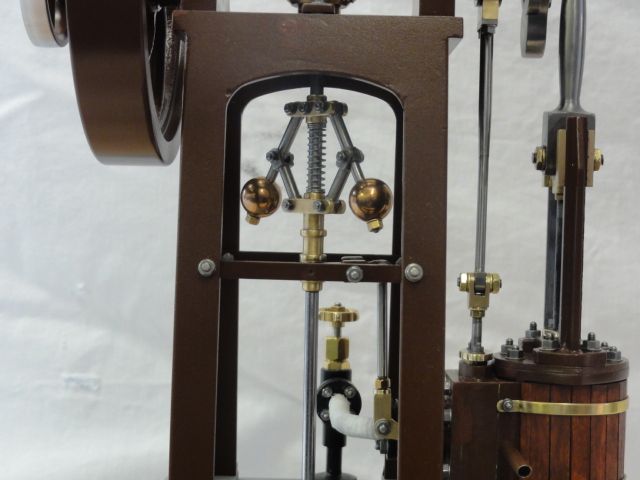
Mine differs from Neil's drawings in several respects. Firstly castings are no listed as available and since I was therefore making it from bar stock I altered the original imperial dimensions to metric at 1mm to 1/32". It is also less complex in that the conrod bearings are not a wedge arrangement and the flywheel and other crankshaft mounted parts are not located by slot and keys. Finally, after a couple of attempts to get it functioning, the governor valve is a complete dummy.
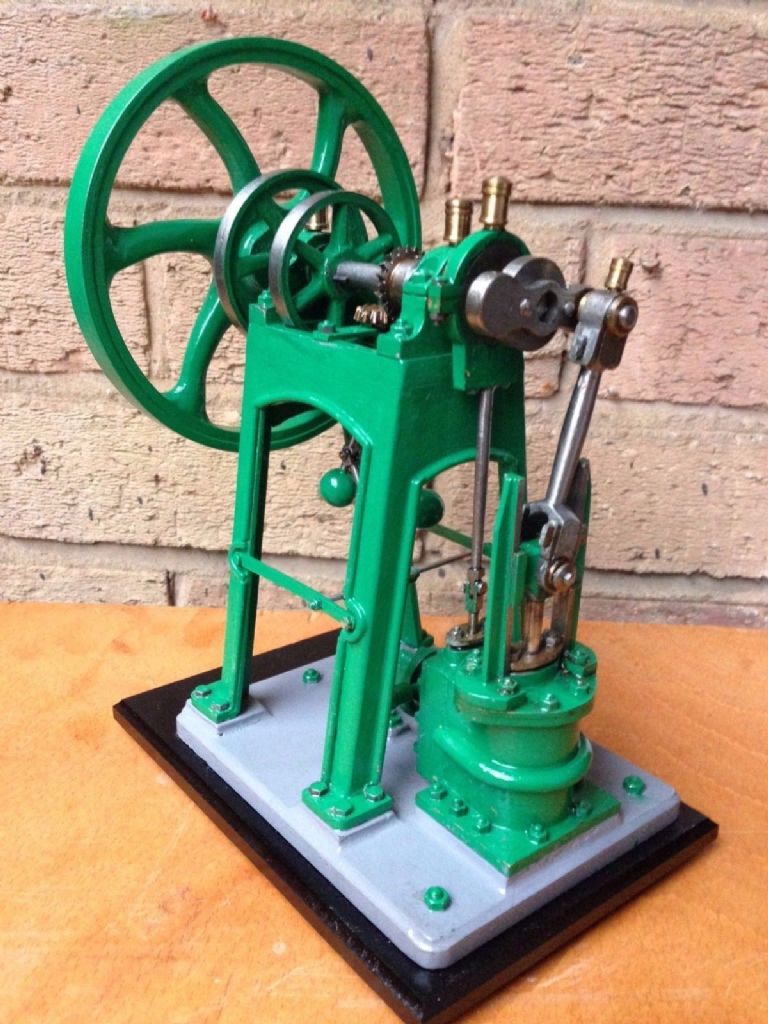
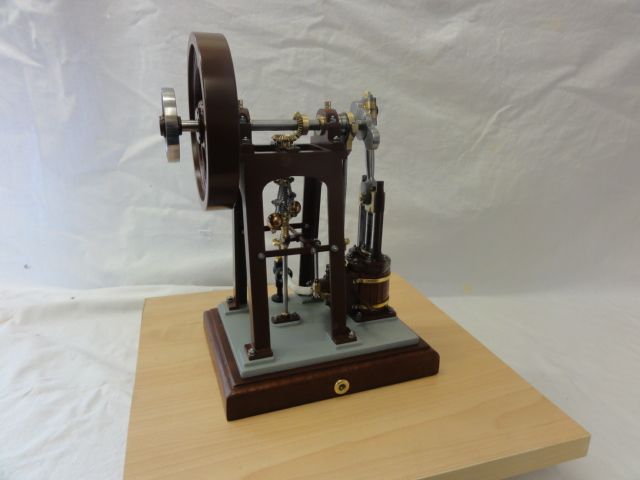
Here at last my complete and painted Norden engine. It has been an interesting build which kept me amused for a bit longer than I anticipated. However, it now runs reasonably well and looks good sitting on the shelf.
Thanks Jason. Having an interesting colour scheme is the only way I can persuede the domestic authority to allow my engines in the house. (I may not be the boss around here but at least I'm second-in-command)
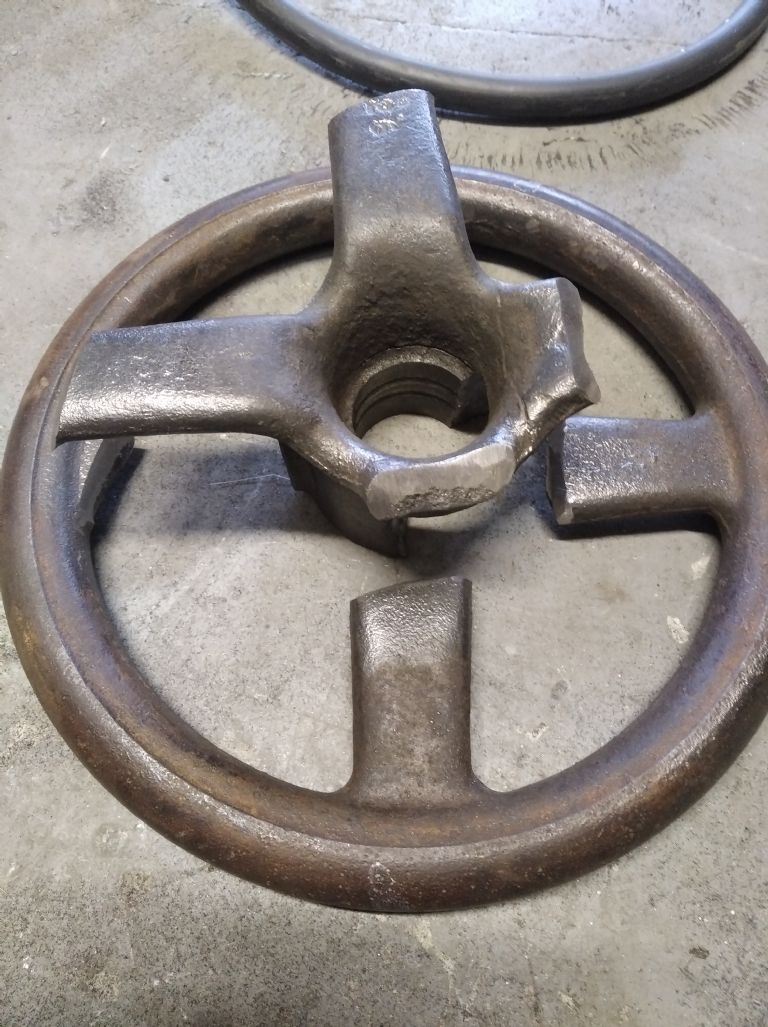
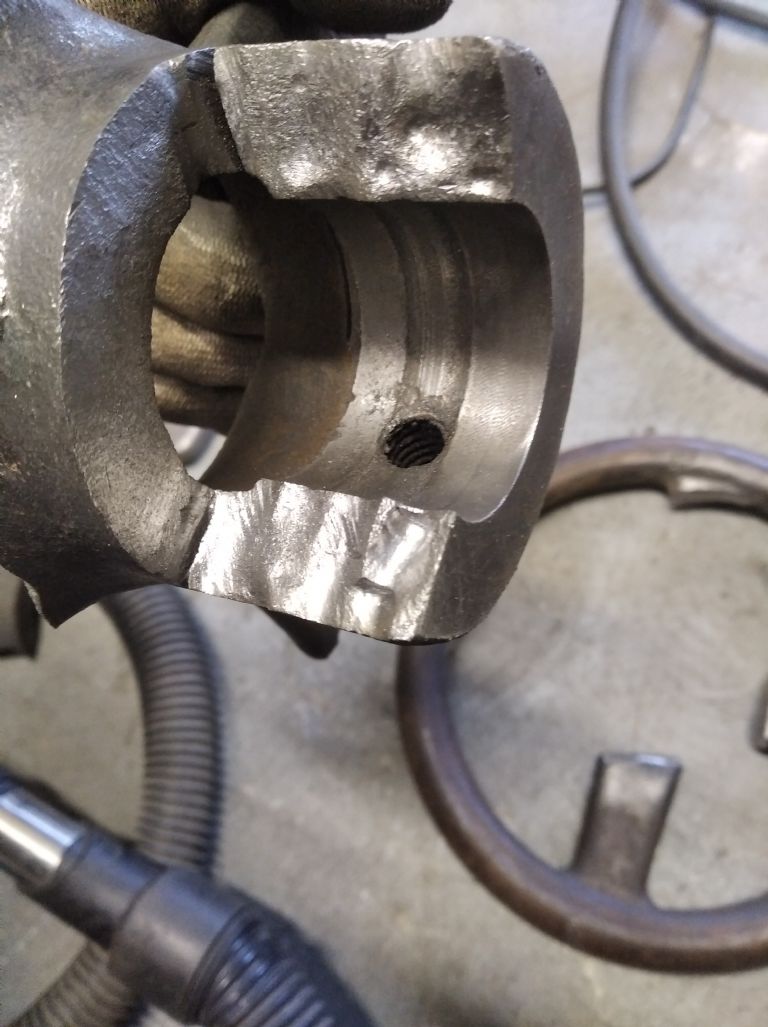
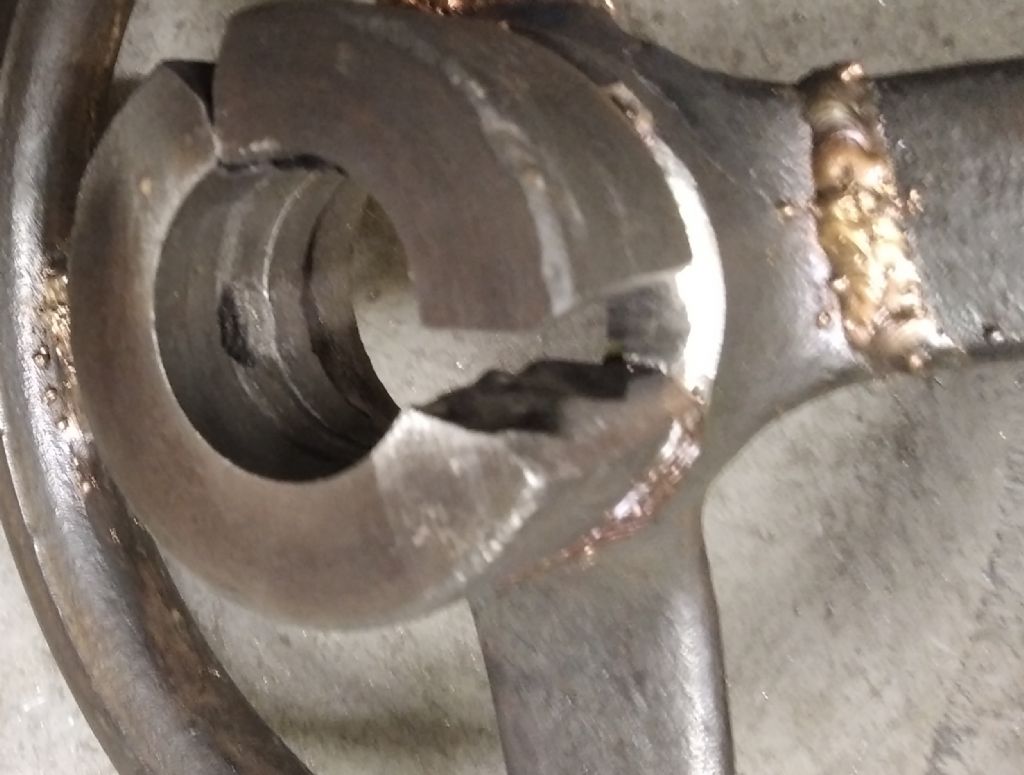
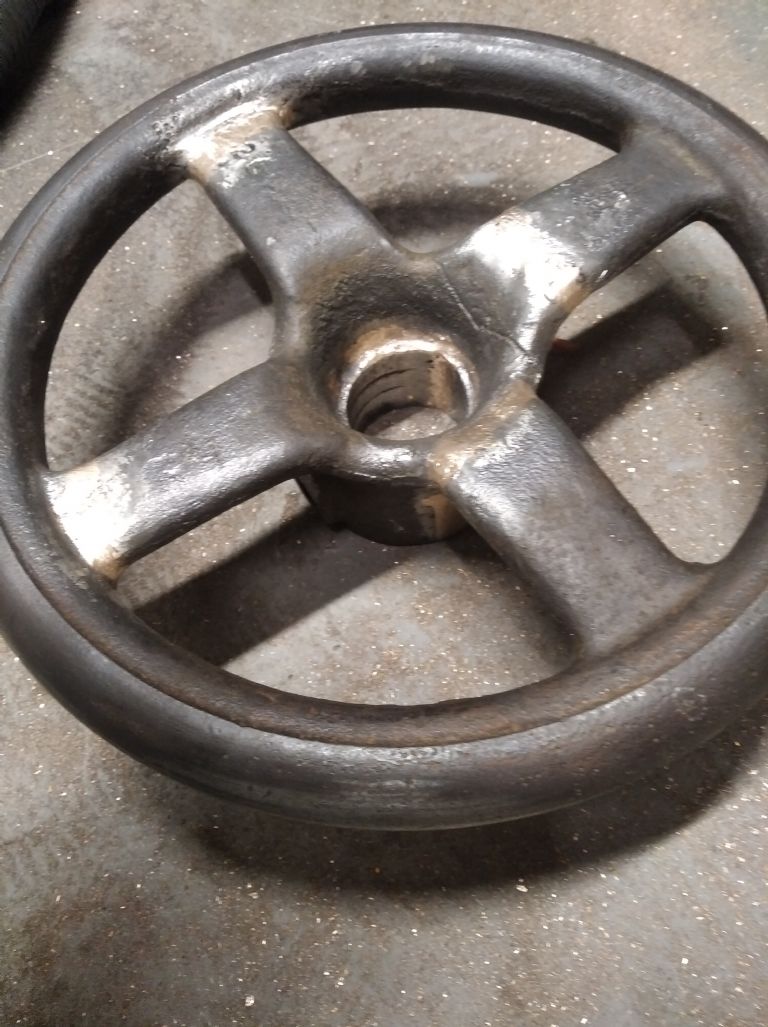
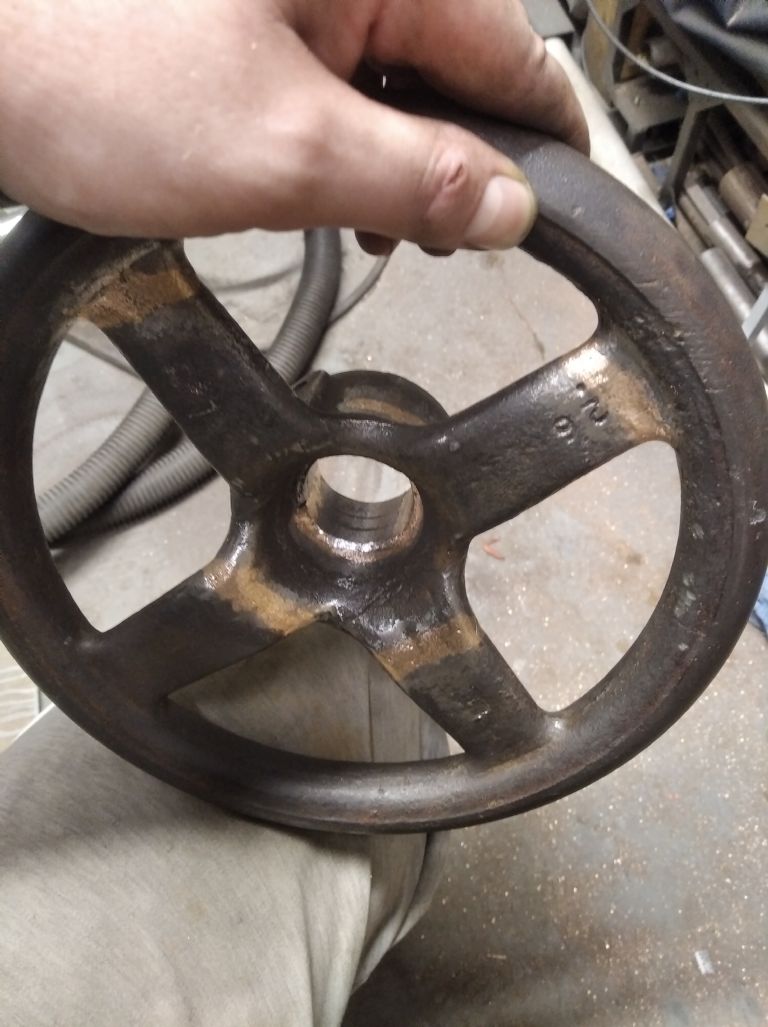
Nearly finished restoration of my BNL no5 Arbor Press, while taking it apart the hand wheel broke, I tried pulling it off with a 3 leg puller but it snapped, it was spinning around freely on the Arbor but just would not come off, I ended up slitting it with a hacksaw then chain drilling it to remove a section so it would come off the Arbor.
After getting it off the problem became apparent, over time it must have been slipping and repeatedly got spun round causing the Arbor to mushroom out either side of the screw, and wear 2 grooves into the inside of the bore making it mechanically impossible to remove.
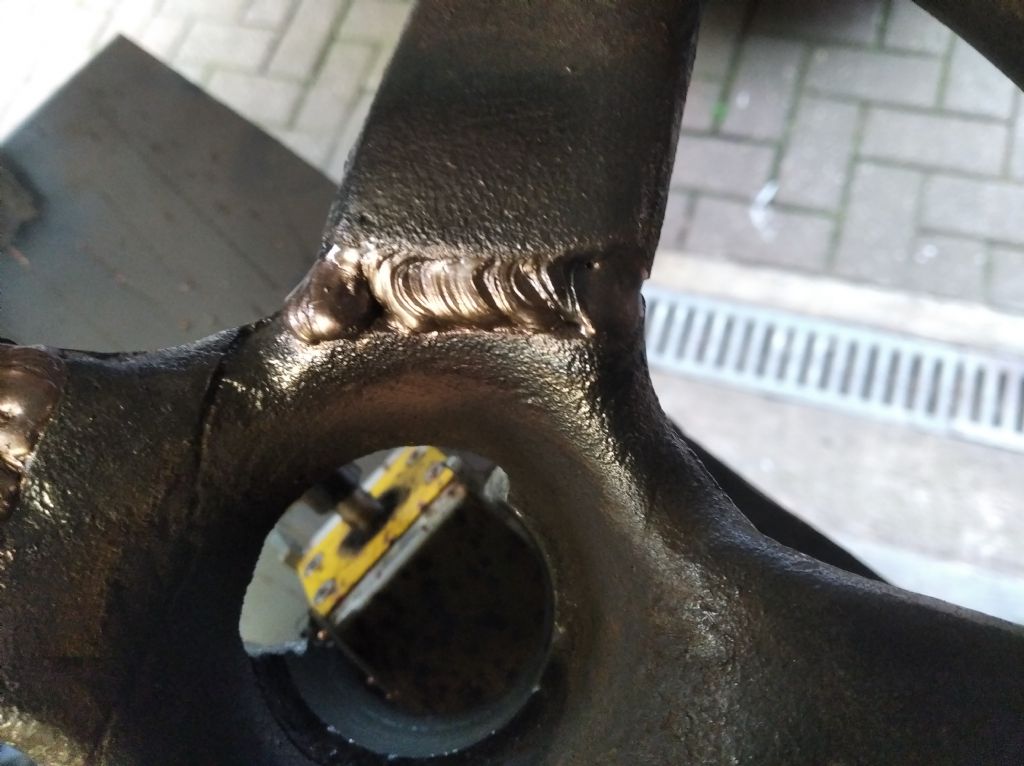
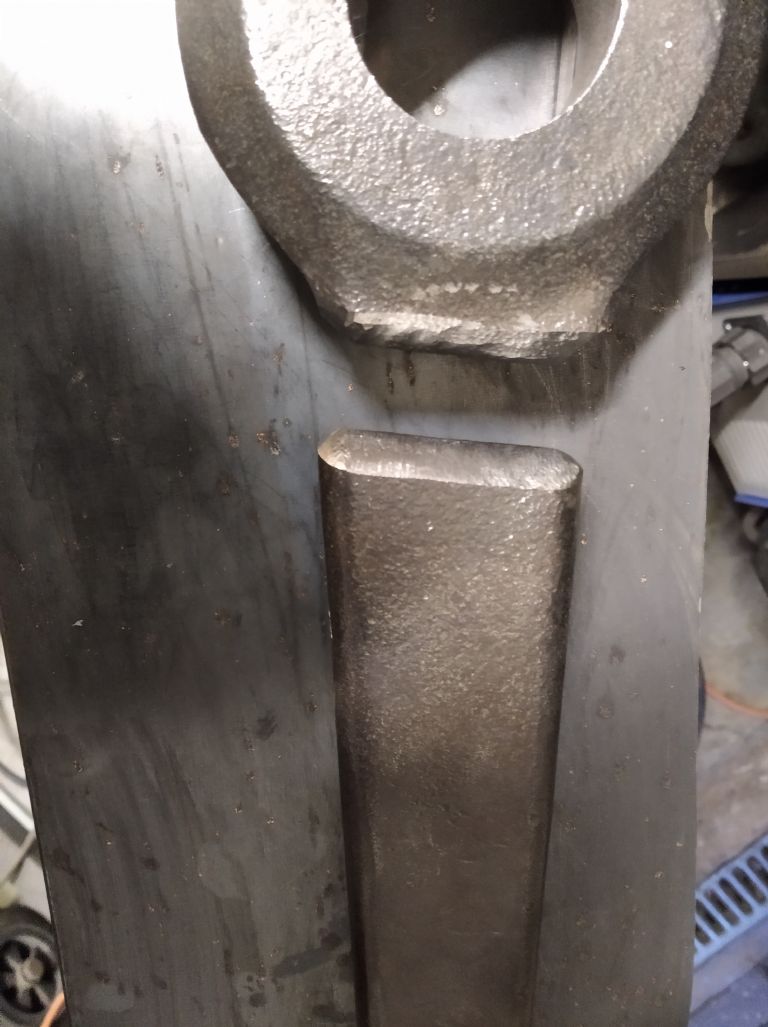
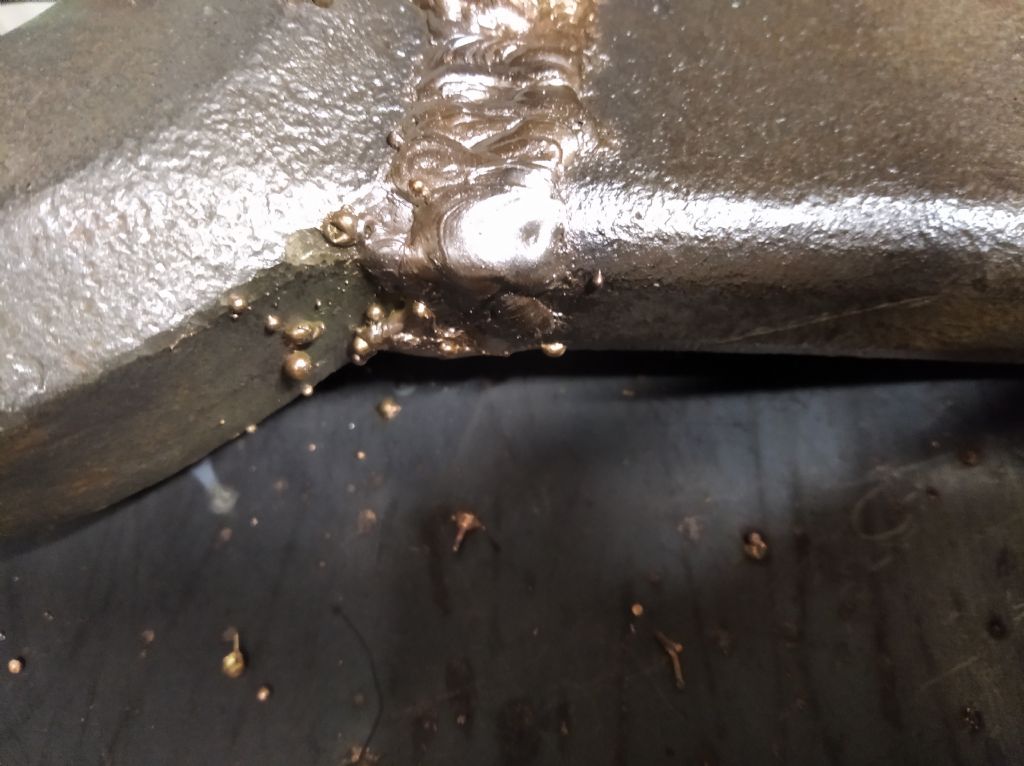
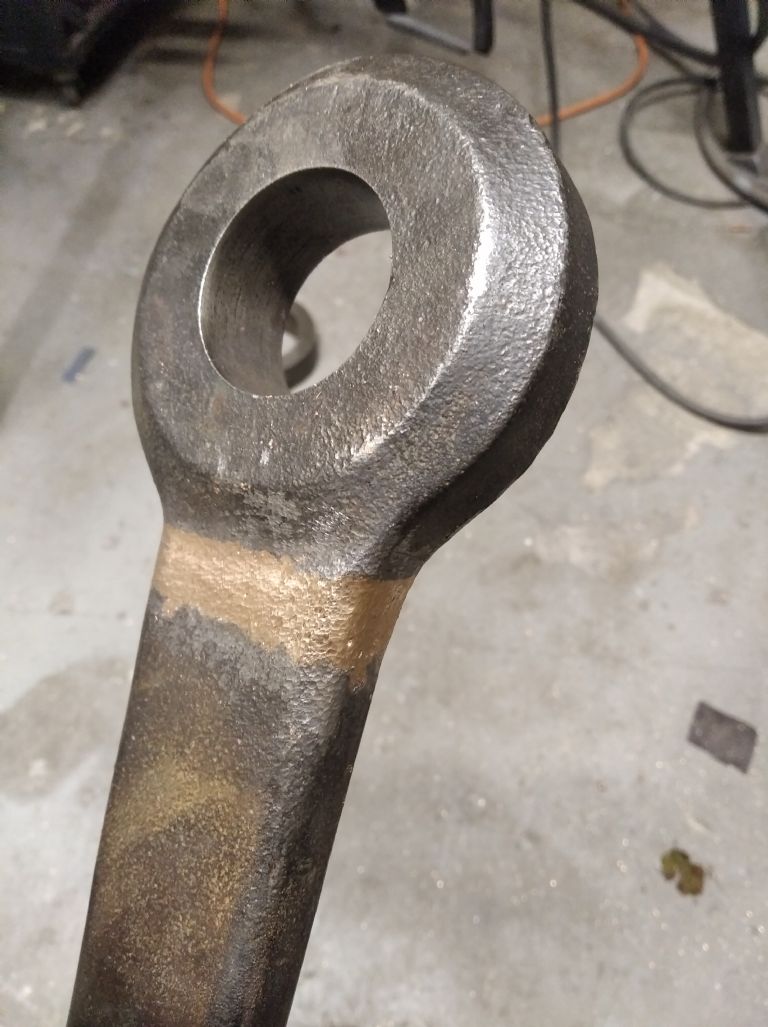
So decided to give mig bronze brazing a try as I've never done it, I was hoping this method would remove the need for pre heat and post heat, the repair below was done with no pre or post heat.
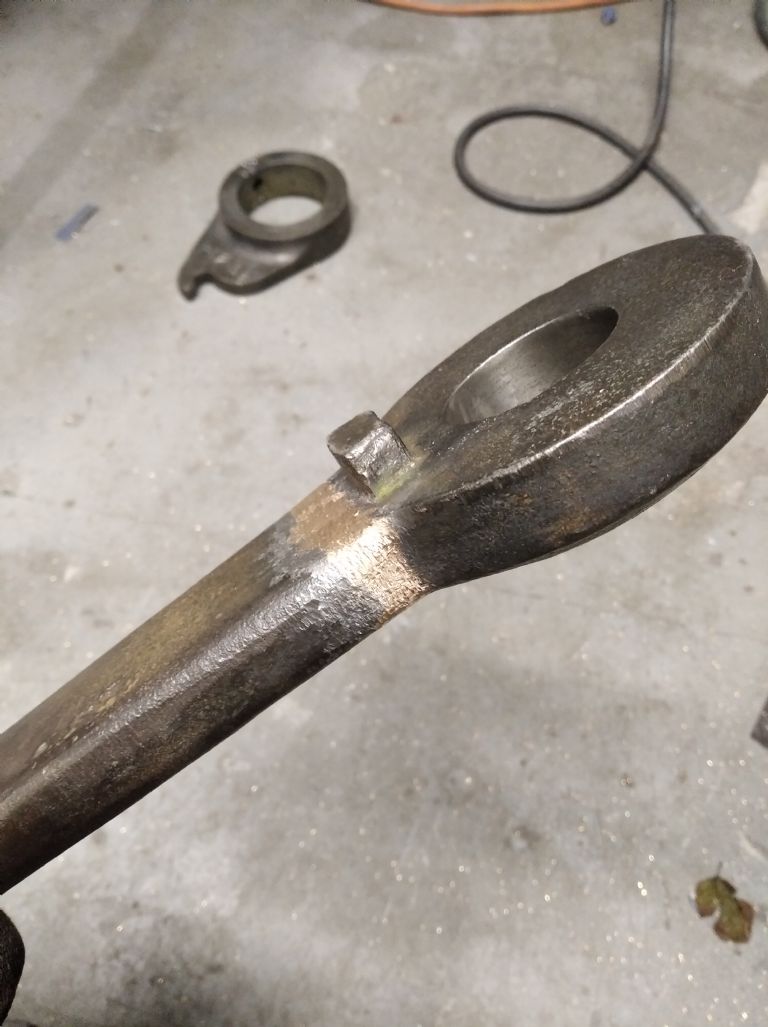
It's a bit tricky and definitely doesn't produce nice weld beads like Tig, but after a bit of fettling with the die grinder and a carbide burr, it's hard to notice where it was brazed anyway.
Some more cast iron repairs, I am happy to say the mig brazing process can repair cast iron reliably with no pre or post heat and no cracking, it's not pretty but it is quite easy and hassle free, 10 minutes with the die grinder and job done.