The Workshop Progress Thread 2019

Advert

The Workshop Progress Thread 2019

Home Forums Work In Progress and completed items The Workshop Progress Thread 2019

Viewing 11 posts - 251 through 261 (of 261 total)
  • Author
    Posts
  • #442221
    geoff walker 1
    Participant
      @geoffwalker1

      Over the last couple of months, while Jason has completed a couple of engines, I have made some snail paced progress on Muncaster's Double Oscillator.

      A picture of the parts to date:

      family shot 1.jpg

      A very loose assembly:

      family shot 3.jpg

      family shot 4.jpg

      Still plenty to do but I can now see an engine in there.

      Jim

      Hi Jim,

      Just browsing through some old posts and spotted this one.

      Looking good Jim, nice machining job on the casting.

      Main bearings are a big improvement. I see you have made them like the ones on Jason's entablature engine, much better especially with the studs in the main frames. Will make assembly much easier.

      I know you had the frames laser cut. Could I ask are they cut to the exact same sizes as on the drawings I sent you.

      I have had another person interested in the engine and he may wish to have the frames laser cut. I assume the company who did them will have the drawings on file

      Look forward to seeing the engine complete

      Geoff

      Advert
      #442245
      Jim Nic
      Participant
        @jimnic

        Hi Geoff

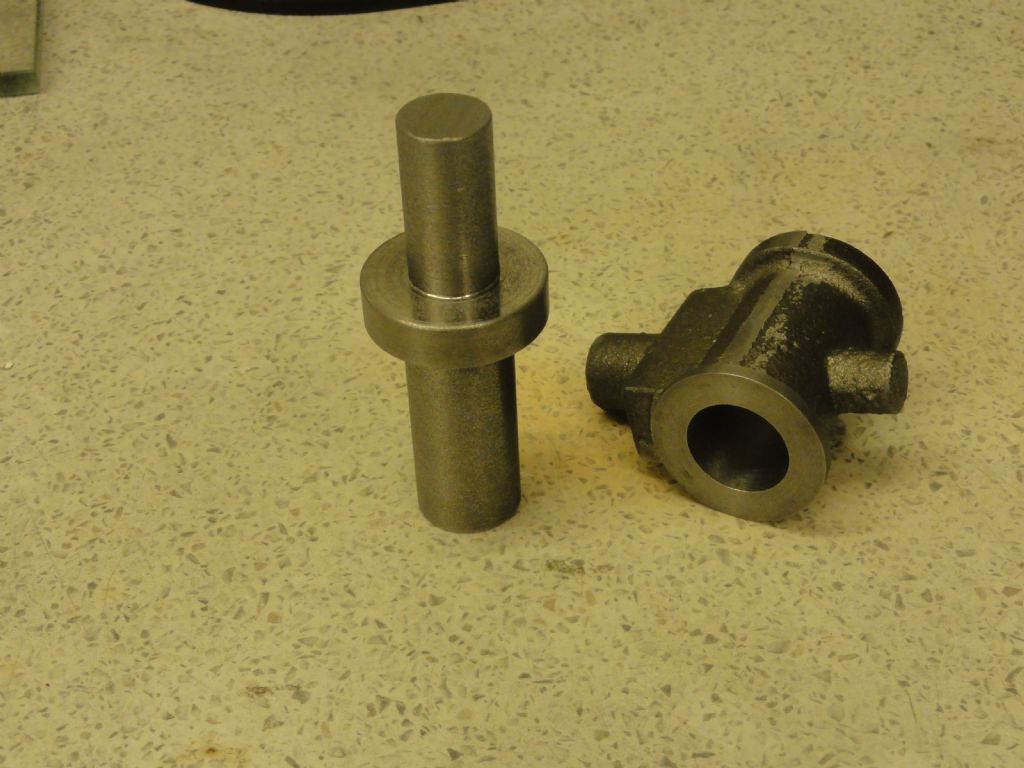
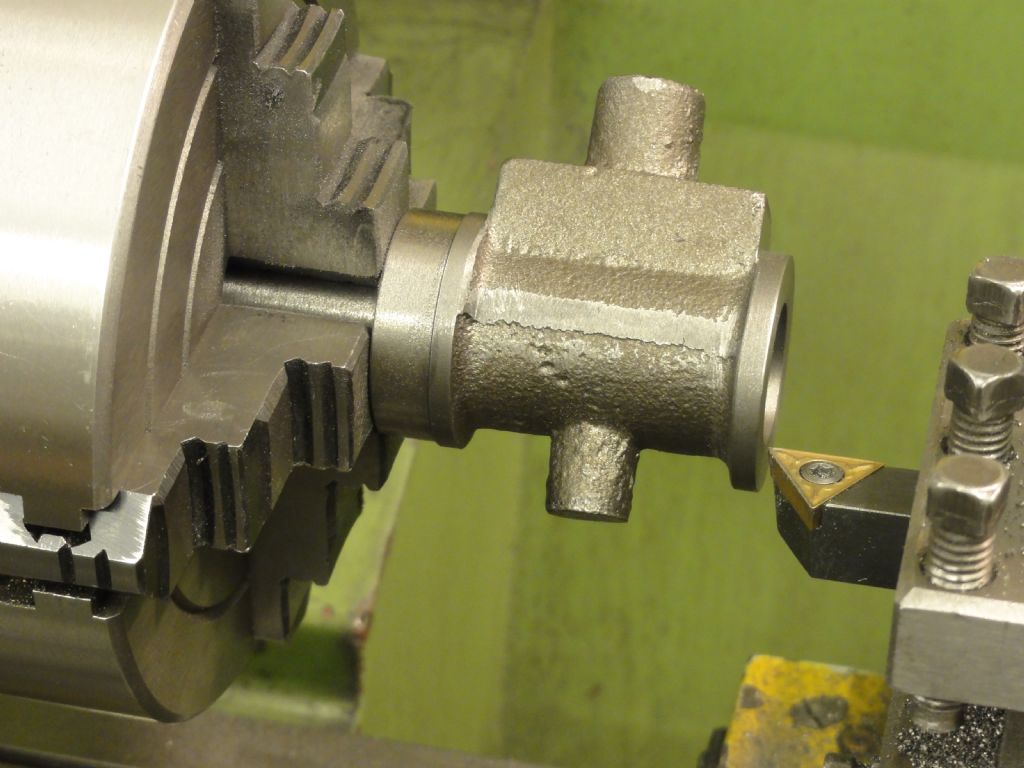
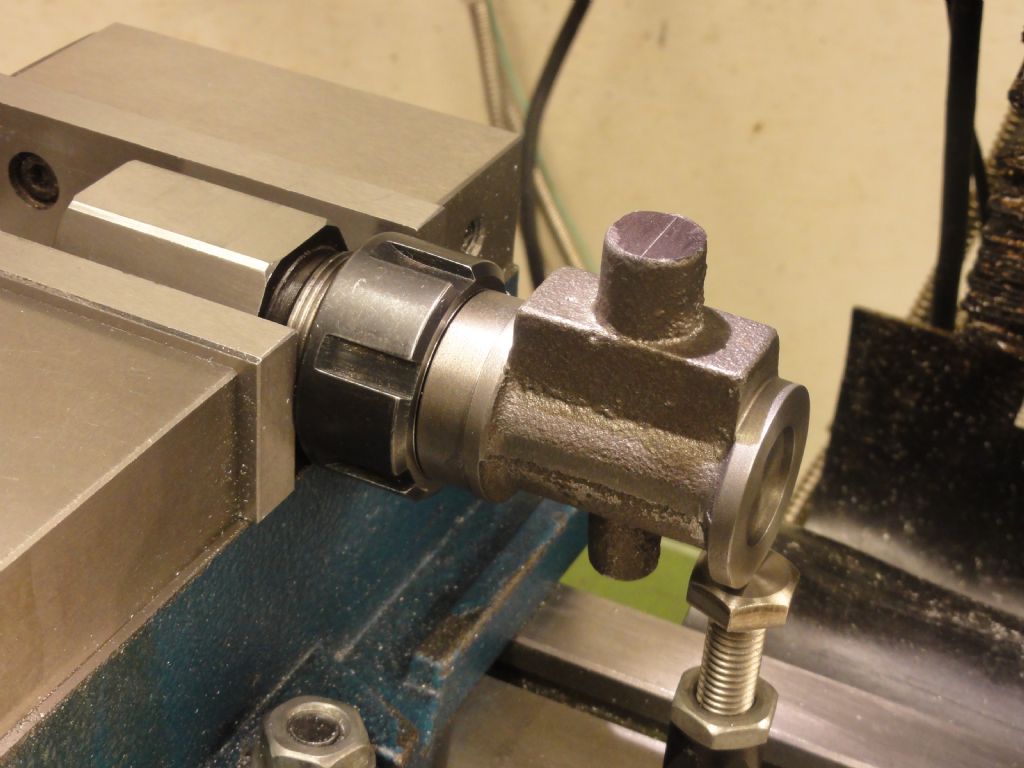
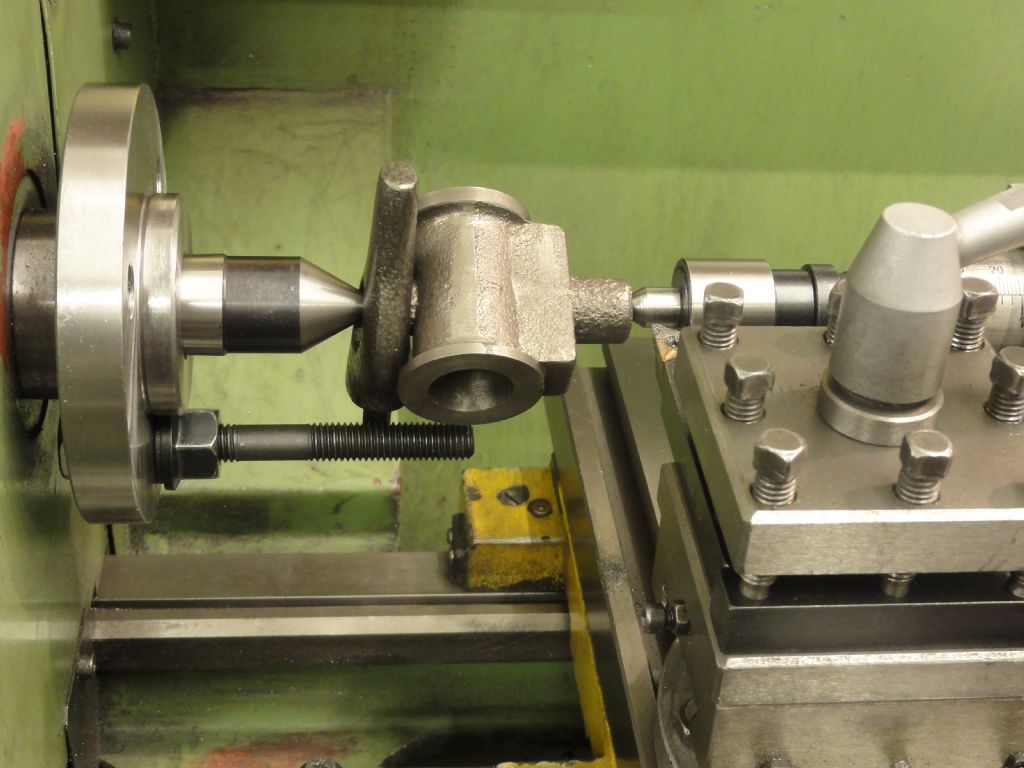
        You may recall you posted a method for machining the casting for me but when I came to follow it I found my lathe face plate wasn't flexible enough (too few slots) to use and also my angle plate was too big and inflexible. So I had to adapt your method a bit and ended up doing one end and the bore in the 4 jaw chuck first and then superglueing the casting on a mandrel to do some of the rest.

        cylinder 2.jpg

        cylinder 7.jpg

        cylinder 8.jpg

        cylinder 9.jpg

        It was a lovely casting, no hard spots at all and plenty of material to play with when setting up so thanks for that.

        For the main bearings I used a method familiar to me that I've used a few times before with little reference to Muncaster's design.

        The frames were cut by Model Engineers Laser exactly to your drawing. I don't do CAD myself so I sent him a copy of your paper drawing which he then drew in a programme his cutter could use. Hopefully he still has the file. His service was excellent and his price for the frames in steel was very reasonable, highly recommended.

        Jim

        #442291
        Meunier
        Participant
          @meunier
          Posted by Pero on 18/12/2019 05:03:57:

          Damn! Survived 81 posts without an emoji but it finally got me. Not quite sure what was there before that grinning idiot stepped in – please ignore.

          Pero

          Pero, what was there before was the 'close bracket' symbol. To avoid your grinning idiot it is necessary to put a space between the d of old and the 'close bracket' as is (….old )
          DaveD

          #442299
          Nick Clarke 3
          Participant
            @nickclarke3
            Posted by Meunier on 18/12/2019 19:53:52:

            Posted by Pero on 18/12/2019 05:03:57:

            Damn! Survived 81 posts without an emoji but it finally got me. Not quite sure what was there before that grinning idiot stepped in – please ignore.

            Pero

            Pero, what was there before was the 'close bracket' symbol. To avoid your grinning idiot it is necessary to put a space between the d of old and the 'close bracket' as is (….old )
            DaveD

            If only it was as easy to get rid of real grinning idiots …………. !

            #442306
            Maurice Taylor
            Participant
              @mauricetaylor82093

              Hi Iain, I think you need diagonal struts at each end and front and back to stop it collapsing side ways .250Kg is a lot of weight to test it with.Remember if it starts to move you won’t be able to stop it ,please think about it,your machine could wrecked or even worse you could be injured. Sorry I don’t like criticising other people’s work, but from your photo I didn’t think it looked strong enough.

              #442311
              not done it yet
              Participant
                @notdoneityet

                According to the blurb, it only appears to be a couple hundred kilos.

                But, that said, add a large vise, rotary talble, indexexer, etc, the a heavy work-piece and start hammering away with vibration at full head extension and things can collapse/fall over quite rapidly if/when things start to move… That span,bfor just legs at the ends, looks ominously wide to me…

                Sturdy, perhaps to store 250kg quite easily – perhaps even double that (spread over), but not for a heavy working machine.

                #442447
                Iain Downs
                Participant
                  @iaindowns78295

                  Thanks for all the input on the table.

                  I'm not overly concerned about the back (which has a 4×2 brace at the top and a large piece of ply near the bottom. nor the sides which have the 4×2 at the top and part way down. The table top is securely screwed to the braces and legs and I don't think that's going to move.

                  I'm a little concerned about the front. I consider it possible that the legs could splay (though there is a 4 inch angle plate at the top holding them together). However, I do need the space. I've a 60cm high chest which needs to go in there + a smaller set of plastic drawers.

                  I'm not particularly concerned about the sagging. I will measure deflection when the mill is put in place and there's a few things I can do.

                  Firstly, I've some 30mm angle which I can use to brace the centre and the front. I may just do that anyway.

                  Secondly, I've a piece of 4×4 which I can put at the front but at the risk of not being able to get my chest in.

                  Thirdly, I could double up on the 50 mm bar at the front..

                  I@m thinking of two options for splaying. One is to but some threaded rod across the bottom of the legs. 10 or 12mm. That would put them under tension and I could put it low enough (2.5 inches above the bottom) that the drawers would still be accessible.

                  That means buying some rod – probalby in quantities and joining some 1 metre pieces. Which should work OK. Big washers on each leg!

                  The alternative is that I've got some 30mm angle, or indeed more of the 50 x 4 which I could put across the bottom.

                  The rod option would provide a better balance, so that might well be what I do. And if need be I can take it out to get the drawers in and put it back before I start milling!

                  Iain

                  Iain

                  #442559
                  Iain Downs
                  Participant
                    @iaindowns78295

                    It's here!

                    At last the new Mill has arrived. I'd planned to have a little travelogue of pictures, but the idea got lost in the excitement.

                    The most peculiar thing is that the arrival and installation went remarkably to plan. I don't expect that to happen to me!

                    It started a bit off key – on the way out to the Post Office, I saw a van at the end of the road and thought. 'hmmm'. And waited to see. It was my van – the chap had forgotten to call!

                    The fears I had of getting the crate down the slope to the back of the house were unfounded. Mr Van Man had a powered pallet truck with brakes and it went smooth as silk. I did, however have to wait for my husky young assistant to arrive to help (1/3rd my age and probably 3 times my strength! – also doing Aeronautical Engineering at Manchester, so skills as well as muscles!).

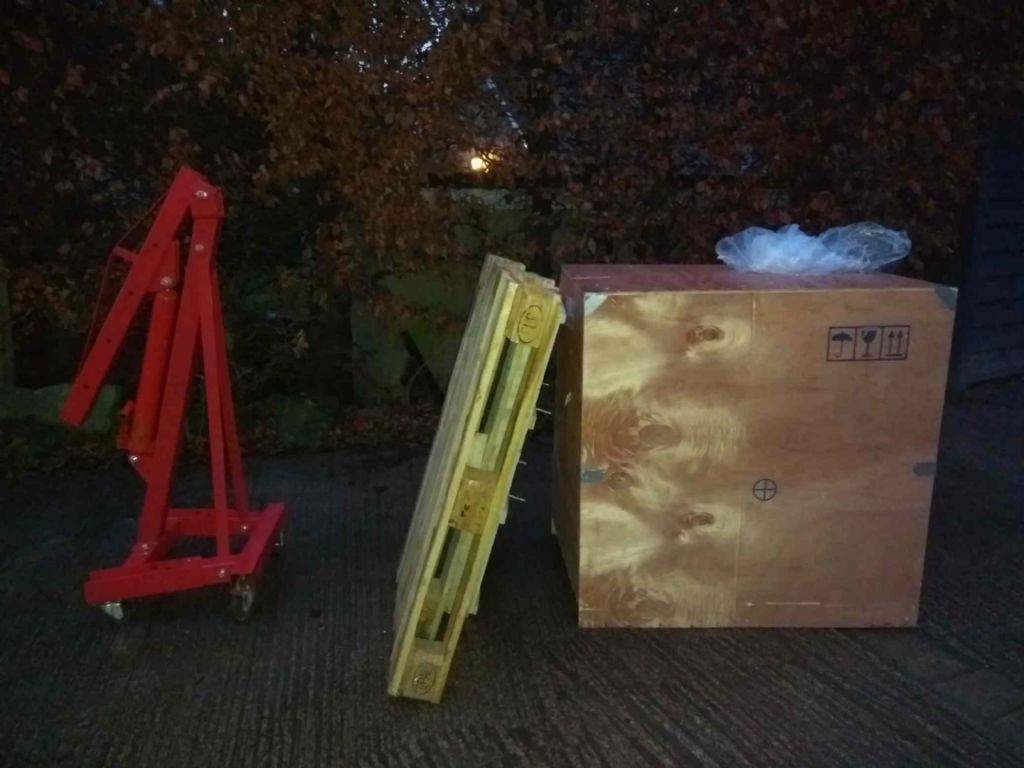
                    The first photo I took was this – the box and partly assembled hoist.

                    mill arrival - the box.jpg

                    It was, of course dark by the time the delivery arrived.

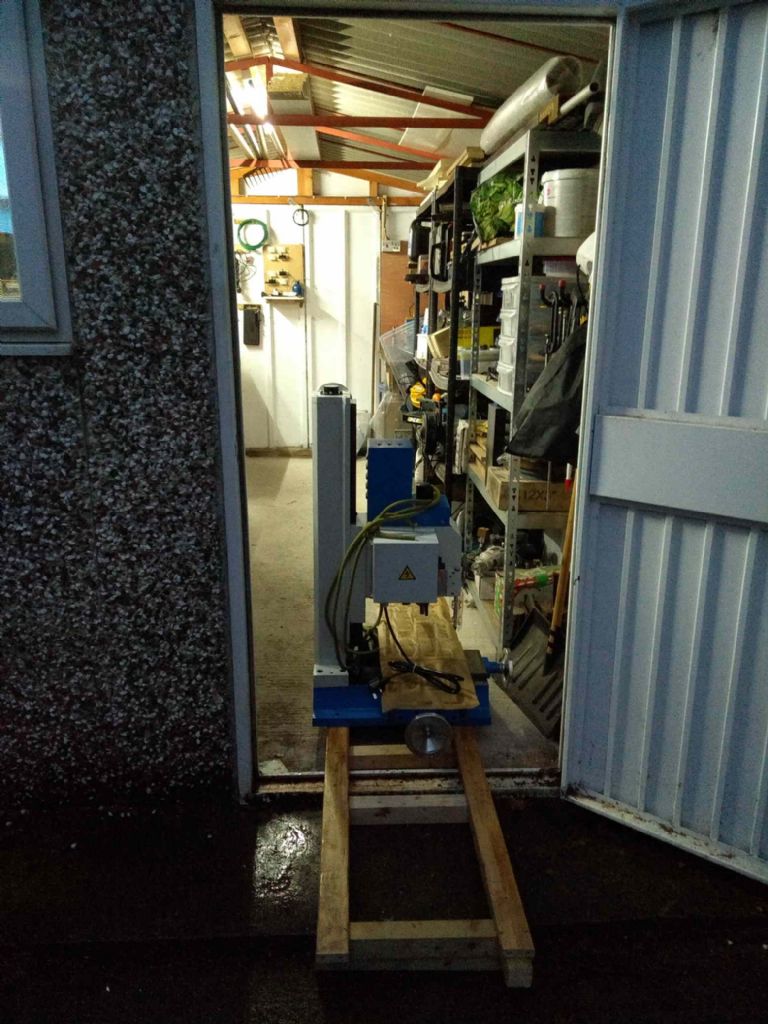
                    The first step was to hoist it out of the pallet and put it on my custom built slideway into the shed.

                    mill arrival - into the shed.jpg

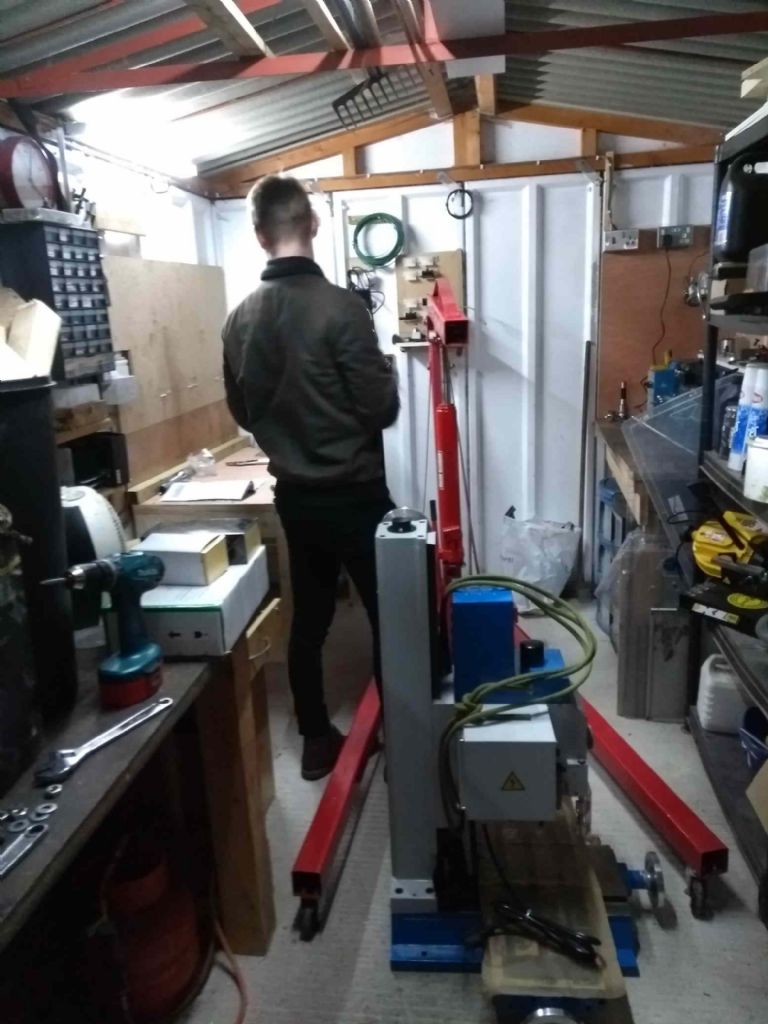
                    Then what I knew would be the nasty part. Getting the engine hoist over the mill and into the shed. A bit of grunting and it was there (in 4 pieces, mind you – let's not get too ambitious).

                    The hoist it to bring it further into the shed (with my beautiful assistant in rear view)

                    mill arrival - preparing to hoist.jpg

                    As you can probably see, non of these canvas slings for me – instead 3 turns of some climbing rope. If it can handle a 100 kilo block dropping 30 metres I reckon three turns would do! And it did, though the stretchiness was not ideal.

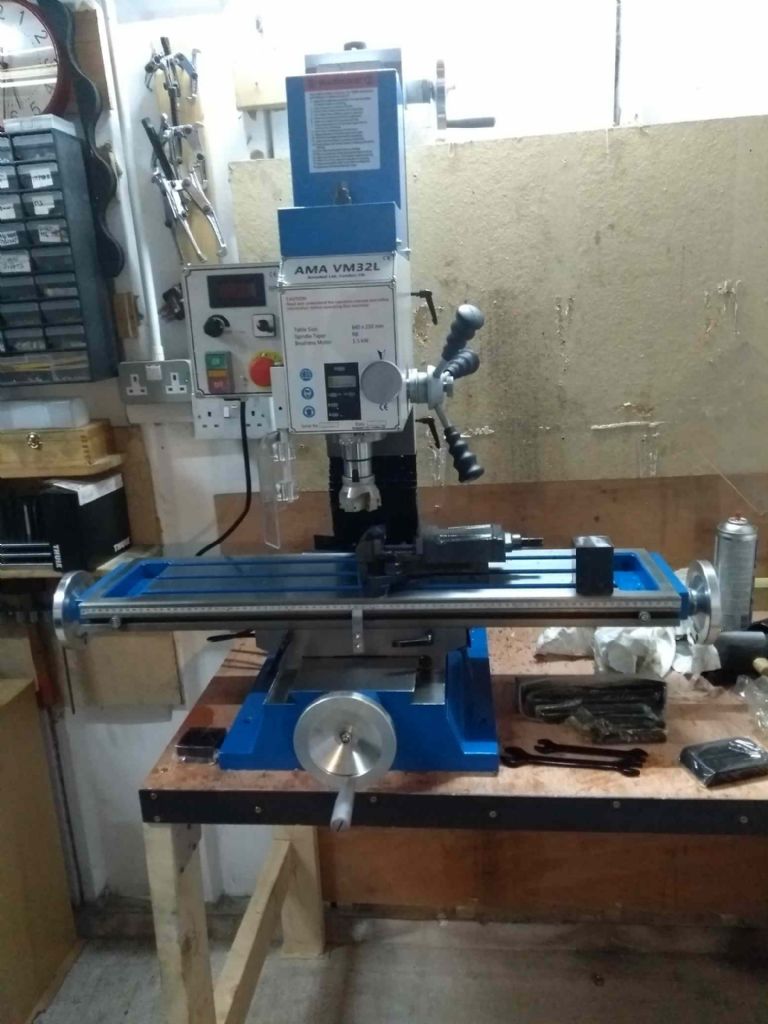
                    Bring the hoist round the other side push things around a bit and plop! there's The mill in place.

                    mill arrival - in place.jpg

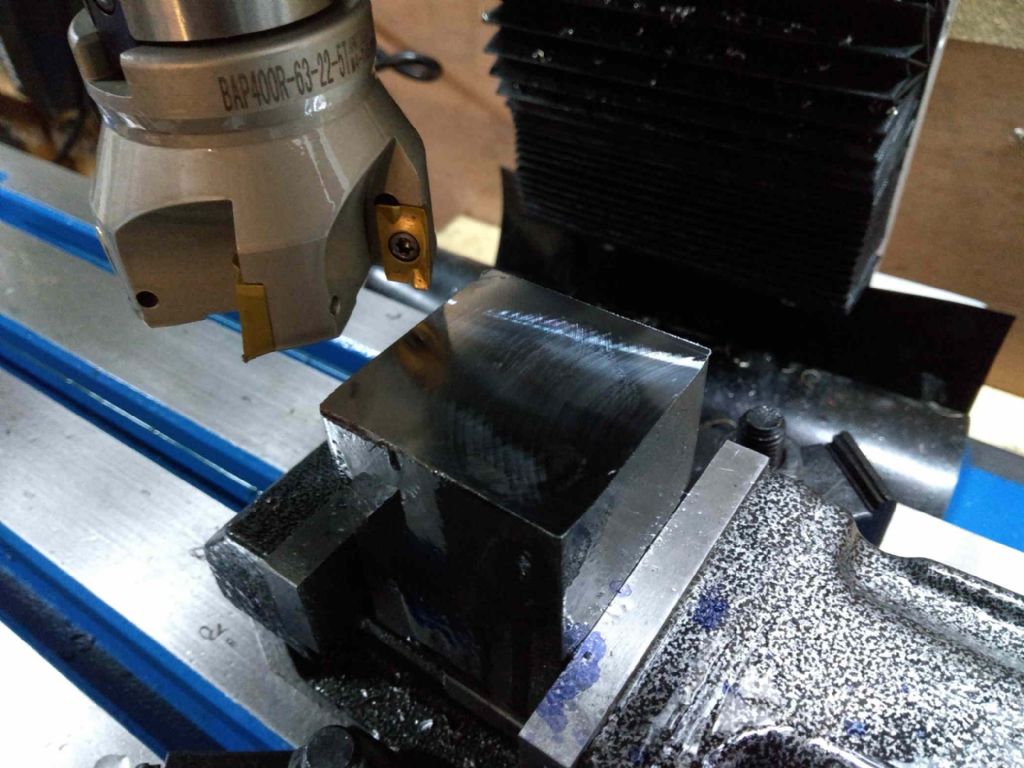
                    I'd planned on starting small, with a 10mm mill, but for some reason the R8 collet wasn't engaging right, so I jumped directly to the 63mm face mill that you can see in the picture.

                    mill arrival - the first cut.jpg

                    The first cut was an absolute delight. No straining at 600 rpm, smooth as silk and a near mirror finish!

                    Of course, there's still stuff to do. There's a lot of bits to clean, a packing case to dispose of (I suspect I will recycle the plywood as shelf supports). My vice, which was nearly too big for the CMD10 is nearly too small for this one.

                    But that's for tomorrow.

                    I LOVE it!

                    Iain


                    Edited By Iain Downs on 20/12/2019 18:39:59

                    #442853
                    JasonB
                    Moderator
                      @jasonb

                      The RMC Type-B is starting to get closer to where I want it to be, a few E-mails from Nick Rowland the designer gave me some pointers of what to look for and it is getting there. First part of the video shows it running with the governor free to move so it runs in hit & miss mode, second video has the governor locked so throttle controlled by a mix of advance/retard and carb setting. I also got the spark plugs I made working for the second video which have improved the speed as the spark is now within the cylinder rather than down the plug hole as I had been using a standard length Rimfire plug previously which was a bit on the short side.

                      Also decided that the best thing to do with loco cylinder castings is to chop them up and make something useful from the metal.
                      20191220_162115.jpg
                      20191221_090132.jpg

                      #444069
                      JasonB
                      Moderator
                        @jasonb

                        Just time to squeeze one more engine in before the end of the yearsmiley

                        Managed to get to a stage where i could try the Preston's Oscillator with a whiff of air and it took off straight away, should be better once I get a piston ring in it, gland packing and maybe some gaskets but seems o tick over quite nicely and I did not even have to get the micrometer out once on this onedevil

                        #444082
                        Ian McVickers
                        Participant
                          @ianmcvickers56553

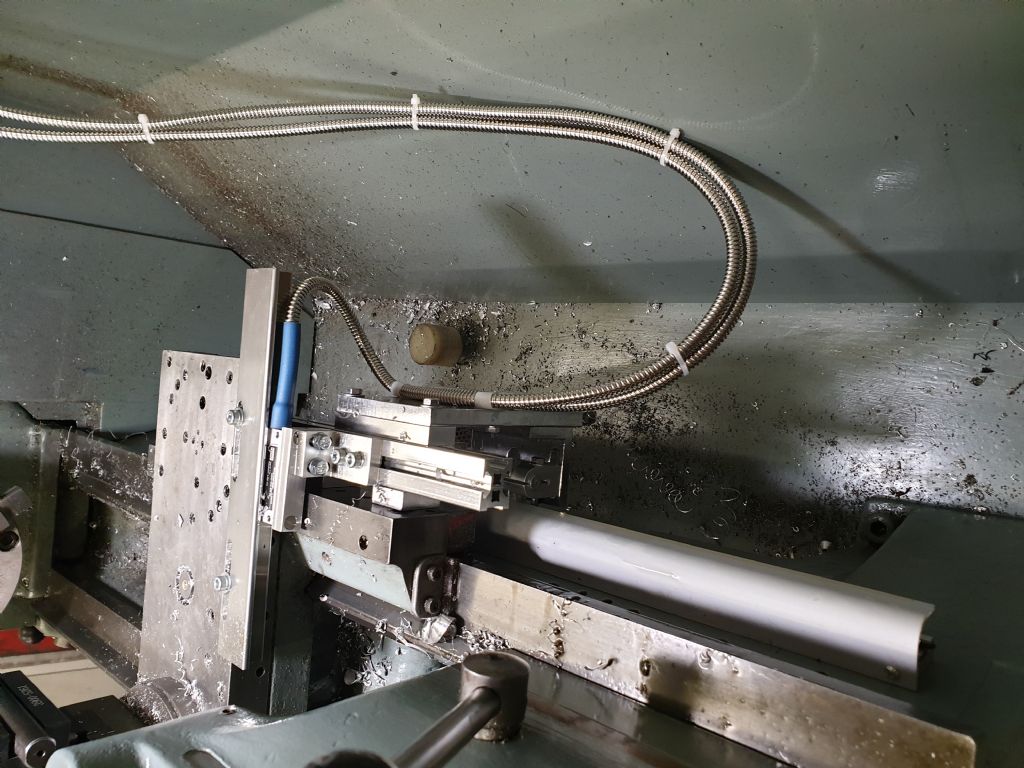
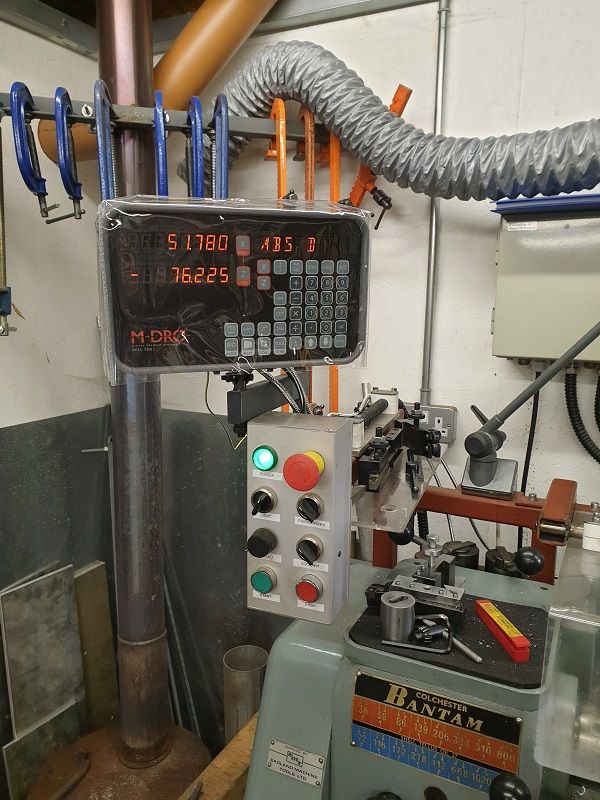
                          Last job for me this year was to fit the dro to my lathe. Bought the M-DRO kit for the Bantam. This should have been done earlier but I`ve had the flu since just before xmas so it got put back a bit but its all fitted now.

                          DRO slides

                          m-dro panel 1.jpg

                          Decided to get the first one of the wheels for my belt linisher build done before calling it a night.

                          wheel 1.jpg

                        Viewing 11 posts - 251 through 261 (of 261 total)
                        • Please log in to reply to this topic. Registering is free and easy using the links on the menu at the top of this page.

                        Advert

                        Latest Replies

                        Viewing 25 topics - 1 through 25 (of 25 total)
                        Viewing 25 topics - 1 through 25 (of 25 total)

                        View full reply list.

                        Advert

                        Newsletter Sign-up