Following the various ideas and advice from the forum, I've ordered the calibration scale (not arrived yet) and updated my software.
General View
The use case for this tool is mainly to keep a history of watch disassembly so I can see what goes where when I put it back.

The image above shows how 'WatchSnap' works. Top left is the live view (which won't snip for complicated technical reasons – imagine a live video  . Bottom left are all previous pictures for that 'project' (all in a specific directory) and to the right is the latest snap.
It's the right hand side which has been updated.
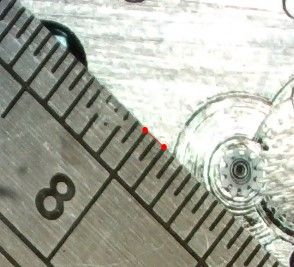
The first thing I do is to put a ruler in place and snap it. Then use the set scale option to work out how many pixels per mm.

The red line is drawn and and the software works out how many pixels it is. This is shown for information and sanity at the bottom of the page. I'm considering adding a 1cm option as the precision at low magnifications (this is about 4.5x) is poor.

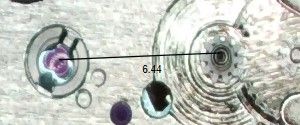
Then I can measure something. I take away the ruler and do a new snap and then I can measure, just by clicking and dragging.

This (roughly) the distance from the centre wheel to the balance pivot.
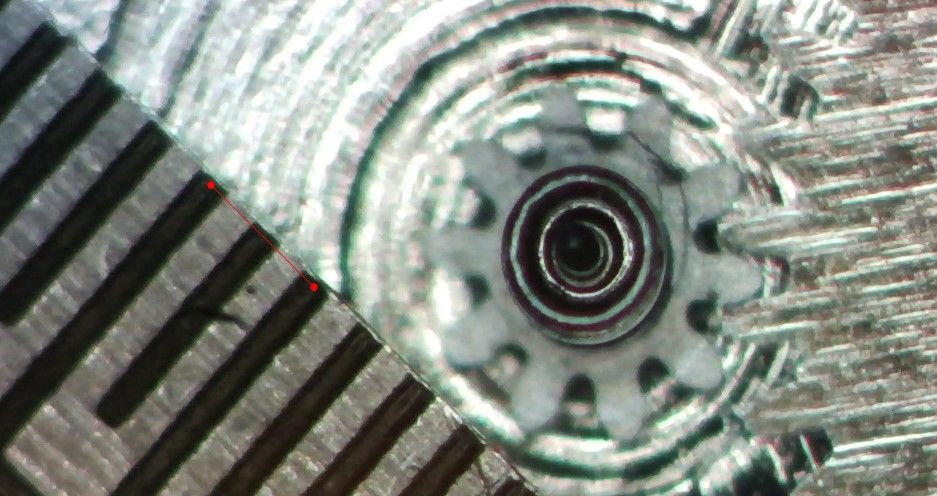
When you zoom (25x) in you need to re-do the scale.

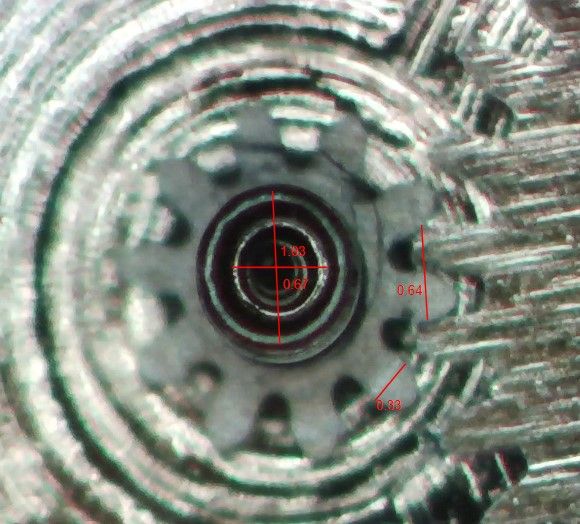
remove the scale, resnap and you can then measure small things.

This shows the diameter that the watch hands will need to push on to bus an approximation of the wheel dimensions. Note that I can set the colour of the dimensions to work best with the background.
In fact the focus on this on the camera could do with a bit of tuning. The camera and eye focus don't track perfectly as you zoom – it's much clearer through the eyepiece.
Still a few things to do, but you get the idea!
Many thanks for the impetus and ideas.
Iain
Iain Downs.


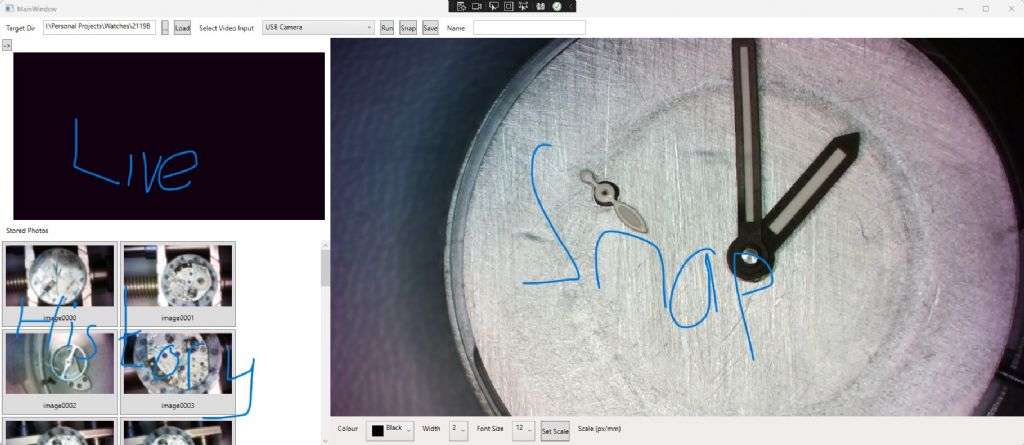
 . Bottom left are all previous pictures for that 'project' (all in a specific directory) and to the right is the latest snap.