Cheers Alan.
Hi Neil, thanks, I wouldn't have thought of using the cooker, ours is LPG, also we have a coal fire, I wonder if I could use that.. I'm going to have a read up on some of the various heat treatments, it would be good to at least start getting some info of the basics, my 3 x Great Grandfather is probably turning in his grave – he was a blacksmith! Shame knowledge like that stopped being handed down a long time ago…..
Hi Steve, I'm going to have to put some cans in the post to a few people when its up and running, not least yourself..!
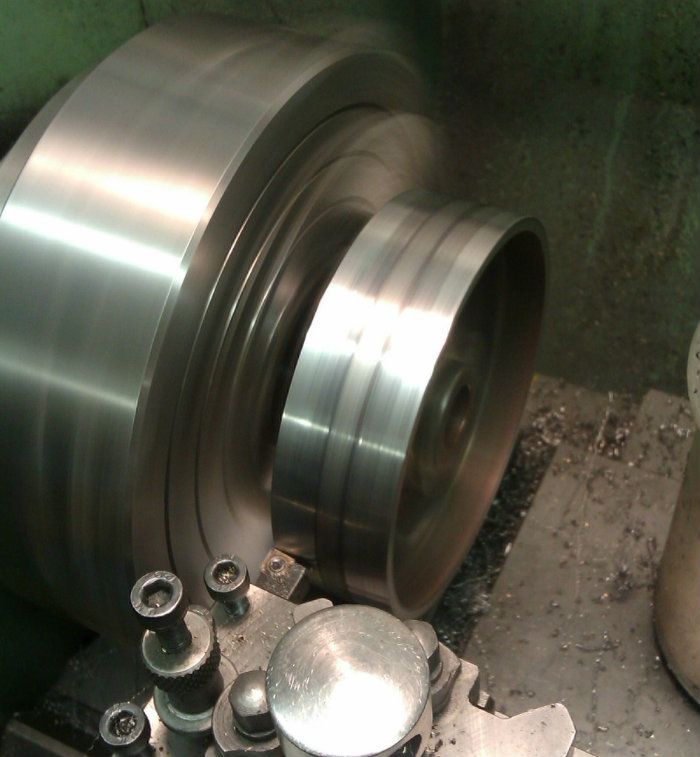
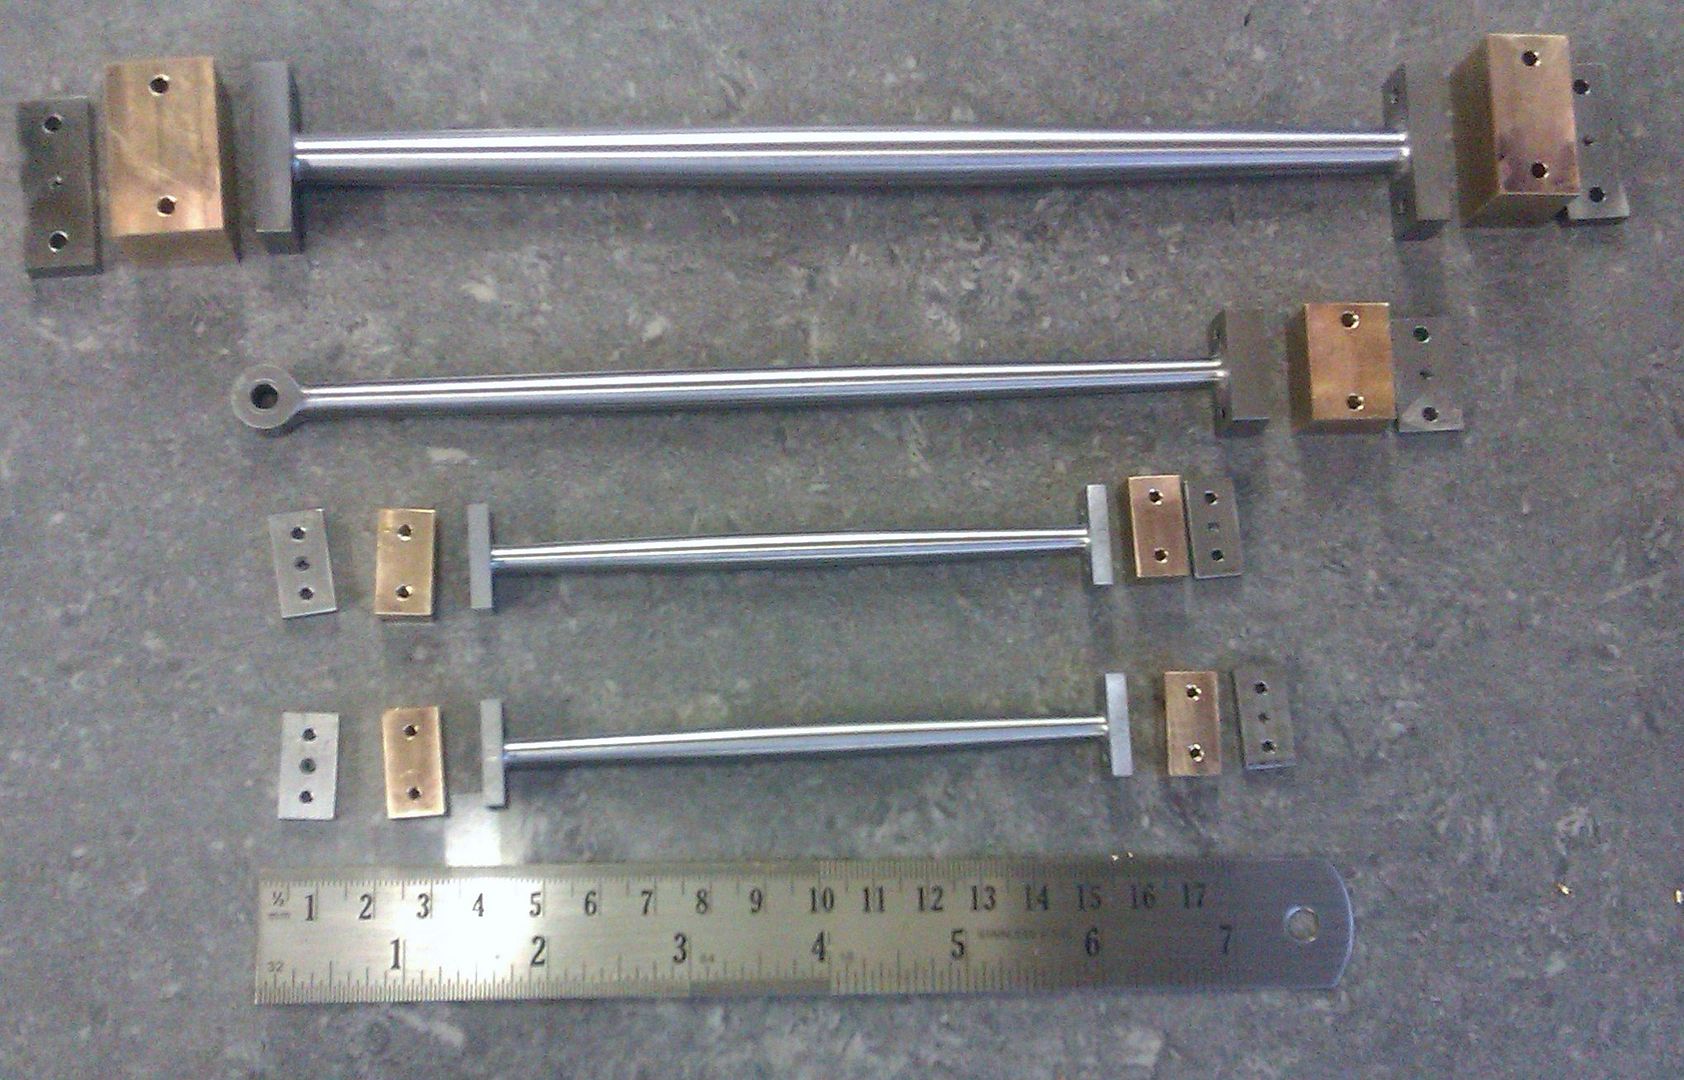
I have made a start on the Con Rod now although not much progress yet. In the workshop today it was all about holes, you will have to excuse the photos, I guess they will all look the same, a bit sad maybe, but I have to say it felt like a bit of a 'Top Gun' moment and was well chuffed when turning the bar over to see where the 'little end' hole had come out – brilliant, I don't get many little victories like that! I'm sure I would not have managed that when first starting out… and what a difference it makes to have drill bits that just get on and do the job – even though not exactly perfect, I have been having so much trouble previously drilling in steel the result was better than I thought I would manage 1st time around..
I was well chuffed with my little drill today! I found out early on, drilling holes in exactly the right place is not as easy as it looks, especially in steel..

Setting up to drill the Con Rod using one of the wigglers to line up the hole. Despite doing this I found it better (essential for me anyways) to start with a small centre drill (I used a 1mm) and stopped and checked the position almost immediately – then if slightly out put in a larger centre drill and adjusted the position, then likewise again if needed… The 'little end' in particular left no room for error as the 3/8 hole was almost the same width as the the bar..

Test fitting the Wristpin through the Con Rod 'Big End'.

Con Rod Wristpin Hole side 1. (The chamfer on the bar is slightly more on the one side, making it look worse than it really is here)..

Con Rod Wristpin Hole side 2.

Drilling the Con Rod 'little end'. I only bought a few of the small sizes Cobalt Drill bits (to first see what they were like) and so had to use my existing bits going up in 0.5mm at a time once the hole was started all the way through. But they were ok for this. There is no way I could have started the initial hole with them though. I need to get some more sizes Cobalt Bits now as they are excellent. Not even a hint of them finding it hard going..

The Con Rod 'little end' side 1.

The Con Rod 'little end' side 2.

The Con Rod so far. The bar is faced off at about 12mm over length at the moment to allow room to put in and then get rid of the Centre Drill holes in the ends for later turning between centres – not done them yet. One will get 'lost' in the fork on the one end..

Regards
Allan.
Edited By Allan. on 10/01/2014 15:34:46
GarryC.


