I am a complete novice, so this will not be a step-by-step account of building a Stuart 10V; there are plently of books, threads and videos out there already. I hope that what I post will promp some much needed advice. I will make mistakes, but I will get there in the end.
This is the begining of what will inevitably be a long journey for me. I have a Myford ML7 which I restored about 12 years ago, but have only done simple jobs with it. I bought an SX2P mini mill last Septemebr, and have mildy tweaked it with some common upgrades over the past few weeks. I am in the process of making some vice clamps for it – the first things I've ever milled (not counting some workshop practice at university many years ago).
I have always liked scale model building, and steam engines, so I bought this kit at the Doncaster show last year, and vowed to make a start within a year. Today was the anniversary of getting the kit, so I made a start.
Despite getting excellent advice over the past few days from the "Beginners" section on here, I’m still not confident enough to use the milling machine on a casting; I want to try different tooling and techniques first, on the remaining two vice clamps.
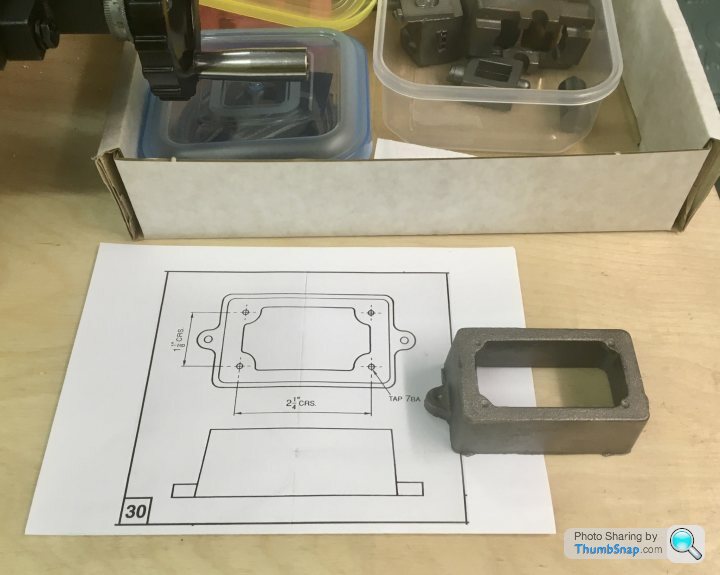
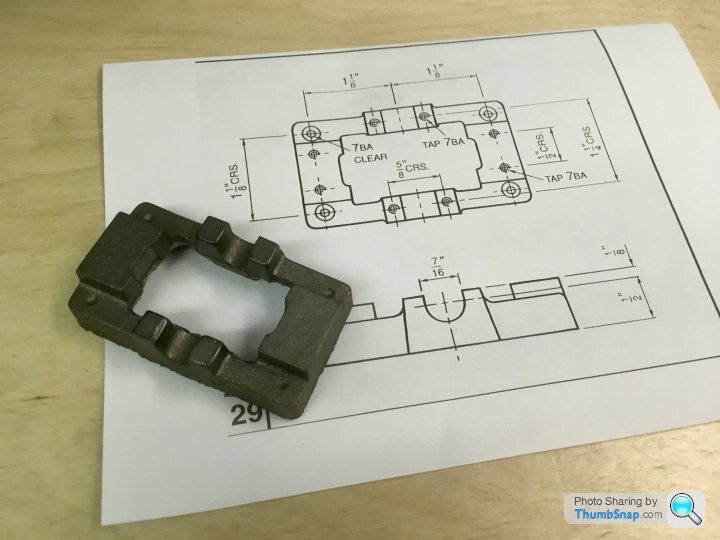
Anyway, first job was cleaning up the box base and sole plate casting using files, and abrasive paper on a surface plate:
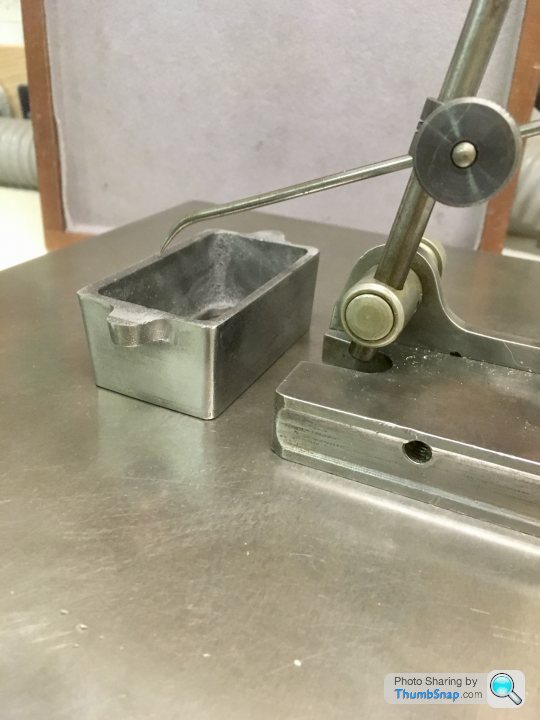
I don’t have a vernier height gauge, so I did a quick check with a height scriber and my digital callipers:
The box bed seemed pretty much spot on, so just needs a few clean-up passes. The sole plate had an approx. 0.3mm high spot at one end, but that will disappear when it’s machined to the correct height.
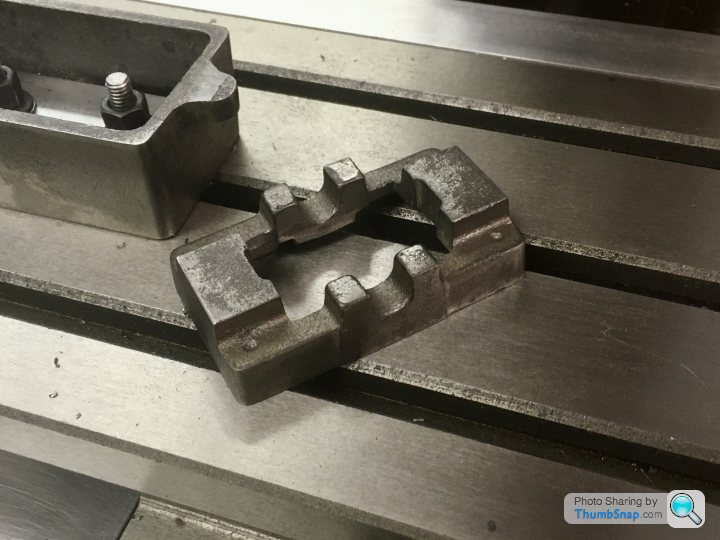
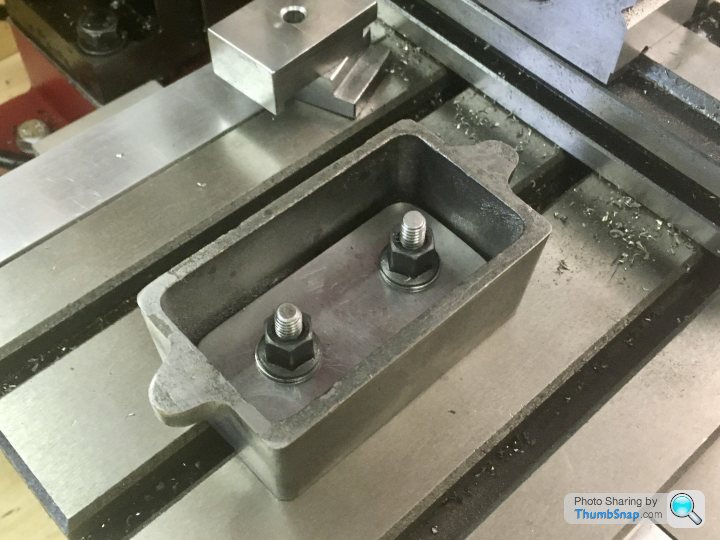
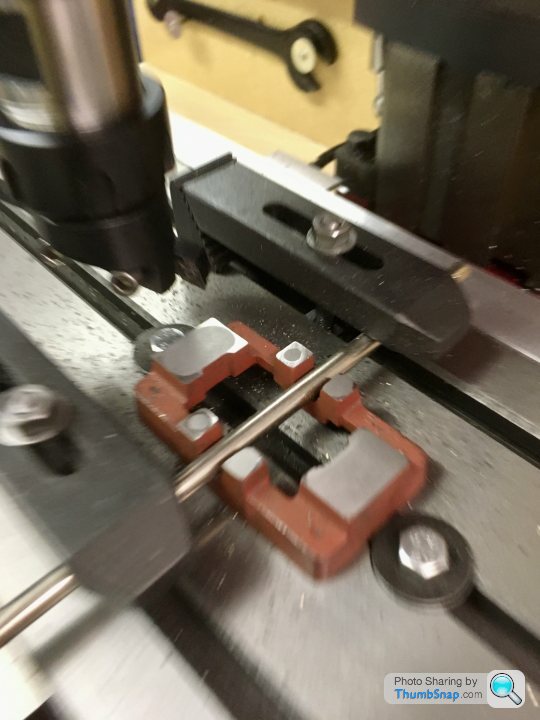
I made a clamp plate for the box bed out of some unhardened tool steel. I face-milled the long sides, and tried side-milling the short edges, but it didn’t work out well at all. Side milling was pretty hopeless on the first two vice clamps too. No idea why. Ended up mounting on its ends and end milling those too. I used my edge finder and DRO’s to get the hole positions. A bit OTT for a simple fixture, but I need as much practice as I can get:
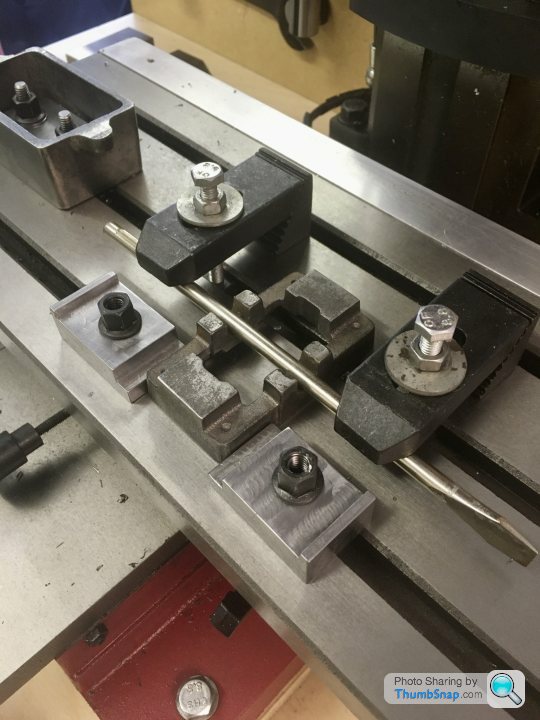
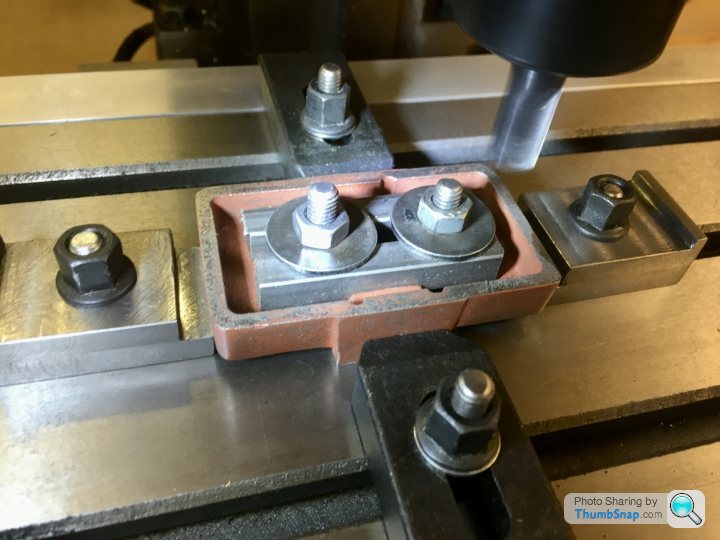
I’ll clamp the sole plate using an old screwdriver and various clamps to keep it in place:
I'm waiting for some end mills and a fly cutter, which I'll try out on the remaining two vice clamps. Hopefully then I will have enough courage to try a casting.
You have made a good start, good luck with the rest of your build. I usually use a carbide tipped mill to remove any hard spots before taking a finishing cut with a HSS tool.
Looking good! I agree with Thor about using a carbide milling cutter although I had no problems with Stuart castings having hard spots, once the surface with any sand still present had been removed. Traditionally this is done with worn files, worn because you don't want to damage good files.
Re. The carbide tooling: I don’t have an insert milling cutter yet, but have an 8mm DCMT holder and inserts. I’ve got a fly cutter on order, so I was going to try that combination. Also got some end mills on order, so could try finishing with one of those.
I had another look at the Smith/Pengwern book on the 10V: There is a drawing of the box bed in there with a height shown (28mm 1 1/8&rdquo, but no height dimension is on the drawings I got with the kit. Also, there is no centre distance given for the base lugs. I guess it doesn’t really matter for this part, but I think it would have been good practice to either dimension the height and centres, or at least put a note on the drawing; they still need machining, and how much ink did they actually save?
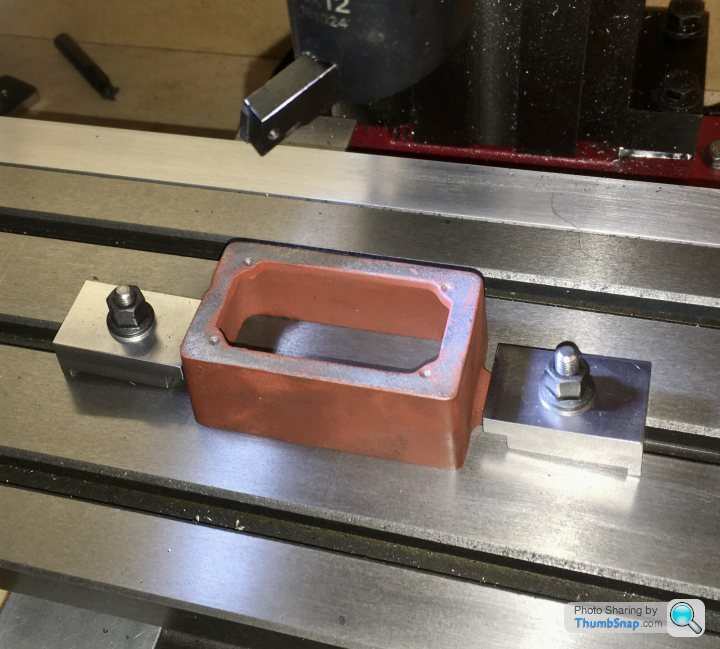
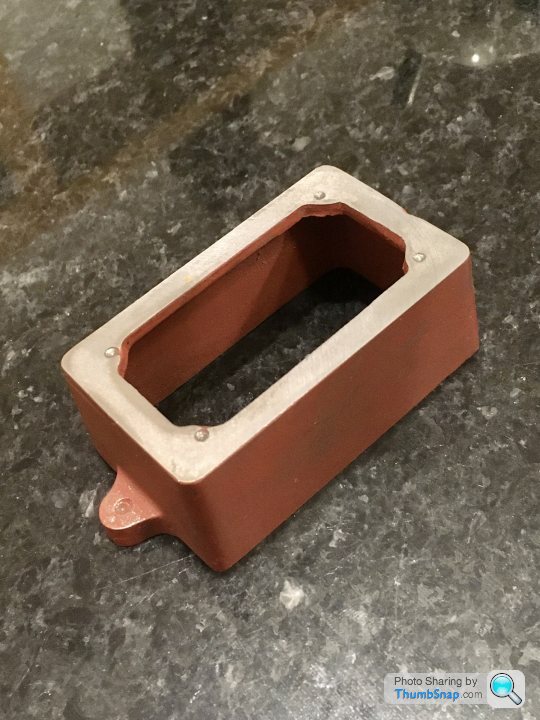
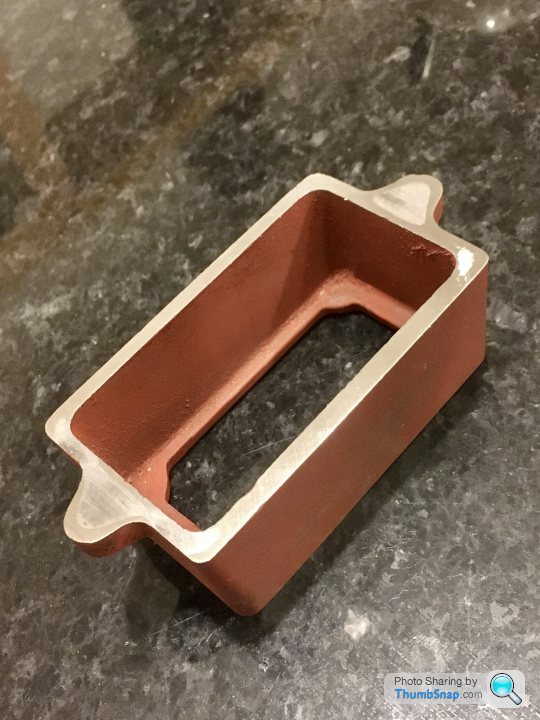
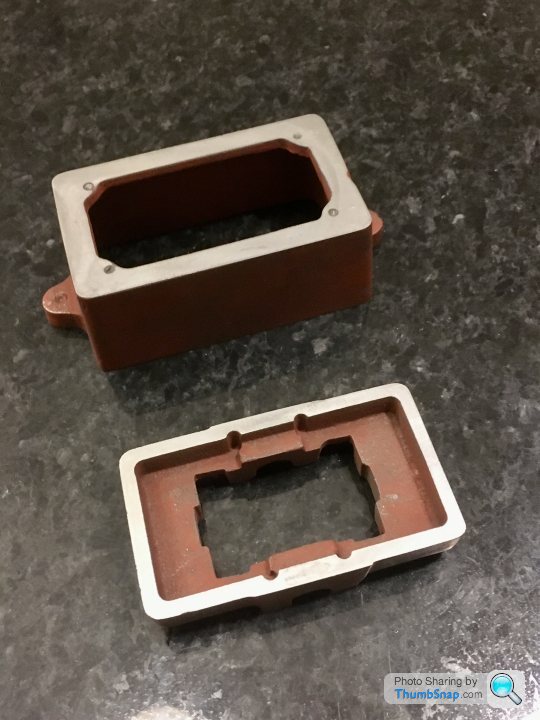
Finally took the plunge and machined my first casting. Nothing spectacular, but it feels like a big step for me. I opted to use the fly cutter with an insert for cast iron, mainly because it's by far the best method I've used for getting a good finish. I used my fixture plate for one side, and the remaining two vice clamps (finished this evening) for the other. There's no height specified on the drawing, so I just did the mimimum clean-up. I think the different colours through the wall must be something to do with how the metal cooled:
It is not a critical height so they don't give it, holes best placed to look right, best drawings I have seen on this type of thing had "COB" on the which equates to Centre on boss. Back in the day when this was likely to have been filed to finish you did not want to file more than needed.
Good job you went at it with crabide, that bright shiny edge to the underside is where the casting has some chill (hard) as the edge/corners have cooled quickly, there there is more mass in the mounting lugs it has cooled slower so you have got the matt (soft) finish
Leave the 4 holes in the top until you have done the base and then drill them to match.
Edited By JasonB on 14/05/2020 07:02:01
Jason,
My plan was to align the sole plate centrally – by eye – on the box bed – after all I want as equal gaps as possible all around, and I assume doing this by eye on castings like these is as good as any other method? I might put a few spots of pva on the joint so I can move them around together for aligning the sole plate on the mill table. I'll confirm I've got a best fit in x & y by putting a pointer in the chuck and moving it along the casting edges and bearing features, then center it to 0,0 in the middle of the piece using the DRO's. Then I can take co-ordinates for drilling the corner holes.
Then clamp together and drill the 7BA tapping holes straight through both parts.
Then open up the sole plate holes only to 7BA clearance, and spot-face. I'll use the head vertical hard stop to make sure there are no screw ups with depth.
Then remove the base and tap the box bed.
I think I may need to displace the holes outwards slightly to get a clean spot face, but If I note the drilling co-ordinates from the DRO's it shouldn't be an issue.
If you drill through the top bearing plate with a tapping size drill, then use supeglue to temporarily hold the parts together, so you can mark the centres by running the tapping size drill through the hole held with finger and thumb. Which will leave a small centre for you to drill through and tap. The top plate can then be drilled through at clearance size and the holes will marry up lovely. (Or that's the plan) superglue breaks it's bolt with heat so a quick blast with a small torch will have the two halves separated.
Hope this helps.
Thanks Jon, that’s pretty much what I outlined two posts up, the difference being using PVA (releases with water) and clamping both parts together to the bed, drilling both simultaneously with the tapping drill, and then just the sole plate (depth stop on the head) with the clearance drill.
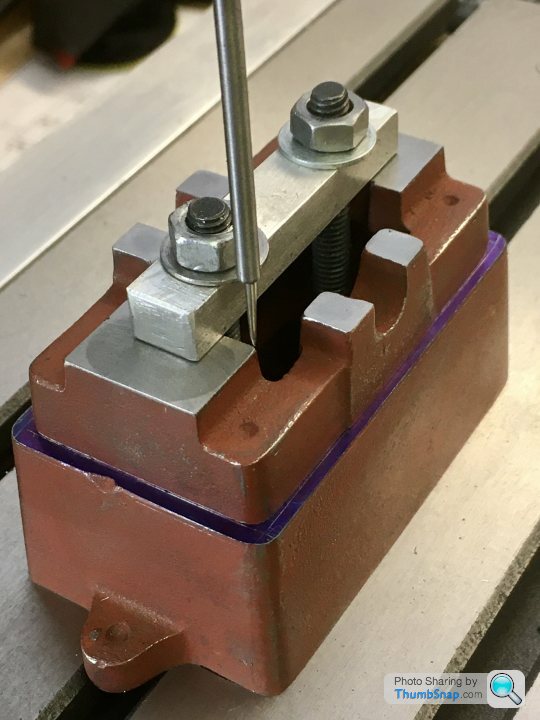
So I set up the box bed and sole plate on the table and best-fit aligned it in x & y using a pointed wiggler and edge finder. I'd already marked out the best-fit outline of the sole plate on the box bed top surface:
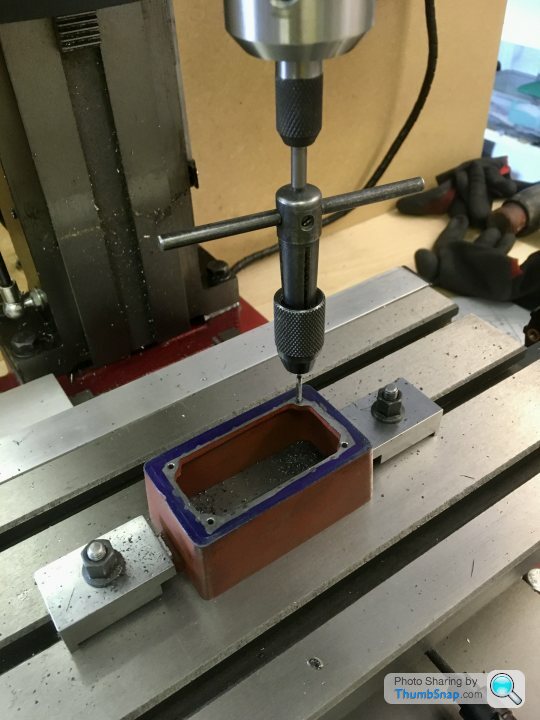
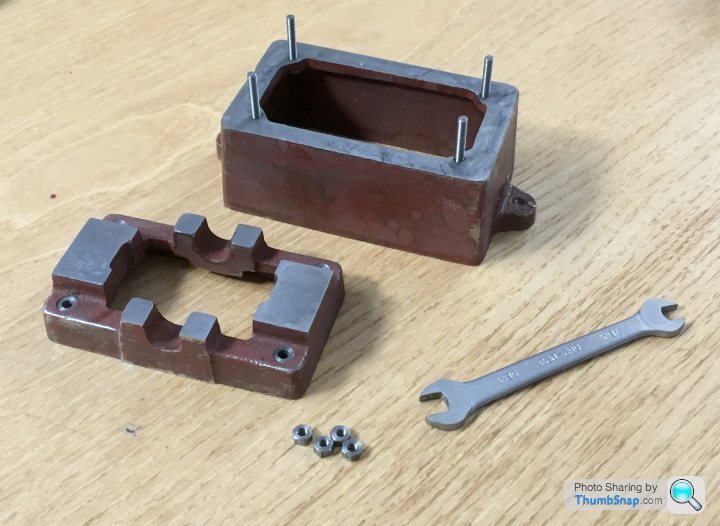
Then drilled tapping holes and clearance holes for the studs, and tapped the box bed:
Everything aligned perfectly, apart from the spot faces I did with a slot drill. Despite using the same co-ordinates as the holes to within 0.01mm, all the spot facings were off-centre (in different directions). Fortunately they were marginal diameter for the nuts, so I can correct them by making a spot facing tool with a spigot to prevent any wandering.
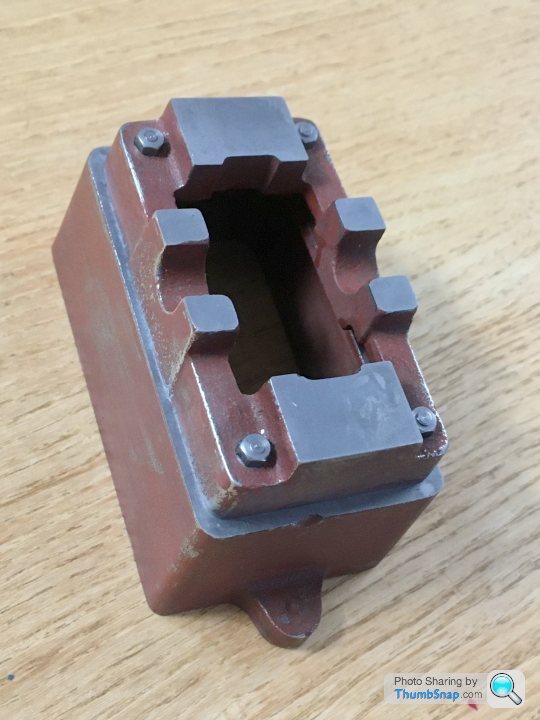
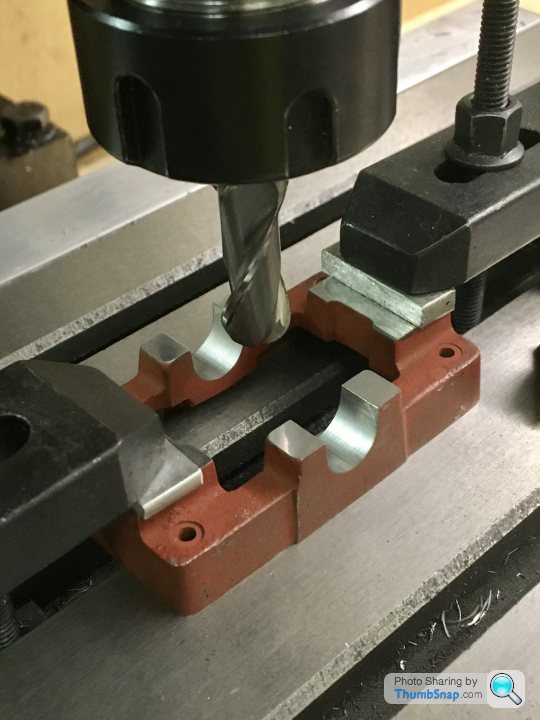
So after the false start trying to mill the main bearing recesses with the wrong tool, I tried again with a slightly smaller one ( 11mm, not 7/16" ). Tested in aluminium:
Perfect, so on to the real thing:
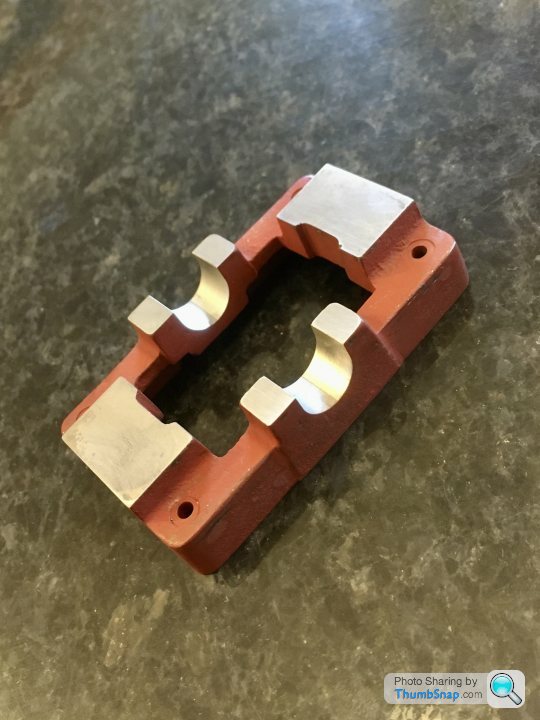
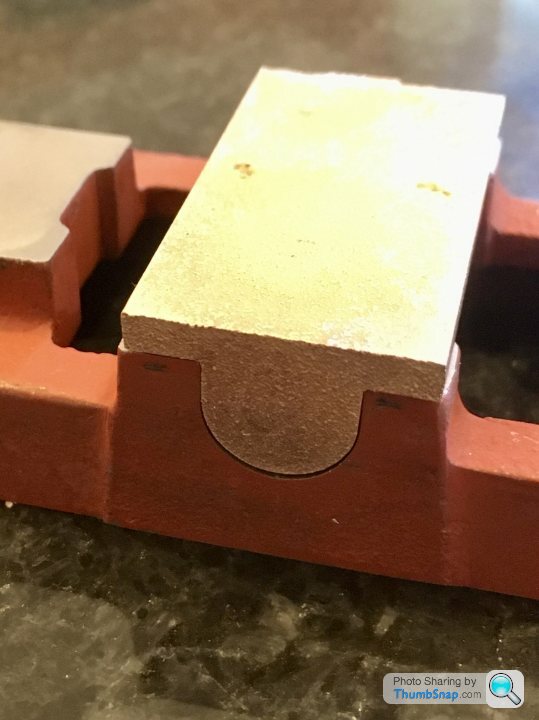
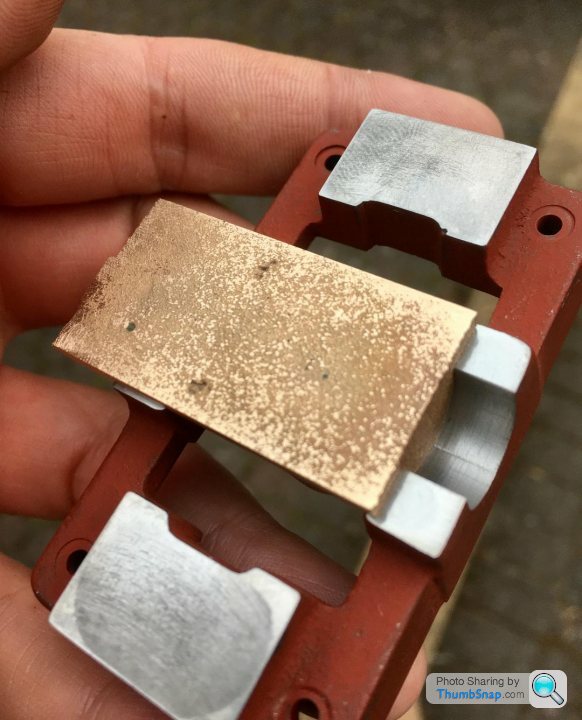
Went through the casting like it was butter. Unfortunately I centred the casting on the inner edges of the standard flats, double checking it with the insides of the cast bearing housing prongs. Result is that the brass is slightly offset to one side (but centred on the inside edges of the base). I should have used the outside edges of the bearing housing prongs.
Anyway a few passes with a fine file and it’s not really apparent, but lesson learned.
Next job is to correct the spot-faces, once the silver steel arrives to make another tool.
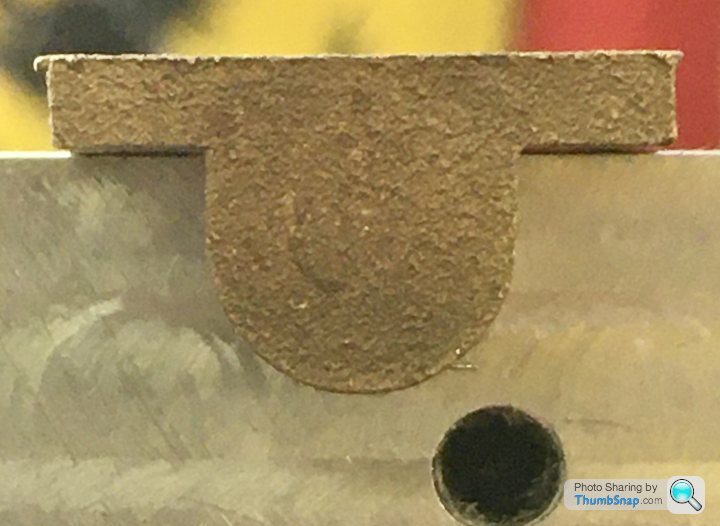
Interesting to see your bearing material, it looks a lot more like a gun metal casting than the usual brass extrusion going by texture, even colour but that may be the camera, I wonder if they have changed materials, is it a recently bought kit?
Following this, and making great job of it. I found Andrew Whales youtube build very useful for my S50, and I know he's done one for the 10v too. He's also a forum member. I know he had some pitfalls with the column and crosshead guide…. but it's well worth watching.
Your progress looks excellent! I did started my first Stuarts 2 years ago and have only just completed it. Go slow and it'll turn out beautifully. You seem to know what you're doing so no worries there
So I’d like to get on with the bearings – plan is to face the brass, Figure out the centre point, punch it, then set up in the 4 jaw Chuck to run true. Then gradually open up the hole and hope the drill doesn’t wander. Question is, for a finish diameter of 9/32”, eventually line reamed in-situ on the sole plate, what is the largest drill size I should aim for on the lathe?
For final reaming Id use the mill, with the largest drill used to line the sole plate/bearings assembly up on a 90 degree block.
Any advice, as ever, is very welcome.
Thanks.
ETA having just read the ‘drill wandering’ thread, I might use my edge finder and DROs to find the centre, and make an indentation with a centre drill before going to the lathe. Still slightly concerned that the hole wont be concentric at the other end though. Any benefit in going in from each end with a pilot drill, to meet in the middle, the the final ones through from one end only?
Following this, and making great job of it. I found Andrew Whales youtube build very useful for my S50, and I know he's done one for the 10v too. He's also a forum member. I know he had some pitfalls with the column and crosshead guide…. but it's well worth watching.
Thanks, yes I’ve watched all his videos on the 10v. I emailed Andrew a couple of times when I was modding my mill- very helpful.
Your progress looks excellent! I did started my first Stuarts 2 years ago and have only just completed it. Go slow and it'll turn out beautifully. You seem to know what you're doing so no worries there
Mark
Ha ha thanks Mark – too kind; if you look at the beginners section of the forum I think it’s clear I don’t know as much as you think! Cheers!