Stirling Engine : Laura

Advert

Stirling Engine : Laura

Home Forums Stationary engines Stirling Engine : Laura

Viewing 25 posts - 326 through 350 (of 764 total)
  • Author
    Posts
  • #222491
    Brian John
    Participant
      @brianjohn93961

      I have made most of my parts three times. The idea of building this kit was to learn how to use a lathe. If I end up with a working Stirling engine then that will be a bonus. I am not very hopeful

      Where are you with your engine ? Is it finished ?

      Advert
      #222497
      pgk pgk
      Participant
        @pgkpgk17461
        Posted by Brian John on 25/01/2016 09:48:13:

        I have made most of my parts three times. The idea of building this kit was to learn how to use a lathe. If I end up with a working Stirling engine then that will be a bonus. I am not very hopeful

        Where are you with your engine ? Is it finished ?

        I'm posting the build as i go.. still a fair bit to go. Currently making up the brass conrods: got one roughed out and filing buttons to make, then the other rod, some small pins, the stands for burner and main frame.. I've sourced a baseboard. Oh, and I've got some carbon rod ordered from china.. thought I'd see how much mess i can make with that as a power piston but might make a brass one if it's delayed. I've also got the hub of my DIY flywheel to make too. So I reckon you're well ahead.

        Then as you say it's a question of whether it even works and if it does polishing everything to a high shine and lacquering: then stick it on a shelf to gather dust and wonder why an ornament should cost that much

        #222618
        Brian John
        Participant
          @brianjohn93961

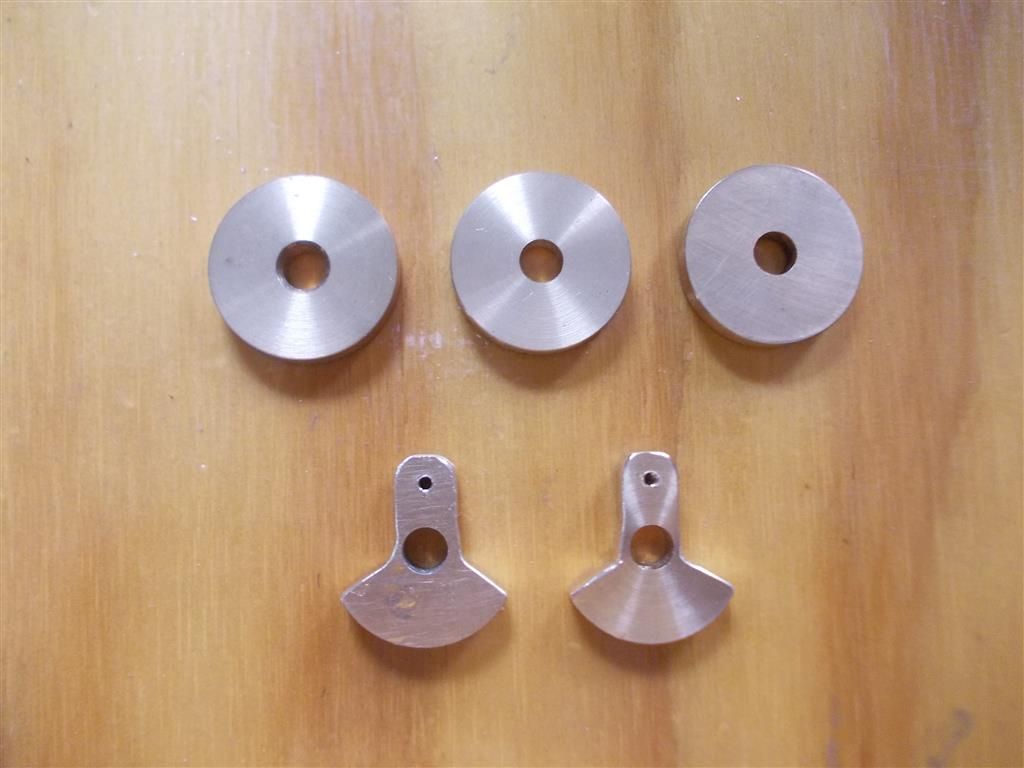
          The large crank arm was a complete disaster. I made a mistake by cutting on the wrong side of my marking lines hence taking away too much metal. Then I made the same mistake again on the second one ! I will have another go tomorrow and next time I will not rush it. I knew these parts would give me grief as soon as I saw them in the instructions. Fortunately, I still have three discs in reserve.

          large crank 1.jpg

          #222629
          pgk pgk
          Participant
            @pgkpgk17461

            Hardly consolation but I'll post a pic later of the poo-looking con-rod i sent 6 hours making….

            #222757
            Brian John
            Participant
              @brianjohn93961

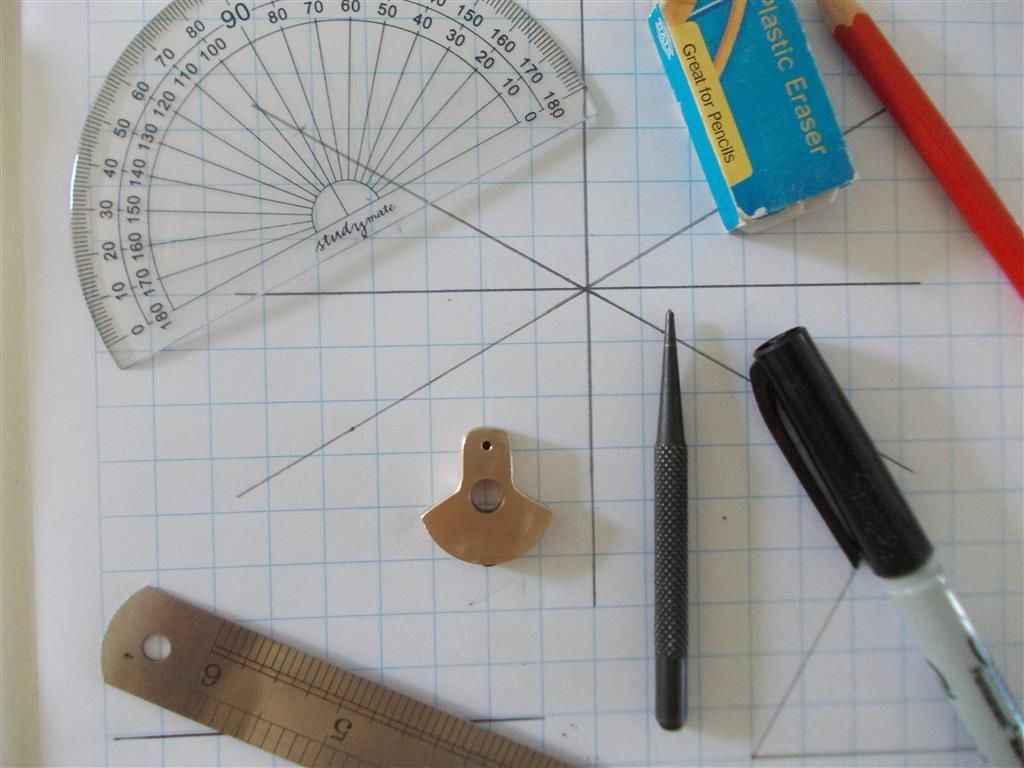
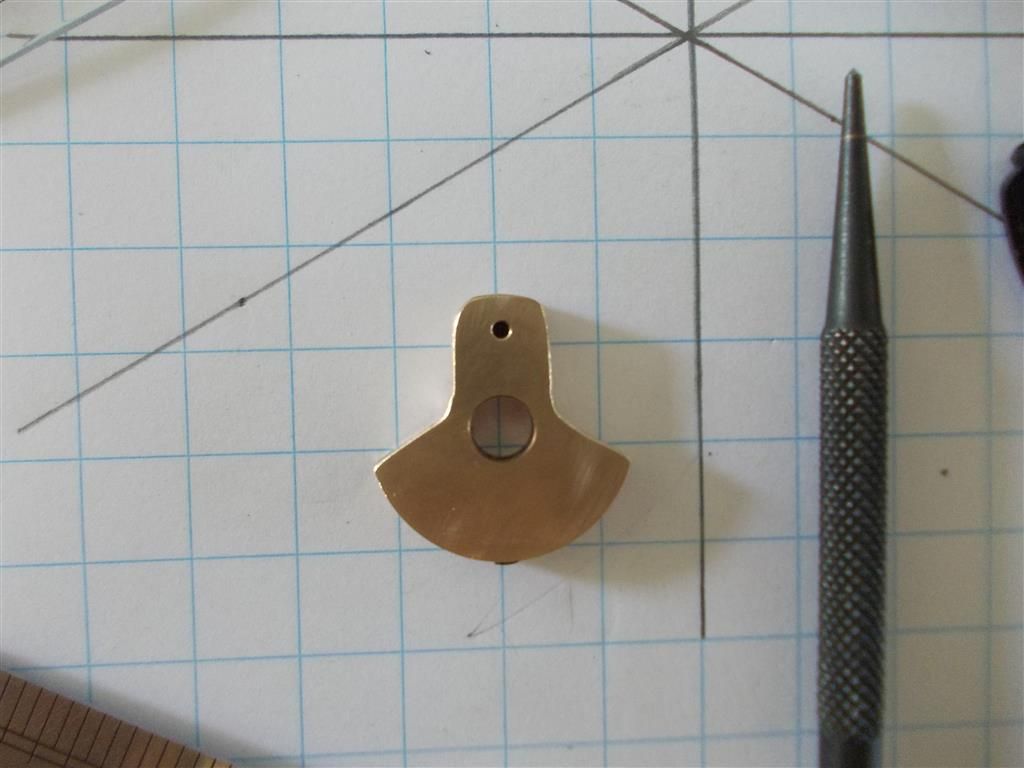
              Success : I got it right the third time ! The trick is to carefully mark out and then not cut too close to the lines with the slitting saw. I have to give myself enough room to clean up with the dremel tool and small files. I found that a pencil is good for marking out on brass as it can be rubbed out if you change your mind. The extra fine sharpie is good for making a dot before using the punch to mark a drill spot.

              I am still waiting on some M2 X 16mm socket caps to begin the final assembly. I am not going to solder the main cylinder section to the base plate as per the instructions ; I think that would be a silly idea in case it has to be pulled apart again. I have worked out how to join the two sections together using some 1/4'' square brass rod. I will post photos when the socket caps arrive from China. I think they will be here soon.

              I also have to decide whether to paint the inside of the flywheel my usual red colour. It looks quite elegant just the way it is.

              large crank 2.jpg

              large crank 3.jpg


              Edited By Brian John on 27/01/2016 06:33:47

              Edited By Brian John on 27/01/2016 06:42:46

              #222764
              pgk pgk
              Participant
                @pgkpgk17461

                Well done.

                #222773
                mechman48
                Participant
                  @mechman48

                  Nice progress but why send to china for small bolts? see links… cheap enough & quick delivery

                  **LINK**

                  **LINK**

                  George.

                  #222783
                  Brian John
                  Participant
                    @brianjohn93961

                    I live in Australia : 75% of what I buy comes from either China or the UK. We just do not have it here !

                    #222784
                    Ian S C
                    Participant
                      @iansc

                      When I make counter balanced crank cheeks, mine get cut out by hack saw and file, and I'v had the same problem of cutting the wrong side of the line.

                      Ian S C

                      #222792
                      Brian John
                      Participant
                        @brianjohn93961

                        I am not much good with the junior hacksaw ; it cuts in a straight line but always ends up at an angle ie. the cut is not perpendicular to the surface. I am not sure whether it is me or the hacksaw. I did buy a new junior hacksaw and still have the same problem !  I am okay with the full size hacksaw and I do not have the same problem with that tool. That is why I use the slitting saw for these small parts as it gives a much neater finish.

                        Edited By Brian John on 27/01/2016 10:44:52

                        #222795
                        Michael Gilligan
                        Participant
                          @michaelgilligan61133
                          Posted by Brian John on 27/01/2016 10:44:11:

                          I am not much good with the junior hacksaw ; it cuts in a straight line but always ends up at an angle ie. the cut is not perpendicular to the surface. I am not sure whether it is me or the hacksaw.

                          .

                          Brian,

                          I have mentioned this before, but : Please consider using a Jeweller's Piercing Saw for small jobs like this.

                          MichaelG.

                          #222798
                          Brian John
                          Participant
                            @brianjohn93961

                            Will that cut through 4 or 5mm thick brass ? I think I would still have the same problem of keeping the cut perpendicular to the surface.

                            #222800
                            Michael Gilligan
                            Participant
                              @michaelgilligan61133
                              Posted by Brian John on 27/01/2016 10:59:42:

                              Will that cut through 4 or 5mm thick brass ? I think I would still have the same problem of keeping the cut perpendicular to the surface.

                              .

                              1. Yes
                              2. You won't know until you try it, but: Used properly, you should find it much easier.

                              MichaelG.

                              .

                              P.S. … This is worth a look.

                              Edited By Michael Gilligan on 27/01/2016 11:50:35

                              #222961
                              mechman48
                              Participant
                                @mechman48
                                Posted by Brian John on 27/01/2016 10:31:12:

                                I live in Australia : 75% of what I buy comes from either China or the UK. We just do not have it here !

                                Ah that explains it… mea culpa… nice work all the same, am enjoying following your post.

                                George

                                #223287
                                Brian John
                                Participant
                                  @brianjohn93961

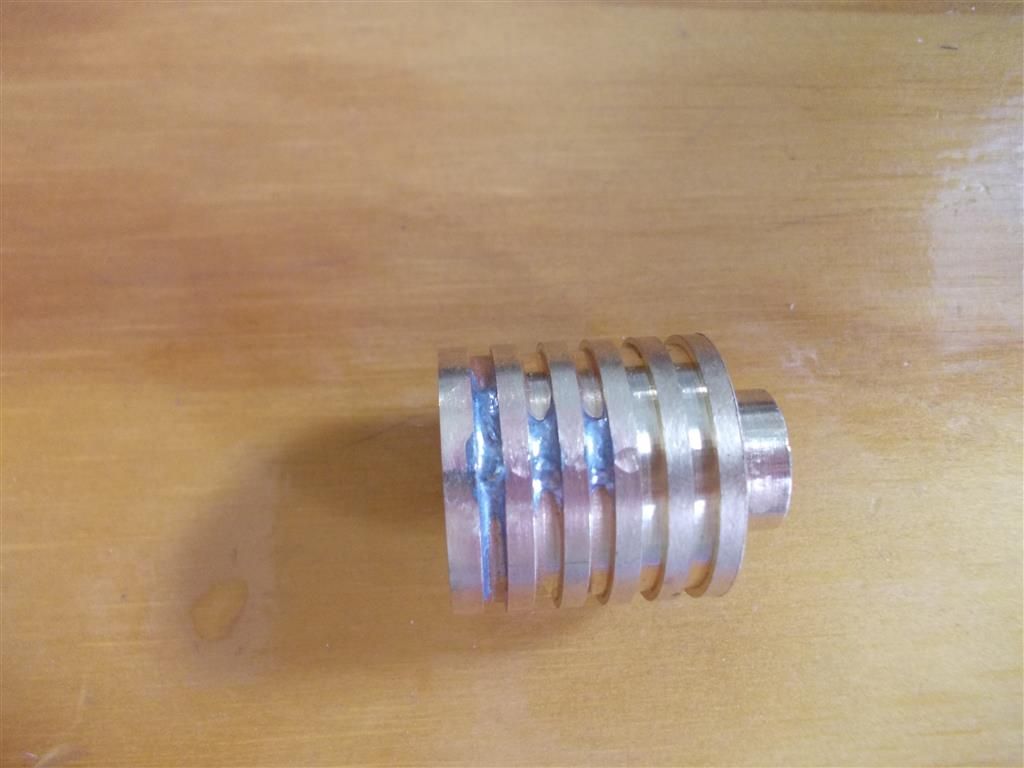
                                  You might remember that I mucked up the first work cylinder when the large 3mm hole burst through the side at one end. Today I repaired it using a small piece of brass rod fitted through the hole, soft soldering it in place then drilling out the 3mm hole again to remove the brass rod that was now partially blocking the hole. It all seems to have worked out quite well. It would not be too visible when the engine is assembled as it is facing towards the inside. I have since made another work cylinder so it was not necessary to repair this one. I just wanted to see if this would work.

                                  I have noticed that when drilling long holes that the drill bit seems to deflect a bit even when I go up in increments : 1.6mm 2mm 2.5mm 3mm. I am not sure what else I can do to avoid this problem.

                                  work cylinder repair.jpg

                                  Edited By Brian John on 31/01/2016 06:01:22

                                  #223328
                                  Ian S C
                                  Participant
                                    @iansc

                                    I too find it difficult to get very deep holes straight, if it's a through hole I find the best way is if I can drill half way, or a fraction more, then drill from the other end, you can then drill right through with a larger drill, and it will be straight.

                                    Ian S C

                                    #223330
                                    Brian John
                                    Participant
                                      @brianjohn93961

                                      ''Drilll from the other end'' ……and end up with two holes ! I had already thought about that and dismissed the idea

                                      #223343
                                      pgk pgk
                                      Participant
                                        @pgkpgk17461

                                        Perhaps someone with more experience than I can comment on the benefits of starting such holes with stub drills and slot endmills if equipment isn''t ideally rigid.

                                        I'm glad to say that my mill usually runs them pretty good if I start with an effective centre-drill but for tiny holes I've just bought stub drills to try on the mill instead (saves digging out broken tips)

                                        #223358
                                        JasonB
                                        Moderator
                                          @jasonb

                                          I think you are drilling in two many small steps. I would go straight in with a 3mm or 2.5 then 3 if I wanted it to be on size or 2.8 followed by a 3mm reamer for a really good fit. By starting with 1.6mm you are using a very small drill that will be more likely to wander and then the rest just follow the crooked hole.

                                          PDK, get youself a spotting drill for starting holes, unlike center drills there is no small dia tip to break off, I now only use a ctr drill where I need a 60deg cone to locate a centre.

                                          #223360
                                          Ajohnw
                                          Participant
                                            @ajohnw51620

                                            The smaller and crapper the drill the more chance it has of wandering. It's best to always start off with a centre drill. If you break the tip I explained what to do to get it out earlier but there is only a need to use the tip of the centre drill for holes of this size. It ensures the drill starts on axis but doesn't need the use of one of the very fine ones.

                                            Aluminium is funny stuff to drill. The hole needs to be drilled in stages with frequent withdrawals. The swarf often needs flicking off each time with a scriber. Rubbing some hand soap on the drill will help. How far in before pulling out – you'll need to find out for yourself. I don't know say 3mm drill, when the swarf has built up say 10mm back up the flutes. It's also a mistake to feed the drill in too slowly.
                                            Get yourself a decent junior hacksaw that allows the blade tension to be set such as

                                            **LINK**

                                            There are also eclipse blades on there. Not that this means that much, decent junior blades don't match up with what is available for hack saws. A decent even if rather small vice that's fixed in place helps as well.

                                            If you want a few decent drills I would suggest getting them from here. These should be similar sources somewhere in Oz.

                                            **LINK**

                                            Full sets of good quality drills are very expensive but a cheaper set can be augmented with a few smaller ones. They also sell the sets but the price – ouch. The few drills I have bought off them have had ground ends. They were left hand but I assume the others will be too.

                                            John

                                            #223365
                                            Ajohnw
                                            Participant
                                              @ajohnw51620

                                              You can get the type of saw Michael mentioned Brian from here for instance

                                              **LINK**

                                              I've been known to use a coping saw but the piercing blades are probably better. Not something I use much.

                                              John

                                              #223375
                                              Brian John
                                              Participant
                                                @brianjohn93961

                                                1. The cylinder is brass, not aluminium. The hole is supposed to be 3mm but there is no need for a reamer as nothing goes in it (except air). This hole down the side of the work cylinder is connected to the displacement cylinder via the cylinder holders.

                                                2. I did have a 3mm spotting drill which I was using to start holes but it quickly became blunt after a few weeks and now it does not cut at all so I am reluctant to buy another. It is hard to guess the quality of these things when buying online. I have found that price is NOT a good indicator of quality : yes, good quality is usually expensive but just because it is expensive does not mean it is good quality !

                                                3. I have that exact same Irwin junior hacksaw as per the link. I still manage to cut on an angle which is not perpendicular to the surface. This is why I use the slitting saw in the lathe whenever possible. I do not have this problem when using a full size hacksaw so I am not sure what I am doing wrong.

                                                Edited By Brian John on 31/01/2016 17:12:35

                                                Edited By Brian John on 31/01/2016 17:13:08

                                                #223377
                                                JasonB
                                                Moderator
                                                  @jasonb

                                                  Brian I tend to use two sizes of spotting drill 1/8" and 3/16" both that I have on the go at the moment are over a year old and I drill a lot more holes than you and they are still sharp so sounds like you got a duff one.

                                                  Try holding the saw with your index finger along the edge of the frame eg pointing forwards and grip the handle with the other three it should help you saw straight.

                                                  #223382
                                                  Ajohnw
                                                  Participant
                                                    @ajohnw51620

                                                    I'd try a centre drill if I were you Brian. They are designed for the job and don't flex at all. They needn't be exactly on centre either as they are capable of cutting on one side which will generate a true start for the drill to centre on when it's used.

                                                    It is best to cut at least a slight cone but taking a No 4 the tip is only slightly over 3mm dia., a No 3 slightly less. Your unlikely to break either size. I use a No4 most of the time and a No2 if I need to for some reason. Both sizes are pretty robust. If some one's tail stock is well out they may have problems with a number 2. I don't feed these as quickly as a drill but they do need to cut and not just rub especially on aluminium.

                                                    If you buy more spotting drills look for HSE or M35. Frankly I can't see the point of them as wonderful as they are,

                                                    I also have some No1's or 0's. A bit fine for a boxford really as they would ideally need a higher speed than it can give but the correct feed rate will look after that.

                                                    John

                                                    #223437
                                                    Brian John
                                                    Participant
                                                      @brianjohn93961

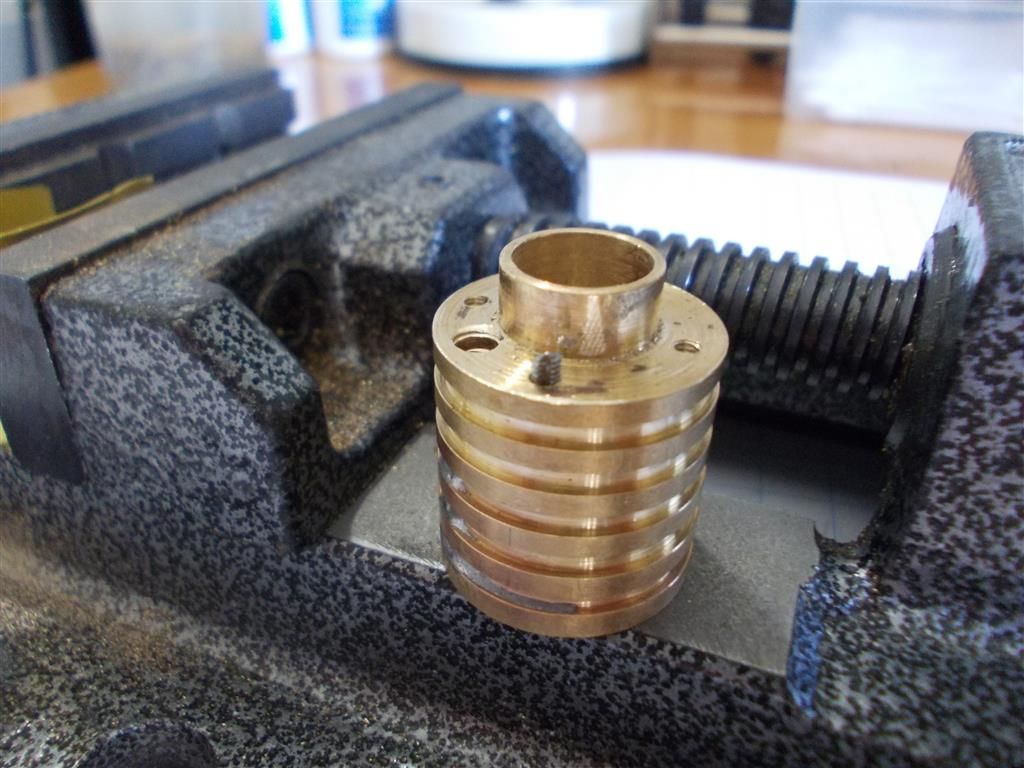
                                                      This is one of my spare work cylinders so it is not such a drama : I have a broken M2 finisher (bottom) tap stuck in there. I thought I might be able to grab the broken end with the pliers and twist it out that way but it will not move. I doubt that drilling it out would work as the drill bit would just deflect around the broken tap. A centre drill might work to get things started after cutting off the broken tap. I am willing to try it but thought I should ask for some advice first.

                                                      NOTE : it is a good reminder to have a spare set of M2 taps always on hand !

                                                      broken tap 1.jpg

                                                      Edited By Brian John on 01/02/2016 05:56:35

                                                      Edited By Brian John on 01/02/2016 06:00:18

                                                      Edited By Brian John on 01/02/2016 06:01:00

                                                      Edited By Brian John on 01/02/2016 06:04:29

                                                    Viewing 25 posts - 326 through 350 (of 764 total)
                                                    • Please log in to reply to this topic. Registering is free and easy using the links on the menu at the top of this page.

                                                    Advert

                                                    Latest Replies

                                                    Home Forums Stationary engines Topics

                                                    Viewing 25 topics - 1 through 25 (of 25 total)
                                                    Viewing 25 topics - 1 through 25 (of 25 total)

                                                    View full reply list.

                                                    Advert

                                                    Newsletter Sign-up