Stainless Watch case

Advert

Stainless Watch case

Home Forums Work In Progress and completed items Stainless Watch case

Viewing 10 posts - 1 through 10 (of 10 total)
  • Author
    Posts
  • #31375
    Dave S
    Participant
      @daves59043
      Advert
      #556154
      Dave S
      Participant
        @daves59043

        Afternoon all,
        It seems that recently I have been stuck in a loop of building machines. However I have just finished a little bit of watch case making, thanks to my eldest daughter.

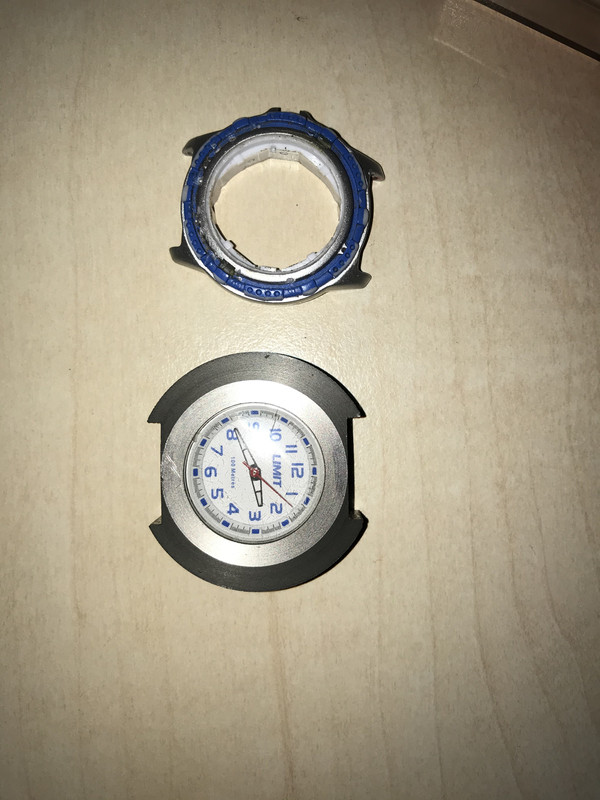
        Couple of years ago Daughter picked up a cheap 'dive inspired' quartz watch. Not a bad thing, and for a couple of quid it was reasonably priced given it didn't appear to work.
        Once I changed the battery (it had gone flat in the shop…) it was all good.
        I think its a Seiko movement – no2 daughter has a Lorus with the same movement in it. They have 2 batteries – one for the movement and one for the EL face – a PITA to change the movement one of course.
        Anyway this watch was worn a lot, and eventually the lug on the case snapped. Cue sad daughter, who asked if I could fix it (of course).
        I had a look and decided that while I could glue it back together where's the fun in that? So I agreed to make a new case.

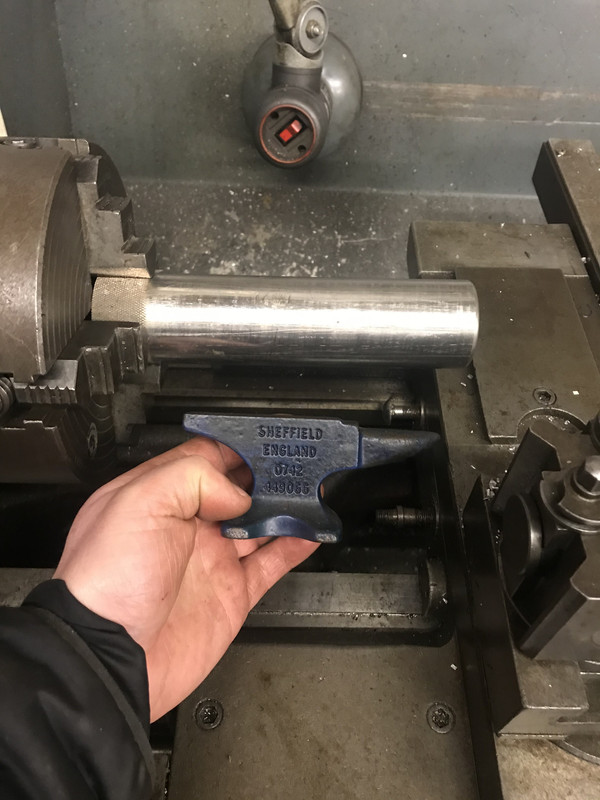
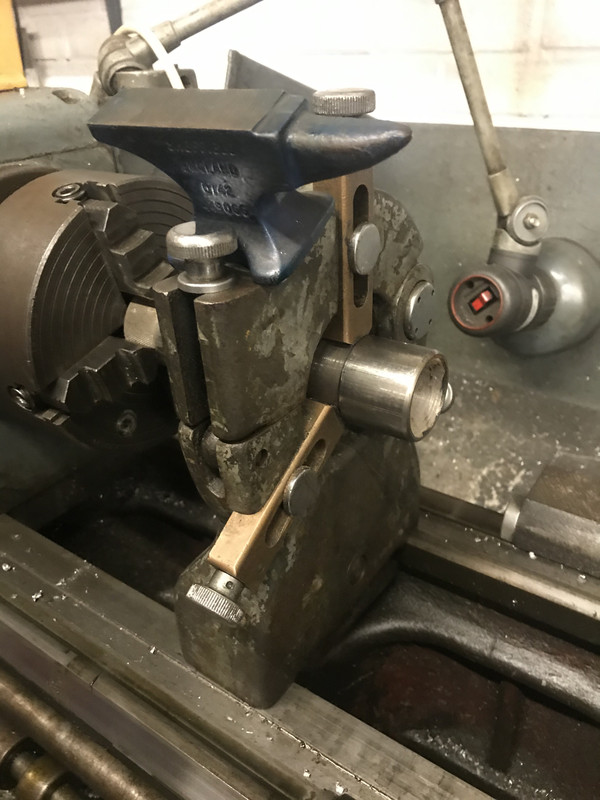
        I started by bunging a bar of recently acquired stainless scrapbinium in the lathe and set to. (Anvil for Scale )

        The stick out was a bit much, so I set up the steady in avoidance of wearing a 2" diameter chunk of steel

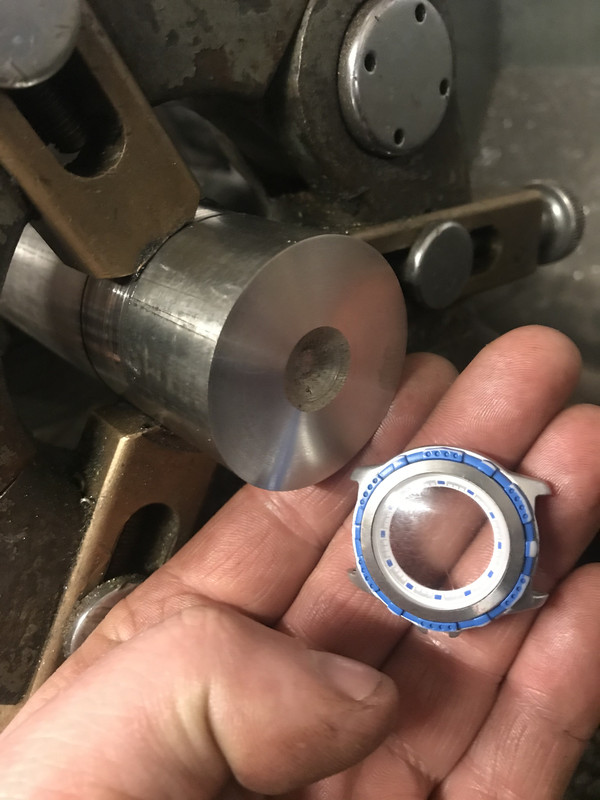
        Faced the bar off to give me an idea of what I was working with,

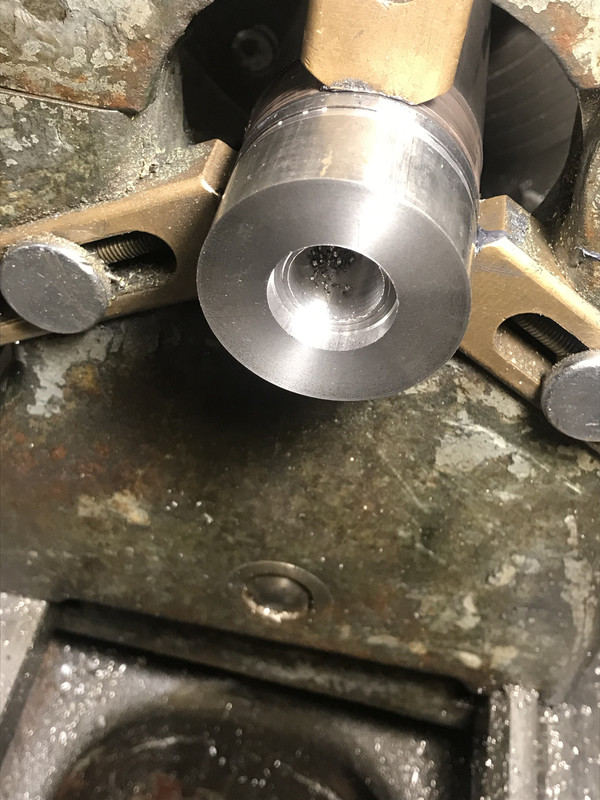
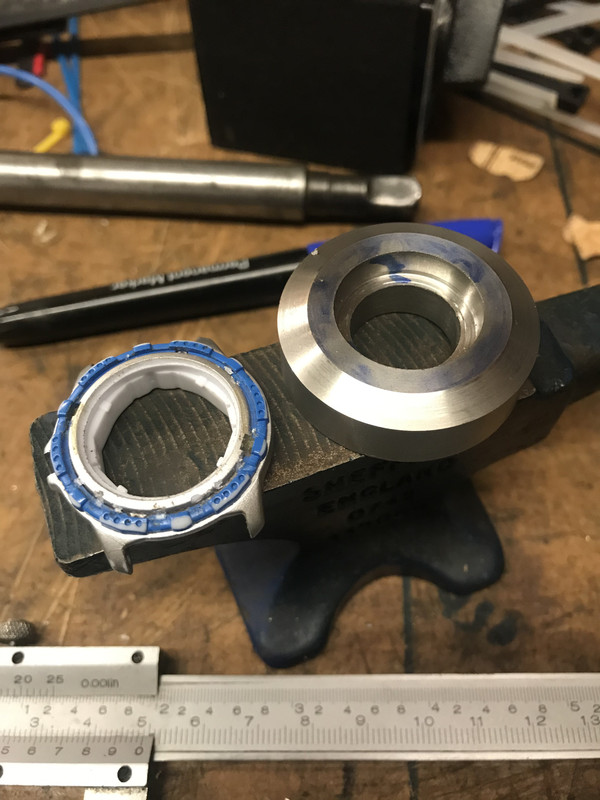
        and then chucked a hole at the middle – the movement is actually a lozenge shape, so I roughed out the movement hole and the step for the crystal and chapter ring.

        That done I bevelled the front and parted off a roughly case sized ring.

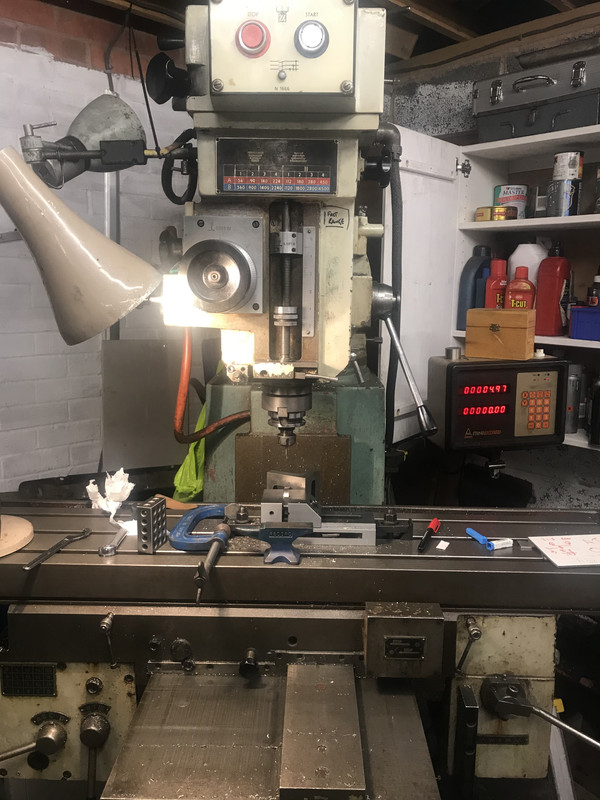
        The hacking out of the movement hole will come later – on the Milling machine.

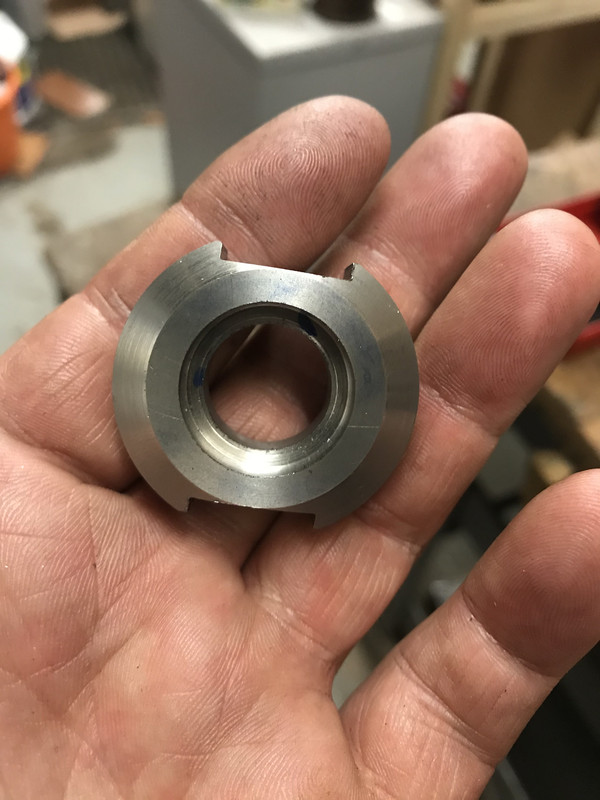
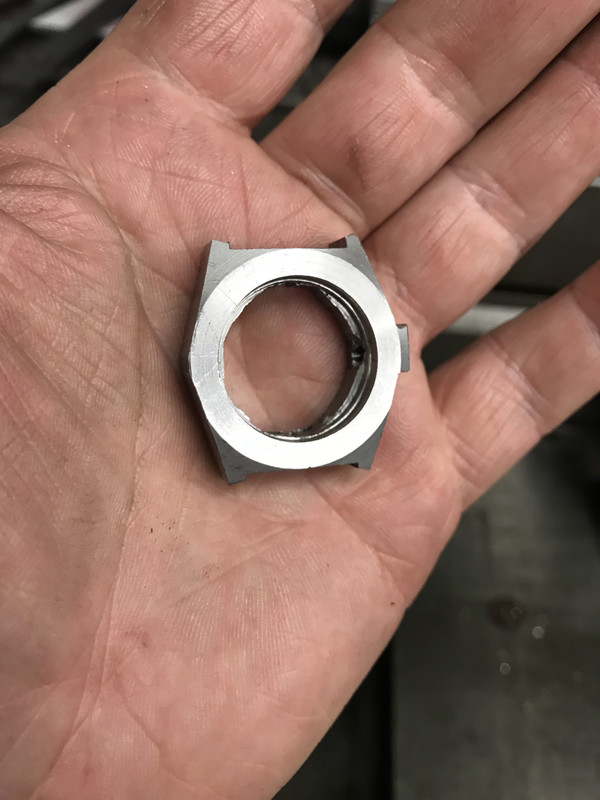
        Seems I didn't take any photos of the initial lug cutting, but now the round is more of a case blank shape

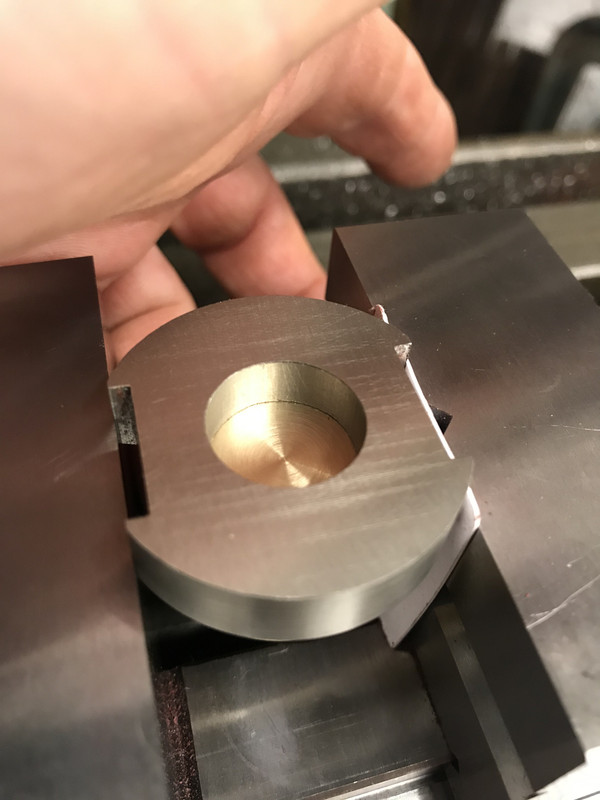
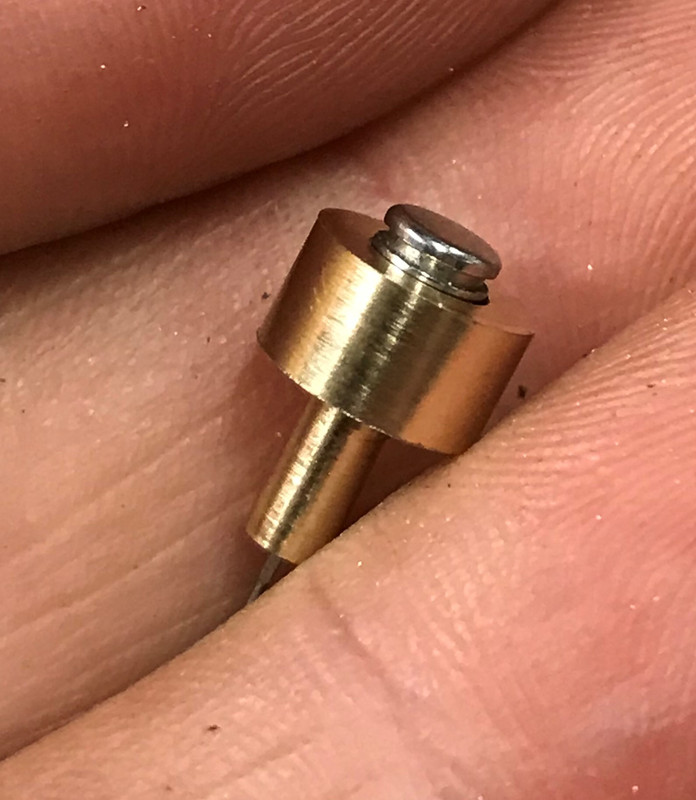
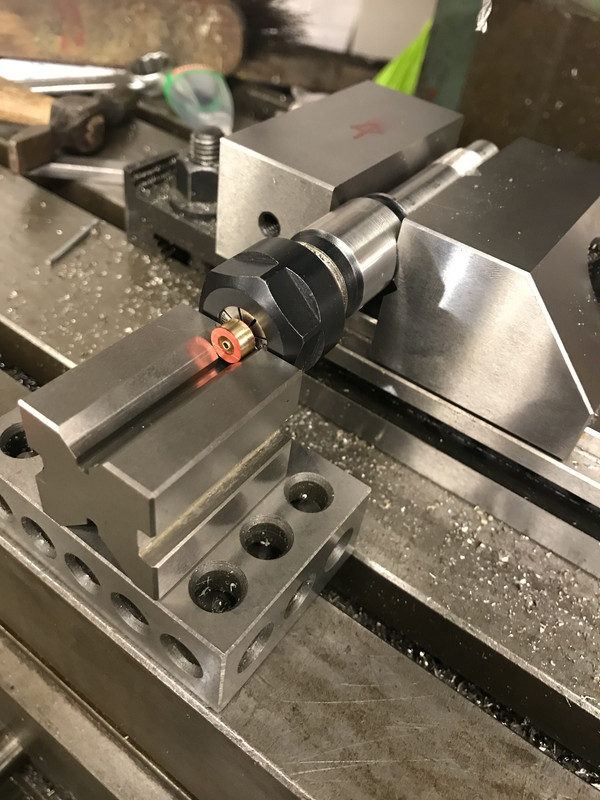
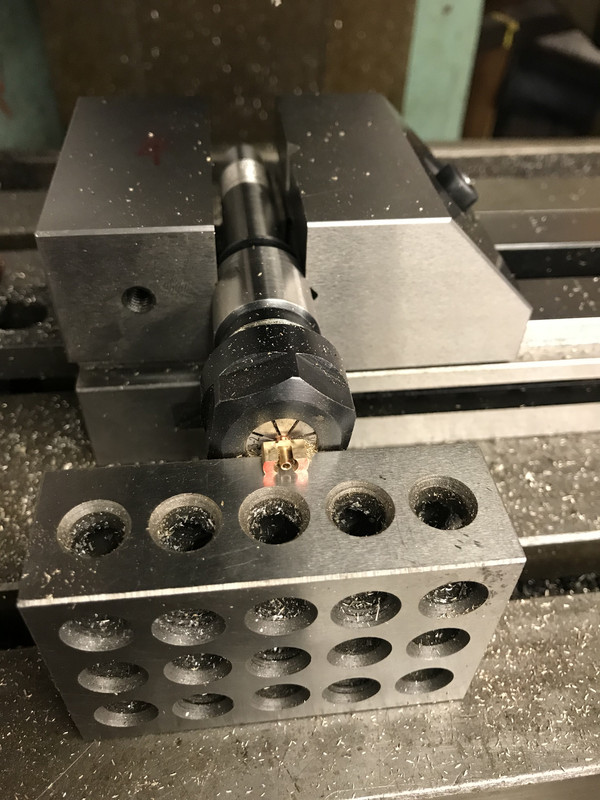
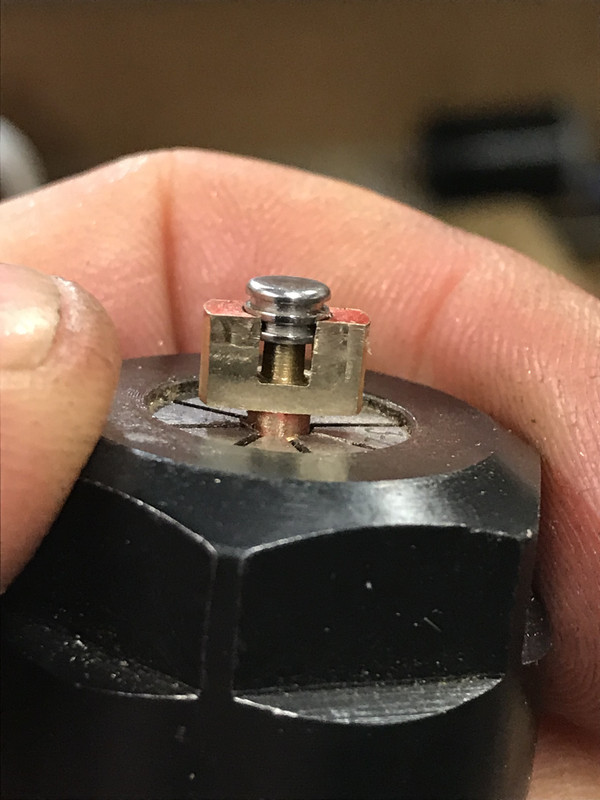
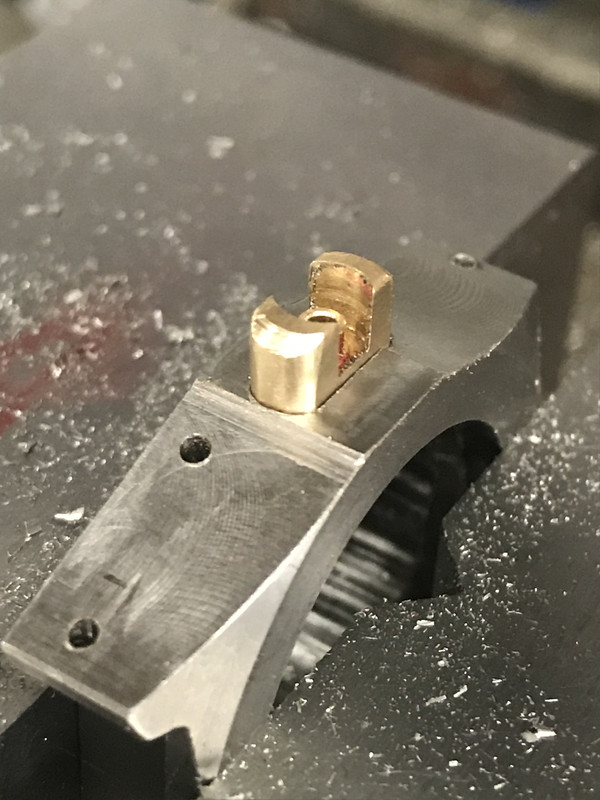
        The movement actually sits pressed up against the back of the chapter ring, so my datum point was the recess that the chapter ring sits in. The back of the blank is not yet at a specific place, so I made a brass plug to sit on the chapter ring ledge and allow me to set up from the other side

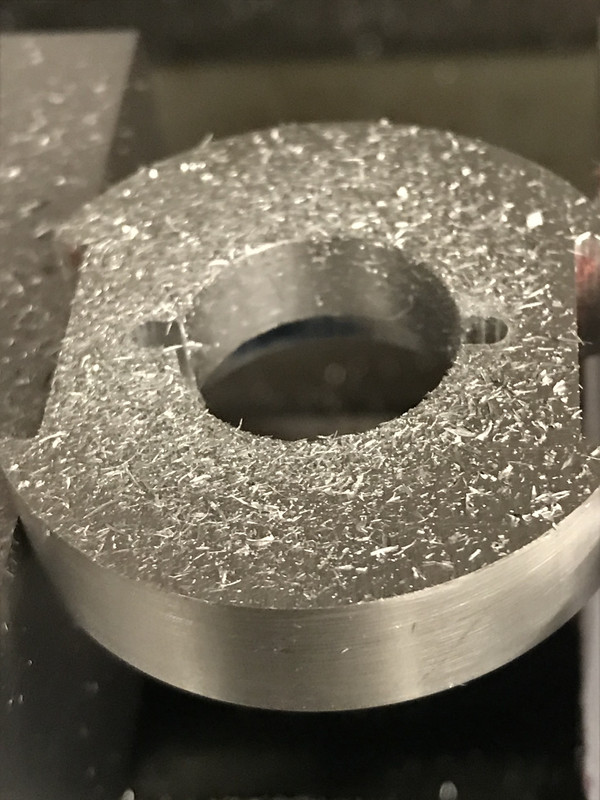
        These 2 mini slots define the ends of the lozengeish movement shape.

        There followed a lot of strange angle milling – which I apparently took no photos of – but that's not too surprising as I had to concentrate a lot…

        Then the movement fits!

        You can see the odd shape in the plastic case here.
        The case is still quite chunky for a ladies watch

        Next up was to work out where the stem and light pusher holes needed to be, and what size.
        This is a shot through my Toolmakers microscope – to measure what size the stem hole was, and where it was positioned.

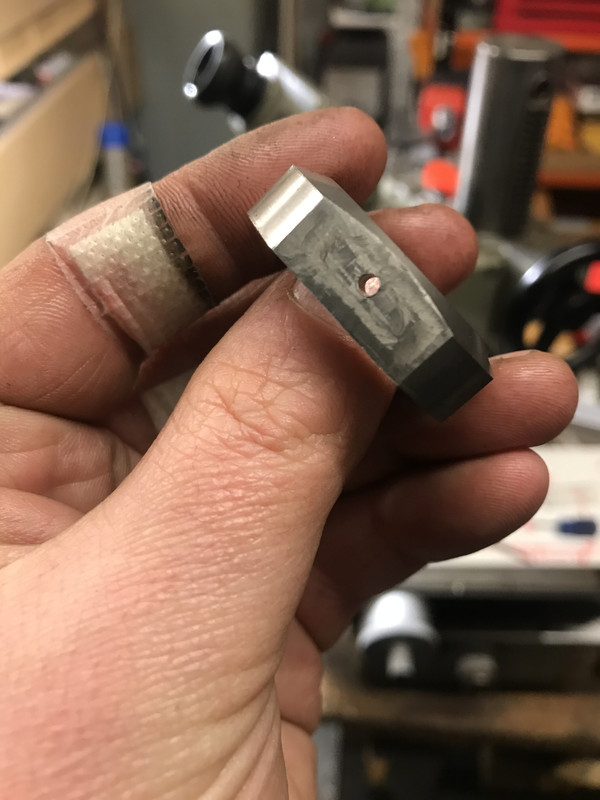
        Then it was onto the mill to drill some holes.

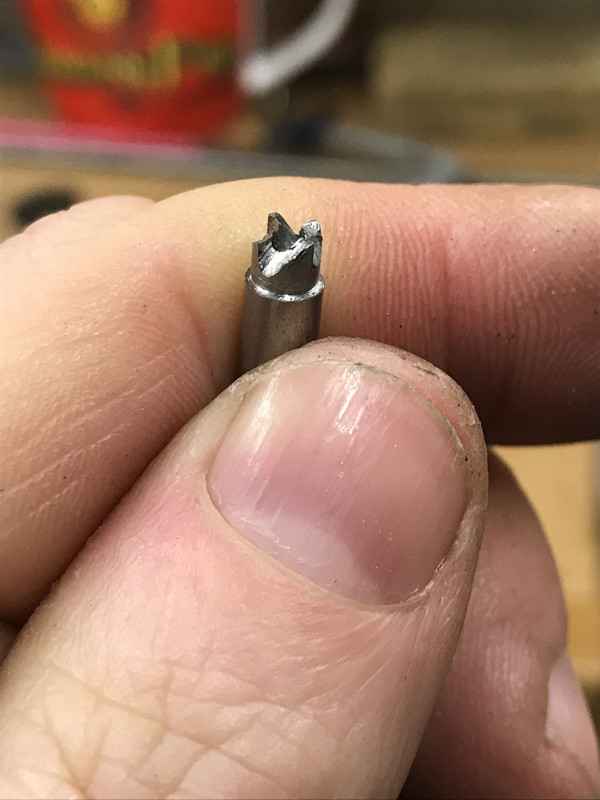
        What you can't see in this picture is the snapped carbide drill bit inside the nearly completed hole

        These things happen, but I was a little 'upset' about it.

        Fortunately I've picked up a few machinists rescue methods…
        Here's one I used this time – you can drill out a carbide drill if you are:
        1 – careful,
        2 – lucky, and
        3 – have an enormous milling machine.
        1 and 3 no problem, and as the option was to start from scratch or be lucky I gave it a go.

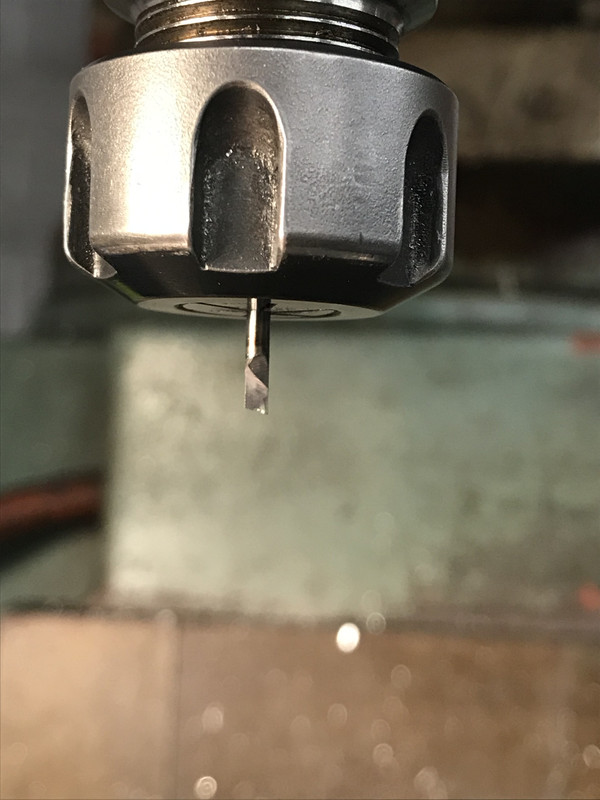
        This is a single lip cutter – its ground out of a solid carbide bar and is a fair amount bigger that the hole I intended to make, but needs must – I can always sleeve it (shh – spoilers

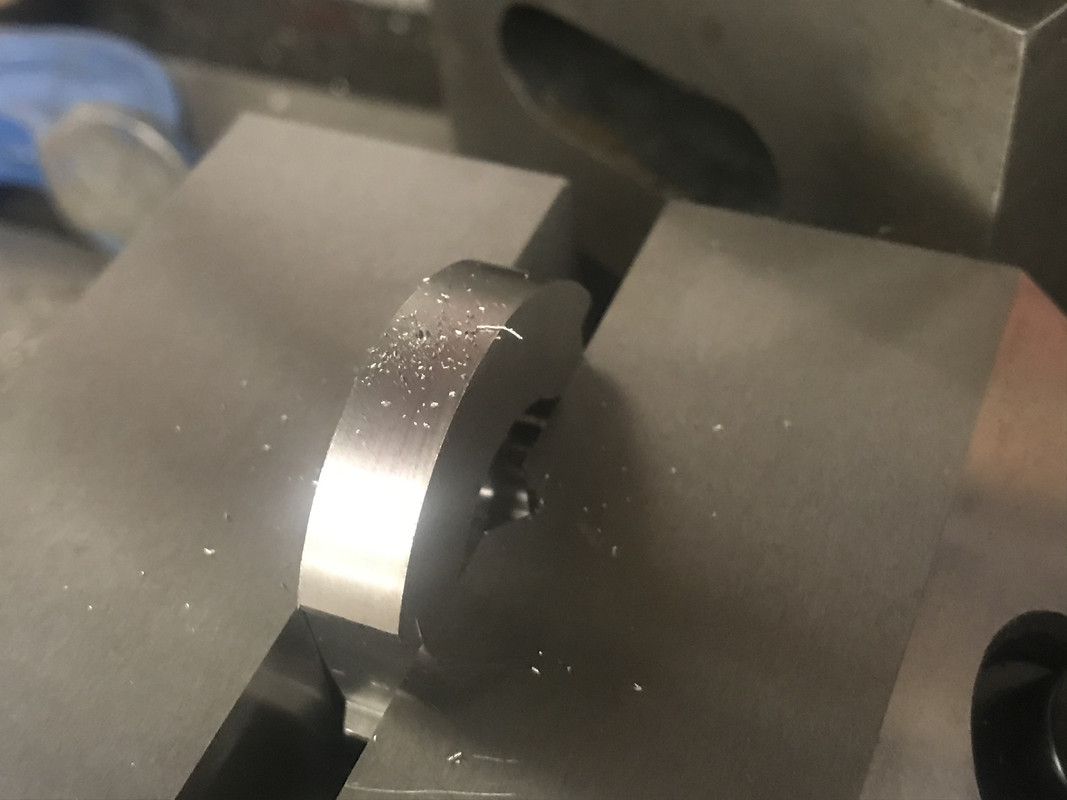
        I machined the round surface flat first, so I had a good starting point, and then pecking 1 thousandth of an inch at a time I proceeded to drill out the broken bit and the rest of the hole. Incidentally the plaster is in no way related to the watch case.

        Now seemed like a good time to make it more watch case shaped, so I created some angled sides – Straight edges and curves are IMO a good design statement.

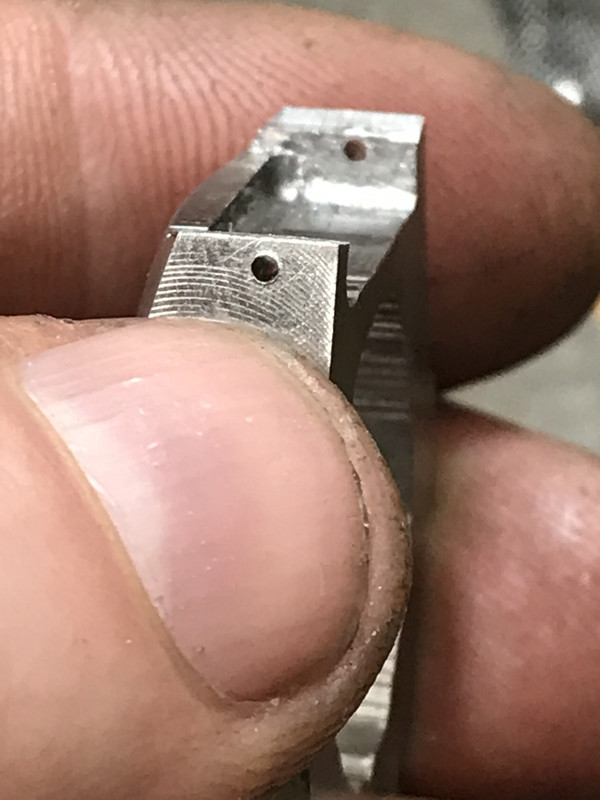
        Whilst I had the case setup I put in the spring bar holes – I prefer drilled lugs as it makes strap changing much easier.

        Part 2 to follow as the post is too long

        #556155
        Dave S
        Participant
          @daves59043

          I originally planned to make the case and stem tube in one piece, but the rather large hole required a new plan.
          I didn't have any stainless in about the right size, but I do have some brass. So brass stem tube / crown guards it is.
          The colour will make an interesting contrast, it might even look like a design choice
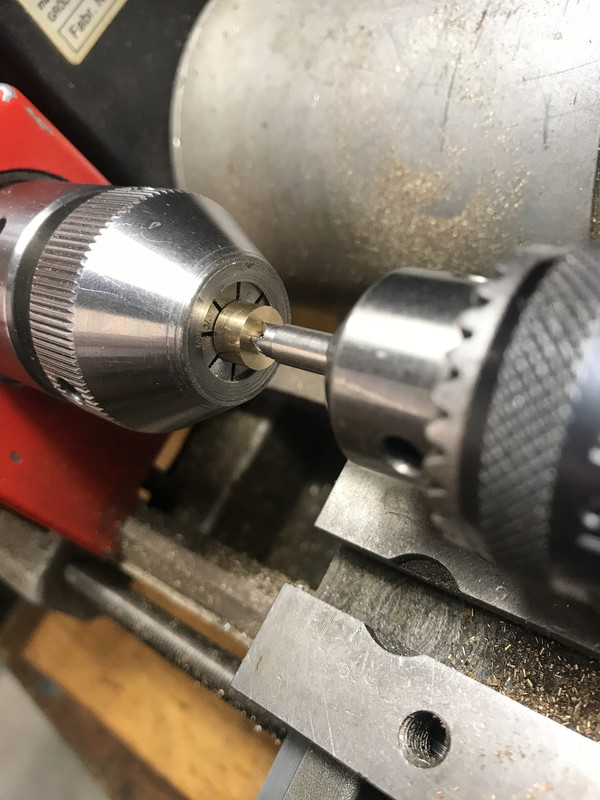
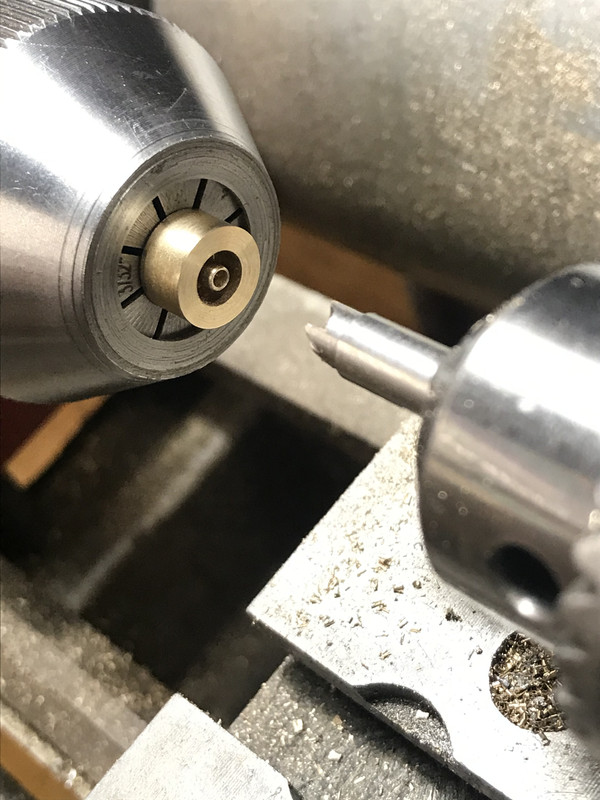
          I made a cutter to create the crown recess from silver steel:

          I filed 4 'teeth' onto it.

          Then having faced and drilled a piece of brass on my smaller lathe I setup to use it

          The original crown and stem fit beautifully, Feels like the o-ring seals will be fine.

          Of course its somewhat fiddly to get at the crown with it totally surrounded by a guard.
          To the milling machine!

          Flip and repeat for the other side

          Ta Da! now its simpler to get to

          The milling has left somewhat sharp lines on the guard.

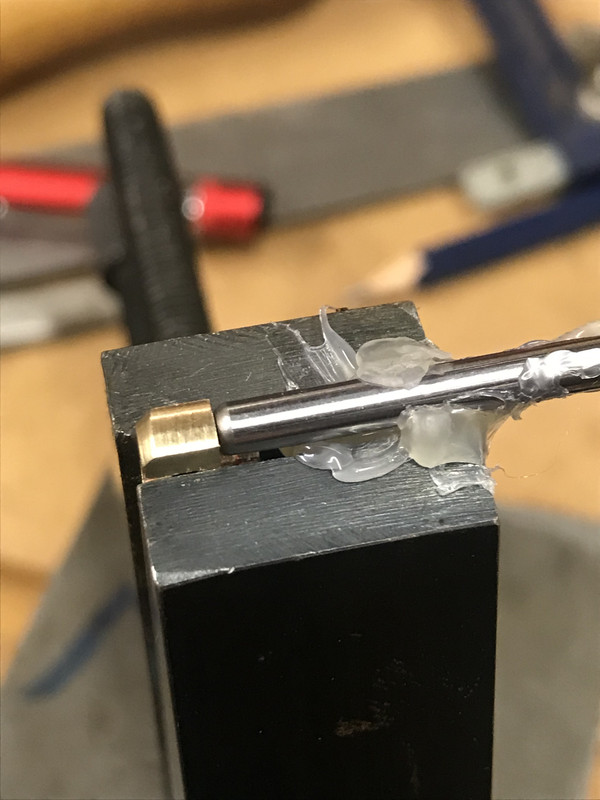
          I wanted to blend them, so with the help of a hot glue gun and a piece of carbide I made a radius filing jig.

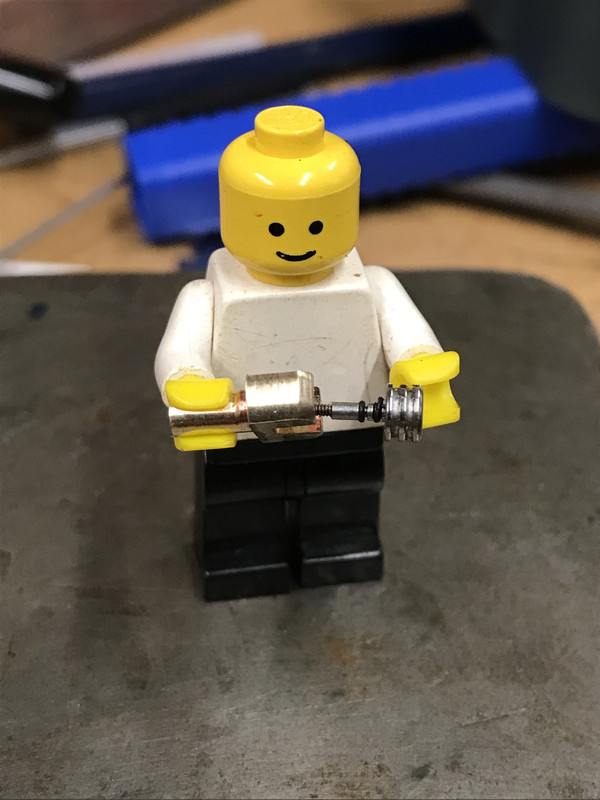
          My little assistant helps to illustrate the size of these things

          Once radiused I can then use the same diameter endmill to cut the recess into the case to fit the crown for length (its amazing how these things work out )

          Crown sorted now time to do the light pusher.
          She was very adamant this still had to work.
          Of course its another hole in the case but this one I didn't snap a drill in. You can see it just next the the crown guard in the previous photo.
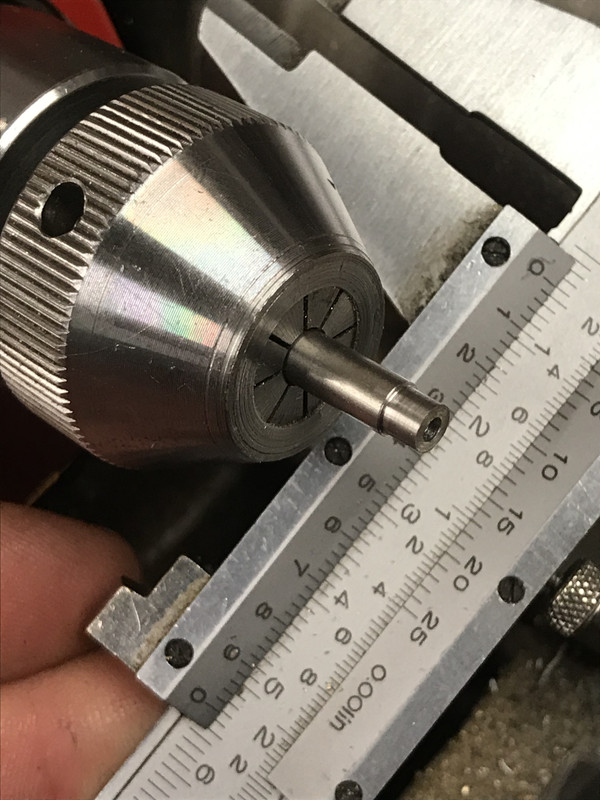
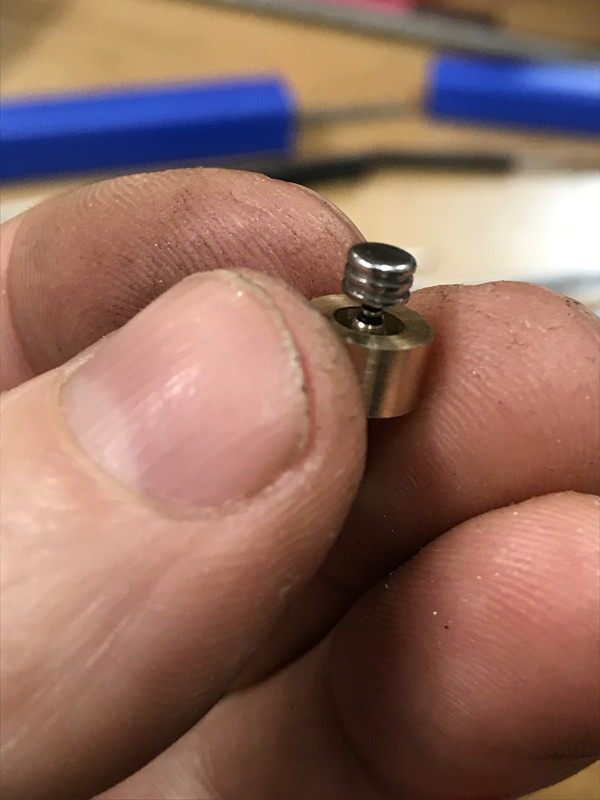
          The Light pusher has a pair of o rings, a spring, and is held on the inside of the case with a tiny tiny E clip.
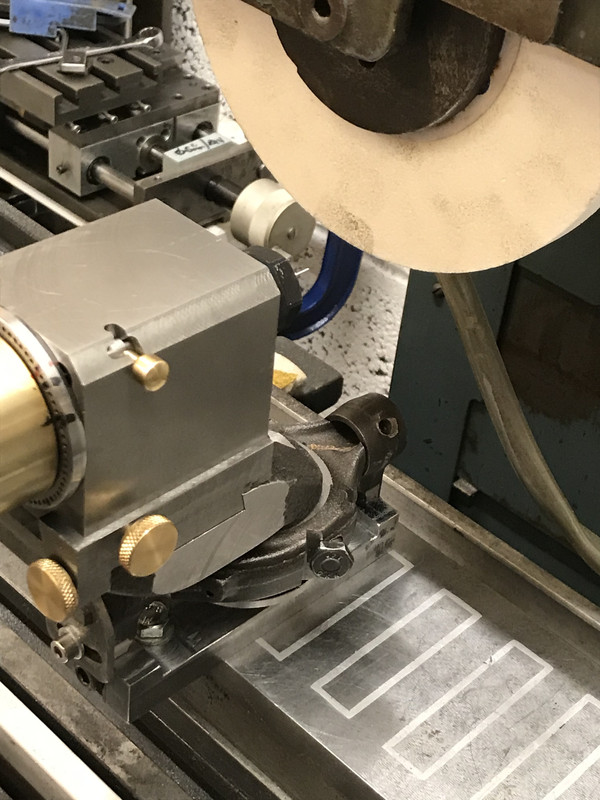
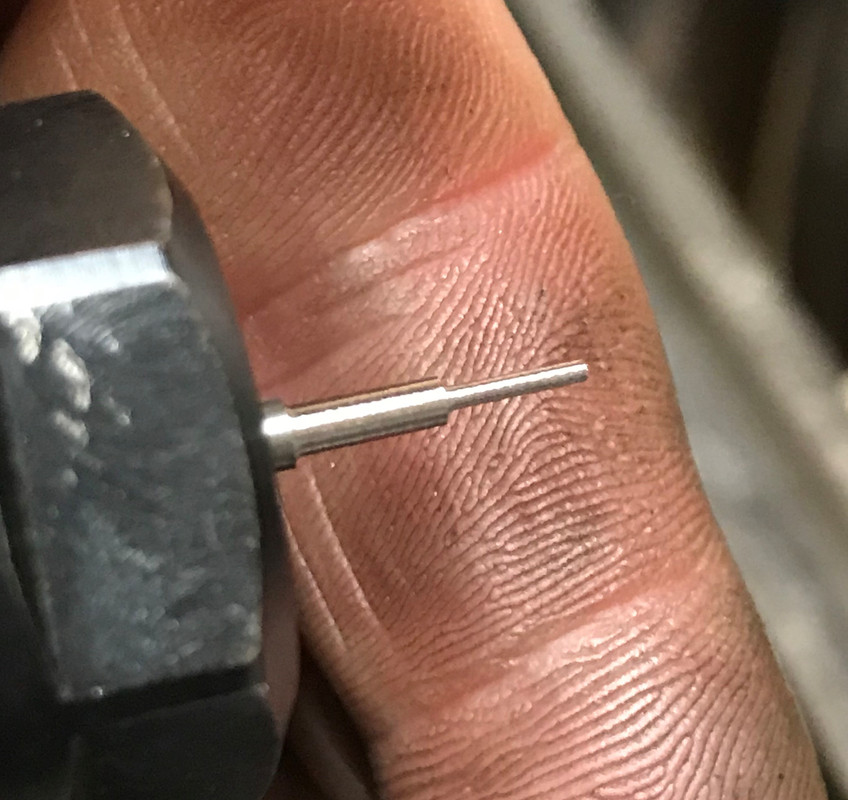
          Fortunately I had just finished making a grinding work holding spindle, so I pretended my surface grinder was a cylindrical grinder:

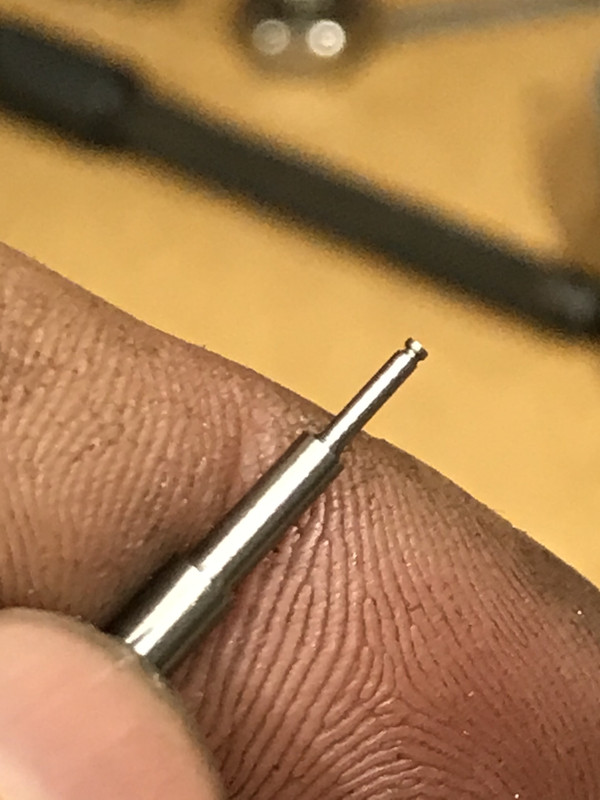
          Then made a quite long, stepped and very thin thing. To turn this on the lathe would have been 'tricky', especially as the stock is already hardened.

          Then "all" I had to do was put a groove in the end with a small diamond file

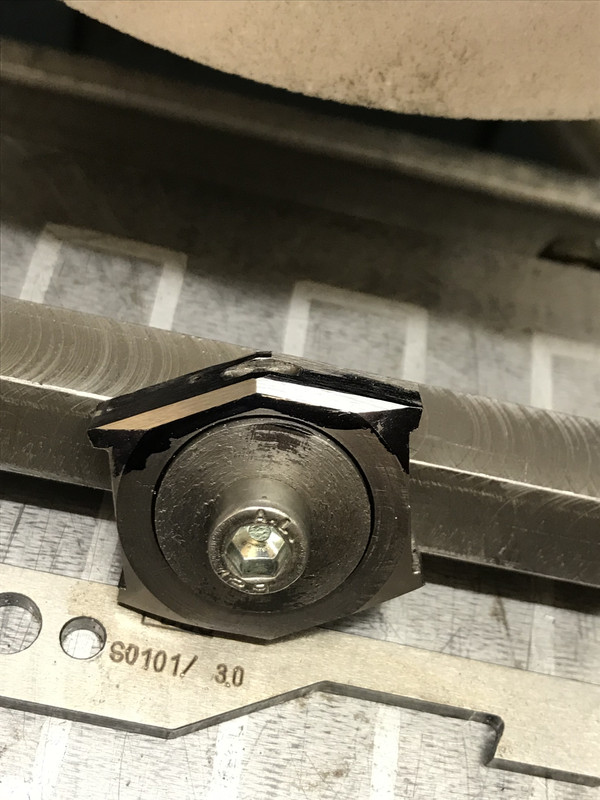
          All the bits are made – time for some finishing. I surface ground the straight edges, of course scrapbinium is not magnetic, so I had to make a fixture to hold the case to the chuck. First I ground the sides and then I added some facets – to reduce the weighty look of what is admittedly a large is chunk of metal.

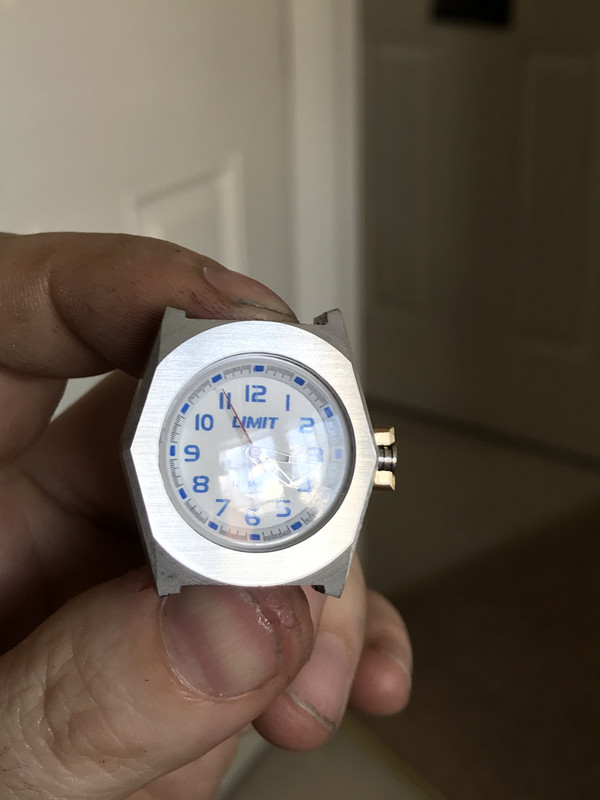
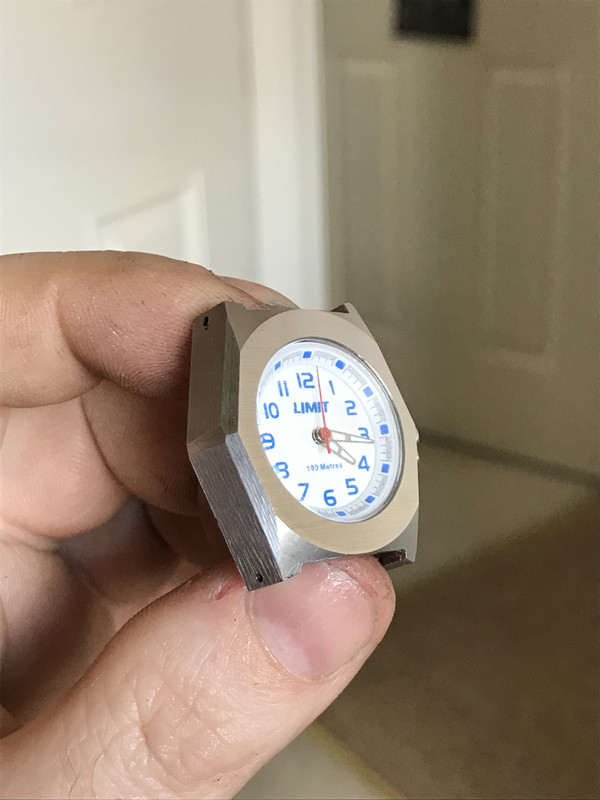
          The end result came out ok I think.
          Its not perfect, but I'm fairly sure she wont snap the lugs on this one:

          Dave

          #556158
          duncan webster 1
          Participant
            @duncanwebster1

            I'm not seeing any photos

            #556159
            Ady1
            Participant
              @ady1

              Your pictures take forever to download or don't download at all, I suggest you make an album in here for what is an interesting project

              Looks really good so far

              As a lifelong seiko wearer I would suggest a titanium case because the lightness makes the watchstrap pins last far far longer when in daily use

              My original stainless needed the pins swapped every few years and was eventually lost one day on a munro in scotland (boo-hoo)

              My current titanium has been on my wrist every day for 12 years without a hitch

              #556161
              Dave S
              Participant
                @daves59043

                Will edit later at home – and pull the photos locally.

                They all show for me – but then if they didn't I would have noticed…

                Dave

                #556162
                Sandgrounder
                Participant
                  @sandgrounder

                  All the photos show up for me with no problems at all, some great work there to take on, I'd just have bought her a new one.

                  #556201
                  old mart
                  Participant
                    @oldmart

                    Wonderful precision work. I couldn't see the photo's when I first visited the thread, but now I am logged on, they all work as expected. I have never had that happen on this forum before.

                    Picture 2 made me chuckle, instead of wearing a 2 inch bar, the anvil would be a good substitute.

                    Edited By old mart on 28/07/2021 20:22:09

                    #556222
                    J Hancock
                    Participant
                      @jhancock95746

                      Makes you realise what a bargain you are getting for a few Baht in the MK Centre in Bangkok , complete with strap and battery and keep perfect time .

                      How can they sell for that price and make a profit ?

                      #556249
                      Nicholas Farr
                      Participant
                        @nicholasfarr14254

                        Hi Dave, smart piece of work.

                        Regards Nick.

                      Viewing 10 posts - 1 through 10 (of 10 total)
                      • Please log in to reply to this topic. Registering is free and easy using the links on the menu at the top of this page.

                      Advert

                      Latest Replies

                      Viewing 25 topics - 1 through 25 (of 25 total)
                      Viewing 25 topics - 1 through 25 (of 25 total)

                      View full reply list.

                      Advert

                      Newsletter Sign-up