Edit: __ It’s well-presented, and very informative.
Edited By Michael Gilligan on 17/01/2023 07:56:16
Excellent! It is indeed informative. Interestingly, the third-party heatsinks they mention don't meet their claim of a <25mm total depth – for example the MechaTronix unit they show has a height of 68mm. Maybe the ones they designed in-house are much more efficient.
On thermal paste, the application note doesn't actually contradict the datasheet. Looking at the (small print!) footnotes to table 2 the use of pastes, gels and adhesives is not recommended.
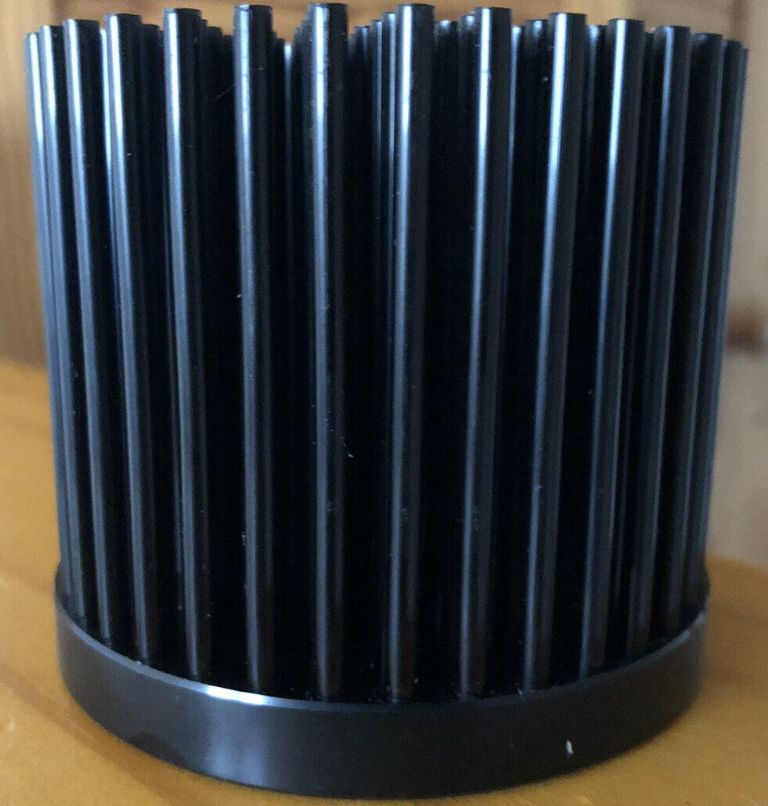
I've been looking around for cheap heatsinks which might do the job and came across this offering on eBay:
The seller doesn't give the thermal resistance and hasn't yet responded to my enquiry, but it may be that there is someone out there who can just look at it and say it'll be fine (or not).
I too grabbed some 240V drivers before the price went up, so thanks from me as well Les.
On thermal paste, the application note doesn't actually contradict the datasheet. Looking at the (small print!) footnotes to table 2 the use of pastes, gels and adhesives is not recommended.
.
Quite so, Robin
The point being [as per my comment to Les] that the application note is written for ‘responsible adults’ and the datasheet is written for a wider audience.
i.e. we are seeing the distinction between not recommended and do not
For me, I think I have power supplies sorted but I'm still unsure about heatsink requirements. One of the things that attracted me to these arrays was the possibility of making low-profile lights – from the data sheet:
"One example of an innovative application of the OrionTM is Plessey’s ability to re-create an
LED version of the AR111, for a track spot, at less than 25mm in depth including LEDs, optics
and a heatsink. Further information can be found in the OrionTM application notes."
It sounds like other contributors to this thread already have heatsinks which are up to the job (possibly bulkier than Plessey suggest), but I haven't, so will have to buy or make them myself. Probably the latter.
I haven't yet found Plessey's application notes, which I had hoped might shed light.
Posted by Robert Atkinson 2 on 14/01/2023 12:34:37:
[…]
A classic mistake, nnot just with cheap makes, is the gold anodised metal clad power resistors e.g a 25W 25 ohm WH25. It's 25 W so you can put 1 A through it right (P = I squared times R)? Yes, but only if it is on a 23cm square 1mm thick aluminium plate at a 25 degree C ambient. Even at that the resistor will be at over 140 degrees C.
Robert G8RPI.
Robert, that sounds like you have a formula for the heat dissipation from a flat plate of aluminium given (I'm guessing) a point source. I've been making some simple calculations of radiative dissipation because that's all I have in my toolbox. For your putative 23cm square sheet at 140C and ambient 25C I get a dissipation of around 120W, but that's assuming that the whole sheet is at 140 degrees, and ignores convective heat loss. So unrealistic assumptions, but not a crazy result. If you have a formula it would save a lot of head scratching.
It may well be that I'm worrying unduly – Paul's interesting photos (welcome to the forum from me too Paul) don't show a heatsink other than the housing.
Robin.
Hi Robin,
The for the WH25 resistor I made no calculations. All the information came off the datasheet. The reference heatsink (230mm x 230mm x 1mm aluminium sheet) is a very poor design. In comparison to the heatsink the resistor is a point source. A engieered heatsink to keep the resistor (any 25W source) just touch safe (60 deg C) at 25 deg ambient would be 1.4 C/W.
There are few practical devices, other than heaters that put power into contact areas bigger than a few square centimeters. The area on the LED modules is quite large.
Posted by Michael Gilligan on 17/01/2023 07:05:40:
Posted by Robin Graham on 17/01/2023 00:46:31:
[…]
It may well be that I'm worrying unduly – Paul's interesting photos (welcome to the forum from me too Paul) don't show a heatsink other than the housing.
Robin.
.
I would posit that Pail neatly side-stepped the problem of heat dissipation by under-running the LEDs.
MichaelG.
Indeed. power dissipation dropped by at least 50%. His housing will actually dissipate a lot of heat. The shape of a thin area and tube in middle means there will be a temeperature gradient actoss the LED "puck" with a cool ring where the tube contacts and getting hotter towards the middle and edge. This might affect reliability but under running by 50% will help.
Posted by Michael Gilligan on 17/01/2023 09:45:13:
Posted by Les Jones 1 on 17/01/2023 09:41:33:
Thanks Michael for the last link. It seems to contradict the datasheet regarding polarity and the use of heat sink compound.
Les.
.
It does indeed
I suspect that the datasheet was written for a wider audience, and is therefore more ‘risk-averse’
MichaelG.
The notes on the table of heat teansfer materials say greases, gells and adhesives are not recommended for use with the orion modules.
Always read the notes!
Posted by Robert Atkinson 2 on 18/01/2023 08:18:56:
Posted by Michael Gilligan on 17/01/2023 09:45:13:
Posted by Les Jones 1 on 17/01/2023 09:41:33:
Thanks Michael for the last link. It seems to contradict the datasheet regarding polarity and the use of heat sink compound.
Les.
.
It does indeed
I suspect that the datasheet was written for a wider audience, and is therefore more ‘risk-averse’
MichaelG.
The notes on the table of heat teansfer materials say greases, gells and adhesives are not recommended for use with the orion modules.
Always read the notes!
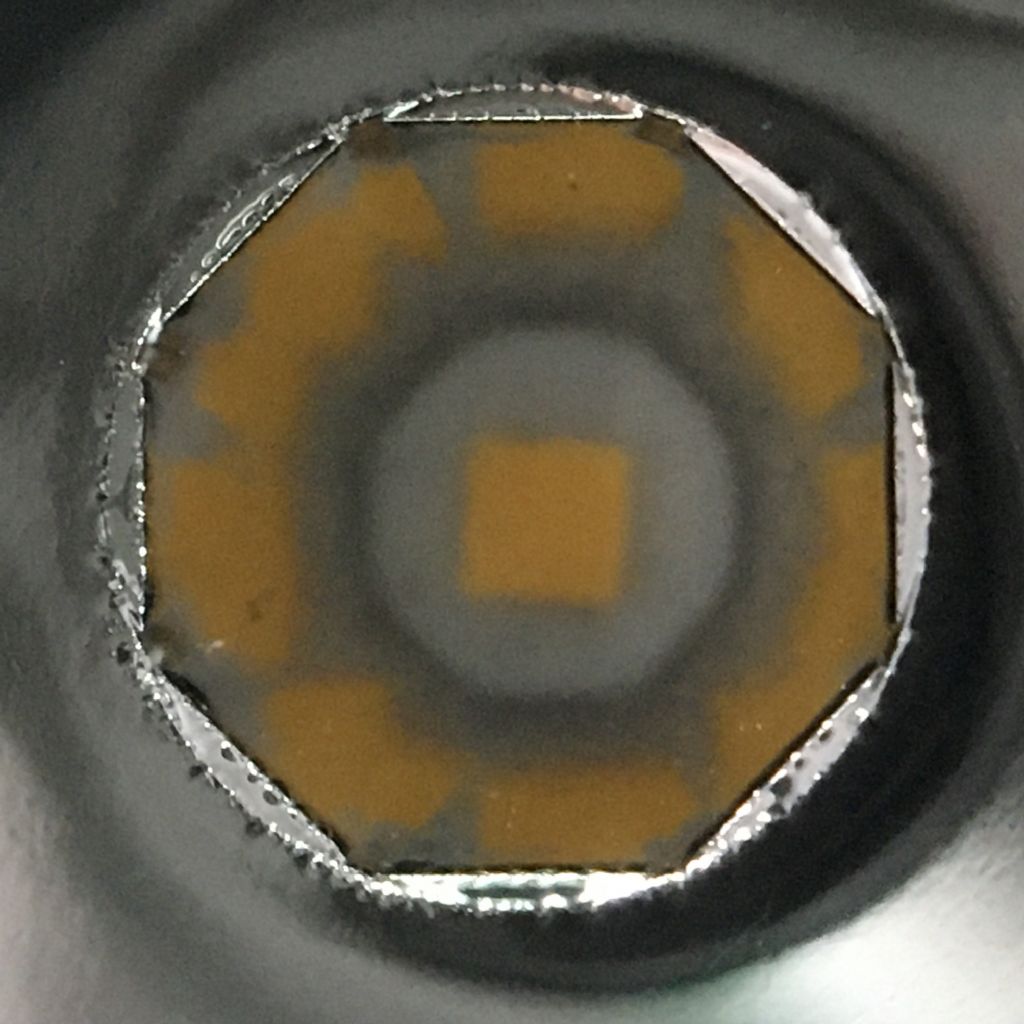
It's Your fault ! all of you ! Quriosity got the better of me and I ordered 4 that have just arrived. I did not need my swiss army knife to open the box – it parted with little effort. The numbers on the internal label do not match the pictures posted earlier in the thread and the board is different, having what I can best call test points between each LED chip and other places. The input track runs round the board to the diode block – numbered DBLS207G G7EY and 2pads alternating input, 2 pads + and -. The ESD Numbered P07EM 7C2PJ is connected across the + and- tracks. There are 3 arrays of 14 LEDs. There are no clever optics only the polished plated plastic front. An interesting number on the board 94v-0. Noel.
94V-0 is the UL Underwriters Laboratories) flammabiliy rattng for the circuit board
Michael, thank you, yes, I had somehow expected some sort of lens array, indeed the plated reflector is clever, and thankyou Robert. I have a friend who is always on about his super duper torch and one of these units seemed a good starting point for a torch that would leave him in the dark. Powered by a 7Ah 12v rechargeable cell. For a heat sink, having read the plessey document, one thought was a turbo compressor wheel (not the tubine wheel.) with heat transfer film rather than paste. Also an open plan so the heat sink/ lamp unit would be in the open, whilst the battery would be in a case, not unlike the old hand lantern. Noel.
Michael, thank you, yes, I had somehow expected some sort of lens array, indeed the plated reflector is clever […]
.
Just seen your follow-up, Noel
If you want to ‘see it in action’ without blinding yourself … [with the unit un-powered] just look down into one of the cells and see the image of the LED; then lift the front plate by about 1mm and observe the change.
Clever is getting beam-forming without excessive size, weight and cost
I bought a boost regulator like this one thinking it looked suitable to power one of the Plessey LED modules.
They seem to be sold by a number of ebay sellers. With 12 volts input I set the output to 44 volts with no load. It did take a large current at switch on (About 3 amps.) I then connected a 65 ohm resistor to the output to simulate the LED module. (It would draw about 680 mA) The regulator was trying to draw more then 5 amps which is the maximum current limit my bench power supply can be set to.
i then tried to supply it from a car battery. It then drew so much current that the solder on the input connections then melted.
Although it should have been running within it's advertised specifications it had destroyed the power mosfet in the regulator. I would not advise anyone to buy one of these regulators to power the Plessey LED modules.
I bought two of the same modules for the LEDs and had a different problem!
The DC:DC boost works fine and I could adjust the output voltage no problem, what did not work though was the constant current control. At no setting of the trimmer pot could I get a constant current, in fact the pot acted as a sort of switch with very little control at lowish current (using a 100 Ohm load) and at part travel the output jumped (and latched) to having no current limiting.
I did power the Leds at 600mA using an ali clad 8 Ohm series resistor but I then had three components that needed heat sinking so abandoned the idea.
I tried tracing the circuit to see why the CC did not works but the 'PCB tracks' are too well concealed under the resist coating that I gave up.
I contacted the ebay seller explaining the fault and he sent a nice apologetic reply and a full refund also saying not to bother returning them. They work as straight DC:DC step up converters so I'm sure I will find another use for them.
Ian P
p.s. You mention 3A at switch on (without load) is that just the momentary inrush?
I bought a boost regulator like this one thinking it looked suitable to power one of the Plessey LED modules.
They seem to be sold by a number of ebay sellers. With 12 volts input I set the output to 44 volts with no load. It did take a large current at switch on (About 3 amps.) I then connected a 65 ohm resistor to the output to simulate the LED module. (It would draw about 680 mA) The regulator was trying to draw more then 5 amps which is the maximum current limit my bench power supply can be set to.
i then tried to supply it from a car battery. It then drew so much current that the solder on the input connections then melted.
Although it should have been running within it's advertised specifications it had destroyed the power mosfet in the regulator. I would not advise anyone to buy one of these regulators to power the Plessey LED modules.
Les.
Just a thought but I see other buck converters of this power come with an obvious finned heatsink. This one looks to have only a thin metal back with four mounting holes. I wonder if it's inexpensive because the user has to provide his own heatsink? Even so I would expect the chip to detect thermal runaway, but maybe not!
Looks like the current setting is a foldback current limit not a constant current setting. Not unusual for descriptions and specifications of this sort of module from the far east to be wrong.
Comment for SOD, Thermally the design is quite good. It is built on aluminium circuit board. (The sort you see used on LED modules.) It failed in a very few seconds without ever producing any output under load. Even with no load it took quite a large current for a second or two then dropped down to a reasonable value.
Robert, I have not traced out the schematic so I don't know if it is foldback current limiting, It uses a TL494 controller IC so I should be able to work out if it is fold back current regulation. I think it is just a bad design taking such a high startup current even with no load on the output.
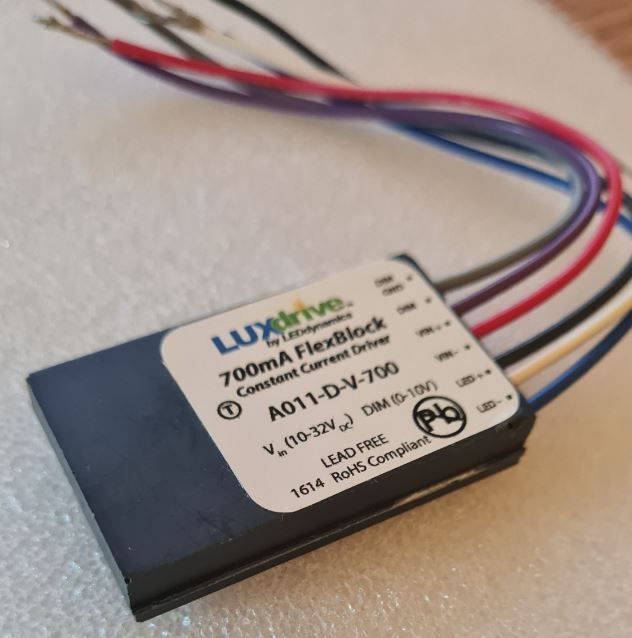
As well as the 350 mA LUX Drive modules we used before (see my previous post above) we have also used the Lux Drive 700 module to drive these at 700mA. These modules also have a dimming input.
Just posting about this out of interest really. I might have a couple spare if I can find them. I will post on here if I have.
I await the arrival of a 400W boost converter with CV and CC . It has the switching devices on heatsinks. 12v in and will set to 44V out at 650Ma I hope. What Vout is on the luxdrive units at 700Ma? Noel.
On the LUXdrive units (they look nice!) I couldn't see a Vout on the site Michael linked to (may have missed something?) but the LUXdrive A011-D-V-700 is available in the UK from Digi-Key for £20.50 and they give a maximum Vout of 48V – so they should be fine for this application.
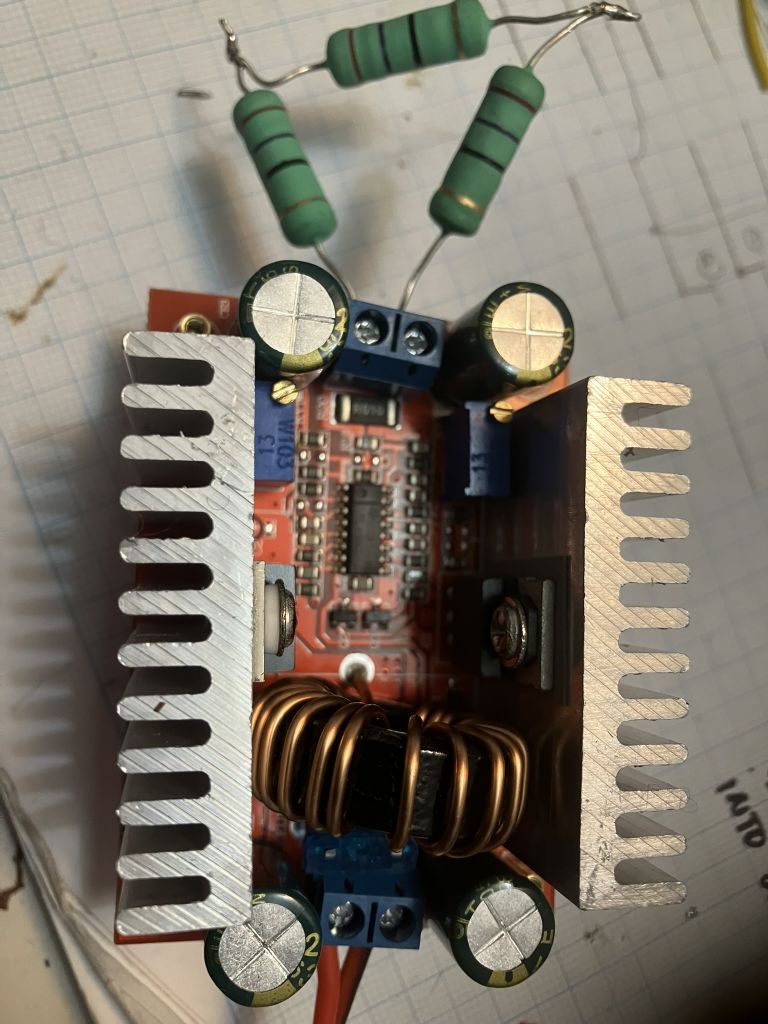
On other (cheaper) solutions I, like Noel, ordered a 400W booster (£8.49):
Reading Les' account I went very carefully! With 10V input and no load I adjusted the output to 12.5V – the module drew ~10mA. Connecting an 81 ohm load (shown) the voltage remained stable and it drew 220mA at the input . Cranking the current pot right down the voltage across the load dropped to 11.5V, so I guess it's working as expected and I'm hopeful that it will be OK to drive the LED array..
A slightly odd thing is that the +ve output appears on the leftmost heatsink in the photo. Something to be aware of if going down this road.
On the LUXdrive units (they look nice!) I couldn't see a Vout on the site Michael linked to (may have missed something?) but the LUXdrive A011-D-V-700 is available in the UK from Digi-Key for £20.50 and they give a maximum Vout of 48V – so they should be fine for this application.