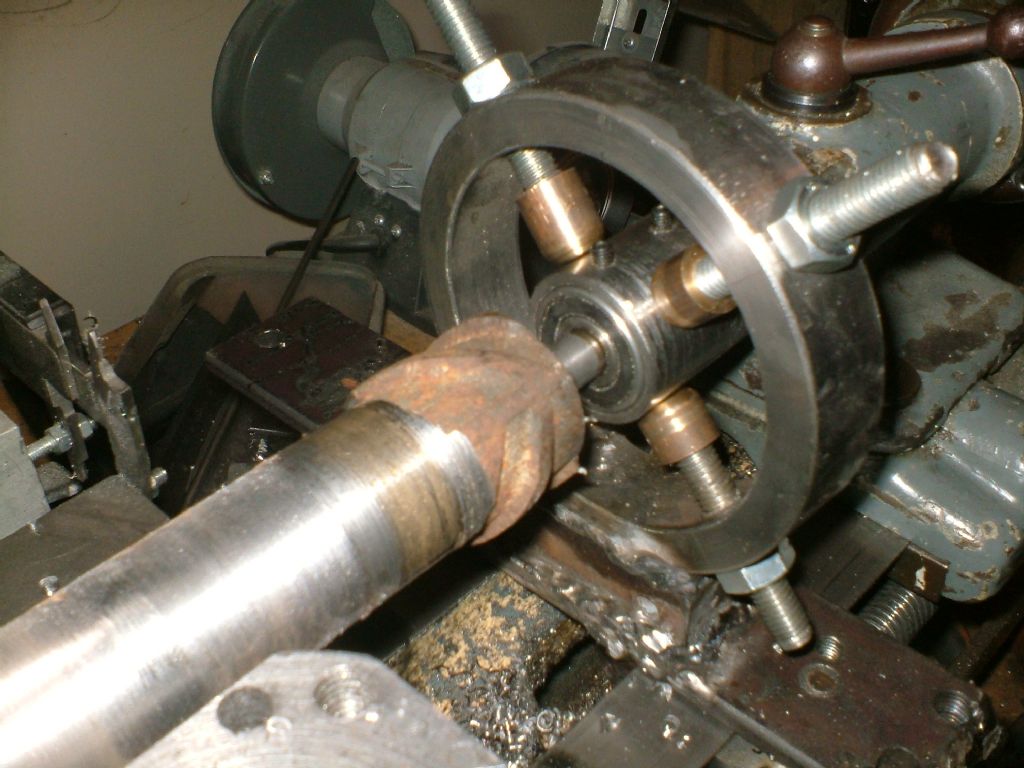
I know that this problem comes up frequently, and I have scoured the forum to arrive at an explanation, but not now feel the need to ask for direction.
I needed to make a shaft with a close running fit in two oilite bearings separated by about 80 mm, so in anticipation I set out to align my lathe (an ex-school Viceroy of 1970s vintage) using the Harold Hall method of altering the bed twist using the adjustable feet, and then aligning the tailstock. All seemed to go well and I produced a test bar which varied in diameter from 26.785 to 26.795 mm along a 180 mm length, a difference which is at the limit of my measuring capability with a micrometer.
This was done with a live centre in the headstock and a running centre in the tailstock, and before I removed it I clocked it with a DTI and got about 0.01 mm deflection over the length. Fast forward several weeks and I turned a shaft of 14 mm nominal diameter using the same between centres setup to produce the following:
Runout over 12 cm: Tailstock 13.98 mm, Headstock 14.10 = 0.12 mm
Clearly not good enough, so I removed the shaft and put it in the three jaw chuck and turned it to get:
Runout over 12 cm: Tailstock 13.92 mm Headstock 13.94 mm = 0.02 mm
Which is much better and probably as good as can be expected on my lathe with my chuck.
So then I put the test bar back in with the original set up of live centre and running centre and clocked it with the DTI to get 0.075 mm defelction along its 180 mm length – which would explain the 0.12 mm taper on the shaft. I removed the running centre and replaced it with a dead centre, clocked it again and got 0.030 mm runout, which is better but not perfect.
So, my questions are:
1. Is it likely that using the running centre accounts for the runout, or tailstock alignment, or both?
2. Am I expecting too much from what is an old school lathe?
3. Should I have just turned the bearing surfaces of the shaft separately over short distances rather than the whole shaft?
Any advice or observations gratefully received.
Hywel
 Michael Gilligan.


