Rivets

Advert

Rivets

Home Forums Workshop Techniques Rivets

Viewing 10 posts - 1 through 10 (of 10 total)
  • Author
    Posts
  • #496842
    Nick Clarke 3
    Participant
      @nickclarke3

      Needing to use rivets (Iron & copper in various sizes) for the first time in years – is there anywhere a chart of how much to leave protruding so it hammers neatly into a countersink with a small amount to be removed by filing?

      Too much is extra work to remove and too little needs filling or replacing depending on the shortfall.

      Thanks,

      Nick

      Advert
      #16194
      Nick Clarke 3
      Participant
        @nickclarke3
        #496843
        JasonB
        Moderator
          @jasonb

          If you click on the type of rivit you have they give the setting allowance, it can vary a bit but use the chart as a starting

          #496845
          Nick Clarke 3
          Participant
            @nickclarke3

            Thanks Jason – Just what I needed.

            (If I had been aware of the term 'setting allowance' I might have found it myself!)

            Nick

            #496908
            old mart
            Participant
              @oldmart

              If the application is critical, then I recommend testing first with a replica setup.

              #517591
              Nigel (egi)
              Participant
                @nigelegi

                Just been learning first hand how to work with 1/16 inch domed rivets and the chart by Sapphire is great, sadly I sat and checked out the maths for the setting allowance to see if I could get to 1.429D and it appears that with rounding it should be 1.430D (minor and beyond me to get to this difference in practice) – more on setting allowance maths here but the basic steps are below (D being the diameter of the unheaded end of the rivet)

                setting allowance

                Also, as pointed out by another model maker it is best to make a plate (or in my case I turned a button) of the correct thickness to match the length of the required rivet, drill a hole through to match the rivet and then cold chisel them to the perfect length.

                setting allowance

                #517594
                Anonymous

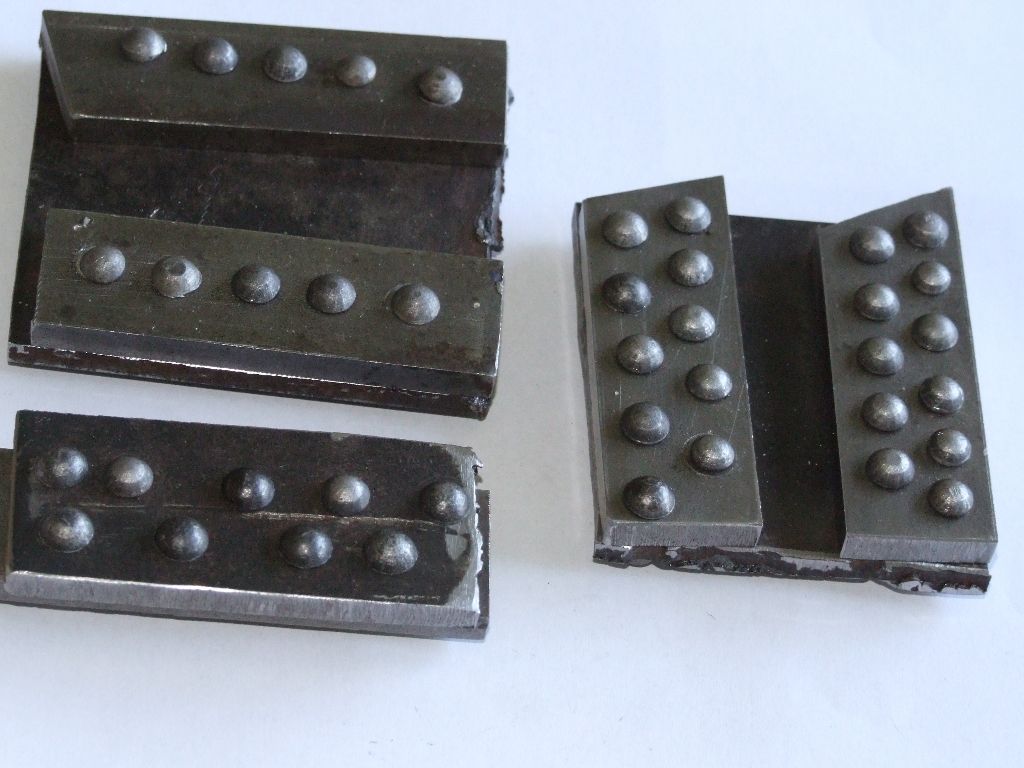
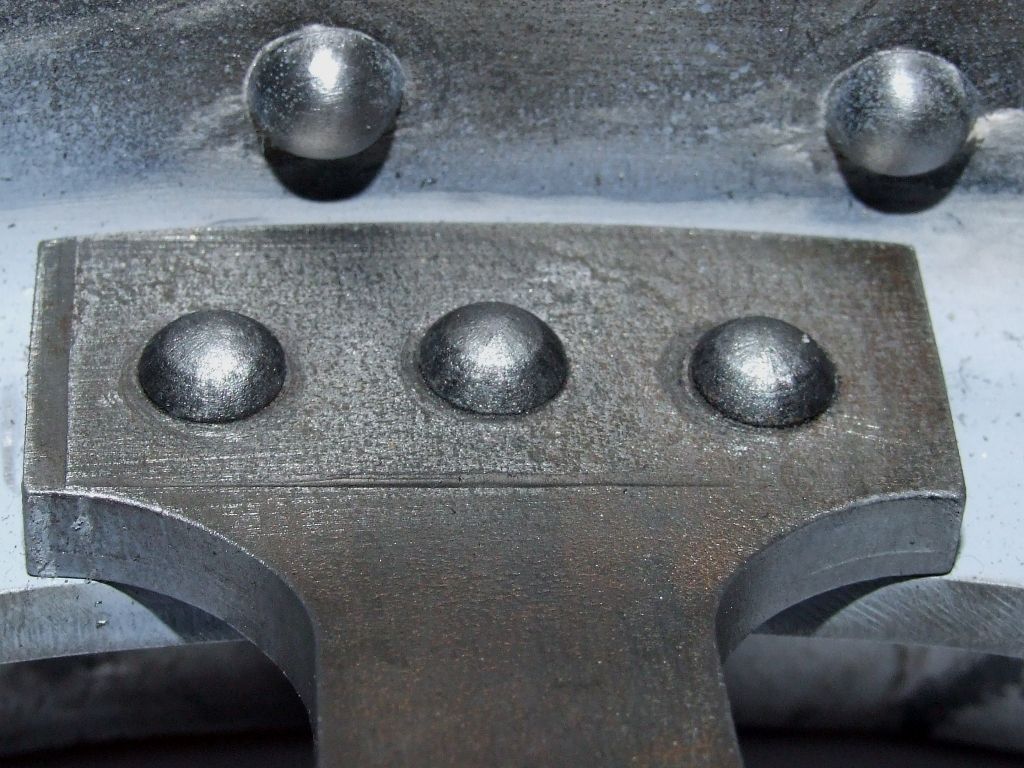
                  Don't sweat the numbers, it's only a starting point. The actual allowance is heavily dependent upon the rivet snap and the fit of the rivet in the hole. Before I riveted the wheels on my traction engines I formed a lot of practice rivets, varying the allowance to see what worked:

                  riveting_1.jpg

                  This was particularly useful as I was using home made snaps. For consistent heads it's best to aim for better than ±5thou on length. Since I had to shorten hundreds of rivets I made a top hat split sleeve and shortened the shanks in the repetition lathe which gave excellent consistency. It's better to be slightly under rather than over on length.

                  riveting_3.jpg

                  All rivets are 3/16" steel.

                  Andrew

                  Edit: Ooopsie, just noticed the OP was asking about countersunk holes. The theoretical answer is pretty simple maths, cylinders and truncated cones. But it's best to experiment. More is better than too little. There needs to be enough metal moved to the outer edge to completely seal the edge of the countersink. One won't get the formed rivet head perfectly flat, so best to get used to filing! Leaving the formed head proud will also ensure that filing removes all hammer marks.


                  Edited By Andrew Johnston on 05/01/2021 09:55:24

                  #517659
                  Nigel (egi)
                  Participant
                    @nigelegi
                    Posted by Andrew Johnston on 05/01/2021 09:44:51:

                    Don't sweat the numbers, it's only a starting point. The actual allowance is heavily dependent upon the rivet snap and the fit of the rivet in the hole. Before I riveted the wheels on my traction engines I formed a lot of practice rivets, varying the allowance to see what worked

                    Hi Andrew, completely agree, practice practice and more practice, test different options and don't get complacent when swapping to different rivet materials as they behave differently. Even the maths check was just to keep my hand in with some simple geometry calculations.

                    One of the biggest issues with the smaller parts is holding them and aligning the rivet snap. As mentioned in some of the other posts on this subject it is probably worth making a pair of snaps and aligning them for use in the press. For the 1/16 rivets I'm using the small 1/2 ton press is probably ok and would allow me to hold the parts more easily.

                    Best regards, Nigel

                    #517687
                    Tony Wright 1
                    Participant
                      @tonywright1

                      I just keep hitting the rivet until it looks right ! Simple but then again I’m a very good model maker 😉

                      #517712
                      noel shelley
                      Participant
                        @noelshelley55608

                        For larger sizes old car push rods cut down to a suitable length work well. Noel

                      Viewing 10 posts - 1 through 10 (of 10 total)
                      • Please log in to reply to this topic. Registering is free and easy using the links on the menu at the top of this page.

                      Advert

                      Latest Replies

                      Home Forums Workshop Techniques Topics

                      Viewing 25 topics - 1 through 25 (of 25 total)
                      Viewing 25 topics - 1 through 25 (of 25 total)

                      View full reply list.

                      Advert

                      Newsletter Sign-up