Noel,
I hope I am able to communicate this simply:
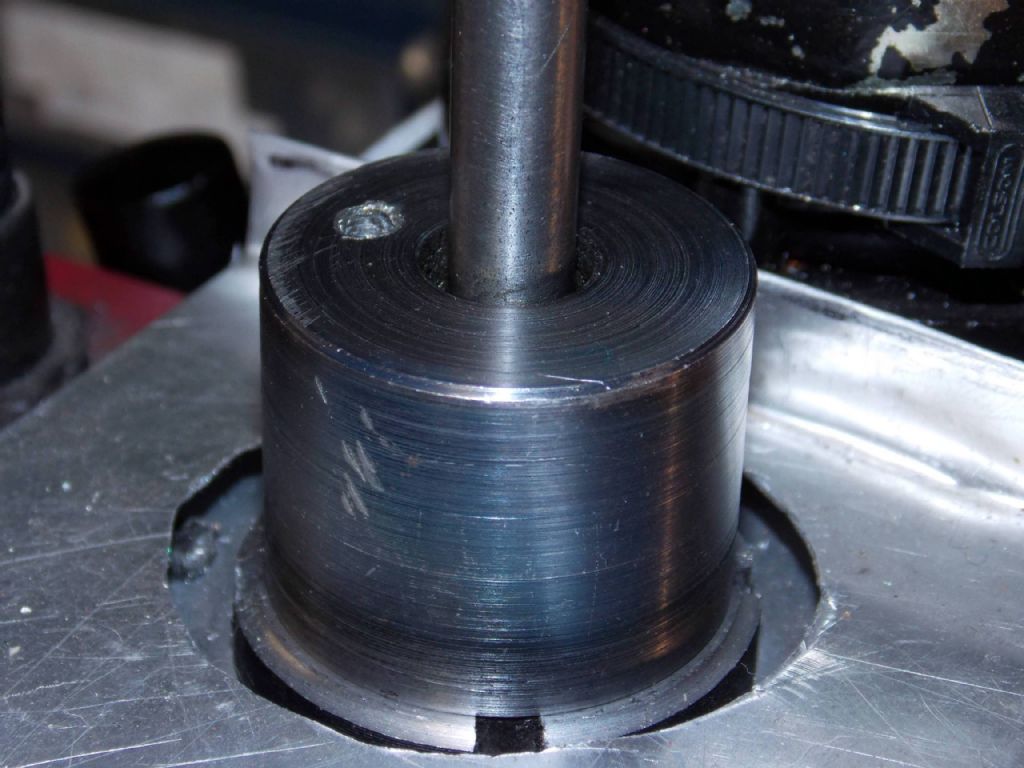
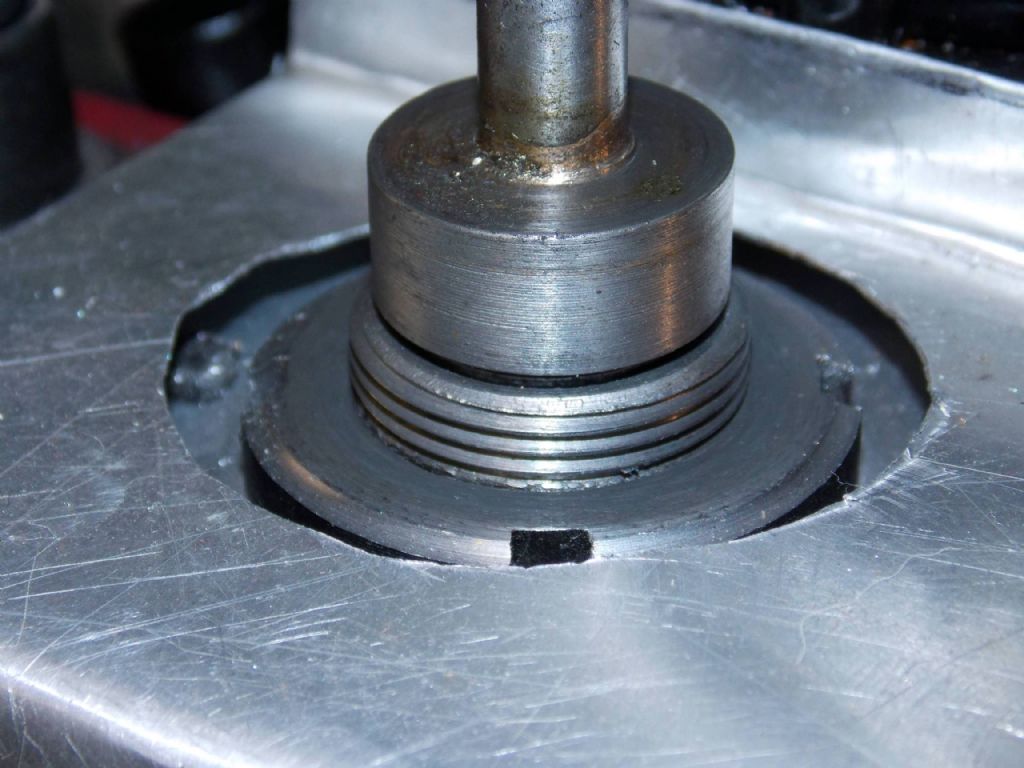
1. At the top of the spindle is a plastic cap. Hit it on the side with the palm of your hand, which will dislodge it from its location. Once dislodged, take it off. This will expose the drawbar which goes through the spindle, to hold the MT3 Drill chuck arbor in place.
2. Turn the spindle around with your hand until you see a partly drilled hole in the side. The hole diameter will be about 6mm. In your tool kit, find the peg which fits this hole. The peg will look similar to one of the quill/head feed arms. if you cant find it, or if it is not supplied for your mill, use a C Spanner.
3. Put the peg/C Spanner into the hole and hold it in position with your left/right hand. take a spanner with your free hand and locate it on to the drawbar at the top. Holding the spindle firmly in place with one hand, proceed to un-screw the drawbar using the spanner, in an anti-clockwise direction. This could be a little tight. Unscrew by two to three full turns only, making sure that the drawbar has not completely been removed from the arbor it is holding.
4. Put the peg/C spanner to one side along with the spanner you used for un-screwing the drawbar. Take a rubber mallet and give a sharp hit to the top of the drawbar – no light several gentle blows – dont be afraid. Before you do this, make sure you put something soft on the table, to protect it, in case the drill chuck and arbor fall onto it, during this process.
The sharp blow will release the friction fit between the Morse male taper of the arbor and female taper of the spindle. You can then proceed to unscrew the drawbar and remove the arbor from the spindle.
When you put in the mill chuck, make sure that the mating tapers are free of oil and dirt. Then gently push the mill chuck arbor into the spindle and just apply hand pressure to mate the Morse taper. Re-put in the drawbar, screw onto the arbor, and just lightly tighten the fit. Do not over tighten.
Ketan at ARC
 JasonB.


 ….would love to know if anyone has experience of this?

