All, as part of my Princess Royal steam engine build, I want to make some brass oilers. I’m wanting to make four for the crosshead bars, two for the main bearings, and no doubt others for other areas. Most will need to be identical pairs or sets of four.
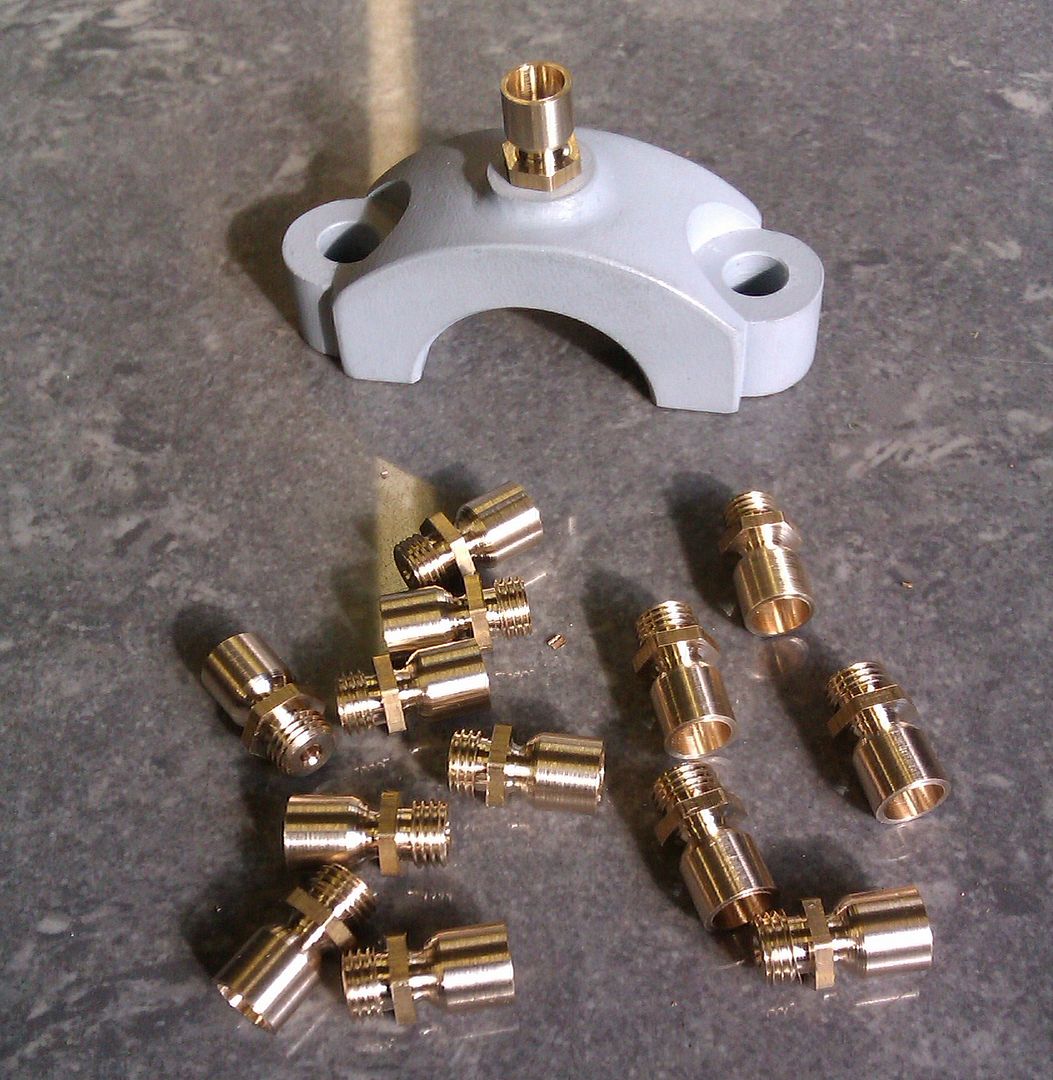
I played around with profiles yesterday (not really considering how to make identical ones). I can design them so that I have co-ordinates from CAD, then swap stock in and out of the lathe until each pair or set is done. Left is one I made, right is a larger Stuart models version:
It’s easy enough to profile and drill the main body, but then after parting off, holding a stepped profile to thread the opposite end is tricky.
I’m thinking the way to go is to thread the end first, along with as much of the profiling as I can, then perhaps part-off the partly finished item and mount into a tapped bit of material in the chuck. Then do the cleaning-up and drilling of the part from there. Slightly concerned that the thread may be too loose to get the part concentric for drilling what would end up being a fairly thin-walled component.
I had the same problem with using just a tapped piece in the chuck. Luckily I had an emergency collet for the 3C that I use on my Boxford. Tapped out for the thread and a short recess for the flange above the thread. Held them concentric and firmly. Perhaps you could make a sort of split collet out of a piece of scrap for use in a 3 jaw.
Regards Barry
Thanks Barry. Yes, a split cylinder that’s just as long as the parallel body of the part, clamped in the chuck. Flange at the top of the oiler would push up against the back of the cylinder?
I don’t get much of aproblem screwing them into a holder
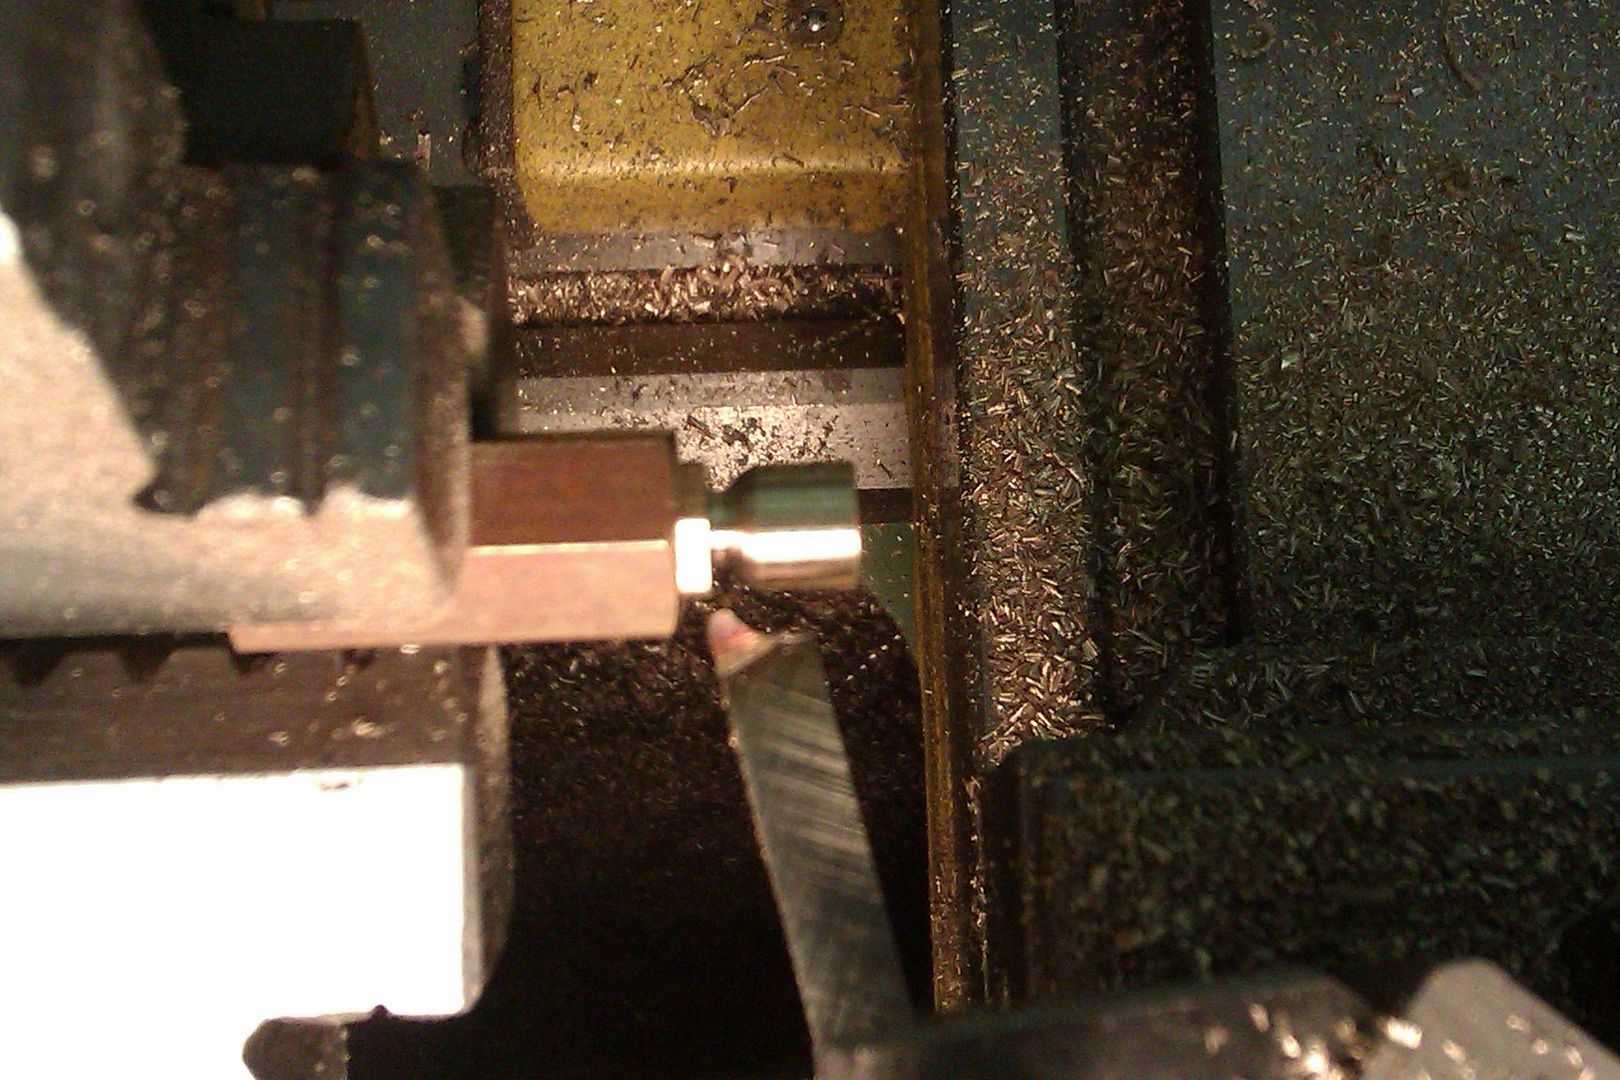
Turned and threaded
After parting screw into holder and plunge with a ball nose milling cutter. I typically go for 0.5mm wall thickness
having something solid to screw up to means you can make them all the same going by handwheel readings.
As you don’t have a hex flange you could ass a shallow recess/counterbore for the round bottom of the cup to locate into if your threads are a bit slack. Or the split bush as suggested.
Another batch, threaded then turned once in the holder
I’ll try cutting a thread iand see how concentric I can get the stock when screwed into a corresponding threaded piece.
I have had issues in the past with threads being a bit loose (in fact even after using a wide split die, I’m grappling with this issue for the valve rods at the moment).
Jason – your last two images aren’t showing for me.
If you did them the initial way round you can put them onto a spigot mandrel, tight fit that can be removed b heating if necessary, or even a small loose female threaded section in the hollow end, with a parallel section to make concentric.
Operation 1: Fully machine outside of body, spigot for screw and form screw thread. Drill completely through. I much prefer to screwcut short threads like these; it is much easier to control diameter, the thread will be concentric and square and one can thread almost to the shoulder. Finally part off.
Second op: hold OD of body in a collet and use a stub drill/spotting drill/ballnose endmill to form the oil reservoir.
Mine will have a lip around the top (open) end of the cylinder (as per the image I posted) so it makes reversing and mounting them in a chuck difficult without some kind of split ring to hold them. Even with that, a short parallel body might be fiddly to get to hold firmly and concentrically.
You can get over the lip like this but a bit of a fiddle. A tophat section split bush will index the length. Or simply turn the reduced sid ediameter after threading when held by thread.
Why not make them with the thread next to the chuck. You could turn and bore/drill, then turn the threaded piece to just under OD, put the undercut at both end of the threaded section and screwcut the thread. Then part off .