All good advice above. Seems stupid, but do disconnect from the power supply (Don't just trust to it being switched off).
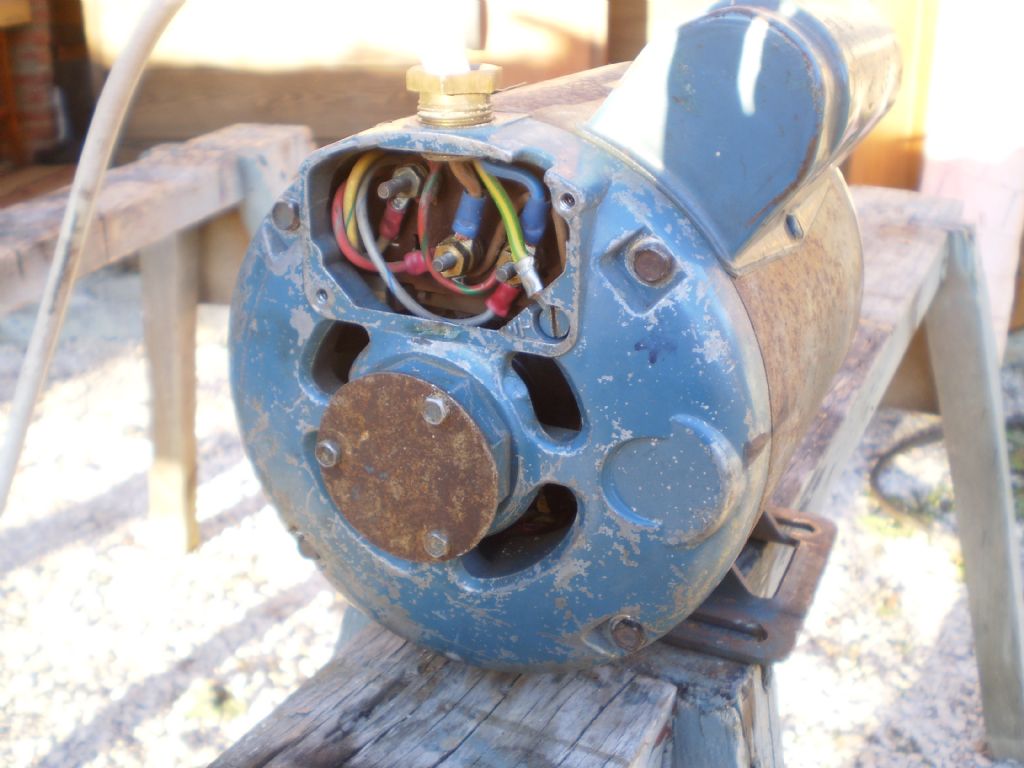
Remove the cover to the connections and note wire colours and positions – else you may re-connect it with a reverse direction or worse.

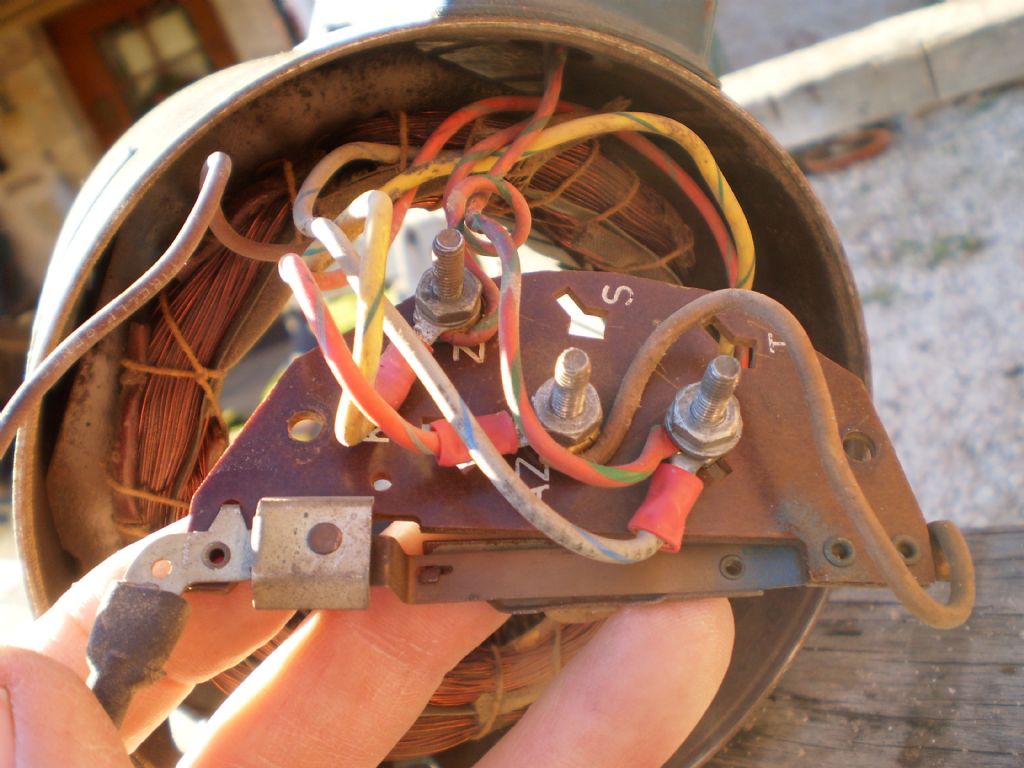
Now mark the position of the end covers in relation to the frame.Unscrew the long bolts that hold the covers on – in this photo there are 4 of them. Remove the end cover at the junction box end – it may be stiff as you are pulling the bearing out of its housing. Be careful of the wires which will be attached to the switch plate attached to the cover which go to the field coils and capacitor.

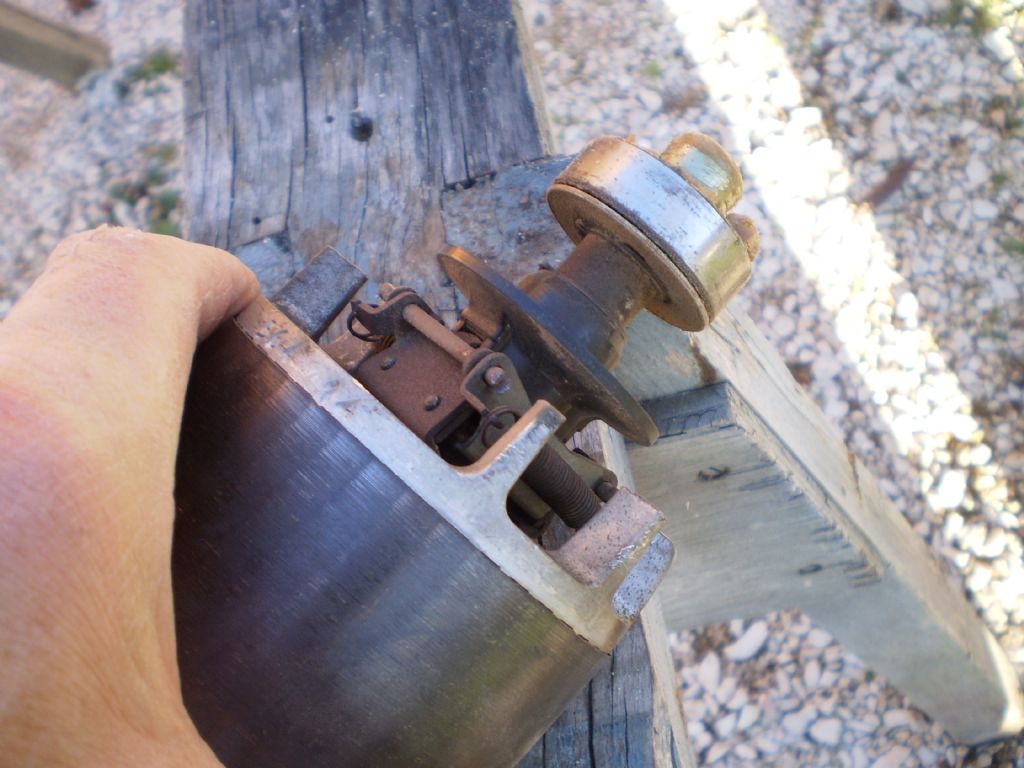
Unscrew the switch plate from the cover. In this photo, the switch contacts are just by my left finger. Clean these contacts with a bit of fine wet and dry. You may be able to 'spring' the contacts apart to make life easier.
Finally, clean the centrifugal mechanism and make sure it slides easily. Do not lubricate as this will only collect dust etc.

Now re-assemble in the reverse order. Make sure that the rotor does not scrape any of the wires when assembled and that the 4 cover bolts are also clear of any wires.
Now you are ready for test. Once the mains wires are connected but not plugged in, use an ohm meter to check that there is NO CONTINUITY between frame earth and the live or neutral wires. If the motor is out of the machine and on the bench, hold it down with a clamp or suitable device and without touching the motor power it on and it should run up to speed immediately. With a neon tester, as a safety check make sure the frame of the motor is not live. If this all passes, I would say the job was a good one. Disconnect etc then.
Put the motor back into the machine making sure that all earth wires are connected and plug it back in, turn on and again check with a neon tester that the machine is not live. – Job done
Edited By Speedy Builder5 on 23/12/2014 14:28:50
Stephen Ward 6.


