PGK’s 1″ Minnie

Advert

PGK’s 1″ Minnie

Home Forums Traction engines PGK’s 1″ Minnie

Viewing 25 posts - 126 through 150 (of 171 total)
  • Author
    Posts
  • #270331
    JasonB
    Moderator
      @jasonb


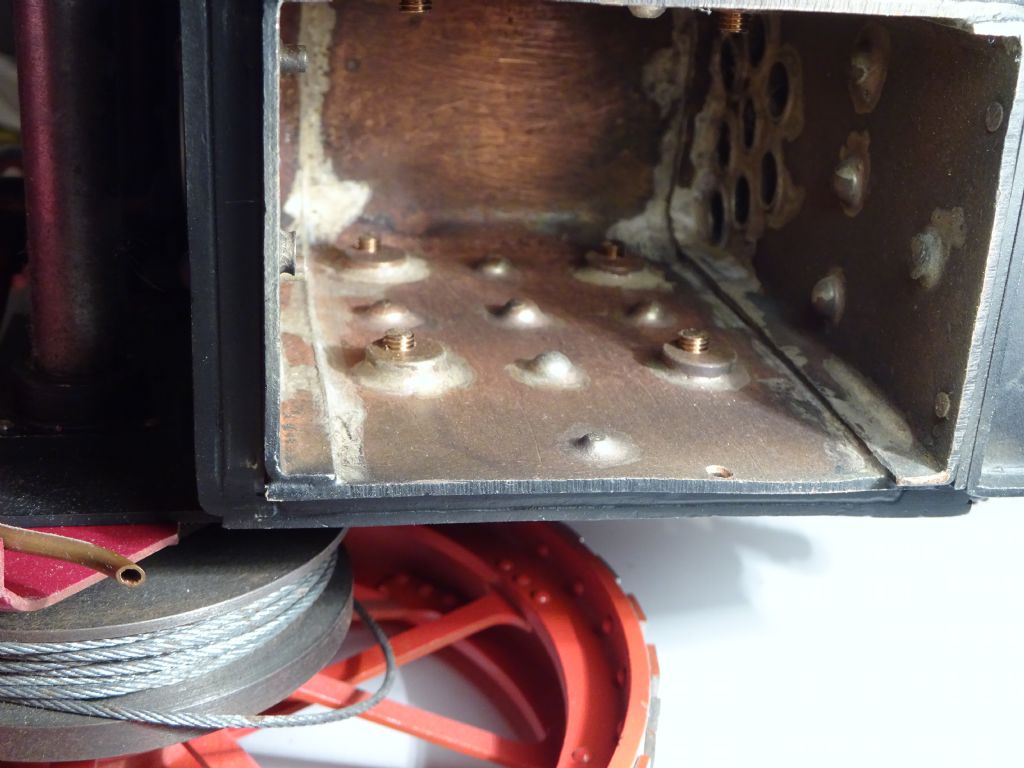
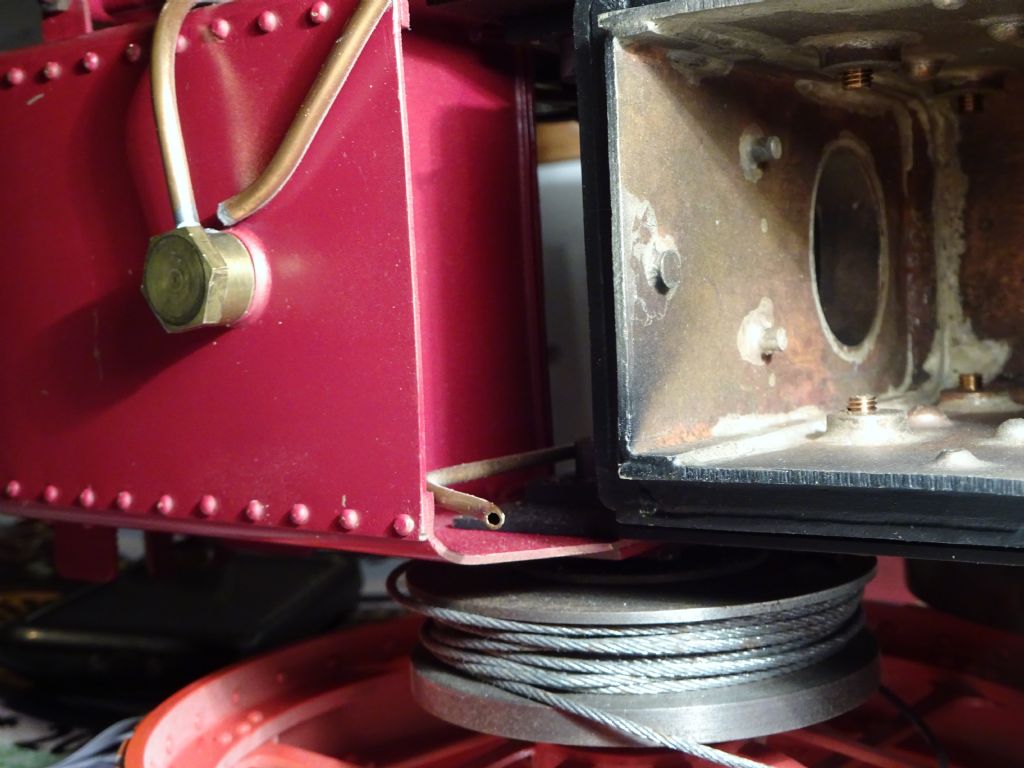
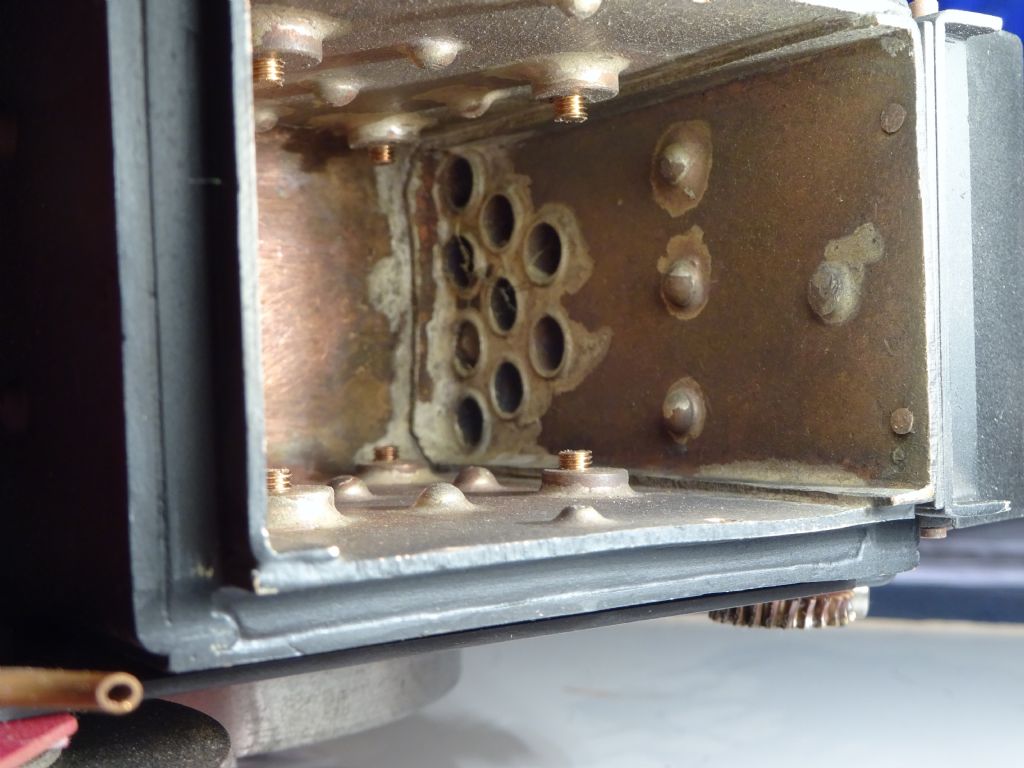
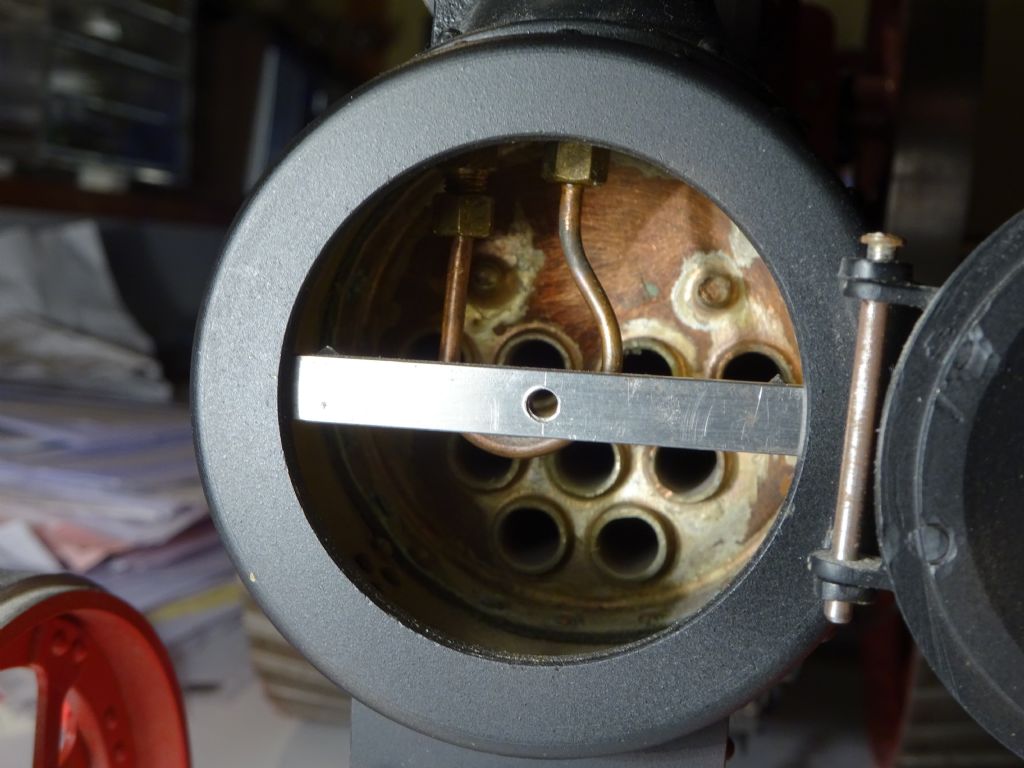
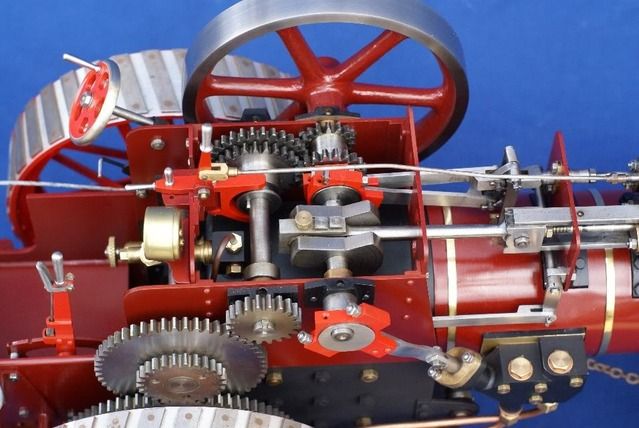
      Meant to say silver solder the stays, don't caulk with soft solder. Also not keen on stainless spacers better to make from brnze or copper tube if you go down that route.


      dsc01633.jpg

      dsc01634.jpg

      dsc01635.jpg

      dsc01636.jpg

      Edited By JasonB on 06/12/2016 19:03:09

      Advert
      #270342
      pgk pgk
      Participant
        @pgkpgk17461

        Jason,

        I get the stay idea..makes sense although I'd worry that bending rivets on thoroughly annealed copper this gauge might leave dents. I'd be inclined to put the effort into threading those with something fine too. I'll dwell on that. Drilling at this stage allows me to slip ply or card into the water gap for support.

        I accept I'm lazy and dense and haven't read far enough ahead: spare steam outlet.. which channel is that no longer to be drilled?

        ""If you are just going to play with yourself in the comfort of your own shed then it can remain as drawn.""

        ..made me chuckle blush

        Thanks again,

        pgk

        #270346
        JasonB
        Moderator
          @jasonb

          There is an additional outlet on teh block on teh gear side of teh engine that is just blanked off with a plug, not much point in drilling it if not going to be used. You can just see teh hex plug in thsi shot.

          #270347
          pgk pgk
          Participant
            @pgkpgk17461

            Gotcha, ta Jason.

            pgk

            #270557
            pgk pgk
            Participant
              @pgkpgk17461

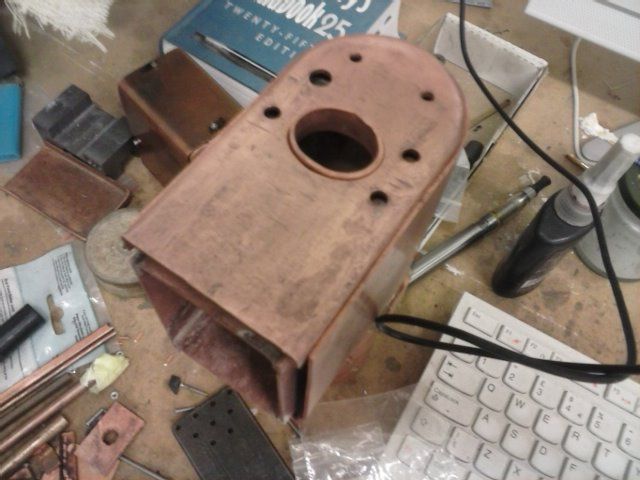
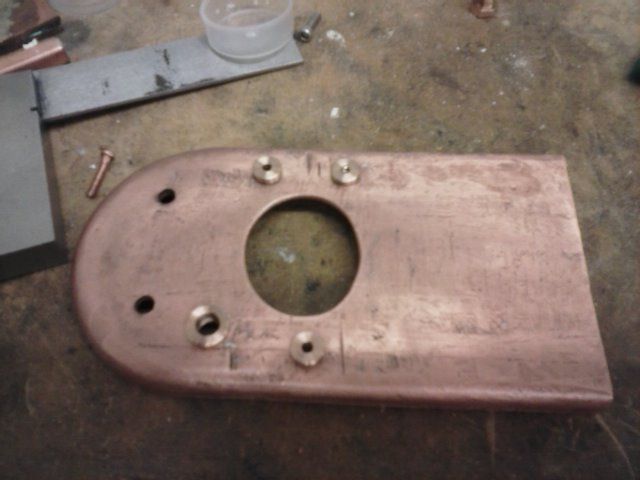
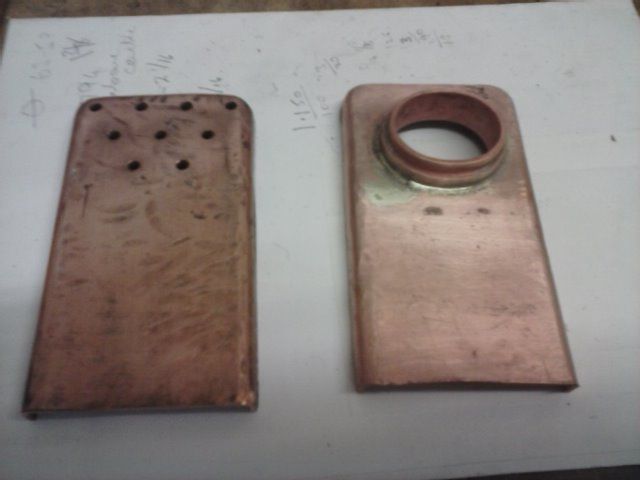
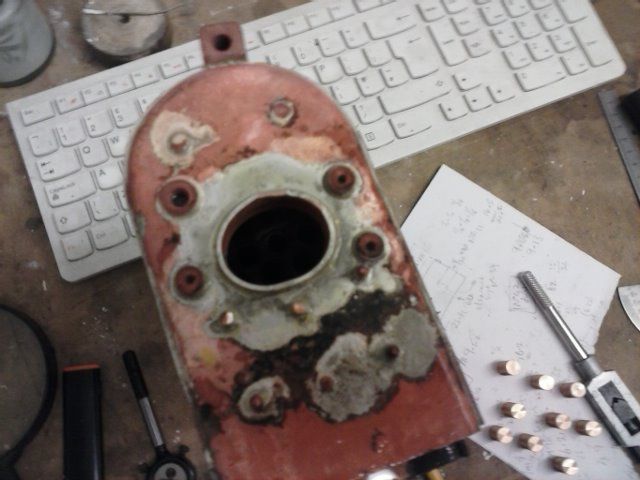
              ..spot/drilled/reamed the backhead holes yesterday and made up the bushes today. Also ordered more PB for the steam block etc and once that's made it'll be another solder session. I had to order more silver wire as well as flux. Those boiler tube ends got through almost 1.5 metres of 0.7 between them.

              cam00659.jpg

              cam00660.jpg

              #270562
              julian atkins
              Participant
                @julianatkins58923

                Hi pgk pgk,

                If the firehole ring is turned accurately with registers/rebates and then squashed to shape this would usually be enough to keep the distances of the backplate ok on what is a relatively small boiler. Try a few dry runs first. I would silver solder the bushes to the backhead with J-M silverfo 24 first which saves a lot of angst and worry on the final stage, as there is otherwise too much to worry about, what with the rear foundation section as well.

                If you can get some JM easyflo 2 for the final backhead stage you will not regret this. No longer 'sold' but there are a lot of fellow forum members who might have a stock of it to help you out. Unfortunately I have precious little left, and cannot help you out.

                The silver soldering on the smokebox tubeplate looks very good. This is the last bit I do before the backhead.

                Cheers,

                Julian

                Edited By julian atkins on 07/12/2016 23:53:28

                #270569
                pgk pgk
                Participant
                  @pgkpgk17461

                  The firehole indeed has a rebate/register and the instructions state to pean over the firehole. It sits fine on that and looks square to the wrapper. I did plan to cook in one session … I'm finding that for me laying the solder down in heavy flux and cooking up until it runs works best. I intend to use 0.5 wire as two hoopsaround each bush, a ring of 1.5 around the firehole countersink I put in and the same around the outer edge and likely wire around the steam block… then insulate upto and including the firebox and its inside, warm up and then blow into the firebox/wrapper waterspace to try and cook the backhead from behind and then around the steam block.

                  I've been far less tidy whenever I've tried to use the rods hand held although i obviously have one and flux on standby. If you think there's serious risk of the bushes coming out while cooking the foundation ring then I'd rather hold them in with fireblock and wire than use 24% or even my 38% at this stage 'cos I'll likely make a mess sad.

                  I've also got a cookup before that for the firebox/wrapper stays and those in the backhead will also be a risk.. Again I hope to blow into the water spaces for all those in one hit….

                  Firehole reister below

                  cam00559.jpg

                  Edited By pgk pgk on 08/12/2016 00:13:46

                  #270761
                  julian atkins
                  Participant
                    @julianatkins58923

                    Do not peen over the lip of the firebox hole ring. It negates the 2 to 4 thou clearance required for silver solder penetration.

                    Cheers,

                    Julian

                    #270766
                    pgk pgk
                    Participant
                      @pgkpgk17461

                      Point noted, Julian, and thanks. I'll try to just roll/flare the edge a tad so that backhead can't fall off if I overcook it later.

                      pgk

                      #271881
                      pgk pgk
                      Participant
                        @pgkpgk17461

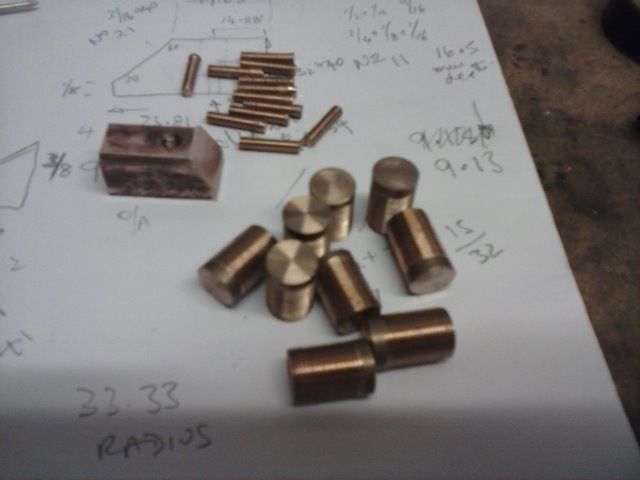
                        A simple update.. I've been turning out the threaded studs I intend to use as firebox stays.. took longer than I'd have thought and I did run out of PB 1/8 so waiting on some more. Steam block also done although I bogged up the first one with stupidly working out a depth for the bevel cuts and then using the wrong number..Doh!.

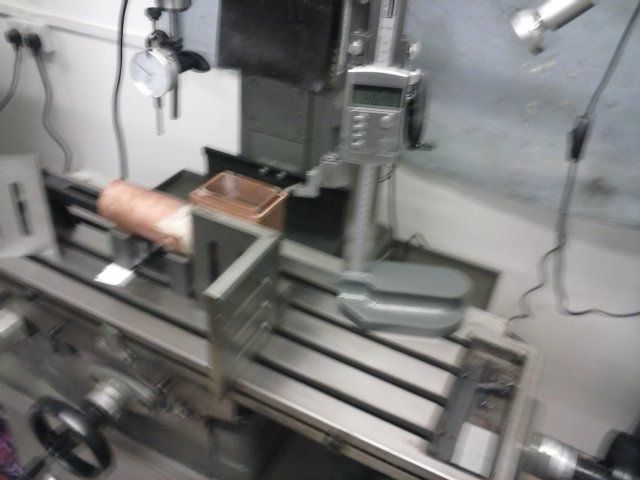
                        I'm also suffering from Boiler-makers Angst. The backhead will be slightly further aft than intended and there's all sorts of concerns in my head about how square it all is. I bit the bullet and finally invested in a height gauge..yeah i could have managed without but it's time to own one. I'll be spending some time checking dimensions and relative planes working on the assumption that all that really matters is that the boiler tube is horizontal and central and everything can get shimmed to fit- assuming the boiler holds pressure when finished. At some time in the distant future it might need some high temp filler to patch dings and scratches before painting to hide a novice's mess. Heck it's my first boiler – well if we ignore the 1/4 boiler of practice I wrecked….

                        There's nothing more than basics to these studs and the steam block apart from which way one might cut the radius beneath it. I used the mill and the easy technique of setting the boring head the radius away from the part and opening the cutter until it just scratched the surface.. then using the table to bring it in progressively until the edges of the part just became involved. It's a nice fit.

                        cam00661.jpg

                        #271934
                        JasonB
                        Moderator
                          @jasonb

                          Check the core dia of those studs as by threading them you have reduced the cross sectional area. Original drawing is for 4BA which I suggested 1/8" solid rivits for.

                          #271937
                          pgk pgk
                          Participant
                            @pgkpgk17461

                            The small studs are 1/8th PB threaded 5BA. The larger ones are 1/4 PB threaded 40T.

                            Darn, you're right. Good catch (I said i needed watching)……..

                            #272024
                            JasonB
                            Moderator
                              @jasonb

                              threaded 1/4" may also be a bit on the thin sid eby the time you have poked a 4BA hole down it espacially as you will be spotting through from the hornplates and the boiler stays may be a bit off so you could end up drilling to one side thats why I suggested 3/8", you can see how the screw holes are not centred on mine

                              dsc01633.jpg

                              You should not need any shims, they stays can be over length then milled back to be 1/16" proud of the sides of the boiler barrel as I said earlier.

                              #272037
                              pgk pgk
                              Participant
                                @pgkpgk17461

                                Brainf@rt, sorry. They are 3/8th x 40. As to shims was referring more to my need to shim other elements attached to barrel to square such as whether pump pad will end up perpendicular etc. I've got some 1/4PB so will start to make new 4BA studs and that was in my head when i replied earlier, though 5/32 would be less wasteful.

                                #274286
                                pgk pgk
                                Participant
                                  @pgkpgk17461

                                  I have a new acronym BMA or BoilerMakers Angst.

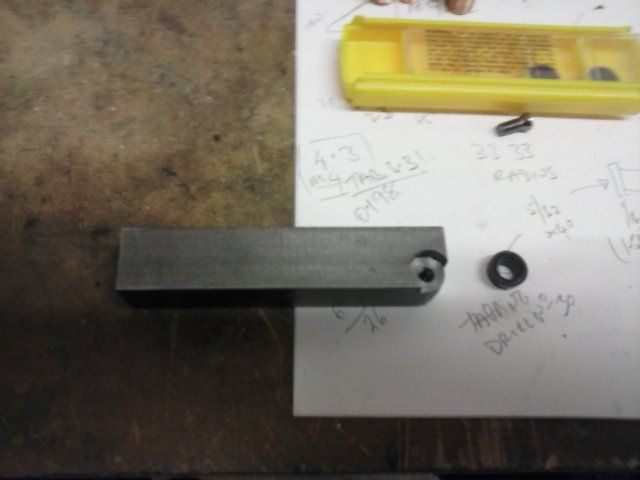
                                  I have made the 4BA studs and also got around to making a flycutter with a circular insert tool..I've meant to for some time just to see how it compares

                                  cam00662.jpg

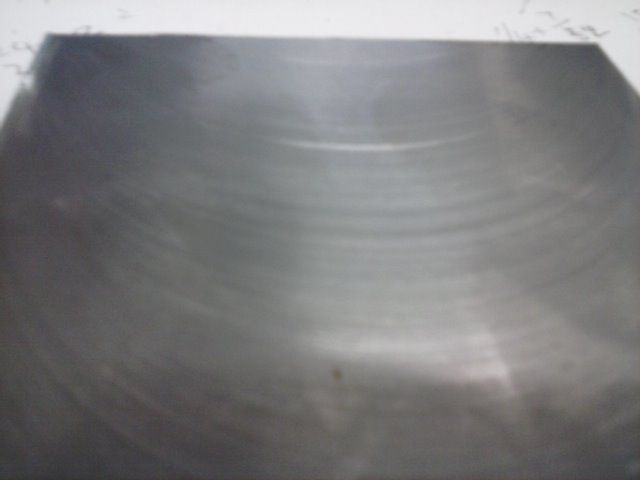
                                  OK lots of folk will ask why bother when HSS can do the job. the answer is simply that i can run this at 4xRPM of HSS which is a boon for manual table winding. I'm quite impressed with the result on a piece of my large stock of rusty hot-roll. It's a blurry piccy but the finish is darned good:

                                  cam00664.jpg

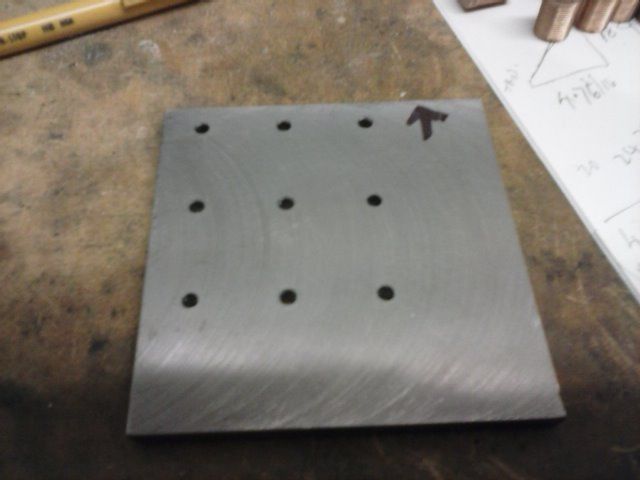
                                  And made up the stud template out of scrap rather than bought sheet

                                  cam00665.jpg

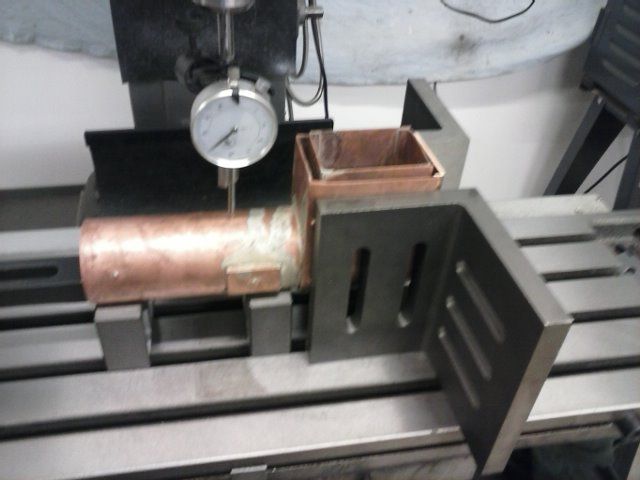
                                  The BMA is another matter. With lots of fiddling I've concluded that the barrel has a bow along it's length.. not surprising with all the heat cycles and rivetting etc. as best i can level it under the mill head it's about 3, perhaps 4 thou along it's length dipping in the middle.

                                  cam00666.jpg

                                  More fiddling (and I'm not finished with the fiddling yet) suggests one side of the outer wrapper is about 2 mm short of the drawing and the other side about 1/2 mm short . courtesy of my new and expensive height gauge.

                                  cam00667.jpg

                                  I also need a way better camera but money is haemorrhaging out of me at the moment.

                                  It was my intention to drill the stud holes before the foundation ring soldering and try and solder more in one hit but if so then I need to adjust the size of the template and mark new reference points.

                                  The further issue is that I finally discovered the cost of gears and/or gear cutters… that's another debate.

                                  #274297
                                  pgk pgk
                                  Participant
                                    @pgkpgk17461

                                    The drawn distance of bottom of outer wrapper to barrel is 1&15/16 or 49.21mm My worst distance is 47.38mm so just under 2mm short. I've scored lines at 46mm both sides and will adjust the template accordingly.

                                    It also looks as though the firebox position is such that the firehole ring prevents the backhead from sitting as deeply as shown.. there's plenty of flange but total barrel length to backhead is about 4mm over the drawing and adjustments to the hornplate dimensions will have to be made.

                                    I don't believe there's anything that can't be worked around.

                                    #275546
                                    pgk pgk
                                    Participant
                                      @pgkpgk17461

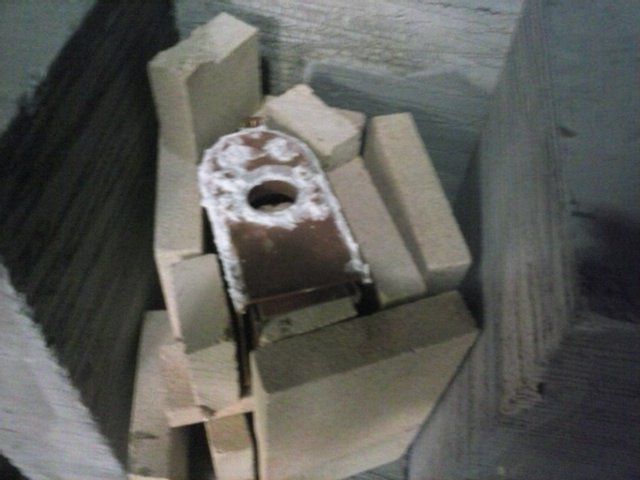
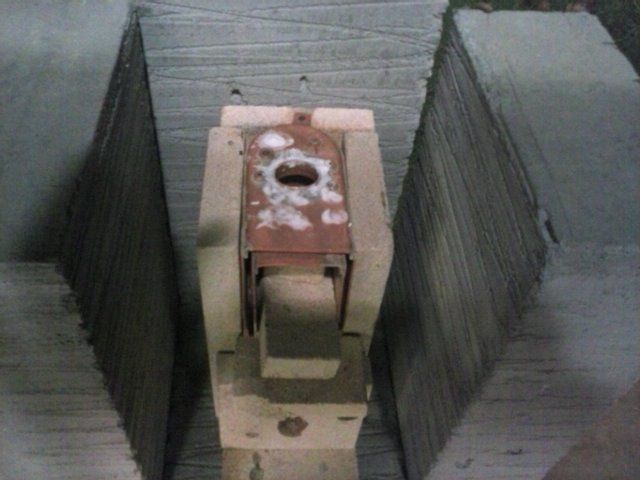
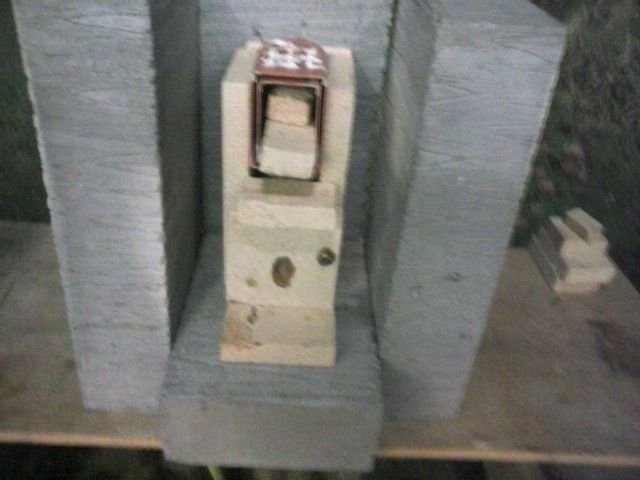
                                      For a lot of reasons i finally decided to solder the backhead and steam block before drilling the stays after all. It should have been simple enough. I seated the bushes, wrapped them with some solder wire, screwed the steamblock down with a piece of solder film fluxed beneath it and fluxed and layed solder rod around the edges and round the firehole – so a simple heat and go… Oh, yeah?

                                      cam00669.jpg

                                      cam00670.jpg

                                      cam00672.jpg

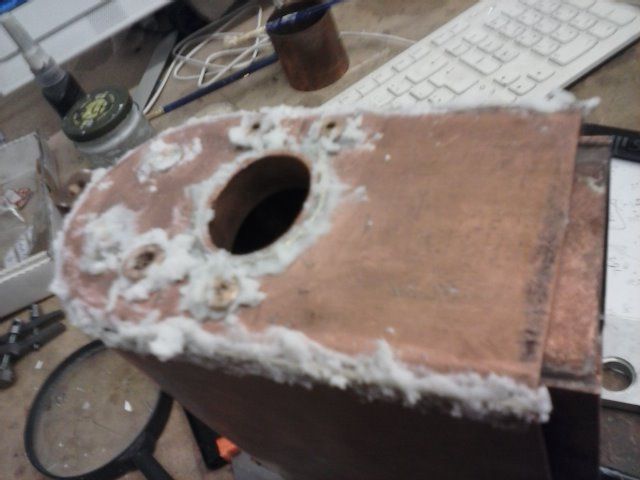
                                      Well it didnt go quite to plan. Somehow the screw holding the steamblock snapped during cook-up so the steam block fell off and somehow the firehole ring solder ran everywhere except into the gap. I think part of that was because heat went too much from the top and not enough into the firebox and out the hole.

                                      Recovering the steam block was a mare. I drilled out the broken screw from that OK and got lucky with the boiler part because at least the solder had run around the threads so i could retap.

                                      A second cook-up got that but I failed to fill the firehole ring fully on that cookup too.

                                      cam00675.jpg

                                      I called an end to that session and cleaned up again.

                                      I figured since i was cooking that end again that i might as well do the backhead stays at the same time so drilled an tapped those.. then found that the new batch of stays i had threaded didn't fit.. my new die for 4BA needs to be cranked fully closed to cut deep enough and I hadn't test checked it.. so another bunch of useless stays….

                                      Anyhoo.. today the new stays went in and everything fluxed again and thoroughly round the firehole. I poured the heat in via the upper part of the firebox more than over the top and spent longer lower down to get even heat into the whole part. I thought it went well…

                                      cam00678.jpg

                                      cam00680.jpg

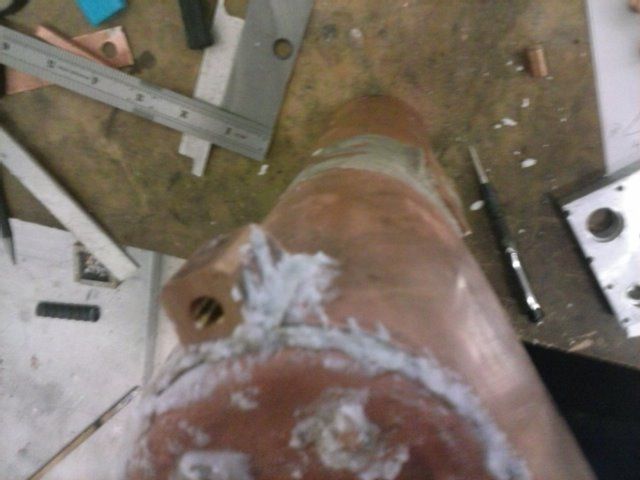
                                      Until i cleaned up and found that i still hadn't done the job around the firehole ring well enough and had to cook yet again.. But got it this time. I thought I;d manage to do the inside end of the stays but failed miserably with the thing repositioned with the bottom of the firebox uppermost.. flux just ran down the 'walls' cos the first lot was exhausted. It looks like I'll have to do that as I do the throatplate stays then the side stays as two cooks more.

                                      For all that I feel i'm learning and getting better at judging temps and colour changes and flux quantities – well stuck shed-loads on there anyway.

                                      cam00681.jpg

                                      The final pic is before a full clean up- I'd had enough for this session again. As an aside – i really dont know why Mason designed that stay just under the firehole.. it's so close to the firering it ought to be unnecessary and it would make more sense for them both to be lower down.. but it's the book dimensions.

                                      #275609
                                      Ian S C
                                      Participant
                                        @iansc

                                        That screw that snapped, was it per chance a brass one?

                                        Ian S C

                                        #275624
                                        pgk pgk
                                        Participant
                                          @pgkpgk17461
                                          Posted by Ian S C on 04/01/2017 10:25:55:

                                          That screw that snapped, was it per chance a brass one?

                                          Ian S C

                                          Indeed.. as specified. Worse the specified threaded hole above it into which it seated wasn't wide enough for the full head diameter so it had suffered some stress in being turned down 0.7mm in diameter (collet and very sharp HSS over 4 light passes)

                                          Hence my BMA acronym for boiler-makers angst

                                          #276861
                                          pgk pgk
                                          Participant
                                            @pgkpgk17461

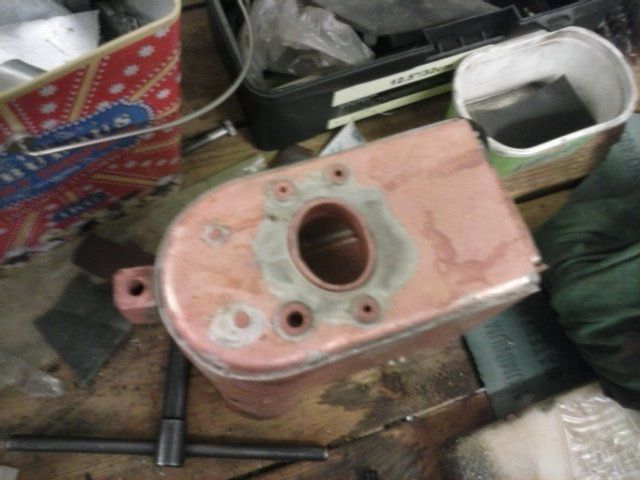
                                            Just an update. I decided to place the throat-plate stays next and then cook those up along with the insides of the backhead stays.. but then decided (after fluxing it all) to do the side stays as well and indeed plan on the foundation ring and see how i get with a cookup on the lot.

                                            the known issue with the throat-plate drilling is the need for a drill extension. Mine was simply a length of 15mm bar with a hole in the end and 2 grubscrews. It worked well enough until I failed to spot the drill loosening and as it wobbled one hole ended up oversize and I ended up having to redrill and tap it m4.

                                            the other issue is that the copper is so well annealed that however gentle the drill/tapping went it did deform the throatplate and that needed some correction after. And the blowdown bush hole got done too.

                                            cam00682.jpg

                                            Meanwhile some discussion on another thread is relevant here for completeness :**LINK**

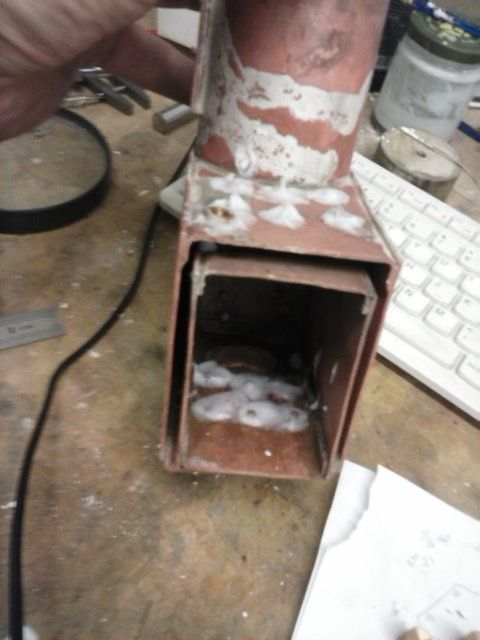
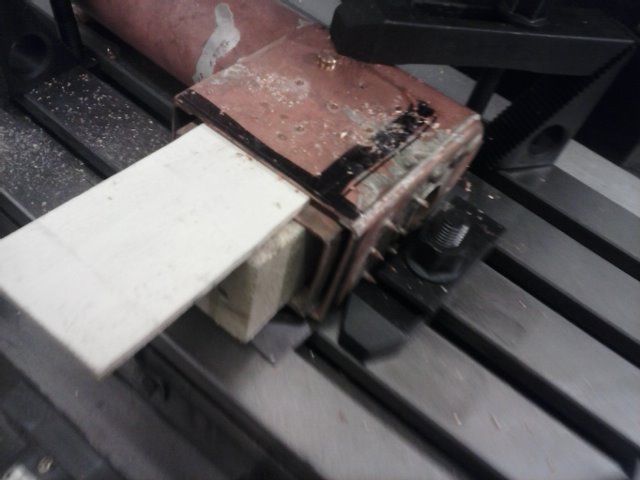
                                            As a result of that I spent a session sawing up some thermalite blocks for next session and I also made some wooden formers to fit within the firebox and between firebox and wrapper. I'd hate to think how much the side wrapper faces might have got deformed without them but this way the drilling/tapping was straighforward – just slow.

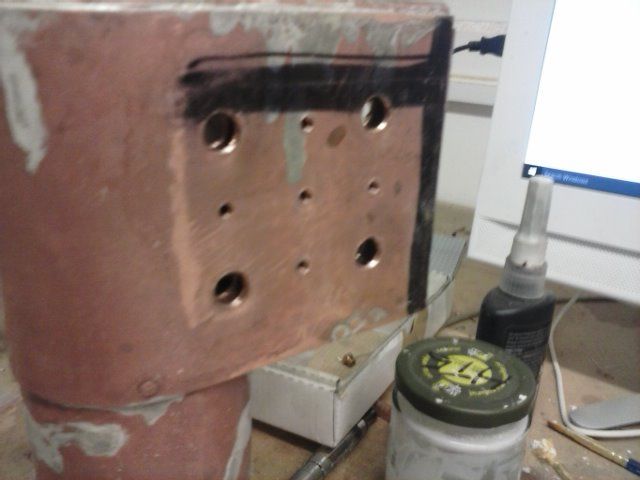
                                            Laying out the work for that was even slower…first magic marker and height gauge to establish a horizontal for the template to work from.. 3mm below the wrapper end so it'd be a clear straight line.. and then trimming the template by 3mm. Since I had a slight angle on the throatplate i decided to use the back edge of the wrapper as the other reference marking that with the height gauge and boiler sat on it's front end.

                                            Once the holes were marked drilled trhough teh template they were enlarged as needed.

                                            cam00684.jpg

                                            The second side will have to wait for the next session

                                            cam00685.jpg

                                            Edited By pgk pgk on 09/01/2017 22:09:17

                                            #276877
                                            julian atkins
                                            Participant
                                              @julianatkins58923

                                              And just how do you propose to silver solder up the front foundation ring section which is a great mass of copper, after having done the throatplate stays etc?

                                              Sorry, but you are doing all this in the wrong order.

                                              Cheers,

                                              Julian

                                              #276885
                                              Simon Collier
                                              Participant
                                                @simoncollier74340

                                                There is only one way to learn boiler making, and that is by making boilers. I admire you for doing it. All the theory in the world tends to go out the window as soon as you light that big, scary torch. The block falling off is a classic example. I had a top fitting block not fall of, but rotate slightly because the screw was a bit loose. I make bronze 5 BA screws from Colphos 5/32 hex. I avoid rivets mostly. This allows me to assemble and disassemble the parts to check and adjust fits etc.. As mentioned, don't use brass screws or rivets; you want copper or bronze. Some things are really important to get right the first time, the foundation ring being the obvious one. If you don't get penetration the first time when the joint is clean and fluxed throughout (HT5 type, not Easyflow type), it is near impossible to get penetration later. You end up relying on a coating of SS "painted" on the bottom of the ring and wrappers. You can fix a specific leak by drilling a hole for a 1/16 rivet which you then flux and drop in and solder up, but I would say that you need oxy for foundation ring "repairs". Just last week I helped a friend fix his badly soldered foundation ring, using oxy propane with a big heating tip, not a little brazing tip. We got it pressure tight in the end and it passed it's hydro, but it was a horrible job.

                                                It is important to go to any amount of trouble when the job is cold, to help things got smoothly when the job is hot. You need the right heating equipment (with excess capacity, not barely enough), the right firebricks, the right flux, spare flux, gas and silver solder on hand, etc., etc.. This is after you have read everything you can on the subject and made practise joints and got comfortable with your equipment. You need gravity working for you, so you need to be able to move the boiler while hot. Practise this when cold with two pairs of molegrips, tongs, whatever but not gloved hands! Even two pairs of welding gloves won't save you (how do I know this?). Be mindful of damaging the annealed copper with the jaws of the grips:- wrap a bit of copper round them or something.

                                                If at all possible, have an experienced friend to help. A second person of any sort helps enormously, to hand you things, pick up lengths of solder you drop, etc.. Wives can sometimes be persuaded!

                                                Unless you are happy to pickle overnight after every heat, you really want reasonably strong sulphuric acid. Mine is 2 molar, but 1 molar would be OK. I bought a couple of winchesters of conc from a chemical company. It is not restricted here (Oz) but people assume it is or don't know that you can simply order it. I was a laboratory based medical scientist so I am very comfortable, but suitably careful, with strong acid.

                                                The great thing about silver soldered copper boilers is that they are so forgiving. That is why beginners can manage it, and I am not aware of a boiler under construction having to be scrapped at my club.

                                                #276891
                                                pgk pgk
                                                Participant
                                                  @pgkpgk17461

                                                  Simon, Indeed it has been a learning curve, it still is. I prefit with temporary bolts before rivetting. I did also make some PB bolts/nuts when i had problems rivetting the crown stays – sadly only after i'd dented the crown of the wrapper a bit

                                                  Julian. If you read my last post properly you'ld see that I had decided to do the stays and foundation ring in one cookup (for the very reason that the foundation ring heating is going to need lots). I haven't documented the order but starting with the foundation ring then doing the stays I hope will work but I can always go back a second time on the stays if flux exhaustion happens on them?

                                                  The book describes doing the foundation ring then drilling for the stays and my point is that if I'd left the stay drilling until after the foundation ring was finshed that any drilling distorsions woudn't be easy to prevent or straighten. How do you do them?

                                                  It is also my intention and hope that I'll be able to prewrap each side of the stays with 0.5mm wire in their flux so that they solder while i pour heat/pay attention to the foundation ring.

                                                  Also if you recall my stays are threaded so they can't slip, fall out or loosen.

                                                  I appreciate your advice and experience but not your tone. Instead of 'your doing this wrong' how about 'it'd be better if you did it as follows…'

                                                  pgk

                                                  #276920
                                                  Brian Abbott
                                                  Participant
                                                    @brianabbott67793

                                                    Morning Pgk.

                                                    If whilst soldering you have a problem with lets say the flux exhausts and you need to abandon the joint, what do you do about cleaning the joint so you can have another go ?

                                                    #276924
                                                    AndyA
                                                    Participant
                                                      @andya

                                                      Hi Pgk, Here is the advice I gave someone else building a boiler a few years ago. It's a tried and tested method

                                                      I start with the barrel, then solder the dome bush and front feed bushes followed by front tube plate with any attendant bushes. Soldering in this order allows me to see the reverse side of the join and check for full penetration.

                                                      Next up is the front throat plate and firebox wrapper. This is done as a single heat with the boiler stood upright. Packing the surrounding area with fire brick starts to make a big difference here.

                                                      I make the inner firebox with tube plate and tubes as an assembly and then insert that into the boiler outer shell. Next up is the front and side foundation rings along with throat plate rivets. This holds the inner firebox in place whilst drilling for the stays.

                                                      The next three heats are big ones, its the stays. I use solder rings under the rivet heads, doing one outside side first. You can watch the stays drop as the solder melts and runs through the join. Once cooled and cleaned, turn over and do the opposite side, but at the same heat I do the inside of the first side. Hope that makes sense? Don't forget the throat plate stays, these can be done at the same time. Roof stays next up and done as two heats, by leaving the back head off it is much easier to get the torch inside the firebox to heat the stays. Don't forget to leave the stays LONG. The extra length acts as heat sinks ensuring the stay itself in the plate area gets hot and also makes the jobs of repairing any leaks easy for the same reason.


                                                      I don't know what your stage inspections are but at this point I take it to my inspector who can clearly see penetration of the solder around all stays and foundation ring.


                                                      Next up is the inner back head with the fire hole ring pre soldered in place along with the foundation ring, followed by outer back head once again with all bushes pre soldered into place.

                                                      Final heat is to solder the tubes into the front tube plate.


                                                      Using this assembly order it is easy to flux both sides of the joints at all times and minimise the reheating cycles with all soldering operations in an area being done at the same time. It also minimises any stress due to expansion and contraction issues.

                                                    Viewing 25 posts - 126 through 150 (of 171 total)
                                                    • Please log in to reply to this topic. Registering is free and easy using the links on the menu at the top of this page.

                                                    Advert

                                                    Latest Replies

                                                    Home Forums Traction engines Topics

                                                    Viewing 25 topics - 1 through 25 (of 25 total)
                                                    Viewing 25 topics - 1 through 25 (of 25 total)

                                                    View full reply list.

                                                    Advert

                                                    Newsletter Sign-up