PGK’s 1″ Minnie

Advert

PGK’s 1″ Minnie

Home Forums Traction engines PGK’s 1″ Minnie

Viewing 25 posts - 101 through 125 (of 171 total)
  • Author
    Posts
  • #265044
    JasonB
    Moderator
      @jasonb

      If you want to scribe the 9.625" then just cut a block of wood and drill a hole for a scriber at that height, may be a whole lot easier to just file down to the scribed line.

      Advert
      #265053
      pgk pgk
      Participant
        @pgkpgk17461

        I could probably scribe the line just with a 90deg scriber in the mill chuck but the problem is really that the wrapper is so well annealed and I don't have a vice or clamping arrangement to support the free edges for filing (that I've thought of)… except that I think i just have…..smiley

        #265349
        pgk pgk
        Participant
          @pgkpgk17461

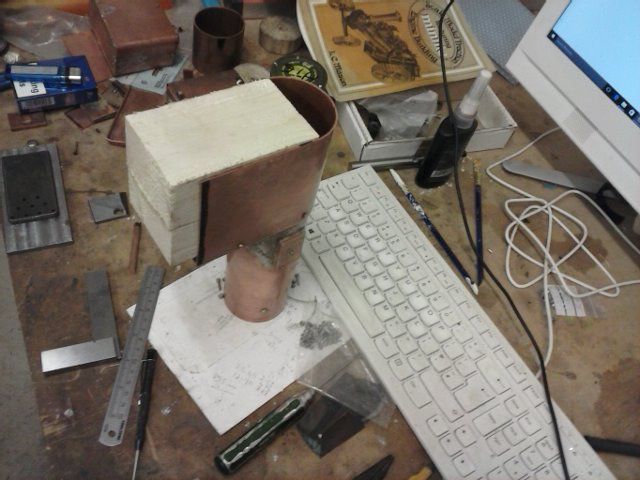
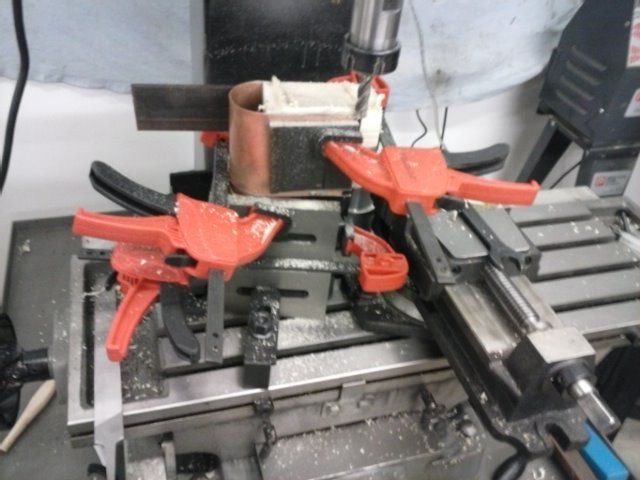
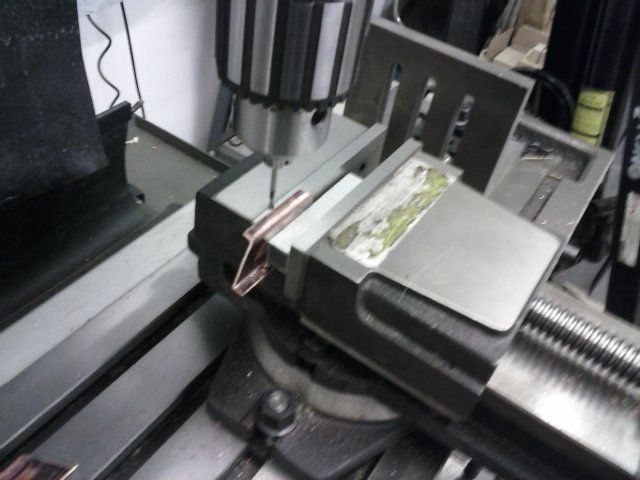
          went with a simple wooden block in the end and glad I did..the free edges so soft. I set it up in the mill in the 'shonkiest' fix imaginable with external edge support too and milled the back parallel with the tube front.

          I had a bit of a disaster with trying to mill the bottom back 90deg to the back edge and to size – again soft edges that I thought were supported enough but they distorted – so that was hand filed but again needed the block for support in the vice. I'll tidy up some of the worst of the x/s silver solder then on to the next stage.

          cam00616.jpg

          cam00619.jpg

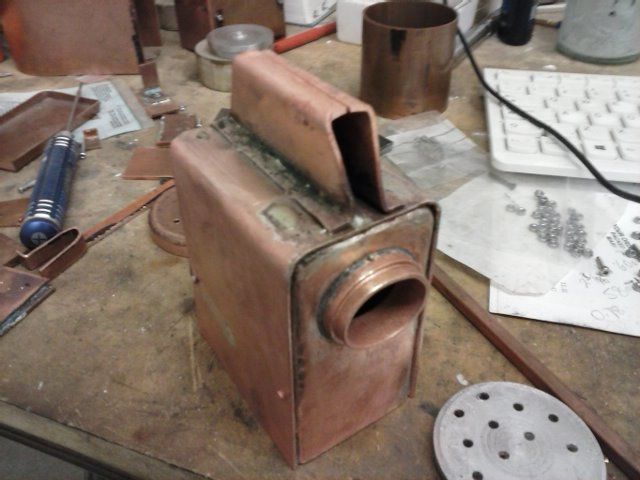
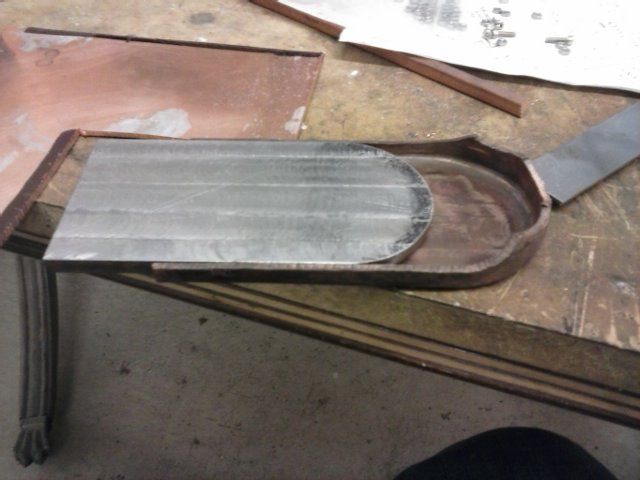
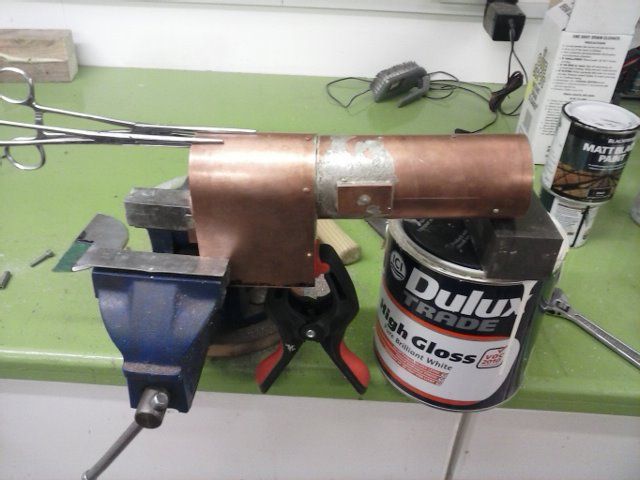
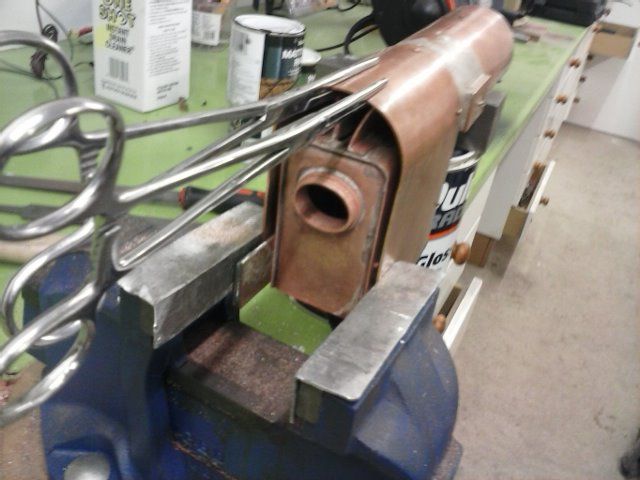
          If I end up making another then it'd be worth a full-length barrel block and a wrapper block just to support without risk of flattening or bowing. it's just the nuisance sawdust making it. I didnl;t have to make the rounded wrapper part as a block since that was on-size to sl undersize with the angle error. Standing it on it's firebox end on a flat surface can just slip 1 thickness of paper under the domed edge of wrapper. the backhead should take care of all that….

          #265895
          pgk pgk
          Participant
            @pgkpgk17461

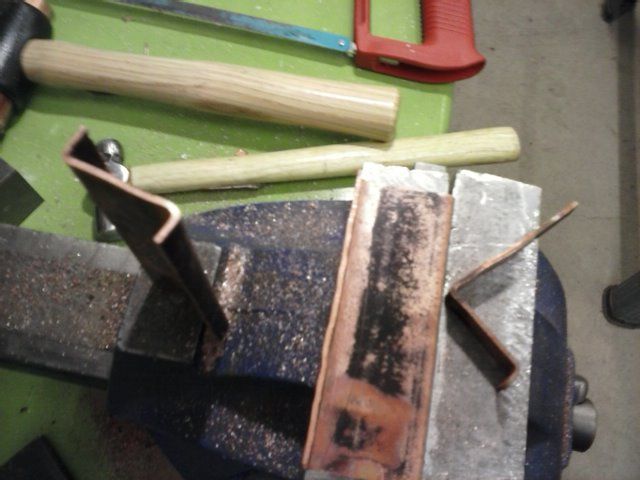
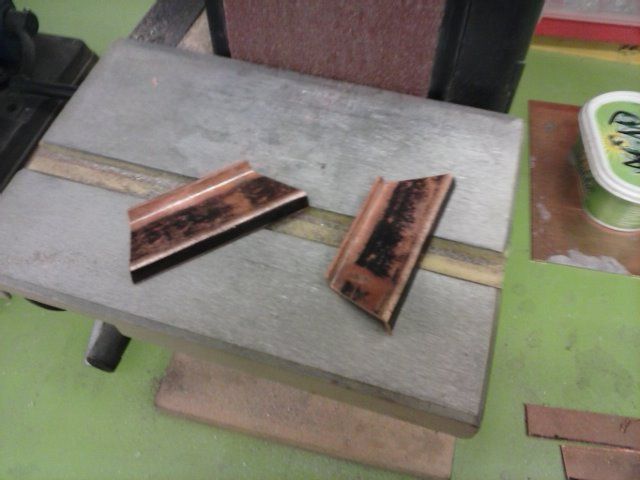
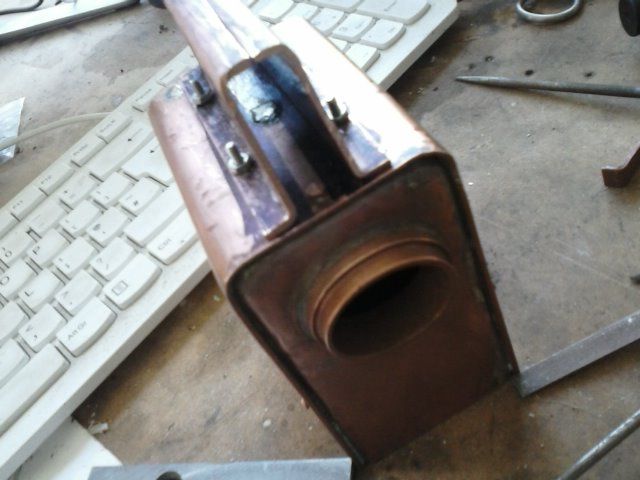
            Next up was the crown stays. Once again i found this hard. mason casually states to clip the firebox to the throatplate with a length of foundation ring as spacer, align and then bend up a thin test piece as template. I think it was some 2 hrs of fiddling and wishing for an extra hand before I achieved a good grip with vicegrips that actually positioned the firebox correctly and another hour of trial and error to bend up my template.

            the actual cutting out, marking and bending of the stay blanks was the next session after letting my brain dwell on how best to do that. At least that went relatively quickly.

            cam00621.jpg

            I bogged up a little on cutting the angles back and should have left them slightly sloppy because they won't be seen. Instead i evened them up cosmetically and ended up pretty but slightly shorter than per plan on the top edges. I don't think it matters.

            Marking out and drilling is straightforward though I did decide the place them marginally closer than per plan in case of distortion to make sure there'd be clearance for the long stays.

            cam00622.jpg

            cam00623.jpg

            but overall a whole evening session just shaping and bolting up. I'm happy enough with the end result and it looks like it sits correctly. There may be a thou discrepancy between the two stays in height. I may run a file over them after soldering if necessary but they may pull down on rivetting anyway.

            This is a slow job in my hands.

            cam00625.jpg

            Next I need to make up the smokebox tube plate.

            Turning a 1/4" thick disc from plate would be a pain…without being able to bolt through it'd either be glued to a back piece (always risky) or just jammed by the tailstock =- unless there's better ideas out there??

            Since i have scrap round ally bar I've been using on this project I'll turn a length of that down and part off 1/4 in and see if I can form around that without denting it. The copper will be roughed out and filed to a starting disc…

            #266405
            pgk pgk
            Participant
              @pgkpgk17461

              Advice needed, folks, please.

              I'm almost ready to fit the boiler tubes into the firebox plate. mason recommends a ring of solder pushed down around each one. My experience so far with the 1.5mm rods I've got suggests they would provide way too much and flood things unnecessarily. So what size rod for 3/8" tubes into 16g & 13g plate?. i was wondering about a couple of rounds of 0.5mm wire since it'd be easier to coil??

              Also any tips for getting these tubes really well aligned and, yes, the smokebox tube plate will be used.

              Now my update:

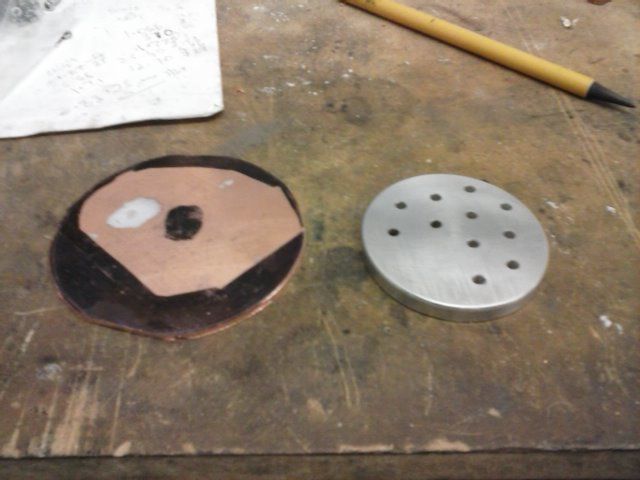
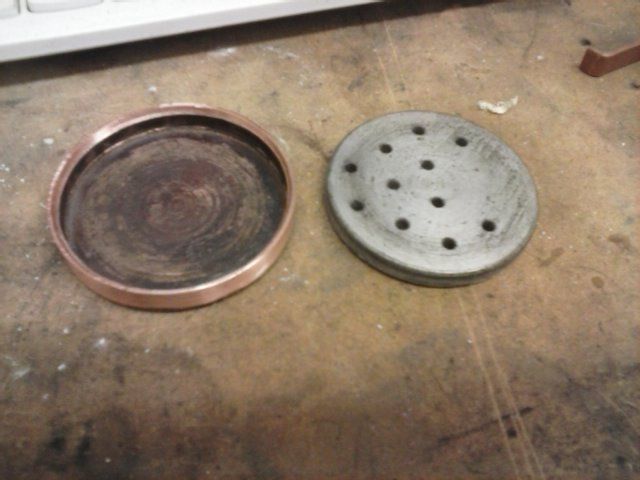
              I started on the smokebox tube plate. For a former I trimmed down a section of my scrap ally bar I've been using and parted off 6mm. Annoyingly i parted down some 3/4" off the radius and then got a dig-in and stalled the lathe. I was able to recover by sawing through and facing.

              Mason suggests drilling the tube hole starts after forming and using the firebox tubeplate former as a guide but i chose to make up the guides in the smokebox tube former… but then Mason didn't have a DRO.

              Then a case of roughing out a circle of the 13g copper and the usual anneal and bash. That went really well..my neatest flanging to date.

              cam00626.jpg

              the problem came in trying to remove the former. Mason casually claims to scrape around with a sharp end of file and tap it out. I tried that. I also tried freezing, heating to red, scraping some more, teasing with dental scaler tools and facing back to the ally and then using a tip tool to cut a v-groove into the edges of copper and ally and finally using my predrilled holes and a drift to rotate the former in the disc plus leverage…. about 4hrs of pratting about to get it out.

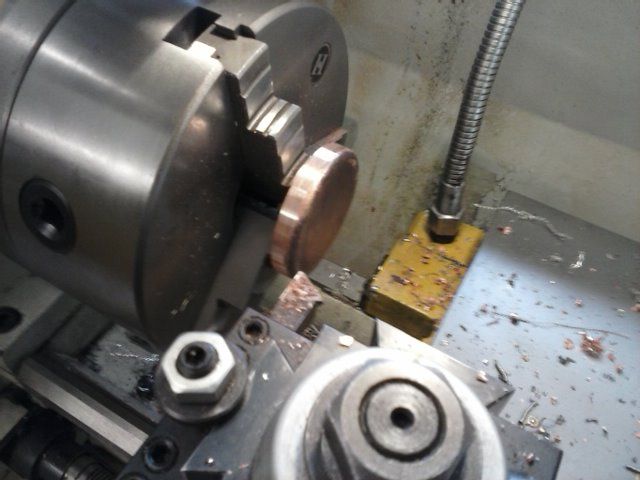
              Turning the outside for a good fit in the boiler tube was also problematic for a novice. i didn't want to over tighten and damage the disc and whenever it got hot from light skimming in the lathe it tended to fall off the chuck. Eventually i got the hang of how tight and when to tighten further as it heated up. Just the holes to drill.

              cam00627.jpg

              cam00629.jpg

              #266507
              Ian S C
              Participant
                @iansc

                The last bit about turning the disc to size, make a little plate with a center hole in it, bring up the tail stock with a center in it, put the plate against the disc, it wont fall off now. Ian S C

                #266517
                pgk pgk
                Participant
                  @pgkpgk17461

                  Another problem.

                  I offered up the smokebox tubeplate against the firebox tubeplate (both with predrilled 1/8th pilot holes) and sighted across the top of firebox to the predrilled stay holes. There's not enough clearance over the roof of the firebox for those stays.

                  According to the drawings the vertical separation of the holes is 7/16th to their centres.. the tubes being 3/8 and the stay 5/32 so the gap between them is less than 1/4" and there's 2 sheets of 16g a line of solder and the edges of the firebox crown stay feet. Add to that some rippling/thickening on the flange from shaping it (perhaps i should have milled it back – hindsight being wonderful): theoretically one has around 3/32 clearance over the firebox roof but I don't. All hole positions were drilled with DRO and are correct so I'm guessing a thicker solder line and the crown stay feet being sl wider then Mason intended. Plus Sod's Law.

                  The easiest solutions i see are 2-fold…try to raise the stay holes in the smokebox plate (I think i can gain a tad over a mm if I get lucky with an endmill) and since i haven't soldered the crown stays on yet I can narrow the feet and after soldering run an endmill to skim off the rivet heads and the free edge of the crown stay feet further. If that doesn't give me clearance (I think it might) then I'd have to make a new smokebox tubeplate and drill the stay holes higher.

                  Is there anything I haven't thought of that gets in the way of 1/8" higher stays and higher holes in the backhead?

                  At least i noticed before soldering in the smokebox tubeplate and scrapping another part boiler…….

                  #266547
                  pgk pgk
                  Participant
                    @pgkpgk17461

                    Panic over..just realised my error in the above: it's a 1/4" bush with a 5/32 threaded stay rod not as my brain imagined it as a 1/4 thread on a necessarily wider rod…

                    It was checking clearance for 1/4"+ I couldn't get. All i need is to narrow the crown stay feet and rivet flush either into a countersink or file off rivet heads after soldering to have clearance. Actually better to use countersink rivet ends so they can't move on any reheats.

                    Phew.

                    #267501
                    pgk pgk
                    Participant
                      @pgkpgk17461

                      Update: Three steps forwards and two back…all part of my slow learning curve.

                      I rivetted the crown stays on and made a bit of a hash of it. I'd used a section of steel leftover from making some tool holders inside the firebox. The large flat end sounded like a good idea at the time but rivetting into countersinks necessarily means hammering more around the rivet. That and lack of clearance at the end I was peening gave less control. I was using a piece of rod between rivet and hammer. End result was that I flattened/dented the top of the firebox a bit more from it's natural bends – if that makes any sense. It is usable and it has increased clearance for the tube stays but is less aesthetic – not so important when hidden under the wrapper except i know. Soldering went OK. Next time I make one of these I'll use a focussed support inside… a piece of rod with a small divot for the rivet head and a DIY thinner rivet tool above.

                      I've also flanged up the backhead piece and also with great care and concern about drilling thinnish copper I've drilled and reamed the firebox tube plate. I didn't want to risk ruining my only 23/64 drill by regrinding for sheet material and messing that up.

                      Then i started opening up the holes in the smokebox tube plate and totally bogged it up – didn't notice it cant on it's supports while reaming and reamed an oval hole – Doh! I've flanged up a new one after making a new former. Again a pain to get the former out.. I had to drill and tap for an M3 screw to give traction for removing it.

                      Hopefully I'll finish that without more errors later today.

                      I've been deliberating what diameter solder to use for rings of solder around the tubes when it comes to brazing. I think I'll order 0.7mm wire for that unless any experienced suggestions otherwise?

                      #267602
                      pgk pgk
                      Participant
                        @pgkpgk17461

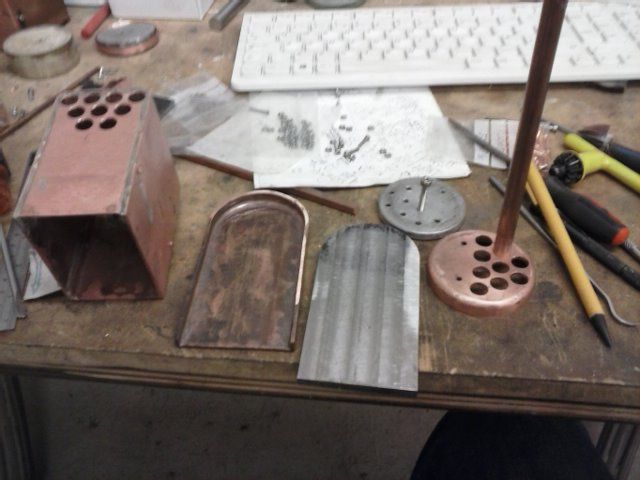
                        Some update pics… second attempt smokebox tubeplate and backhead flanged. Also a pic showing the screwtapped into the smokebox tubeplate former to remove it. And thanks to Ian I used his advice for turning that plate to size.

                        cam00630.jpg

                        cam00631.jpg

                        cam00632.jpg

                        #267608
                        julian atkins
                        Participant
                          @julianatkins58923

                          Hi pgk pgk,

                          It usually takes me 2 attempts to get the crown stays silver soldered to the inner firebox wrapper, in each case without the rear inner firebox flanged plate attached.

                          In your above pics you appear to have attempted this with the rear inner flanged firebox plate in position and silver soldered to the inner wrapper – though this isnt clear. If so, it would not be the recommended proceedure. The pic is not clear but there appears to a want of heat and blobbing of silver solder which hasnt run into the joint.

                          However this is only a guess from the blurred pic.

                          On my my first boiler I used 1.5mm dia rings on the water side ends of the tubes abutting the firebox tubeplate. Excessive, but went ok. (I had nothing smaller in dia of silver solder at the time).

                          Cheers,

                          Julian

                          #267635
                          pgk pgk
                          Participant
                            @pgkpgk17461

                            Julian,

                            All comments,criticism,suggestions welcomed. I was following the book. Indeed in't'book it suggests that experienced builders might solder the firebox and crown stays all in one session. In fact I did the firebox in two sessions ten another for the crown stays.

                            Your are correct that one end of one stay has a section at the end that isn't soldered down well which is why there's an extra blob between the stays where i tried to add more flux and solder during cook-up but it wouldn't run in. The rest of both stays has 'stuck' OK and the thing had a second pickle and cleaned up a lot better since that pic was taken so I was going to let it go? I'd stupidly left sl too much gap with my bad rivetting so to correct it I'd have to pack with fluxed chips of copper if you think i should re solder? I'kk try to get around to posting a cleaned up pic.

                            I was thinking 2 turns of 0.7 wire round the tubes… 1/2 the volume of 1 ring 1.5 and i can (hopefully) wind a length of the wire round a rod springwise and have neat coils packed down.

                            pgk

                            #267792
                            pgk pgk
                            Participant
                              @pgkpgk17461

                              Julian,

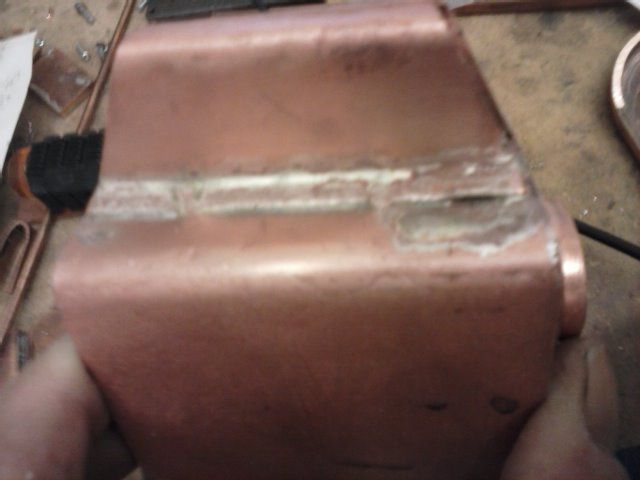
                              This pic is better representative. There is a 1cm void at the end where I'd dented the firebox roof in rivetting and that end rested up on the back plate and unseen under the flux the gap was too great for capillary draw. The rest of the crown stay edges are silver filled.

                              cam00633.jpg

                              #267814
                              julian atkins
                              Participant
                                @julianatkins58923

                                Hi pgk pgk,

                                That is a much better pic, and I would pass it, especially as my last boiler has webbed feet on the crownstays to the inner wrapper. I also always add large holes through the crown stays to help circulation.

                                My usual practice is to silver solder the inner firebox wrapper to the tubeplate, then silver solder the tubes in position, then do the crownstays to inner wrapper, then silver solder the firebox doorplate to the rear of the inner wrapper.

                                You are going to have fun and games trying to silver solder the tubes applying heat from within the box with the firebox doorplate silver soldered in position. The flame will probably go out continuously, and you risk disturbing all the joints already done.

                                L C Mason didnt have much experience of building miniature boilers, and the usual practice used by LBSC, Don Young, and Martin Evans for loco boilers seems to have been lost on Mason.

                                Cheers,

                                Julian

                                Edited By julian atkins on 21/11/2016 23:48:03

                                #267821
                                pgk pgk
                                Participant
                                  @pgkpgk17461

                                  Julian,

                                  I bow to greater experience. So far all the firebox parts are 38% and the tubes will be 55%. the flame going out has been a problem at times already..mostly getting too close to the work. I hope that directing heat into the enclosed firebox will concentrate it on the tubeplate underside. I'd guess that with the doorplate not there it'd still have to sit on that end on firebrick with tubes vertical???

                                  It's reassuring to hear you accept that unattractive crownstay.

                                  I'm at the stage now where I'll finish this boiler even with faults (if they happen)… just to learn all the remaining wrinkles in case it does come down to a third (and final) attempt.

                                  Thanks,

                                  pgk

                                  #269423
                                  pgk pgk
                                  Participant
                                    @pgkpgk17461

                                    I took a few days out from the boiler build to enjoy some machining and knocked up a simple imperial tailstock die holder and also made myself a (yet to be tested) tap alignment holder: that's simple enough too – it's a length of round bar with a sliding centre hole onto another bar to be held in mill or tailstock chucks. The working end is a cheapo far east small keyless chuck. This one came with a threaded insert 3/8 x24tpi to it's hex shank. Originally I was going to single-point a 3/8×24 new fitting but discovered the shank was soft enough to turn down and thread 6mm. As it happens i wrecked my cheapo die and single-pointed the metric thread anyway.

                                    Back to the boiler. Boiler tubes all parted and faced and deburred to length. I'm on a roll so used off-hand ground hss tools at 840 rpm – quick and slick.

                                    I decided to make my solder rings from 0.7mm wire. It was wound around a handy 7mm rod (to allow for spring-back) and then cut individual rings off that and used 2 per tube. I probably overdid the HT5 flux – but better too much, eh?

                                    cam00637.jpg

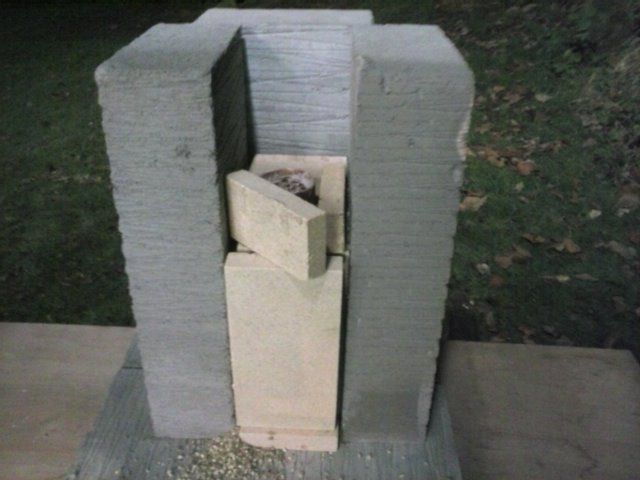
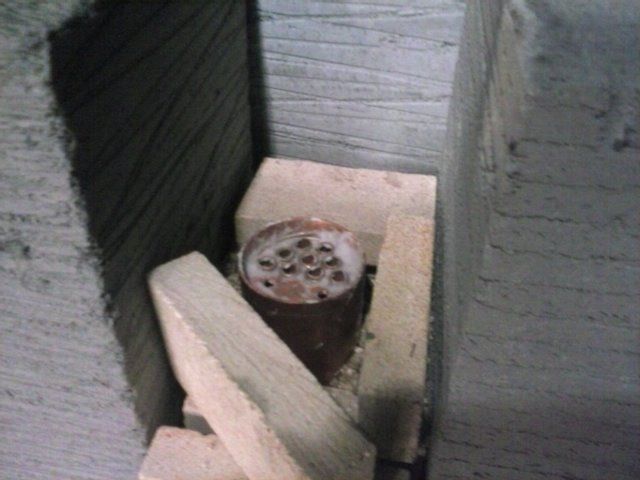
                                    The cook-up went well. A pic of the hearth arrangement: Sorry-blurry at night..

                                    cam00638.jpg

                                    And simply blew the heat up the open firebox part and between firebox and firebricks at the side. I could see the colour creep to the tubes until they were bright orange to about 1" up. It was hard to see the solder actually melt within the flux.

                                    Then into the sulphuric acid bucket and abandon my shed until it vented the obnoxious vapour.

                                    cam00639.jpg

                                    cam00640.jpg

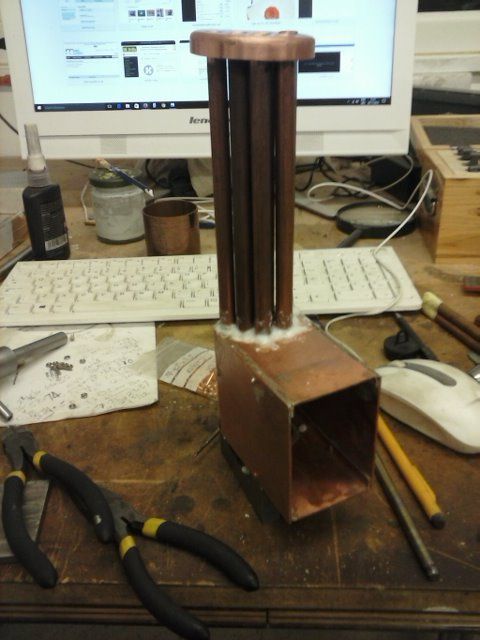
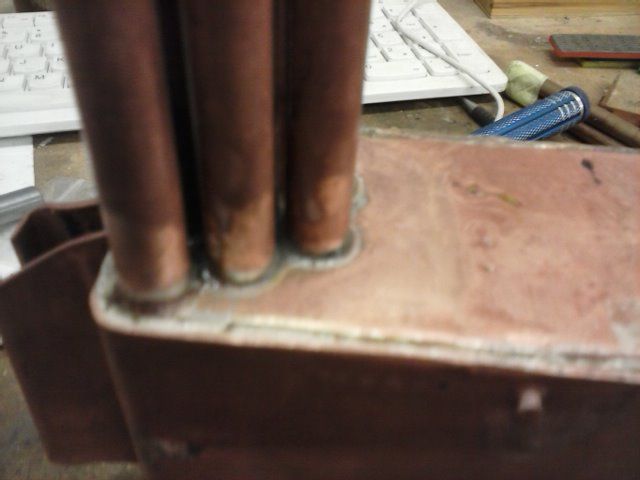
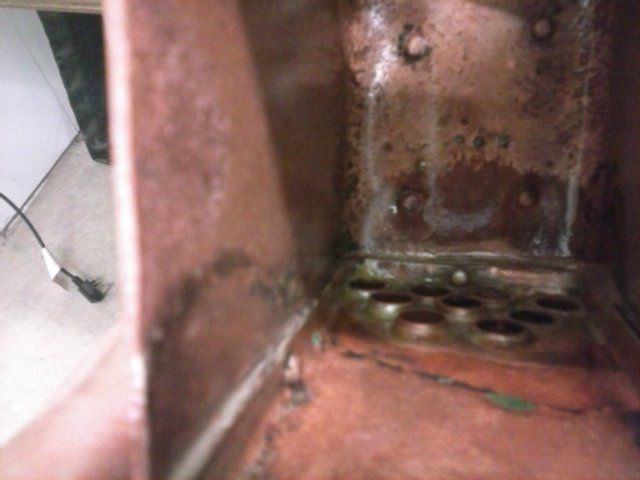
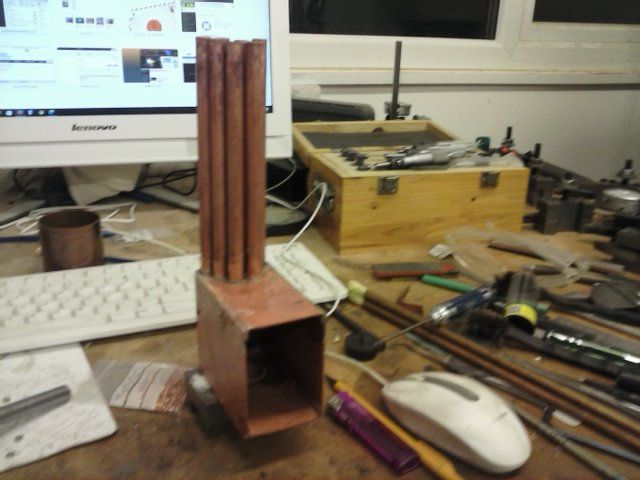
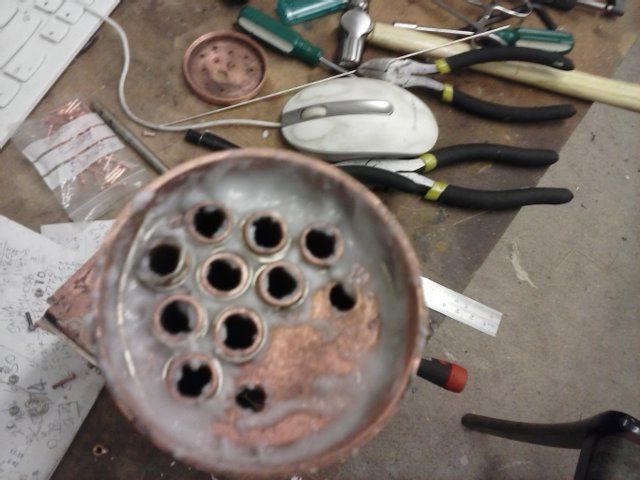
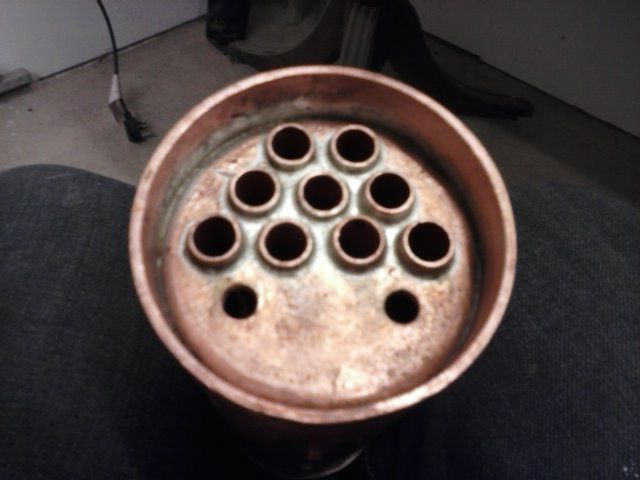
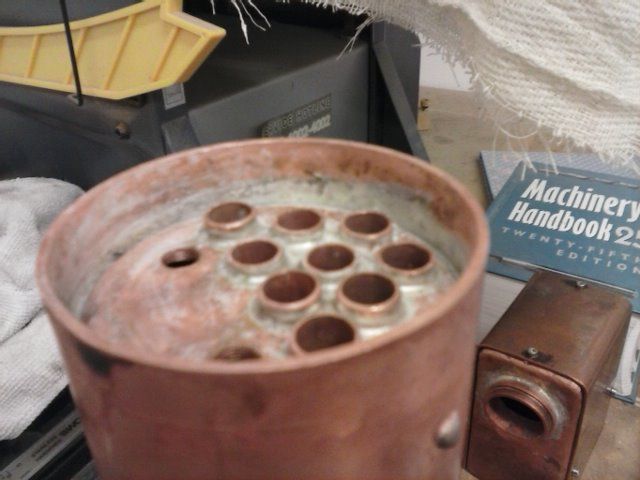
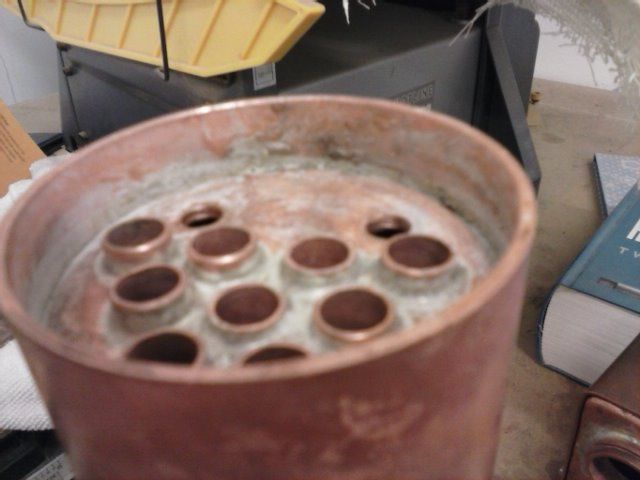
                                    Dodgy phone pics again but the solder has come through to inside the box and rung every tube. their fit was tight enough i had to tap them in with a light hammer. externally a ring around each tube that fills the slight countersink proud. I'm happy with this phase.

                                    cam00641.jpg

                                    I do have a question about the boiler tube stays. The drawings show the bushes as hex ended threaded externally and internally 40tpi onto threaded stays. the long section drawing of the boiler shows those bushes as threaded externally/internally but it looks like separate nuts. In any event I can't get my head around how this tightens the stays unless the idea is merely to hold them? A simple round exterior into a round smoke-box tube plate would allow them to be drawn up and either way they'll need soldering??

                                    #269737
                                    pgk pgk
                                    Participant
                                      @pgkpgk17461

                                      Yesterday's session was an exercise in how not to do stuff. the idea was to make the smoke-box tube plate stay bushes. they're supposed to be hex headed 5/16 but I didn't have any..so thought I;d be clever and make it out of round stock and hex the end. The idea seemed sound… make the bushing then screw into the end of a larger sized hex bar i did have and mill it to size/shape. Perhaps it would have worked if I'd threadlocked and waited etc.. but the frist hole I drilled and tapped..well it turns out that the No1 drill in my set isn't. It's actually marked 'pigeon' 6 (once i put a hand lens on it) and probably supposed to be a 6mm though it measures a little less. So the thread stripped under light cut load.

                                      A second attempt using a No2 drill pre-tapping still twisted enough that milling wasn't going to work and my attempts at hand filing just don't look pretty enough. three hours later i ordered a short length of 5/16 hex bar which is pending.

                                      Tonight i plan to drill and tap the smokebox tubeplate for those bushings and fit the tubes into the barrel etc..and flux up. For me this is going to be a stress session ..cockups right now and a lot of work wasted…

                                      #269764
                                      pgk pgk
                                      Participant
                                        @pgkpgk17461

                                        Another frustrating session. it started easy with drilling and threading the smokebox tubeplate stay holes. And then … I got the firebox clamped in position and drilled the crown-stay rivet holes. It's difficult to mount it with clamps in place so ended up in the bench vice and a cordless drill… which worked OK…fine punch marks, spot drill and drill to size.

                                        The problem came with trying to rivet the rivets. Mr Mason suggests a short bar in a vice under the crown stays to support the rivet head, Unfortunately I'd had to slightly splay out the crown stays and S them to get clearance on the tube into the barrel. It'd all looked OK on test fit – or so I'd thought. That made it difficult to get a support bar under the rivet heads.. and i spent a few hours fiddling and filing bars to fit etc.. and failed to get a good rivet going. Sometimes an extra hand would be nice….

                                        Eventually i decided that my temporray s/s bolts work so perhaps a copper bolt. I threaded a rivet 7BA and made a PB nut to match. It works except the fine thread strips on the copper. That was enough for today's session but I'm hopeful of success with 7BA PB bolts instead of rivets that i plan to make tomorrow…..

                                        #269779
                                        JasonB
                                        Moderator
                                          @jasonb

                                          Your rivits on the boiler don't have to be formed that well, they really only need a tap or two with the hammer to expand the shank enough to stop them comming loose as they really only hold things in place until you solder the joint. Infact too tight a rivited joint can actually stop the solder flowing right in.

                                          Just flux up the rivits on the outside and solder them in at the same time as the stays. If you have the hole lightly CSK on teh outside they can be filed off flush after soldering to just leave a nice ring of solder in the CSK

                                          #269789
                                          pgk pgk
                                          Participant
                                            @pgkpgk17461

                                            I wish I could get even a couple of effective taps on those rivets. Hard to describe my problem here but I also want the opportunity to keep the 'rotation' of the firebox to outer wrapper top such that there's an even gap both sides. I think the PB screw method should work and that won't be particulalrly tight since their heads at best will be finger held while tightened with some temporary spacers between firebox and wrapper until soldered. I also need to hold it's rotation well enough to get the smokebox tubeplate in with those tubes horizontal. As you say – the nuts can be filed off afterwards.

                                            #269901
                                            pgk pgk
                                            Participant
                                              @pgkpgk17461

                                              I mentioned earlier that I drilled the crown stay rivet holes with a cordless hand drill. I have some pics of how I set up and marked those holes… basically by eyeballing the relationship inside and out compared to my artery forcep jaws. The holes came out pretty even.

                                              cam00642.jpg

                                              cam00643.jpg

                                              I did end up using my DIY PB nuts/bolts and they held the crown stays OK. Then fitting the smoke-box tube-plate..that was a fiddle – my holes were so tight that it needed progressive tapping down with assorted drifts then fluxed, solder rings – again 2 rounds 0.7mm each tube and a round of 1.5 for the plate itself. I was heavy on the flux again.

                                              cam00644.jpg

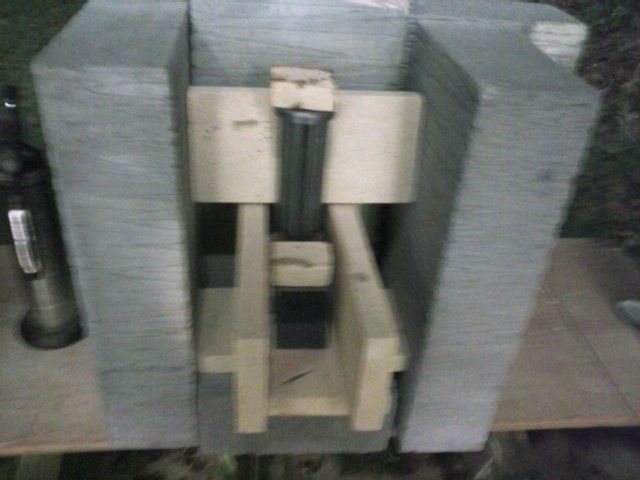
                                              For a hearth arrangement as shown.. and the voids filled with vermiculite so just the barrel top is clear

                                              cam00646.jpg

                                              cam00647.jpg

                                              It made cooking up easy except for the bits of vermiculite blowing about …messy and a torn up blanket might have been tidier. I obviously used too much flux.. had a big puddle of the stuff floating in there and had to blow the flame in the top as well to finally dry it and melt the solder.

                                              Insulation was so good that the crown stay flux was unaffected so when things cooled enough to handle (with the cheapo welding gloves) I repositioned and cooked that up too. I think i lost a bit of solder in the move 'cos one side of one crown stay looks bare but there's solder under it. I'll sleep on whether to recook – its debatable.

                                              Dropping that lot hot into the acid was exciting and not for the faint hearted or rash.. you can always wait for it to cool first…

                                              I'm pretty chuffed with the end results – certainly on the tube plate

                                              cam00648.jpg

                                              cam00649.jpg

                                              cam00650.jpg

                                              #269902
                                              pgk pgk
                                              Participant
                                                @pgkpgk17461

                                                cam00652.jpg

                                                cam00653.jpg

                                                #270137
                                                pgk pgk
                                                Participant
                                                  @pgkpgk17461

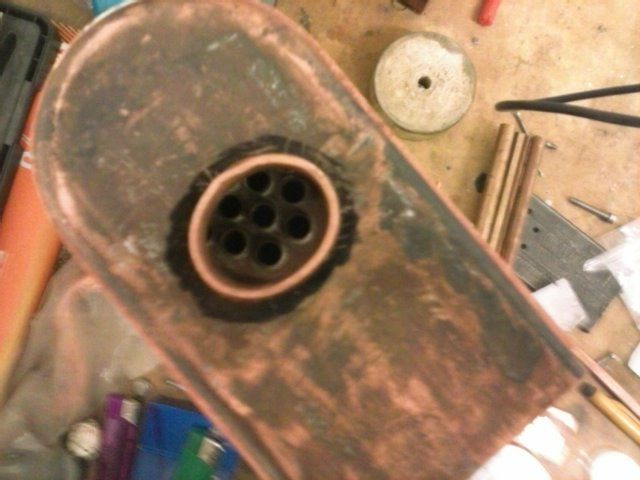
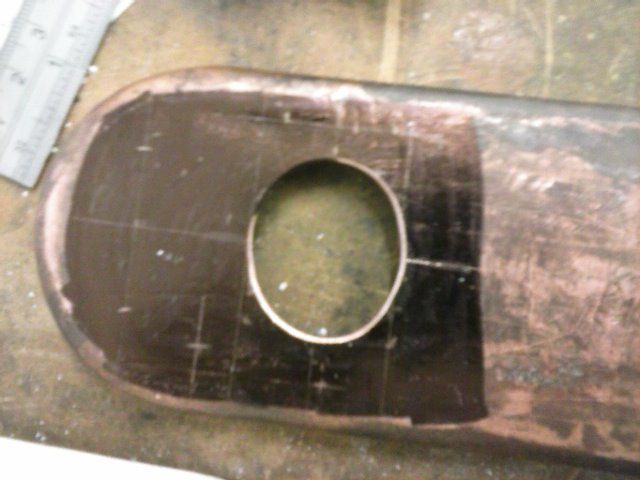
                                                  Tonights session was the drill and file the backhead firehole and test fit. Gratifying to have something go pretty well – perhaps I am learning smiley.

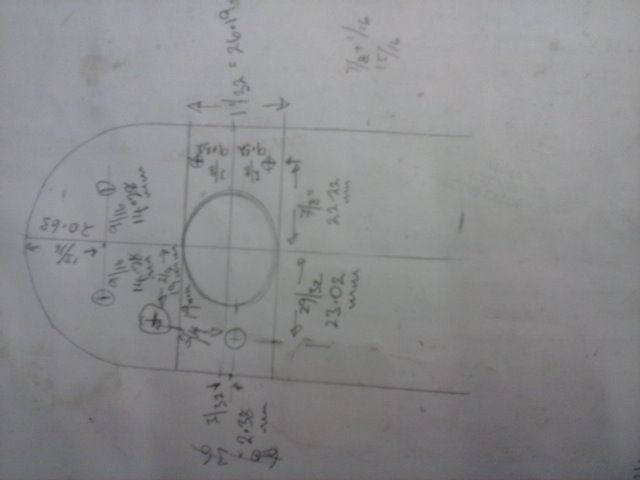
                                                  I'm sure we all work differently. I'm not much for marking out and don't have surface gauges or a decent surface plate (to be organised) and prefer to work off the DRO but this time I did mark it out fairly accurately just as a visual check against dumbo moves 'cos it's not the time to screw up.

                                                  Self evidently the firedoor hinges/catch have to be relative to the firehole centre but I was concerned that the centre as drawn and mine may not be exactly the same place and the long stay bushes should be relative to the firebox roof/stays and the smokebox tubeplate stay bushes. So some simple sums to work out the distance of those bushes to barrel and work that out relative to the crown of the backhead. It was to find that this time I was within 1/32 of the drawn distances so blowdown bush hole can be drilled relative to the firehole centre. A nice suprise.

                                                  I've also done my usual scrawl doodle of all the offsets and converted to the mm I run the DRO in.

                                                  I don't see any way that I'd manage to cook-up backhead, manifold and foundation ring in one session. I've also had some thoughts about the many stays that have to go in later that I need to run past the experts after the backhead is in. That'll be a separate message in a few days when I've mulled it over.

                                                  cam00654.jpg

                                                  cam00657.jpg

                                                  cam00658.jpg

                                                  #270314
                                                  pgk pgk
                                                  Participant
                                                    @pgkpgk17461

                                                    Jason, Julian, anyone that wants to jump in, please, some questions:

                                                    Jason intimated earlier that there may be benefit to making the steam block larger? If so then now's the time, before I order bronze, and then a question of size/description.

                                                    Secondly.. assuming the backhead goes OK then I see an option before putting in the foundation ring… I'd still have access to the space between wrapper and firebox. Is there any benefit to sleeving the stays (it'd be a fiddle but doable I think). Again a matter of size. Mason suggests the small ones he used to keep water space but I could understand perhaps using 4 larger stays each side and 5 small ones and perhaps just 4 on the hornplates?? Again the debate then is re sizes. If sleeving with some tube then suggestions re wall thickness and s/s v bronze – would there be an electrolytic effect? And of course whether s/s thin walled tube of the sizes exists 303?

                                                    Lastly I guess that silver solder would be preferred to soft solder for the stays and if so then perhaps better to do that cook-up while access to the water space to blow the flame in and leave the foundation ring for last??

                                                    I'll admit I never expected to get this farsmiley

                                                    Comments appreciated

                                                    pgk

                                                    #270330
                                                    JasonB
                                                    Moderator
                                                      @jasonb

                                                      The reason for suggesting alterations to the steam block is that it is now prefered to have the steam passage to the top of the water gauge separate to the one going to the pressure gauge. If you are just going to play with yourself in the comfort of your own shed then it can remain as drawn. If getting it tested by an inspector then separate passages would be the way to go.

                                                      I would think adding an extra 1/8" to each end and letting it sit with 1/8" beyond the back of the wrapper would give enough length of block and still give some clearance to the 2nd shaft. Leaving out the "spare" outlet would also make life easier.(Make top water gauge fitting 1/8" shorter to suit)

                                                      My thought on firebox stays are to go with four large dia stays, one in each corner say 3/8" dia. You could avoid the need to use spacers if the wrapper and firebox side were drilled and tapped right through ( this is full size practice)with say 3/8" x40ME or 3/8" x 32ME. Which would stop them falling out and also maintain the gap between the two plates during soldering.

                                                      The remaining 5 stays could be 1/8" copper rivits, 1" long, Slip these in with the head inside the firebox then just bend the excess length on the outside enough to stop them falling out. Once soldered the excess can be cut off with nippers and tidied up with a file to leave a small bump with the intact fillet of solder around it.

                                                      When complete The boiler is laid on its side on the mill and the four thick stays milled back to the correct width. Then the horn plates can be offered up to the boiler and the hole position of the 4 holes spotted through onto the four large stays which are then drilled and tapped 4BA.

                                                      This is the way my Blackgates boiler was done though the thick stays were plain not tapped.

                                                      The stays are also just rods soldered into plain holes in the backhead and tubeplate.

                                                      I'll post a pic a bit later

                                                      J

                                                    Viewing 25 posts - 101 through 125 (of 171 total)
                                                    • Please log in to reply to this topic. Registering is free and easy using the links on the menu at the top of this page.

                                                    Advert

                                                    Latest Replies

                                                    Home Forums Traction engines Topics

                                                    Viewing 25 topics - 1 through 25 (of 25 total)
                                                    Viewing 25 topics - 1 through 25 (of 25 total)

                                                    View full reply list.

                                                    Advert

                                                    Newsletter Sign-up