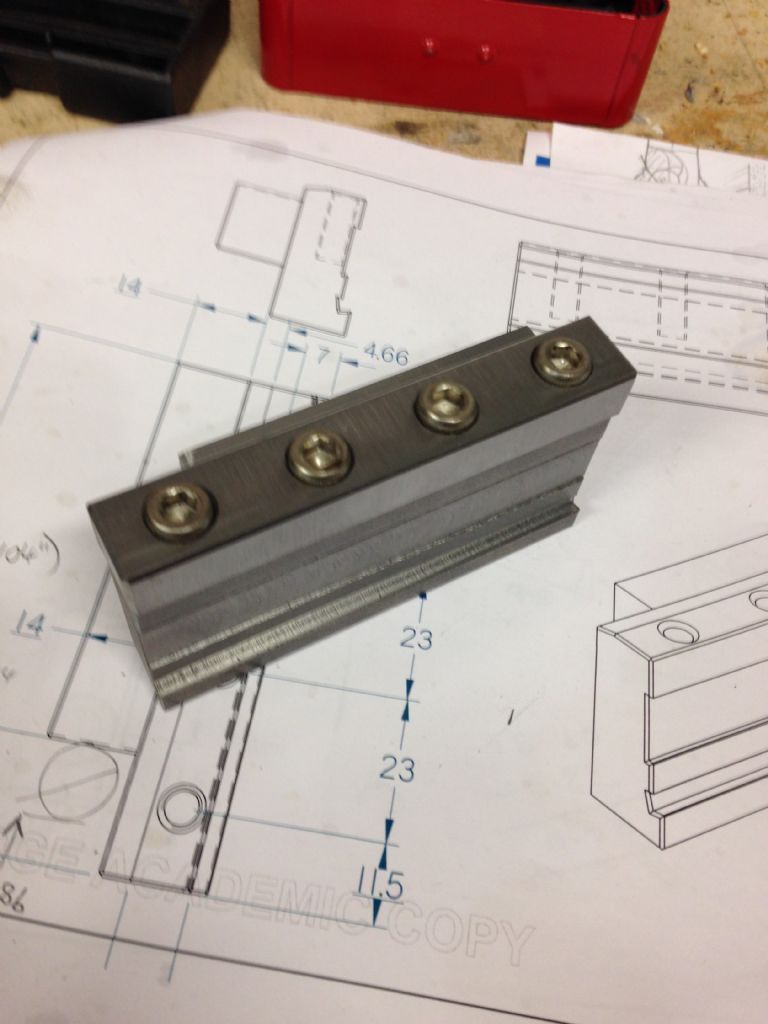
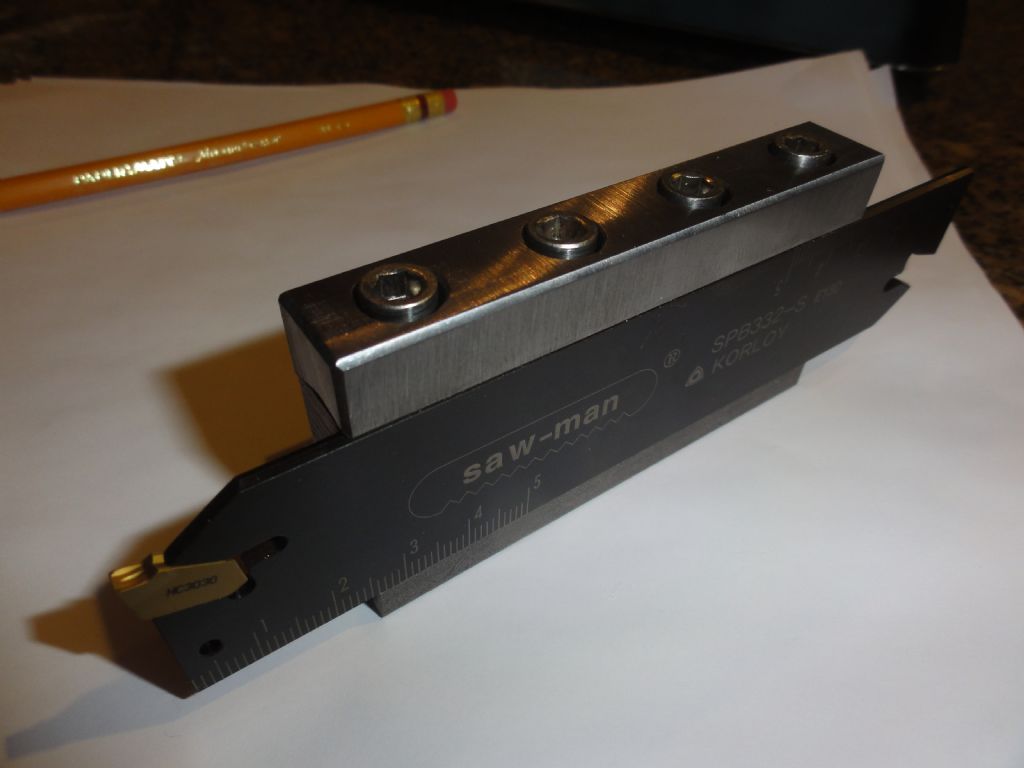
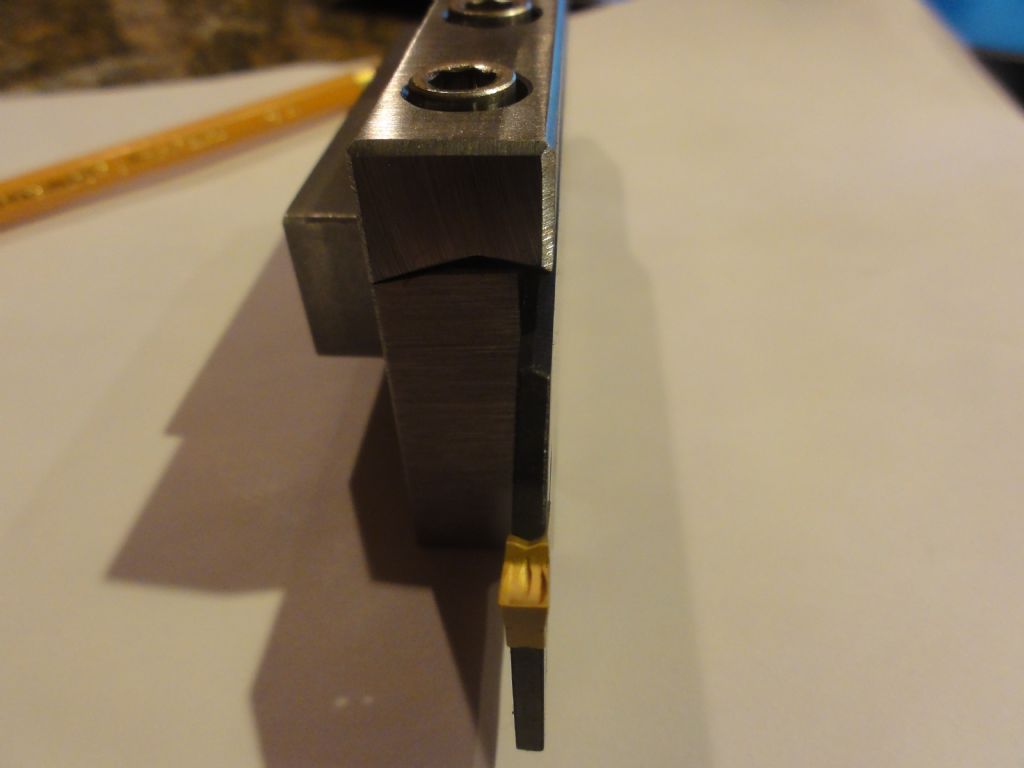
I've ordered a 32mm height, 2.4mm thick insert-carrying “Sawman“ blade and matching 3mm inserts from Korloy. Given that this alone costs about as much as a Glanze blade complete with toolpost holder, I've gone about designing and making a blade holder for my Dickson QCTP while the blade is winging its way towards me.
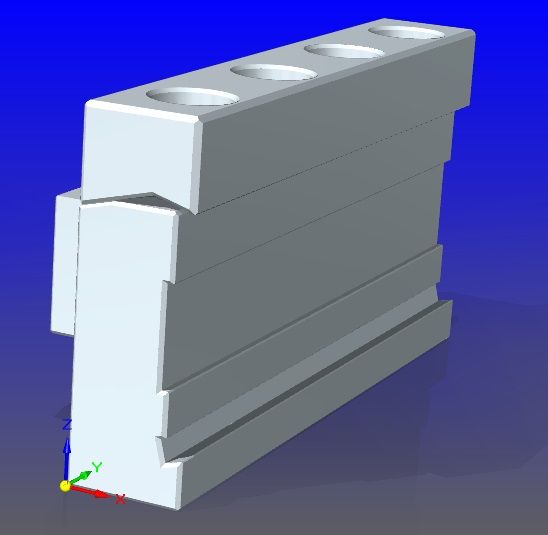
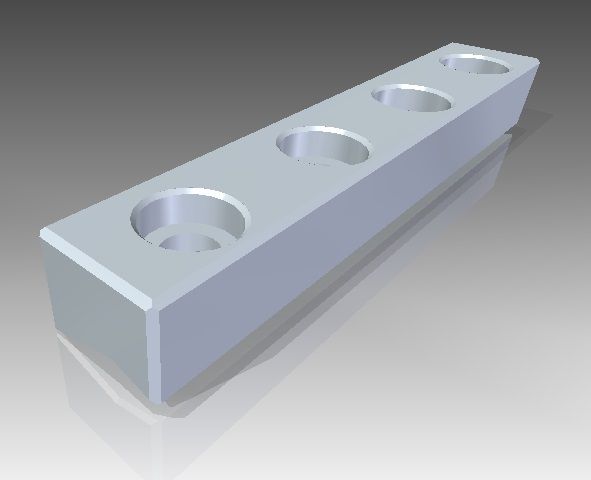
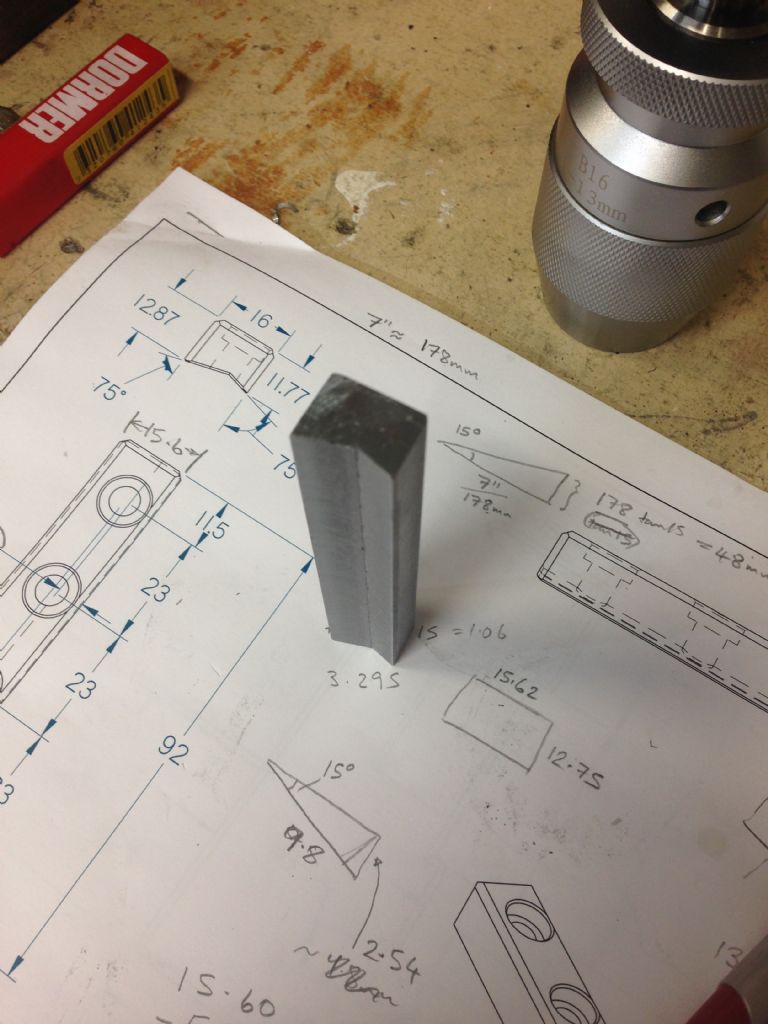
The Korly toolholder is described as compatible with other 32mm blades, so presumably the design concept is very common. The blade has 15 degree chamfered faces at top and bottom, so the section is a highly elongated six-sided shape. The toolholder body and the clamp bar have matching 15 degree faces. When clamped, the blade is supported top and bottom along the whole length of the toolholder body.
The blade is available in a range of thicknesses (1.6 – 5.2mm) to suit inserts from 2mm to 6mm in width. It`s worth noting that due to the “one size fits all“ toolholder concept, a 2.4mm blade is nearer 31.4mm height, not 32mm.
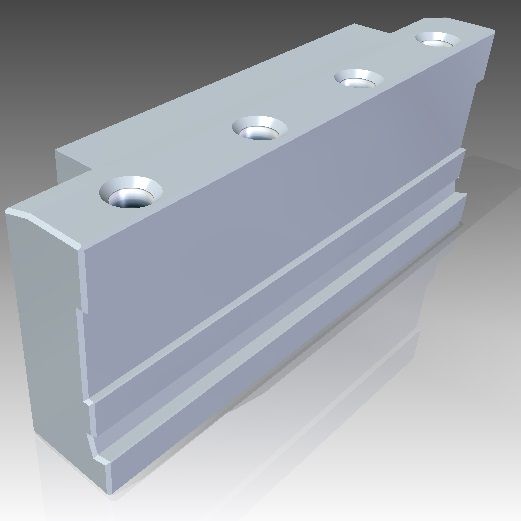
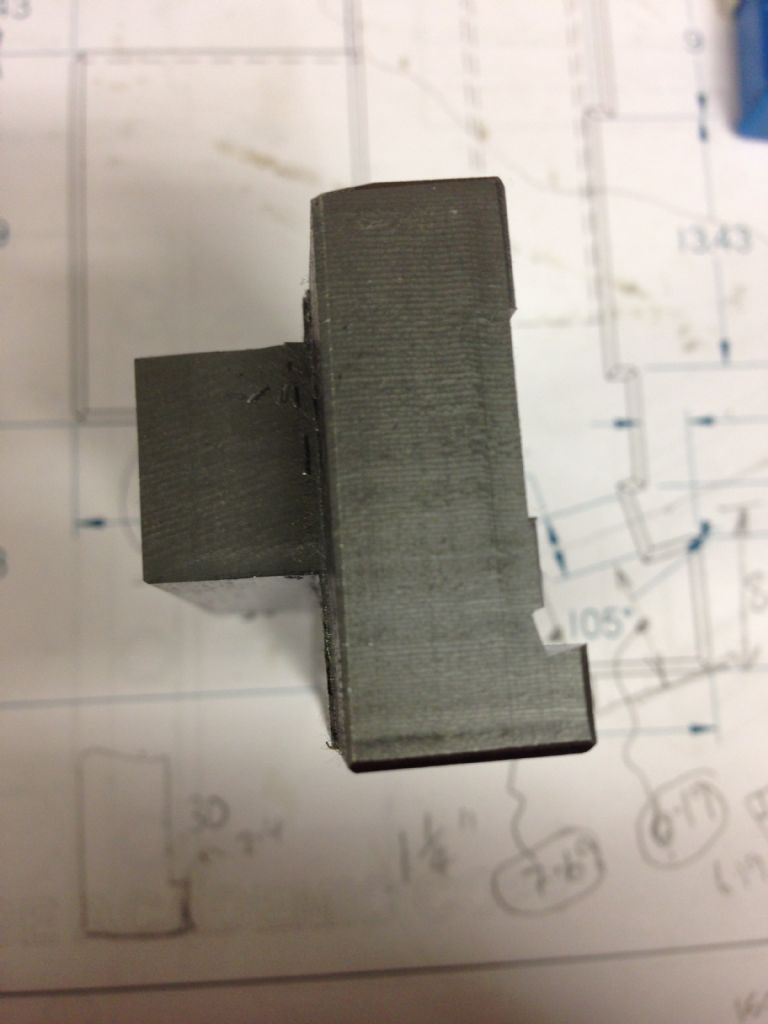
I modelled the concept in 3D CAD using dimensions taken from my Bantam's Dickson QCTP and the published (minimal) information on the Korloy tool. I dimensioned my holder to take only the 2.4mm blade, thus avoiding unnecessary projection of the toolholder beyond the blade.
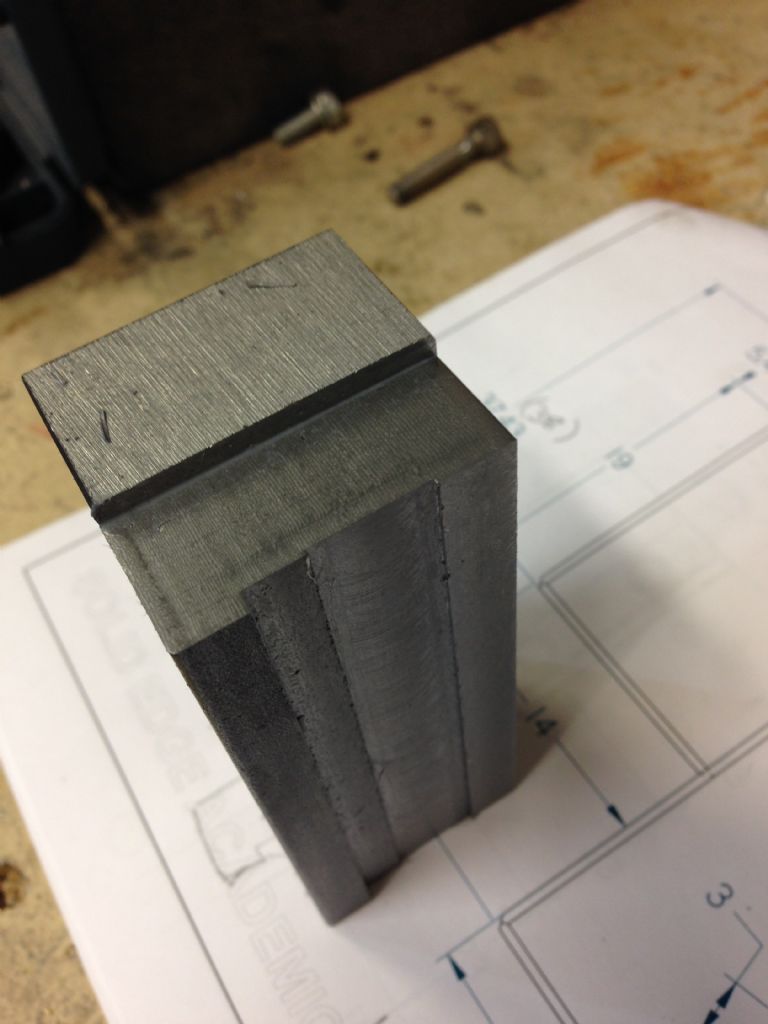
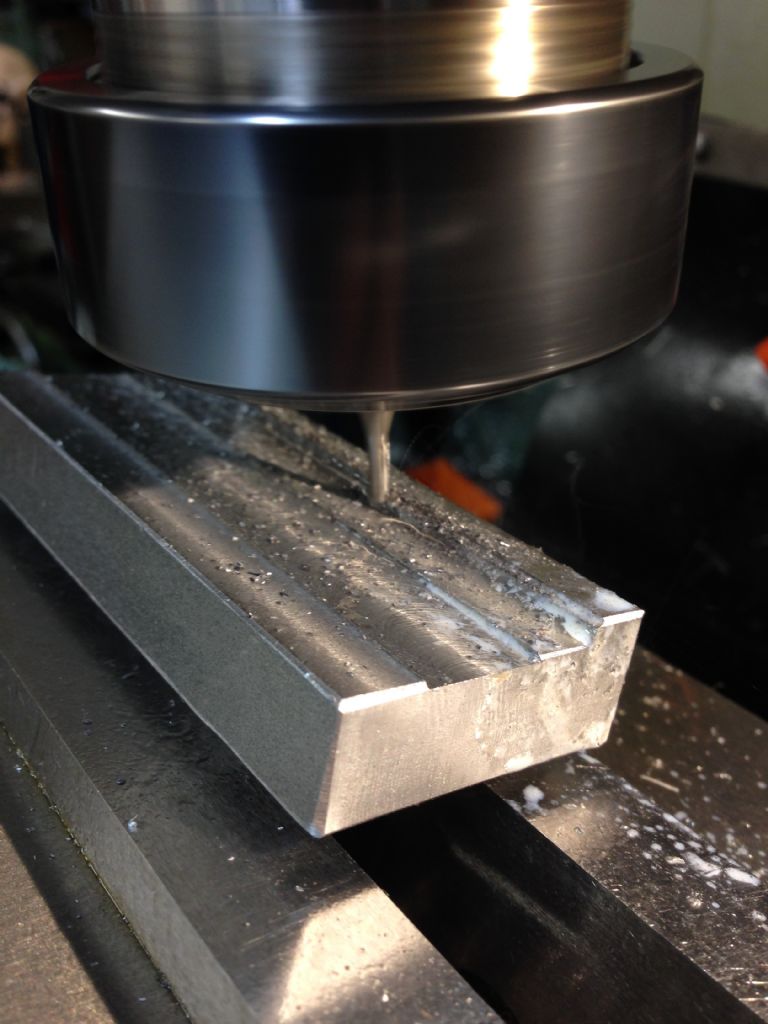
The body was made from a piece of 1.5" square mild steel and the clamp bar from a piece of 3/4" round high carbon steel. I will harden and temper the clamp bar later – once I've been able to try it out with the real life blade and show it won`t need to change.
The machining seems to have gone well. Since fitting the DRO on the milling machine, the degree of human error has been reduced and maintained at previously unsurpassed levels and the time to machine parts has come down nicely too. I can also report that finishing and chamfering the parts on a belt sander is an improvement over files and sandpaper.
I now await the delivery of the blade in the post….
Yes, you can set lighting position, shadows, definition etc, so I thought why not have a play! I could have done with changing the colour to get a bit more contrast but this is a CAD tool, not some fancy publishing software. It didn't make the machining any quicker or easier, mind.
Obviously I will have to post a picture of the complete assembly when I get the blade. Will it fit or will I have egg on my face or not?!! I'm quietly confident. I mean, what could possibly go wrong….
Woohoo! The postman finally arrived, bearing goodies.
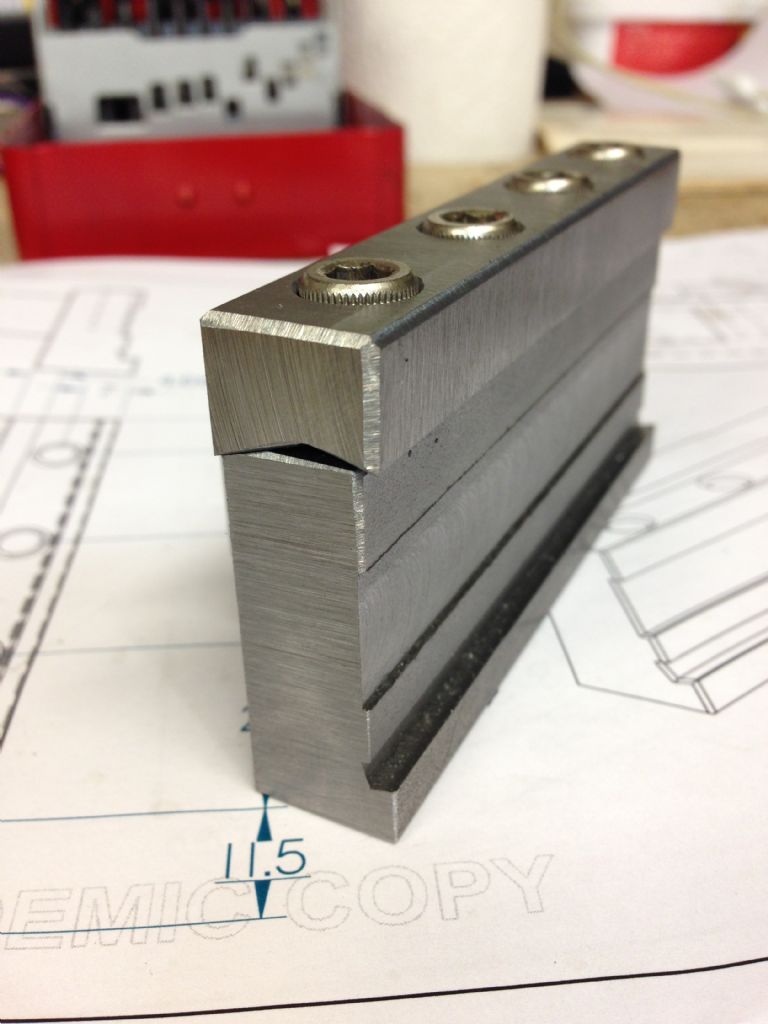
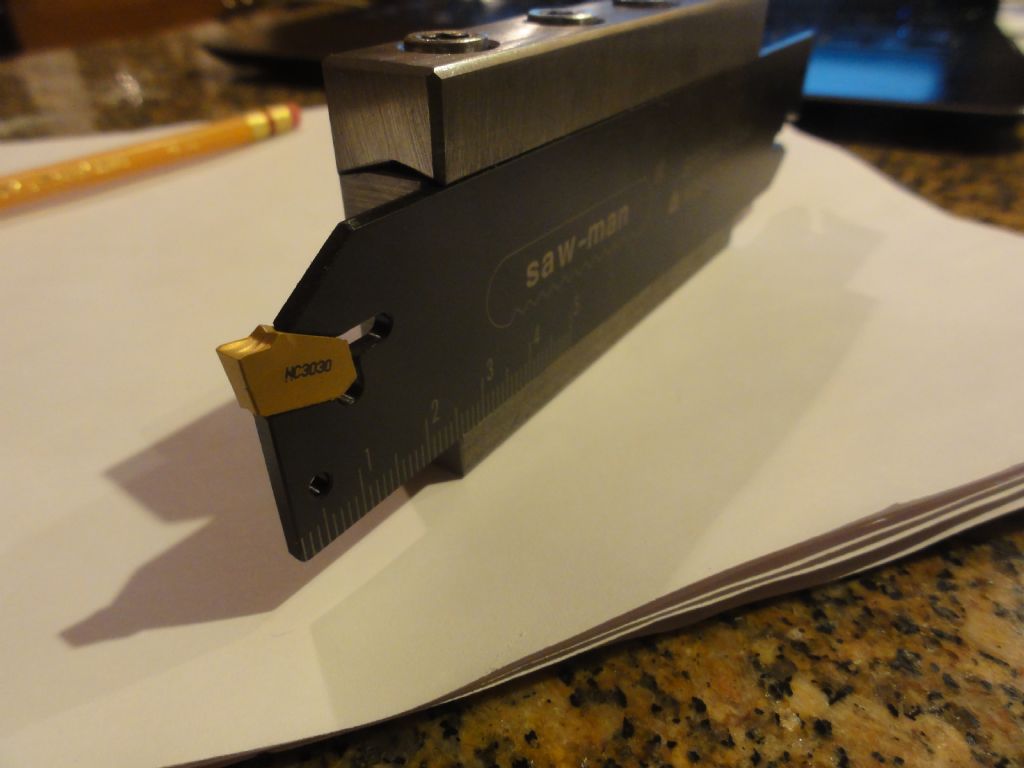
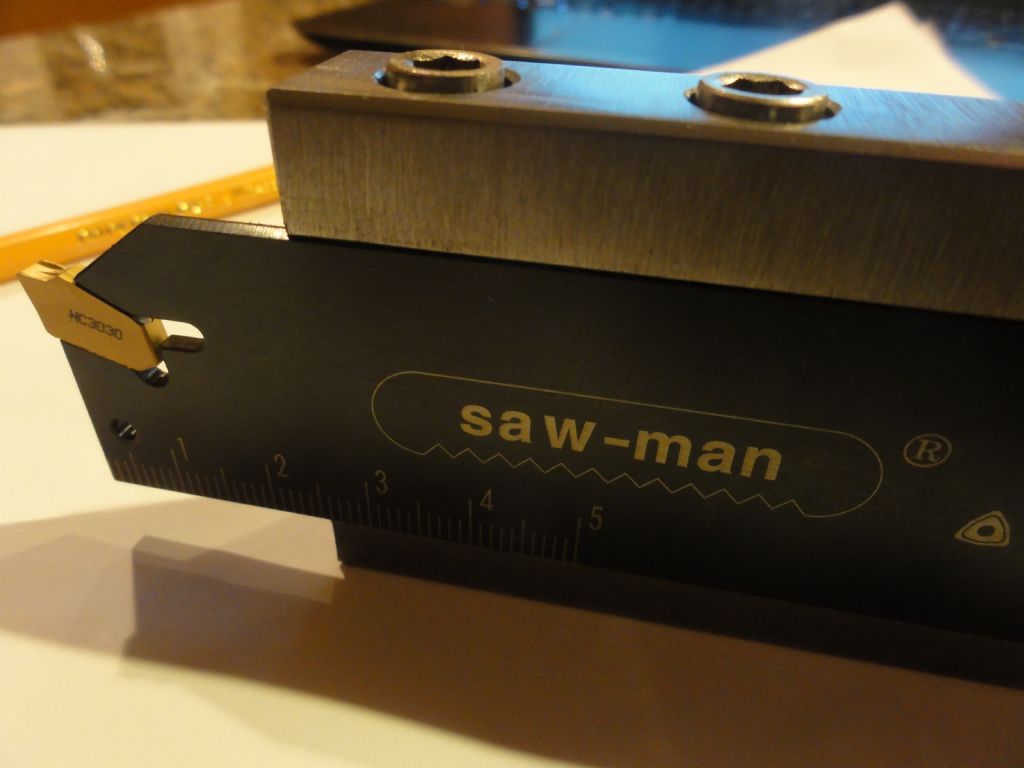
Here's what I found when I assembled the blessed blade into the tool holder assembly:
I think I can probably declare myself fairly happy with the result. Seems to have come out pretty close to what I modelled, despite having minimal info to go on. It could almost have been planned!
Obviously at some point this weekend I will need to actually attempt some form of parting off operation. But I need to gloat a bit first….
This really needs to be done with power feed. At the limit, it must be more consistent (and safe!) with a controlled feed rate. That was a lot of the reason for coughing up for a "proper" tool and inserts in the first place. I'll probably need to crank the speed and feed up to where Korloy recommend it to get the swarf formation correct. Failure to form (and clear) the swarf correctly is one of the key causes of tool failure I suspect . Problem is, once you are using power feed you are rather needing this to be right.
Looks as if I should be giving it 70-150 m/min cutting speed and 0.03 – 0.2mm/rev feed for my 3030 inserts in steel. For a 1" diameter, that's about 900rpm and the feed range is about 1-8 thou per turn in old units. Even at the lower speed, if I gave it full pasty (8 thou per turn), it would require nearly 1.4kW. If I limit my ambition to 1kW max, I should just about manage 5 thou per rev. Just hope my old Bantam is man enough. Time will tell!
There's some pretty interesting stuff on the Korloy website: **LINK**
The "catalogue" actually contains loads of technical data as well as general tips on how to select the best tool for your machine. Parting tools are in section C but section L is the hard core technical stuff.
The moment of truth finally arrived, so I ventured out to the garage wearing my best rubber underpants. Who knew what could happen?
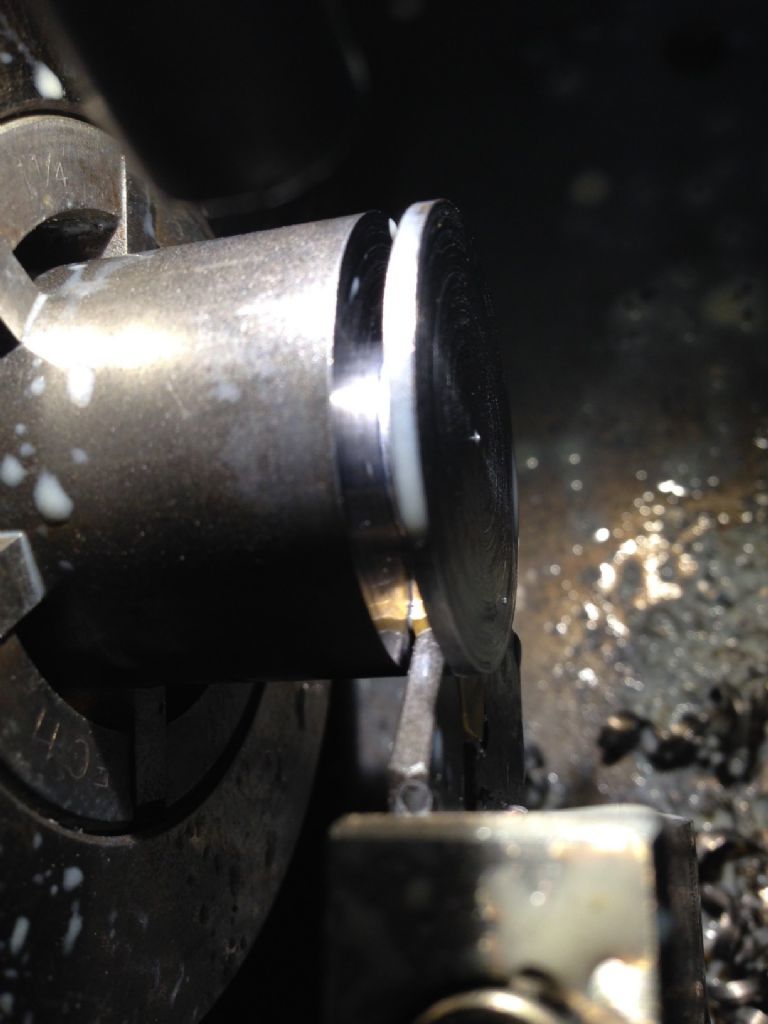
The first attempt wasn't entirely fulfilling. I pussyfooted about with what I calculated to be 2.3 thou per rev and about 400rpm with no coolant. I also discovered later that I was the best part of 10 thou below centre height. This resulted in several noisy but successful partings – but the surface finish was pretty nasty (little bits seemed to be welded to the bar surface) and there were some nasty grumbling noises going on. Not good. This didn't feel like the experience I'd been hoping for.
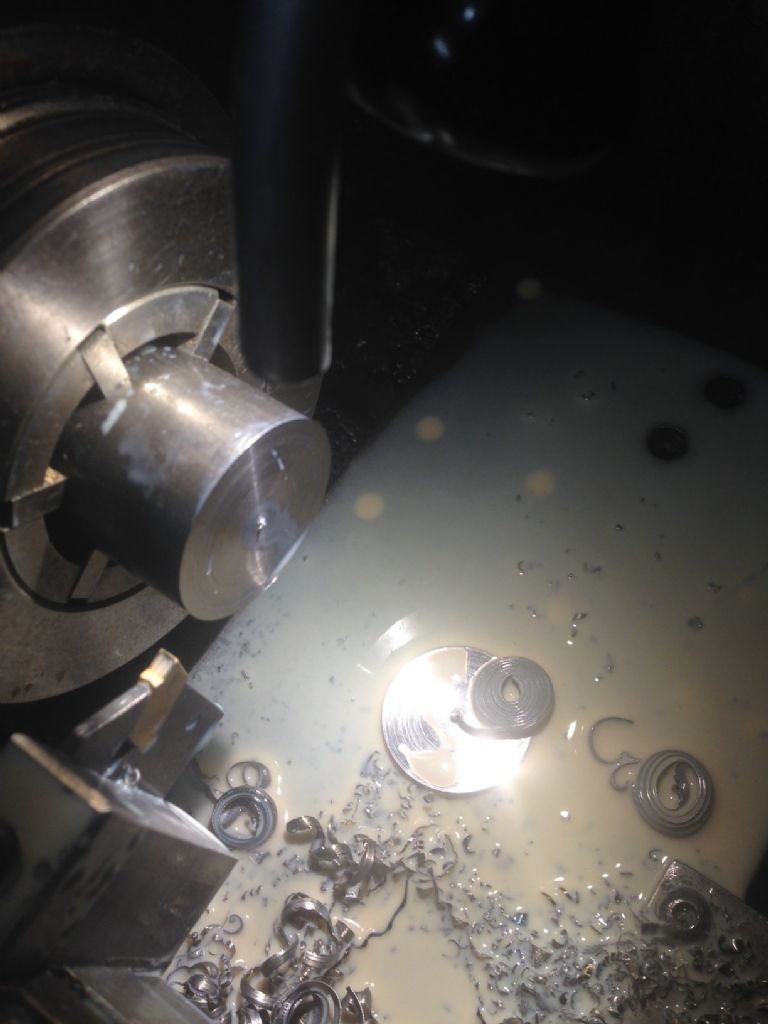
So after some researching and thinking and advice, I changed tactics. I checked everything was nicely nipped up, the tool was centred over the cross slide and a couple of thou above centre height and went for 5 thou per rev and 500rpm with flooded coolant, stopping half way in and upping the speed to 1000rpm (this was a 1" dia mild steel bar). Excellent result – no chatter or judder, nice clean surface finish, "approved" swarf and no nasty grumbling or snatching. Callooh, callay!
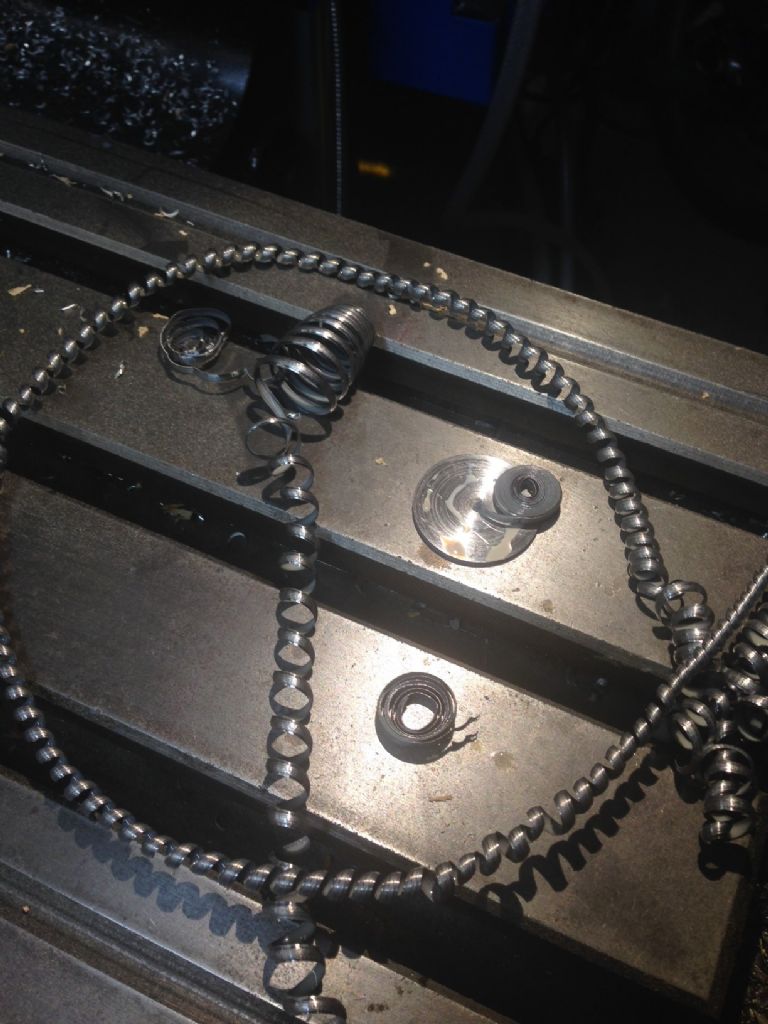
The last photo shows a whole parting event in swarf. Started out as a long, tight spiral, then progressed to longer curls as the groove deepened, then ended up with a series of watch springs that were generated within the groove. A bit unnerving watching these build up before finally coming free but the swarf is narrower than the groove due to the design of the chip breaker so isn't likely(?!) to jam. I found the swarf to be typically about 7-8 thou narrower than the 3mm nominal tool insert.
Its probably a bit early to start believing this is the end of the story but it seems to vindicate the idea that you need to steel(!) yourself and go all in with the recommended feeds and speeds. In the interests of science and a more predictable outcome in future events, I should explore the limits of chatter-free operation. It seems that there are typically regions of instability where combinations of feed rate and cutting speed result in chatter. This will depend on my machine as well as the dimensions and material of the workpiece.
That's looking good! It's a great job you did there on the holding block.
For comparison, here's a SkyDrive link of my Mini-Lathe parting off a bit of 1" free cutting mild steel — with the camera in one hand and trying to maintain an even infeed with the other. I'm using a 2mm wide tip that is of the GFN style and is positive rake geometry.
After some experimentation which was thankfully free of rubber pants moments, I found that 300rpm and 5 thou per rev was a very safe condition. I could get up to 4-500rpm but that seemed to be the limit of unconditional stability tonight. Turning up the speed as the tool progressed sped up the overall process a bit but really made no big difference, so hardly worth the extra focus required.
Generally, speeds around and above 1000 rpm didn't seem to work consistently – once you go over the stability boundary you have to stop and bring the speed right down again.
Lovely clean finish and the swarf generation is so quiet and consistent it appears stationary (careful!). I expect I'd need to get the speed up over 1000rpm to get the swarf to break up, so that probably isn't about to happen.
I certainly couldn't produce this kind of consistency by hand.
Interesting results; seems to agree with my experience, a few hundred rpm and a decent feedrate (at least 4 thou/rev) works best. However, I've never got the swarf to come off in a long spiral, I normally get a series of small spirals or comma shapes for steel. Possibly my insert has a different design of chip curler.
I part off under power feed; if things are set up correctly there's no need to withdraw the tool to clear chips. A few months ago I was talking to a couple of professional machinists; one always parted off under power, and the other never did so, so it's really down to personal preference.
Regards,
Andrew
Author
Posts
Viewing 14 posts - 1 through 14 (of 14 total)
Please log in to reply to this topic. Registering is free and easy using the links on the menu at the top of this page.