Thanks for Your reply and good wishes, it is very frustrating for Me at the moment, I want to get on with
the job!
I have not stripped the countershaft down yet so I cannot really comment on which is easier,but You will find it helpful to remove the spindle for better access to the headstock securing bolts anyway.
As to the bearings, I have not removed mine yet,when I do I will clean them and check for any roughness or play,if any detected I will replace them as a pair,possibly with taper rollers.
Always spend the extra for branded bearings, (SKF is My preference) makes sense in the long run!
I checked the spindle before I untightened it and it seemed very good,clocked the runout and found it negligible, the bronze bush looked to be in good condition,will know more when it is cleaned properly.
I'm a little late getting to this thread but have read your exploits with interest.
We could almost be twins!
I'm a 1959 vintage Burtonian with a recently installed Super 7 (1962 model so it's just younger than me) I'm also a recent heart attack survivor , April 28th 2018 & used my Covid furlough to bring initiate my retirement project early.
If your lathe is still in need of some turning mine has offered it's services 😊
Get back to me here or PM if we can be of any help or if you just want to meet up for a beer & compare notes about our mechanical mistresses 🍻
Many thanks Pete. Sorry to hear about your health – hope it improves soon, and I look forward to your updates.
Which do you think is easiest: removing the spindle or removing the countershaft? Also, this may be a silly question but… how do you know if your rear headstock bearings need replacing?
Mike
I think that the simple answer is that if you are going to the trouble of stripping everything down it is false economy not to replace them.
I have a Mk1 1957 vintage,if removing the the clutch the screw in the pulley is covering the adjusting screw for the clutch and when removed can be dropped as it is small. it takes a while to find,I know.I had my lathe reground at Myford and the cross slide.The needle roller bearings are noisy but that is my only gripe, as it is very accurate.All the best with your renovation.
Ega:- Sound advice, it is worth doing while up to Your elbows in oil!
Frank:- Thanks for the Heads-up about the clutch dismantling, I have received many drawings and advice on the Mk.1 clutch from very kind members of these forums, details on 'tinternet' are a bit lacking (same as the early QC gearbox), and all advice is greatly welcome!
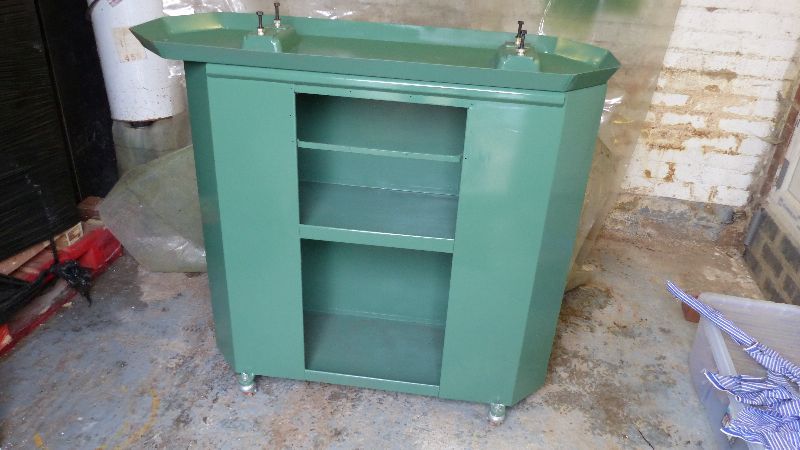
I got the cabinet, tray and raising blocks primed yesterday, turning the stand over to topcoat the undersides later,then away for a few days, finishing the topcoats when I get back, and will post some pics then.
Thanks for following and Your patience, I'm geting there slowly!
I am using Paragon synthetic enamel paint throughout,starting with anti corrosive Red Oxide.
I found the paint easy to use, but had to thin with 25% off their PT8 thinners, they reccommend 10-15% but I could not get it to flow cleanly at that ratio. 5-10% seems to help with brush painting,which I did on hard to spray inside areas.
Away for a few days now, topcoat when I get back, more pics then.
I am so sorry I have not updated My thread for such a long time, a lot been going on.
I have been back in hospital a couple of times in the last couple of months, they thought My heart was playing up again,but has been checked out OK, waiting for an appointment in general medicine to sort out breathlessness and associated pain.
Also My back problems have been rearing up,so when I feel well enough to go out to the garage it is not for very long.
Consequently, when the offer of early retirement came up, I decided it was the time, so I have been busy sorting out pensions etc, and paid My mortgage off (yesterday!!! )
So, I will have some more time on My hands for more constructive activities!
Anyway, I managed to get a coat of paint on the stand etc., Hope to rub it down tomorrow and re-coat it so I can move on.
I won't get the whole job done before the cold weather stops Me, but hope to get the bed sorted before then, and pick up the job in the spring.
Great restoration project. Those marks on the bed are from people hack sawing something off and then sawing nothing striking the bed. Mine came with some saw marks from the previous owners. When using hand tools like a hack saw , or even just changing the chucks, I have a piece of wood I put down on the bed. Just incase for what ever reason there is a slip or a drop of something.
It took a bit of work getting there, but it looks a lot better with the primer on!
It's always nice to have a Family connection to tools, My Dad was a carpenter and I inherited a few tools, one being a Record plane, which I am going to restore and use when I get the workshop sorted.
Nick:-
Yes, I am going to sort out a chuck board, handy when You are changing over chucks in case You slip and drop it on the bed! Doubles as a hacksaw guard as well!
I am also going to make a cover board for the other end of the bed, to cover it when not in use, with the carriage and tailstock pushed to the left hand end of the bed. I am thinking of lining the underside of it with felt to hold some oil to protect the bed over winter.
Morty be careful what you fix the felt on with, many years ago I was given a surface plate so I made a nice wooden cover for it, varnished it and decided to put felt inside it. Glued the felt on with evo stick resin w wood glue, put a drop of glue all round the edges then across the diagonals then across the middle, stuck the felt on and thought no more about it for a week, removed the cover to find a beautiful surface plate with a very rusty Union Jack shape on the top.
Hi Morty , great to hear you have sorted your retirement & mortgage out. That alone lifts a great pressure from your health problems. I am not in the best health wise myself.
But luckily i have a workshop i can soon warm up. Hoping to be able to carry on as usual through the winter months.
Be great to see the pictures of the finished product, once done.
I will use 'full-fat" (solvent) Evo-Stik contact adeshive if I can find some!
Steviegtr:-
Nice to hear from You!
Yes, I think that finishing work will help physically and mentally, My job was in industry, 12 hour shifts and fairly heavy,so this will help in not aggravating My health problems further.
I'm sorry to hear that You are suffering problems with Your health as well, best wishes.
Heating for the shop is something I need to look into, if only to protect things over the winter, I have an indoors workshop I use for other modelling activities, but impractical for heavier machinary.
I will look at the modern storage heaters and weigh up the costs etc.
Hi again Morty. I have a simple Greenhouse tubular heater that i will be switching on once the temps drop super low. Hoping it will just give the place an airing. I have a dehumidifier in my main garage adj to the workshop. Which i need to really leave there as it is looking after a very expensive motor car.
These heaters are 60watts per foot from memory. Mine is a 2 foot version. Picture below.
I have had a MK1 for 2 months now and have just about removed all the bits. I got it for free and yes it has a gearbox. The state it was in as it lived in a workshop with a leaking roof for about 30 years reflected the price. I got a Raglan 5 from the same workshop days later. 22 miles round trip into the bargain also free. The crosslide is yet to move.
5 weeks until the clutch rod moved and still no idea on how to clean this out. It seems to be an expanding unit inside. Yes I have a later Super 7 with the later clutch. People on Facebook Myford section had a competition as to the worst state. I think mine won. It had water in the oil box and the gearbox. Funny I got a filing machine with a crank within a box and a dipstick which showed just how much water had been in there. £20. Which came with a small Flypress. £20. I had no room for these but could not let them go in the skip which I passed many times.
I would be interested in any information on the clutch please.
The MK1 clutch is a cast iron split ring expanding device a bit like a drum brake. I believe it grabs onto a drum affair. The lever opens the drum & frees the centre which stops the machine. Be very careful if you strip it down because there are no spares available for this item.
I was thinking of a tube heater, but was not sure of the running costs, I presume that You would have to keep them on all the time due to temperatures going up and down, causing condensation?
I could fit one in the corner between the lathe and mill, which is convenient!
David:-
Welcome to the Myford resurrection club!
I have seen online that the mark 1 clutch is a moped style clutch, and have been told that You have to strip the shaft out in a certain direction, check back in the thread, I cannot remember of the top of My head which direction!
It sounds like We will be progressing at about the same time!
Hi Morty. The tube heaters as said are approx 60watts per foot. They come in a variety of lengths. As yet i have not had to use mine. It is probably going to be once the frost comes in. I suppose a Thermostat mounted in the workshop & set to a lowish temperature would be ideal.
They are never going to warm the shop, but could be just enough to help with condensation.
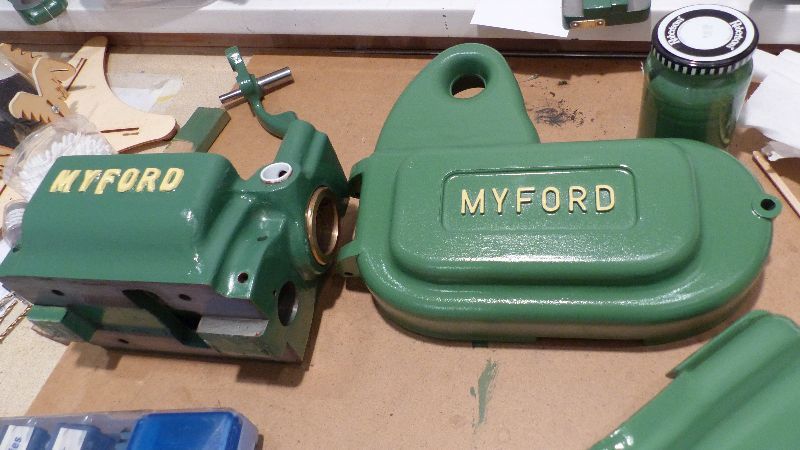
I am so sorry about the lack of posting on this thread, the project is ongoing again,so I am just posting a few photos to bring the progress upto date……..
I was going to paint the inside of the Bed red to harden it, but apparently it does'nt work like that……
I could not believe it was so long since My last post until I checked, but the good news is the Myford is finished bar setting up, and the rest of the workshop is done,bar laying a floor covering, which will be inter-locking tiles.
I have been making use of ‘Beachcomber Bobs’ YouTube videos to guide Me through the process, including the early Gearbox, and highly recommend anybody undertaking a restoration to follow suit. Down to earth and clear explanations of the steps needed, I would only be repeating what He said if I gave a Blow by Blow account on here, Many thanks Bob!
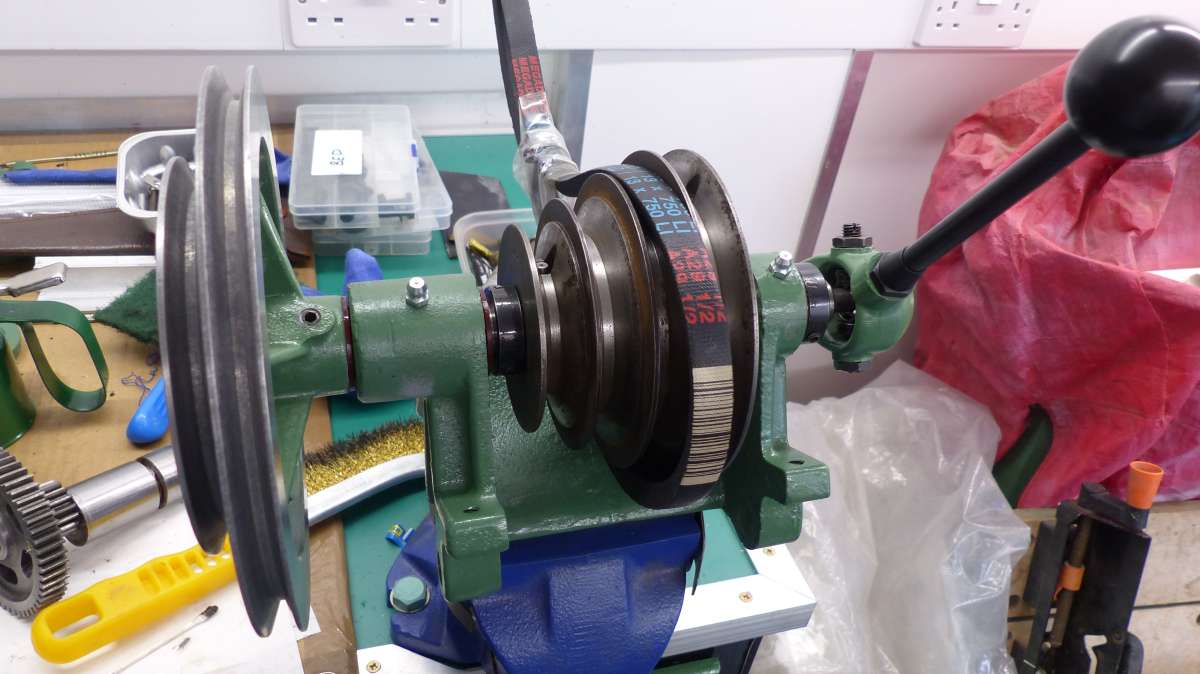
I will post photos of My restoration, with notes where needed, and will split over about 3 posts due to the ammont of pics.
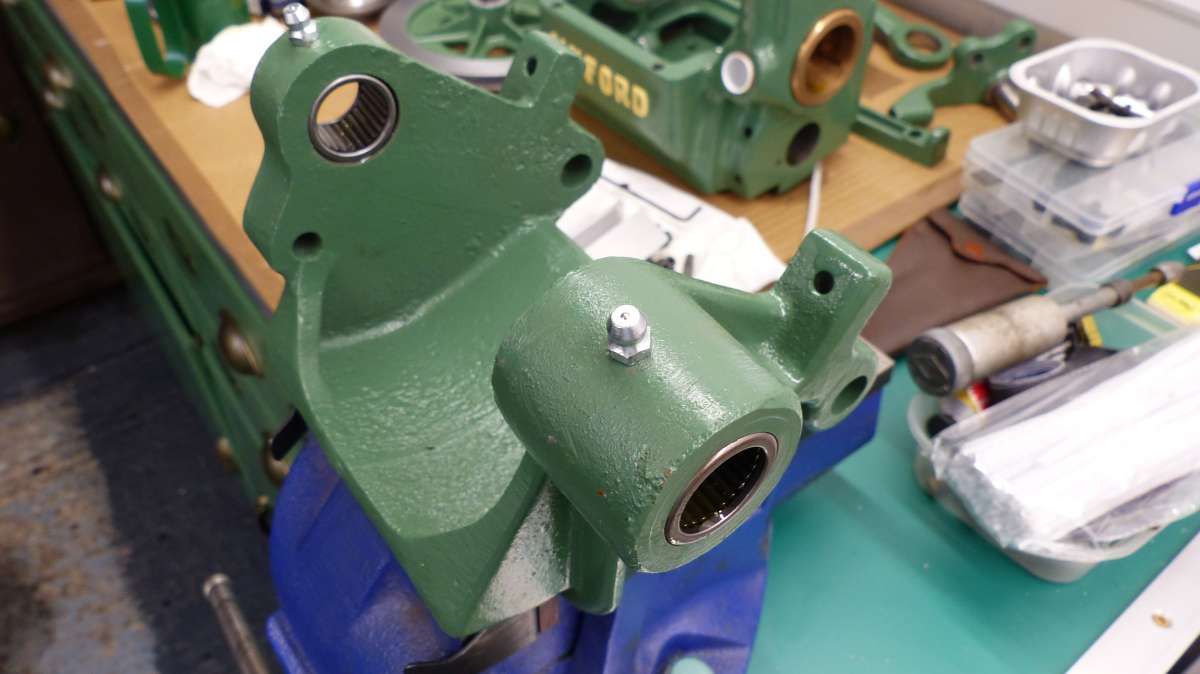
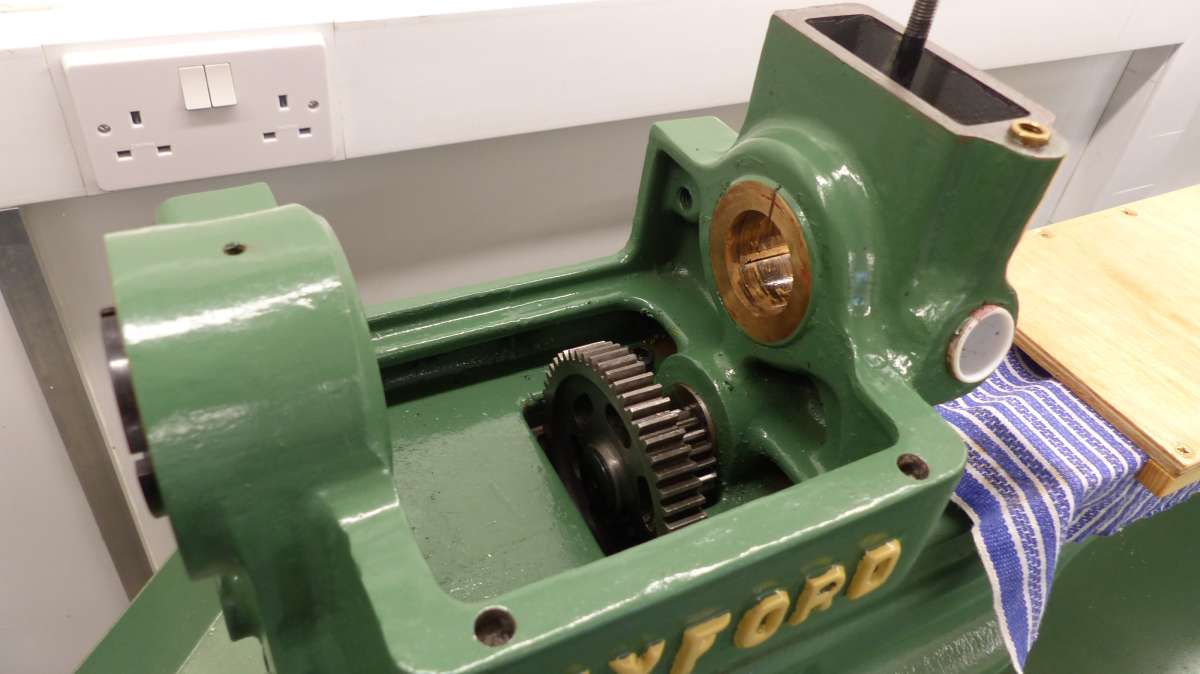
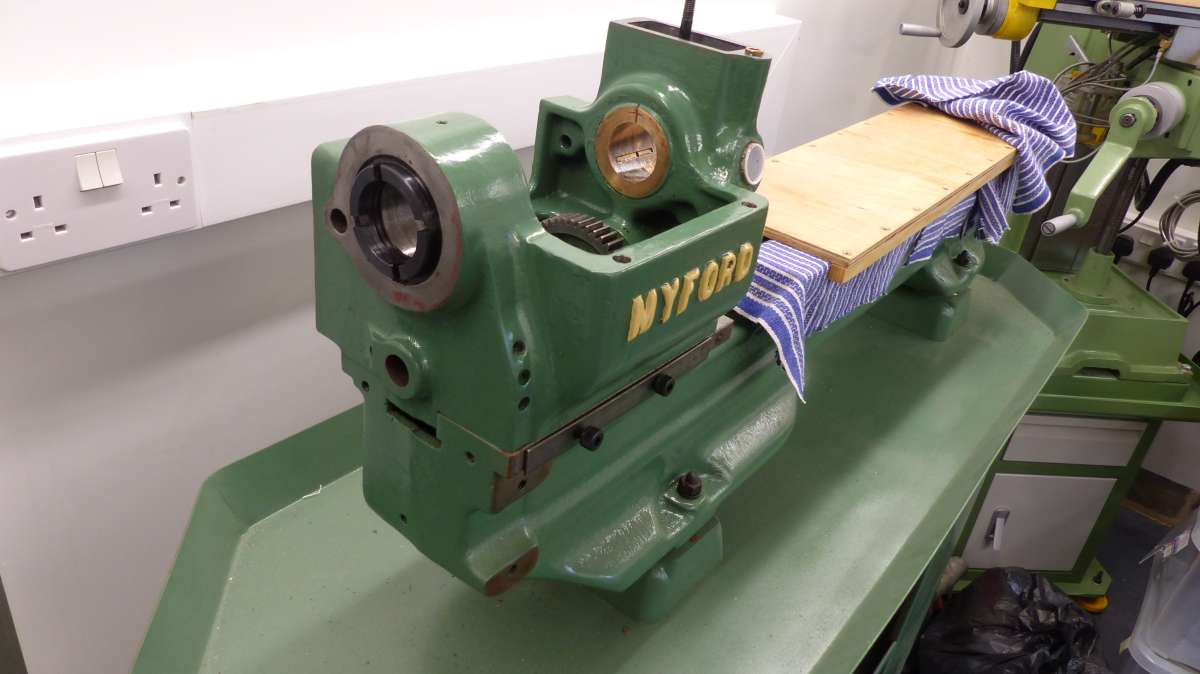
New needle bearings fitted to countershaft housing,use the type with a lube hole drilled where needed:-
(Holes are £5 extra by the way!!)
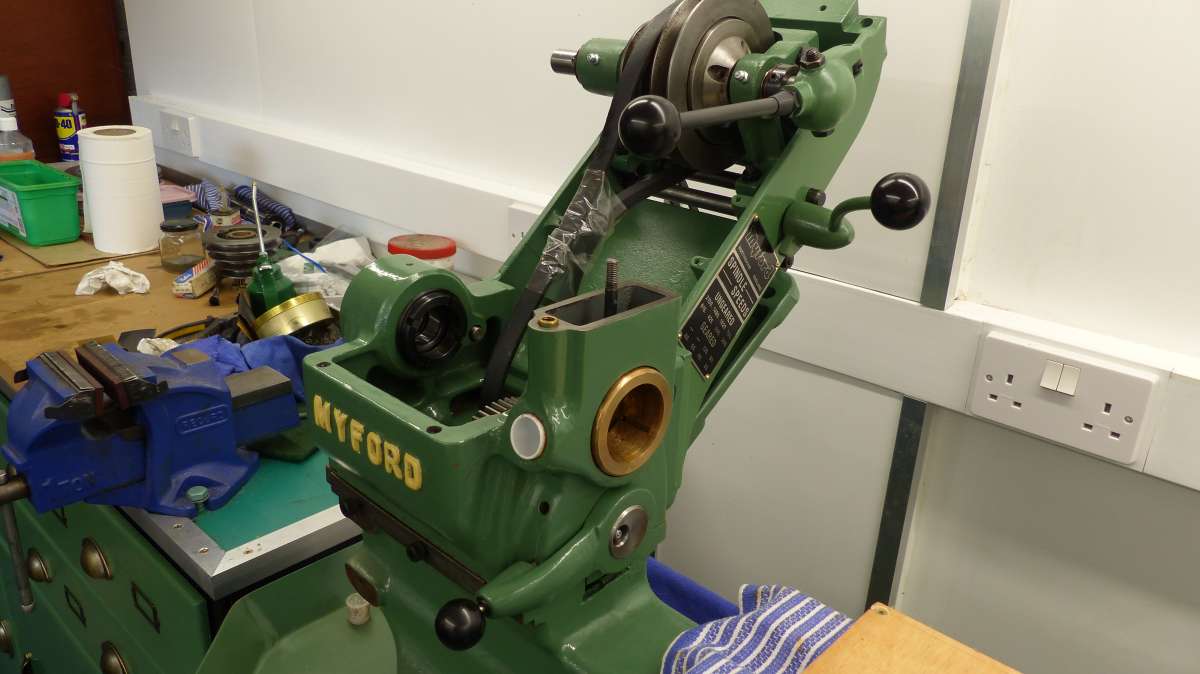
Clutch went back together fine and works OK,all bearings in clutch and headstock replaced while I had everything in bits.
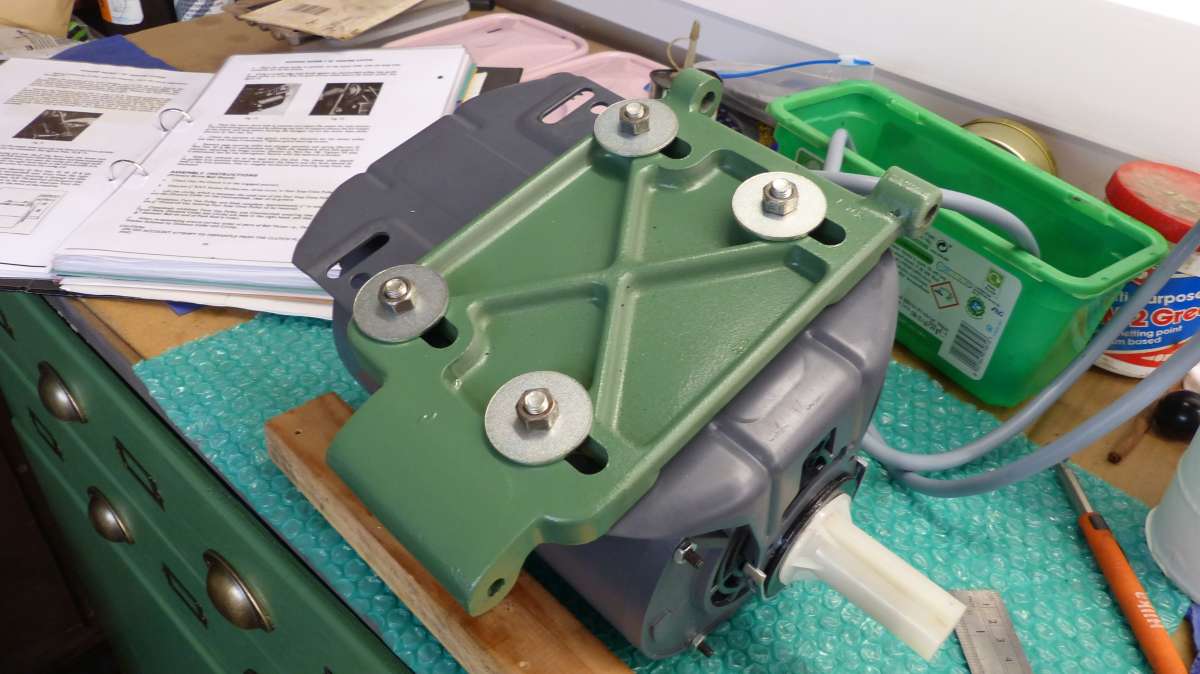
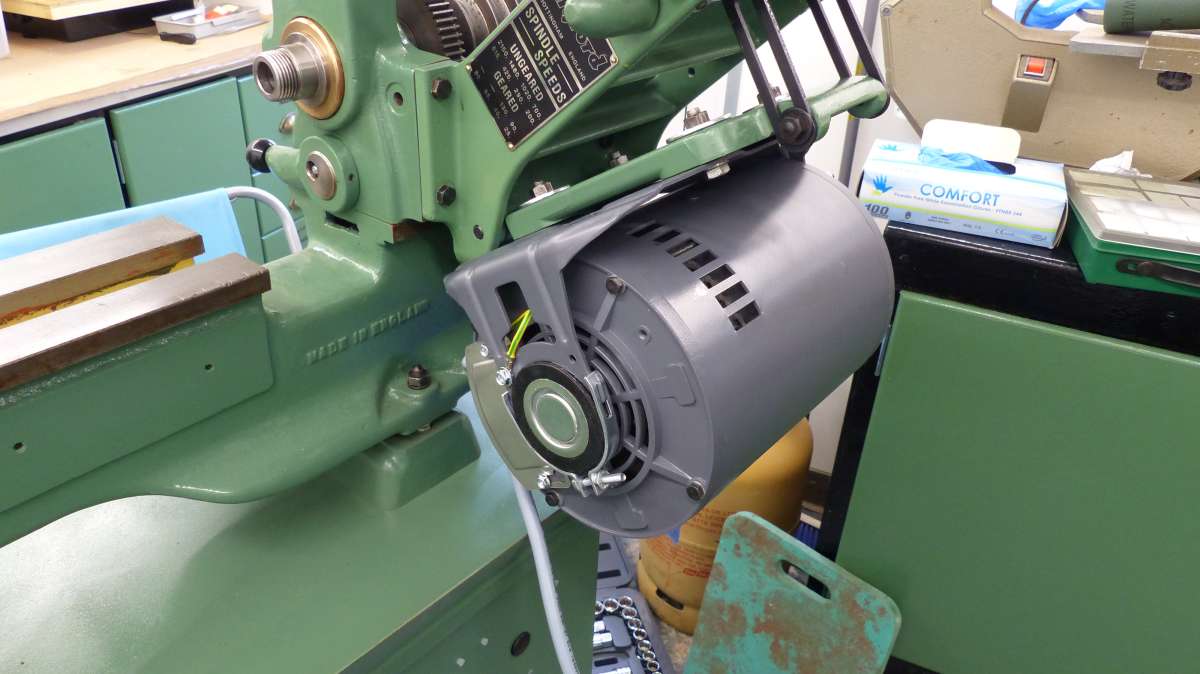
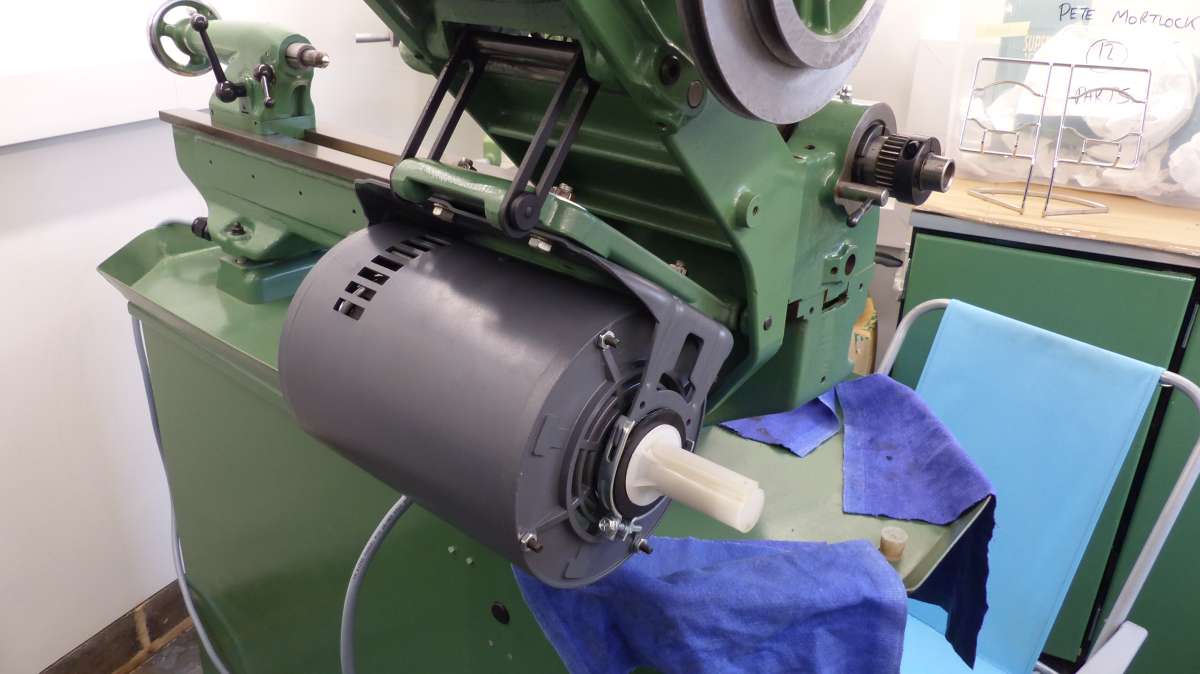
New motor and control unit from Newton Tesla fitted, very easy to fit and runs very smoothly, I will fit a revcounter to the rear of spindle in due course to make use of the variable speed.
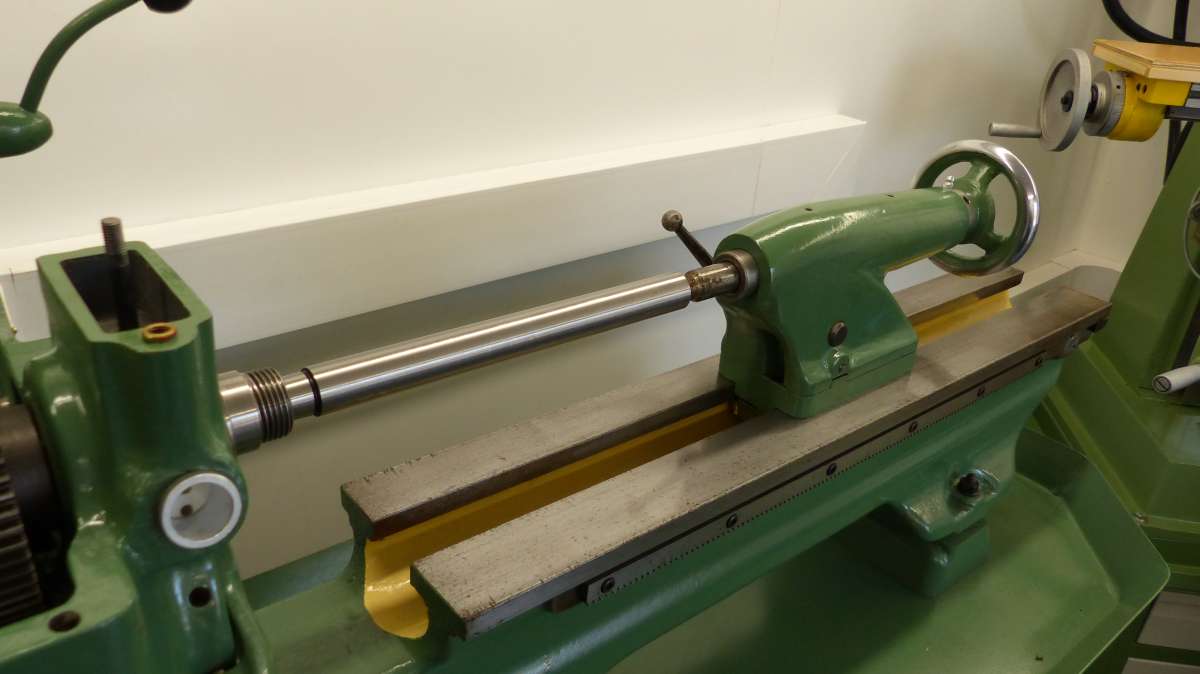
Headstock set up in line with bed, using test bar to zero the tailstock.
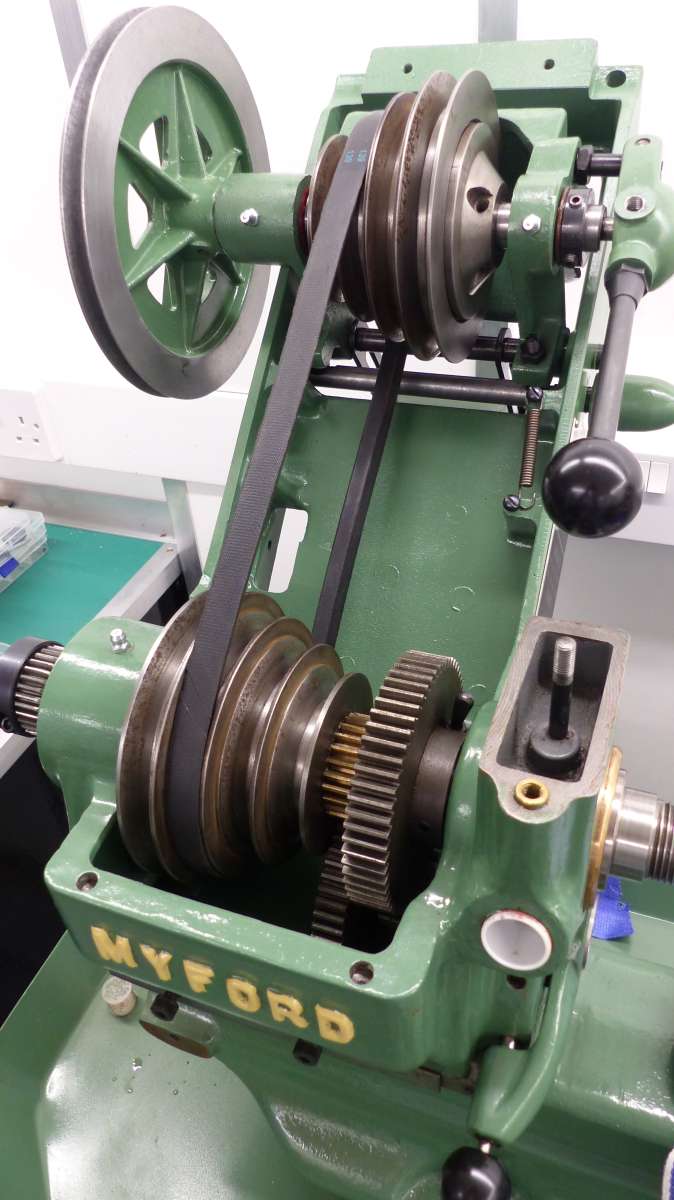
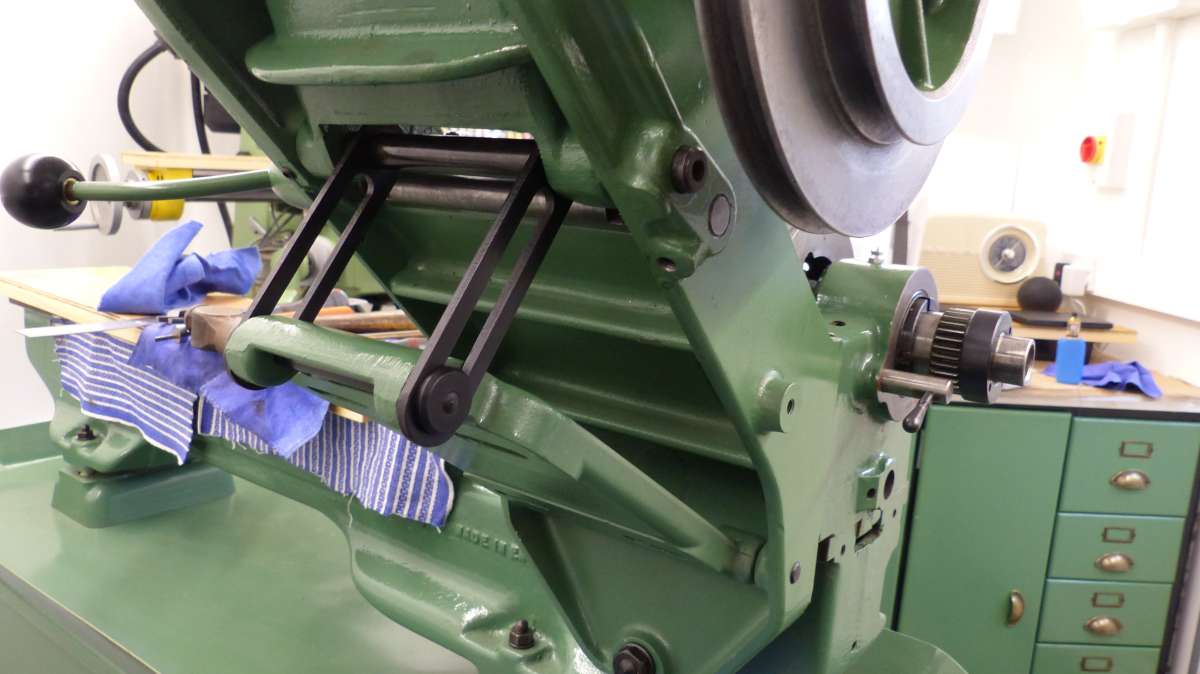
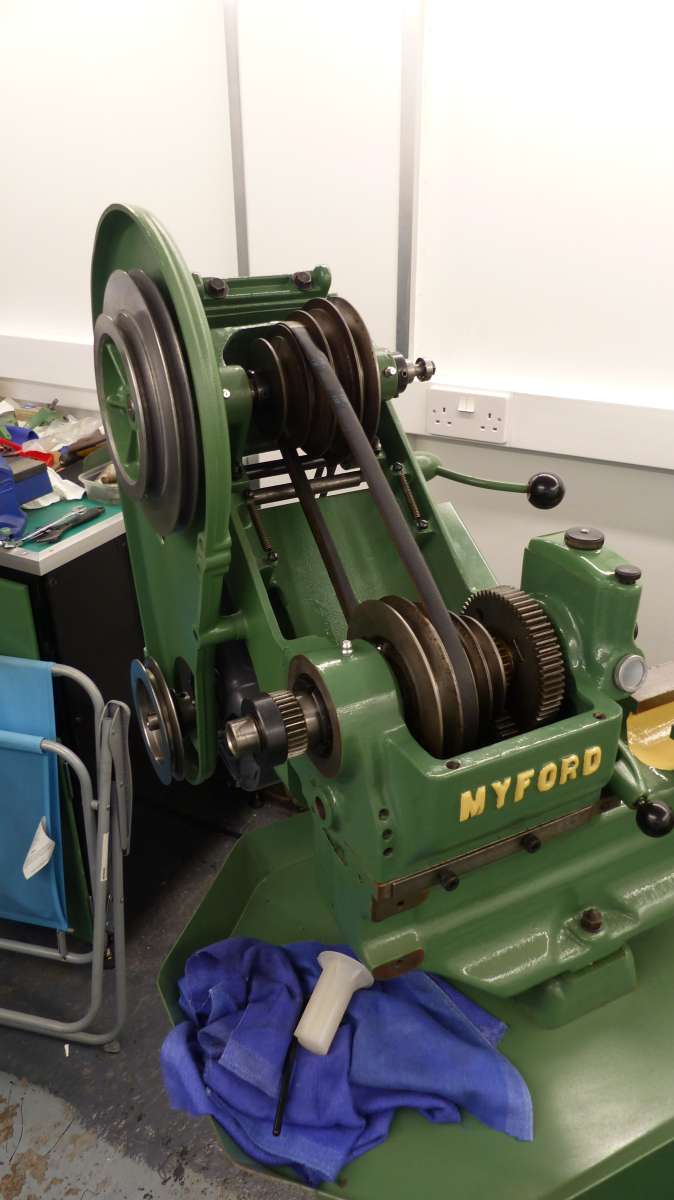
New belts fitted and tension set on countershaft cradle Adjustment bolts.
Headstock bearings set up by following instructions in Myford Manual.
Phillips Gun Blueing used to re-finish parts when cleaned up.
Drip feed oiler works well and can be adjusted to keep a fine flow to keep reservoir constant.
Will post more pics tomorrow, thanks for looking in!
I had a similar lathe several years ago, it had a couple of gears in the g/box which were damaged, the then Myford didn’t stock them any more, I got a pair from HPC in Chesterfield, they did need bushing, but were good and just was what was needed. Next I suggest you remove the motor, leave it in the warm for a few days, then get your friendly electrician with his 500 volt dc Megger to give it an insulation test, that is the way to determine if a motor is dangerous or faulty. You can easily buy an inverter via the famous net, I did 4 or 5 years ago at a fraction of price others are suggesting and buy a new 3 Ph motor locally or maybe a club member has one under his bench waiting for a job. If you are a bit apprehensive regarding the inverter programming or fitting, there are many of readers out there who usually offer advice, they did for me, I’m pleased to say.
Glad you went with the 3 phase and VFD conversion. Apart from the frightful original electrics, V8eng was totally correct, they make the the lathe quieter, smoother and easiler to use.
One thing I don’t understand is why NT supply the open frame motors. Maybe its to look like the “traditional” type but a totally enclosed fan cooled (TEFC) motor is a much better choice when there is swarf flying around. OK the 3 phase motor does not have an exposed centrifugal switch but swarf, particuarly chips, can lodge in the windings and eventually wear through the insulation due to vibration.
Long time, no see. I put in a few clues way back in 2020 and I must admit you fell off the radar. I don’t seem to have our PM communications from those days, though I have got others from a lot further back. Did I supply my tables for screwcutting info on the early gearbox? Drop me a PM if not as I can’t put them on here.
I have to add that you cannot say the early clutch “works OK” until you have it under load conditions. I found mine had to be tightened up so much to eliminate slip that it then dragged when de-clutched. I fitted a modern clutch, thus eliminating a lot of troubles and never looked back. Also, whilst you have aligned the tailstock with the headstock horizontally, have you checked the vertical (top to bottom) alignment along the length. The tailstock sole plate was selected for height by Myford when new. Any fiddling since can affect that.
Finally, the headstock oil tap (as Myford called it). On mine, I initially set it for the odd drip but found oil seeping out underneath when not in use. So I took to closing it after use. Later still, and since our use is hobby related. I applied a few drops when I started to use it and then closed the tap. I have used that approach ever since and had no problems. There is no point in having visible oil in the sight glass.
Please, stop glorifying it now and get it running. You will not want to scratch that paint job which will will deter you from enjoying it. I did much the same as you, but now mine looks used again, as it should do. Also you may find things that require rework which be off-putting.