My little engine (continued)

Advert

My little engine (continued)

Home Forums Work In Progress and completed items My little engine (continued)

Viewing 25 posts - 151 through 175 (of 602 total)
  • Author
    Posts
  • #190851
    Boiler Bri
    Participant
      @boilerbri

      I think your photography is excellent. It reminds me of the posed shots way back in the old model engineer days where everything looked pristine.

      I like the ingenuity that you apply to your modelling.

      Regards

      Bri

      Advert
      #190854
      GarryC
      Participant
        @garryc

        Hi Bri

        Thanks for kind words, it is good to know that others are enjoying reading..

        Hi John

        I've sometimes wondered about how tightly work needs to be held but not seen any guidelines or discussions anywhere, thanks for the tip I know now it is something I should be thinking about in the future. The forces generated by even small chuck jaws I would imagine to be very high. I can remember from my short time with British Steel they had overhead crane facilities for lifting parts / shafts directly into the lathes if need be, the holding power of the chucks must have been enormous…

        Cheers.

        Garry

        #190882
        GarryC
        Participant
          @garryc

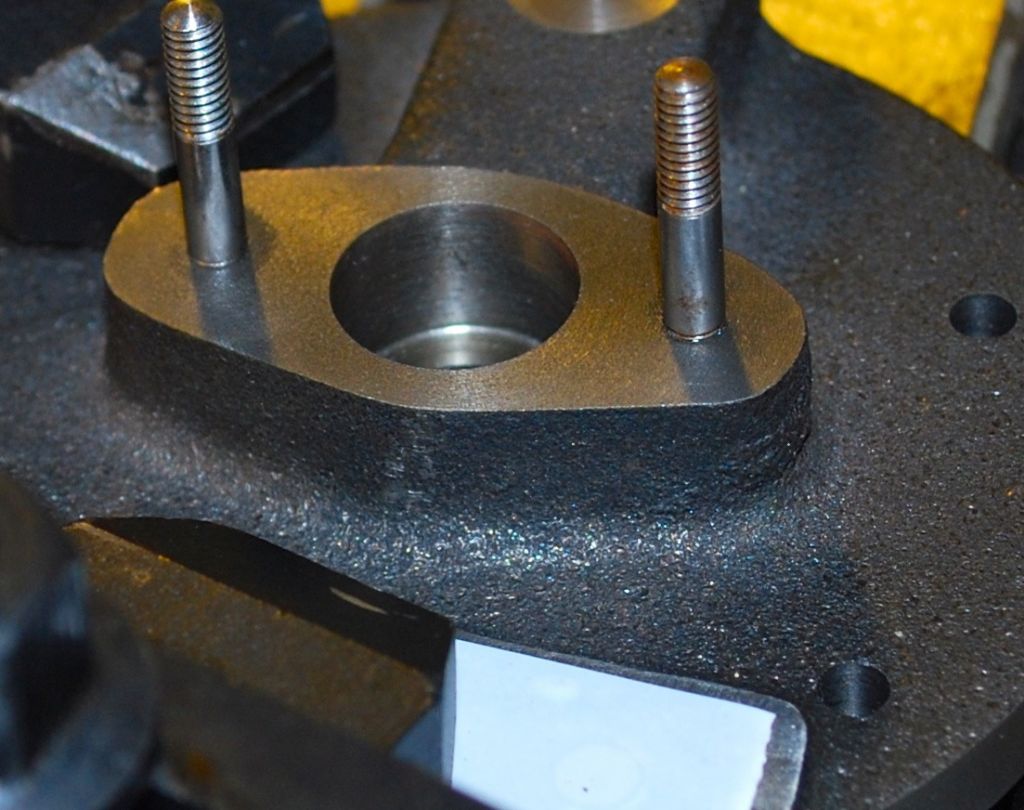
          Just managed to fit the Piston Rod Gland to the Engine today.. I did have to skim the Gland this morning after the reaming yesterday – I didn't actually put a cut on just touched the tool to the diameter and let it pass like that, then it was back to a nice close fit again….

          After spotting through the holes to the Bottom Cylinder Cover and tapped the 4 BA Studs were fitted.

          310. the piston rod gland studs..jpg

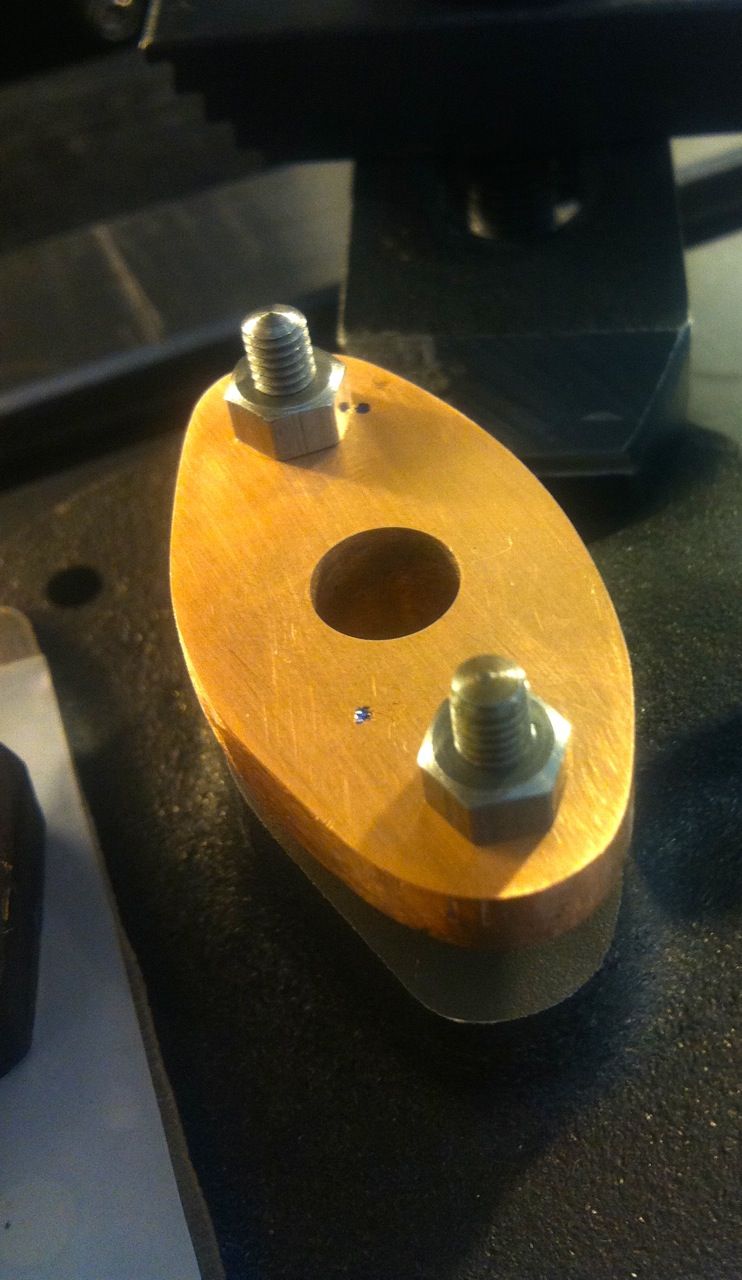
          After opening out the holes to 4BA Clearance size the Gland was fitted to the Cylinder Cover. I seem to have some Gun Metal 'worms' in the casting..

          311. the finished piston rod gland.jpg

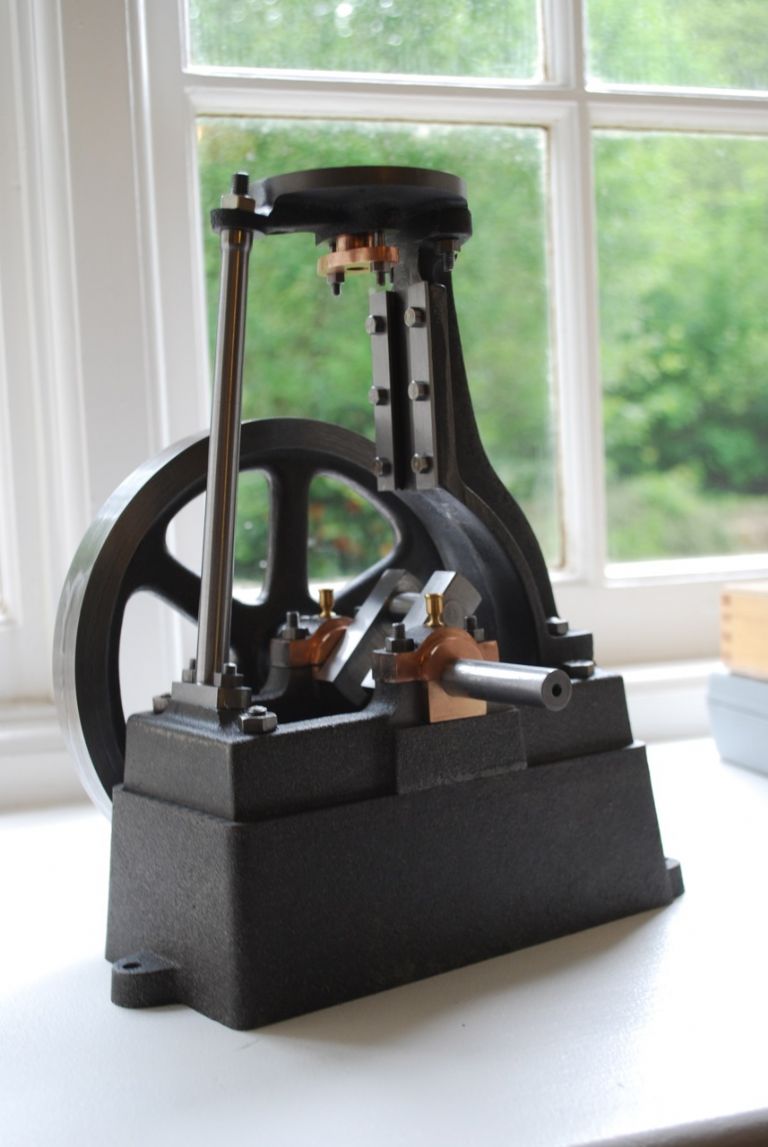
          The Piston Rod Gland on the Engine so far.

          309. the engine so far.jpg

          Next is to have a go at the Connecting Rod.

          312. the con rod drawing.jpg

          Cheers.

          Garry

          Edited By Gary on 22/05/2015 12:15:30

          Edited By Gary on 22/05/2015 12:16:53

          #190956
          GarryC
          Participant
            @garryc

            I'm just starting to think about how to go about the Con Rod and was hoping someone would take a look and see if I'm likely to get into trouble if I go about it in order as below?

            1. Square to each other the the 4 sides of the little end on the Mill (not the rounded top). Not to size, just squared.

            2. File both ends of the casting so that centre marks can be punched.

            3. Put in the lathe between centres and turn the foot, bearing register and do the taper (using the compound slide if there is enough travel otherwise with the tailstock over). Do the curved ends of the foot later with the big end bearing attached so both have the same profile – again between centres.

            4. Remove from the lathe and mark out for the hole and fork gap in the little end.

            5. Do the fork gap on the Mill – combination of drilling and milling.

            6. Using slot mills drill out close to the small hole size in the little end and then ream to size all on the mill – being careful its at 90 degrees to the slot and parallel.

            7. Use filing buttons for the little end rounding. (probably make these first)

            8. Mark out and drill the big end bolt holes for the bearing and drill on the mill.

            (I thought this may be an excuse to order a boring head to have a go at the small hole in the little end but its too small I think.)

            No probs if I’m totally off the mark, would very much welcome any comments.

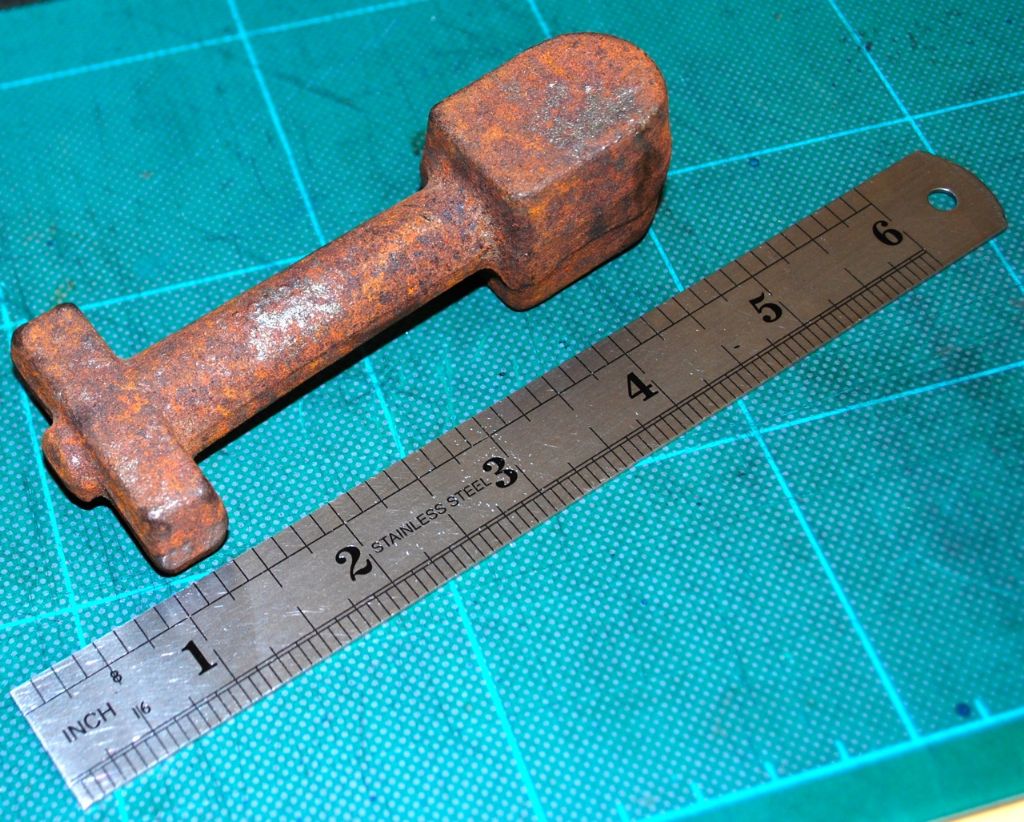
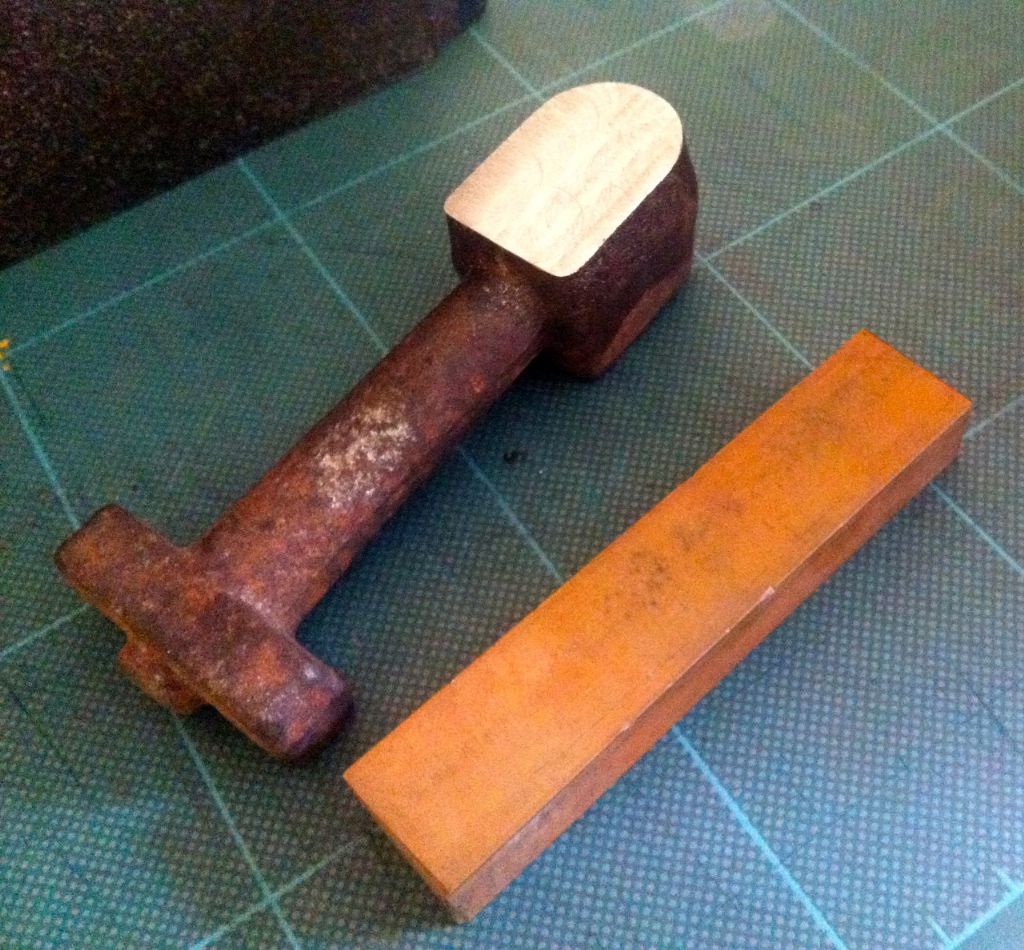
            The Con Rod Casting (Cast Iron). Its quite a big lump.

            313. the con rod casting.jpg

            Many Thanks for any help.

            Regards

            Garry

            #190963
            JasonB
            Moderator
              @jasonb

              Sounds about right, I would probably do a bit more work using teh rotary table but if you don't have one the above should be fine.

              Make sure you do the bearings and cap before you finally remove the ctr hole from teh forked end.

              The casting is hopefully SG Iron rather than the grey iron you have had for the other parts, will machine more like steel and a little cutting fluid brushed on will help.

              #190967
              GarryC
              Participant
                @garryc

                Thanks very much Jason, I should have thought to use the rotary table, I do have one so will do..

                Had to look up SG Iron which was interesting – hope thats what it is!

                Thanks for reminding me about the centre in the fork end, I may well have lost that without thinking. I can see now that the bearing needs to be done alongside as well..

                Very glad I posted the list now!

                Cheers.

                Garry

                #190991
                BERT ASHTON
                Participant
                  @bertashton57372

                  Hi Gary,

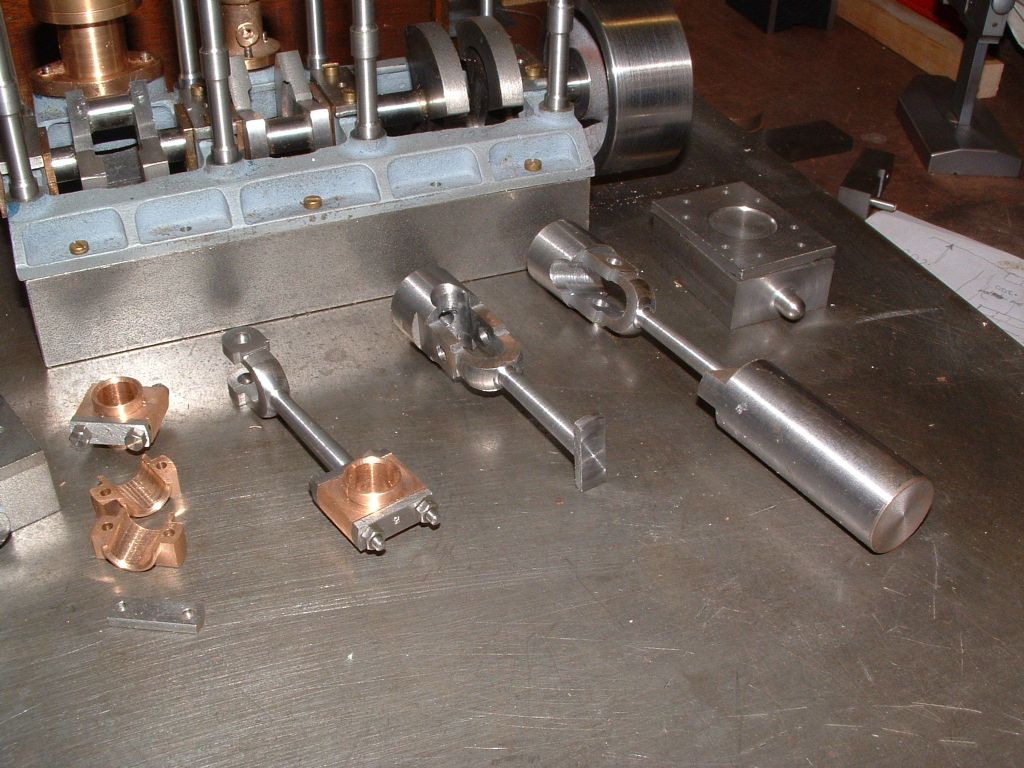
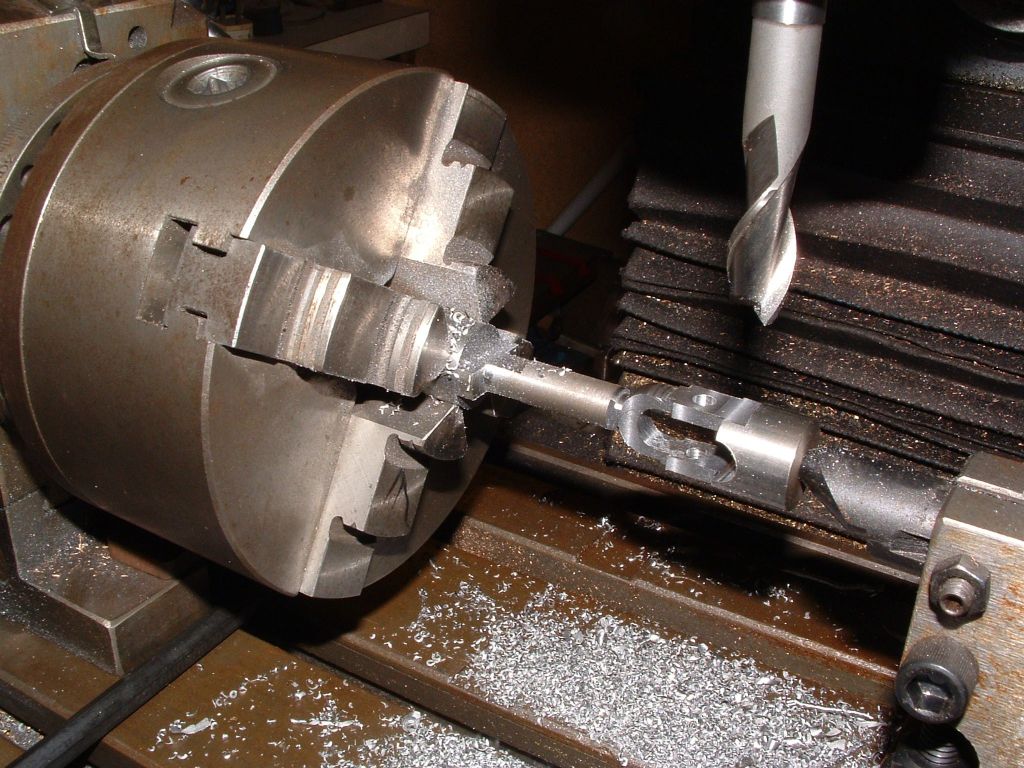
                  I have never used the con rod casting as supplied buy Stuart in their engine kits.

                  I found them difficult to hold and not always straight, I think the photos should self

                  explanatory as I milled them out of solid bar then turned the tapered centre portion

                  and finished with filing buttons.

                  Bert Ashton.

                  #190997
                  GarryC
                  Participant
                    @garryc

                    Hi Bert

                    Heck, those photos are amazing, great to see thanks! I think I've seen tailstock and chuck sets that could be used on the milling table advertised but not much idea what they could be used for…

                    The skill needed to do something like that is way over my head at the moment, my head is hurting just thinking where to start with that setup. I would still love to try though – someday I hope!

                    Cheers

                    Garry

                    #190998
                    GarryC
                    Participant
                      @garryc

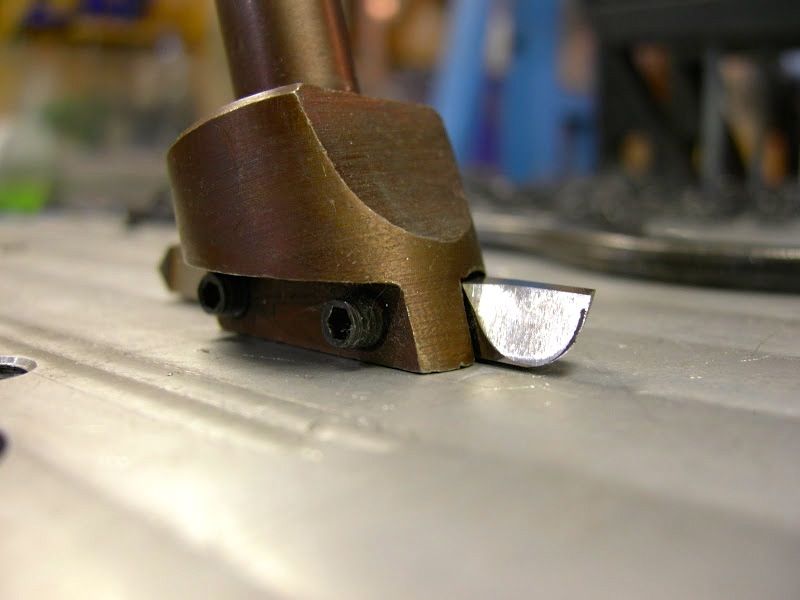
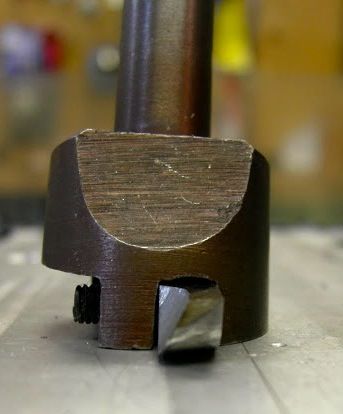
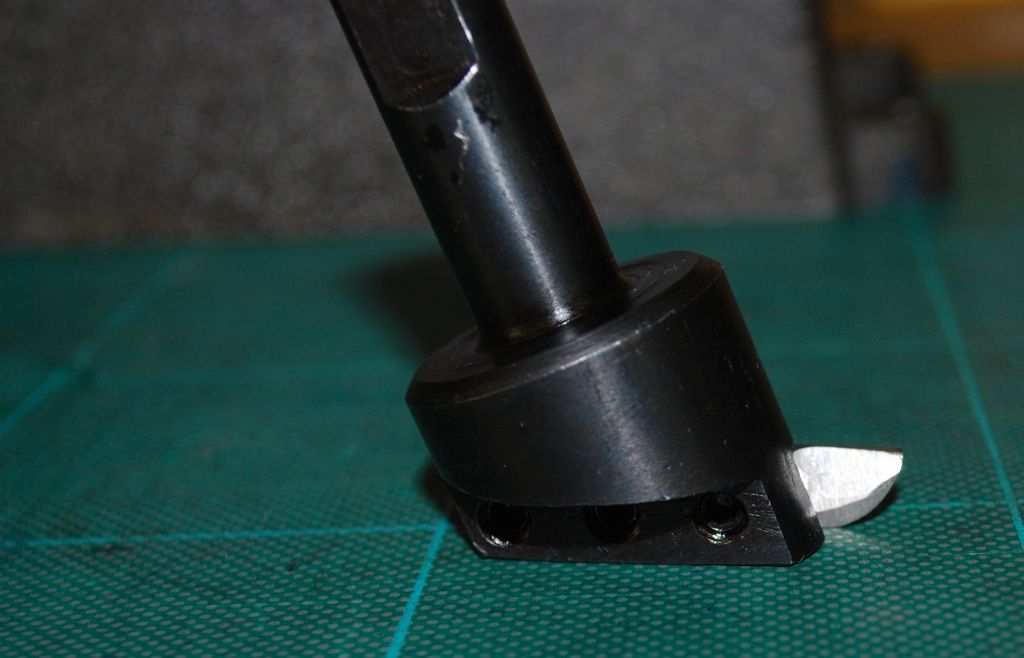
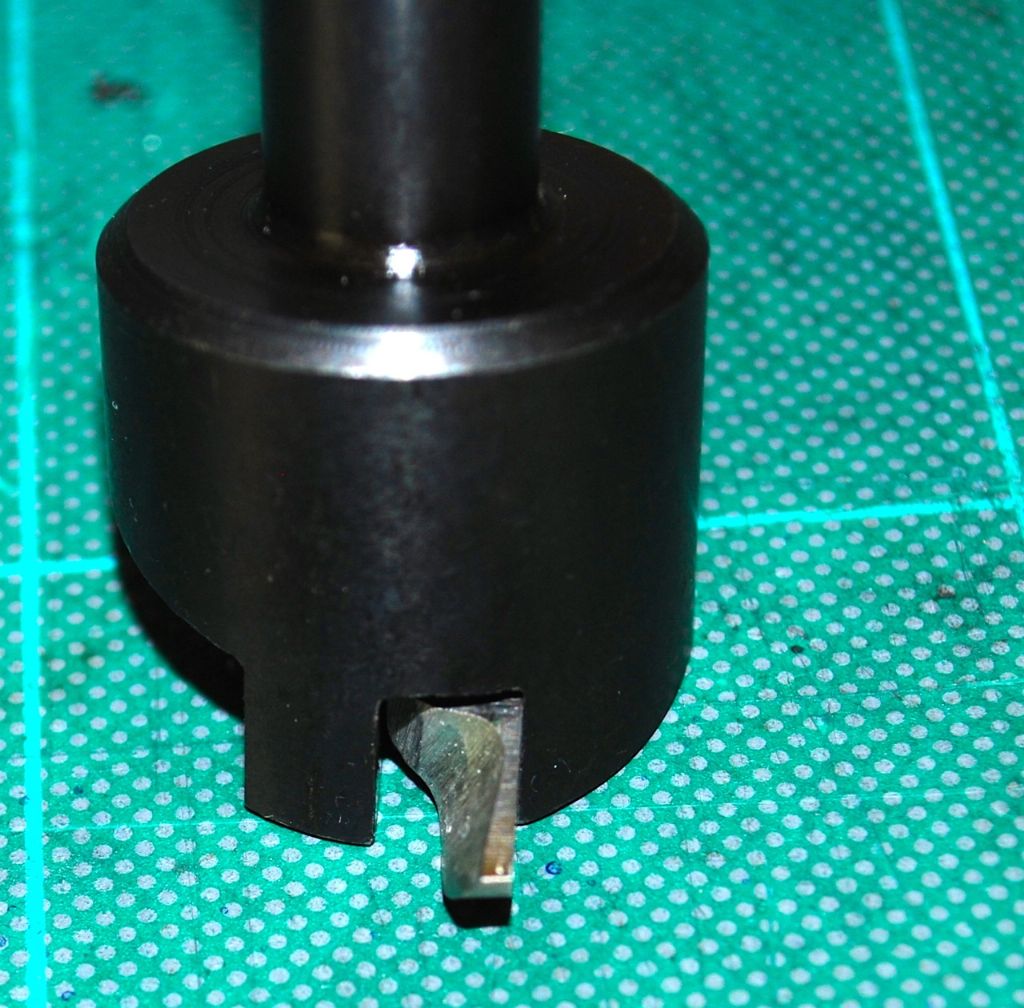
                      I thought to have a go with a flycutter to square over the little end, having looked around the internet there seem to be so many variations in cutter shapes to grind – I happened upon the examples below which looked to be the most simple I have probably come across. I looked in so many places that I can't remember now where I found these – its possible it may be examples from a member on this site, if so, please accept my apologies for not remembering names and hope they don't mind me showing here, (just let me know and I'll ask for them to be removed if its a prob.). The first two photo's are the examples I tried to follow, the last two my efforts at copying. Not very good to say the least I know – may give somebody a good laugh though! I'd almost ground the tool away to nothing before I started getting a bit of an idea what I was trying to do. I'll give it a try though unless someone tells me to bin it…

                      example I found 1.

                      316. flycutter example 1..jpg

                      example I found 2.

                      317. flycutter example 2..jpg

                      my efforts at copying 1.

                      318. my flycutter example 1.jpg

                      my efforts at copying 2.

                      319. my flycutter example 2.jpg

                      My cheap little grinder has a new lease of life now the wheels have been tightened..

                      Thanks for any comments.

                      Cheers.

                      Garry

                      #191007
                      steve de24
                      Participant
                        @stevede2433577

                        Garry,

                        Looking at the con rod drawing. What is the purpose of the small 1/16" hole at the side of the small end 9/32" hole?

                        Regards, Steve

                        #191012
                        GarryC
                        Participant
                          @garryc

                          Hi Steve

                          I hadn't yet considered all the details in the drawing, but even so I'm surprised that I've not even noticed it! I can only guess it's an oil hole – but I don't really know I'm afraid. Hopefully someone who does know will confirm or explain. I've not come across any references to it in any of the notes I have found either…

                          Regards

                          Garry

                          #191018
                          MichaelR
                          Participant
                            @michaelr

                            Garry,

                            The 1/16" hole could be for a locking pin that goes through the head of the cross head bolt, to stop rotation of the bolt when the engine is working, just a thought.

                            Mike.

                            #191019
                            steve de24
                            Participant
                              @stevede2433577

                              Garry,

                              What I find most surprising is that the bottom edge of the 9/32 hole and the top edge of the 1/16 hole is in the same place. This sounds like a recipe for disaster with both holes being wrecked, broken drills etc. If I was making the engine I'd think about doing something different!

                              Regards Steve

                              ps. I like the way you show the sketch/plan of what you are going to make – it adds so much more to the pics of you actually making it.

                              #191020
                              GarryC
                              Participant
                                @garryc

                                Hi Mike

                                I've just looked at the Cross Head bolt drawing and yes you are right there is a 'locking' Pin! Thanks, I had not seen it before.

                                Hi Steve

                                Yes it does look close, I'll have to have a think when I come to do it! I must admit that I don't tend to dwell too much on the details of parts until I come to do them (I do then look at any mating parts though) – there is so much on the overall drawing that at the moment looks like it may be difficult and it can be a bit overwhelming – I find it works best for me to just focus on getting through and trying to understand a bit about the part in hand..

                                Regards.

                                Garry

                                Edited By Gary on 23/05/2015 20:15:25

                                #191021
                                JasonB
                                Moderator
                                  @jasonb

                                  You could move the pin out to 3/16 or even 13/64 rather than the 11/64 on the drawing which will leve a bit of metal between the two holes and it would still come within the head of the pin.

                                  J

                                  #191023
                                  GarryC
                                  Participant
                                    @garryc

                                    Thanks Jason, I'll have a print of that post next to me when I come to do it – really useful, could be a life saver I think!

                                    Looking forward to have a go at working with the Phosphor Bronze bar supplied for the big end bearing, pretty sure I've not come across it before, the bar certainly looks and feels different to anything I've seen up to now..

                                    Cheers

                                    Garry

                                    Edited By Gary on 23/05/2015 20:45:55

                                    #191087
                                    GarryC
                                    Participant
                                      @garryc

                                      Not really much progress in todays session – it was a case I think yesterday of being careful what you wish for! The SG Iron is most definitely not like any cast iron I've worked with before – it's very hard! It does seem to machine like steel, I did briefly try with my flycutter but it was obvious it was a no go (I'll give it another go with the Big End Bearing). I've had to go more slowly than I've ever had to on the Mill before (i'm using a 14mm End Mil) but it did give a surprisingly good finish and all the better the slower I went. I'm just going to square around the little end leaving about 1/32" oversize for now.. Only took down one of the sides but it will be quicker next time now knowing what to expect..

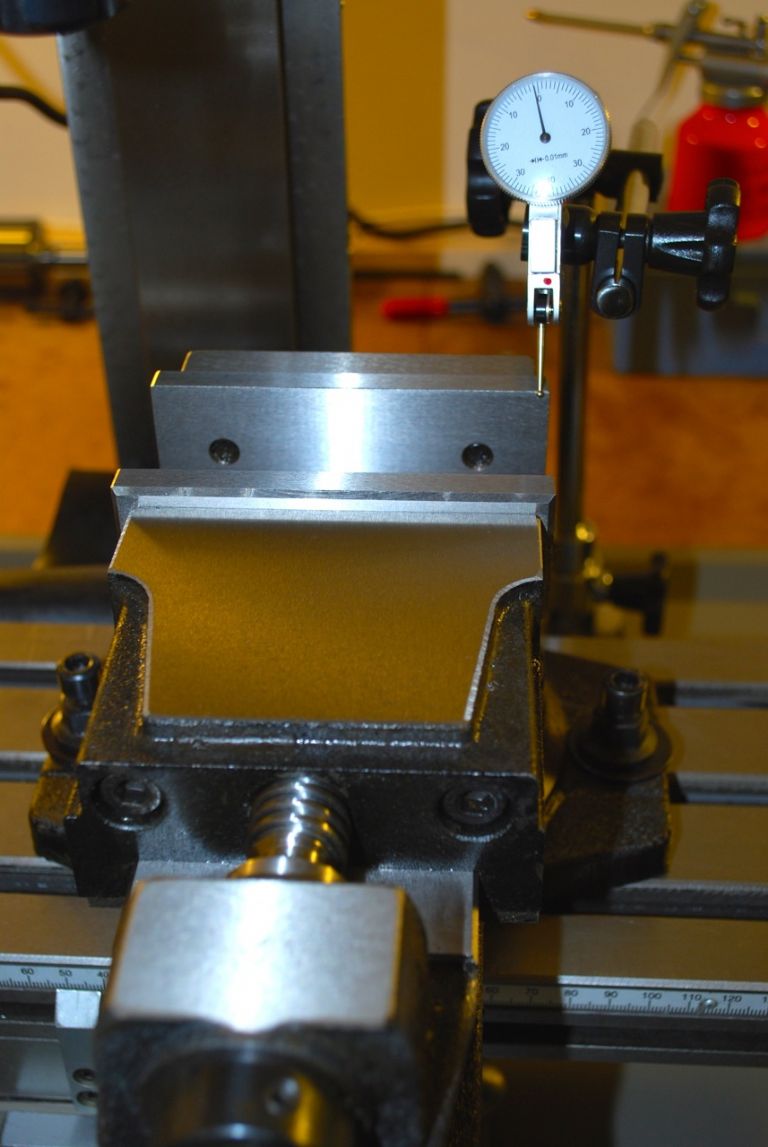
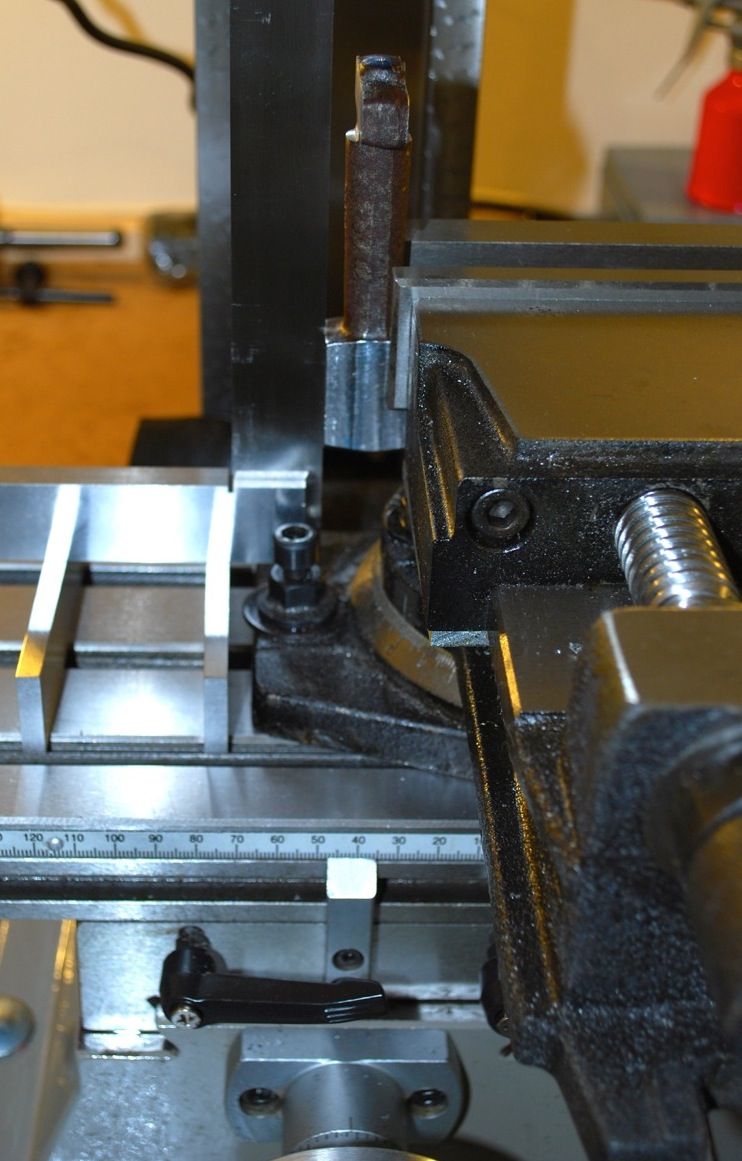
                                      Its a quick job now to set up the milling vice.. Although I wasn't going to be squaring the ends.. The Vertex Vice is a very nice bit of kit. I always take the vice off the table when a job is finished as I'm unsure if leaving it tightened down for long periods would be a problem for the table on such a small machine – I've been wondering what everyone else does that have small mills / tables? The vice will stay clamped now until I've finished the squaring which might take a few little sessions (so clamped maybe for a few days)..

                                      320. setting up the milling vice.jpg

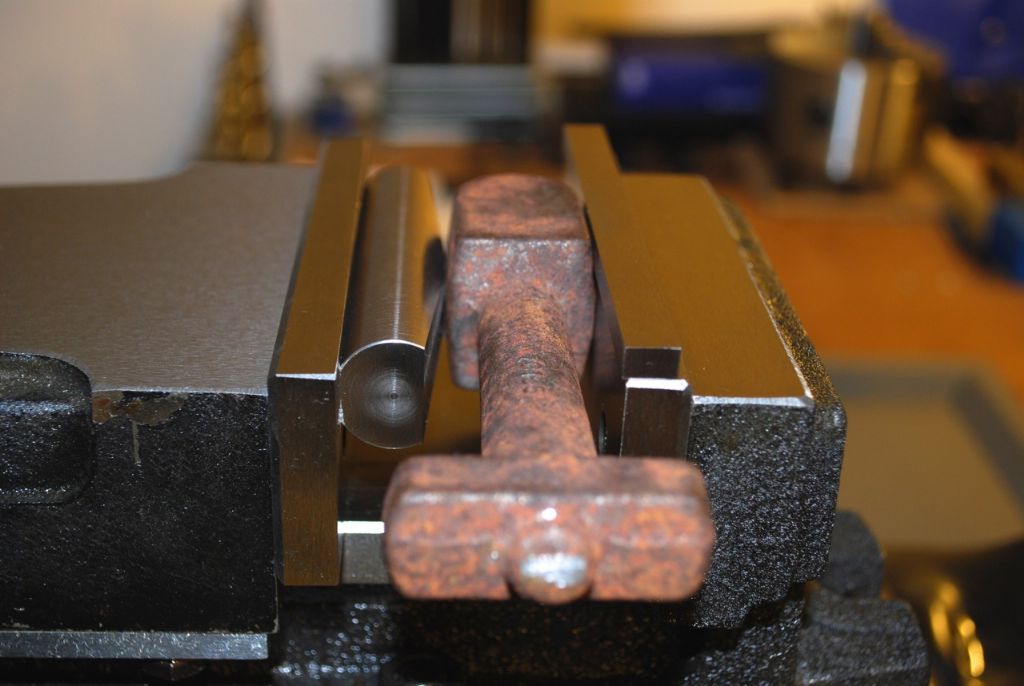
                                      Setting up to start squaring around the little end..

                                      321. setting up to square around the little end of the con rod..jpg

                                      Just the one side taken down to 1/32" oversize – and the phosphor Bronze bar supplied to do the Big End bearing. Another surprisingly heavy bar for its size..

                                      322. the con rod so far & phosphor bronze bar for the big end bearing..jpg

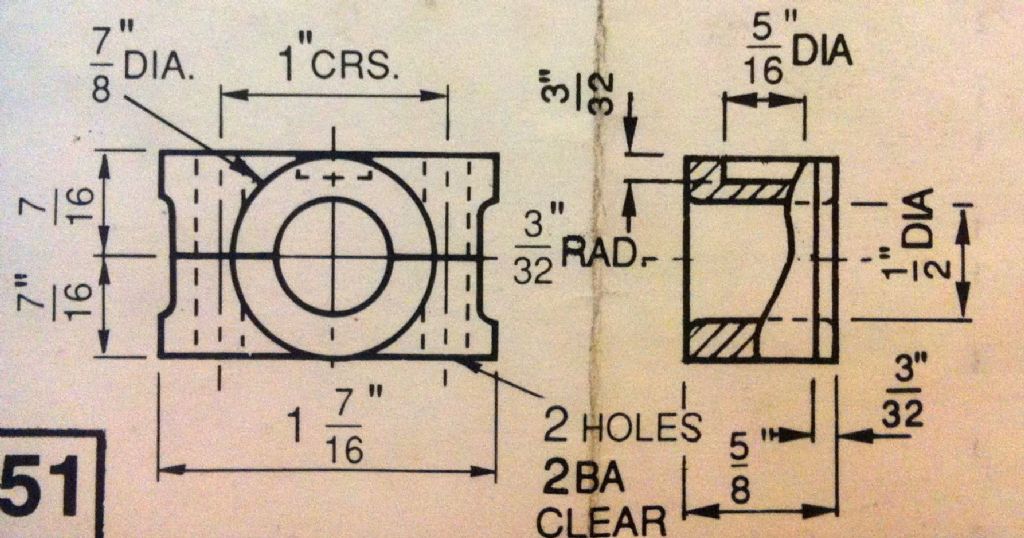
                                      The Big End Bearing drawing. I'll need to be doing this alongside the Con Rod..

                                      323. the big end bearing..jpg

                                      Cheers.

                                      Garry.

                                      Edited By Gary on 24/05/2015 14:31:04

                                      Edited By Gary on 24/05/2015 14:34:15

                                      Edited By Gary on 24/05/2015 14:34:41

                                      #191169
                                      GarryC
                                      Participant
                                        @garryc

                                        A quick couple of photos of this mornings progress..

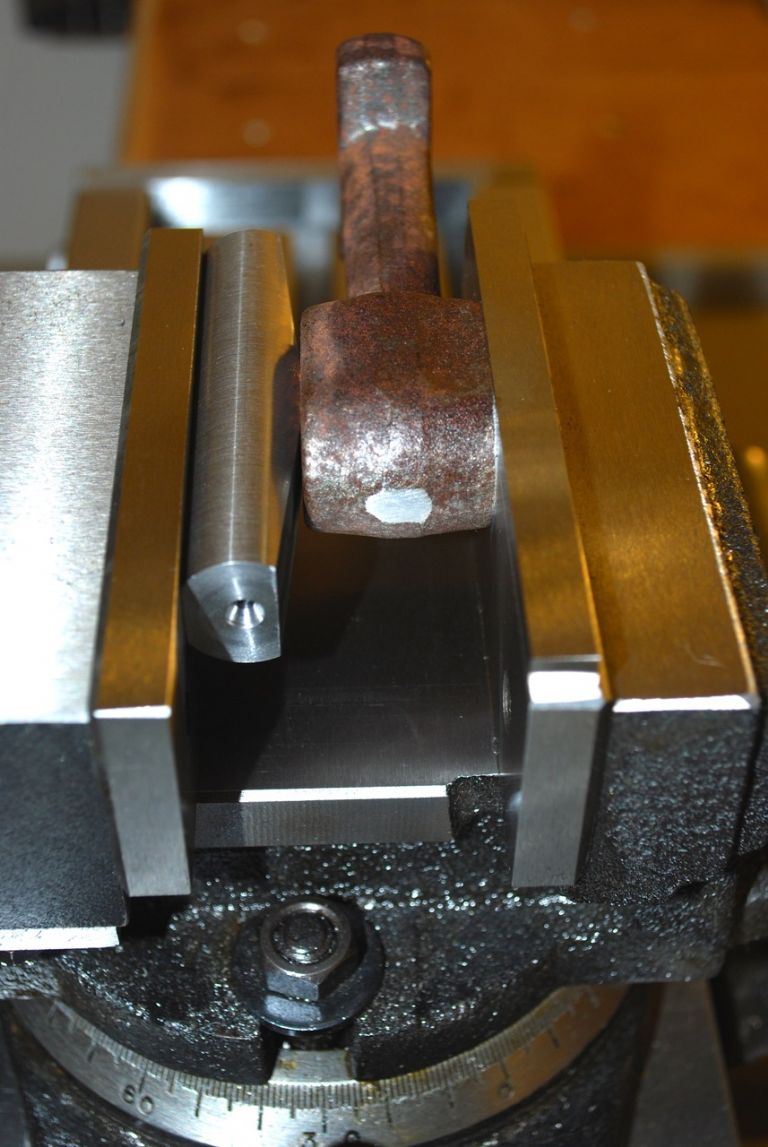
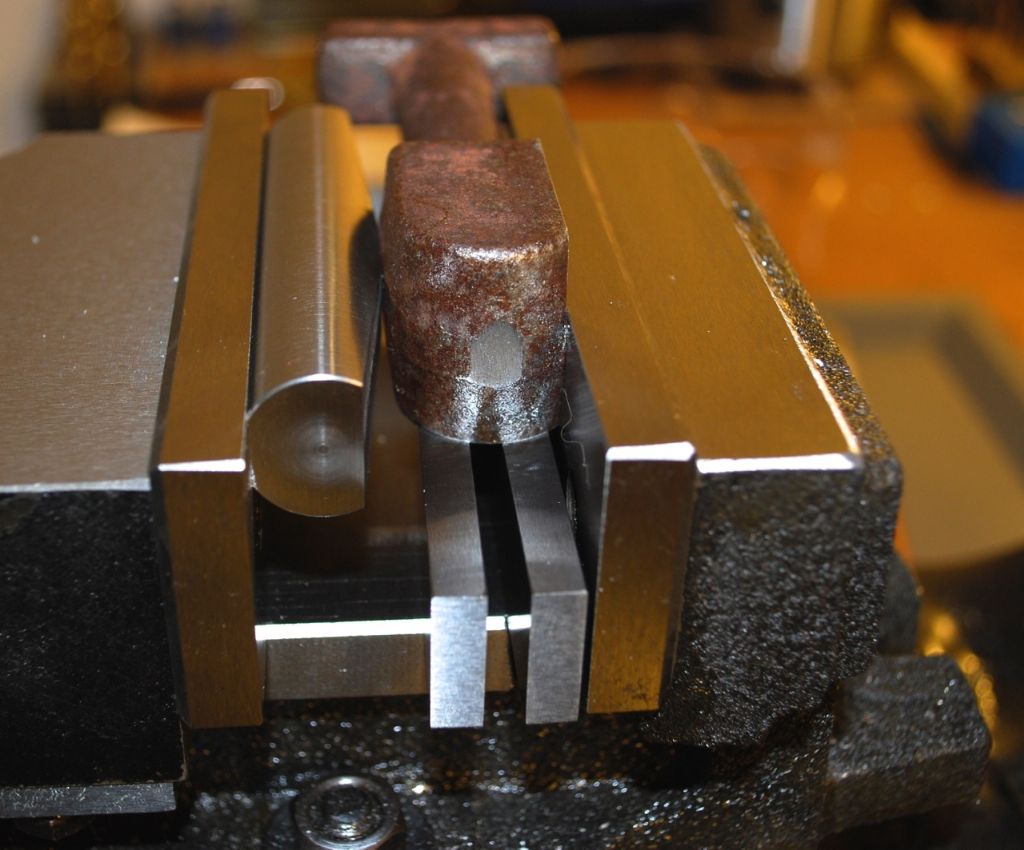
                                        Seemed to get on much quicker this morning and it didn't take long to square 3 sides (and one side of the foot)..

                                        This method of squaring is working well for me and on checking around for squareness when out of the vice it is absolutely spot on – by far the best I've managed to date..

                                        2nd side – the side already done on the fixed vice jaw and 2nd face to be done set with a parallel on top of the vice..

                                        324. squaring the con rod little end..jpg

                                        Then again with side 3 – an already squared side on the back jaws the parallels get used below as well..

                                        325. squaring the con rod little end 2.jpg

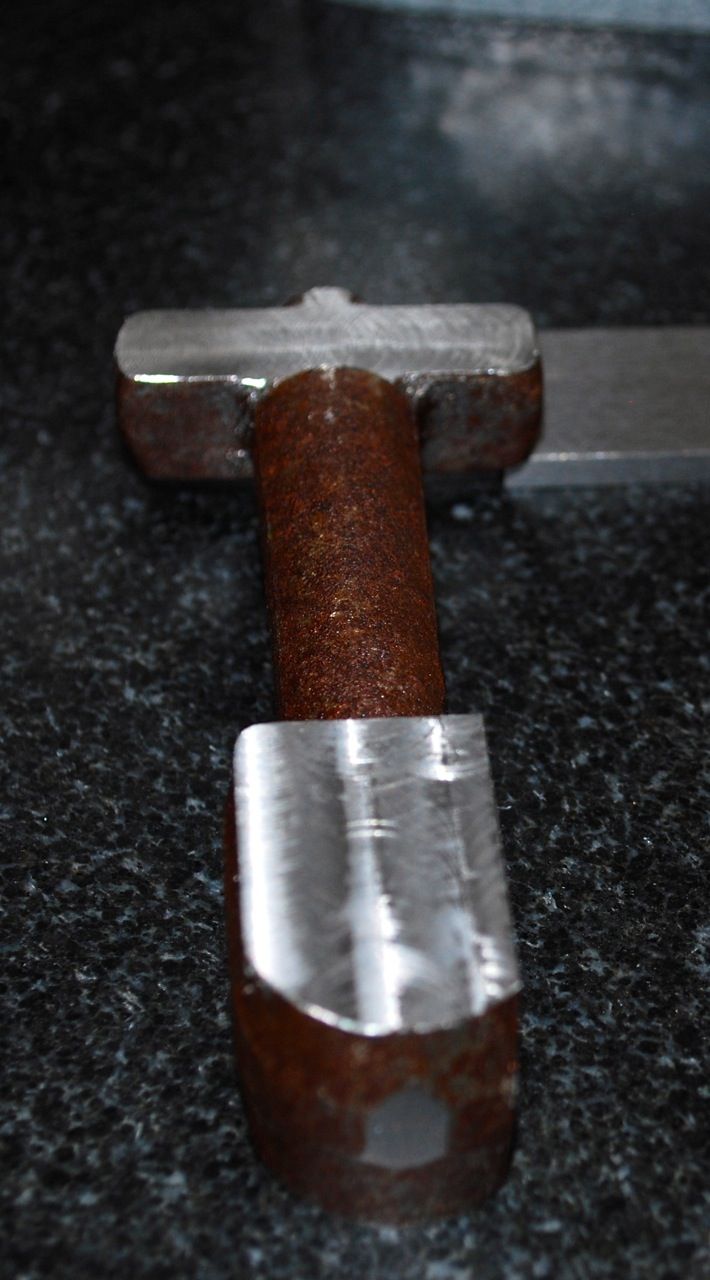
                                        The con Rod so far – again my camera does a demolition job on the finish, (its not as bad to the eye as it looks in the photo, but I do need to get better quality cutters as used ones get replaced in future – this job has made that clear – you can say I told you so Andrew if you read this!). Its not to size yet so I didn't try for a finish… May be able to finish some sides in the lathe now as it will be easier to hold now its square…

                                        I was able to do one of the foot sides once there were some square sides – so its in the same setting and true with the little end faces.. (Equal amounts being taken off opposite sides for all the faces..)

                                        I can see now as well how the little 'fillet' gets left on top of the foot..

                                        1 little end side and 1 foot side to do before centre punching the ends and then on to the lathe between centres..

                                        326. the con rod so far..jpg

                                        Cheers

                                        Garry


                                        Edited By Gary on 25/05/2015 12:41:51

                                        Edited By Gary on 25/05/2015 12:43:04

                                        Edited By Gary on 25/05/2015 12:45:58

                                        #191229
                                        Anonymous
                                          Posted by Gary on 25/05/2015 12:41:32:

                                          The con Rod so far – again my camera does a demolition job on the finish, (its not as bad to the eye as it looks in the photo, but I do need to get better quality cutters as used ones get replaced in future – this job has made that clear – you can say I told you so Andrew if you read this!).

                                          I wouldn't be so smug as to say so!

                                          Here's the sort of finish you can achieve with decent cutters:

                                          milling_finish.jpg

                                          The slightly 'stripey' finish is with a well used Garr three flute slot drill used on the end, and the face nearest the camera is with a new 4 flute slot drill from ArcEuroTrade used on the side and cutting full depth, about 25mm. The finishes are straight off the machine, I hate faffing about with emery and the like.

                                          Andrew

                                          #191250
                                          GarryC
                                          Participant
                                            @garryc

                                            Hi Andrew

                                            That does look very good, I'll definitely be replacing mine with better ones, I hadn't thought to give yours a try, that would be interesting to see what my little mill can do. I'll do a pass over the last side as I take it down and put up a pic later to compare!

                                            I'd love to have a go at gear cutting someday…!

                                            Cheers

                                            Garry

                                            Edited By Gary on 26/05/2015 06:16:03

                                            Edited By Gary on 26/05/2015 06:16:46

                                            #191258
                                            GarryC
                                            Participant
                                              @garryc

                                              Hi Andrew

                                              I've just put a 6mm Garr Tool across the face – I'm speechless! Totally blown away!

                                              I'll put details up later.. Need a cuppa – and a bit of a rethink..

                                              Cheers

                                              Garry

                                              #191316
                                              GarryC
                                              Participant
                                                @garryc

                                                I've tried to photograph the finish with the Garr Tool but I just can't do it justice. I didn't try for a finish when using just went at the same speed as with my normal cutter – but the finish was better than than anything I've had to date including on the lathe (except maybe the little holding bar I made) – it was a bit of a shock to say the least, i hadn't realised just how bad my work has been, bit embarrassed really.. I think I need to go away and practice a lot more! The Tool went through the Con Rod material like it wasn't there – normally when I mill there is some noise and vibration, just accepted it as normal I get it every time – no noise this time at all just the sound of the motor spinning – or any hint of vibration at all – and I mean none, just a nice 'hissing' noise!

                                                I can see the Garr is maybe a high end (expensive) and industrial grade tool and need to strike a bit of a balance with cost and quality – if anyone can recommend a good make for milling cutters that are are good compromise I would be very interested to know / hear any comments. Thanks.

                                                Regards

                                                Garry

                                                #191322
                                                JasonB
                                                Moderator
                                                  @jasonb

                                                  Message waiting for you re cutters

                                                  #191326
                                                  GarryC
                                                  Participant
                                                    @garryc

                                                    Thanks very much Jason, I've just replied..

                                                    #191378
                                                    GarryC
                                                    Participant
                                                      @garryc

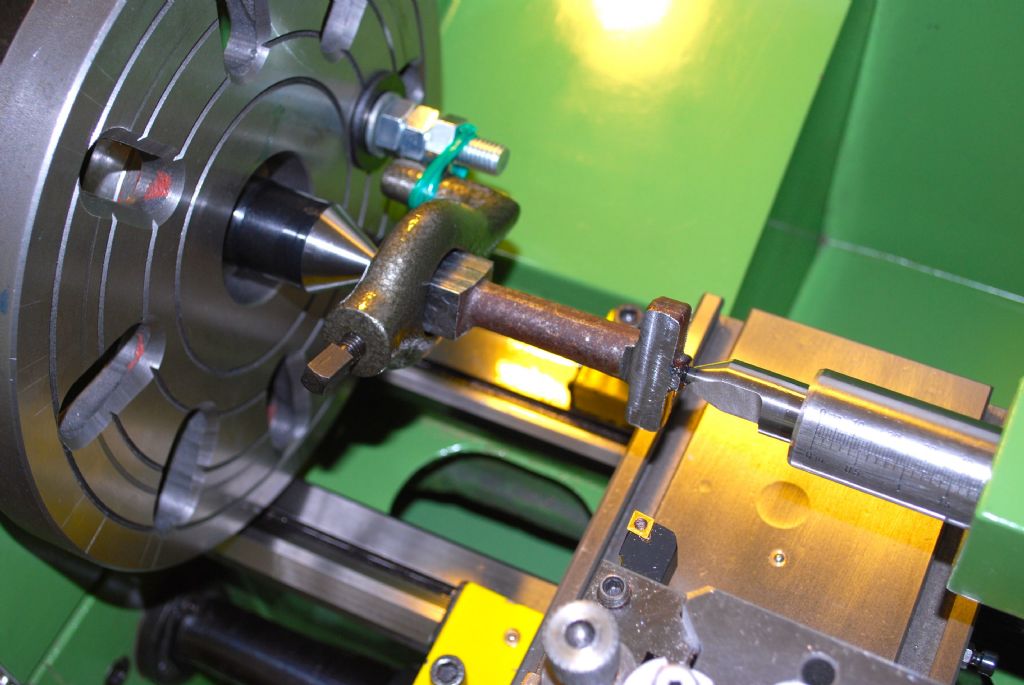
                                                      Just as far as getting the Con Rod onto the lathe today..

                                                      Another taper made it difficult to hold – held as in the photos below to just get the centre drills in, and it was fine..

                                                      Nothing to exact size yet..

                                                      331. centre drilling the ends of the con rod 1.jpg

                                                      332. centre drilling the ends of the con rod 2..jpg

                                                      The Con Rod ready for turning between centres on the lathe.. Centre drills have gone in fine and its spinning nicely.. Might have trouble doing the bearing register with the Centre in though..

                                                      334. con rod so far...jpg

                                                      Getting some new milling cutters before too long so hoping things will start to look a bit better shortly!

                                                      Cheers.

                                                      Garry.

                                                      Edited By Gary on 27/05/2015 13:28:05

                                                      Edited By Gary on 27/05/2015 13:32:42

                                                    Viewing 25 posts - 151 through 175 (of 602 total)
                                                    • Please log in to reply to this topic. Registering is free and easy using the links on the menu at the top of this page.

                                                    Advert

                                                    Latest Replies

                                                    Viewing 25 topics - 1 through 25 (of 25 total)
                                                    Viewing 25 topics - 1 through 25 (of 25 total)

                                                    View full reply list.

                                                    Advert

                                                    Newsletter Sign-up