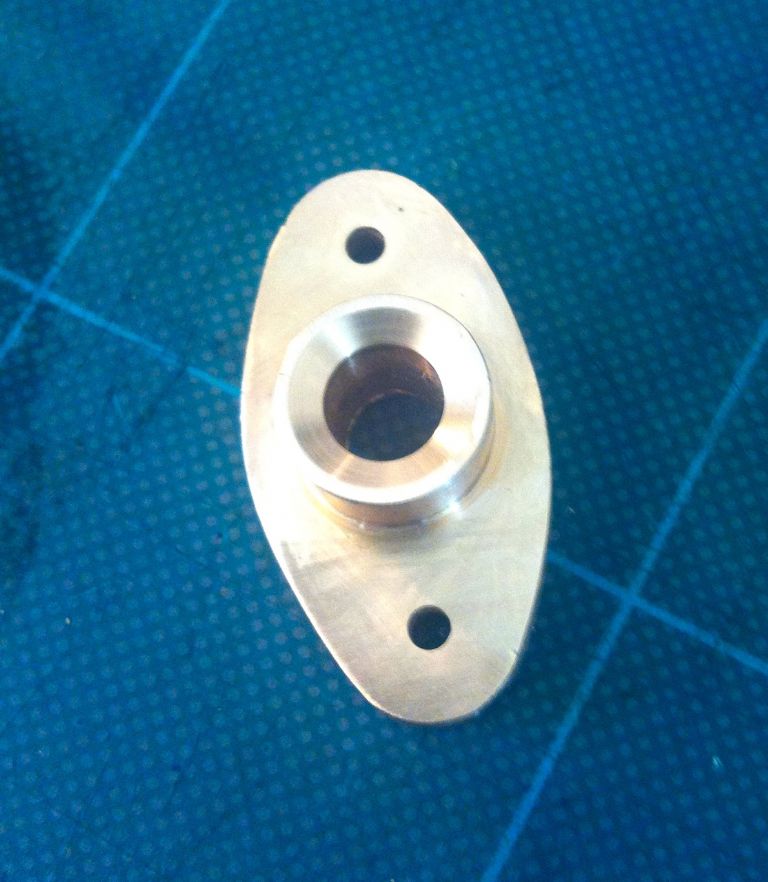
Some more time with the Piston Rod Gland this morning.
Aplogies for the photos, having trouble with the shiny Gun Metal. The camera likes to focus on everything but the gland it seems..
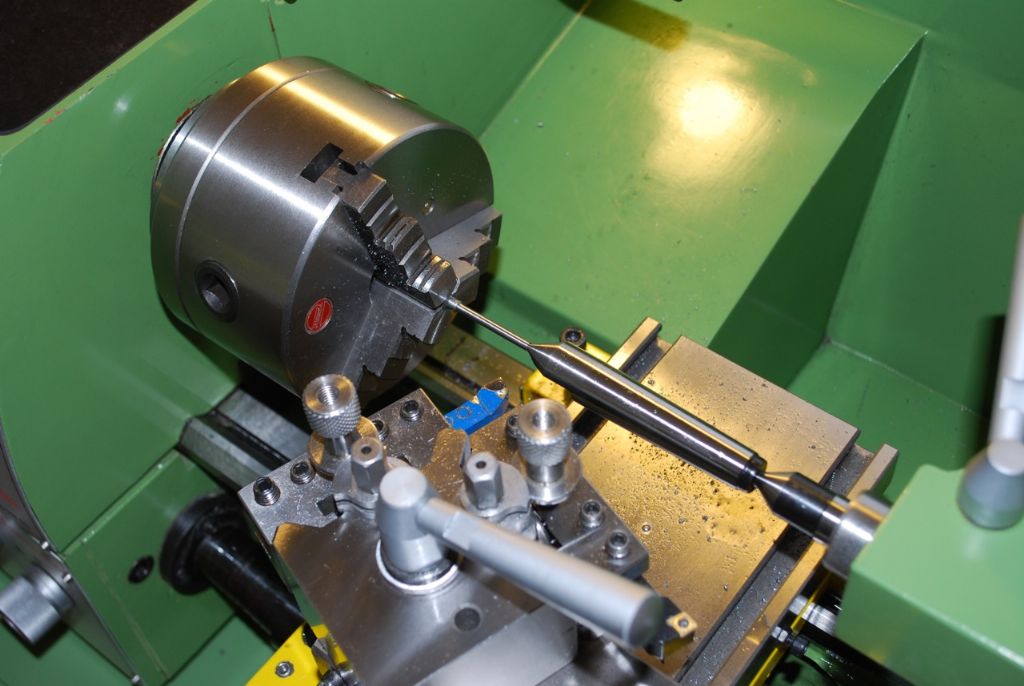
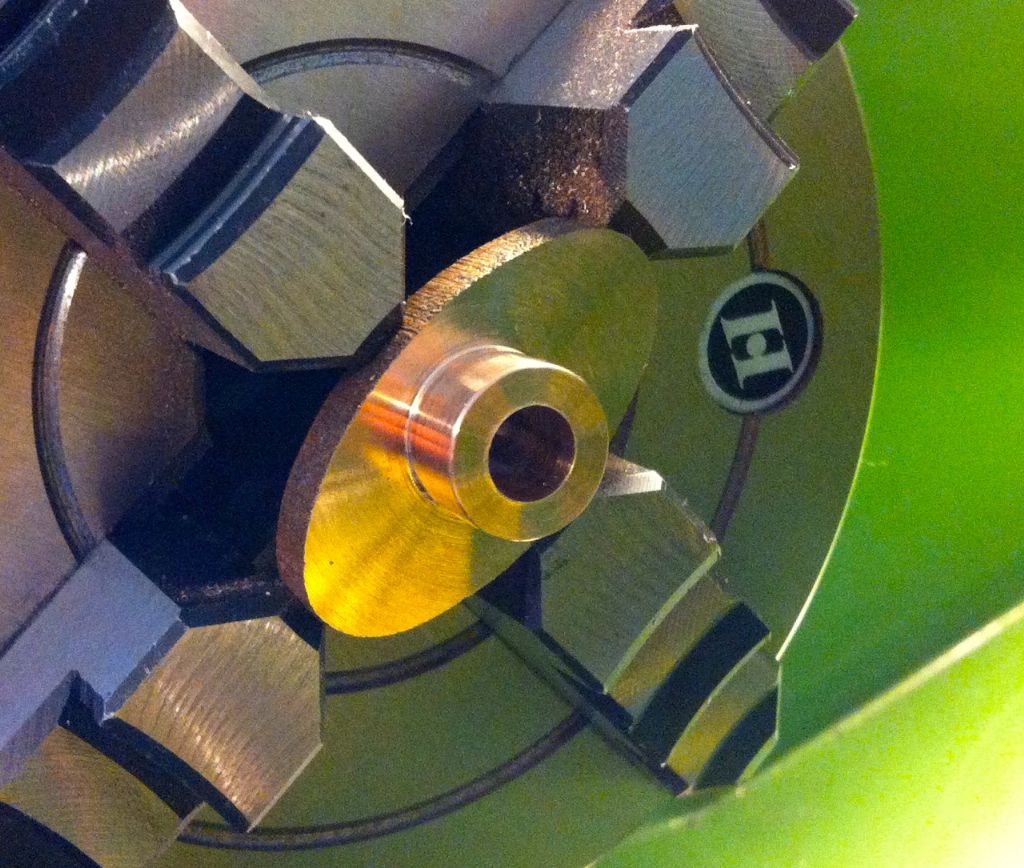
Reaming to 5/16".

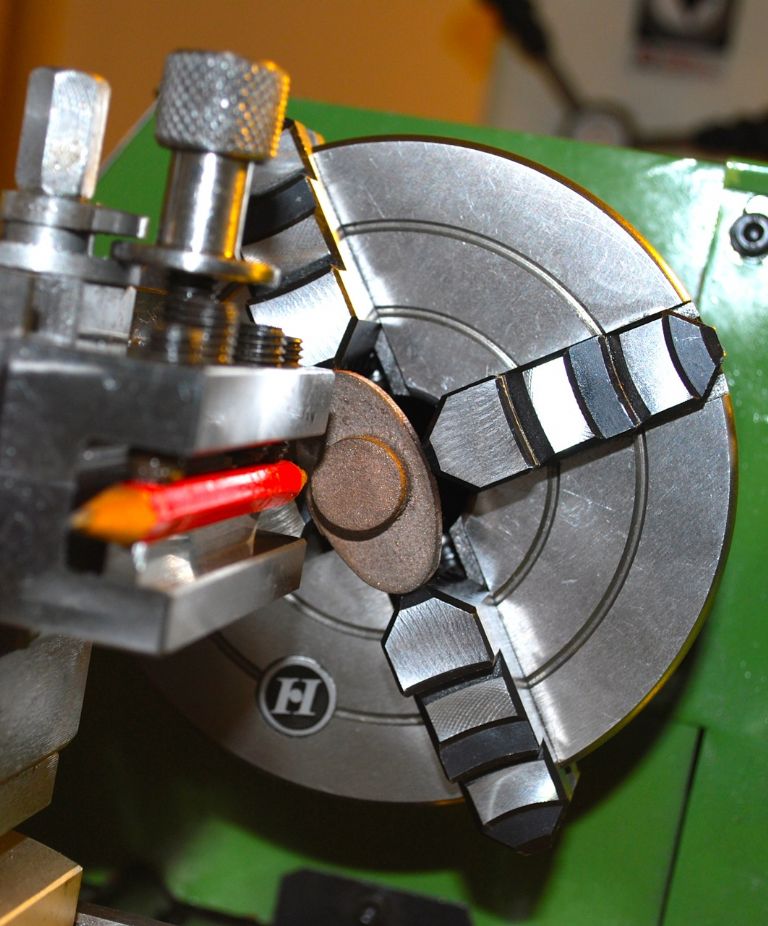
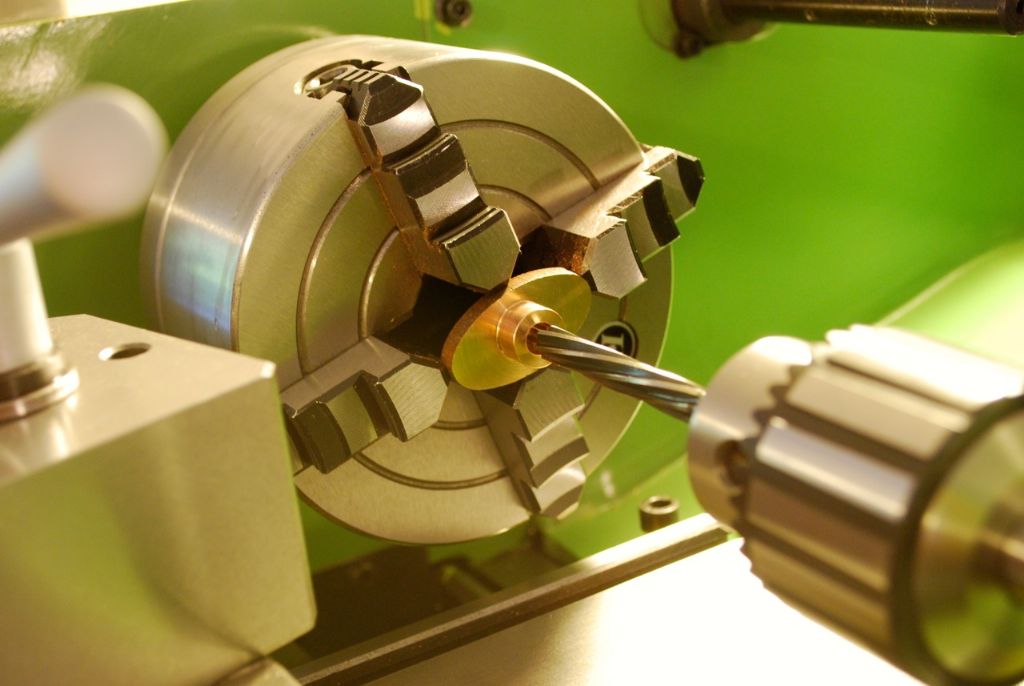
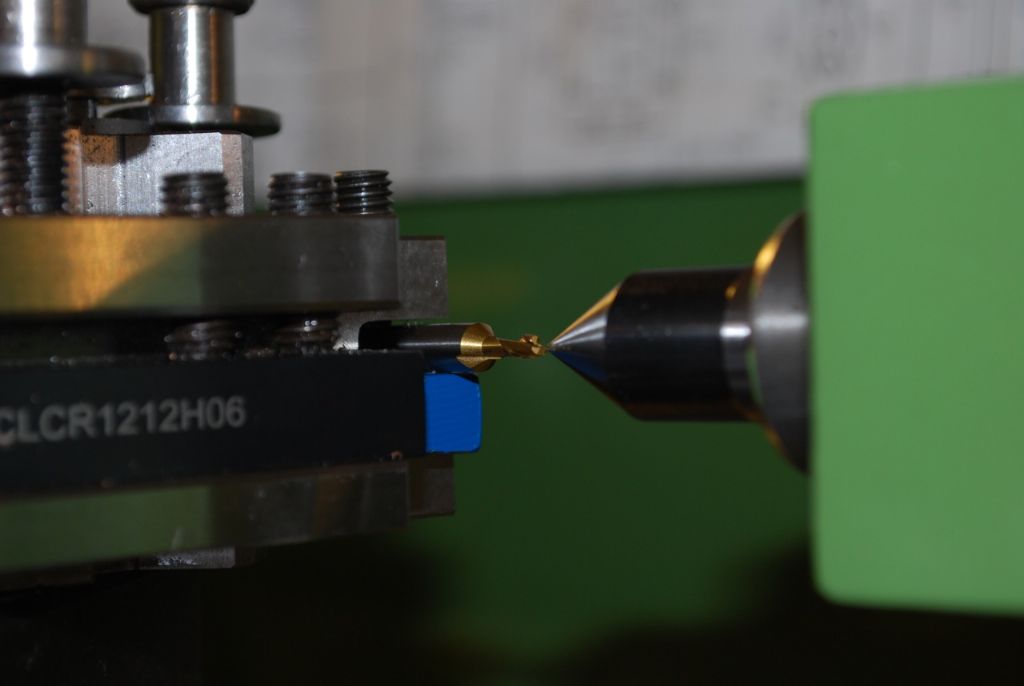
Next was to have a go at my first attempt at a chamfer. I almost messed up not releasing just how far the tool would need to get into the small hole. So not having a tool small enough and remembering Jason's tip I thought to try a two flute milling cutter. I first set it up like below than realised that was probably wrong and so

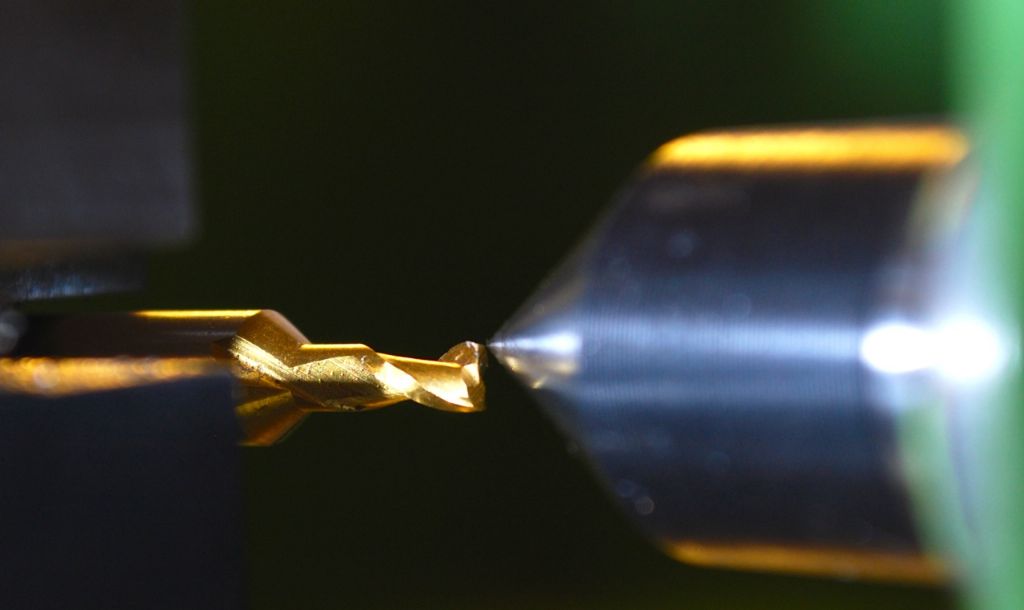
set it up with the flutes horizontal on centre height. Fortunately I realised before trying the first setup. Not sure if its clear in the photo but the flutes are lying horizontally.. I assume this is correct as it worked beautifully..

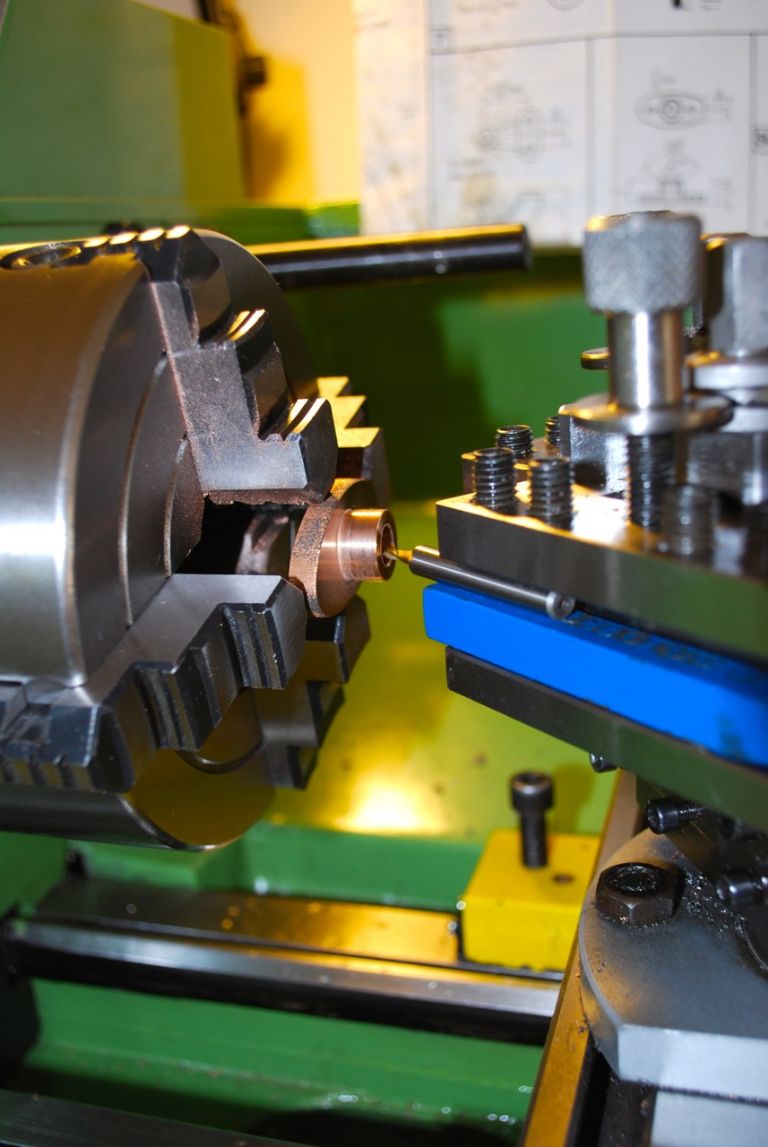
Starting the Chamfer. I did wonder if the round tool would hold ok but with very light cuts it was fine. Cutter was a 3mm.

The chamfer finished. The compound slide was set to 60 degrees to give the 120 degree angle..

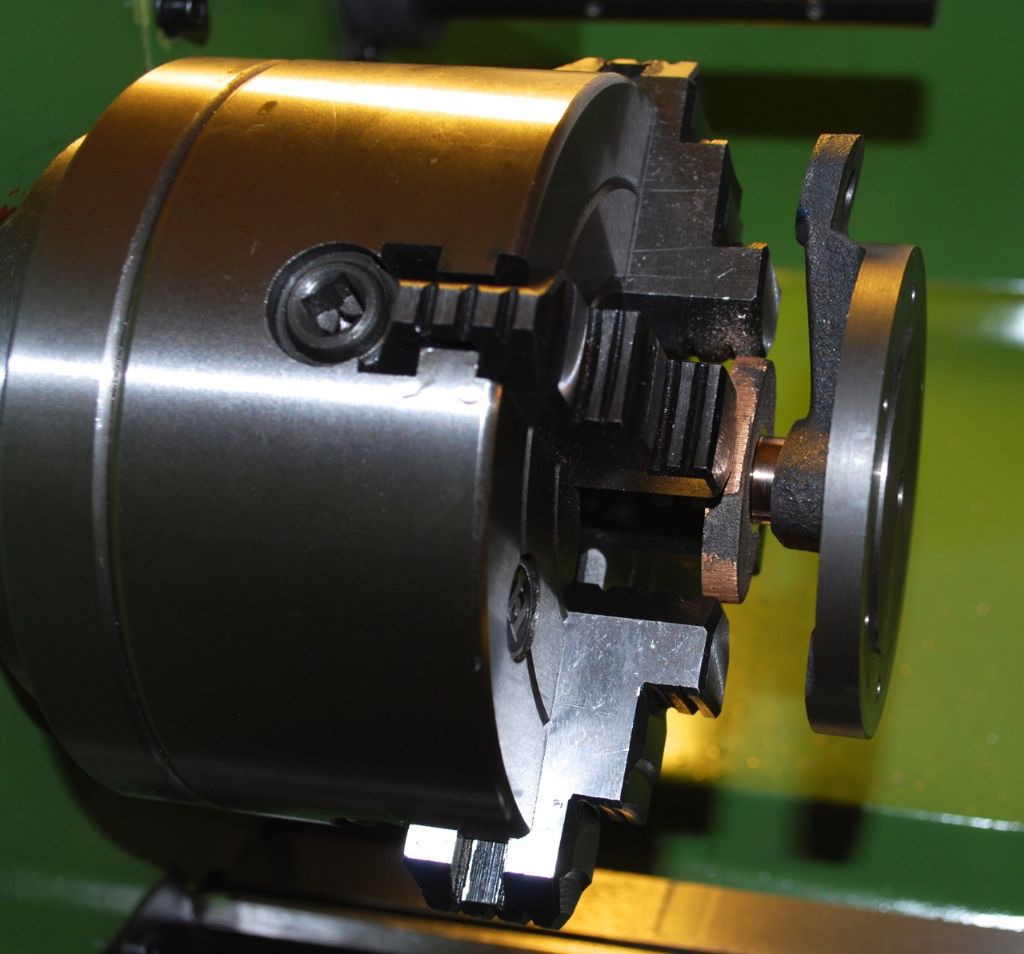
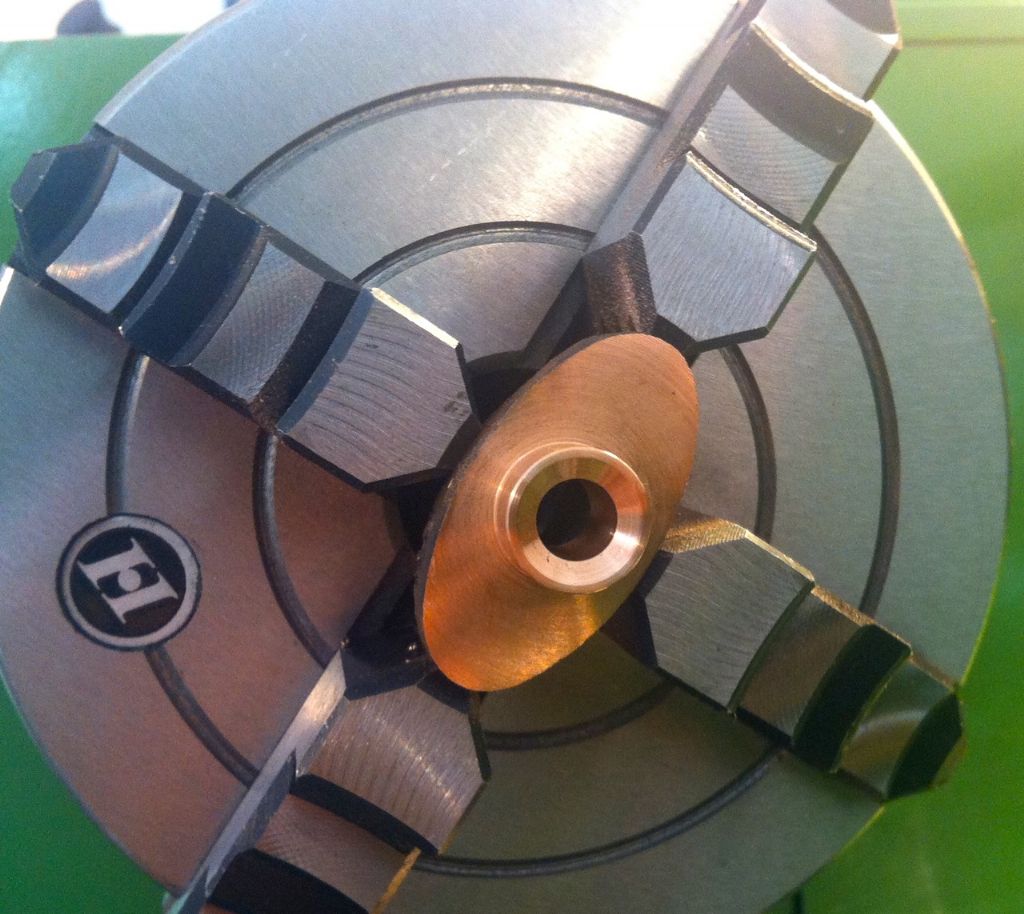
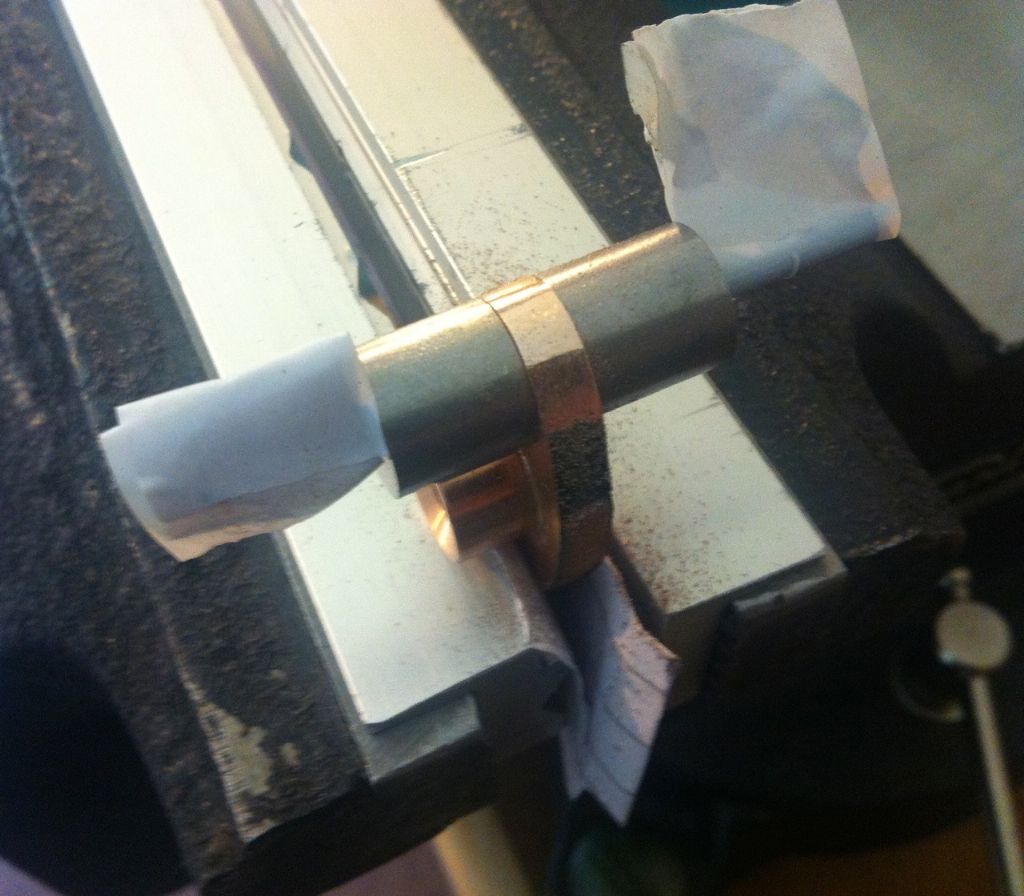
Then it was reversed in the chuck, set to run true and marked, centre punched and drilled. Then the filing buttons used…

The holes are 4BA tapping size at the moment – to be spotted through to the Bottom Cylinder Cover before being opened out to clearance size.
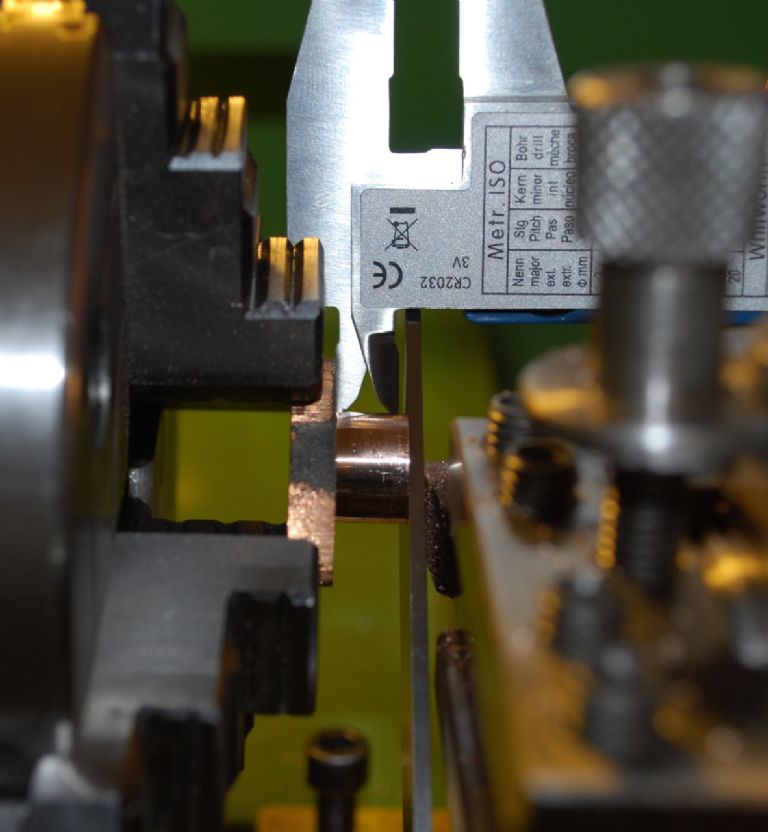
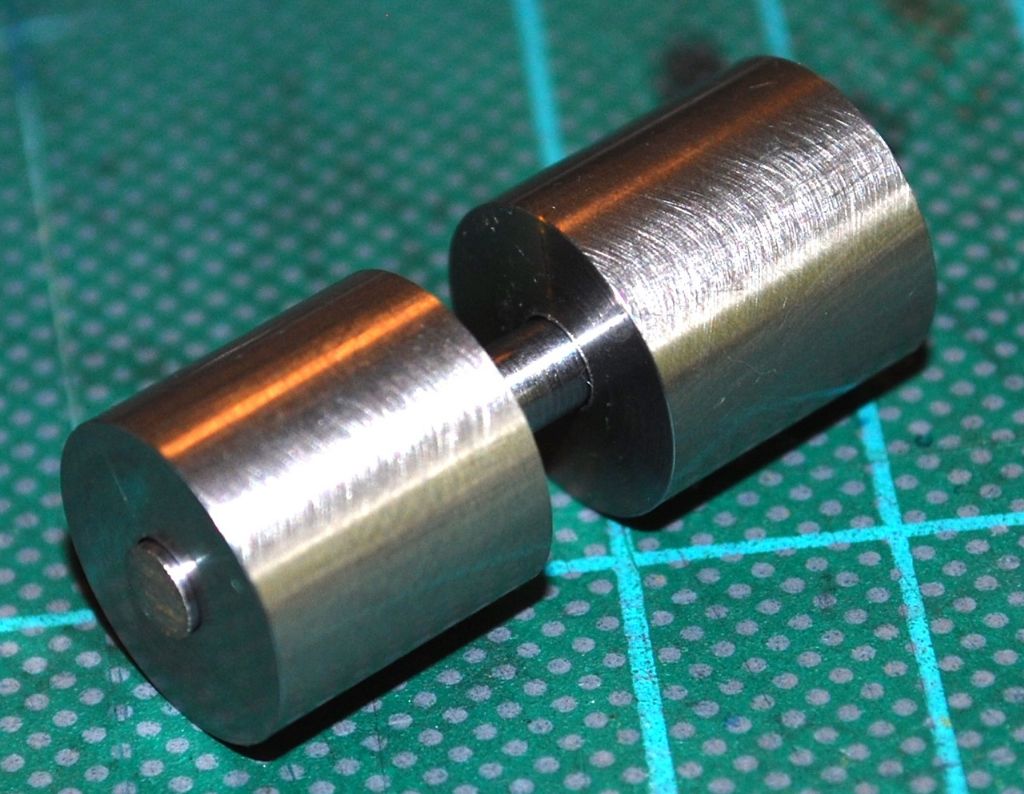
I'm a bit surprised as when I tried to test fit again in the cover, the nice easy close fit I had when I tried on the lathe a few days ago will now barely get into the hole – I assume and am hoping its just because its warmed up in my hands while filing etc and will fit again when its cooled later… May have to skim it again if not – it was a nice fit before..
Its not looking too bad so far I think..

Hope someone finds it interesting..
Cheers.
Garry
 JasonB.

