My little engine (continued)

Advert

My little engine (continued)

Home Forums Work In Progress and completed items My little engine (continued)

Viewing 25 posts - 526 through 550 (of 602 total)
  • Author
    Posts
  • #210196
    JasonB
    Moderator
      @jasonb

      I prefer a HSS one, easy enough to grind up to whatever radius you need.


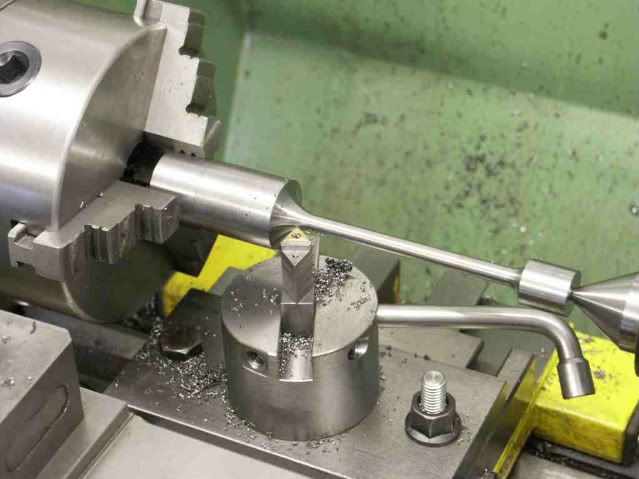
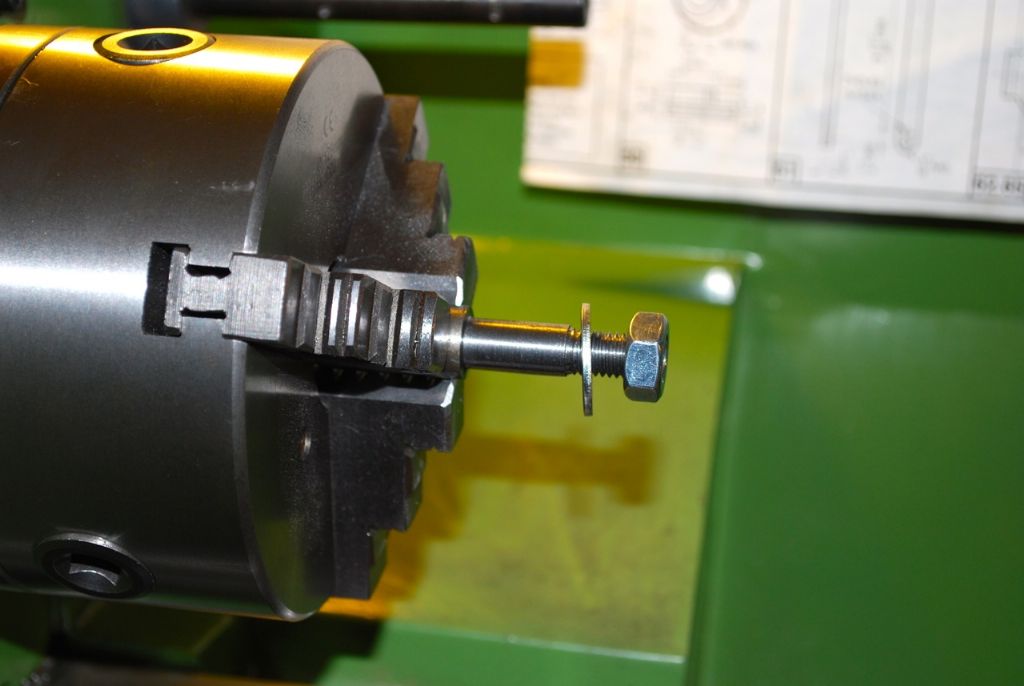
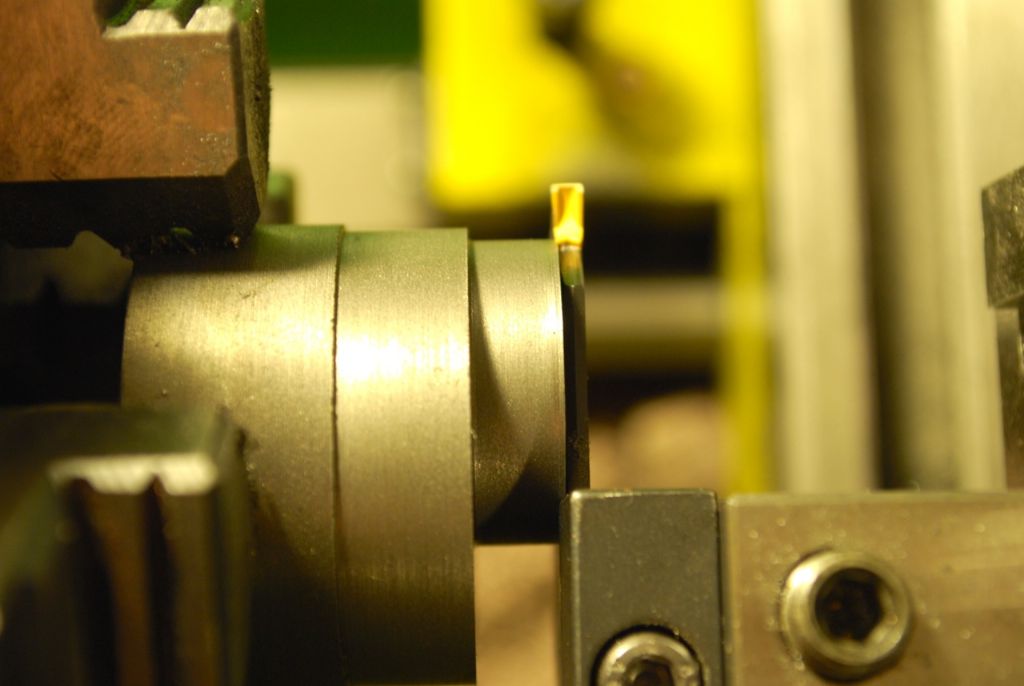
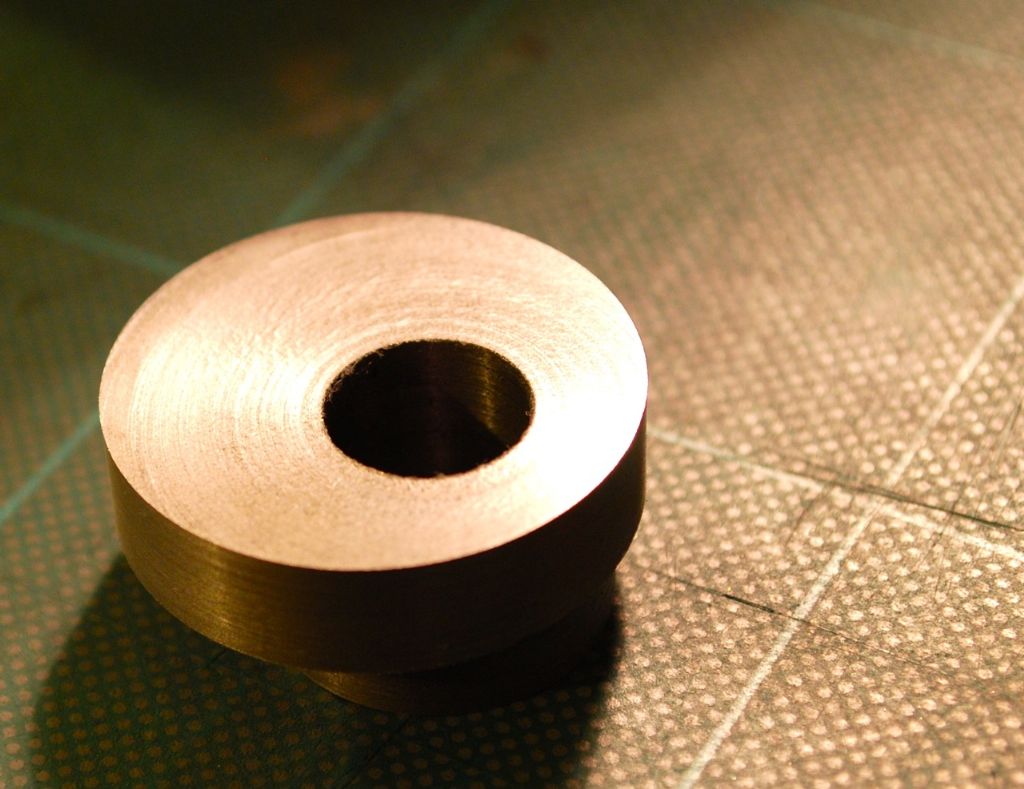
      For your part, take your tool with 1/8" radius end, touch it on the end of the work and zero the cross slide. Retract tool towards you and then feed the cross slide in 0.094. now with the lathe running slowly feed in with the cross slide until you have a 9/32" end. If you are not sure shout and I'll take a couple of photos.

      This is a radius tool being used to form a convex surface like you need but overkill for such a small part as yours


      Edited By JasonB on 01/11/2015 17:18:34

      Advert
      #210198
      GarryC
      Participant
        @garryc

        I've just added a set of radius gauges to my list for next time I'm ordering..!

        RDG seem to do them and very cheap.. smile

        edit: thanks, it took me a while to see where the 0.094" comes from but I see now, thats a really useful thing to understand…smile I'll know next time..!

        Edited By Garry_C on 01/11/2015 17:32:26

        Edited By Garry_C on 01/11/2015 17:40:02

        #210242
        julian atkins
        Participant
          @julianatkins58923

          hi garry,

          those of us who make miniature locos have lots of carbide brazed tip tools with rounded ends for machining cast iron wheel castings. they would be ideal for what you described. only 40 minutes away if you want to borrow one.

          excellent progress!

          cheers,

          julian

          #210280
          GarryC
          Participant
            @garryc

            Thanks Julian that's very kind of you, I may well take you up on that in the future..!

            and if you are ever down this way and fancy calling in it would be great to see you, kettles' always on – I'll pm you our tel no later so you have it just in case.. smile

            (same goes for anyone else on here if you find yourself in Abergavenny) smile

            There is something I've been thinking about asking about wheel castings, silly question I expect – i'll add to my post later…

            Cheers

            Garry

            #210319
            GarryC
            Participant
              @garryc

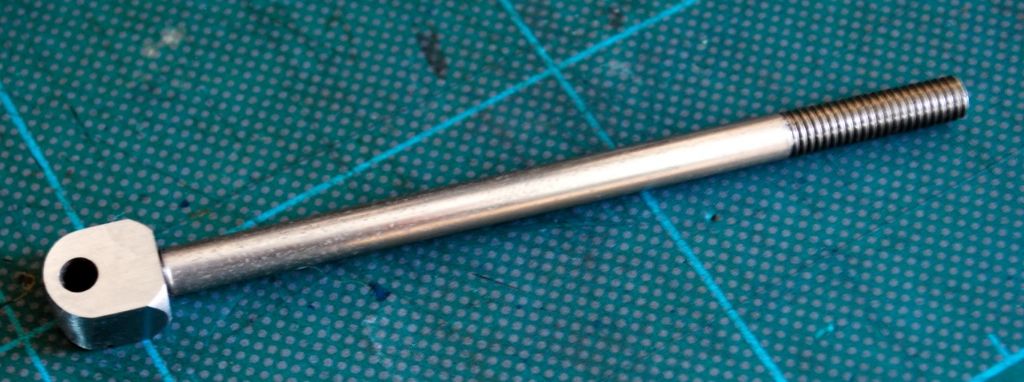
              I was lucky to salvage this as I had a bit of a disaster – I thought because it was such a small part it would be easier to not part off in the Lathe and Mill it out on the Rotary Table from the long bar as it is and being easier to get a good hold. That was a lesson leaned and I won't be trying that again, maybe it would have been ok with better equipment but not with mine and my current cutters, made a terrible mess and then the part moved while milling. So I did by hand and eye (no filing button). Hoping it will be ok though, maybe shorten the short thread a bit on the Valve Rod when it comes to a final assembly and I can see how it fits.. Its a bit thinner than it should be around the radius.

              I was going to carry on with the eccentrics now but I've been thinking about trying to improve the inside rim on the Flywheel first – I did the wheel before learning of the 'pencil' method of setting up from Jason and it wasn't set right in the Lathe chuck. Setting up castings have been almost 'easy' with the ones I've had ever since using his method. As I think of this as another 'learning' engine I was going to leave it as it is, expecting there would be lots of mistakes, but the engine is going better than expected so far and it really is the only thing that's not quite right. I wanted to ask if its possible to improve the inside rim on the rotary table on the Mil maybe, or is it too late now, I don't think I would fork out for another casting as its not that bad, I'll just leave it if its a no no..? The outside rim is perfect – to my eye anyway, I just didn't know how to set it right from the beginning back then.. I was just lucky when I did Victoria's.

              The finished Valve Rod and Head. (the camera is making it look worse than it is, all looks shiny to the eye…)

              456 the valve rod head 11.jpg

              If anyone can advise if its worth trying to sort out (flywheel) I would be grateful – I'm not worried though if it stays as it is.. Next engine i'm determined to stay with each part until its right smile

              Cheers

              Garry

              Edited By Garry_C on 02/11/2015 12:50:46

              #210326
              Jeff Dayman
              Participant
                @jeffdayman43397

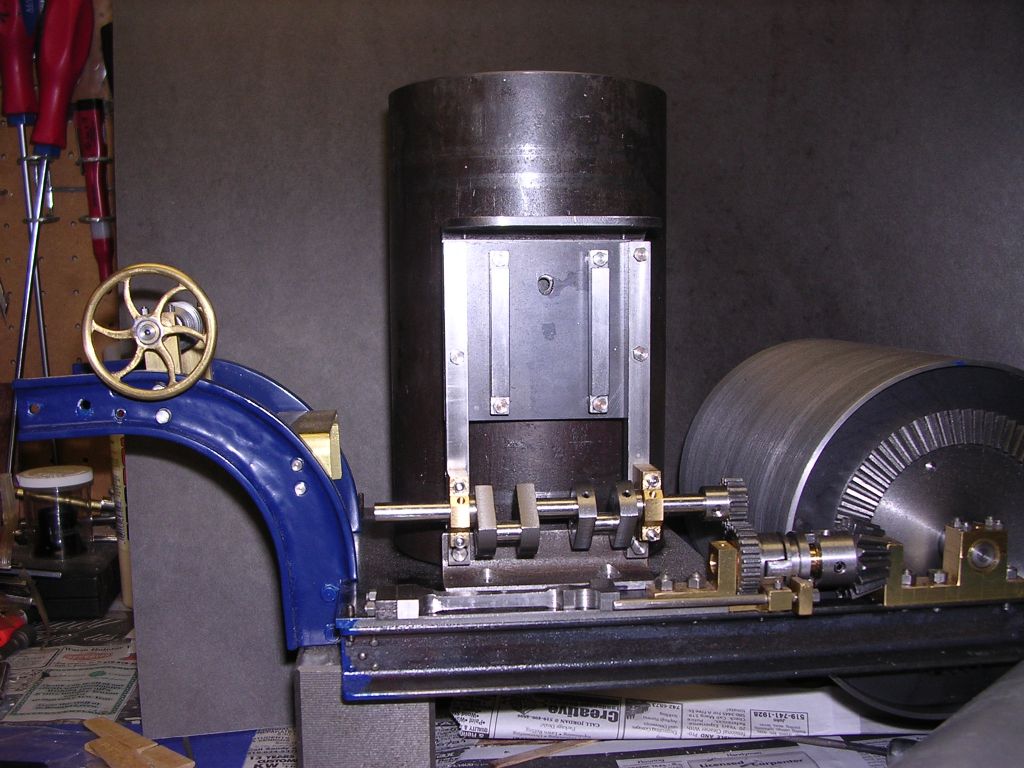
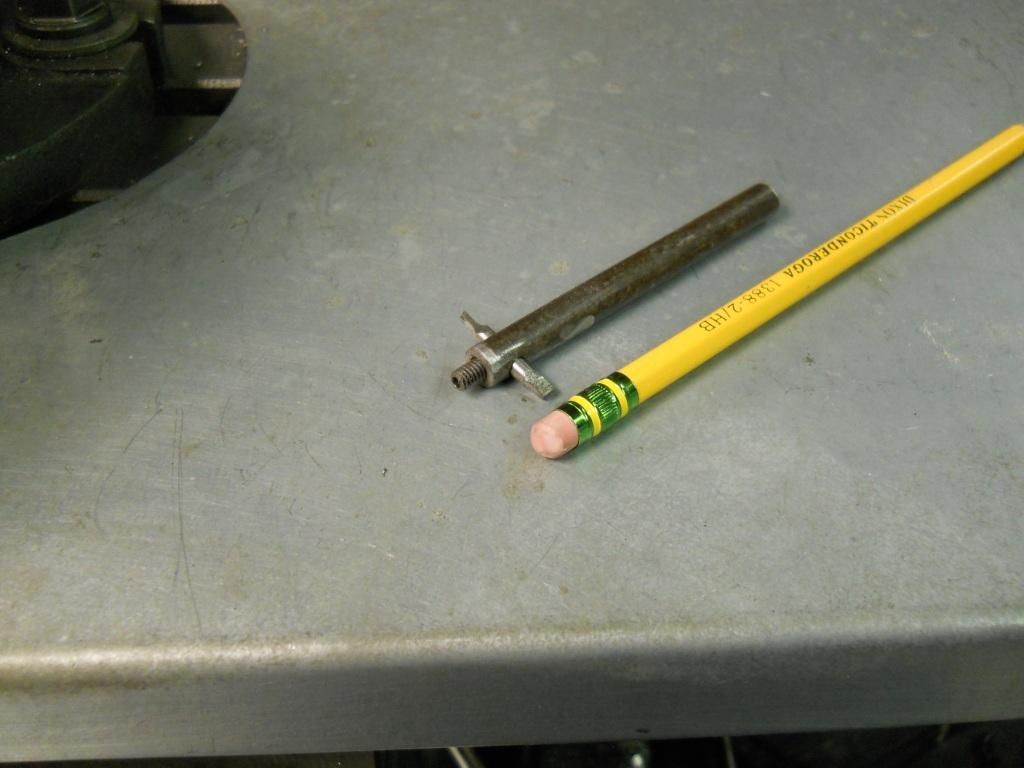
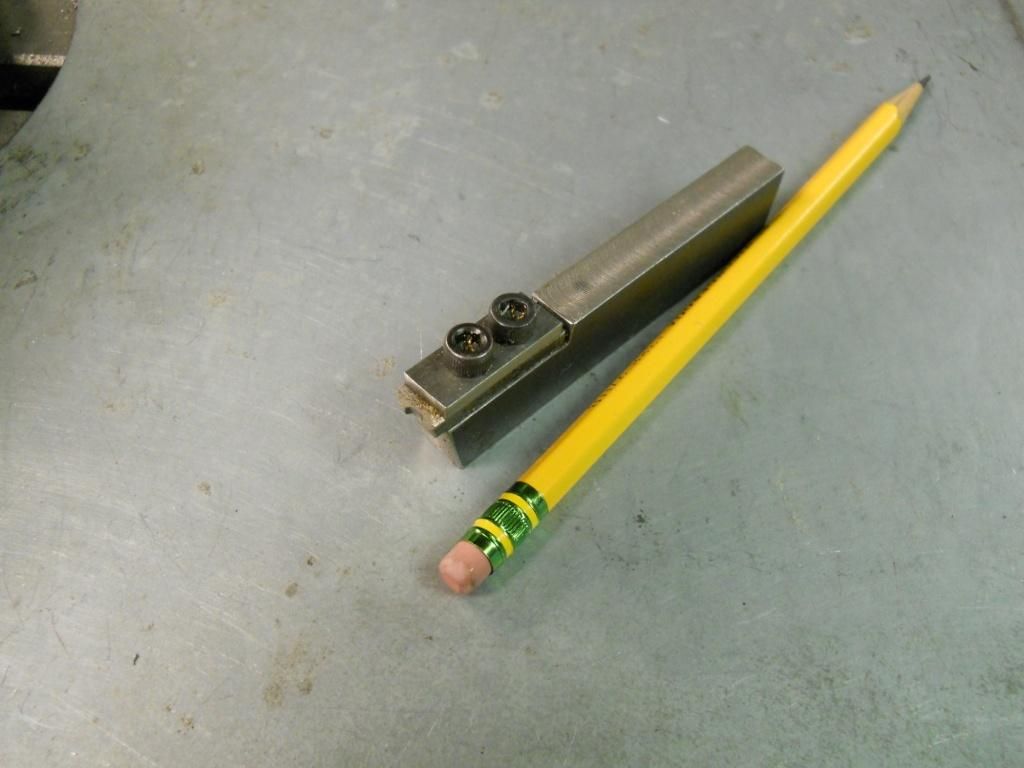
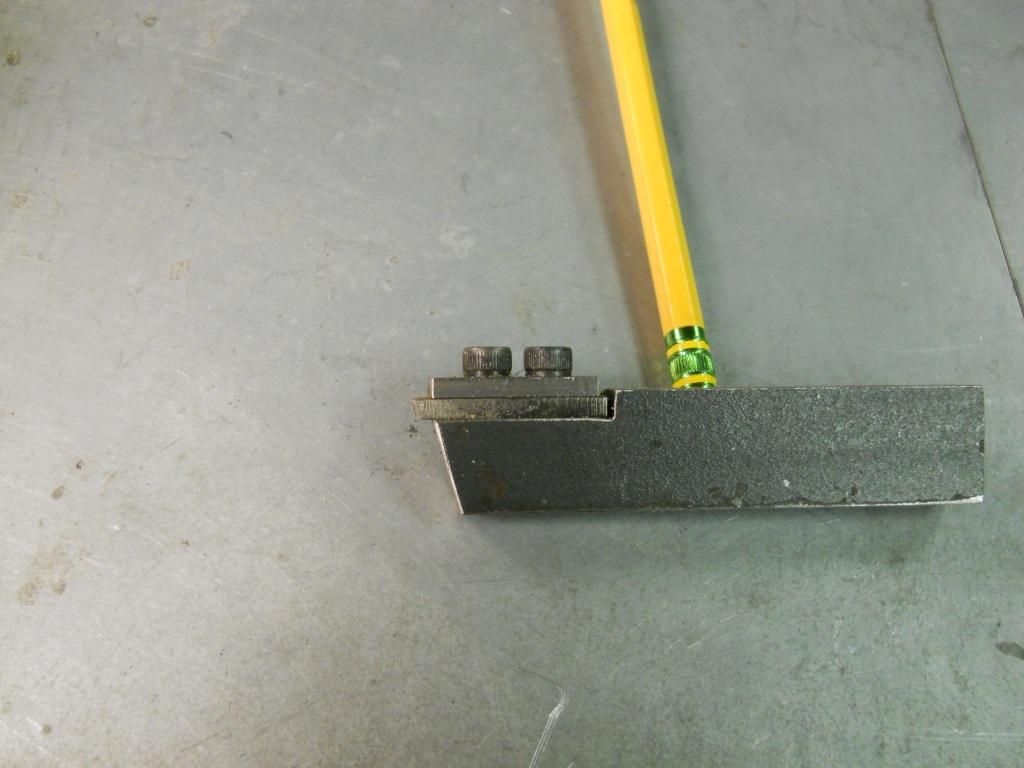
                Hi Garry, I've put up a couple of photos of my form tool below. Also a photo of the side of my roller partially assembled a few years ago with handwheel rim at upper left that the shown form tool was made for. While I was it it I made some photos of a crude groove and shoulder tool made from a scrap of mild steel and a broken tap. It has proven handy for many jobs, much more useful than just the original purpose of making an internal retaining ring groove! In the form tool pics, the middle plate is the gauge plate hardened bit. The top plate is mild steel and damps cutting vibrations and evenly spreads the clamping load from the capscrews. Hope the photos are useful. Cheers JDhandwheel-made-w-form-tool.jpggroove-and-shoulder-tool-2.jpggroove-and-shoulder-tool-1.jpgform-tool-2.jpgform-tool-1.jpg

                Edited By Jeff Dayman on 02/11/2015 13:58:57

                #210337
                GarryC
                Participant
                  @garryc

                  Hi Jeff, that roller photo is impressive.! I wouldn't know where to start with that..

                  The form tools and holders are very useful to see thanks – and you've set me thinking that I can make one like that in the first two photo's to do the internal groove in the eccentric strap idea smile

                  Cheers

                  Garry

                  Edited By Garry_C on 02/11/2015 14:55:05

                  #210449
                  GarryC
                  Participant
                    @garryc

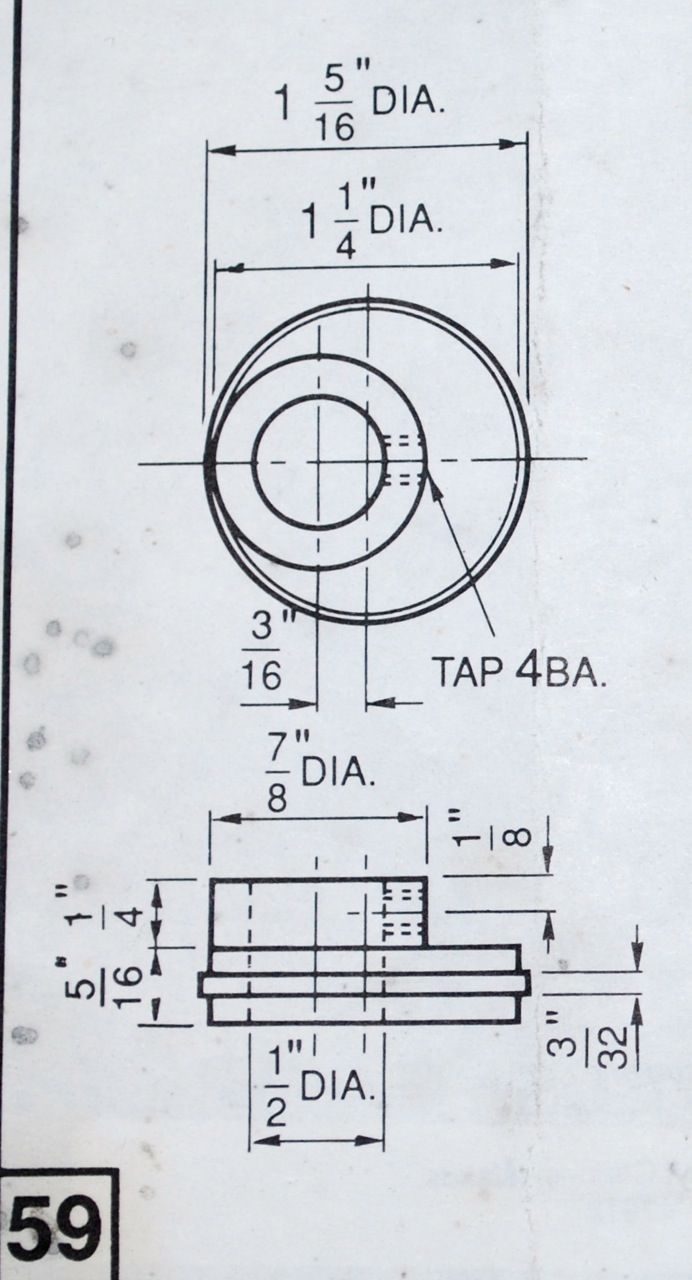
                    Next is the Eccentric Sheave (Cast Iron).

                    The Eccentric Drawing..

                    459. the eccentric drawing..jpg

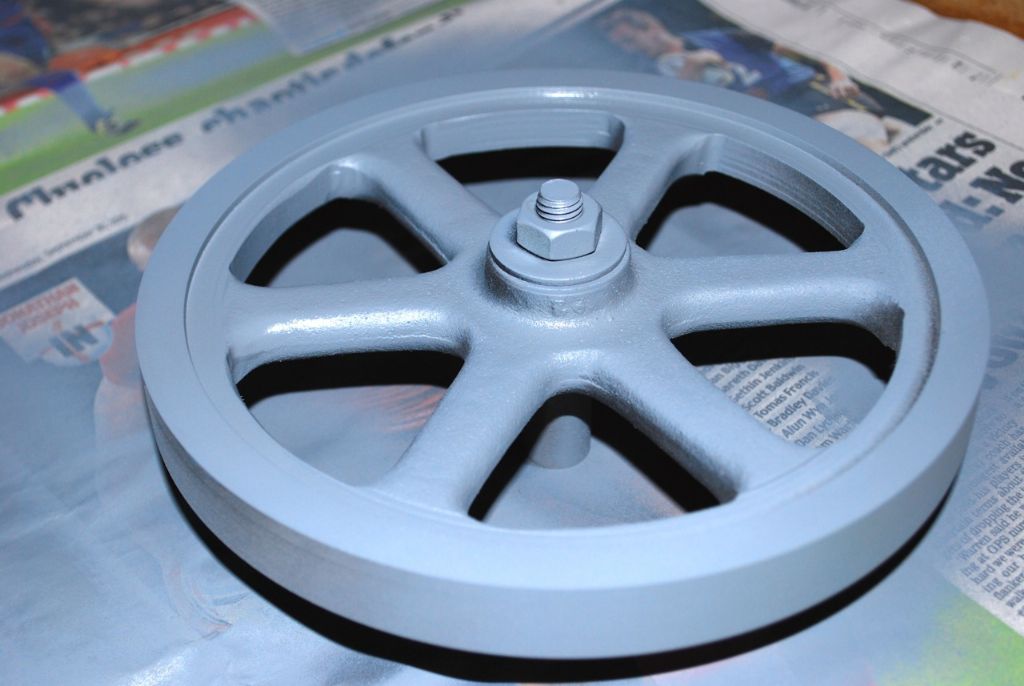
                    I did try to sort out my Flywheel, not very successfully really but I'll leave it as it is now I think – shame I was just lacking that bit of basic know how when I did it…

                    I thought a quick coat of paint (primer) would hide some of my sins – you can see I've been all around the rim on the Mill.. I've not touched the bits I skimmed between centres on the Crankshaft as they seem fine..

                    457. flywheel repair 2..jpg

                    I have a video of it spinning on the Lathe but its none too pretty, if anyone wants to see it I don't mind posting it here..

                    457. flywheel repair 1..jpg

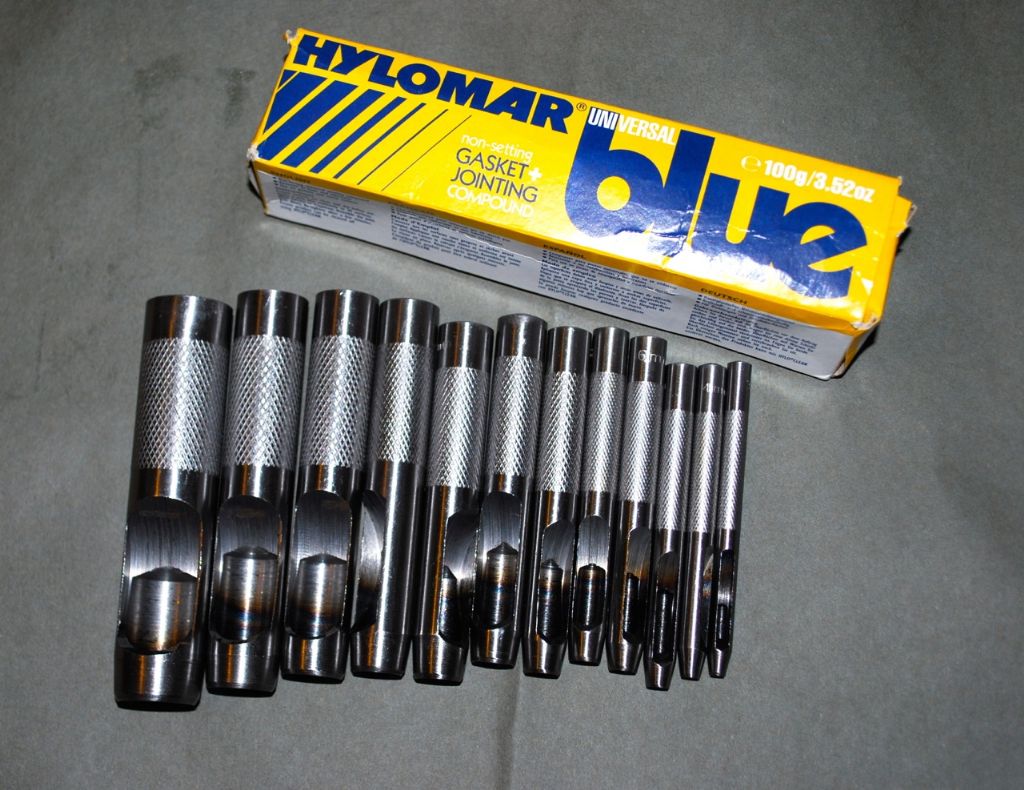
                    Getting a bit ahead of myself here, but these were cheap (£6 I think) – hole punches ready for some gasket making in due course..

                    458. hole punches.jpg

                    Main thing for me is that I feel I'm definitely learning and going forward…smile

                    Cheers

                    Garry

                    Edited By Garry_C on 03/11/2015 13:19:33

                    #210484
                    GarryC
                    Participant
                      @garryc

                      I'll put this up as well just to keep it complete – I can remember setting the casting up on the central boss, didn't know any better at the time but I won't be making that mistake again…smile

                      The 'little shoulder' on the side is only partially painted which makes it look a bit worse than it is..

                      Cheers

                      Garry

                      Edited By Garry_C on 03/11/2015 18:03:48

                      Edited By Garry_C on 03/11/2015 18:04:31

                      #210497
                      JasonB
                      Moderator
                        @jasonb

                        I'm sure it won't look half as bad once you have the engine ticking over at 60rpm or lesssmiley

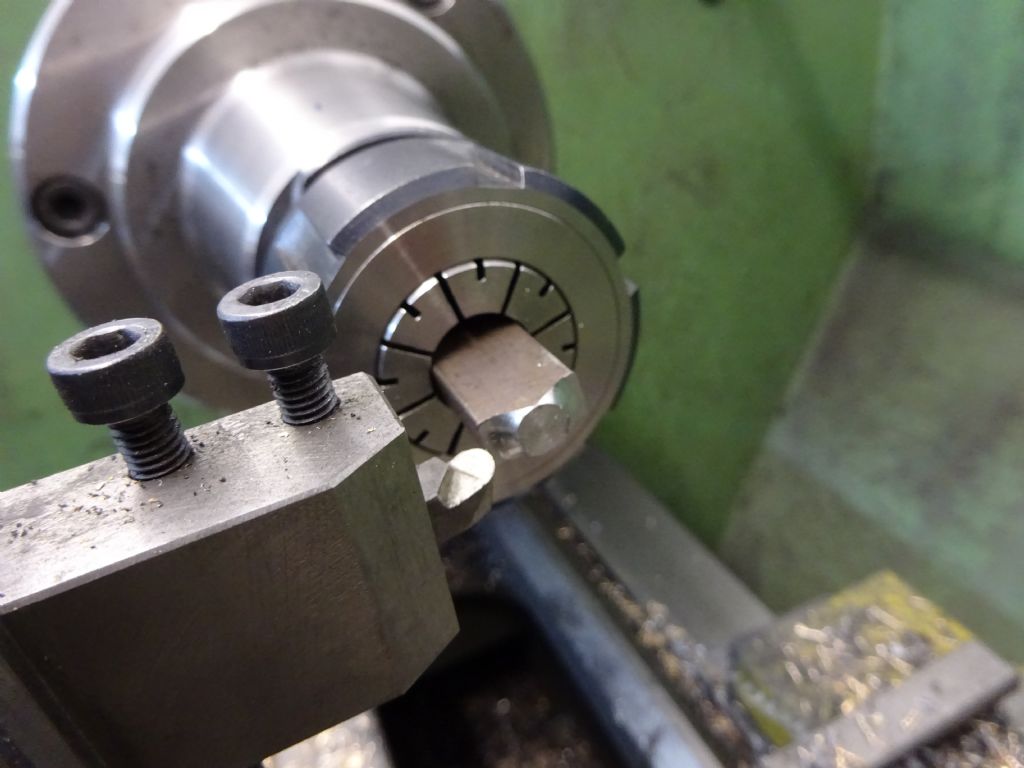
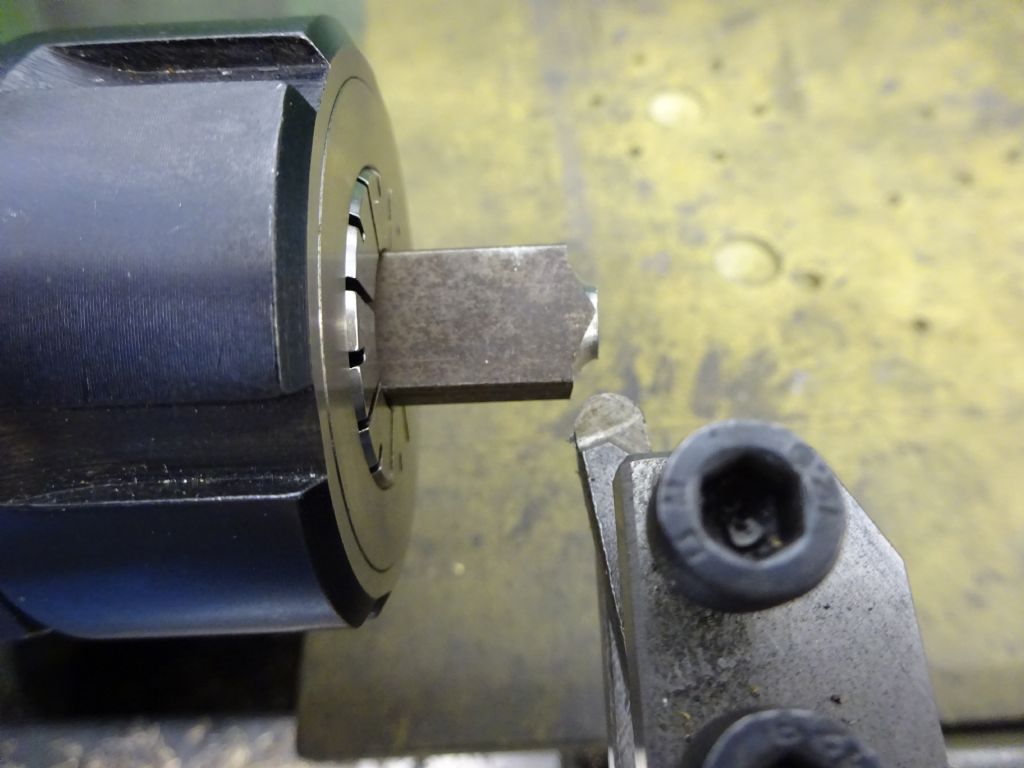
                        I did a quick cut to show you how that rod end should look according to the drawing, I used a bit of 1/2 x 1/4 so not quite the right shape but should give you the general idea

                        dsc00401.jpg

                        dsc00402.jpg

                        #210511
                        Nick_G
                        Participant
                          @nick_g

                          .

                          I would not stress too much over the flywheel Garry.

                          You could always skim off a few thou if you wished and nobody but you would know. I have recently done a flywheel on the No.4 I am on with ATM and had to take off quite a bit more than I would have wished trying to get rid of a blow hole in the casting. sad

                          I also 're-skimmed' a few thou off my flywheel when I was building the JC engine. But this was down to me not being happy with the finish I had already made.

                          I mentioned it about 1/3rd down this page. **LINK** I did however support the arbor end with a center in the tailstock.

                          On a separate note. Very impressive build so far.! smiley

                          Nick

                          #210513
                          GarryC
                          Participant
                            @garryc

                            Thanks Jason, that's good to see and to get an understanding the other day of how to position the tool – I was getting an opposite really of what I should have been aiming at – I'll know what to do next time.. smile

                            and that's a good point, I'll have to aim at some very slow running..! Like the Collet holder that looks very handy, didn't know they could hold 'square' bar as well.

                            Cheers

                            Garry

                            #210519
                            GarryC
                            Participant
                              @garryc

                              Thanks Nick. After trying to correct the rim today I can definitely say I won't be forgetting in a hurry and making this same mistake again, it was surprisingly difficult to improve things even just a bit after not having the right initial setup…

                              and had a look at your link, wish I could get my tool post back that far for the flywheel – that was a very nice finish on the flywheel you had there! smile

                              Also had a look at the 'new' Stuart Engine you mentioned and the 'Lightweight' (if i have the name right) that Jason mentioned – both of them very nice, I fancy both…smile

                              Cheers

                              Garry

                              Edited By Garry_C on 03/11/2015 20:42:10

                              #210523
                              Bob Brown 1
                              Participant
                                @bobbrown1

                                Be careful with mandrels, the chances of getting it to run 100% true once removed and replaced in a chuck are not good.

                                Bob

                                #210524
                                Nick_G
                                Participant
                                  @nick_g
                                  Posted by Garry_C on 03/11/2015 20:38:39:

                                  wish I could get my tool post back that far for the flywheel –

                                  Can you not rotate the tool holder 90 degs anticlockwise and use a right handed tool.?

                                  Regards, Nick

                                  #210529
                                  JasonB
                                  Moderator
                                    @jasonb

                                    Or a left handed tool/boring bar upsidedown

                                    Garry thats a ER32 converter in the 5C chuck, I don't really like using it for square/rect but could not be bothered to change chucks. I do have some square 5Cs though.

                                    #210533
                                    GarryC
                                    Participant
                                      @garryc
                                      Posted by Nick_G on 03/11/2015 20:52:56:

                                      Posted by Garry_C on 03/11/2015 20:38:39:

                                      wish I could get my tool post back that far for the flywheel –

                                      Can you not rotate the tool holder 90 degs anticlockwise and use a right handed tool.?

                                      Regards, Nick

                                      Sometimes I feel very old blush didn't think to try that Nick smile I'll have a look see tomorrow so I'll know for next time, ta….wink 2

                                      Cheers

                                      Garry

                                      #210535
                                      GarryC
                                      Participant
                                        @garryc

                                        I thought you were joking for a minute Jason but no I've just looked and yes square collets. Collet chucks are more useful than I thought…smile

                                        and cheers Bob, that is something to remember. I think I've only used one a couple of times to date…

                                        #210908
                                        GarryC
                                        Participant
                                          @garryc

                                          Back going again today and a start on the eccentric sheave..

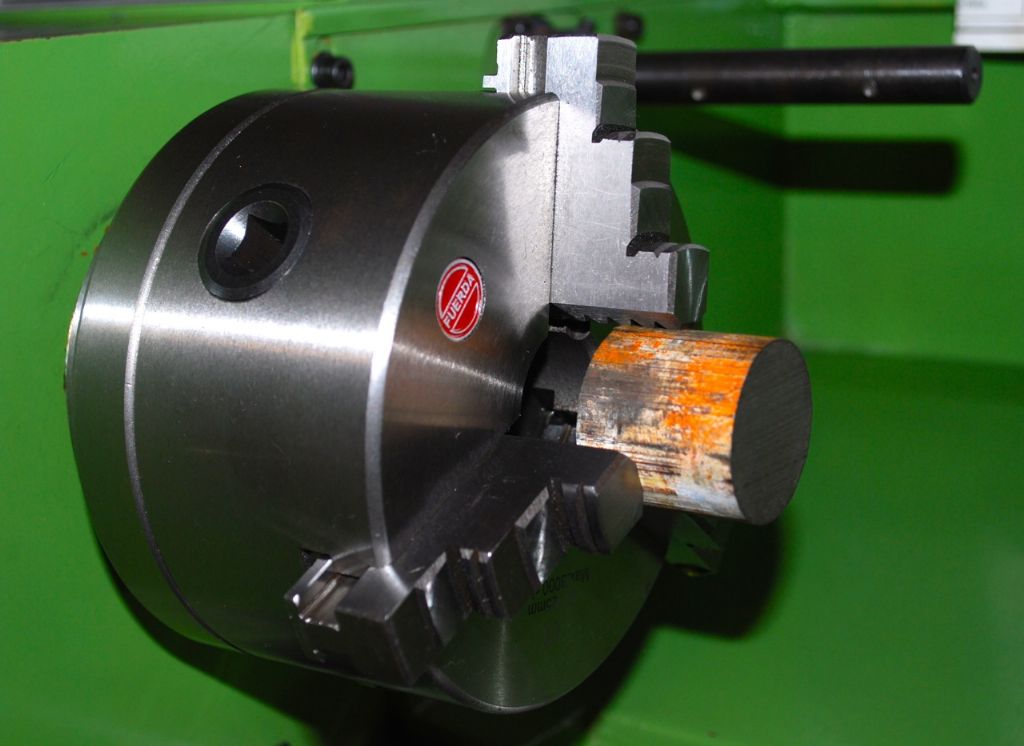
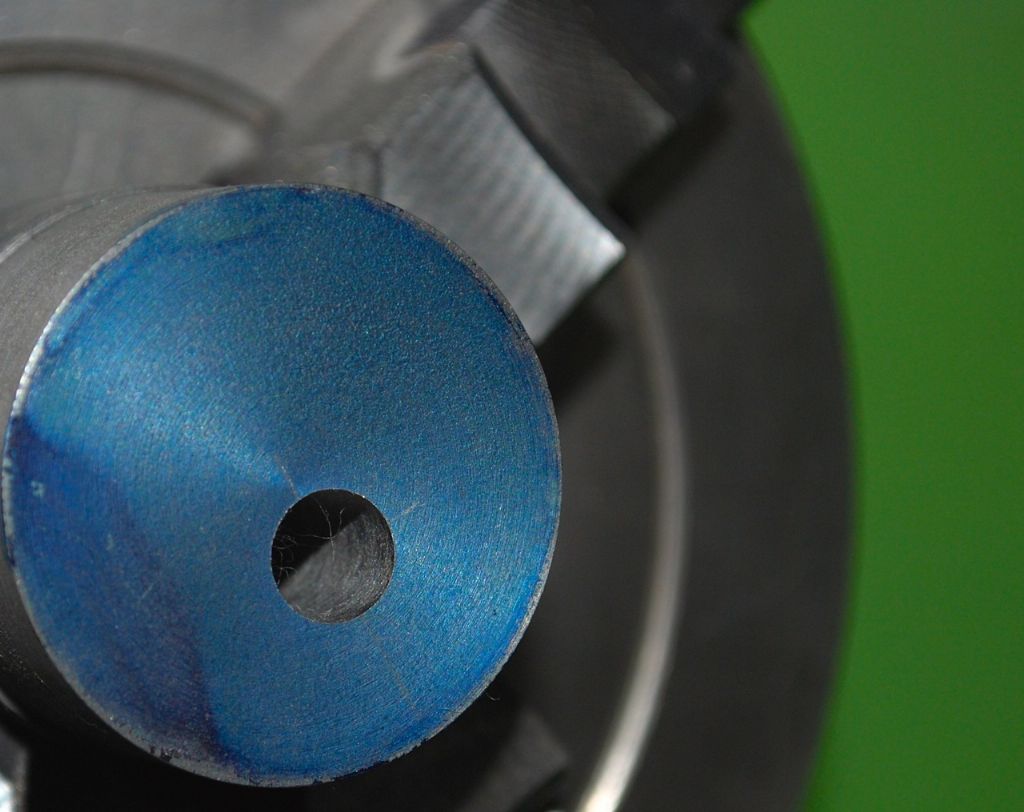
                                          The Cast Iron bar supplied for the eccentric sheave – the first one I've had longer than specified in the stock list – by 1/8"..

                                          460. the eccentric sheave 1.jpg

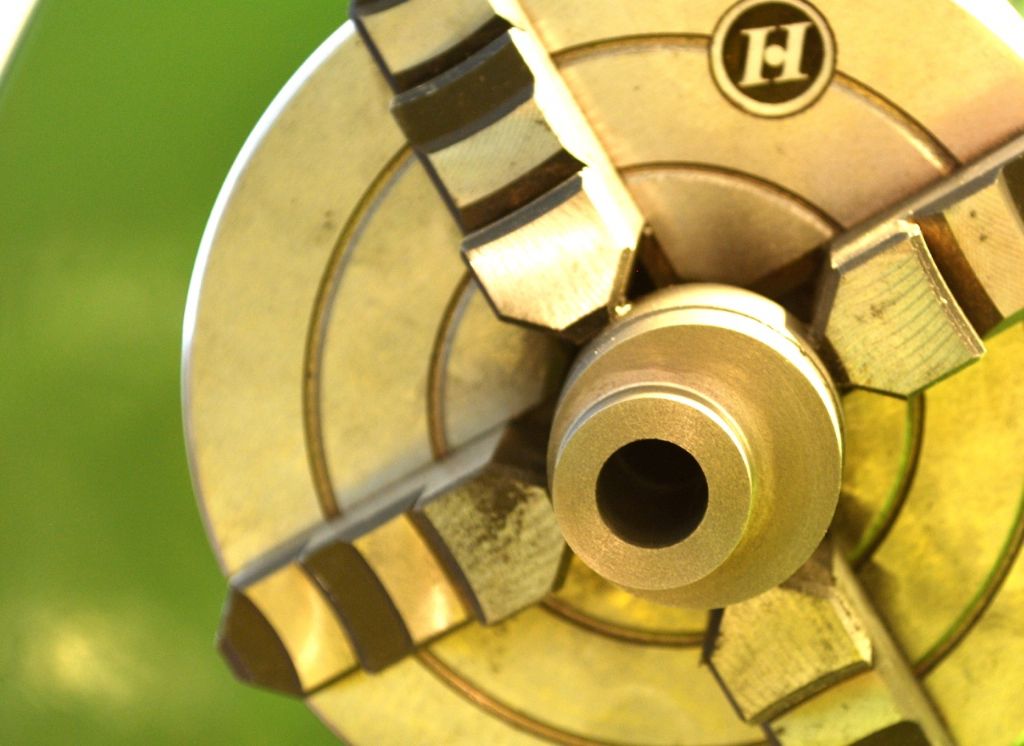
                                          First faced off and then the maximum OD turned to size in the 3 jaw chuck..

                                          460. the eccentric sheave 2.jpg

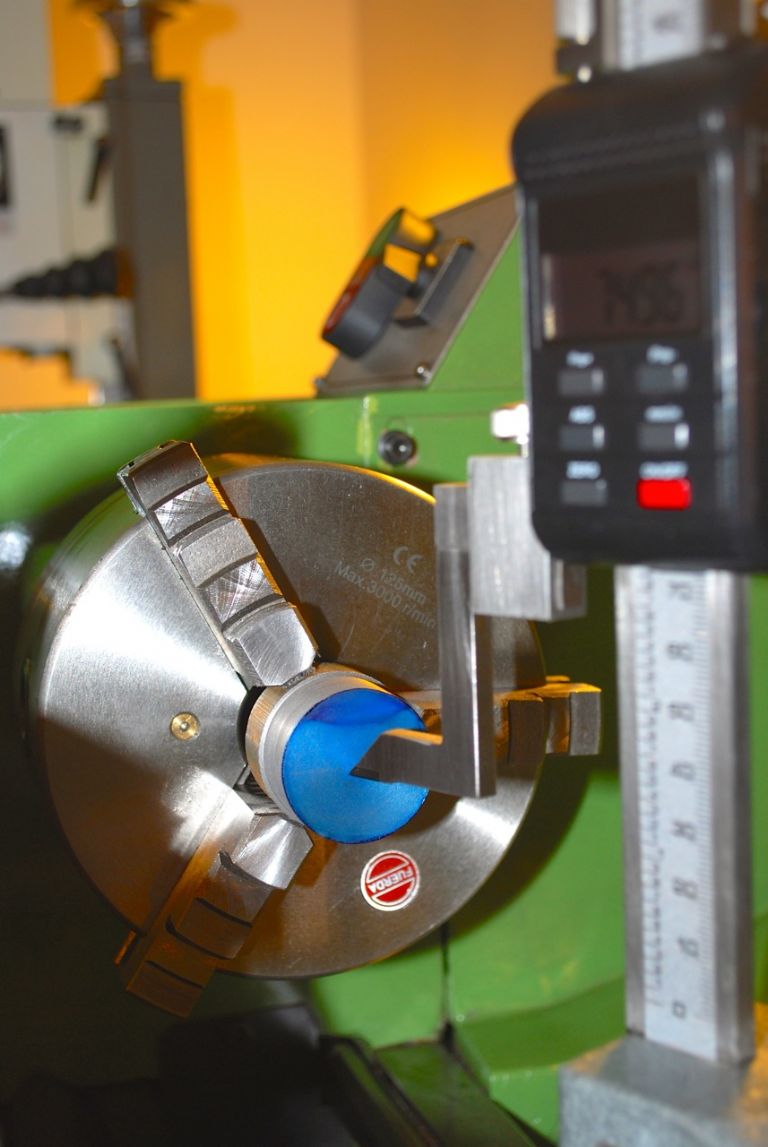
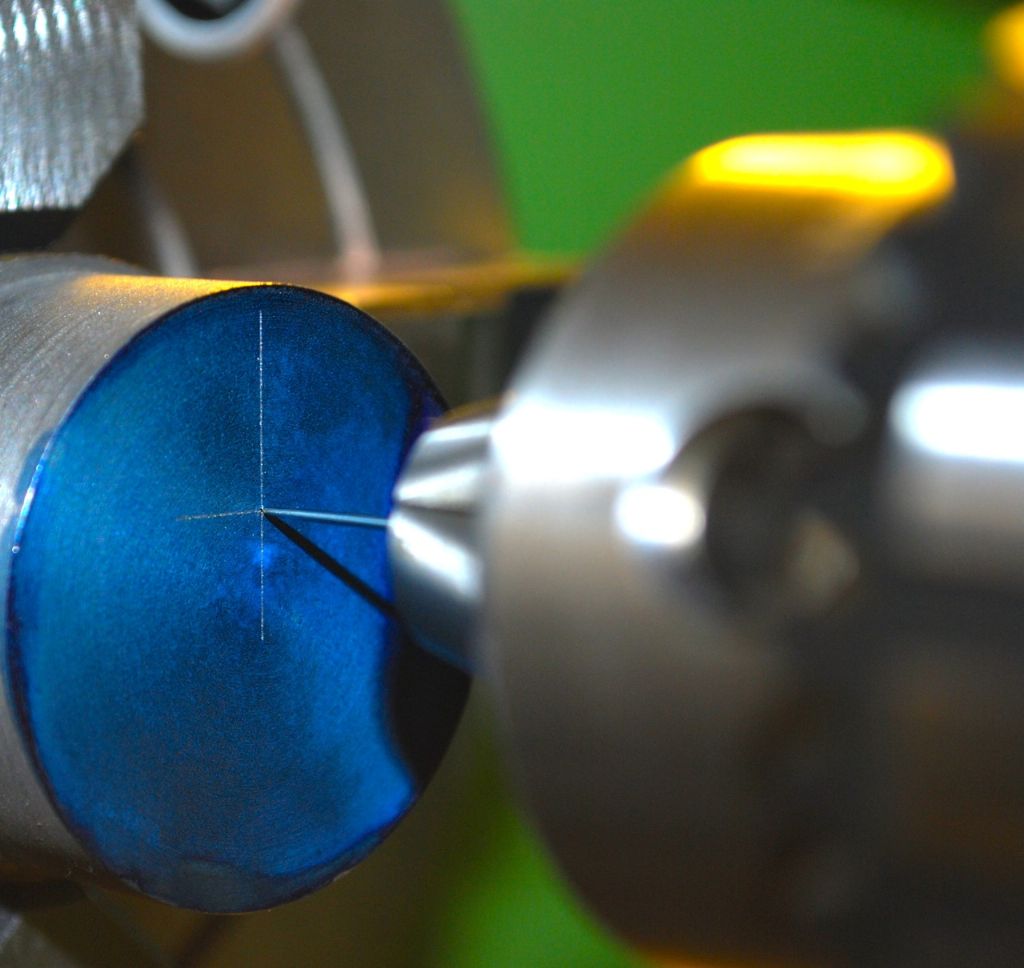
                                          then the lathe's centre height used to mark a diameter followed by rotating through 90 degrees and the offset marked for the central bore. Having finished the main bearings on the Crankshaft with a reamer its convenient to be able to use again for each time something else is fitted to it..

                                          460. the eccentric sheave 3.jpg

                                          I'd read somewhere about using a pin for centering for drilling so thought I would give it a try – it was ok but after managing to stab myself with it no less than 3 times I think I'll stick to the tailstock centre in future..

                                          460. the eccentric sheave 4.jpg

                                          this is as far as I got earlier – through with a 7mm drill..

                                          460. the eccentric sheave 5.jpg

                                          Once I've finished turning to size in this setup before turning around in the chuck I'll have a go at the eccentric strap so that I can use it as a gauge re. the internal groove etc…

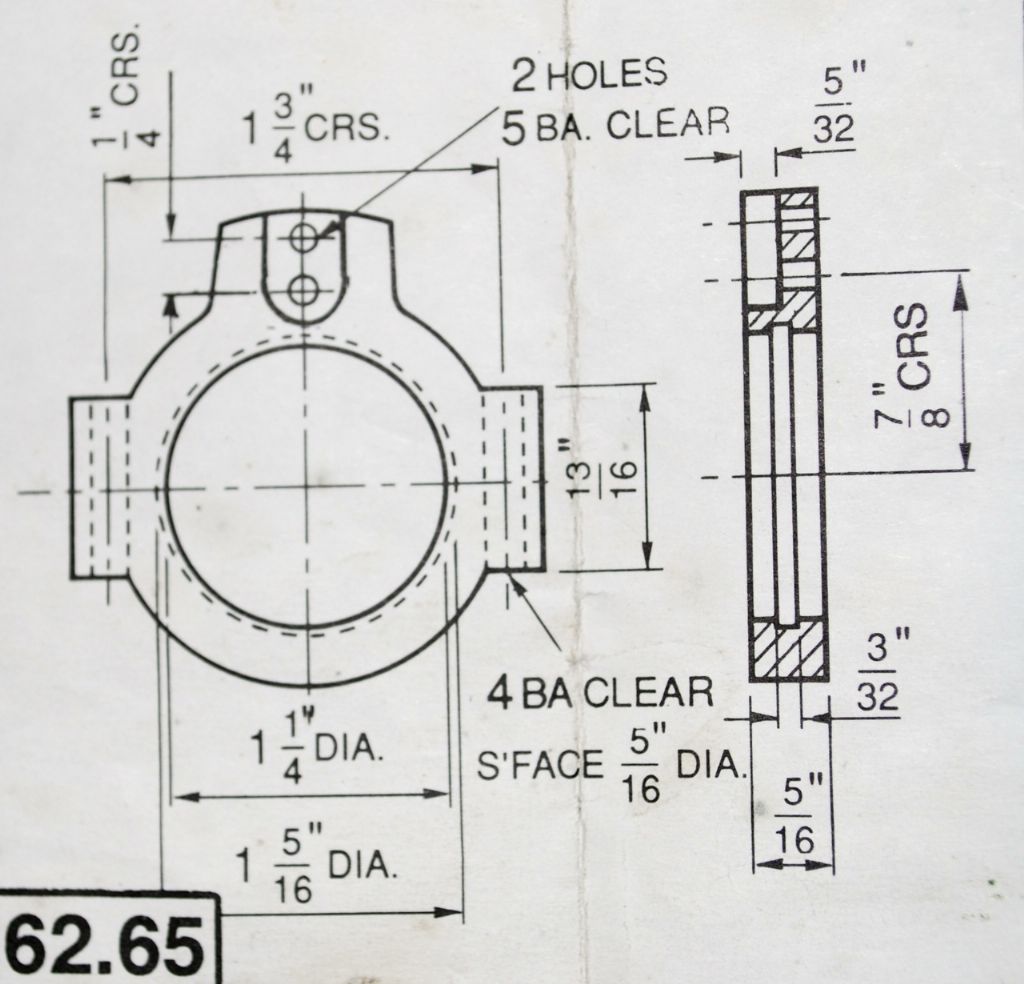
                                          The Eccentric Strap Drawing.

                                          460. the eccentric sheave 6.jpg

                                          Cheers

                                          Garry

                                          Edited By Garry_C on 06/11/2015 14:21:23

                                          #211013
                                          GarryC
                                          Participant
                                            @garryc

                                            A little more progress with the Eccentric Sheave earlier..

                                            The Eccentric Sheave after drilling, reaming and the boss faced to length.. Its ready for parting off now and then after the Eccentric Strap has been done it will get turned around and held by the 1/4" boss to finish it off – hopefully with the Strap available as a gauge..

                                            460. the eccentric sheave 9.jpg

                                            and a short video of it so far..

                                            Cheers

                                            Garry

                                            Edited By Garry_C on 07/11/2015 13:04:19

                                            #211019
                                            Bruce Voelkerding
                                            Participant
                                              @brucevoelkerding91659

                                              Garry,

                                              a process step I would have done first would have been to turn & face the end of the stock which is held in the chuck jaws. This gives one a better surface to grip on (no worries about stock taper or ovality). Plus the finished back surface is there in case you need it for a measurement or setting/clamping in a mill vice before the part is parted off. But, great progress ! It's great to see your posts.

                                              Bruce

                                              #211034
                                              GarryC
                                              Participant
                                                @garryc

                                                Thanks very much Bruce, your comments do ring very true – its something I'm sure I would normally have done from the start but for some reason didn't this time – had to rely totally on a square without the parallel back end to the bar as well – which took longer setting up by far, and was more awkward to get done.

                                                May be its an age thing, I seem to be getting more forgetful, and careless I think – three times that pin went in smile

                                                Cheers

                                                Garry

                                                Edited By Garry_C on 07/11/2015 15:15:46

                                                #211130
                                                GarryC
                                                Participant
                                                  @garryc

                                                  This is more me marking a bit of a milestone than a build update really – I don't recommend that anyone watches the video as it goes on a bit and then some more – (I've probably got the settings wrong as well and was just an experiment until I get some more practice). Its the first time I've tried parting off under power and I thought that the eccentric sheave with its offset diameter and the offset bore would be as good a test as I'm likely to find (the bar is about 1 3/4" cast iron). (I don't have a pump coolant system).

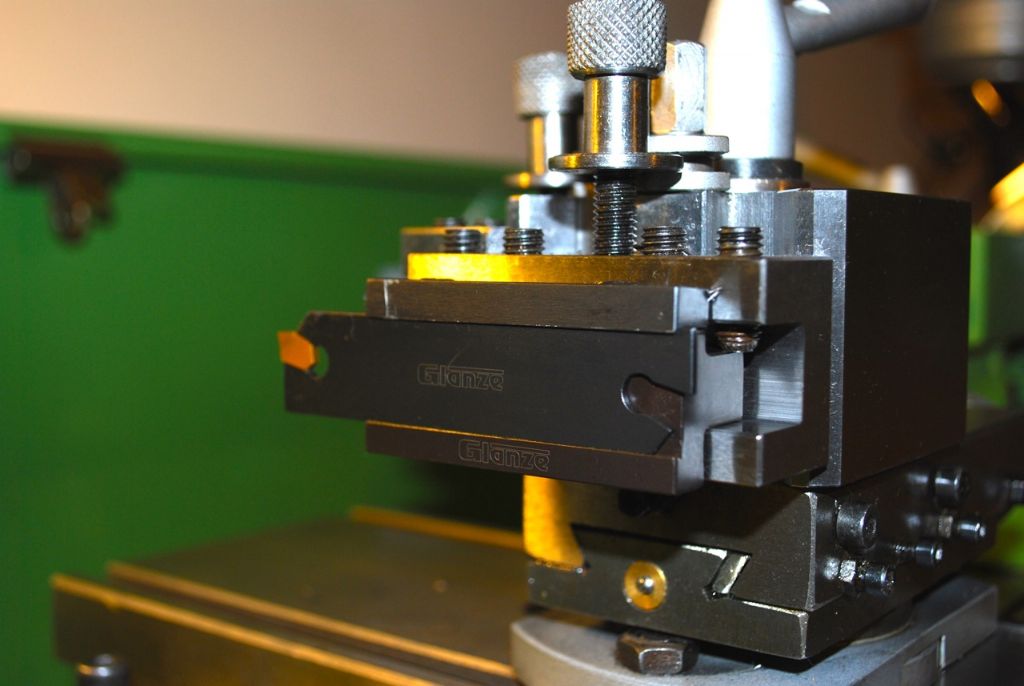
                                                  I wouldn't have even thought to try this with one of my 'standard' parting tools, but the Glanze I've always found to be superb when hand feeding and have been wanting to try under power for ages, also wasn't sure if the lathe was too small to even try it given some of the horror 'parting off stories' I've seen..

                                                  461. power parting off the eccentric sheave 2..jpg

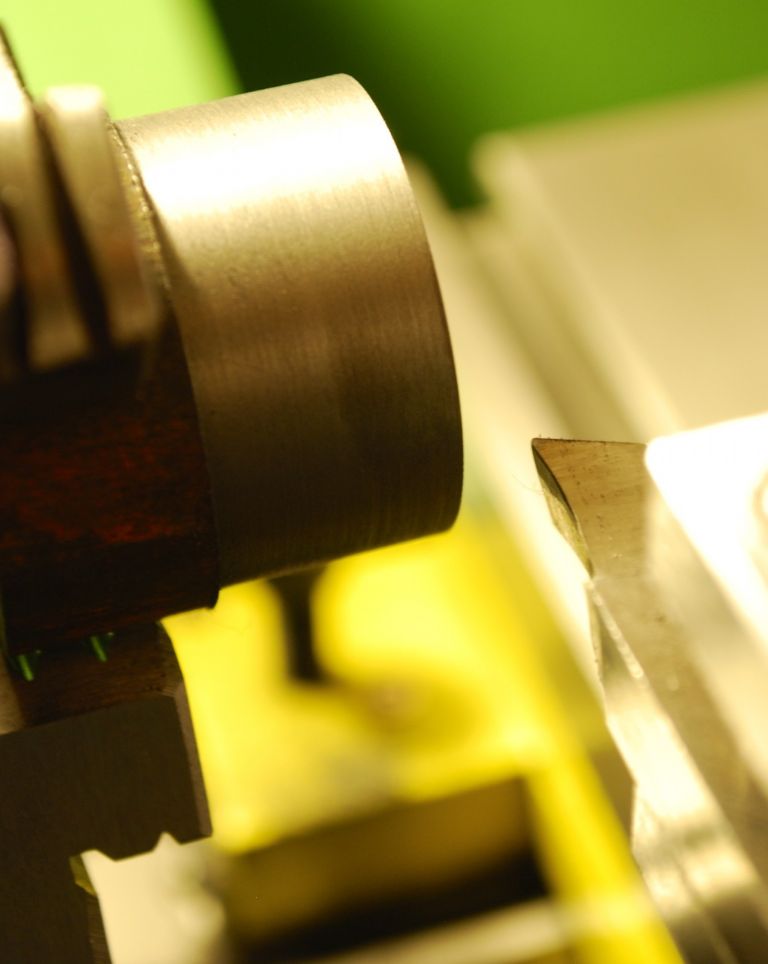
                                                  Setting the tool position before starting..

                                                  461. power parting off the eccentric sheave 1..jpg

                                                  This is just something to maybe look back on as another first (for me) – don't watch its way too long..!

                                                  The cut I thought was great, I always seem to get a burr at the end sometimes quite big when I've been hand feeding but not here under power – there was a slight wafer thin coil left around the hole and which came away in one piece with my fingers. I may be converted to this way now.. I used the slowest feed rate on the lathe, I'm sure on a true running diameter I could have gone faster – not that matters anyways…

                                                  This was straight after the cut had finished, just the thin 'coil' removed around the bore and cleaned with a rag – no other cleaning up at all yet…. I did nothing except position the tool and engage the cross feed – and a bit of sweating I guess. I have an idea now that with the offsets involved this was a much better and easier way than hand feeding would have been..smile

                                                  461. power parting off the eccentric sheave 3..jpg

                                                  Cheers

                                                  Garry

                                                  #211132
                                                  Gas_mantle.
                                                  Participant
                                                    @gas_mantle

                                                    Good to see things coming along nicely Garry smiley

                                                    I must admit when I read your first paragraph that it was the first time you have 'parted off under power' I honestly thought you meant that until now you have managed by rotating the chuck by hand !!

                                                    #211135
                                                    JasonB
                                                    Moderator
                                                      @jasonb

                                                      As you get the hang of it you will find that the speed can be increased quite a bit and also the feed rate, next time play about with the speed knob and the sound of things will soon let you know if teh machine does not like it.

                                                      J

                                                    Viewing 25 posts - 526 through 550 (of 602 total)
                                                    • Please log in to reply to this topic. Registering is free and easy using the links on the menu at the top of this page.

                                                    Advert

                                                    Latest Replies

                                                    Viewing 25 topics - 1 through 25 (of 25 total)
                                                    Viewing 25 topics - 1 through 25 (of 25 total)

                                                    View full reply list.

                                                    Advert

                                                    Newsletter Sign-up