My little engine (continued)

Advert

My little engine (continued)

Home Forums Work In Progress and completed items My little engine (continued)

Viewing 25 posts - 501 through 525 (of 602 total)
  • Author
    Posts
  • #208610
    GarryC
    Participant
      @garryc

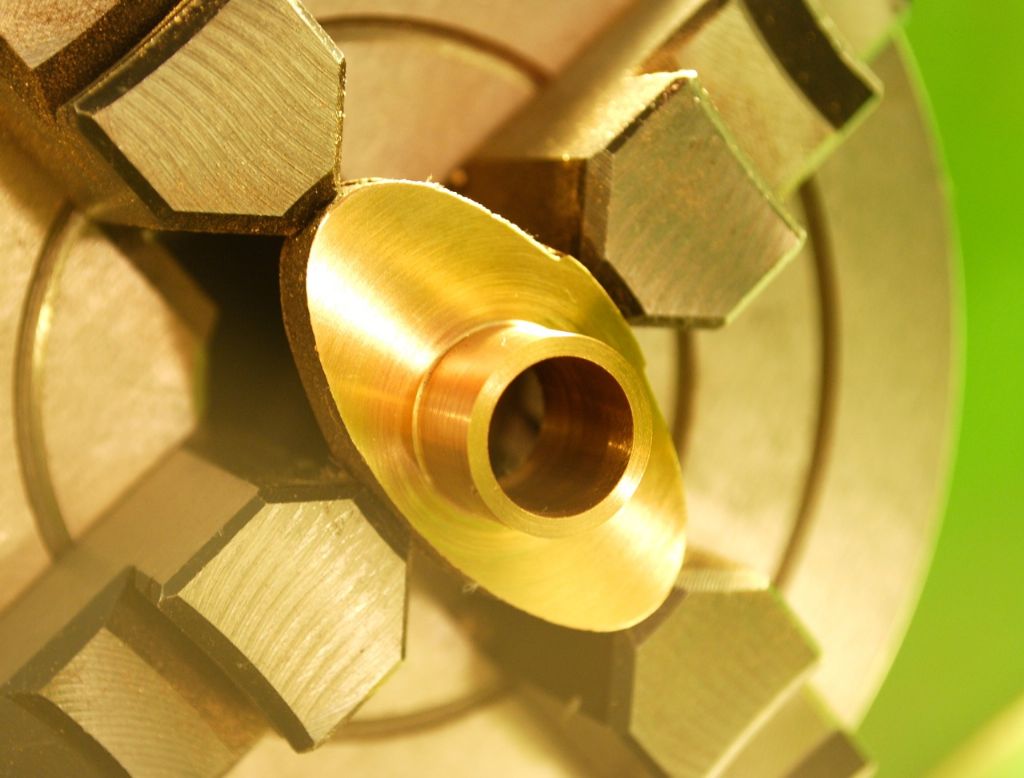
      Didn't get much time this morning, couple of quick photo's of what I did get done, along with setting up the Steam Exhaust Flange in the lathe ready to start working on it tomorrow…

      I think its lucky for me that I left this one until last as it look likes it may the most difficult to get right. The cast hole is way off centre in the tiny raised boss on the Cylinder and I would be struggling to even attempt this and the flange with a file – as it is I'll no doubt find it difficult on the Mill as the boss almost becomes flush with the circular bore of the casting on one side..

      452. the steam exhaust 4..jpg

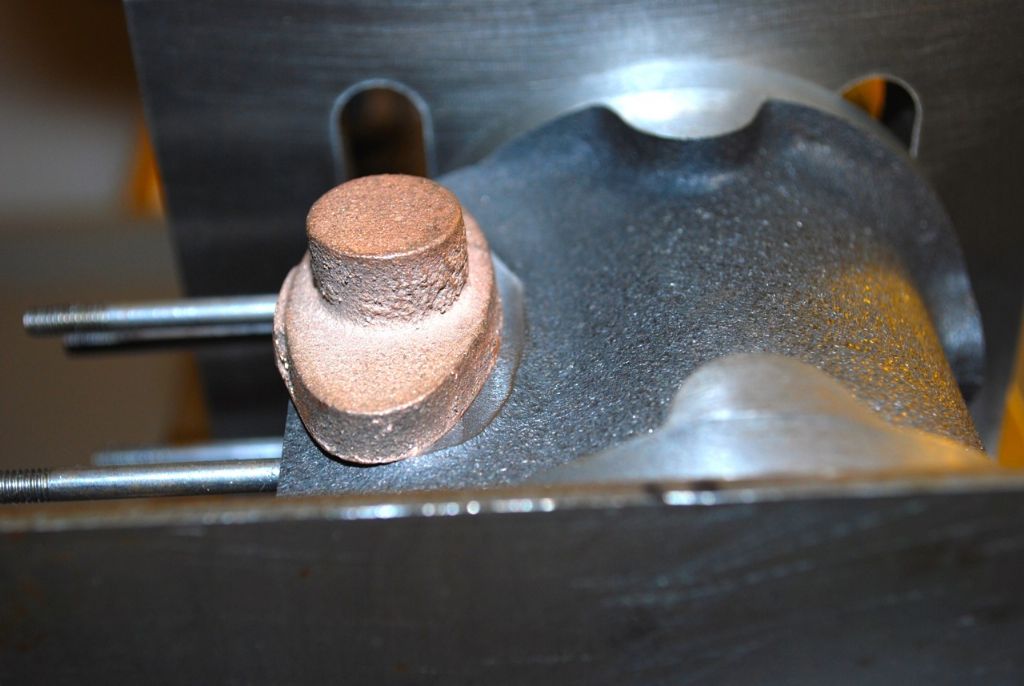
      The flange will likely sit in this approx position to line up with the exhaust hole in the casting.. The Boss on the flange as cast is slightly undersize and there is likely to be very little material left once it is drilled for tapping. Also I don't know if it can be seen very well in the photo but the boss doesn't seem to be quite straight coming off the flange base and with so little diameter material to skim….just have to see how it goes I guess.

      452. the steam exhaust 5..jpg

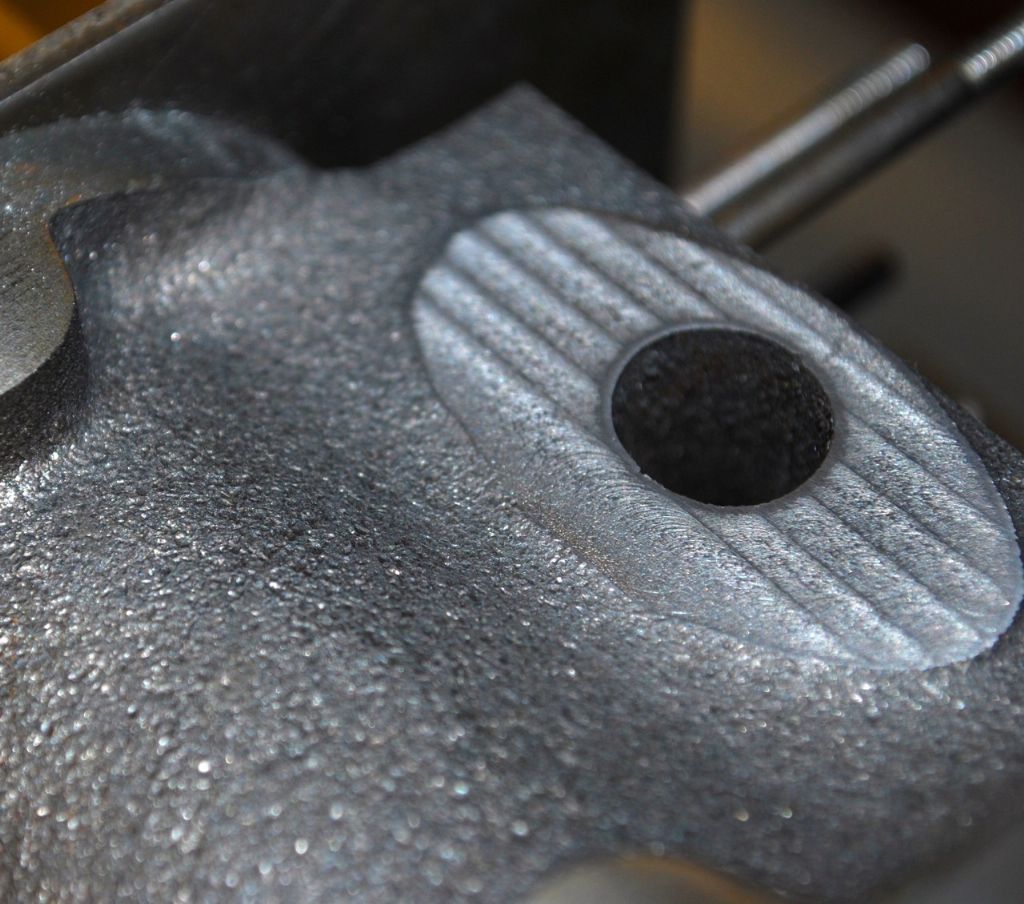
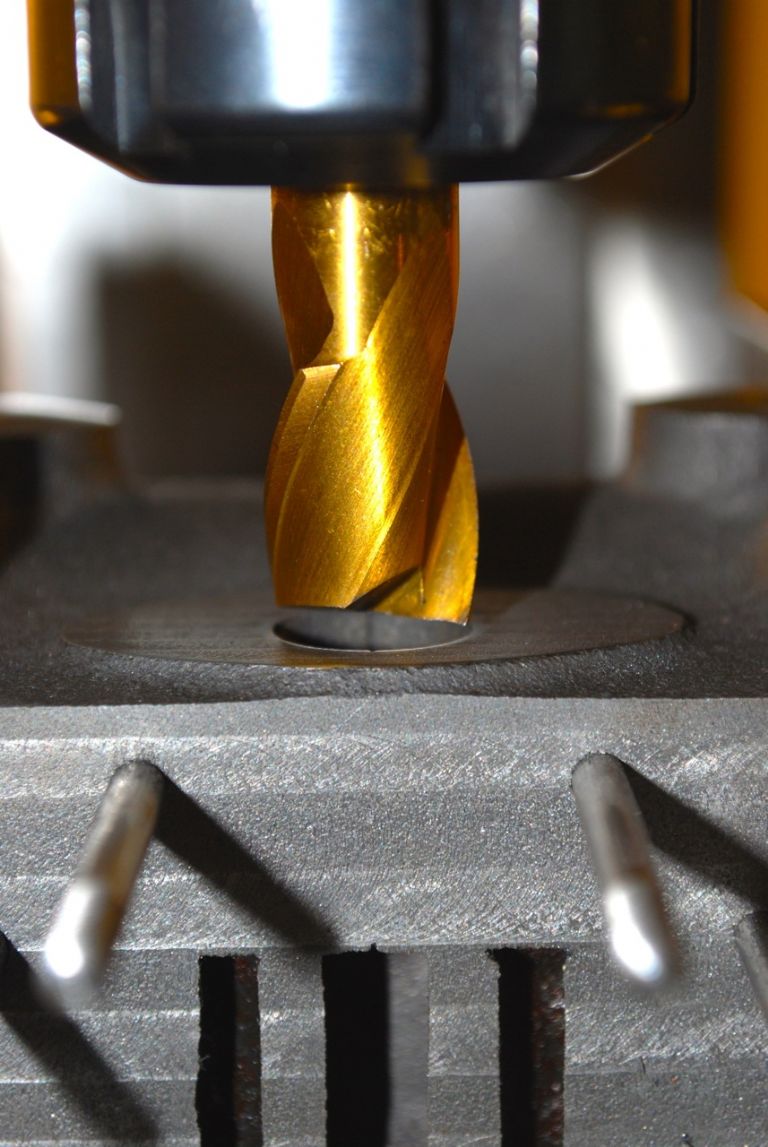
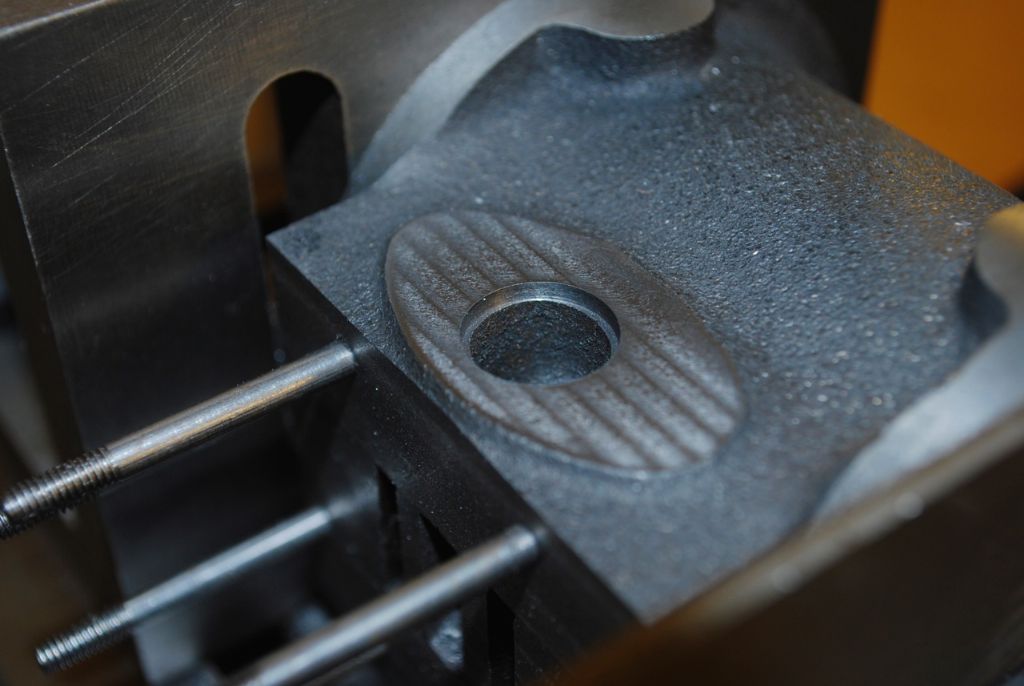
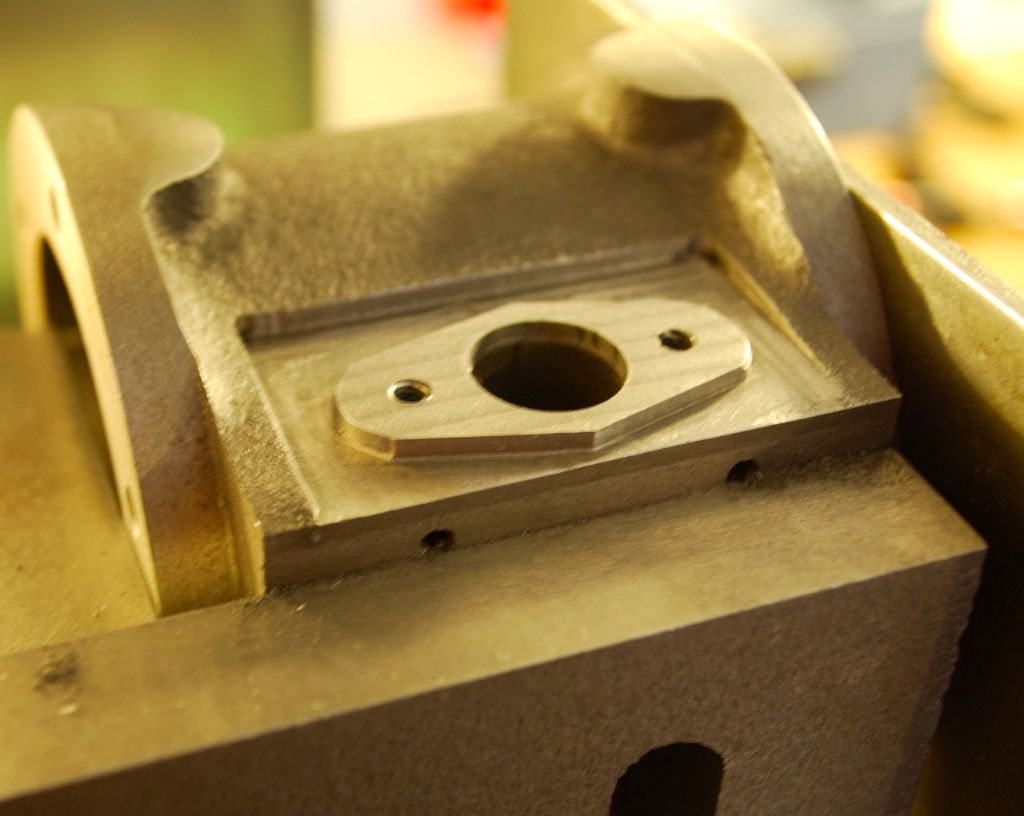
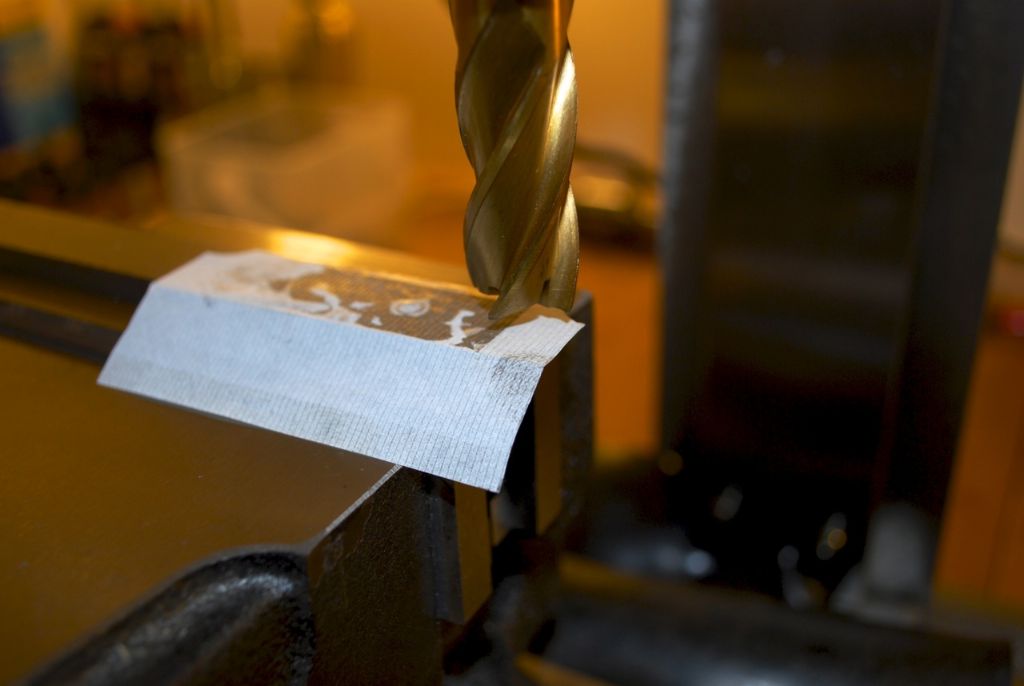
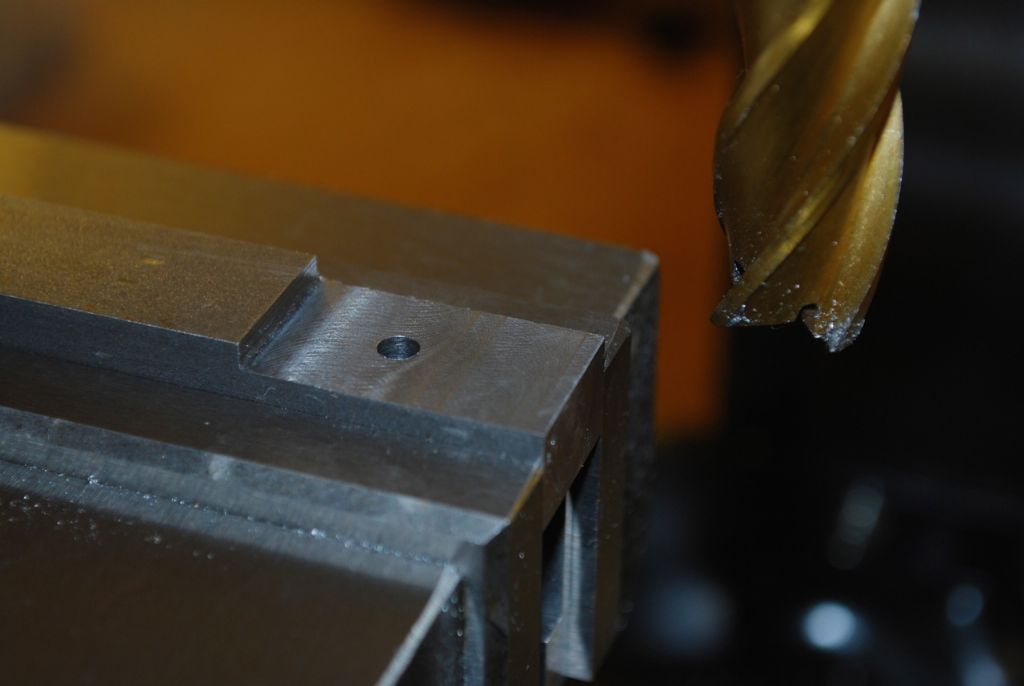
      The cast hole is not very round, which is fair enough, but I thought I had better tidy up the mouth of the hole so at least to have something to centre on when fitting the flange. The hole is not vertical through the casting but after a short way in slopes up to the steam ports and is quite a good clean cast I think. The drawing says 7/16" for the hole but it is already a good bit larger as cast. I've used a 14mm Slot Mill to tidy the hole just to a 2mm depth which I can also use to centre… 452. the steam exhaust 6..jpg

      After tidying the mouth of the hole.

      452. the steam exhaust 7..jpg

      The potential for me to get this one wrong in some way is quite high I think..! But all very interesting to do.

      Cheers

      Garry

      Advert
      #208714
      GarryC
      Participant
        @garryc

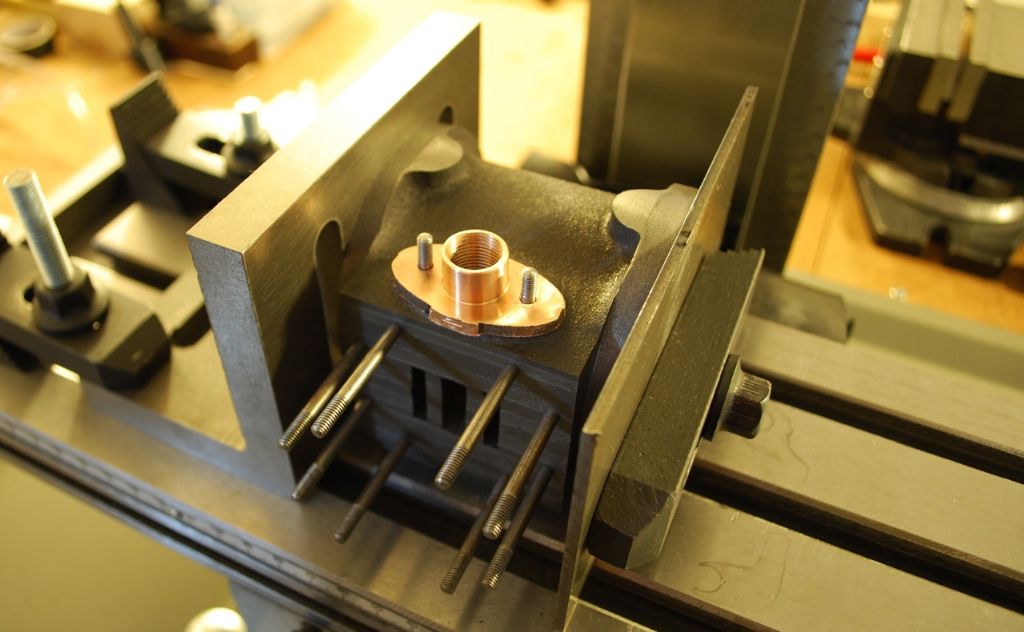
        Waiting now for the 1/2" x 26 tpi BSB Tap which should arrive later today. The OD should have been 5/8" but after being as careful I could setting it up in the Lathe the earliest I had a clean diameter was at 1.3mm undersize (last skim was 2 thou) so I'm hoping the wall won't be too thin – think it will be alright. The Exhaust hole looks quite 'chunky' and I can imagine quite a lot of steam flowing out of that, maybe it will need to be run outdoors or at least venting through a window…

        Drilled to 11.5mm tapping size. The wall is just over 1.5mm thick. Unfortunately I think I picked the worst of the 4 flange castings for this one – if i had spent more time checking them and the various measurements I could have used a better one and may have got much closer to the correct OD – my fault that.452. the steam exhaust 8..jpg

        Cheers

        Garry

        #208843
        GarryC
        Participant
          @garryc

          Almost finished with the 4 flanges now…

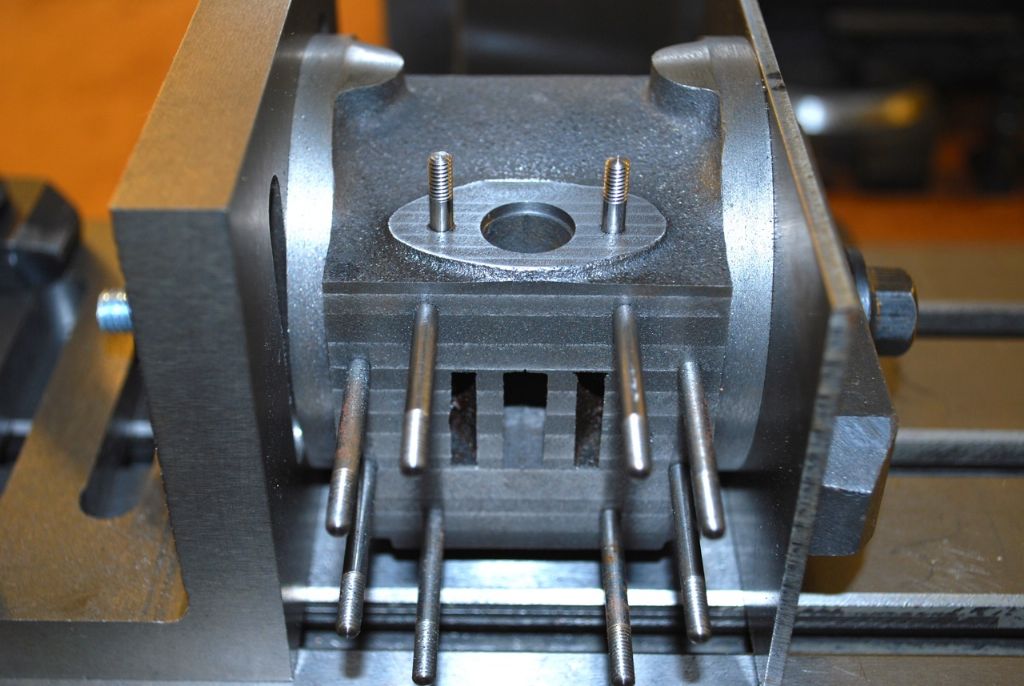
          The Studs for the Steam Exhaust Flange fitted (they are vertical – just a bad camera angle in the photo)..

          452. the steam exhaust 9..jpg

          'Just' the milling to shape left to do…

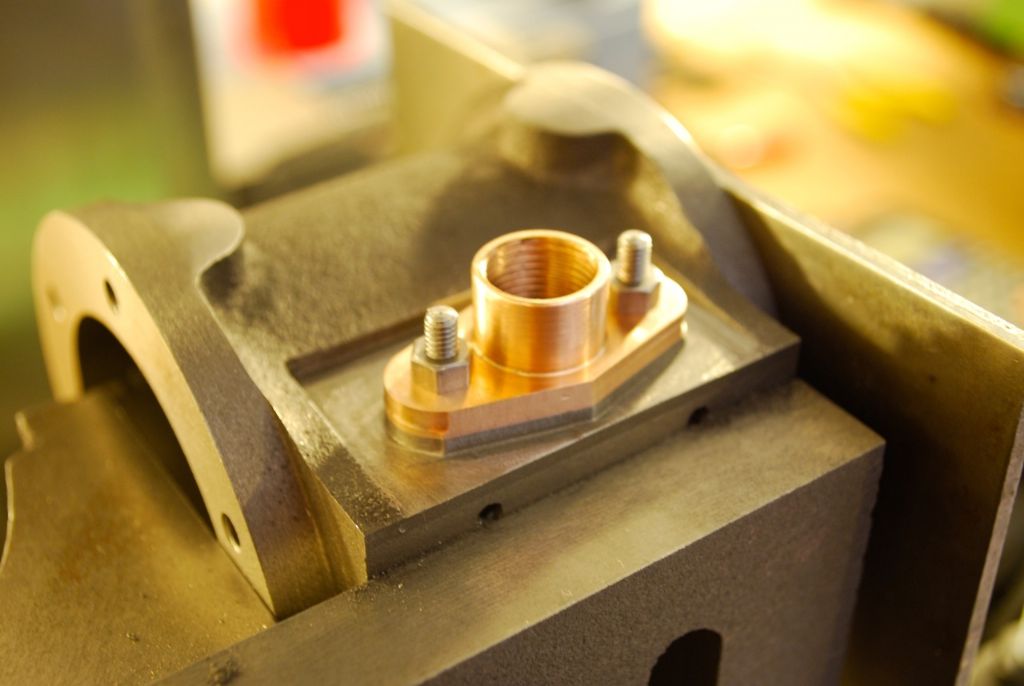
          I think I'll probably leave this flange 'long' as its the exhaust – I'll see what it looks like after the milling is done452. the steam exhaust 10..jpg

          Cheers

          Garry

          #208987
          GarryC
          Participant
            @garryc

            Have to admit milling this flange with the boss merging with the outside of the cylinder bore was outside what I can do at the moment and I got into a right old mess…

            This was the best I could come up with and had to make a recess for the Flange Boss to sit in….

            452. the steam exhaust 13..jpg

            Bit disappointed I couldn't do it as it should have been but not too unhappy with the way it looks..

            452. the steam exhaust 12..jpg

            I think I'll have a bit of a reassembly of the the engine so far – before moving ahead again..

            Cheers

            Garry

            #208994
            GarryC
            Participant
              @garryc

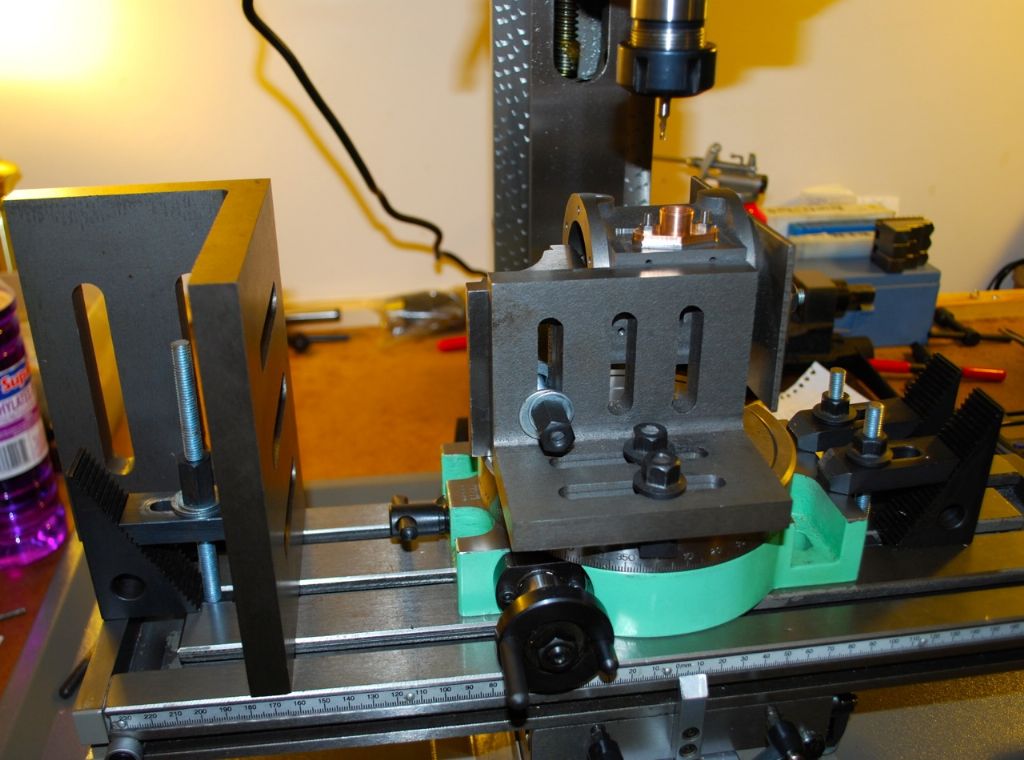
              Just wanted to have a record of the setup..

              452. the steam exhaust 14..jpg

              Hopefully it'l not look too bad after painting..

              Cheers

              Garry

              Edited By Garry_C on 23/10/2015 15:33:39

              #209052
              GarryC
              Participant
                @garryc

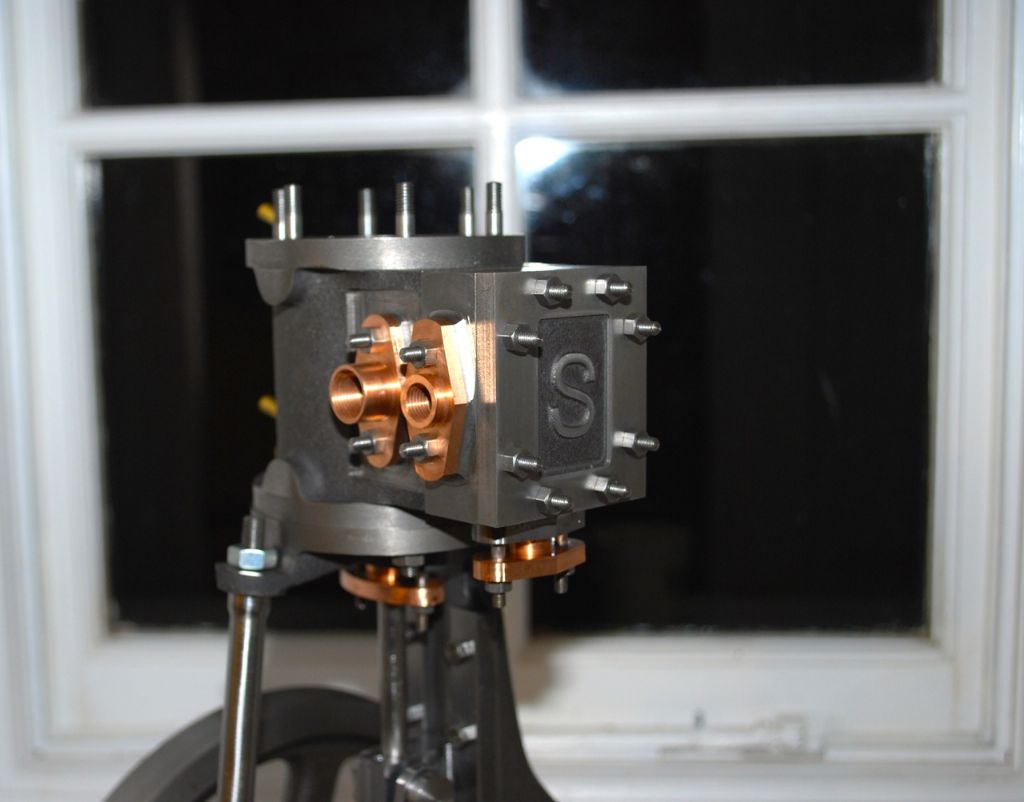
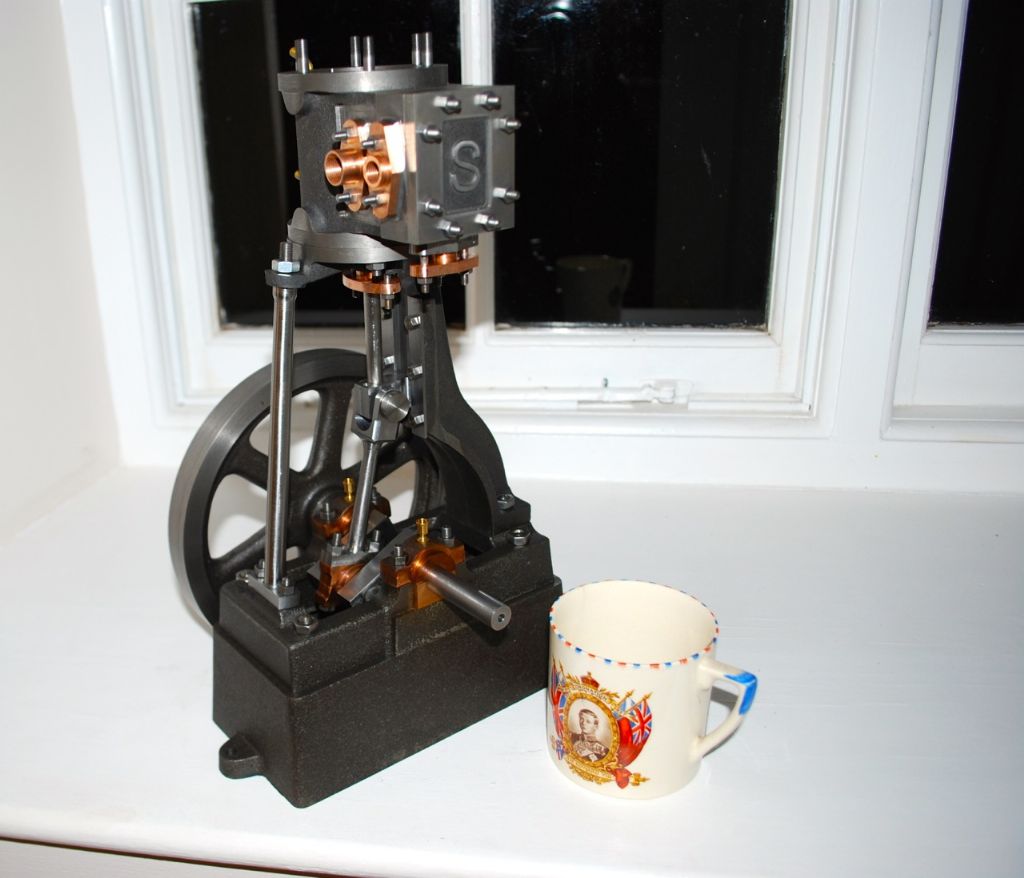
                Couple of photos of progress so far, nothing tightened and the Top Cylinder Cover isn't on – still lots to do..

                I don't think the Flanges look too bad.

                453. progress so far 2.jpg

                Progress so far 2.

                453. progress so far 1.jpg

                Cheers

                Garry

                #209055
                JasonB
                Moderator
                  @jasonb

                  Looks good all assembled.

                  #209104
                  GarryC
                  Participant
                    @garryc

                    Cheers Jason thumbs up – and i've managed to get some locknuts ( thanks again Bert ) along with various others for some stock, including some in brass which I may use come the final assembly, oh and some copper washers as well.. smile

                    Edited By Garry_C on 24/10/2015 14:44:22

                    Edited By Garry_C on 24/10/2015 14:44:38

                    #209111
                    Jeff Dayman
                    Participant
                      @jeffdayman43397

                      It's looking great Garry, well done. JD

                      #209185
                      GarryC
                      Participant
                        @garryc

                        Thanks Jeff, it's been a while since I've had it in one piece and was good to see the progress..

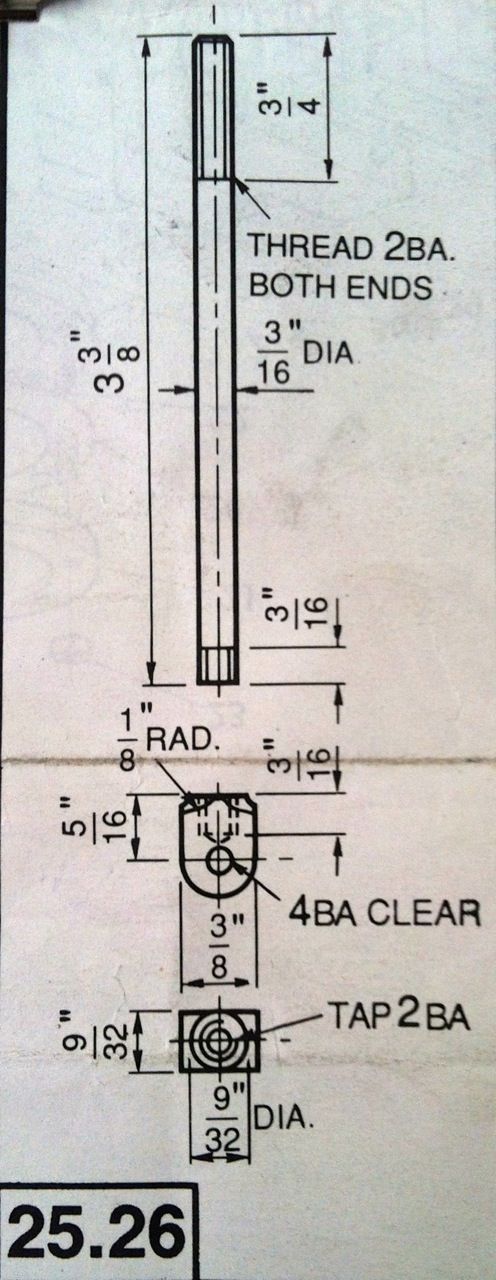
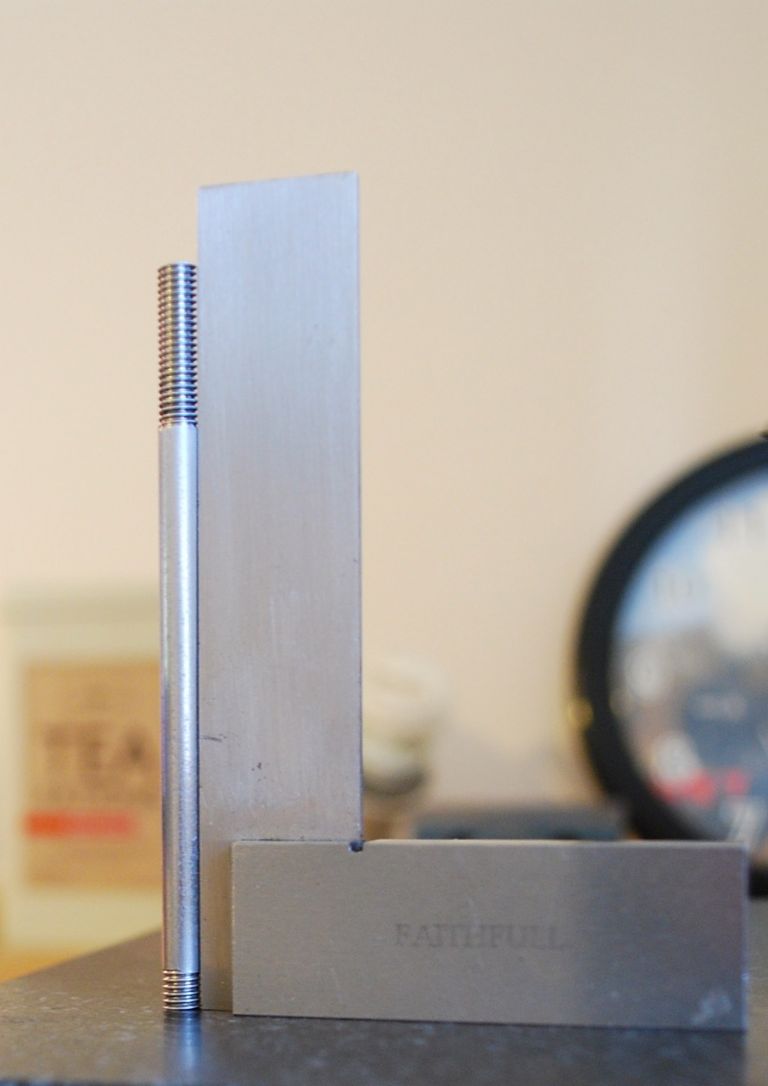
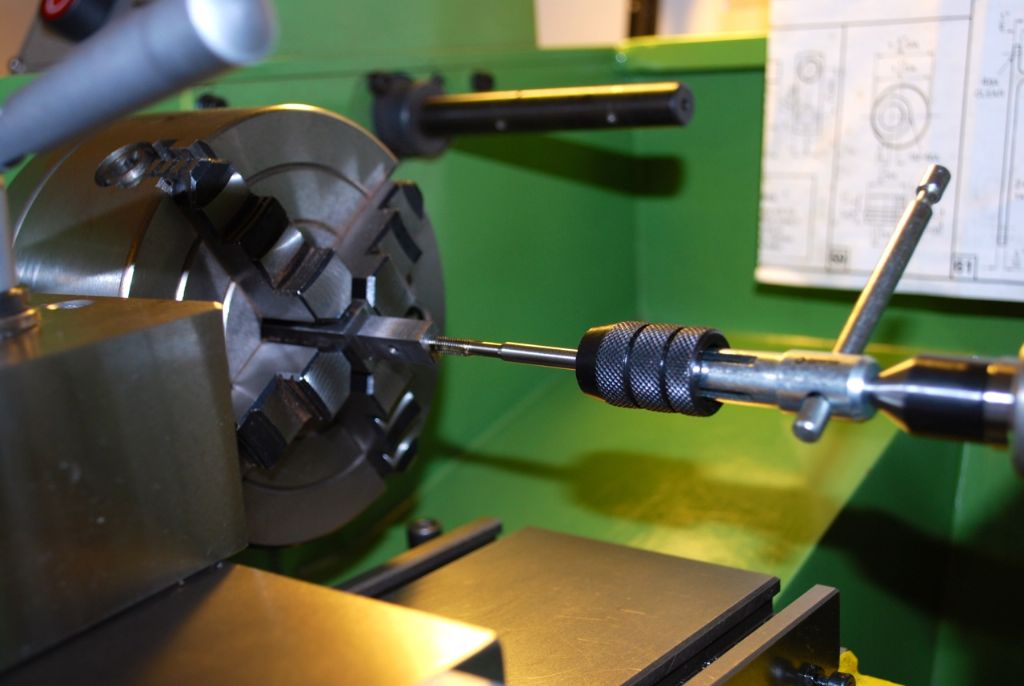
                        Next is the Valve Rod and Valve Rod Head – followed by the Eccentrics. First though is to make another split sleeve to hold the Rod in the Lathe..

                        The Valve Rod and Valve Rod Head Drawing (Rod Stainless Steel & Head is Mild Steel)454. the valve rod and valve rod head drawing.jpg

                        Cheers

                        Garry

                        #209450
                        GarryC
                        Participant
                          @garryc

                          (Just getting ready for carrying on tomorrow..)

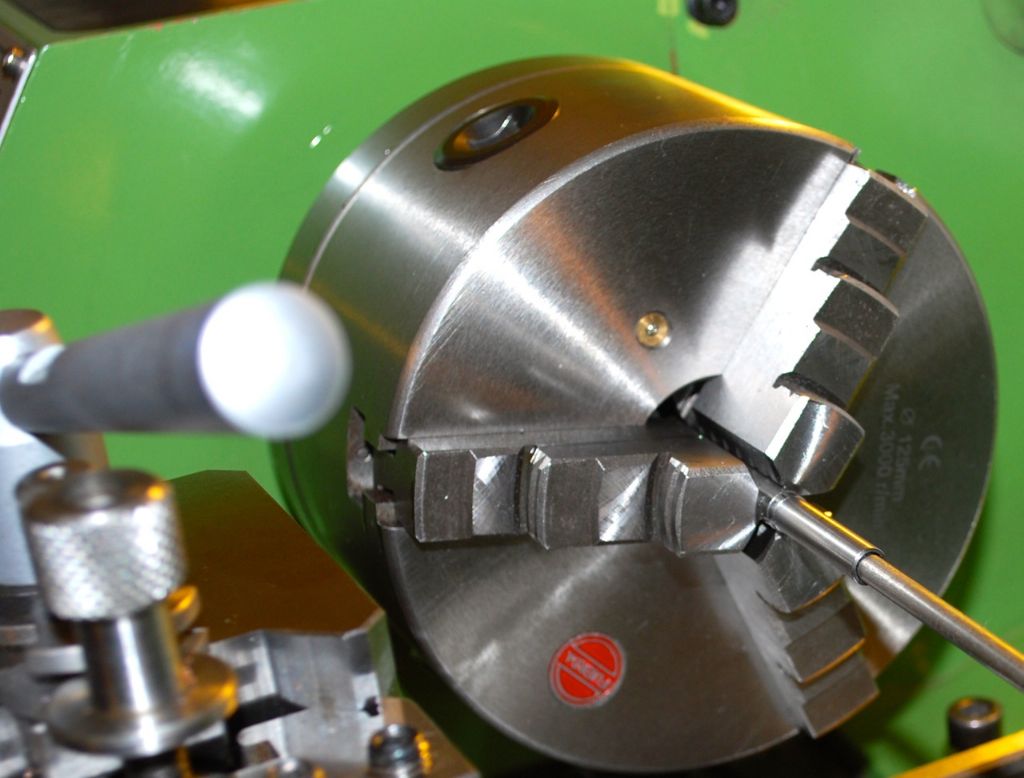
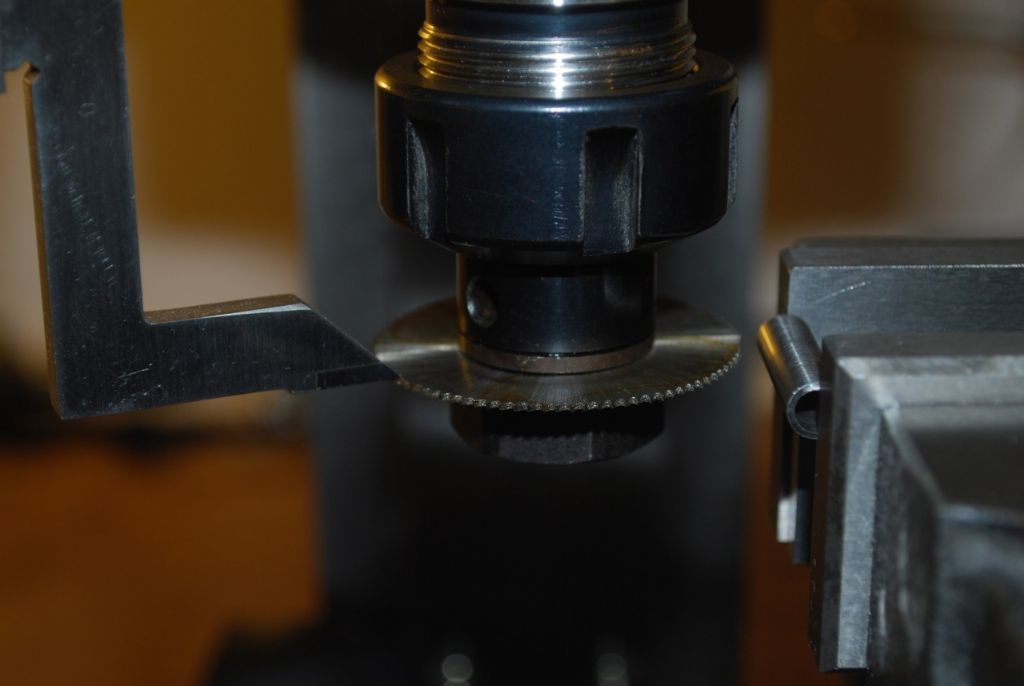
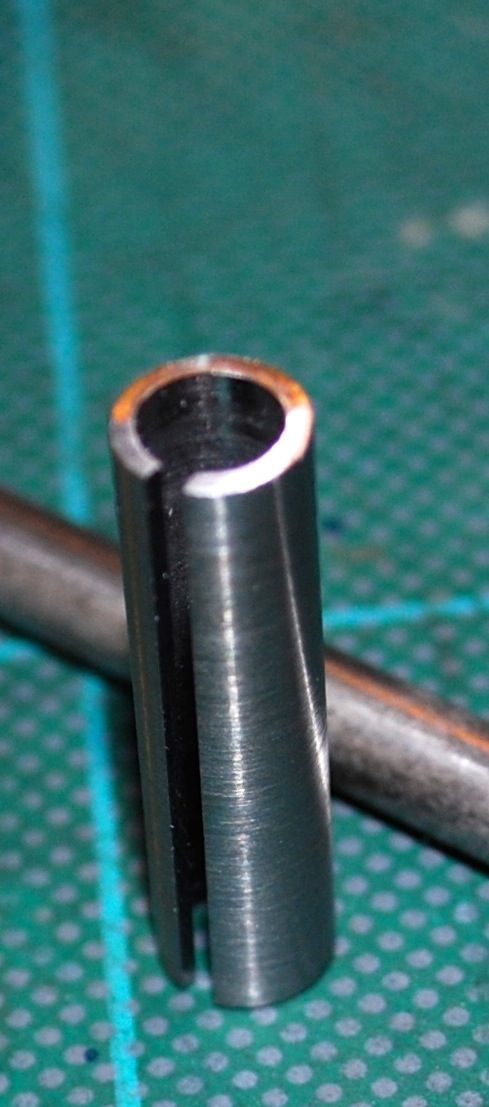
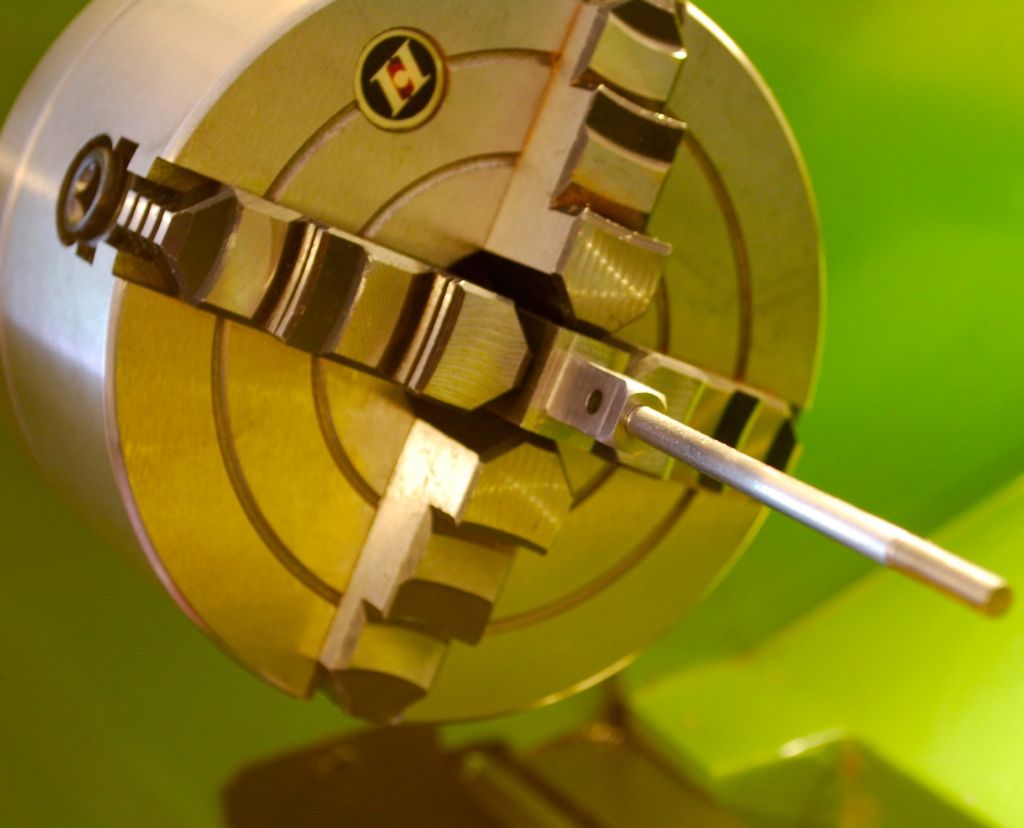
                          Making another 'split sleeve' this time for holding the Stainless Steel Valve Rod.

                          455 the valve rod 3.jpg

                          My collection of these is ever growing..

                          For anyone interested I think the numbers were..

                          Valve Rod diameter – 4.75mm

                          Sleeve drilled – 5mm

                          Slitting Saw thickness – 1.62mm

                          (so enough slit room to close tight on the Rod when clamped – and easy to get the sleeve on and off)

                          455 the valve rod 1.jpg

                          Not a very good photo but the sleeve should be able to hold tight enough without marking the Valve Rod – May reduce the diameter a couple of thou with a file in the lathe to make the threading easier – the rod is slightly oversize for the 2BA thread at the moment.. Unfortunately something I don't yet have is a Tailstock Die holder..

                          (I'll clean it out before using).

                          455 the valve rod 4.jpg

                          Something of nothing I guess but all part of getting the engine built..

                          Cheers

                          Garry

                          ps. for anyone that is still interested in following, if I disappear off here in the coming weeks I may jump over to MEM to finish the build – all the H&S talk on here now is a big turn off for me..

                          #209452
                          Neil Wyatt
                          Moderator
                            @neilwyatt

                            > ps. for anyone that is still interested in following, if I disappear off here in the coming weeks I may jump over to MEM to finish the build – all the H&S talk on here now is a big turn off for me..

                            You don't have to read those threads!

                            Neil

                            #209453
                            Bob Brown 1
                            Participant
                              @bobbrown1

                              That's one advantage of a collet chuck, no need to make sleeves but costs more.

                              To me I treat H&S as just plain old common sense, nothing complicated about it, if you spend too long worrying about it you'd never make anything.

                              Bob

                              #209462
                              Trevorh
                              Participant
                                @trevorh

                                Hi Garry, You can't abandon us now that you are so close to finishing….

                                I have been following your thread since you first started it

                                sorry mate but its too inspirational to leave it at this juncture… you have to see it through here on this thread

                                cheers

                                #209464
                                Clive Hartland
                                Participant
                                  @clivehartland94829

                                  Youre writing a book with pictures Garry, so you are covering all the options here. Not everyone likes MEM.so please continue or I will tell everyone you have 2 lots of machinery, one dirty and one clean, Oh, iv'e done it !

                                  Sorry. It's a great series, so please continue as you go on, we are all interested in the progress and you are learning as it gets nearer the finish.

                                  Clive

                                  #209479
                                  JasonB
                                  Moderator
                                    @jasonb

                                    Garry if you open the die right up it should cut the slightly oversize rod OK then nip it up and take a second pass testing with the valve nut until you get a good fit. Well that's what works for me. A tailstock die holder does make things easier, upto about 1/4 or larger if a fine ME thread I just set the lateh on its slowest speed, grip the body of the die holder and bring it upto the work and power cut the thread, does depend on the strength of your grip though.

                                    Bert, no need to subscribe to MEM its just another forum and free to look at without even becomming a member. Worth a visit, couple of good photo/videos posted of shows over the weekend – Wijchen, American Precision model Weekend and closer to home the Anson seasons end.

                                    J

                                    #209481
                                    Michael Gilligan
                                    Participant
                                      @michaelgilligan61133
                                      Posted by JasonB on 27/10/2015 17:11:43:

                                      and closer to home the Anson seasons end.

                                      .

                                      Oh 'Bother' He said [avoiding the use of less acceptable expletives]

                                      Anson is only a few miles down the road … but I spent the weekend in Tyneside.

                                      MichaelG.

                                      Edited By Michael Gilligan on 27/10/2015 17:29:22

                                      #209485
                                      GarryC
                                      Participant
                                        @garryc

                                        Thanks Jason that will make things easier and a good way to go about it, I've struggled a bit cutting threads in Stainless Steel and so was especially wary of the oversize Rod – and I'll keep a look out and get a Tailstock Die holder before too long..

                                        Also thanks very much everyone for the other comments – I've just read that not all has been as it seems on here lately which helps..

                                        Cheers

                                        Garry

                                        #209569
                                        GarryC
                                        Participant
                                          @garryc

                                          Just the Valve Rod done today..

                                          Definitely a lot easier to do in two passes with the Die – I'm not sure its quite straight but very close, I'm guessing it would have been more accurate with a Tailstock Die Holder unless its just that I've not cut the 3'4" length threads quite as deep as the other maybe – it would have been easy to have tightened the die the same for both if I had thought, worth remembering next time to do that..

                                          455 the valve rod 6.jpg

                                          Cheers

                                          Garry

                                          #209889
                                          GarryC
                                          Participant
                                            @garryc

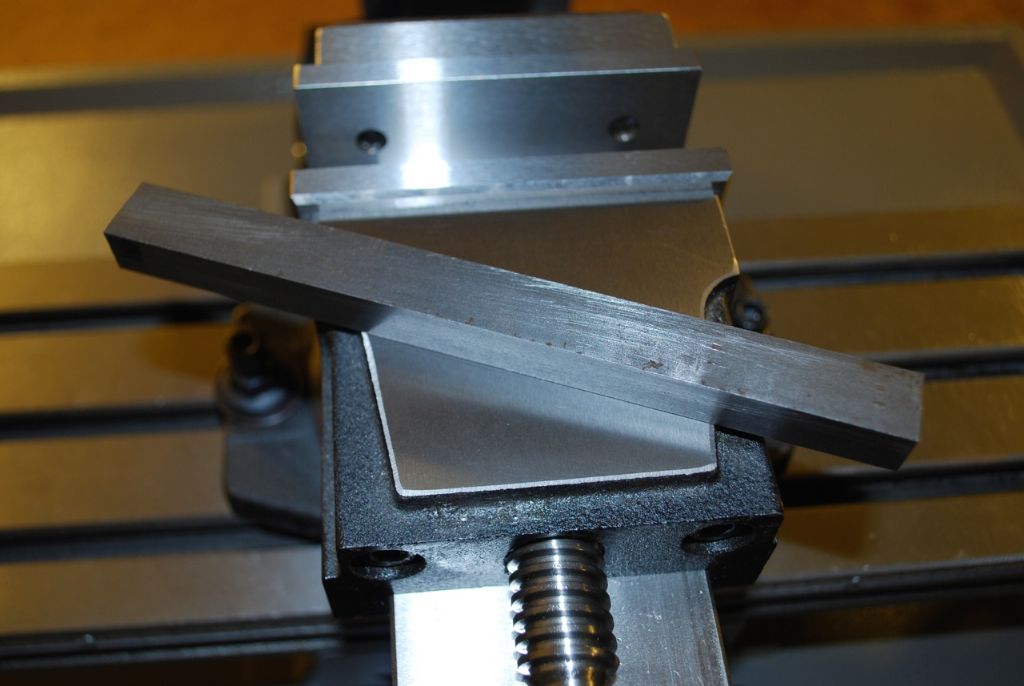
                                            Made a bit of a start on the Valve Rod Head – its only a very small piece but needs to come out of the 7" x 1/2" x 5/8" bar supplied for the Eccentric Rod…

                                            456 the valve rod head 1.jpg

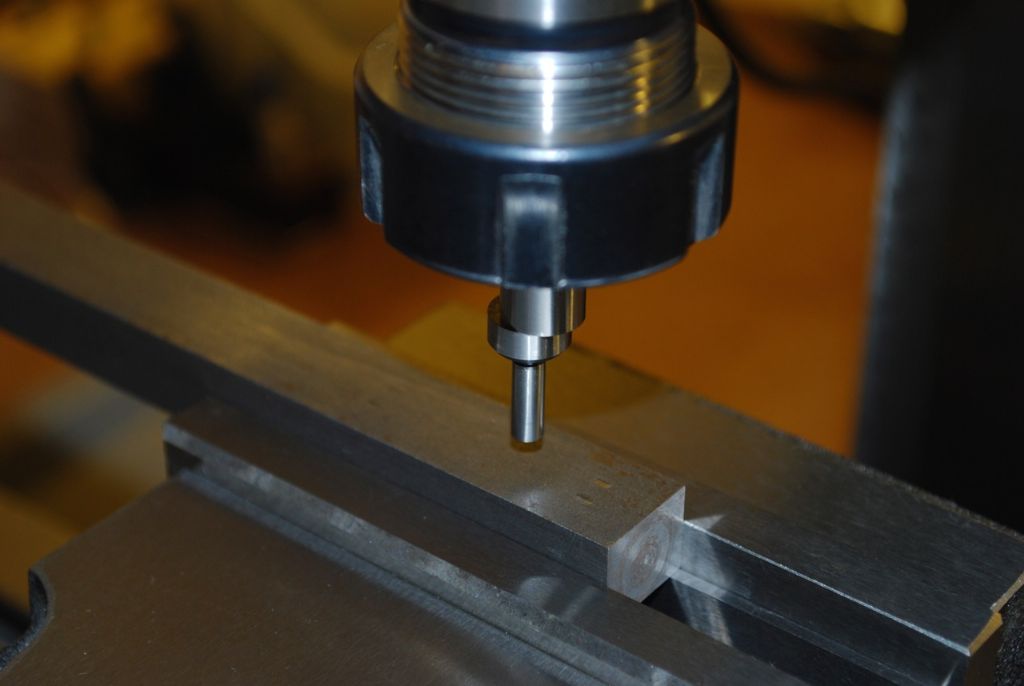
                                            I'm finding using edge finders when possible are more accurate than marking out..

                                            456 the valve rod head 2.jpg

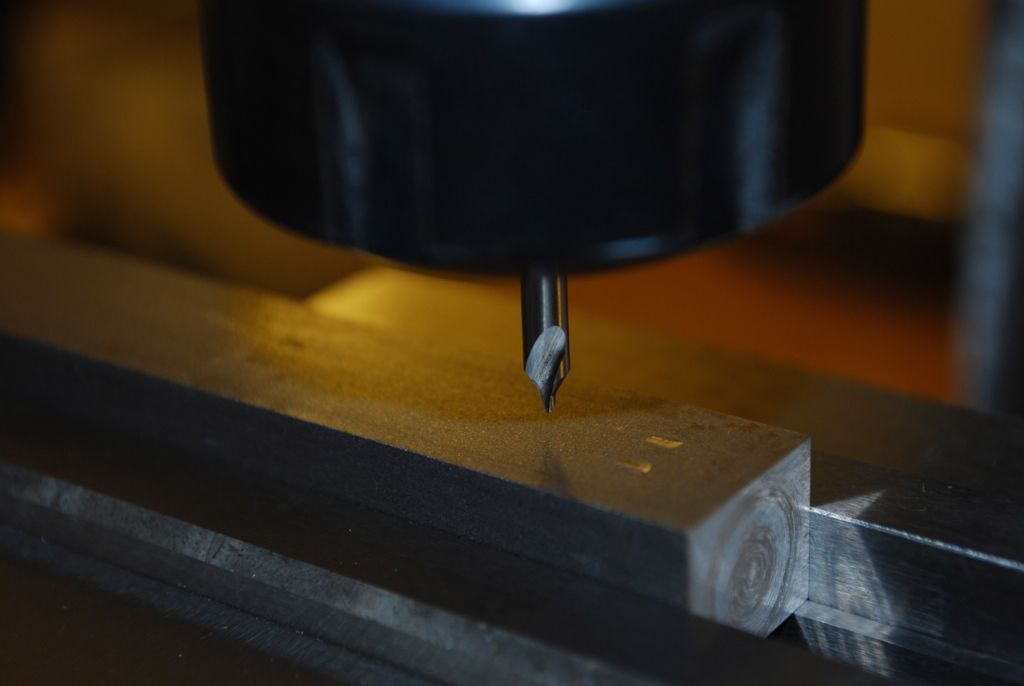
                                            Back to drilling Mild Steel again, doesn't seem a problem anymore…456 the valve rod head 3.jpg

                                            The cigarette papers are great Bert, thanks again – its easy to move the tool with it spinning to just drag the paper away, no mark left on the work – and the tool is one thou away, same result each time…

                                            456 the valve rod head 4.jpg

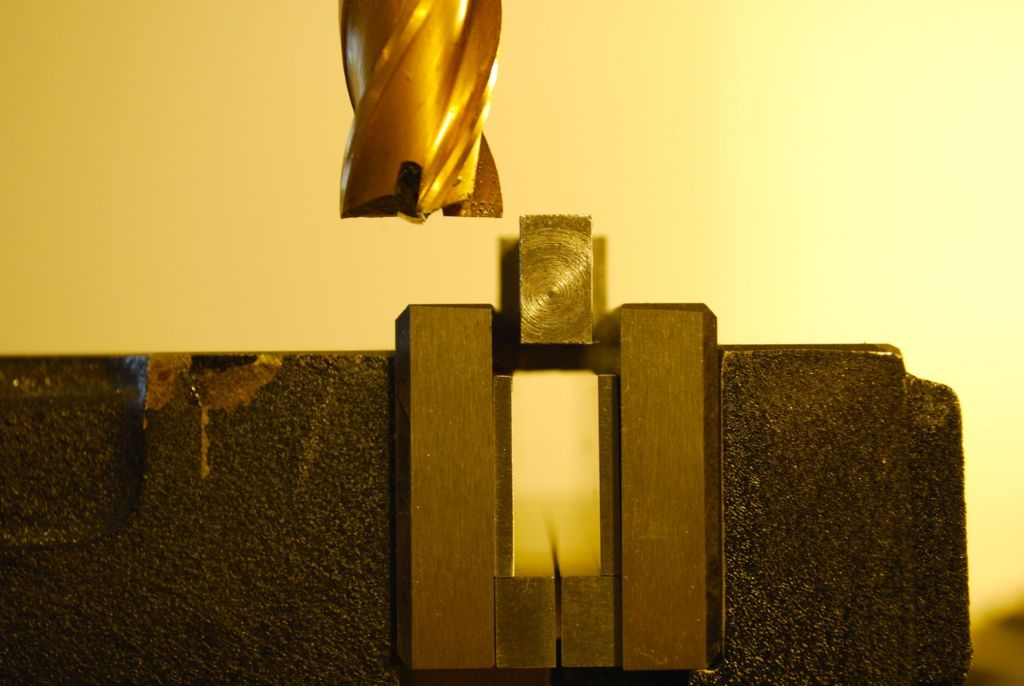
                                            I'm going to try and make on the full length bar so its easier to go on the lathe (for drilling and tapping) – after milling to size, then cut away and radius with the rotary table at the end – the chamfered end left 10 thou over length to face (and clean up) later at the same time..

                                            Jus one side milled down..

                                            456 the valve rod head 5.jpg

                                            Cheers

                                            Garry

                                            #210168
                                            GarryC
                                            Participant
                                              @garryc

                                              A few more photos of progress with the Valve Rod Head..

                                              Milling out of the 7" bar supplied..

                                              456 the valve rod head 6.jpg

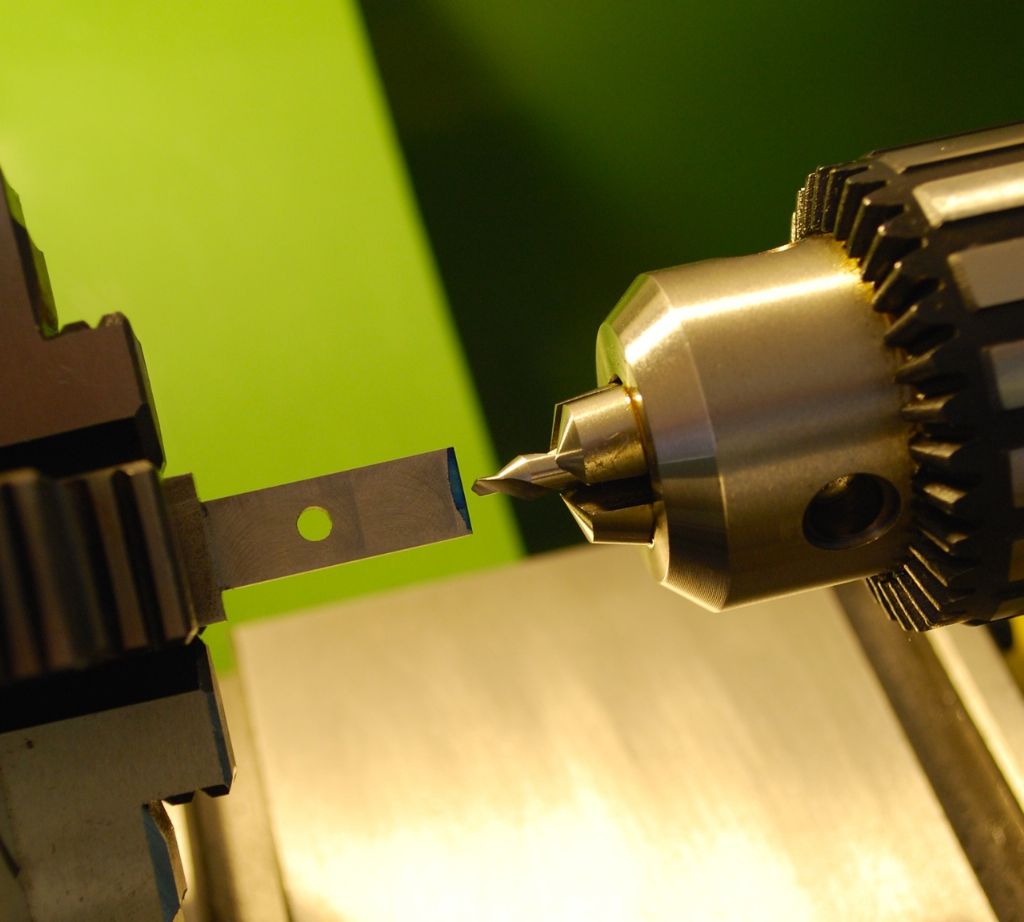
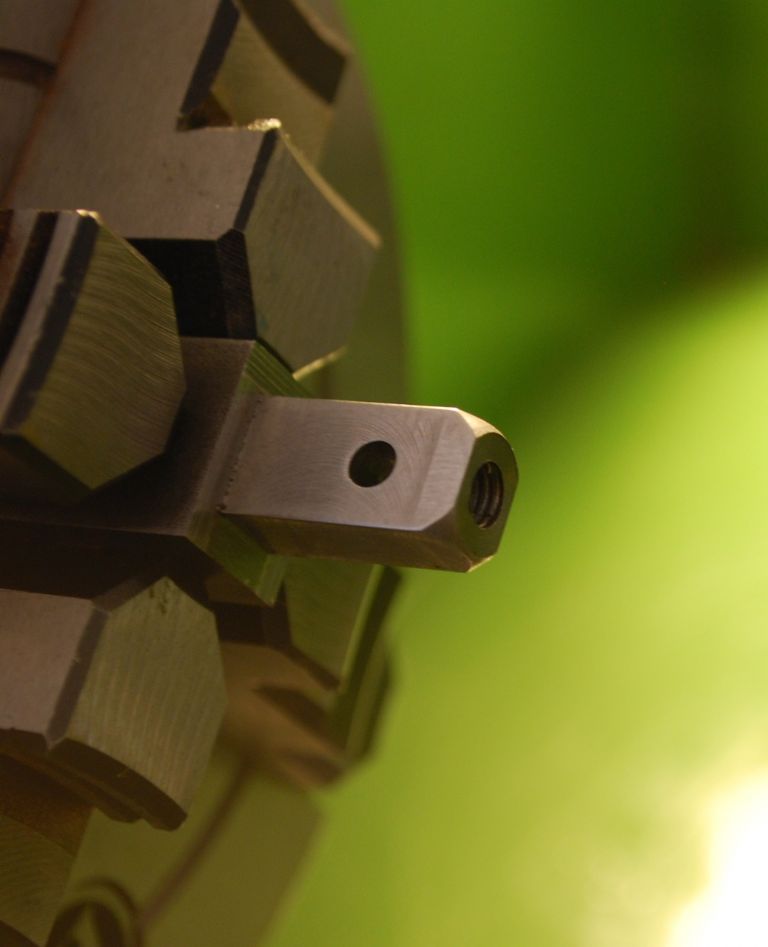
                                              and then onto the lathe for drilling and Tapping – I made a silly mistake in drilling the cross hole in too far from the end, so a bit more facing off afterwards was needed than could have been..

                                              456 the valve rod head 7.jpg

                                              Tapping the 2BA hole for the Valve Rod..

                                              456 the valve rod head 8.jpg

                                              and test fitting the Valve Rod..

                                              456 the valve rod head 9.jpg

                                              I didn't understand the 1/8" radius reference on the drawing for the ends, or rather how to do that accurately on the lathe – so I did at 20 degrees with the top slide – but looks ok I think.

                                              456 the valve rod head 10.jpg

                                              Next to part off and radius the end on the Mill and Rotary Table..

                                              Cheers

                                              Garry

                                              Edited By Garry_C on 01/11/2015 14:02:40

                                              #210173
                                              Jeff Dayman
                                              Participant
                                                @jeffdayman43397

                                                Hi Garry,

                                                The valve rod head looks great. For future reference though if you do ever need to make a true 1/8" or other rad, there are (at least) a few ways:

                                                1. Use a form tool. These are made from gauge plate/0-1 steel and for radii can be as simple as drilling a hole in the plate and cutting the plate to expose 90 degrees or more of the hole. A holder is used to hold the tool while turning the stock using the plate. As much material as possible needs to be removed before using the form tool. I'll try and dig up a photo of the tool and holder I made. The plate if made in gauge plate it does not need hardening for cutting brass aluminum and free cutting steel, anything harder and the plate needs hardening by quenching from red heat into clean oil.

                                                2. Using CAD, calculate x and y points for several steps say .010" apart along the desired curve, Cut the steps accurately using X and Y dials on the lathe, or a digital readout, then file the shape until the corners of the steps just disappear. This method can be used for any curve requiring accuracy, not just radii.

                                                3. Use a swing type radius cutter. These have a pivoting toolholder that swings about the centre of the radius. In use the tool is set to just contact the corner of the work and gradually the tool is moved inward, cut made, moved inward etc. until the desired radius is made. However I have found these tools lack rigidity and are fussy to set up and use. You have to really keep an eye on things not to overshoot your travel each way and also not over-cut the radius.

                                                Cheers JD

                                                #210179
                                                GarryC
                                                Participant
                                                  @garryc

                                                  Hi Jeff

                                                  Thanks, very interesting, that's a technique I knew nothing about – if you do come across a photo of the tool and holder that you made it would be great to see..

                                                  Cheers

                                                  Garry

                                                  #210186
                                                  JasonB
                                                  Moderator
                                                    @jasonb

                                                    Just needs a tool with a rounded end, either a self ground HSS one or I think you have one of the button type round indexable tools which would also do the trick. Have a look at teh cross head I'm about to post in the Workshop thread, the boss that the rod screws in was done that way.

                                                    J

                                                    #210195
                                                    GarryC
                                                    Participant
                                                      @garryc

                                                      Thanks Jason, I'll have to get another button tool as they are so useful, I lost track of mine when I moved indoors I think, can't find it anywhere, I see now how it could be used for this sort of thing.. idea smile

                                                      Cheers

                                                      Garry

                                                    Viewing 25 posts - 501 through 525 (of 602 total)
                                                    • Please log in to reply to this topic. Registering is free and easy using the links on the menu at the top of this page.

                                                    Advert

                                                    Latest Replies

                                                    Viewing 25 topics - 1 through 25 (of 25 total)
                                                    Viewing 25 topics - 1 through 25 (of 25 total)

                                                    View full reply list.

                                                    Advert

                                                    Newsletter Sign-up