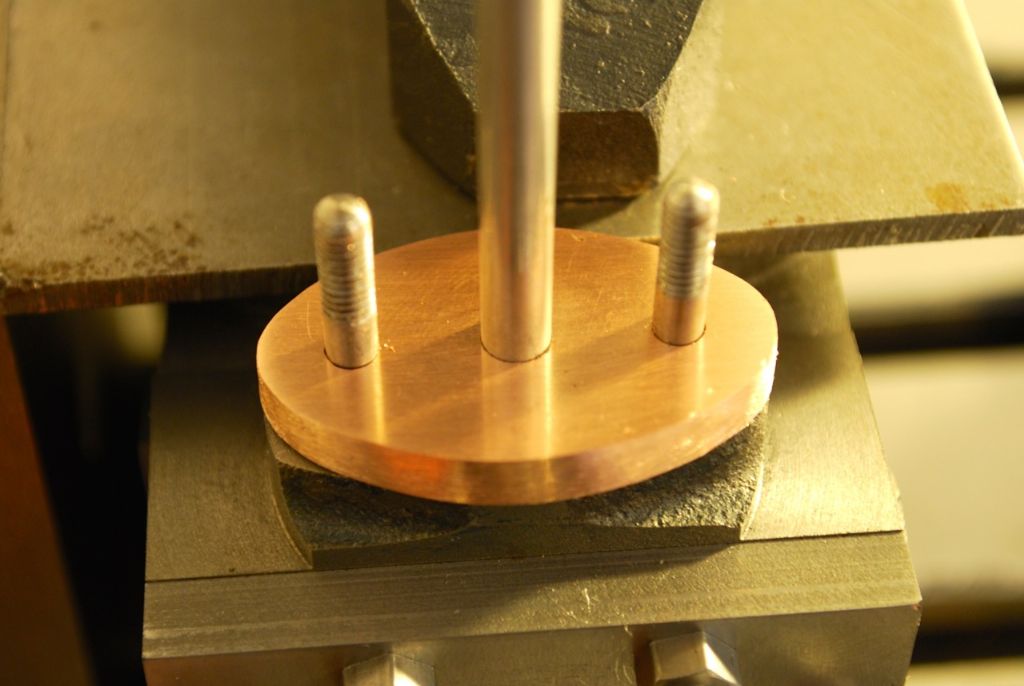
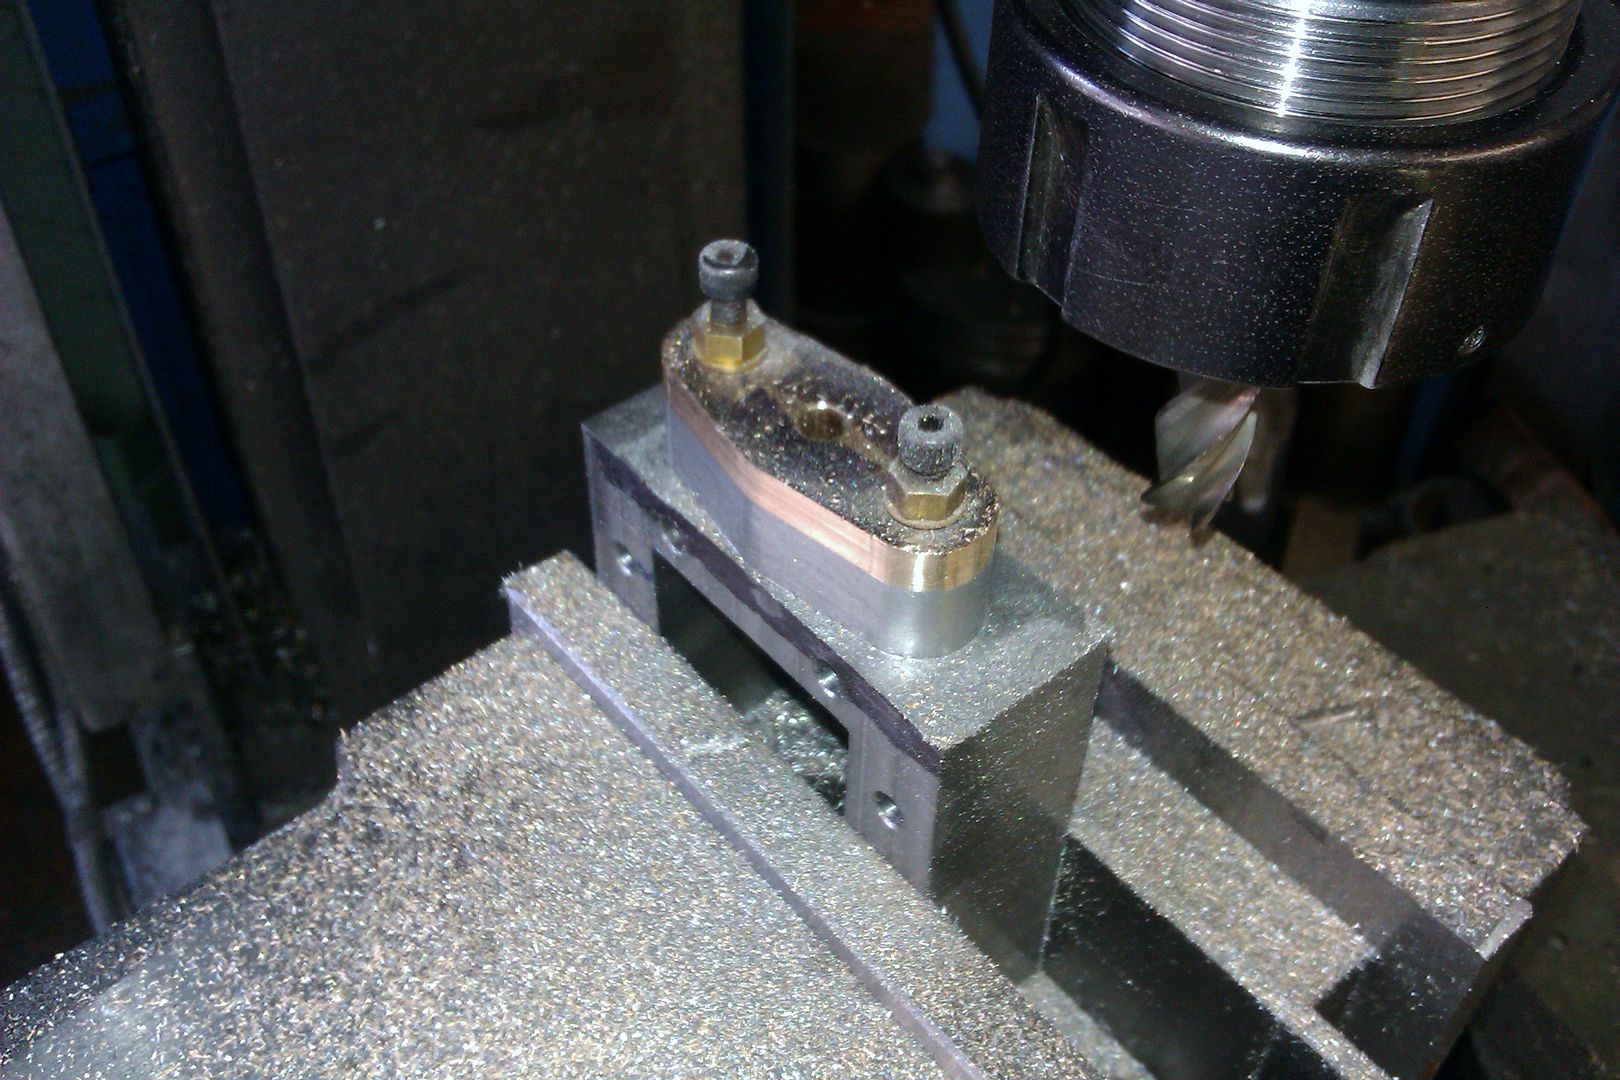
My little engine (continued)

Advert

My little engine (continued)

Home Forums Work In Progress and completed items My little engine (continued)

Viewing 25 posts - 426 through 450 (of 602 total)
  • Author
    Posts
  • #202046
    GarryC
    Participant
      @garryc

      Hey Nick, I can't think of many better ways of getting to the pub than that. laugh

      Garry

      Advert
      #202058
      Gas_mantle.
      Participant
        @gas_mantle
        Posted by Garry_C on 26/08/2015 14:27:40:

        Hey Nick, I can't think of many better ways of getting to the pub than that. laugh

        Garry

        Adds a whole new meaning to the term 'going out and getting steamed '

        Engine is coming along nicely now Garry, looks like you are making a fine job of it.

        #202124
        GarryC
        Participant
          @garryc

          Thanks Peter, looking forward to seeing your new build here soon..

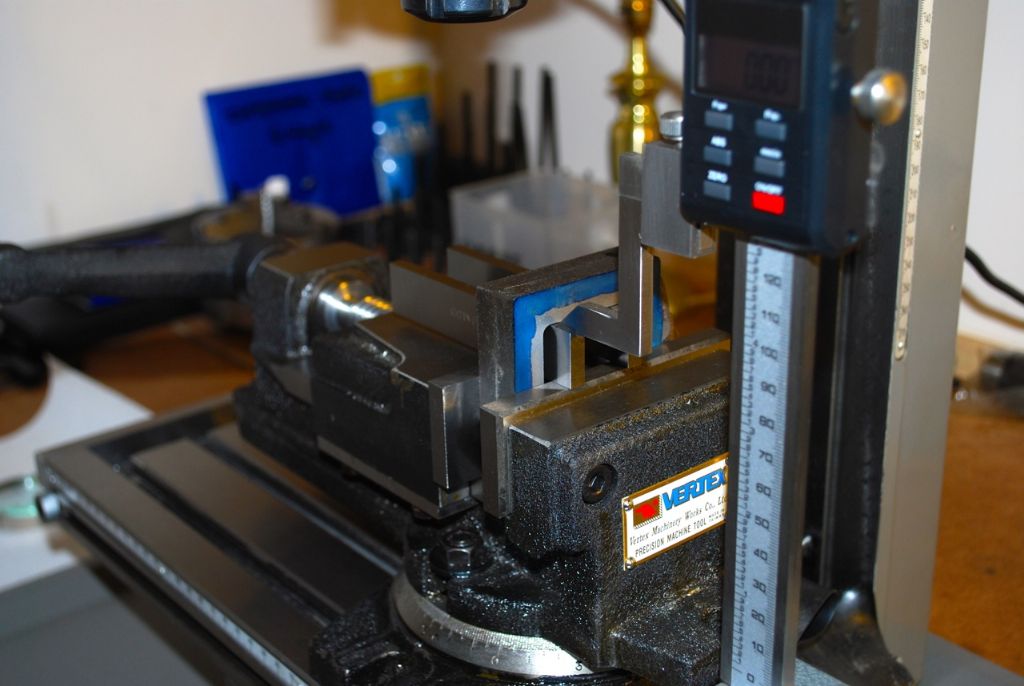
          These are just a couple of photos of getting ready for todays session in starting to machine the Steam Chest to size.

          I'm sure there are much better / more accurate ways of doing this but I'm hoping what I'm doing below will get the outside edges of the Steam Chest Cover, Steam Chest and Cylinder Port face reasonably lined up when they are assembled..

          Marking out from the inside of the Steam Chest the outside dimensions to fit the Steam Cylinder.

          433. steam chest progress 1.jpg

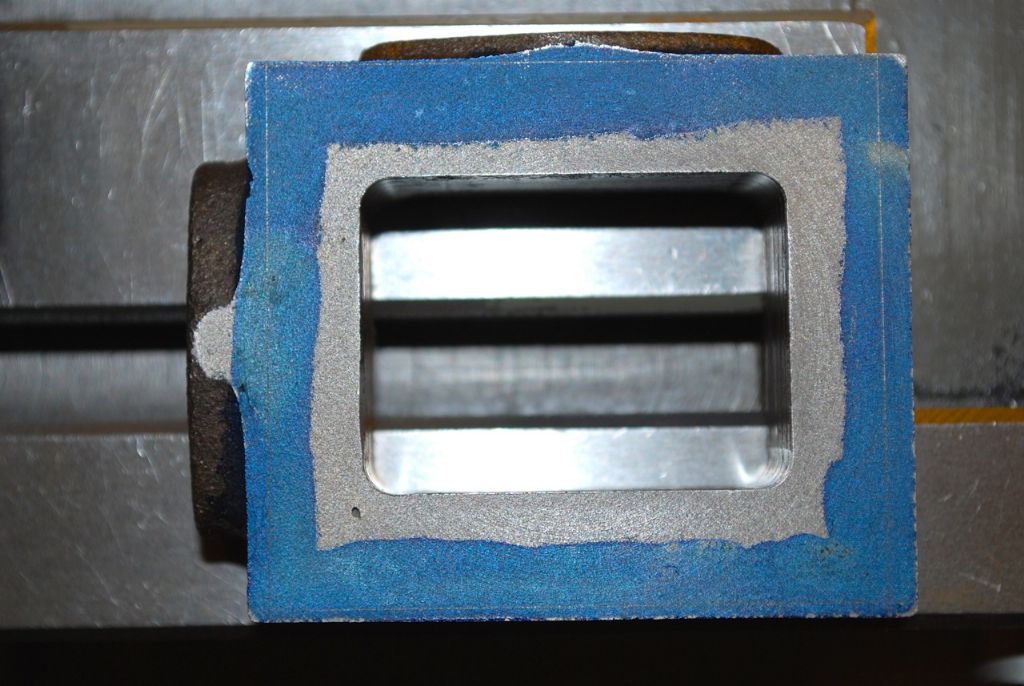
          This is a bit of an ugly photo but it shows how much needs to be removed from the Steam Chest outside edges – the dimensions used are from the actual Steam Cylinder Port face not the drawing..

          433. steam chest progress 2..jpg

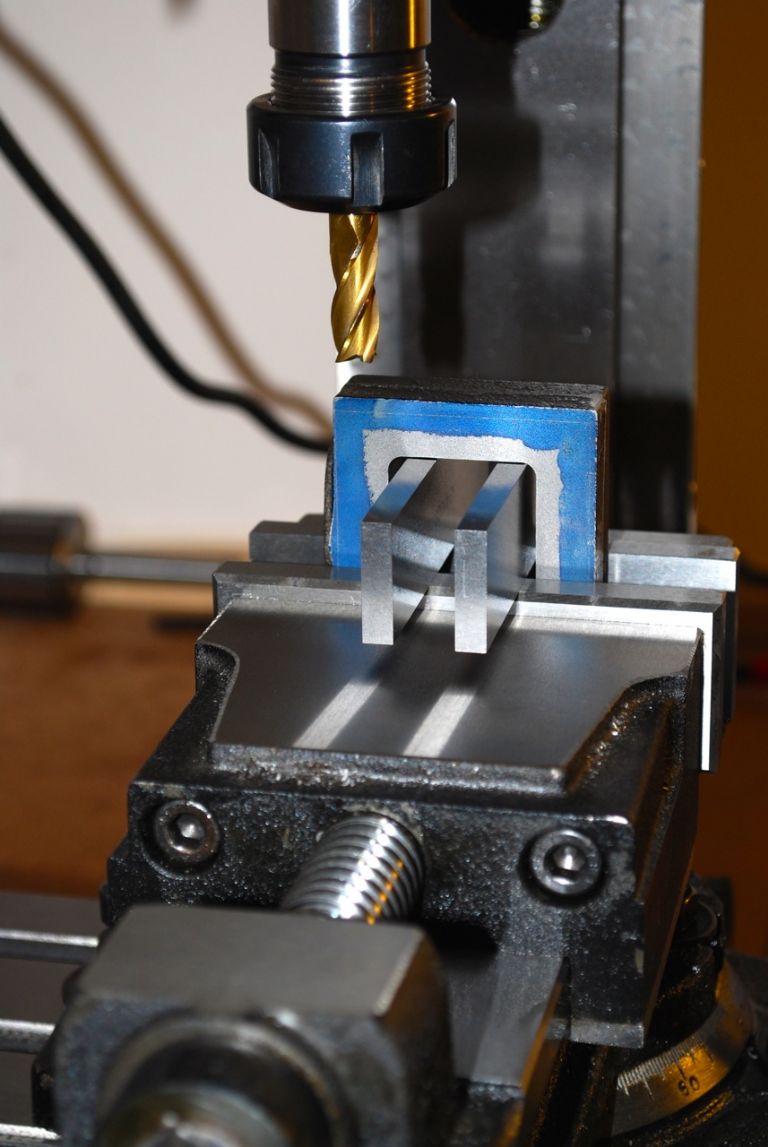
          and now ready to start milling down to size on the two 'blank' edges first – may need to do the other sides on the lathe, but whichever – I need to do the valve gland face and drill and ream through it in the same setting.. and the two holes right next to the gland I will move out slightly as they look a bit close (and the other two the opposite end to keep things symmetrical) – Thanks Jeff!

          433. steam chest progress 3..jpg

          Cheers

          Garry

          #202517
          GarryC
          Participant
            @garryc

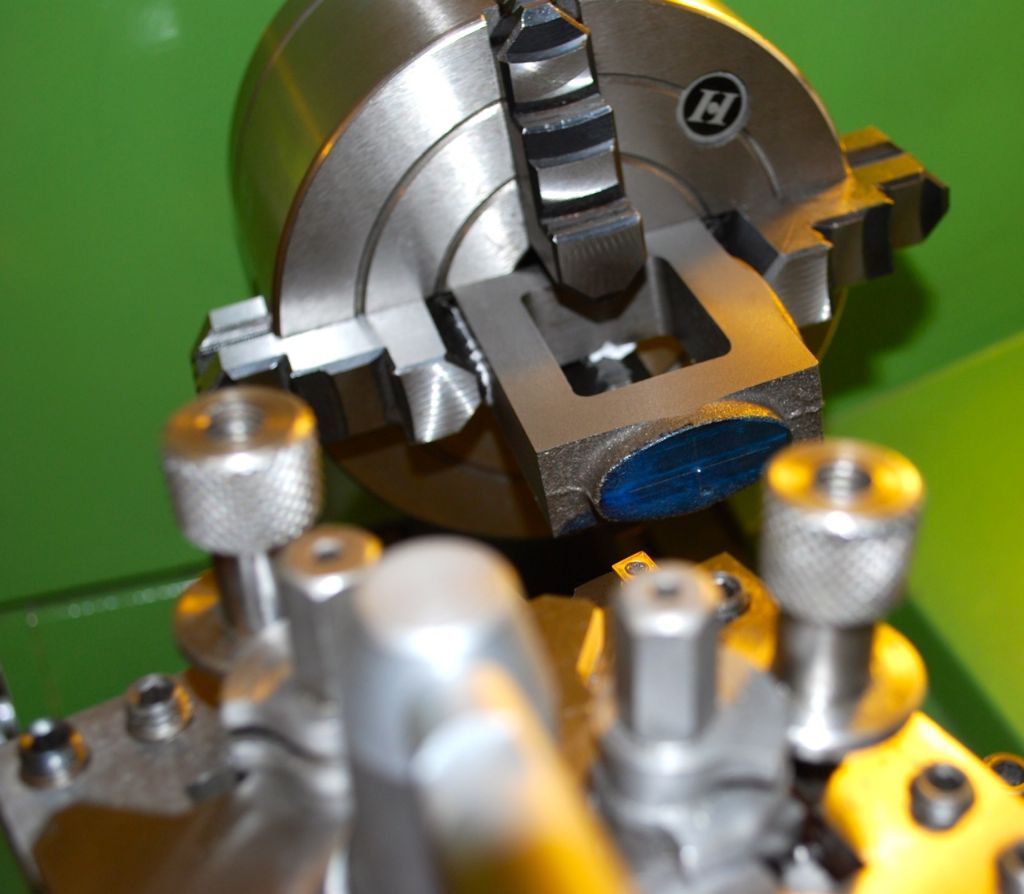
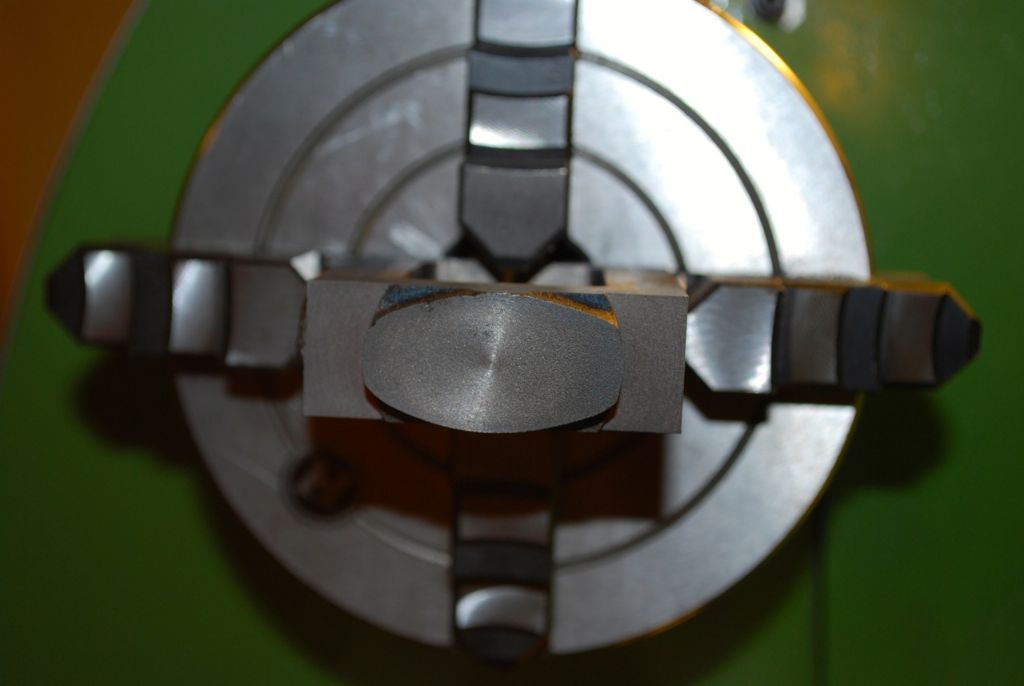
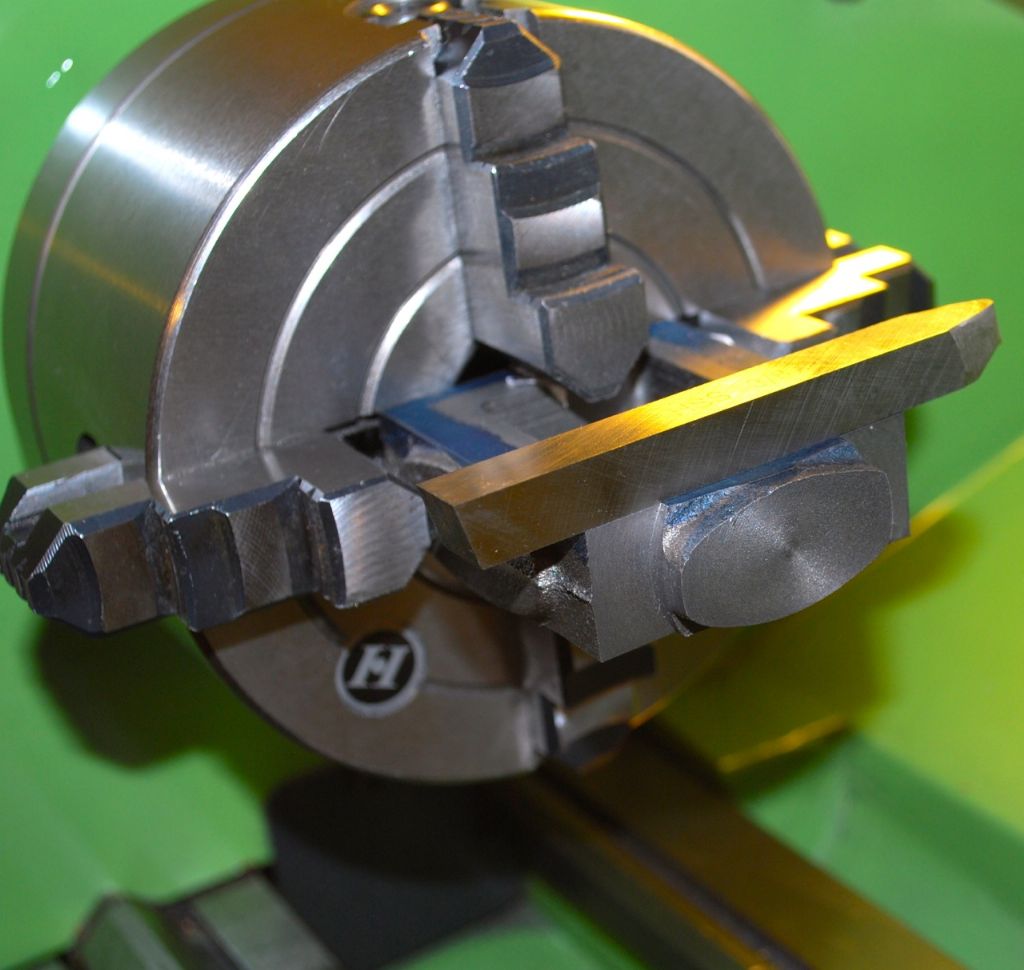
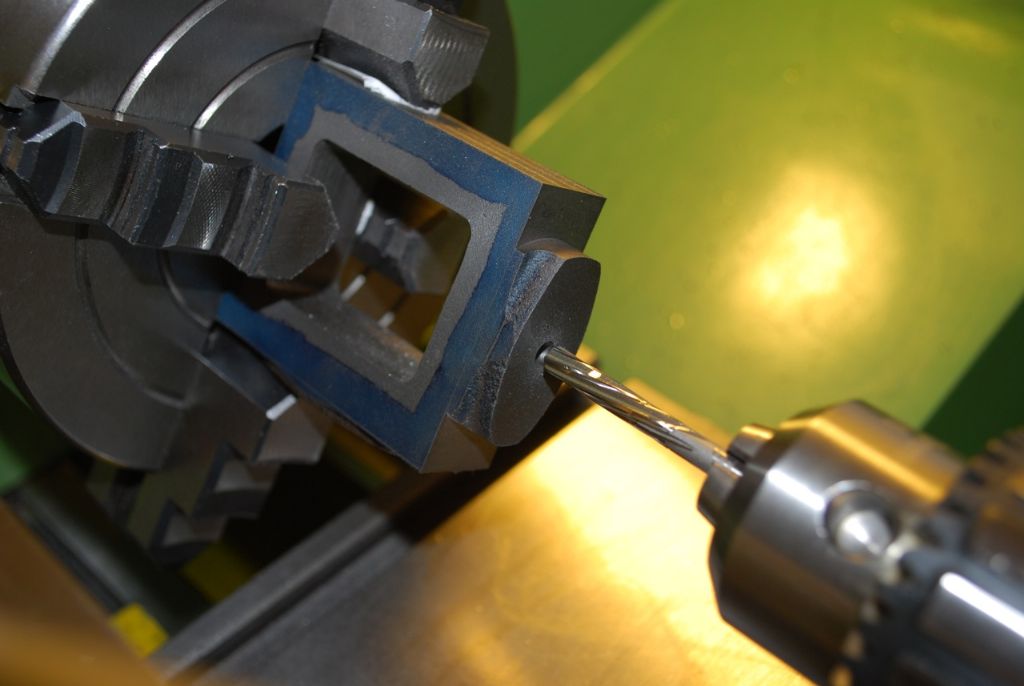
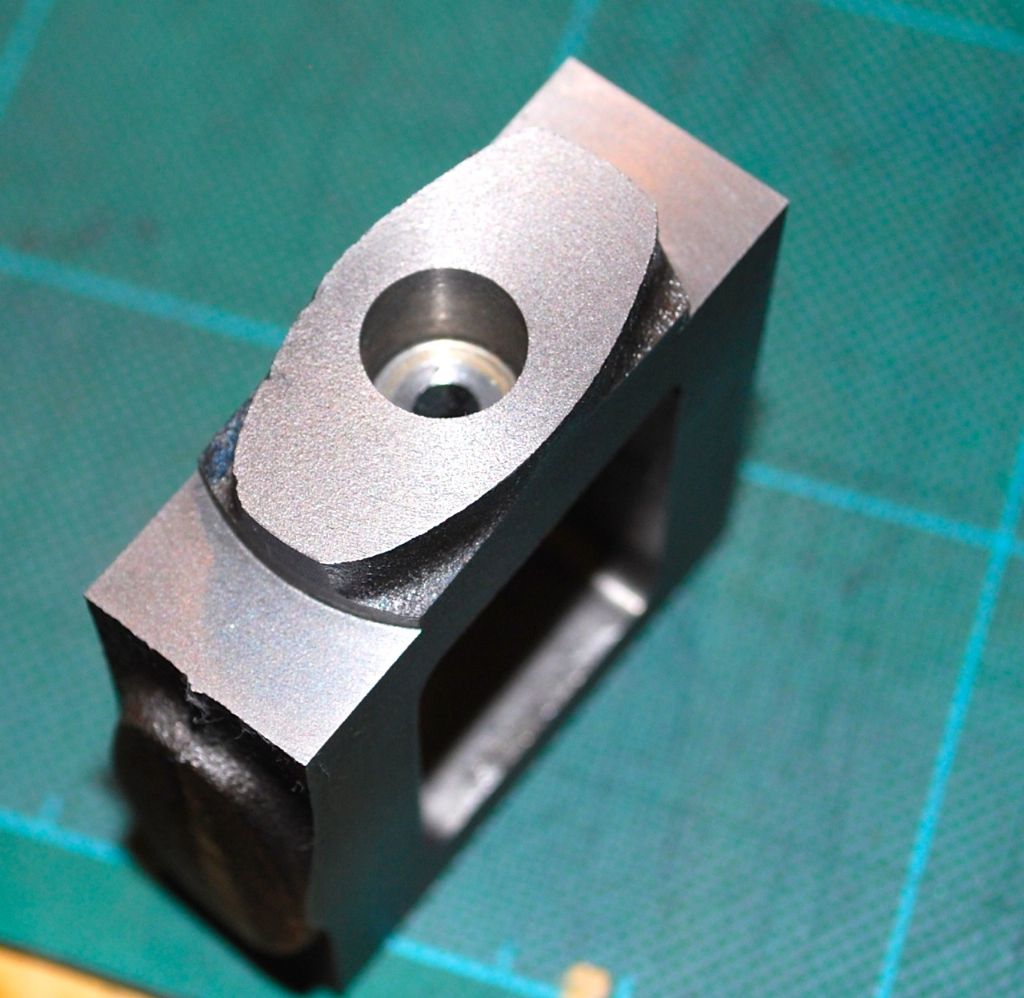
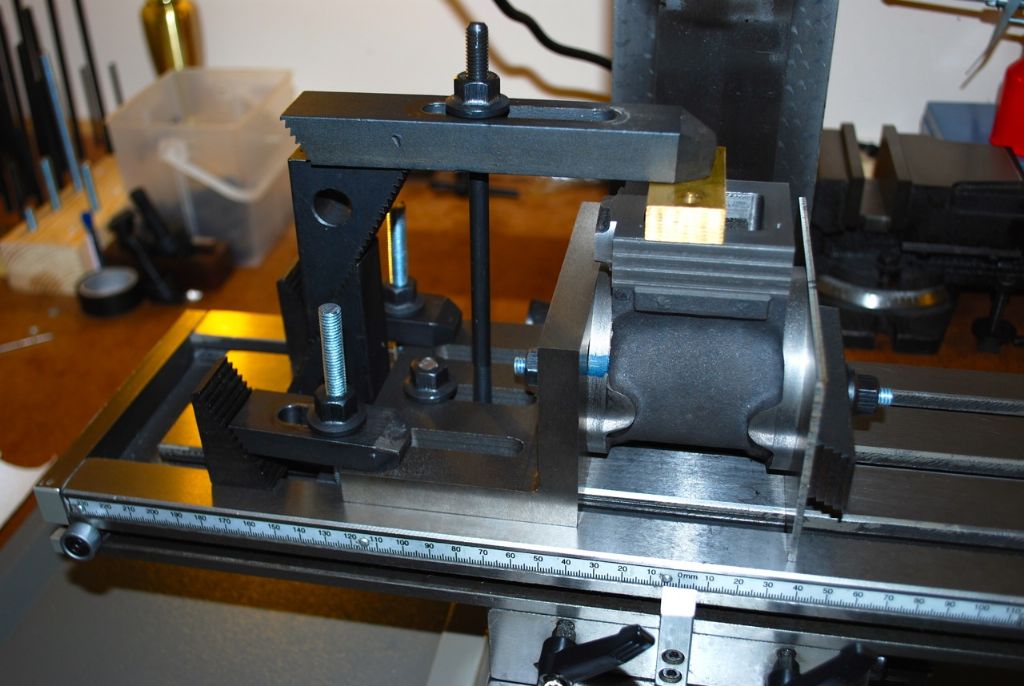
            I've done some more with the Steam Chest today. Its taken a while as there is a lot of checking that everything is square every time it needs to be moved for a new setup – and you can perhaps see from the photos above (last post) that the 'valve Boss'  as cast is well off centre, making things a bit more awkward – so things look a bit off below until I can hopefully tidy around the bosses and glands when they are done – with a file..

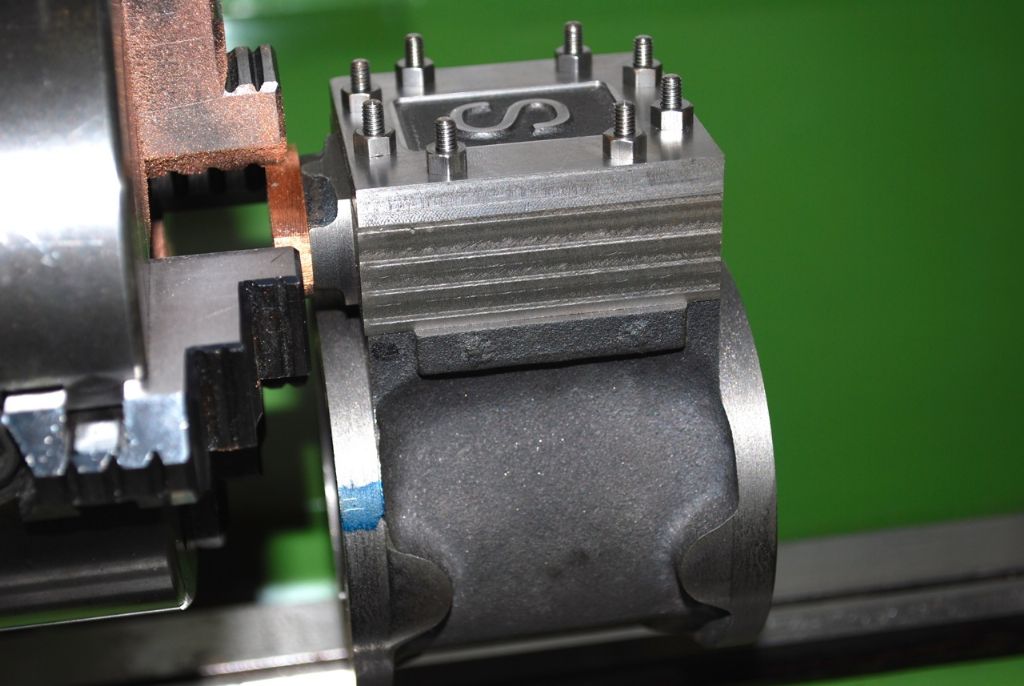
            Starting to machine the Valve Boss end with the 'inside centre' of the steam chest running true.

            434. steam chest progress today 1..jpg

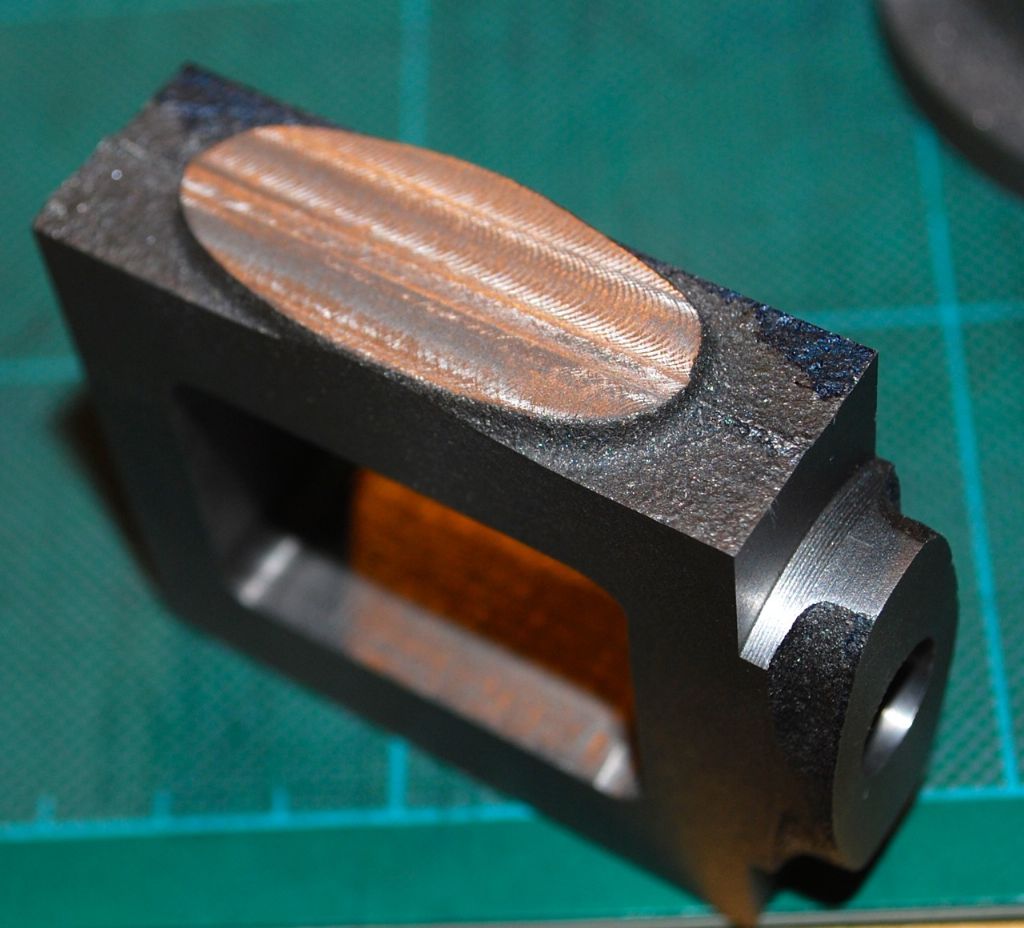
            The 'Valve Boss' now looking a bit more central, but its going to take some careful filing later to get it looking right.

            434. steam chest progress today 2..jpg

            I'm thinking I'll try and clamp a piece of tool steel across the ends to help with some of the filing when the time comes.. The outside edges of the Steam Chest are being machined to the size of the Steam Cylinder Port face and so I'm getting left with little steps to remove later – I dare say it's not helping because I've taken too much from the Steam Cylinder Port Face when I did that earlier..

            434. steam chest progress today 3..jpg

            The 3/16" hole for the 'Valve Rod' was drilled and reamed first..

            434. steam chest progress today 4..jpg

            and then opened out with a drill bit and bored to size. The face edge is a bit rough but that will be filed away, (I though I'd better not take any more off the face to get rid of it that way as the boss would be getting too thin..)

            434. steam chest progress today 9..jpg

            Next the Steam Inlet boss was then lightly tidied up square on the mill so that it could be marked and a square used on the Lathe to help with checking the setup..

            434. steam chest progress today 7..jpg

            and then the Steam Inlet marked – again on a centre line of the inside of the Steam Chest. This Boss seemed pretty central as cast – unlike the Valve Boss.

            434. steam chest progress today 5..jpg

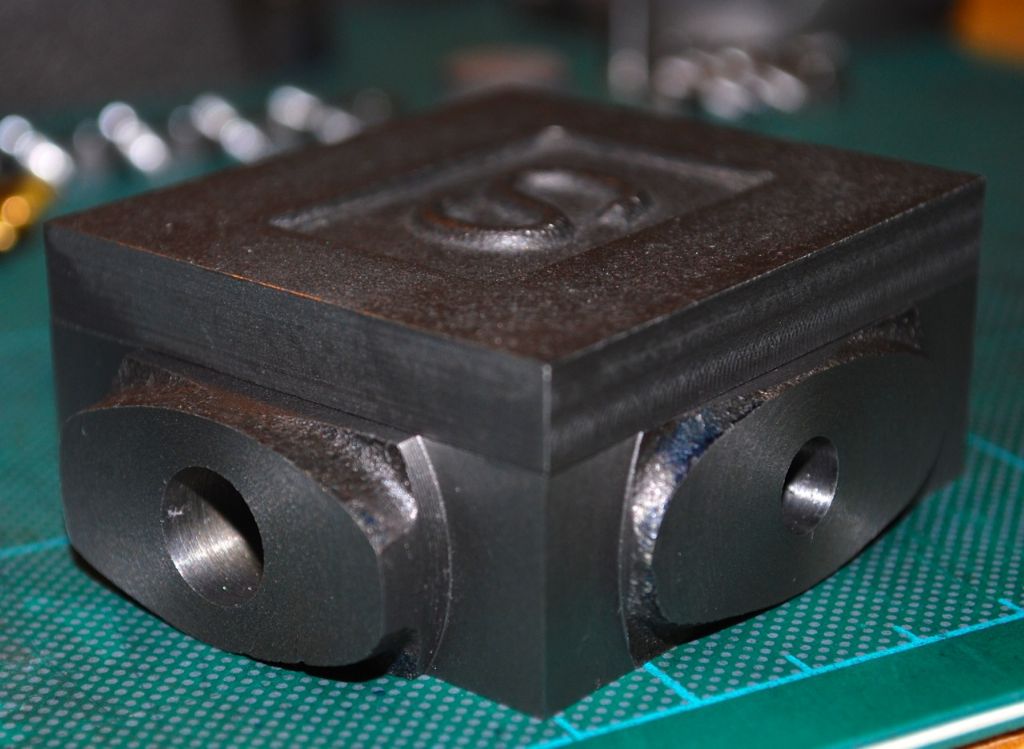
            The Steam Chest so far – ready now to do the Steam Chest Cover so that the fixing holes can be spotted through to the Steam Chest and then on to the steam Cylinder..

            434. steam chest progress today 10..jpg

            Its far from perfect but should hopefully be ok..

            Cheers

            Garry


            Edited By Garry_C on 30/08/2015 13:56:51

            Edited By Garry_C on 30/08/2015 13:59:13

            #202531
            Bruce Voelkerding
            Participant
              @brucevoelkerding91659

              Garry – 3 comments:

              1. if I were machining the side of the Steam Chest as your picture shows, I would do it the same with parallels locating the inside surface BUT I would use shorter parallels to allow a better grip in the vice. Check your high-speed tool blanks, they are quite parallel but often one side is different thickness than the other. Mark with felt tip pen.

              2. if I were holding the Steam Chest in the 4-Jaw Chuck to machine the Valve Rod Gland as your picture shows, I would do it the same BUT I would use say 1/4" x 3/4" pieces of steel across the Steam Chest on the two Jaws which are "gripping air". To keep them from dropping out when adjusting the 4-Jaw, I would have used double sided Scotch tape between the Valve Chest and the steel pieces. I had a very similar set-up as yours shift on me once.

              3. when machining an INSIDE rectangle like the start of your Valve Chest machining, I first get a clean sheet of paper and make a very simple sketch of the part as it sits in the Mill. I place it on my workbench next to the Mill. Note I do not have digital readouts on my Mill, I use the hand wheel graduations. I enter the Endmill into the Steam Chest and make a cut all around the interior profile. A light cut – just enough to see how the casting is aligned. The IMPORTANT part – as I do this cut I write down the Hand Wheel numbers. As an example, with a RH Endmill you will cut the side closest to you going from right to left. On my sketch I first would write CW at the bottom of my sketch with the value of the in-out handwheel. The I turn the right-left Handwheel CCW to cut to towards the left side of the Steam Chest. When I stop the cut, on the LH side of the sketch I write CCW .086 (or whatever the number on the Hand Wheel is). I do this all around the part for all the faces.

              Now I can measure how much needs to come off and determine how many passes are required. I write these numbers under the numbers on my sketch and go at it. Notice I do NOT use any stops. I write the CW and CCW down as I once used a machine with a "backwards" thread and I have been ruined for life. By having the CW & CCCW I do not get confused. I just run around the inside of the part keeping an eye on my sketch. Once you understand the system it becomes second nature and takes less time than fiddling with the Stops. You can stop at any time and measure th part and make fine adjustments by tweaking the numbers on the sketch.

              Bruce

              #202539
              GarryC
              Participant
                @garryc

                Hi Bruce

                Thanks very much, I found that very interesting, particularly your method of working around the inside of the Steam Chest on the Mill.. I have some thin flat steel plate that I should cut some packing strips from – which would have been a much better job as you say in the Lathe chuck. I've yet to try anything with double sided tape so I'll have to do some experimenting with that, I hadn't thought of using tape to help with things slipping during setting up, it does sound like a very useful idea..

                My Mill vice although I think excellent, does have quite shallow jaws – hence the deep parallels with the Steam Chest vertically lengthways, I was able to use thinner ones in the horizontal position to get as much of the jaws in contact as possible….

                Thanks again.

                Garry


                Edited By Garry_C on 30/08/2015 17:47:20

                #203054
                GarryC
                Participant
                  @garryc

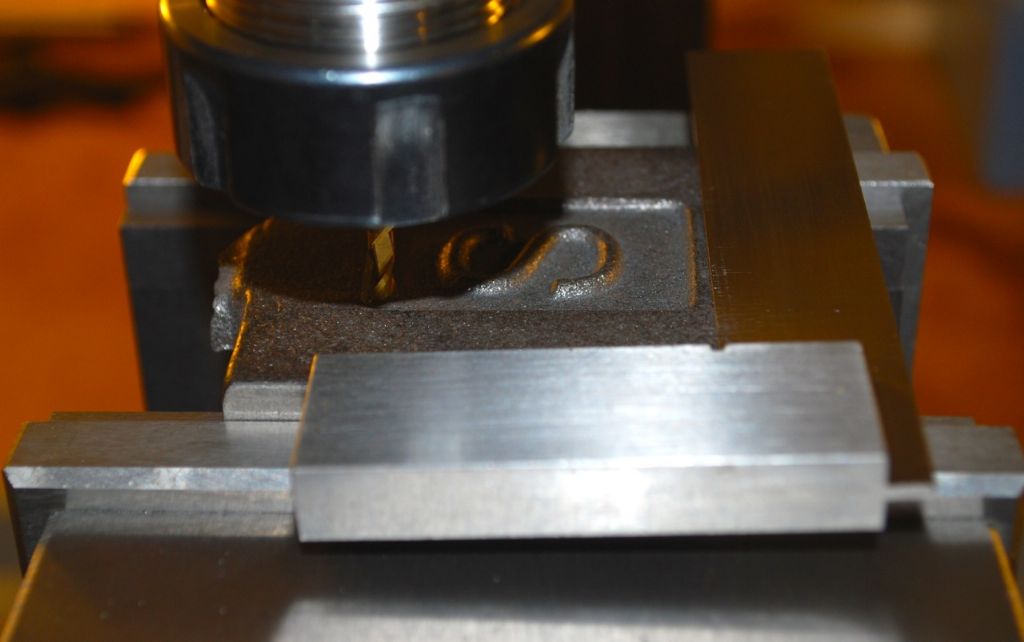
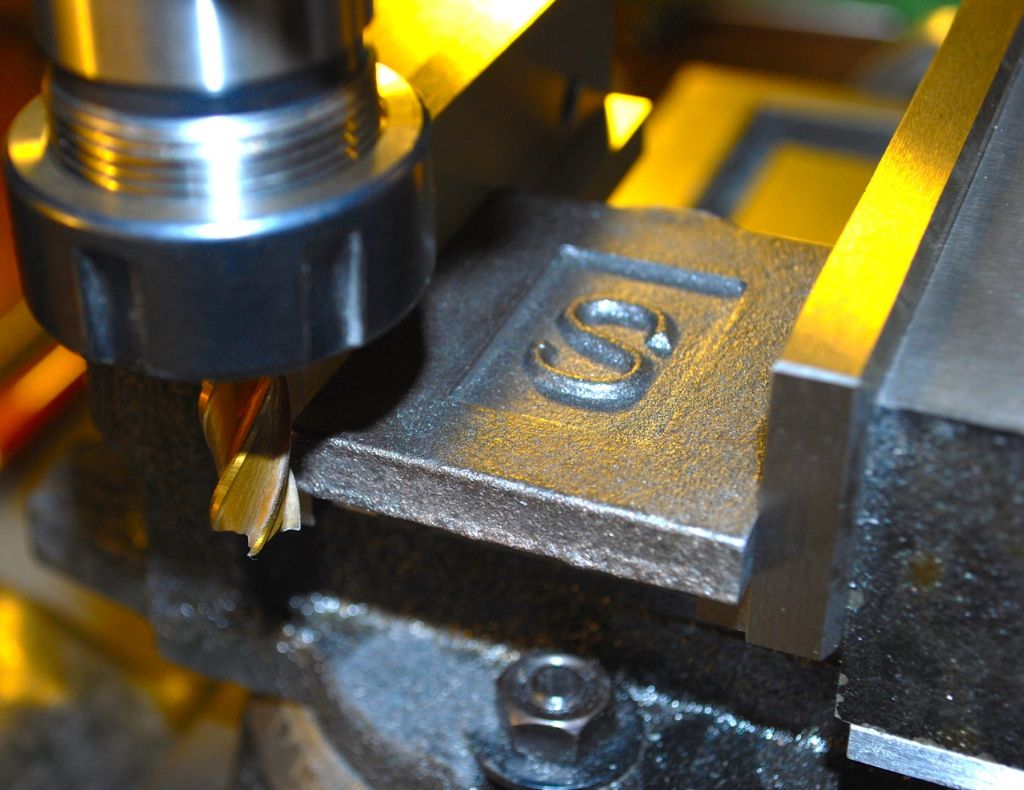
                  Haven't been able to make any progress for a few days, but I've made a start on the Steam Chest cover today..

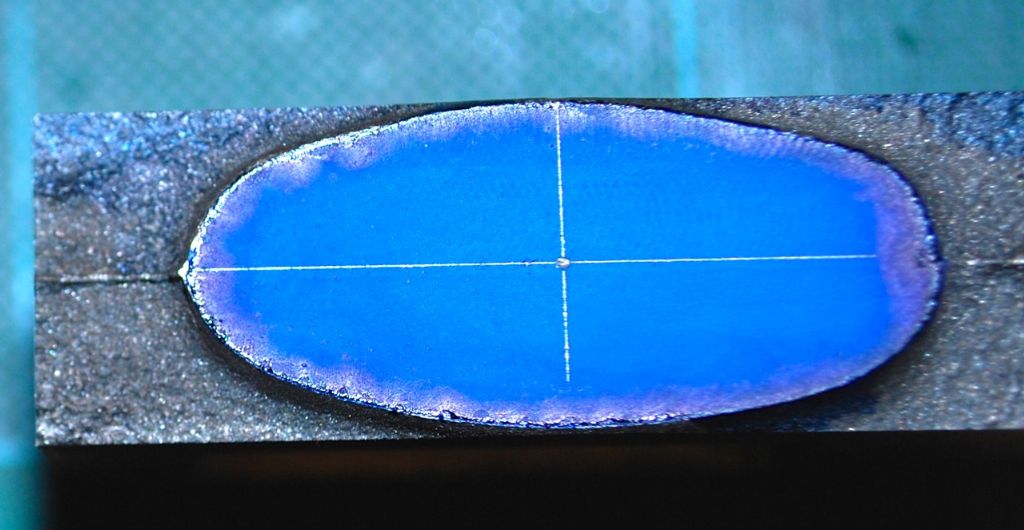
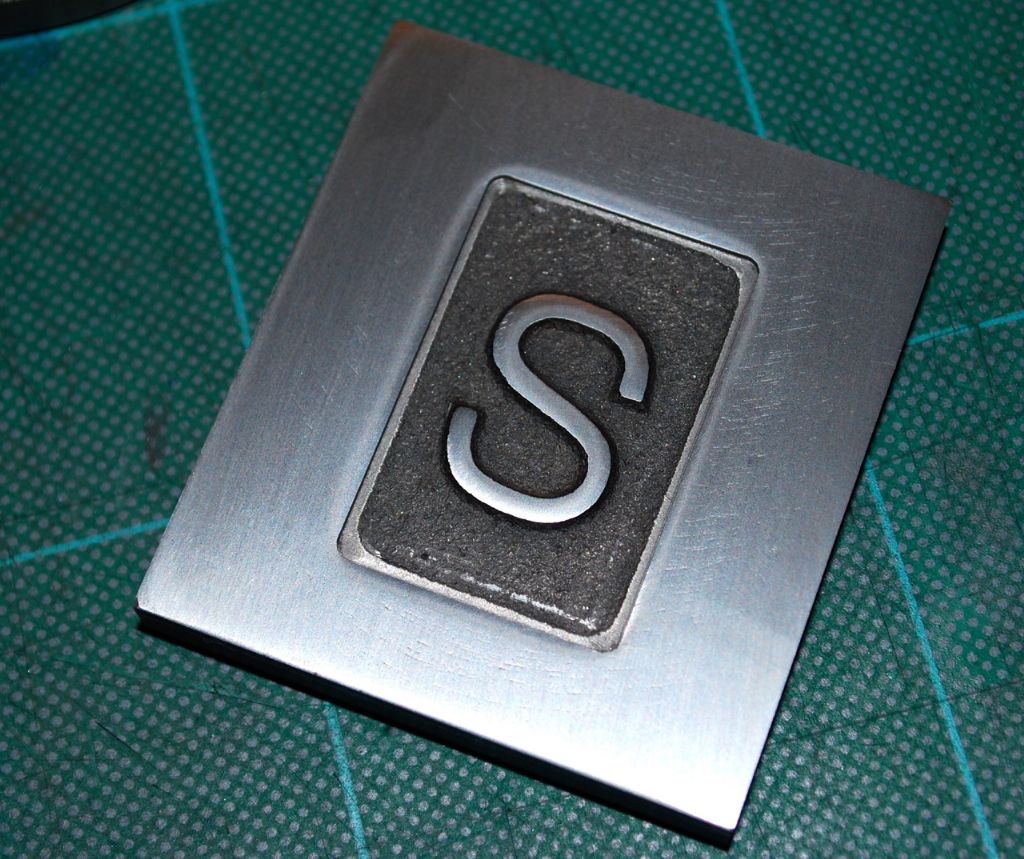
                  The outside edges of the cover seemed pretty square as cast but not very true to the the inner 'S' rectangle..
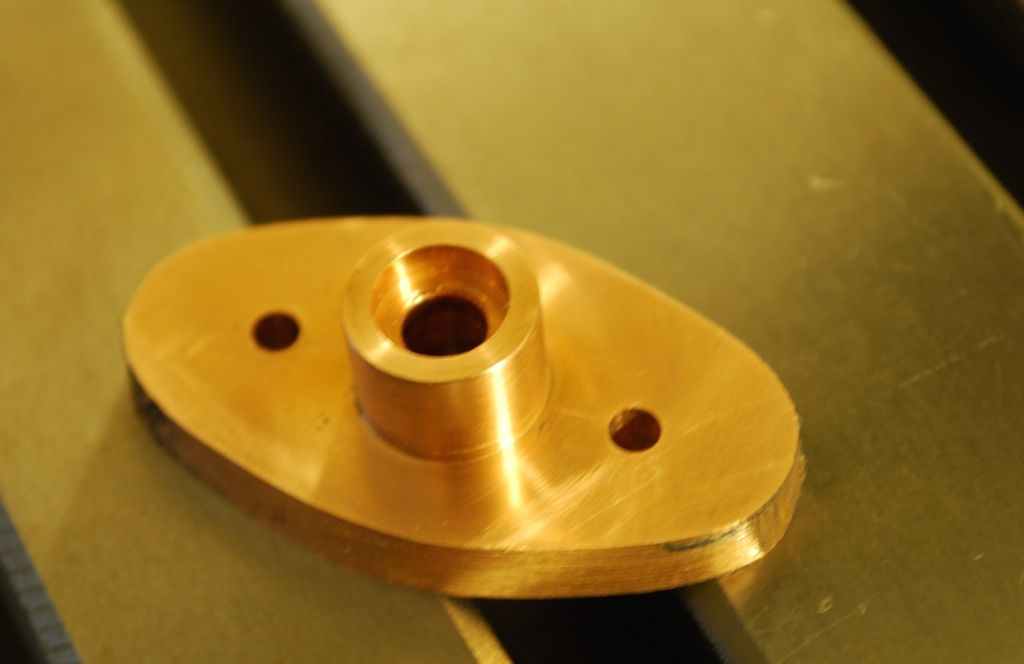
                  435. machining the steam chest cover 1..jpg

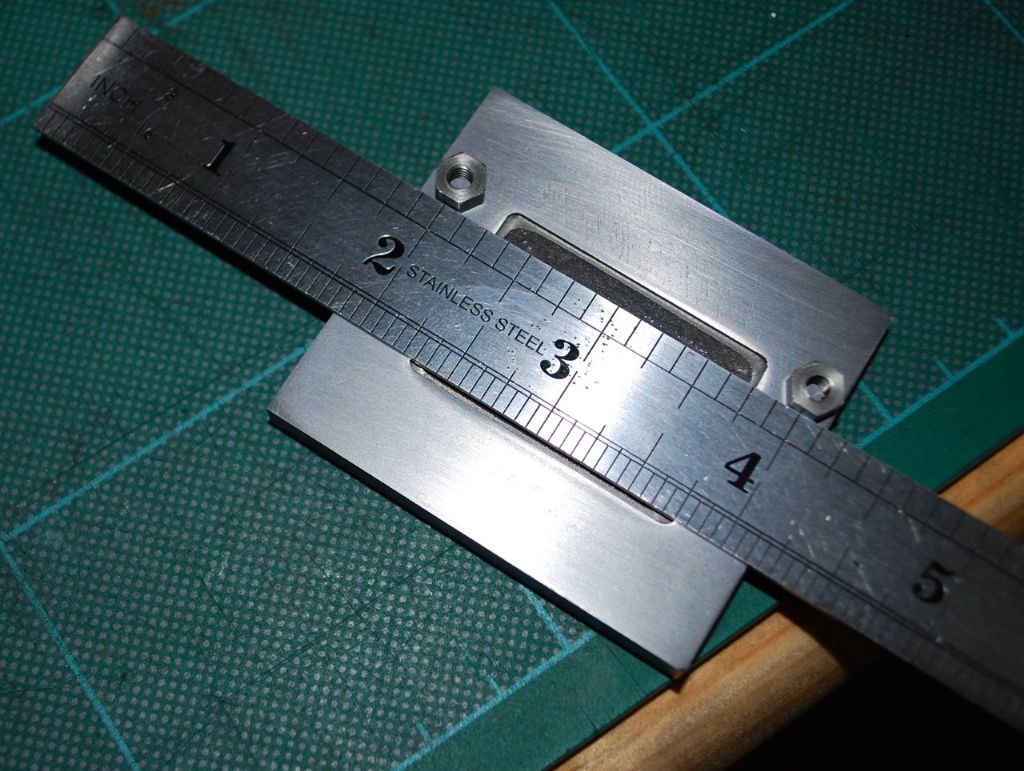
                  Showing the out of square inner rectangle – so I tried to tidy around and square it to the outside edges with a small slot mill..

                  435. machining the steam chest cover 2..jpg

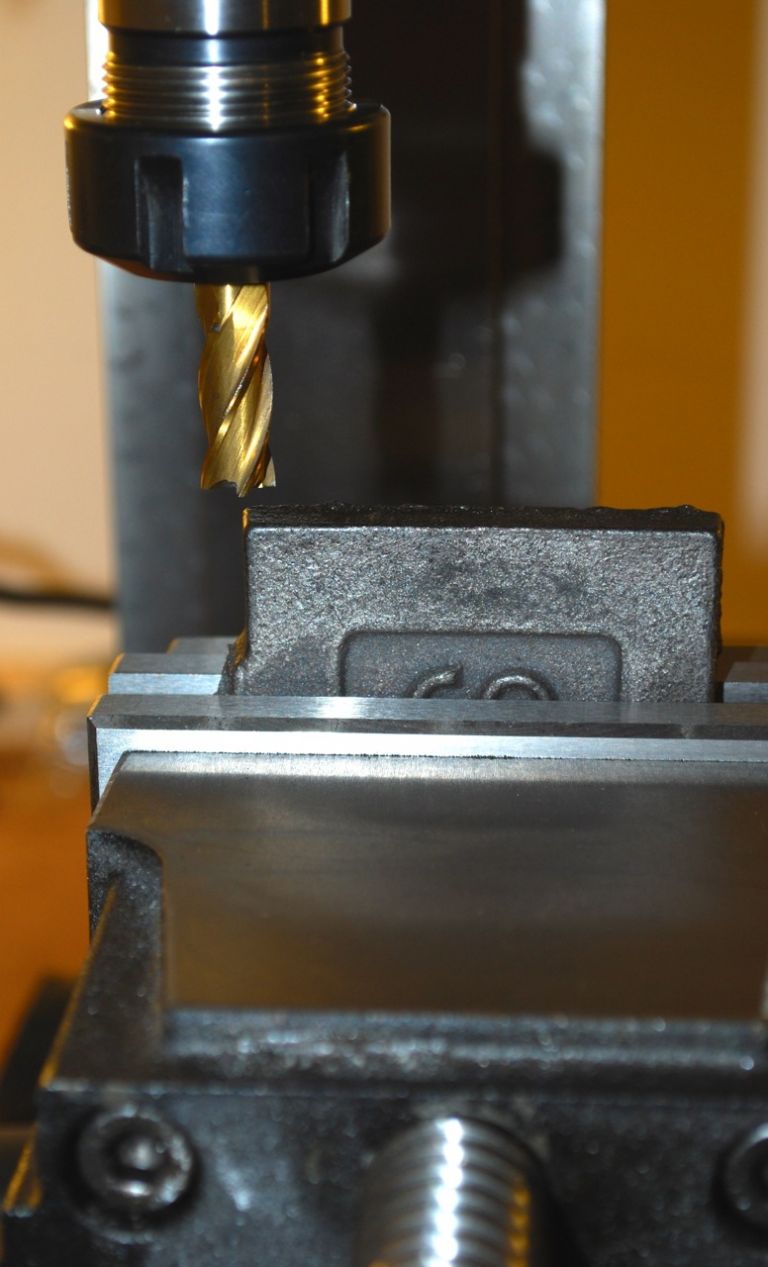
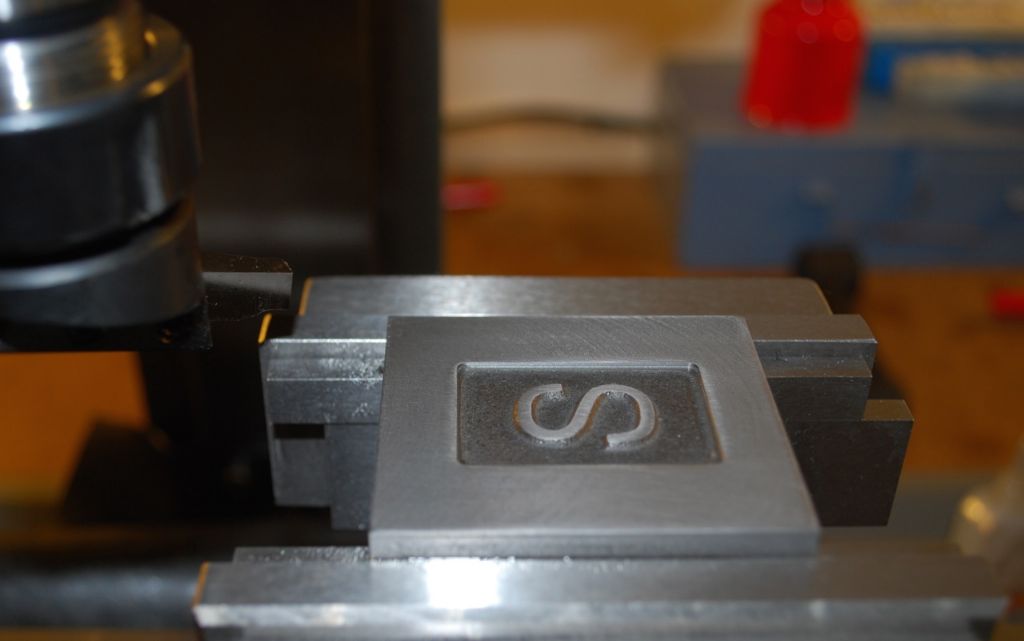
                  Then side milling to avoid the long overhang that I would have if holding lengthways vertically in the vice jaws..

                  435. machining the steam chest cover 4..jpg

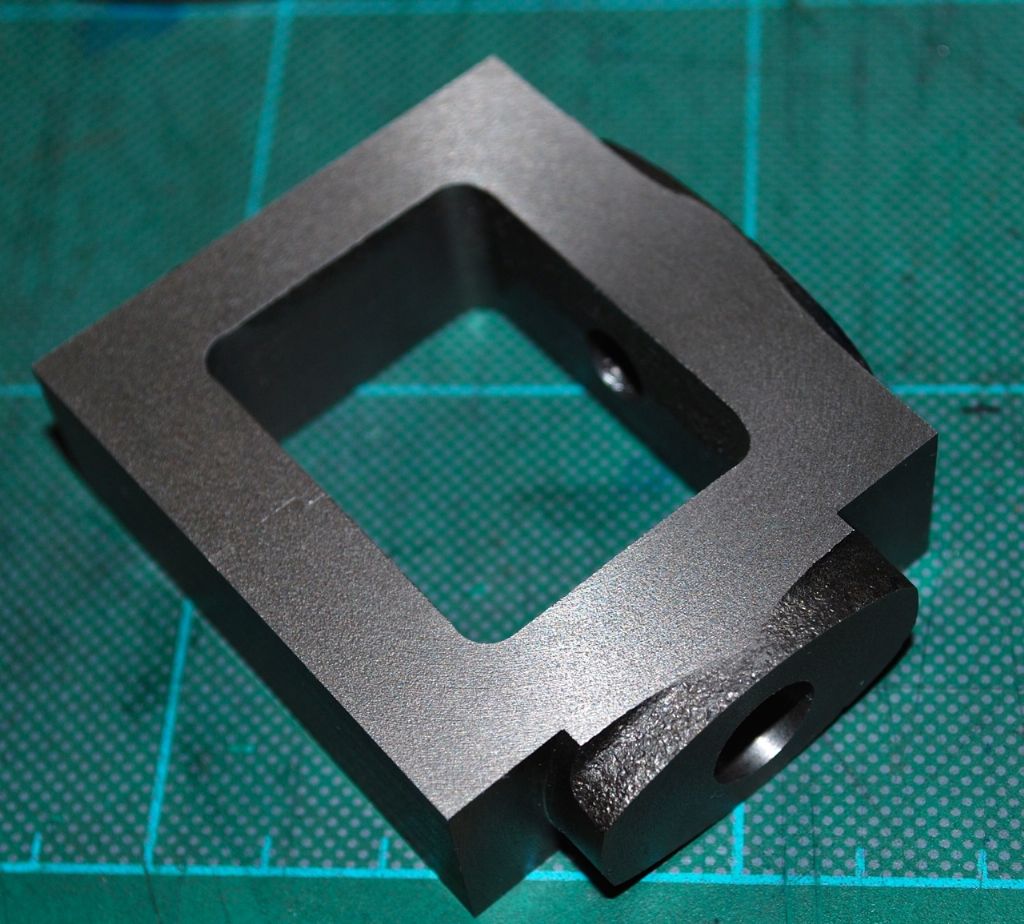
                  Test fitting the Cover over the Steam Chest.

                  435. machining the steam chest cover 5..jpg

                  Then my best result to date flycutting – I ground a 'left hand' lathe type tool – no measured angles I just went and did it by eye to see what would happen..

                  435. machining the steam chest cover 6..jpg

                  Next is to machine the bottom surface and then marking out and drilling the holes – I'll give it a good clean up after when they are done.. I'll probably end up painting the cover as I've marked it a bit..

                  435. machining the steam chest cover 7..jpg

                  Cheers

                  Garry

                  #203084
                  Jeff Dayman
                  Participant
                    @jeffdayman43397

                    The cover is looking good Garry. Cheers Jeff

                    #203310
                    GarryC
                    Participant
                      @garryc

                      Thanks Jeff – I've just been drilling the Cover and took your advice about widening the measurement between the two stud holes close to the valve gland..

                      Also as I came up a bit short in the Steam Cylinder port face lengthways dimension the 2" ctrs between the stud holes were a bit close to the Cover edge so I've shortened by 1/16".. The dimension between the two holes on the shorter edges were also increased by 1/16" to be safe with the closeness of the Valve Gland..

                      436. steam chest cover todays progress 1..jpg

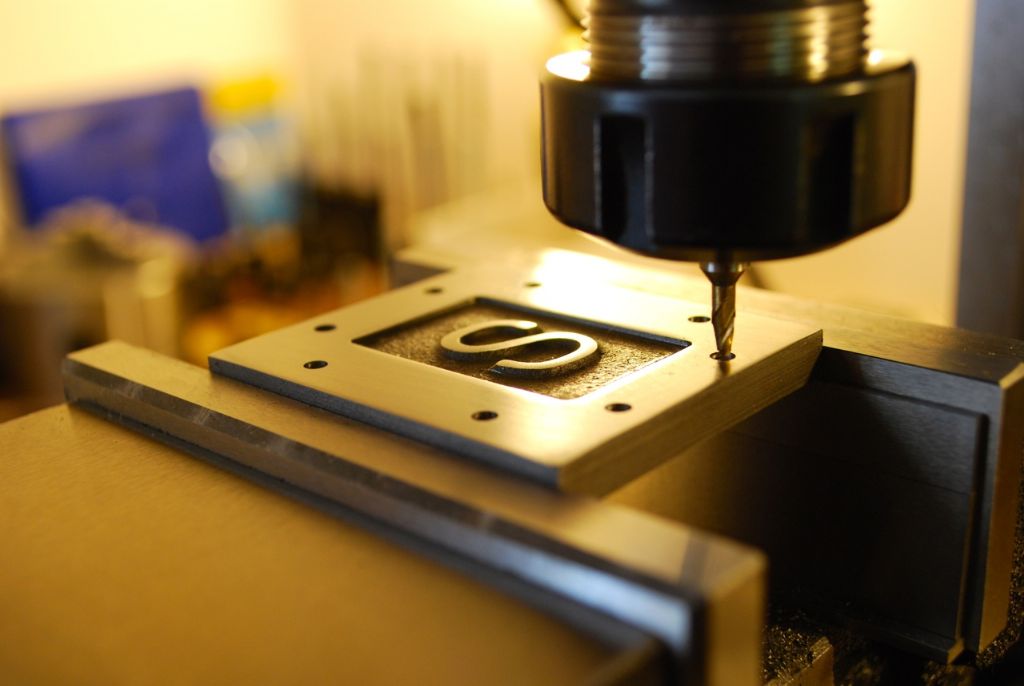
                      Rather than risk marking out the holes and spoiling the Cover face I used an edge finder and just had to locate two of the holes – using the Mill to find the others..

                      436. steam chest cover todays progress 2..jpg

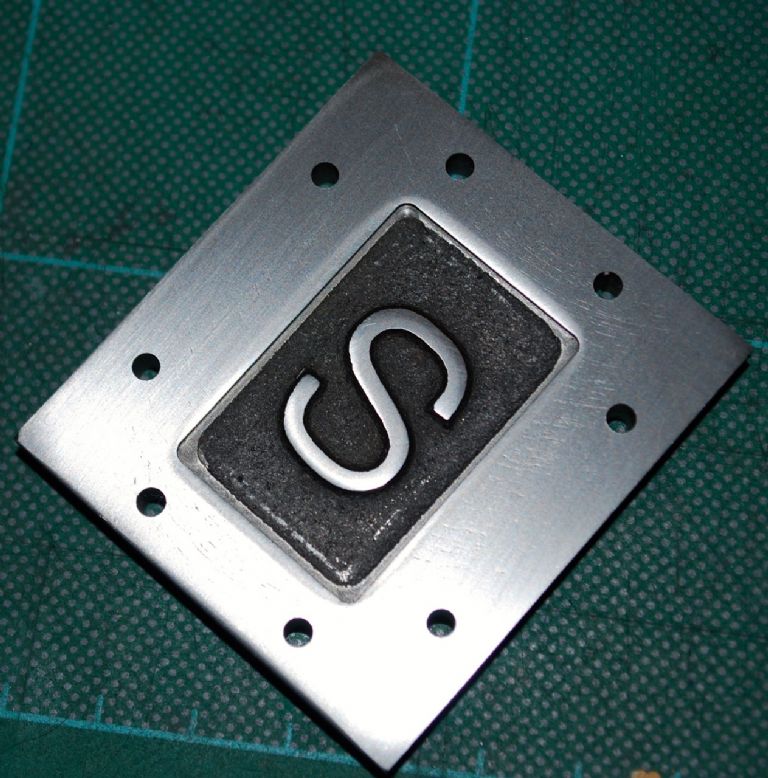
                      The Steam Chest Cover with holes to 4BA tapping size for spotting through to the Steam Chest and then onto the Steam Cylinder, opening out to clearance size later.. (The cover will need polishing up come final assembly..)

                      436. steam chest cover todays progress 3..jpg

                      Cheers

                      Garry

                      Edited By Garry_C on 06/09/2015 13:14:13

                      Edited By Garry_C on 06/09/2015 13:14:48

                      #203411
                      GarryC
                      Participant
                        @garryc

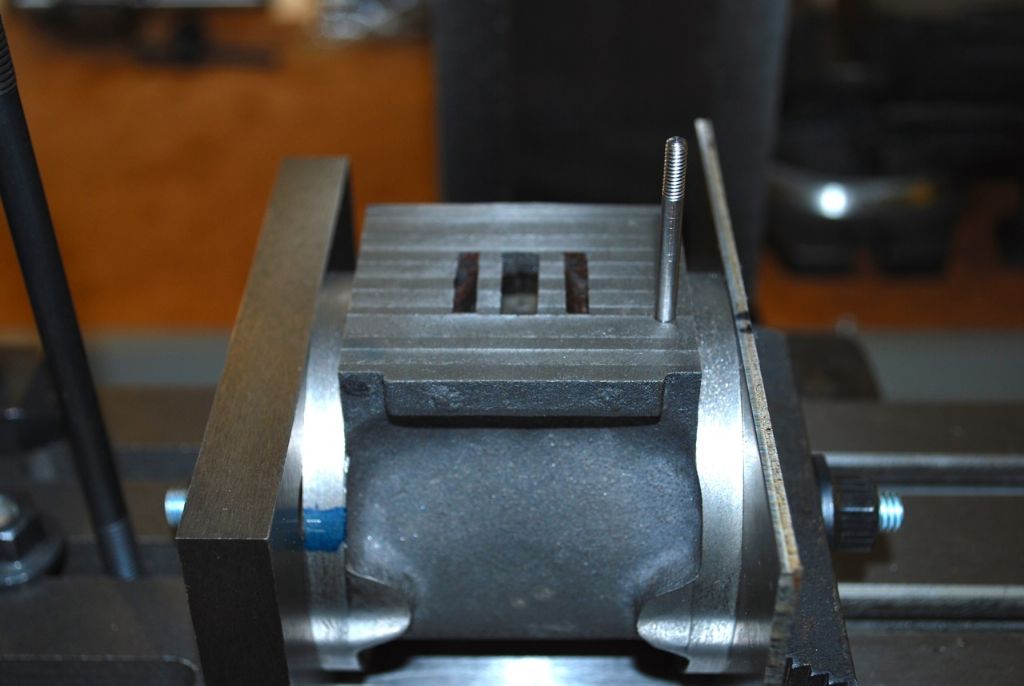
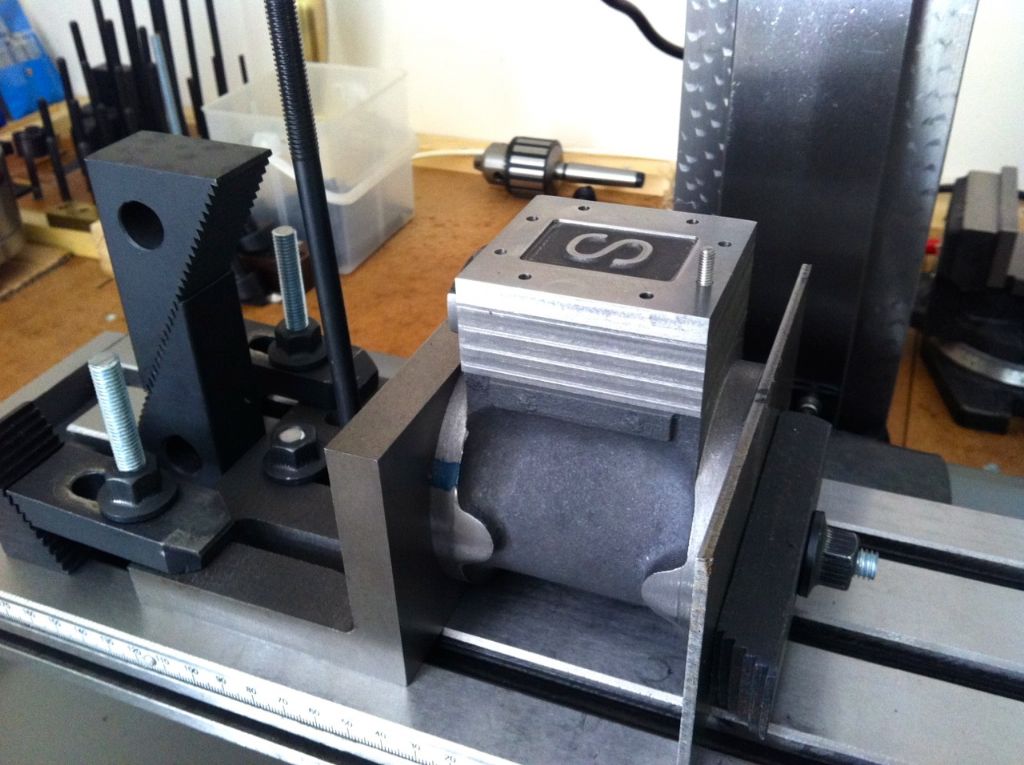
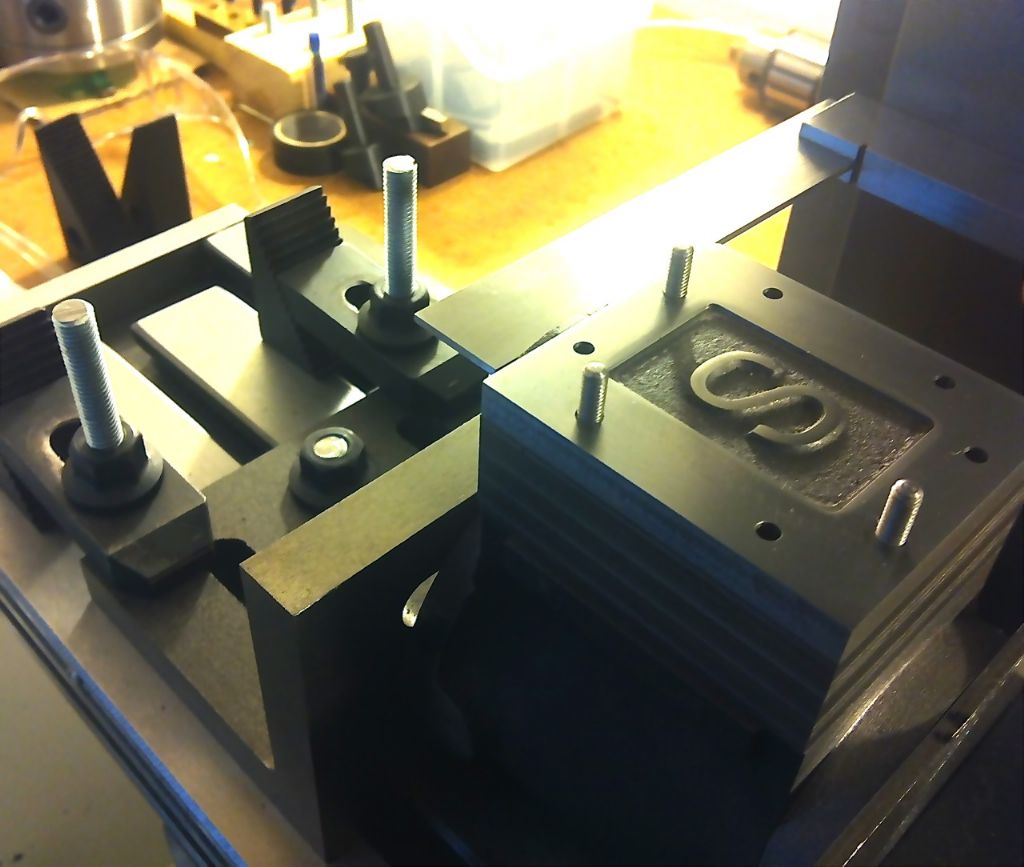
                        Just a quick couple of photo's of this mornings progress in starting to fit the Steam Chest studs..

                        Setting up to spot through the 1st of the holes – the chest was removed before drilling..

                        437. todays progress 2..jpg

                        The first of the 8 4BA studs in..

                        437. todays progress 1..jpg

                        Progress so far..

                        437. todays progress 3..jpg

                        Cheers

                        Garry

                        #203569
                        GarryC
                        Participant
                          @garryc

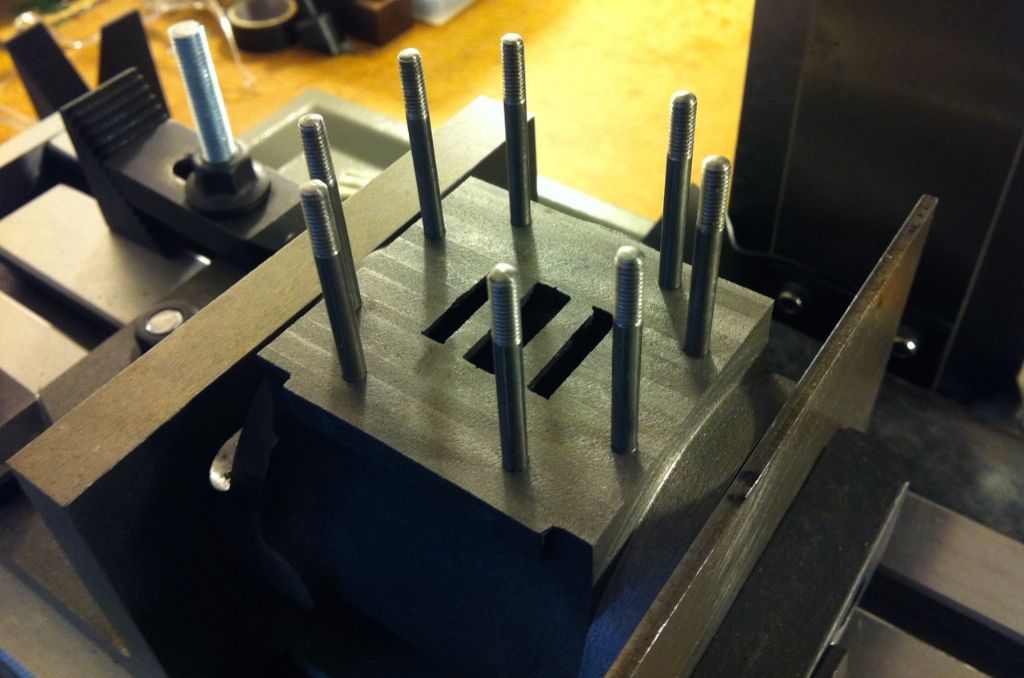
                          Not really an update, just some photos I wanted to keep in the file from this morning..

                          A couple more studs in..

                          437. todays progress 5..jpg

                          and checking the Valve Gland boss is still square with the Cylinder Bottom now there is more than one stud in place..

                          437. todays progress 6..jpg

                          Cheers

                          Garry

                          Edited By Garry_C on 08/09/2015 13:55:49

                          #203693
                          GarryC
                          Participant
                            @garryc

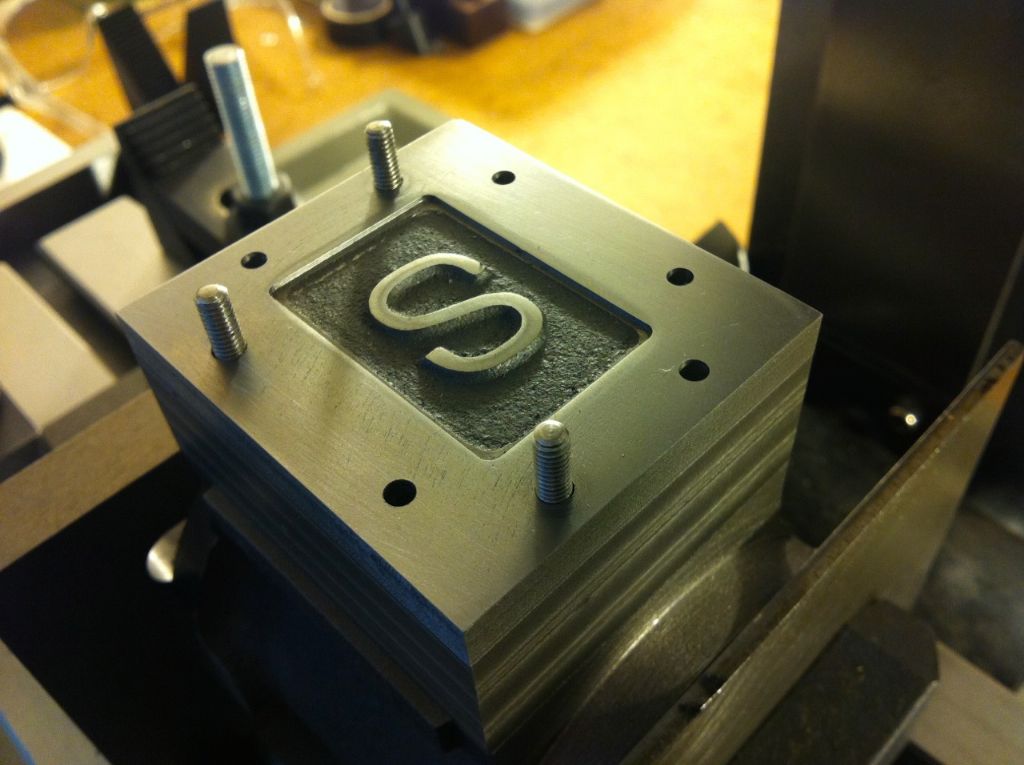
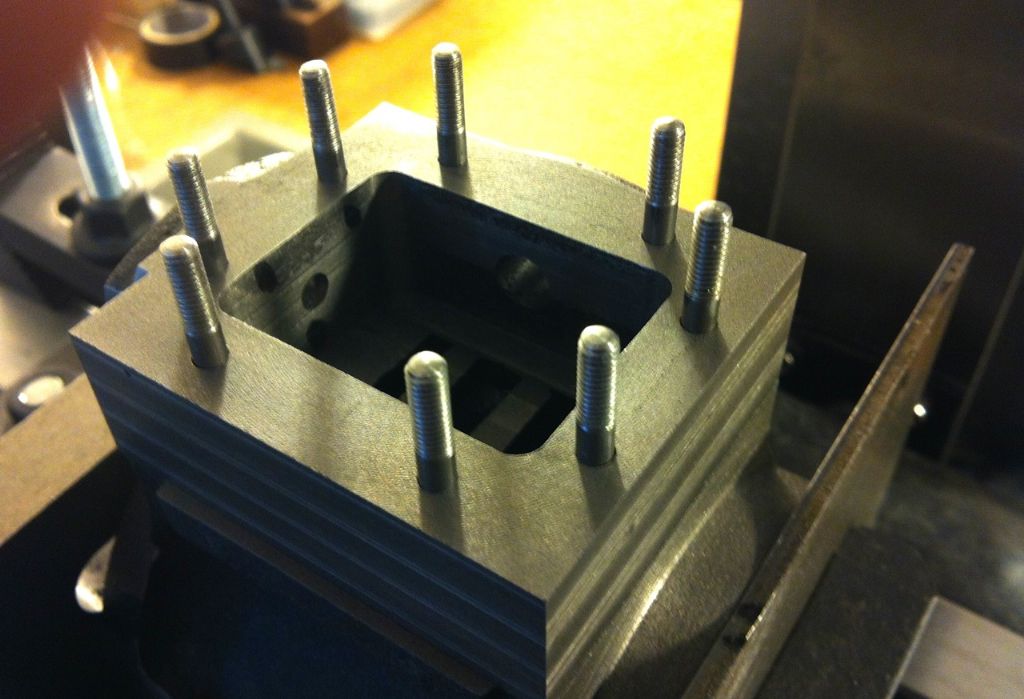
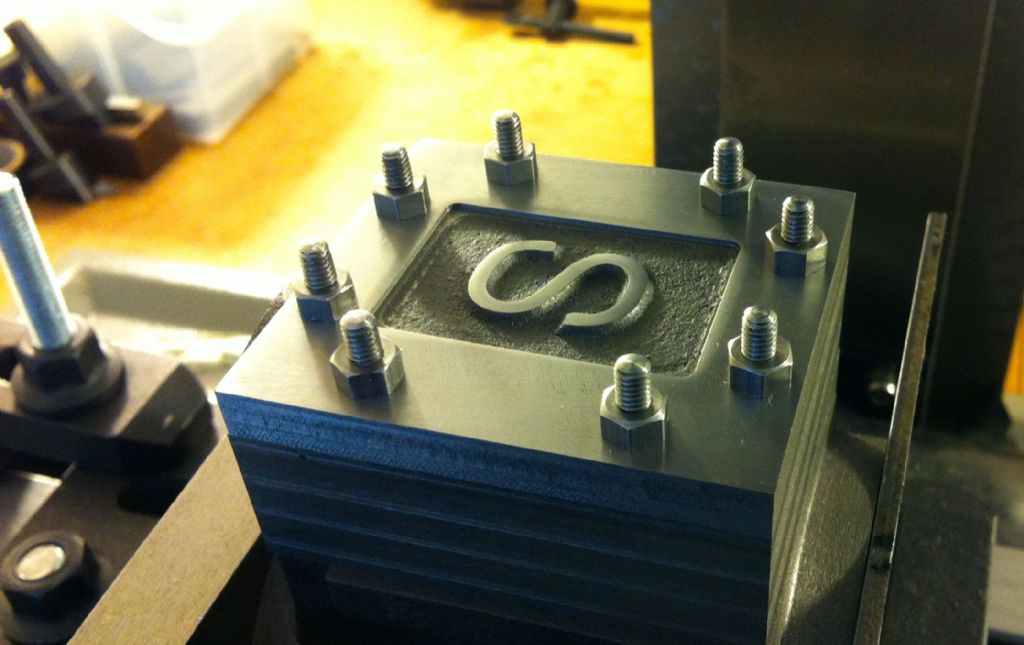
                            A couple more photos of finishing fitting the Steam Chest Studs..

                            All 8 4BA Studs fitted.

                            438. todays progress 2..jpg

                            Test fitting the Steam Chest. Just one of the holes had to be opened out from 4BA Clearance Size to 3.8mm – something happened when I had to stop on that particular hole to extend the drill bit, bit of a mystery to me, the Steam Chest Cover was ok and all holes at 3.7mm..

                            438. todays progress 4..jpg

                            Test fitting the Steam Chest Cover.

                            438. todays progress 3..jpg

                            Cheers

                            Garry

                            Edited By Garry_C on 09/09/2015 14:32:10

                            #203808
                            GarryC
                            Participant
                              @garryc

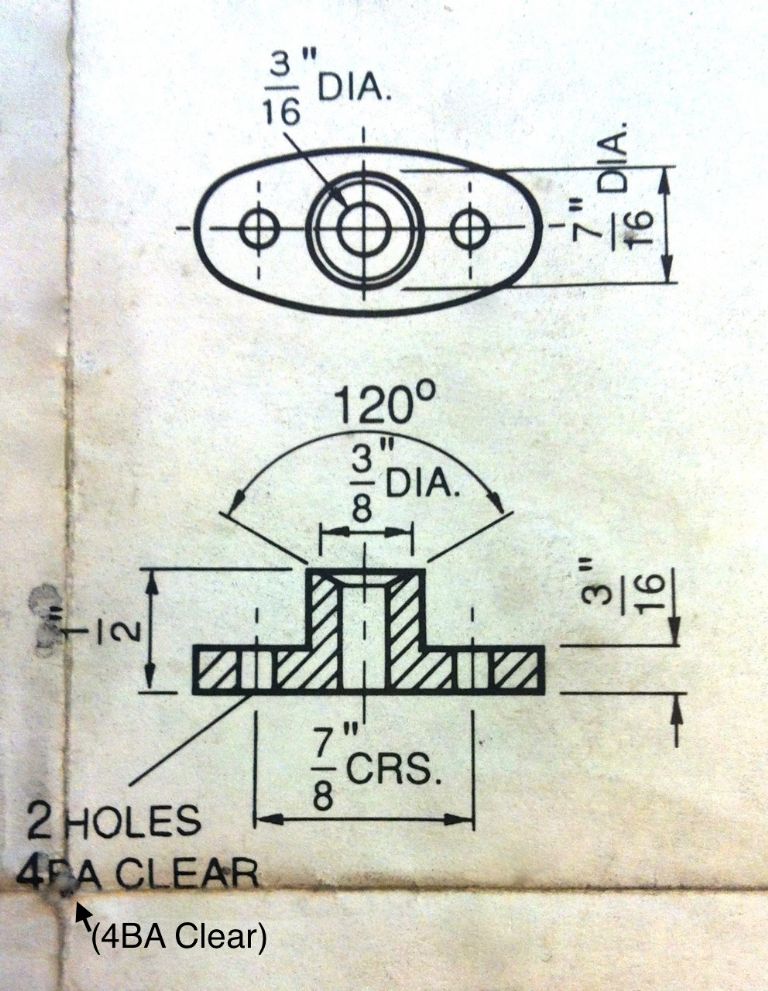
                              Next to do is the Valve Rod Gland.

                              The Valve Rod Gland Drawing.

                              439. the valve rod gland drawing 3..jpg

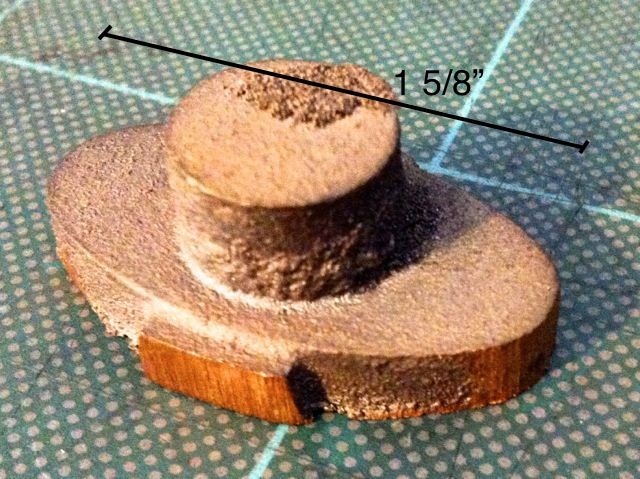
                              The Glands for the No.1 should be a bit less work than having to cut individually from an oval bar as was supplied with Victoria – but the No'1's are much bigger..)

                              The Valve Rod Gland casting – Gun Metal.

                              439. the valve rod gland casting 2..jpg

                              Cheers

                              Garry

                              #203913
                              GarryC
                              Participant
                                @garryc

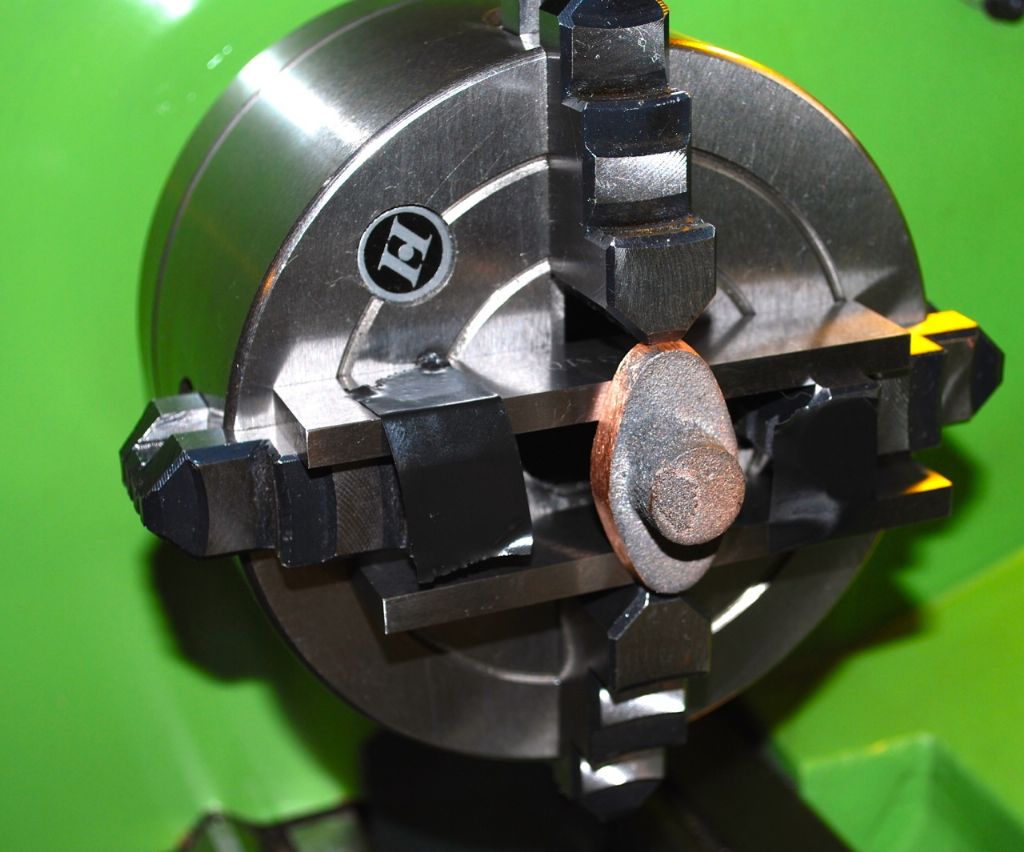
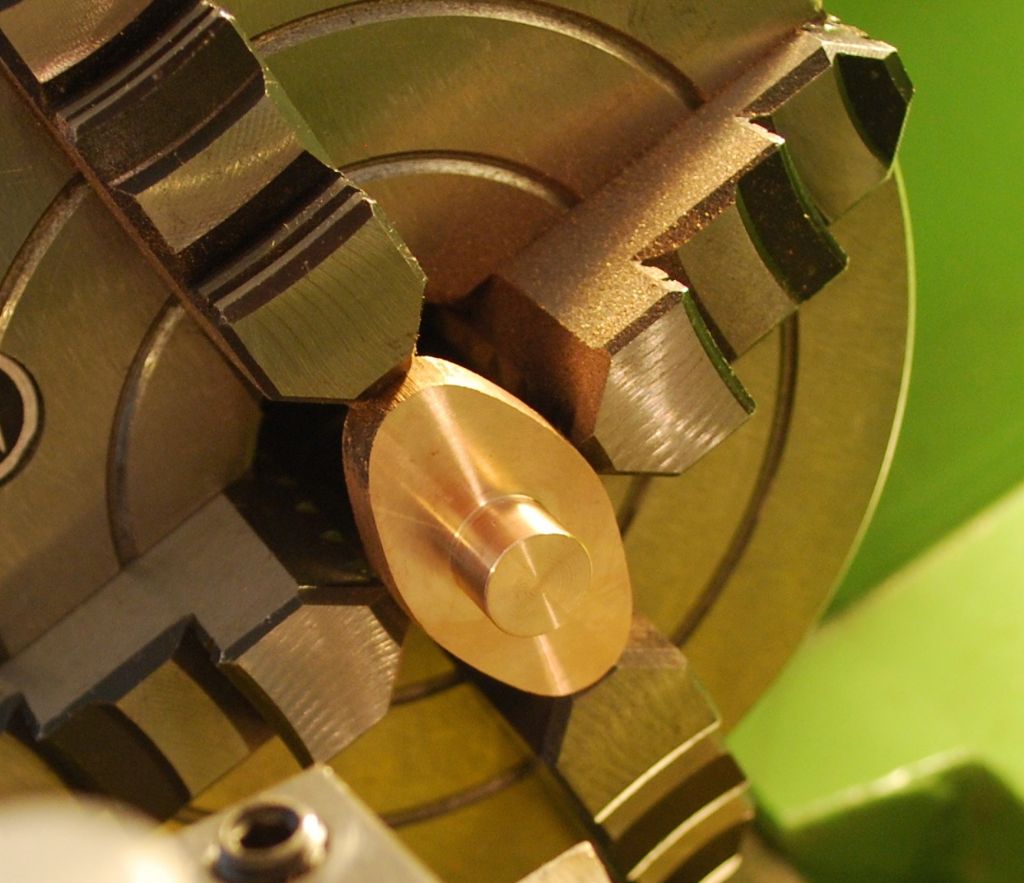
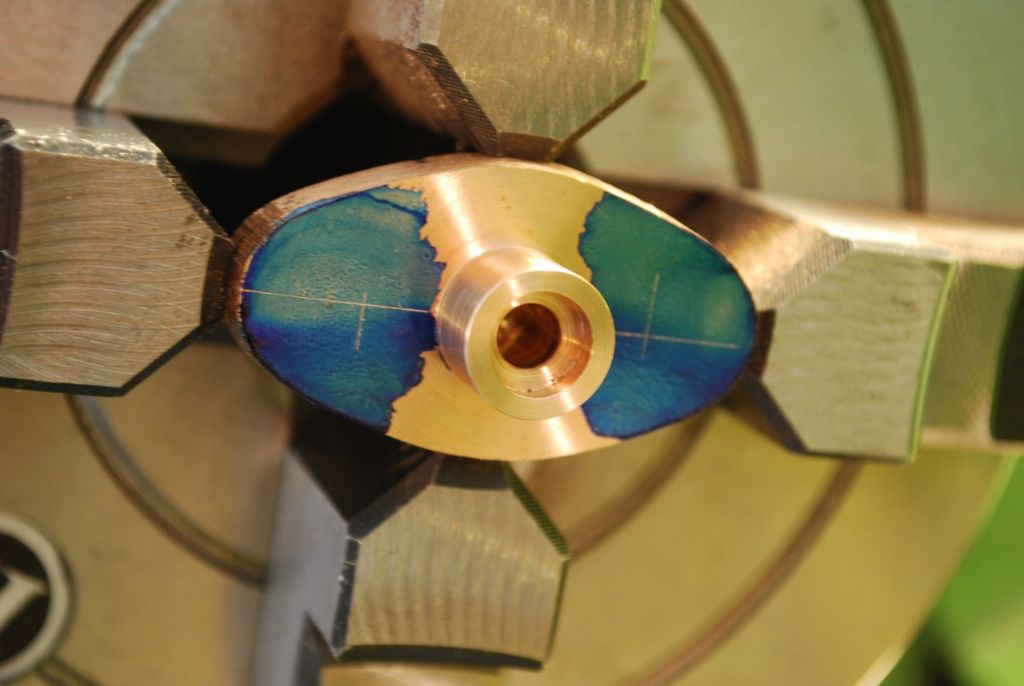
                                Making a start with the Valve Rod Gland – after some tidying of the casting with a file, setting up the boss to run true as poss in the lathe – time for the pencil again. I did try using some tape to try and make it a bit easier to adjust the jaws but I managed better without I think.. (Tape and parallels removed before turning of course.).

                                440. todays progress 2..jpg

                                Checking the fitting of the gland in the Steam Chest – it was a close fit, no play but not really the 'easy' push fit I was aiming for – I tried to remove a half thou with the hand wheel scale and should have just run the last pass on the same setting at the end I think.. But hopefully ok.

                                440. todays progress 3..jpg

                                Most of my lathe time I've been mainly using carbide inserts but this time I sharpened my HSS knife tool and its made a cleaner job of the corners and I've noticed that in checking the reducing diameters the cuts are more accurate than I was getting with the inserts – first time i've noticed this but the checks were all coming pretty much spot on and the tool was cutting very cleanly in comparison as well, different feel altogether..

                                Ready for drilling and reaming etc – I hope to be able to use the lathe centre height to mark out the fixing holes before removing from the chuck.. and later I should be able to use the 1/2" filing buttons I've already made..

                                440. todays progress 6..jpg

                                Cheers

                                Garry

                                #203914
                                JasonB
                                Moderator
                                  @jasonb

                                  Looking good Garry

                                  J

                                  PS You missed the swarf on the chuck jawssmile p

                                  #203920
                                  GarryC
                                  Participant
                                    @garryc

                                    Hi Jason,

                                    oops – its takes a keen eye to spot that wink 2

                                    Cheers

                                    Garry

                                    #204017
                                    GarryC
                                    Participant
                                      @garryc

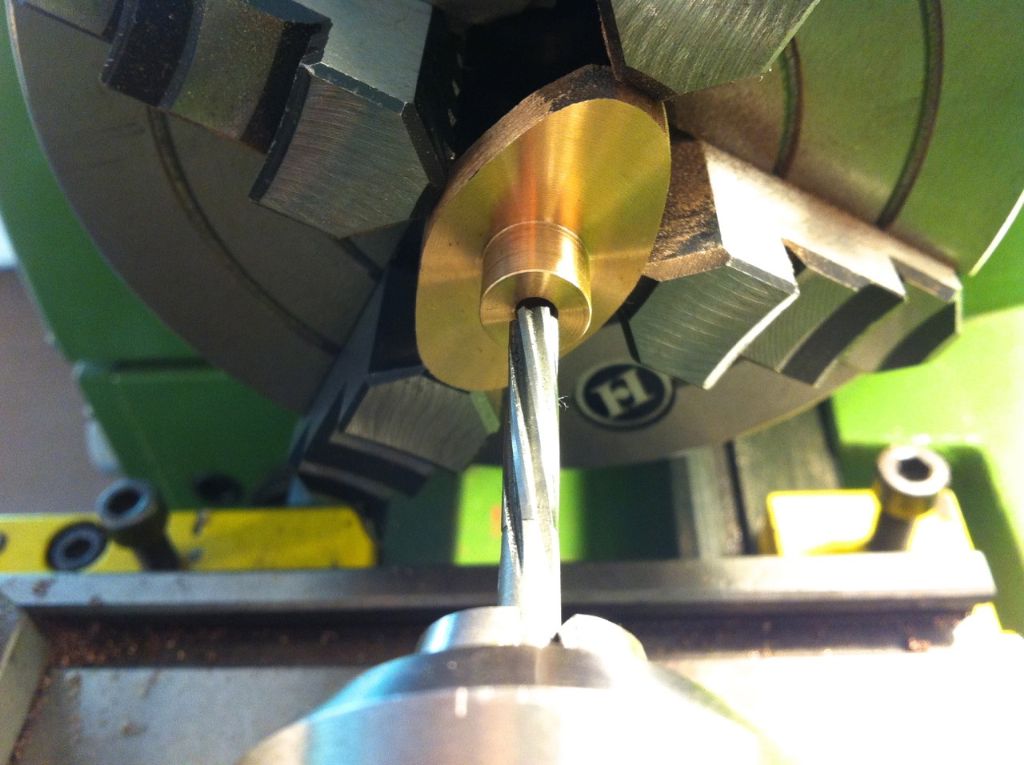
                                      Drilling, reaming and marking out the valve Rod Gland..

                                      Reaming the 3/16" hole for the Valve Rod.

                                      441. todays progress 2..jpg

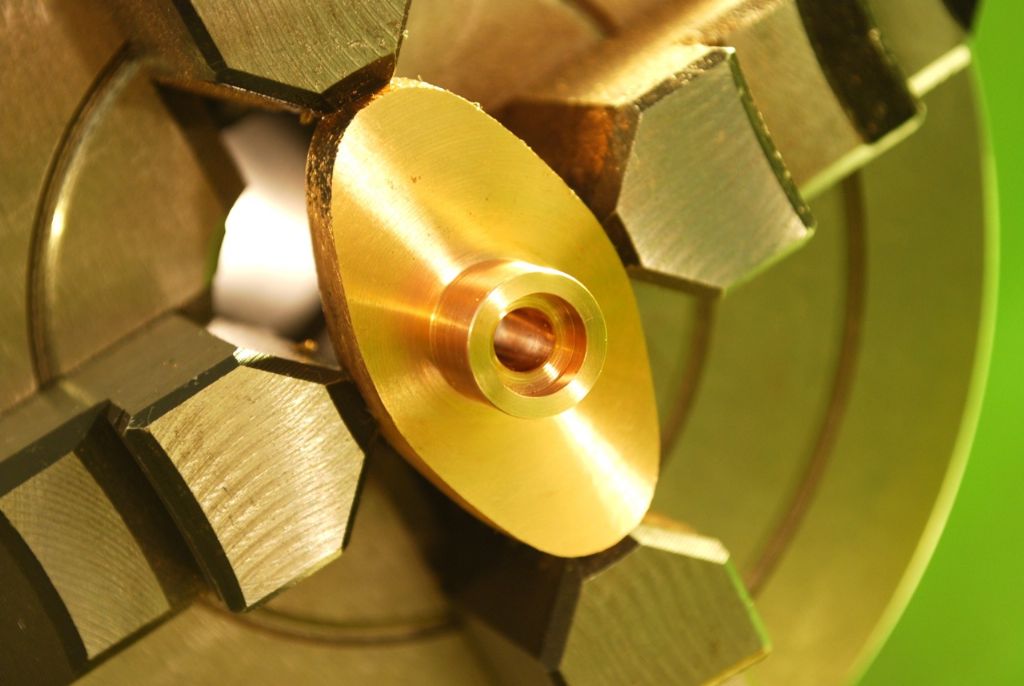
                                      I wasn't sure how to bore such a small hole out to the 120 degrees angle, so I opened out the mouth using a slot mill to 8mm and 2.75mm depth (approximated depth from the drawing measurements) and left square (leaving square was an option in the notes I have so hoping that will be ok). The slot mill caused a bit of a burr so I had to pass the reamer through again.

                                      441. todays progress 1..jpg

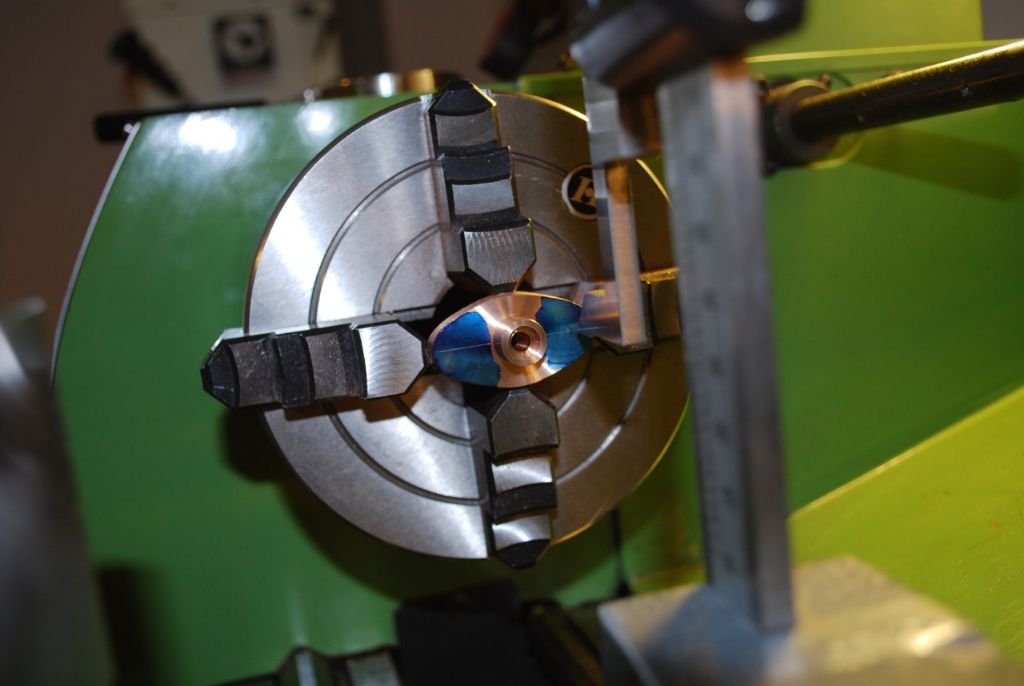
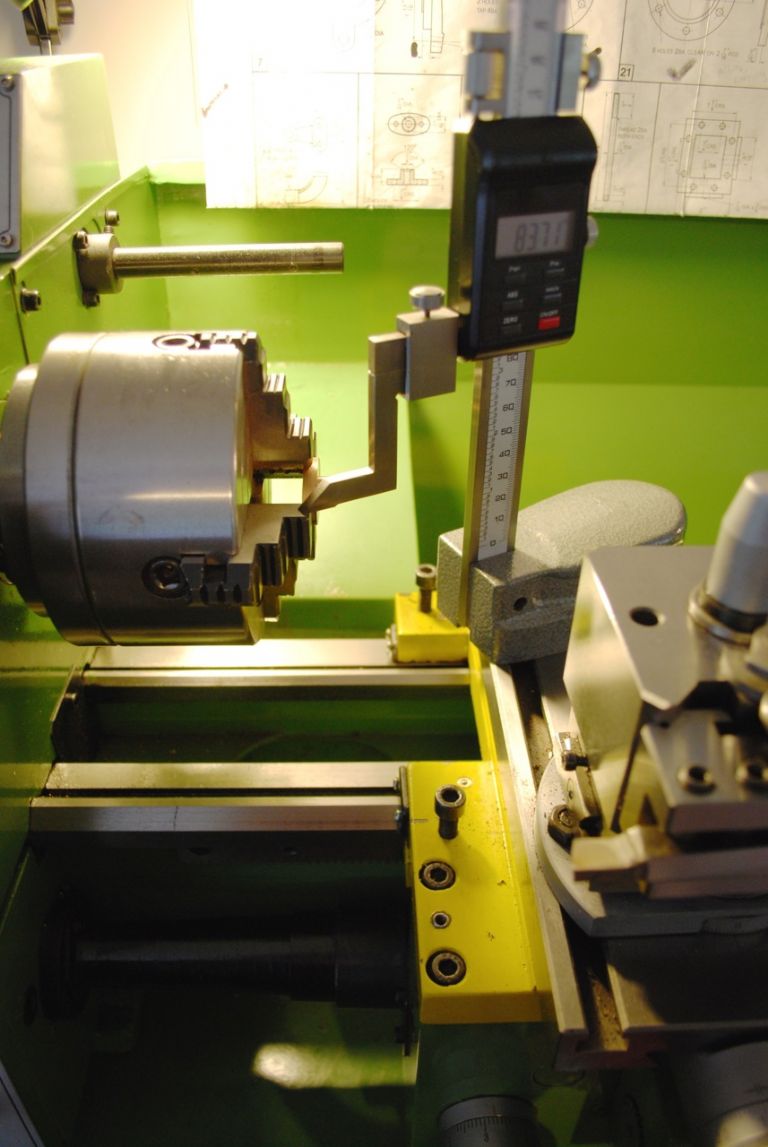
                                      Then using my lathes centre height 74.96mm and marking the gland slightly each side of the chuck to get horizontal the centre line was lightly marked..

                                      441. todays progress 4..jpg

                                      then the height gauge used to rotate the jaws 90 degrees..

                                      441. todays progress 3..jpg

                                      and the fixing holes marked from centre height ready for drilling on the mill.. I have struggled big time to mark these out in the past because of the shape and never was able to achieve any accuracy really – this method is quick, easy and accurate..

                                      (another great technique learned from Jason)

                                      The ends will be shaped with filing buttons from the fixing holes – and I've yet to face the bottom to thickness..

                                      441. todays progress 5..jpg

                                      Cheers

                                      Garry

                                      #204209
                                      GarryC
                                      Participant
                                        @garryc

                                        Couple of quick photos of this mornings efforts – may be in with a chance of an hour this afternoon as well…

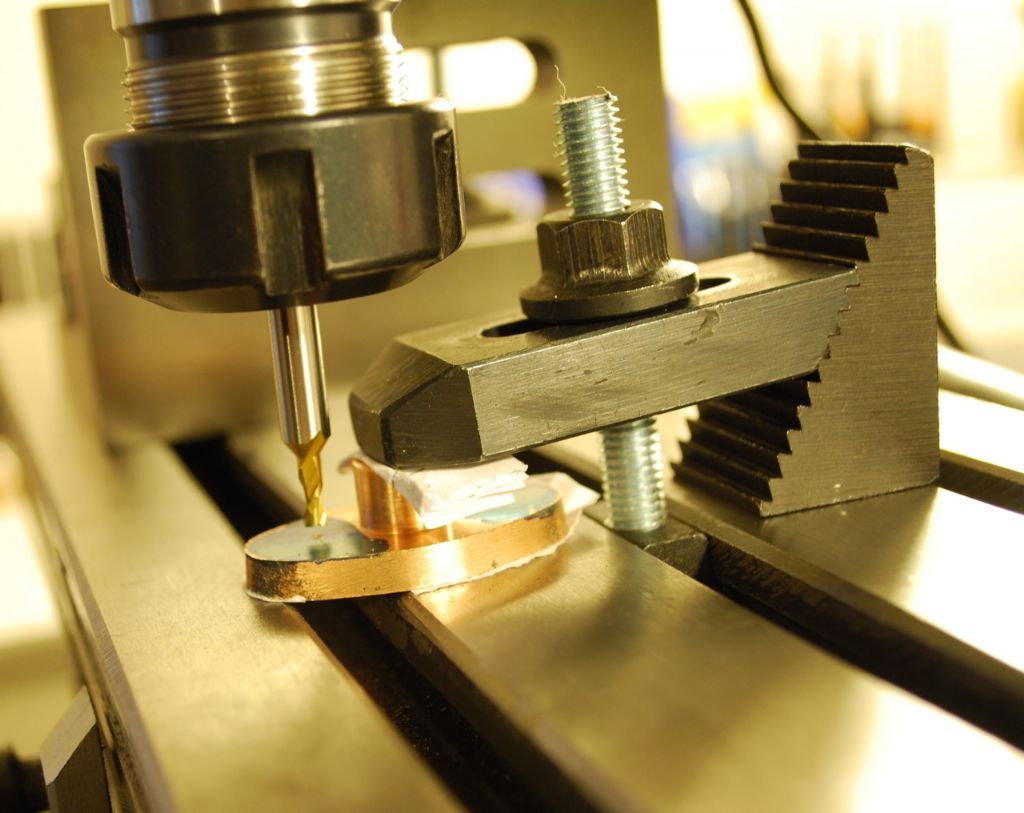
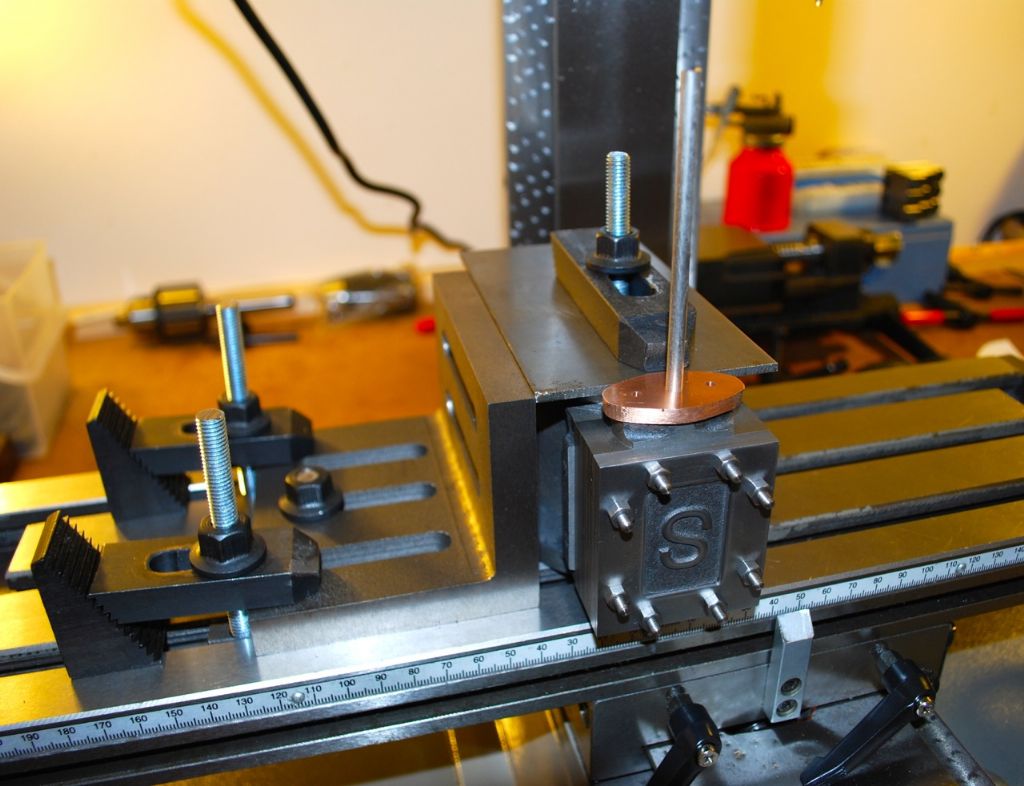
                                        Drilling the Valve Rod Gland fixing holes.

                                        442. drilling the valve rod gland 1..jpg

                                        The fixing holes drilled tapping size for spotting through to the Steam Chest – not shaped at all yet..

                                        442. drilling the valve rod gland 2..jpg

                                        Checking the Valve Rod alignment before drilling the Steam Chest – fit feels great and slides with no play.

                                        442. drilling the valve rod gland 3..jpg

                                        One of the Valve Gland Studs in.

                                        442. drilling the valve rod gland 4..jpg

                                        May be more later today..

                                        Cheers

                                        Garry


                                        Edited By Garry_C on 14/09/2015 12:15:10

                                        #204289
                                        GarryC
                                        Participant
                                          @garryc

                                          Just a couple more photos..

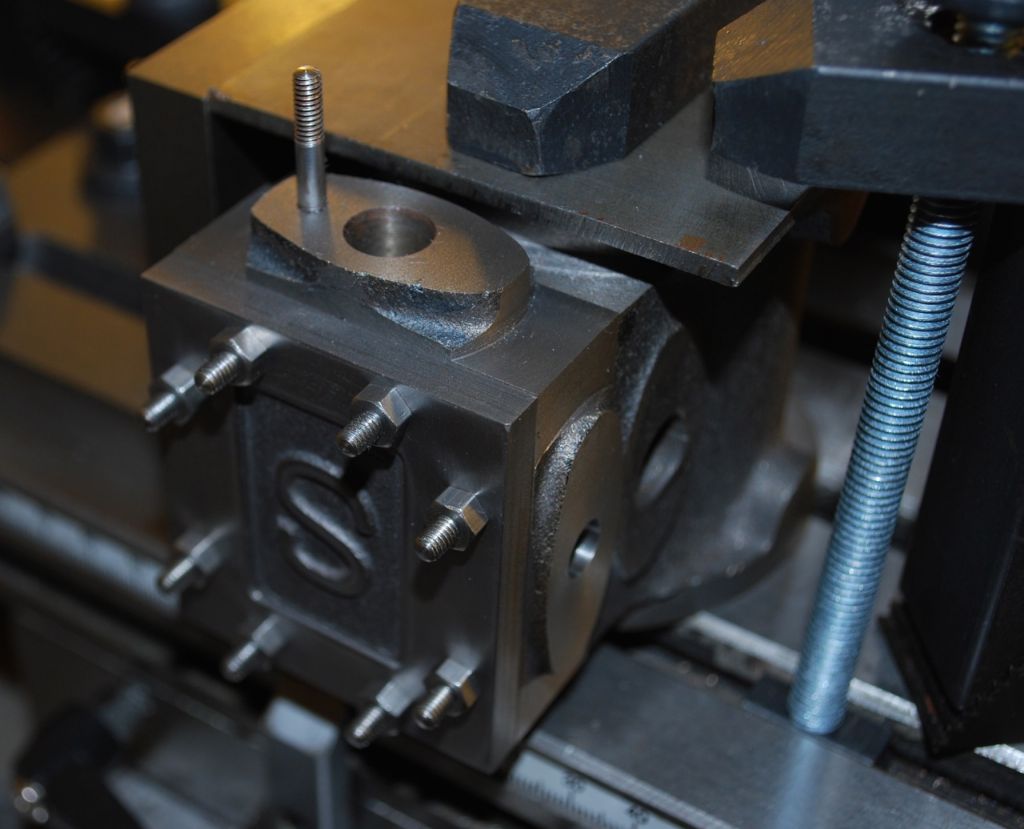
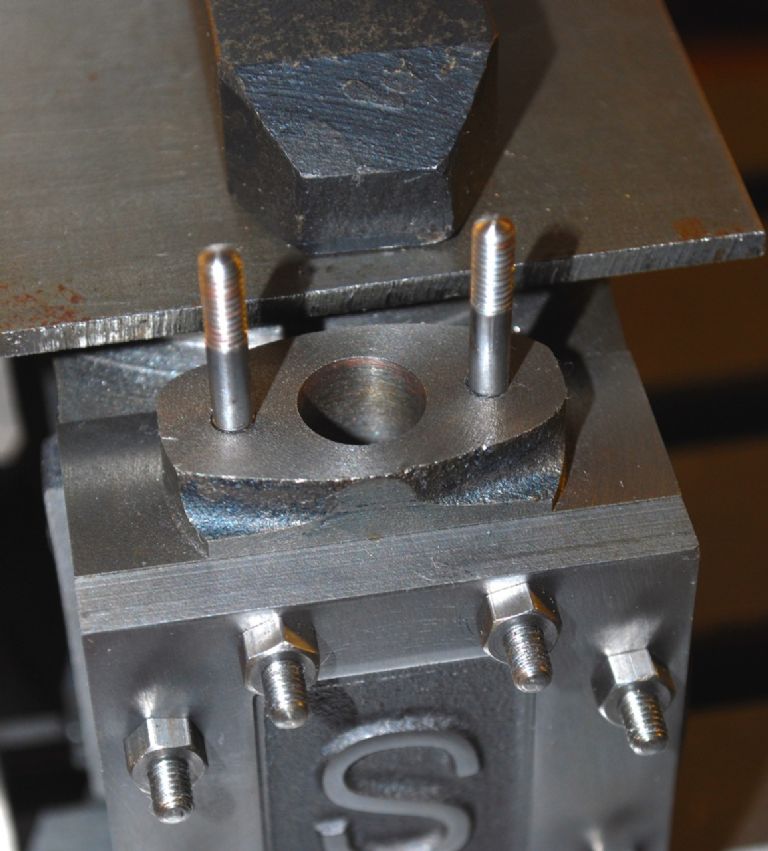
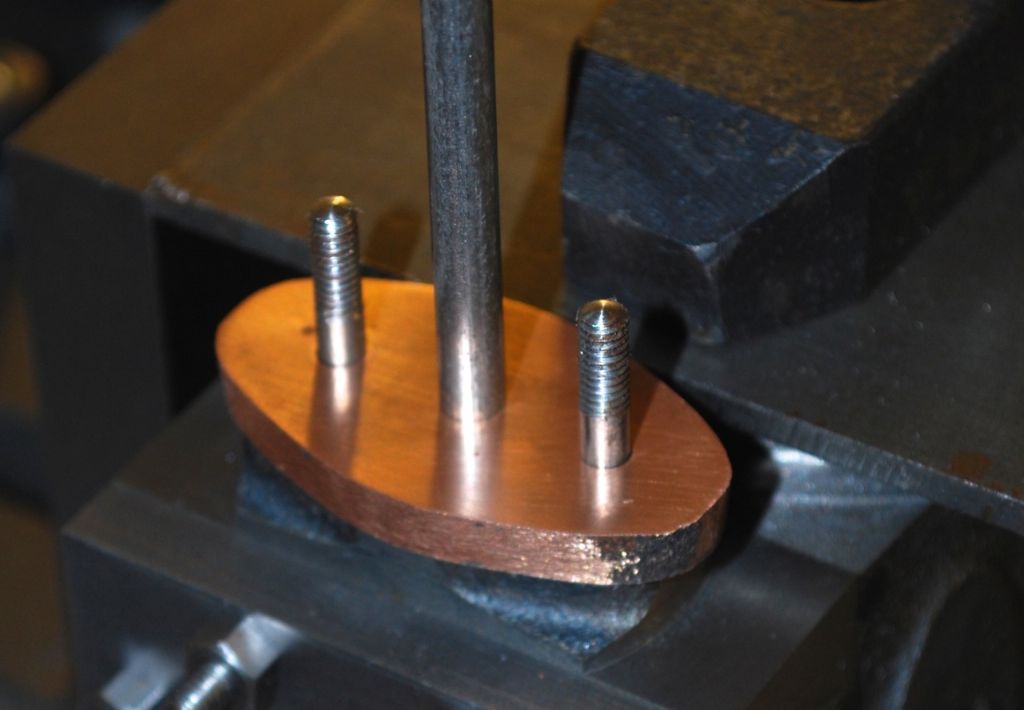
                                          Both Valve Rod Gland studs in..

                                          442. drilling the valve rod gland 5..jpg

                                          Test fitting the valve Rod Gland – just the filing to shape to do…

                                          442. drilling the valve rod gland 6..jpg

                                          Cheers

                                          Garry

                                          #204332
                                          Dullnote
                                          Participant
                                            @dullnote

                                            Hi Gary things looking good, just looking at your studs, do you make these up, ie thread each end, must admit he modal I have started to make I have just cut up threaded rod, but I like the look of the studs you are using.

                                            Jim

                                            #204337
                                            GarryC
                                            Participant
                                              @garryc

                                              Hi Jim

                                              There is a 'fixings pack' that comes with the engine from Stuarts and contains the studs and bolts (some have to be made as well though) but they can be bought separately from stuarts **LINK**

                                              I've also used ba-bolts – their studs are under the 'bolts then other bolts' section **LINK**

                                              and I've always found studs from both to be very good quality – as you can see I am using all BA sizes, the threads can easily be extended if the needs arise or shortened of course. Also there being sound 'mechanical' reasons in some situations for using studs as well – a quick search on the net explains – if like me that is you like to like to keep to good practice whenever possible..

                                              Hope to be seeing photo's of your engine as well on here soon – even better the whole build..!

                                              Cheers

                                              Garry

                                              Edited By Garry_C on 15/09/2015 06:54:43

                                              #204369
                                              GarryC
                                              Participant
                                                @garryc

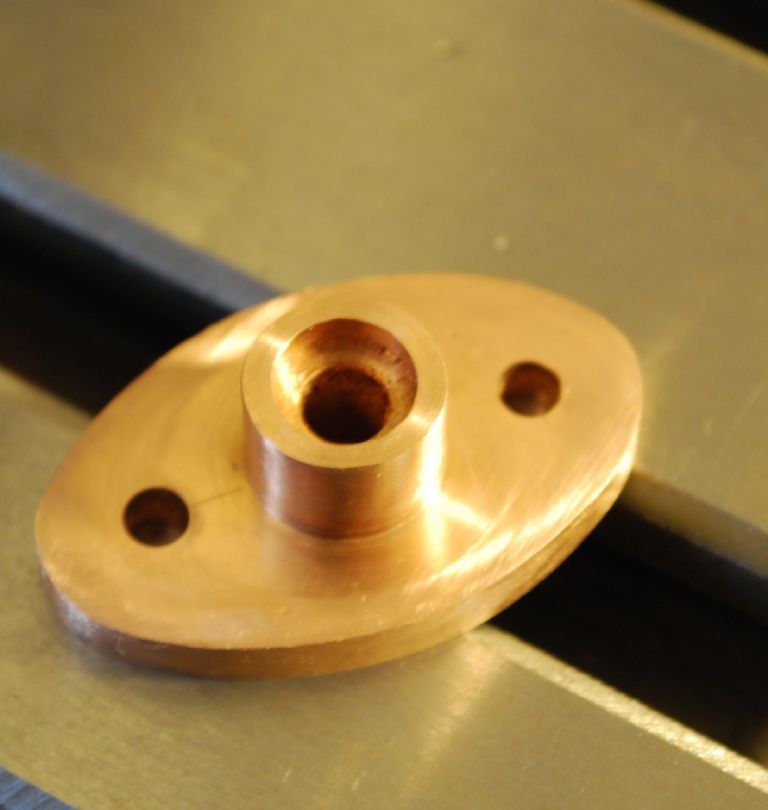
                                                After some time with the filing buttons the finished Valve Rod Gland – just needs some cleaning up before assembly..

                                                Its not a perfect shape as just done by eye..

                                                443. the finished valve rod gland 1..jpg

                                                I've yet to file the Steam Chest Boss – thats going to be awkward I think..

                                                443. the finished valve rod gland 2..jpg

                                                Cheers all..

                                                Garry

                                                ps. We're away to Cornwall soon (and hopefully lots of time walking the coat path) – back around beginning Oct. Although I'll still be on the net looking in…

                                                #204389
                                                Jeff Dayman
                                                Participant
                                                  @jeffdayman43397

                                                  Looking great Garry, well done.

                                                  For filing the steam chest boss, you might try a "protector sheet". This is just a piece of thin sheet steel with a cutout to closely fit the boss protrusion, to keep your file and Dremel wheels off your nice machined steam chest surface. If you make it out of shim steel .005 to .010 thick it will be durable enough to protect the surface but thin enough to not be in the way, even if taped in place at the chest edges and over the chest cover which could be left in place.

                                                  Enjoy the Cornwall trip. JD

                                                  #204393
                                                  JasonB
                                                  Moderator
                                                    @jasonb

                                                    Or you could just mill it with a radius corner cutter, set it a thou or two above your finished chest

                                                    #204394
                                                    GarryC
                                                    Participant
                                                      @garryc

                                                      Thanks Jeff, I've been wondering how best to go about that – just ordered some .006" steel shim roll (6" x 12" ) which seems cheap on Amazon – will have a go when we get back.. I've got some old but sharp scissors which I hope will do the job…

                                                      Cheers

                                                      Garry

                                                      Edited By Garry_C on 15/09/2015 15:07:57

                                                      Edited By Garry_C on 15/09/2015 15:09:32

                                                    Viewing 25 posts - 426 through 450 (of 602 total)
                                                    • Please log in to reply to this topic. Registering is free and easy using the links on the menu at the top of this page.

                                                    Advert

                                                    Latest Replies

                                                    Viewing 25 topics - 1 through 25 (of 25 total)
                                                    Viewing 25 topics - 1 through 25 (of 25 total)

                                                    View full reply list.

                                                    Advert

                                                    Newsletter Sign-up