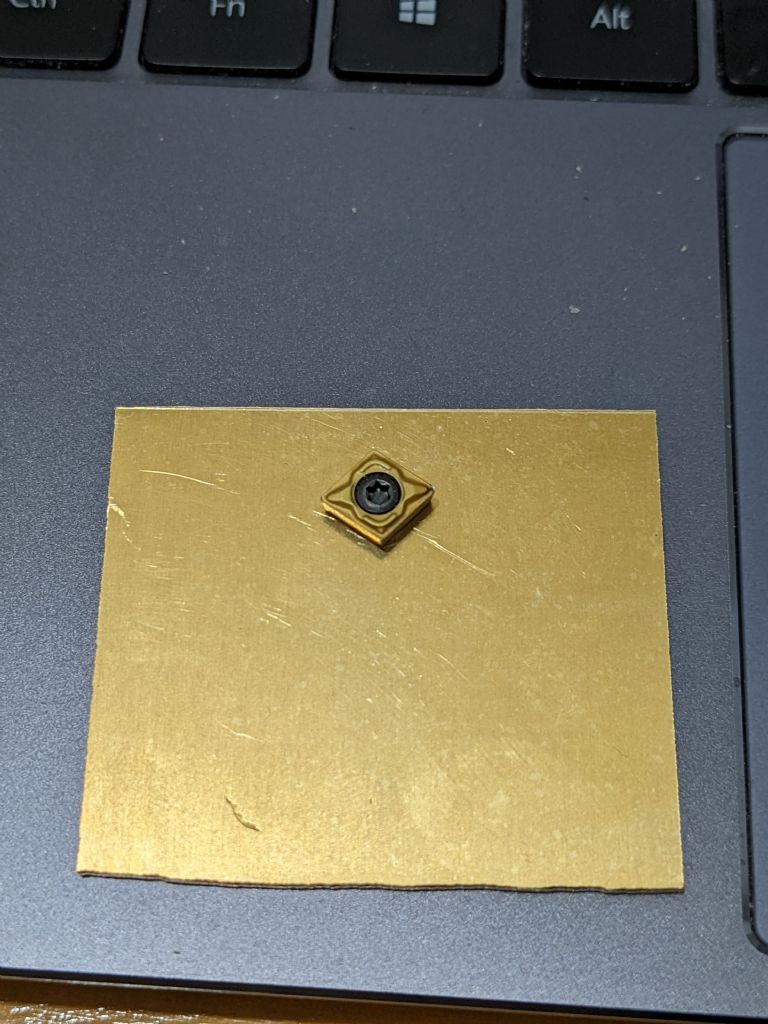
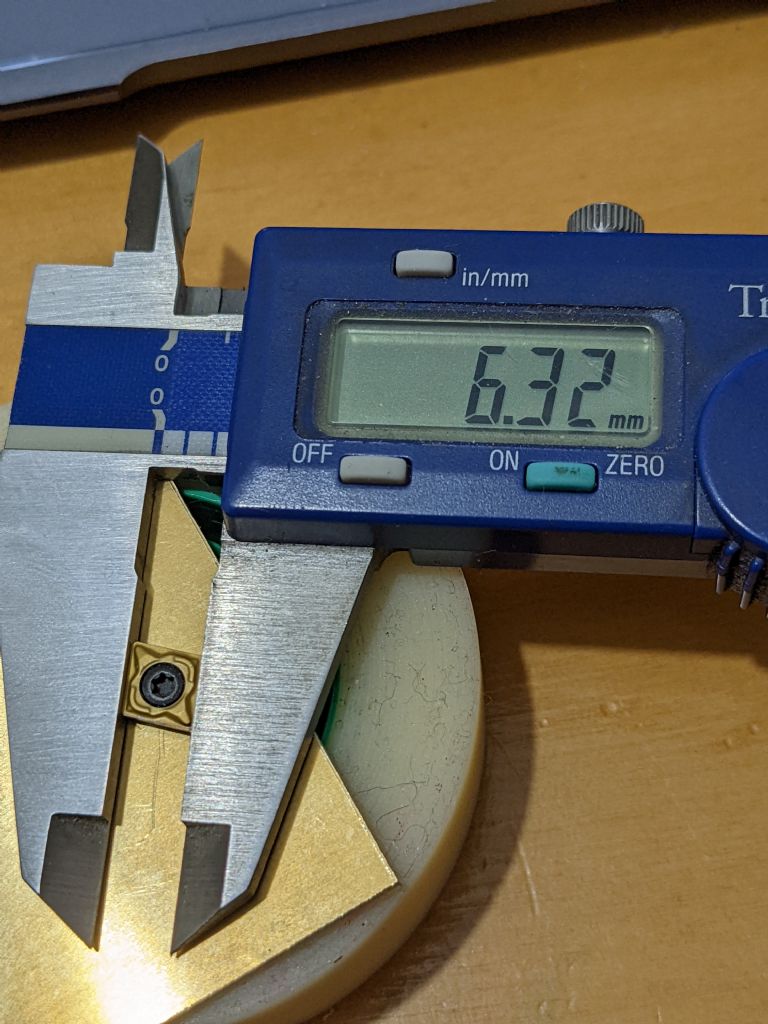
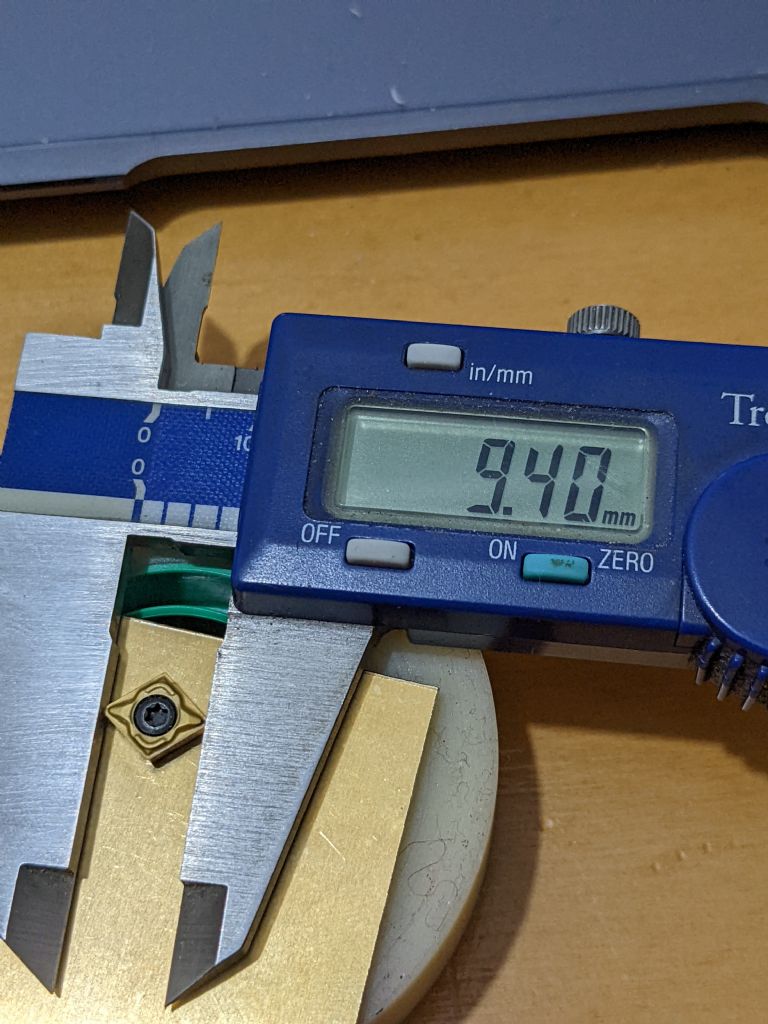
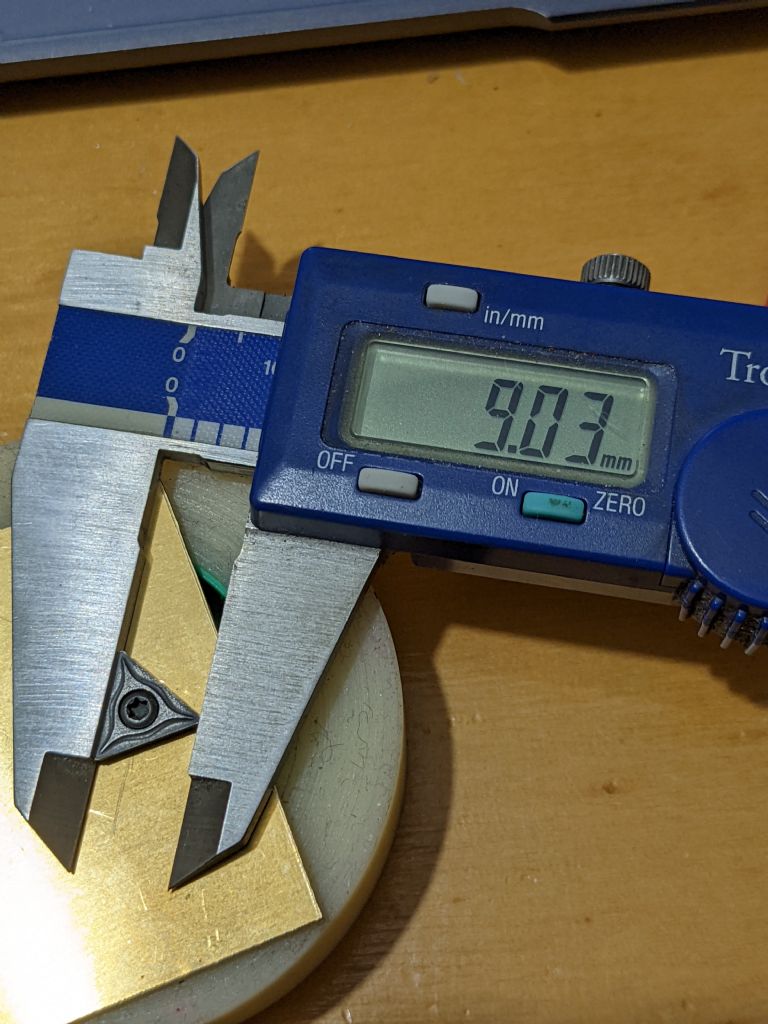
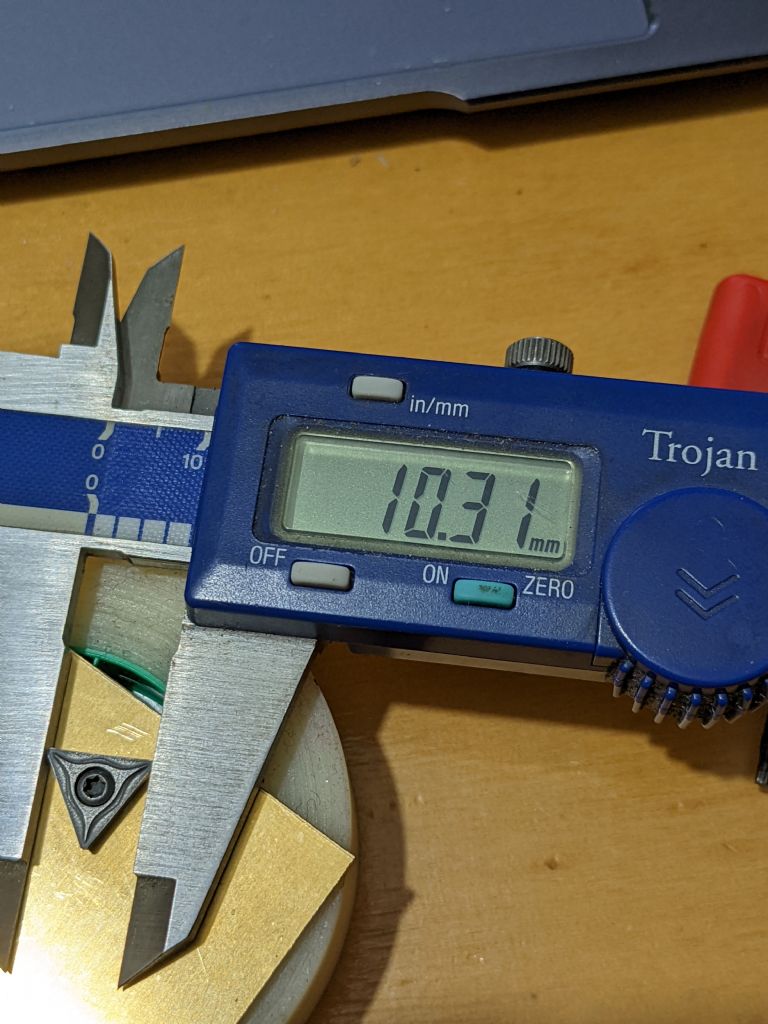
Measuring insert tip radius
Measuring insert tip radius
- This topic has 2 replies, 1 voice, and was last updated 6 January 2022 at 17:20 by
John Haine.
Viewing 3 posts - 1 through 3 (of 3 total)
Viewing 3 posts - 1 through 3 (of 3 total)
- Please log in to reply to this topic. Registering is free and easy using the links on the menu at the top of this page.
Latest Replies
Viewing 25 topics - 1 through 25 (of 25 total)
-
- Topic
- Voices
- Last Post
Viewing 25 topics - 1 through 25 (of 25 total)
Latest Issue
Newsletter Sign-up
Latest Replies
- Drawings for constructing a Rolling Road
- Electronic leadscrew pitching error
- Advice to machine stationary engine base plate
- TurboCAD – Alibre File Transfers.
- How many spokes do I really need?
- Boiler Design – issue 4765
- I’m Under Pressure
- motor and switch wiring Myford ML7
- Silver steel crankshaft
- What Did You Do Today 2025


