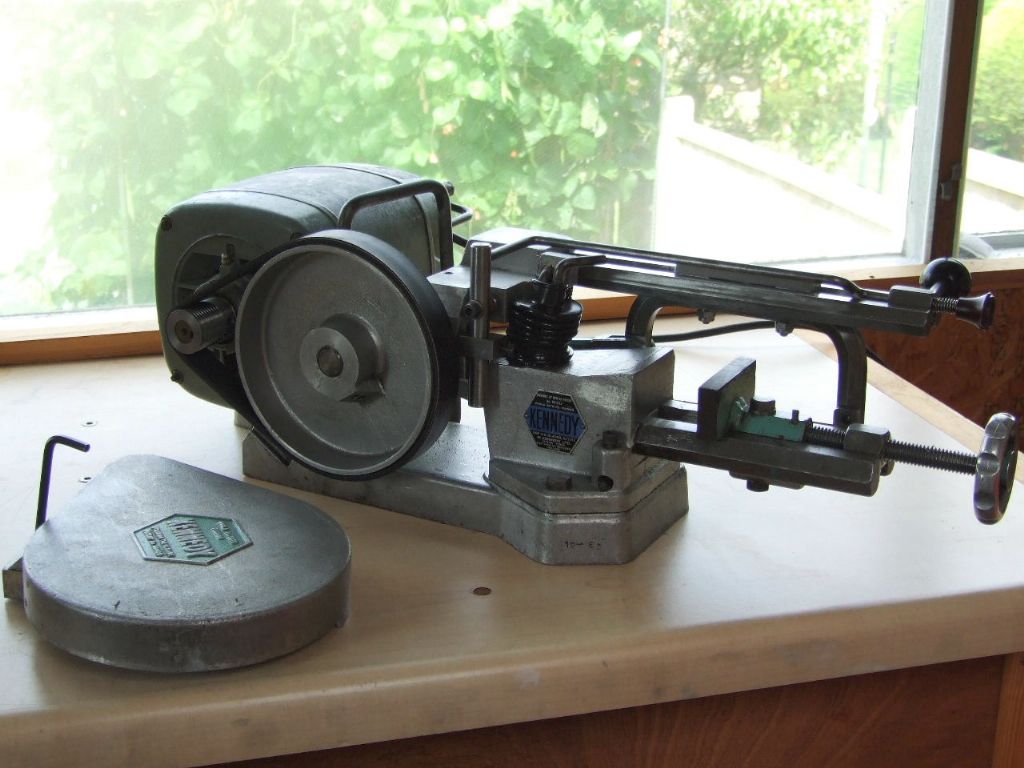
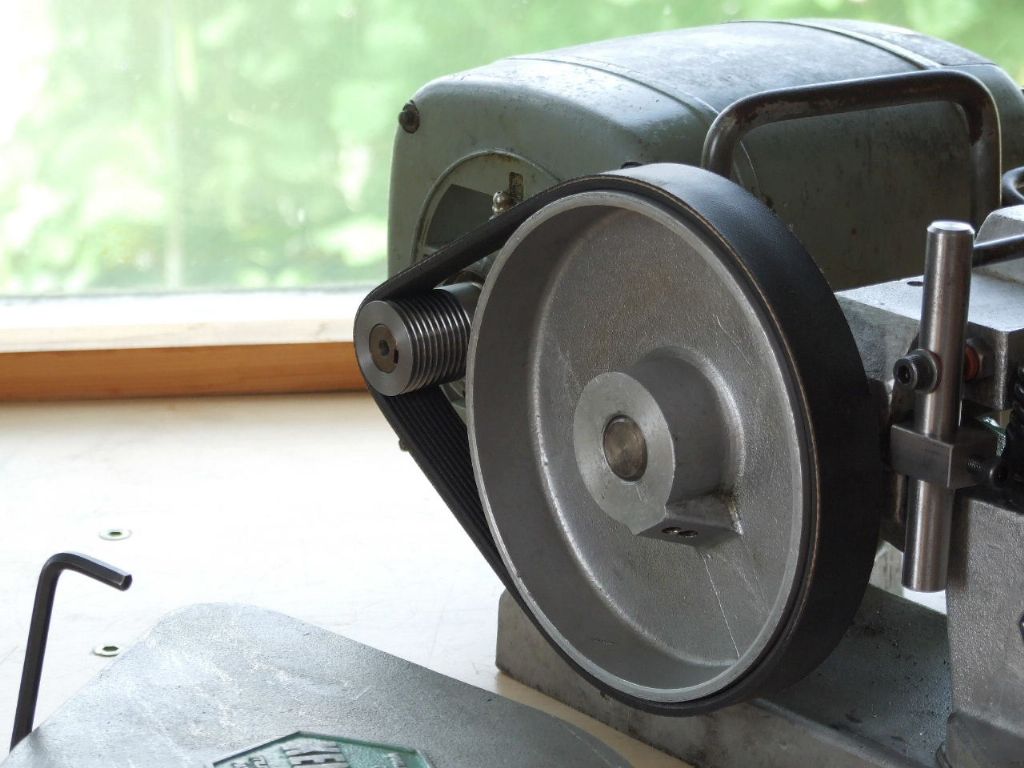
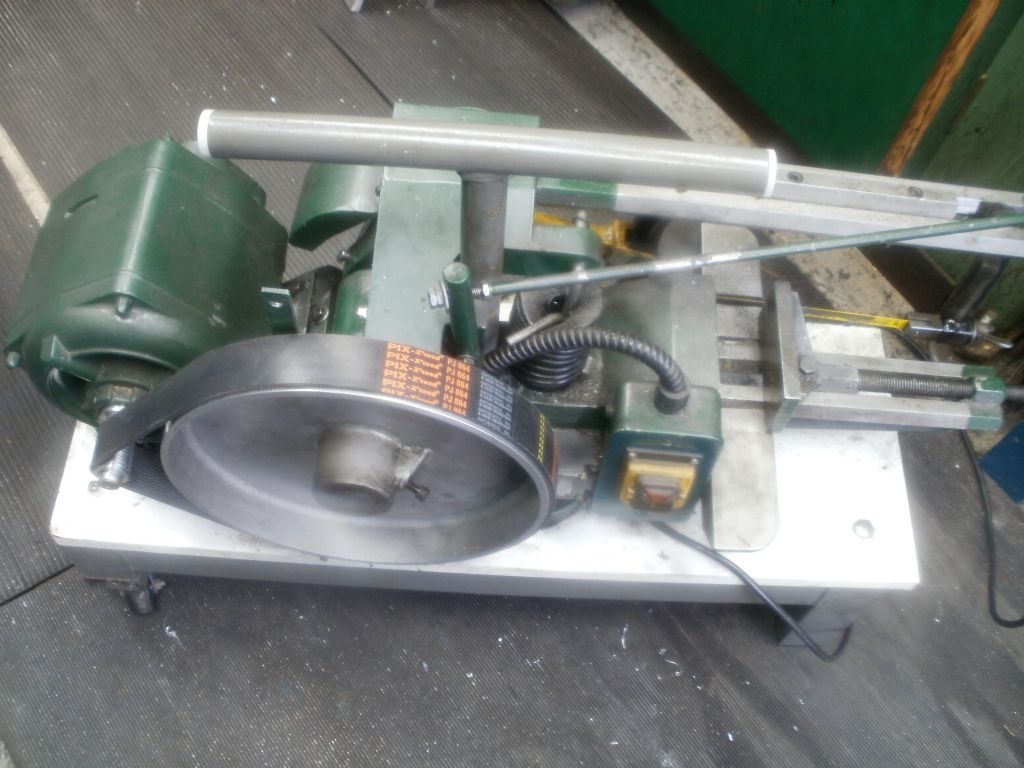
A while ago I noticed on Ian’s 90 Saw above that there is a blade tensioning facility. While I have not as yet checked to see if this was standard on the 90. I thought the blade on the 60 would probably give a better finish if it was under some form of Tension. Plus it may even lead to extending the life of the blade.
Using a similar arrangement as the 90 was not really possible as the blades for the 60 are cut into two. The standard hole in the hacksaw blade would only work for one end of the hacksaw, (NB, tooth direction on the blade). Duplicating any such adjustment was deemed too much of an overkill.
I tried compressing the frame of the 60 using a Record 12″ “G”-clamp. The amount of effort required was negligible and the resultant cut surface did not show the previous striations of the previous set-up and was generally much better. The saw blade would ring slightly as it was cutting, so it was under tension.
While I could of continued to use the “G”-clamp the set-up. The size of the clamp pad faces made extracting the old blade and inserting the new one time consuming. Something simpler was needed.

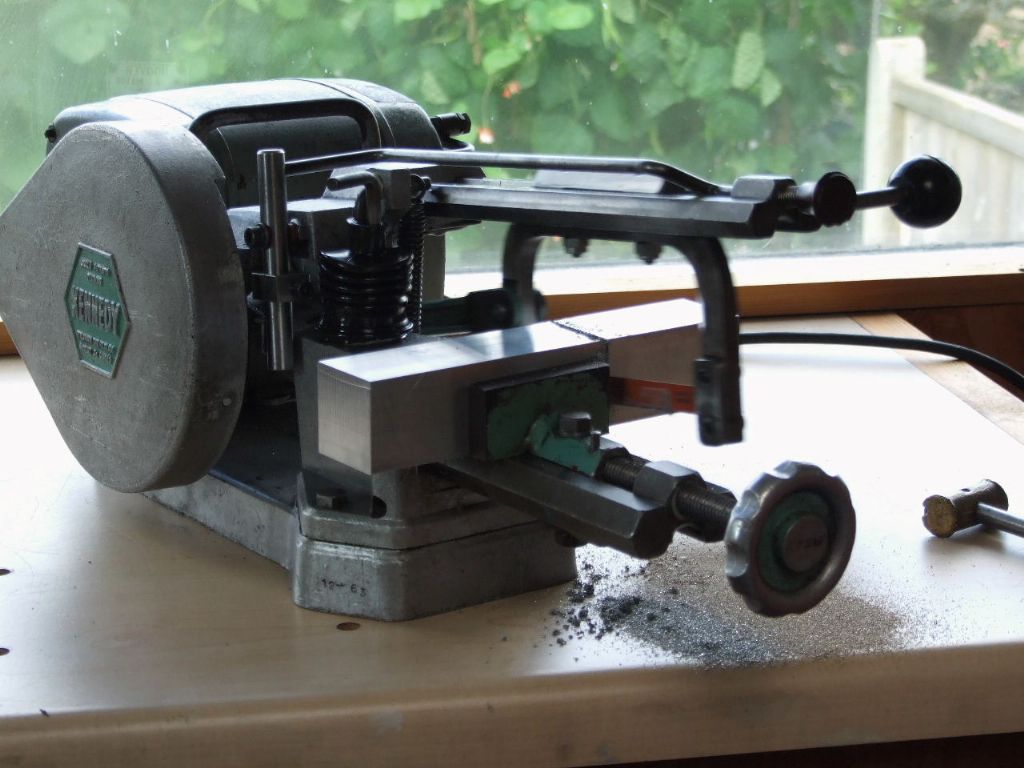
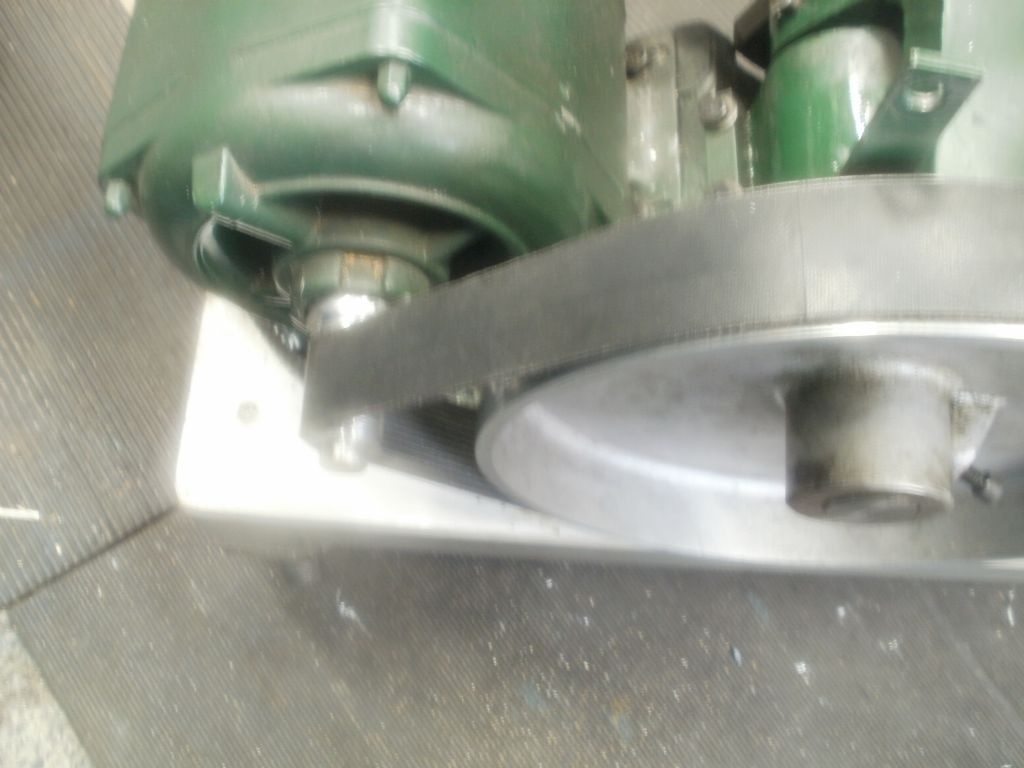
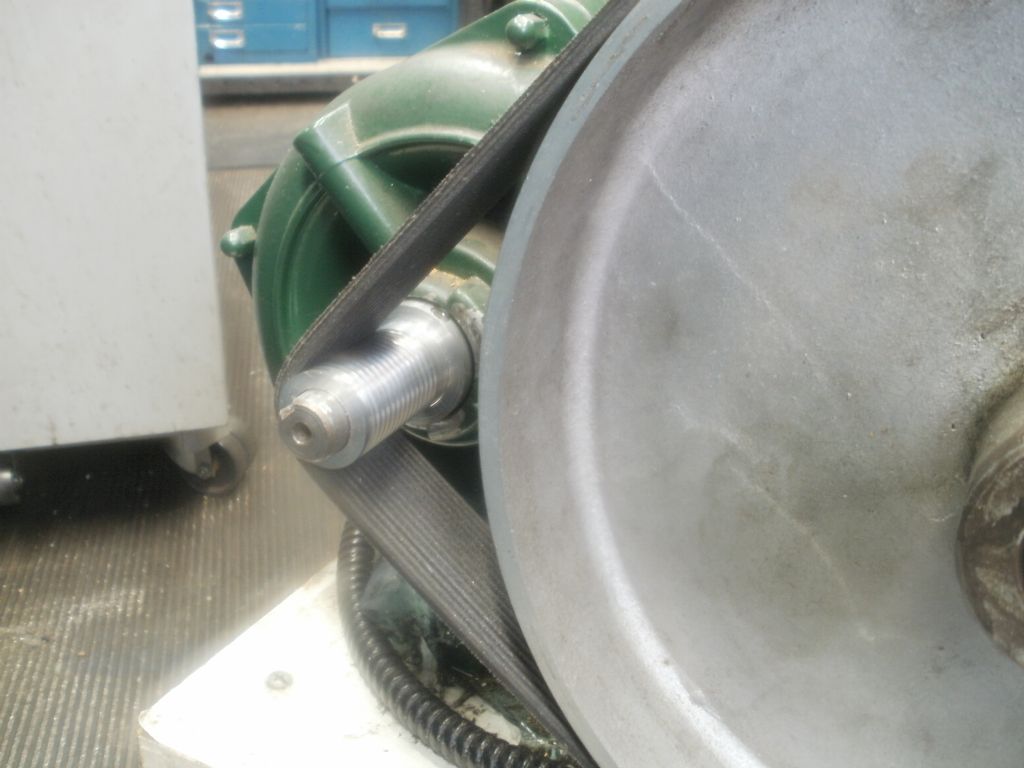
The above shot shows the finished design in-situ. It will be noticed that the blade can easily be removed as the clamp does not go high enough to cause a problem.

(Please ignore the Brass thumbscrew, the Camera, or the Operator were having difficulty getting the focus right)
In use the 4mm Allen key in the M8 grubscrew is very easy to turn, due to the ball bearing at the bottom of the hole in the clamp pad. There is an added bonus in that when the adjuster is put onto the machine and slightly “nipped-up”. Before releasing the clamp screws on the blade to remove the old blade. This setting will not interfere with the original blade setting. Thus once the optimum setting is found, (This I found was about a 1/4 to 1/3 of a turn from the free state), this initial setting will remain for ever and a day.
Regards
Gray,
 vic newey.

