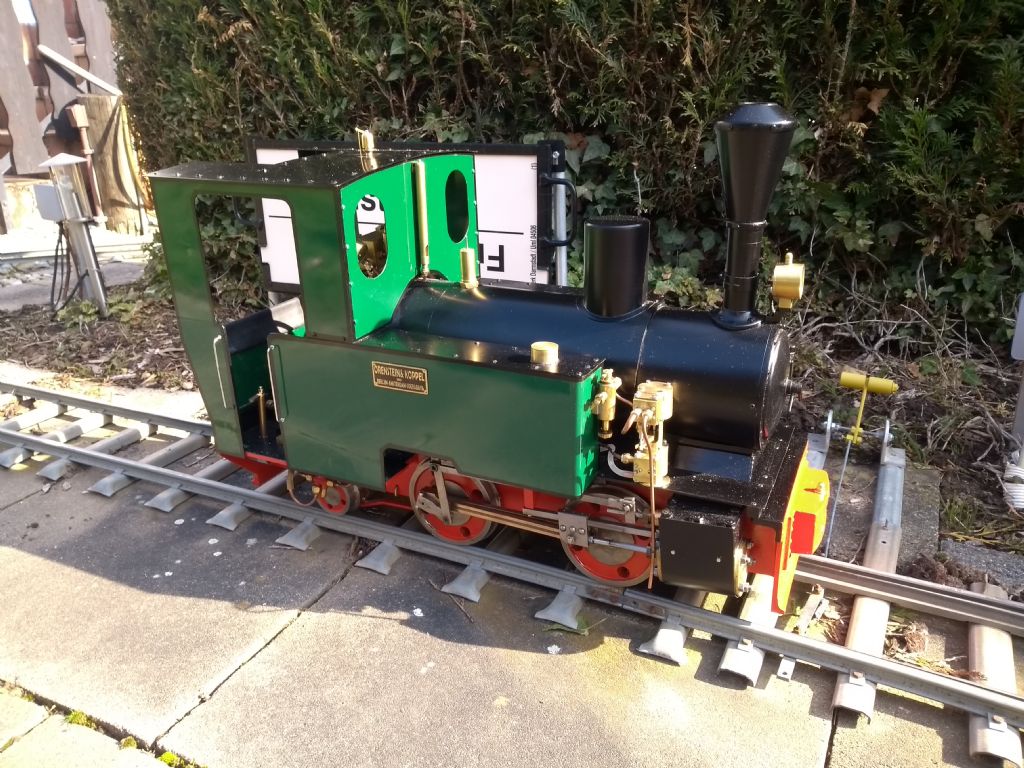
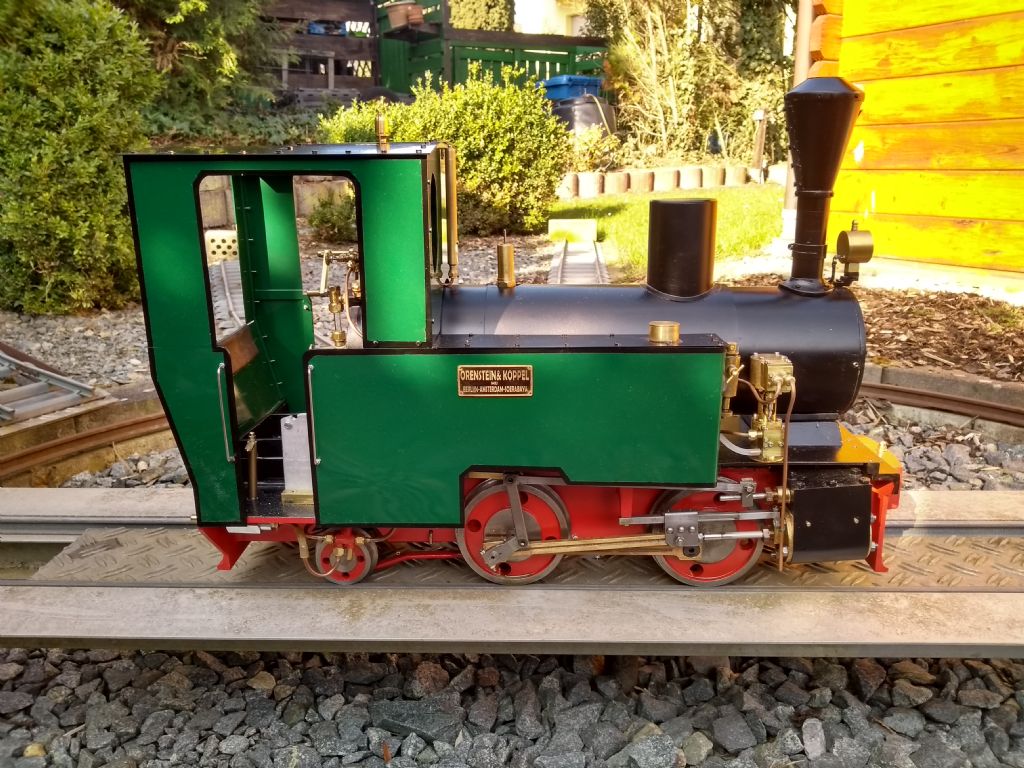
Many thanks for your kind replies!
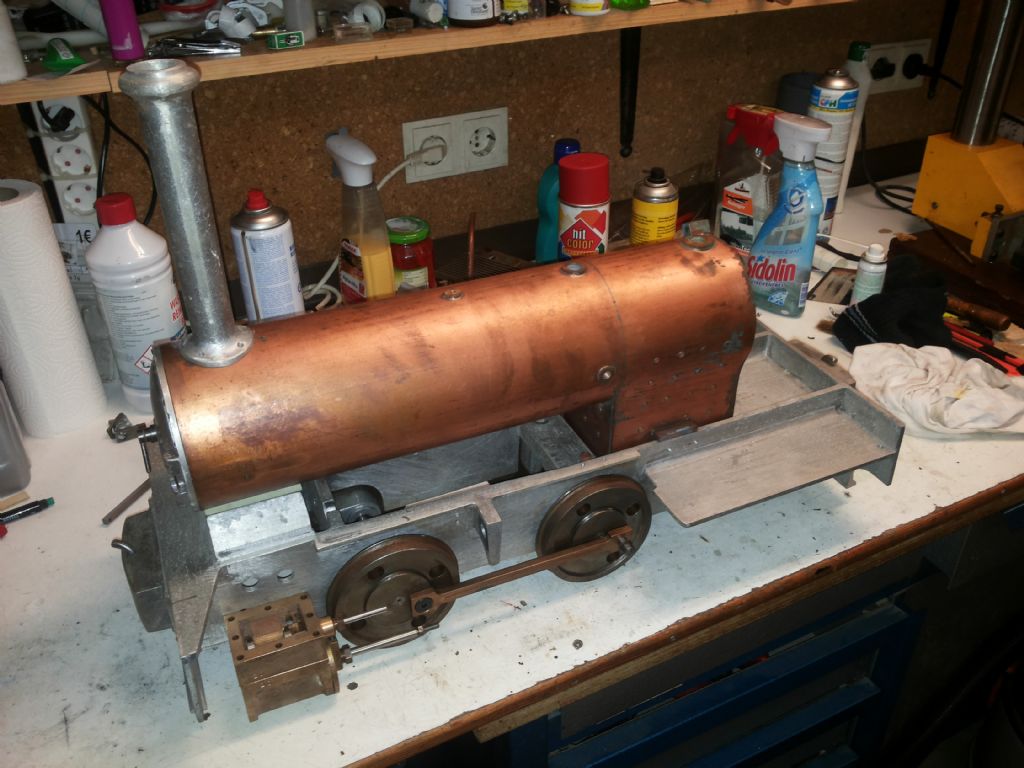
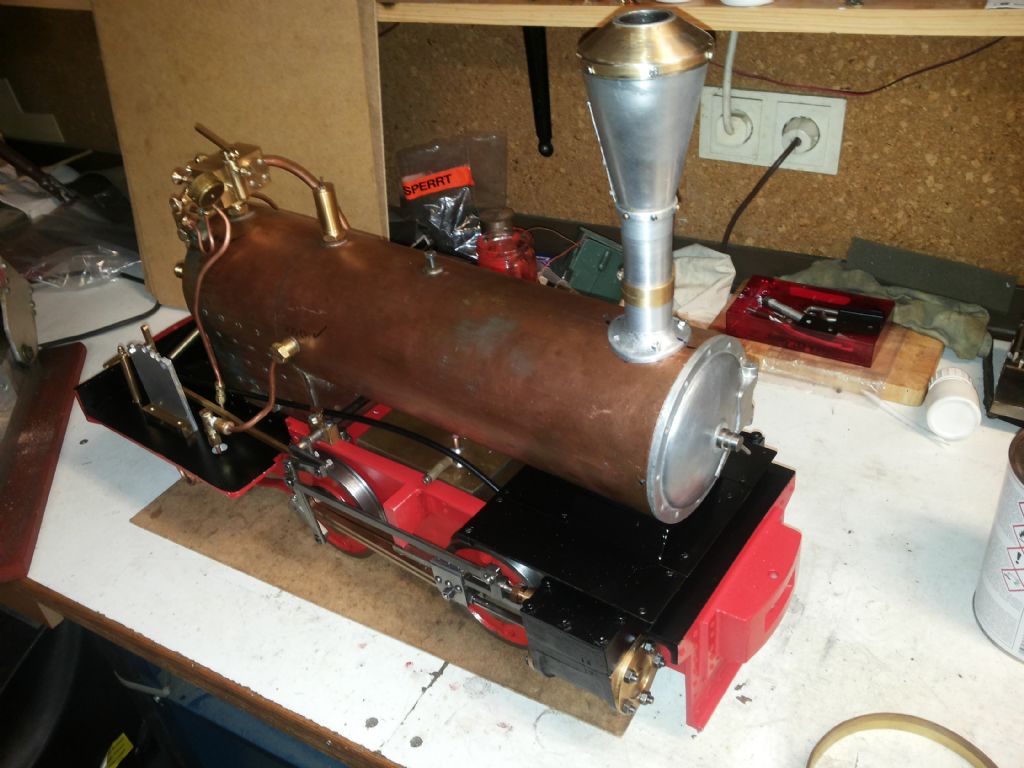
The chimney was a liitle bit tricky. Around the "working" part there was rolled an aluminum sheet metal and the top part in brass is the cover of a water stop cock valve for a floor. This had by chance the right diameter and was originaly covered by a chrome surface which i grinded of with patience. It is very good to collect the old parts for a second honourable life.

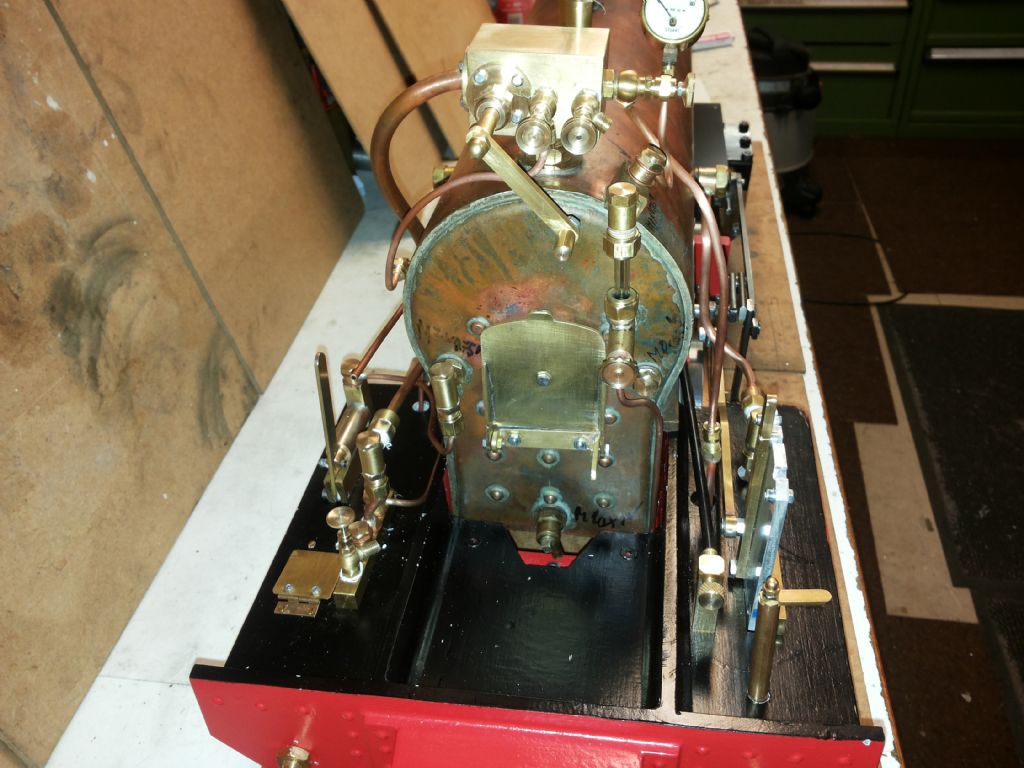
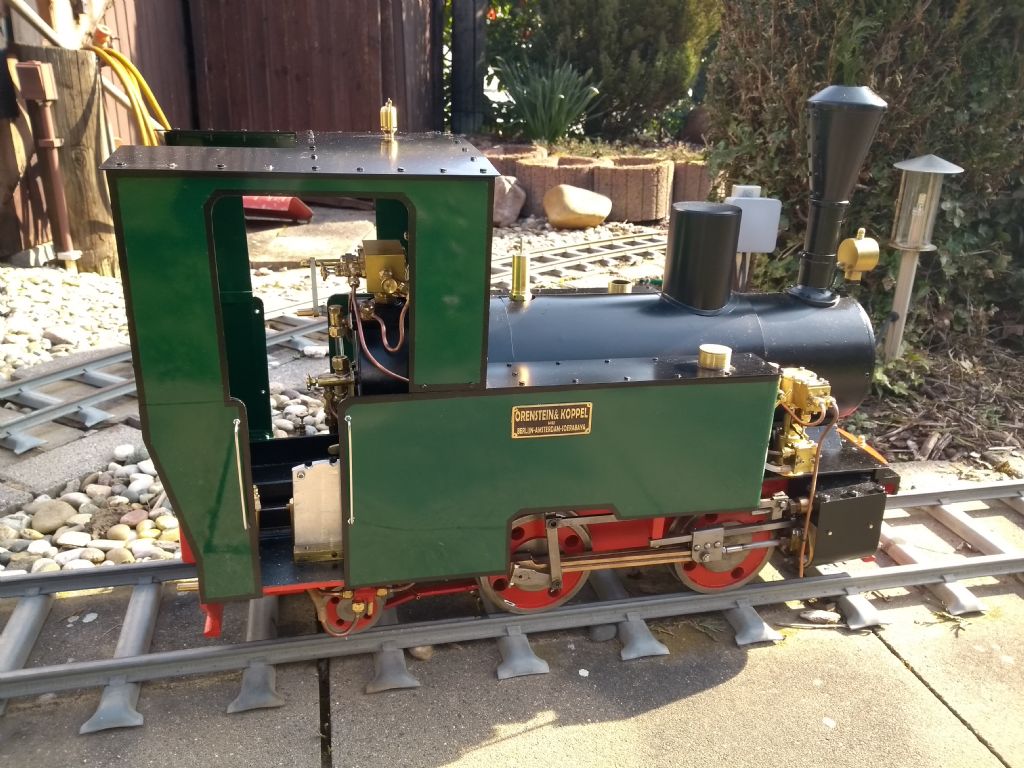
The checkvalve is conected to the boiler with an additional tube so it is better serviceable and the important functional point is, the ball is always covered with water and so it is better sealed. Is it mounted direct to the boiler it could be that with the lowest water position in the glas the ball is in steam and then it is not so good sealed and the injector would not work if you need it. With this setup it works perfect. In my Plettenberg i change it to the same layout after i found this effect. And then it worked perfect. Small change in pipe routing but a big change in function and service!

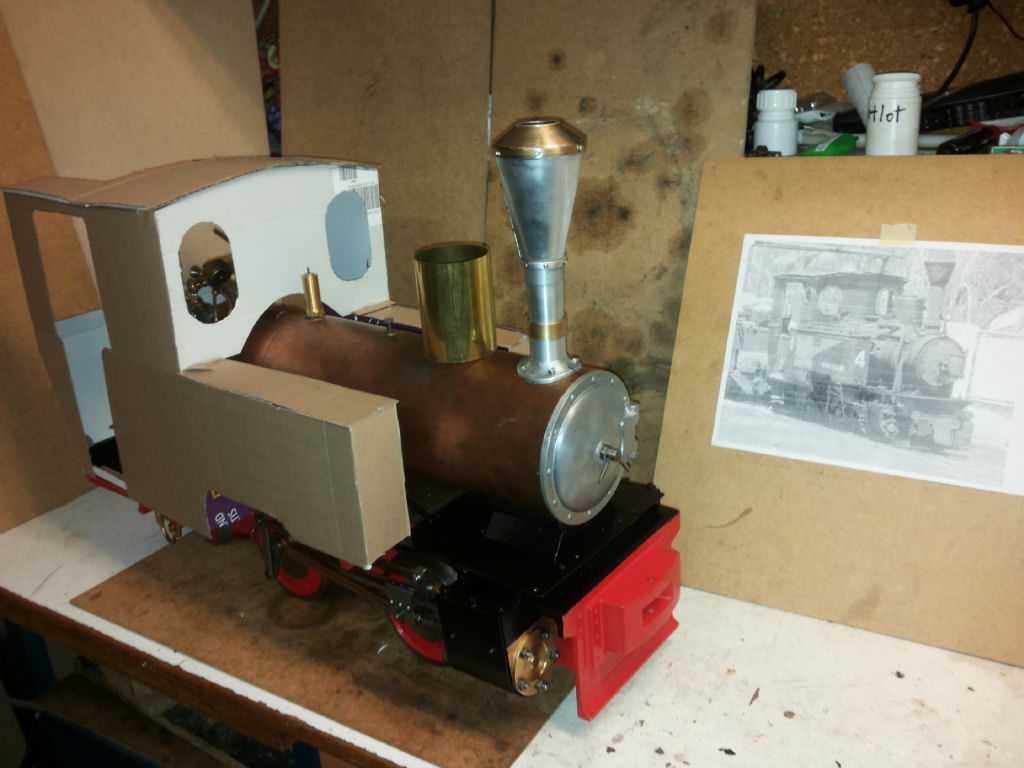
As I ever have done it, i made a cardboard setup to look how will be the proportions. This is for functional models a good idea . So i can study if i can use all cocks by hand ,how i can get the coal shovel in and so on, read the pressure gauge and the waterglas. In this phase it is easy to make a compromise for function. The other point is ,if it is OK you can measure all parts easily and order it. My metal shop deliver than very exact cutted parts and there is only work with the jigsaw for the windows.
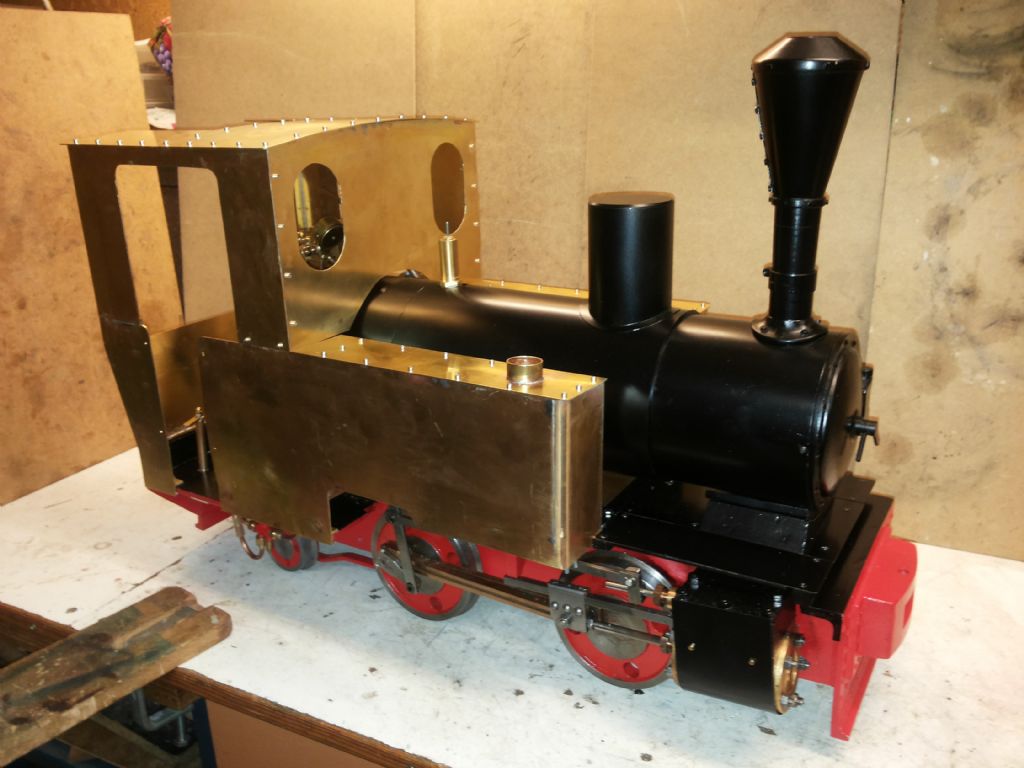
By softsoldering the parts, i noticed that i made a mistake as i ordered 1 mm sheet metall. Better would be 1.5 mm,because it has more stiffness. The side part with the water tank has many softsoldering joints with a lot of heat go in and so it began to change its shape. It was warping some how. It cost me some time to bring this back by heating and cooling down at different points. It looks now good and it is hard to see.

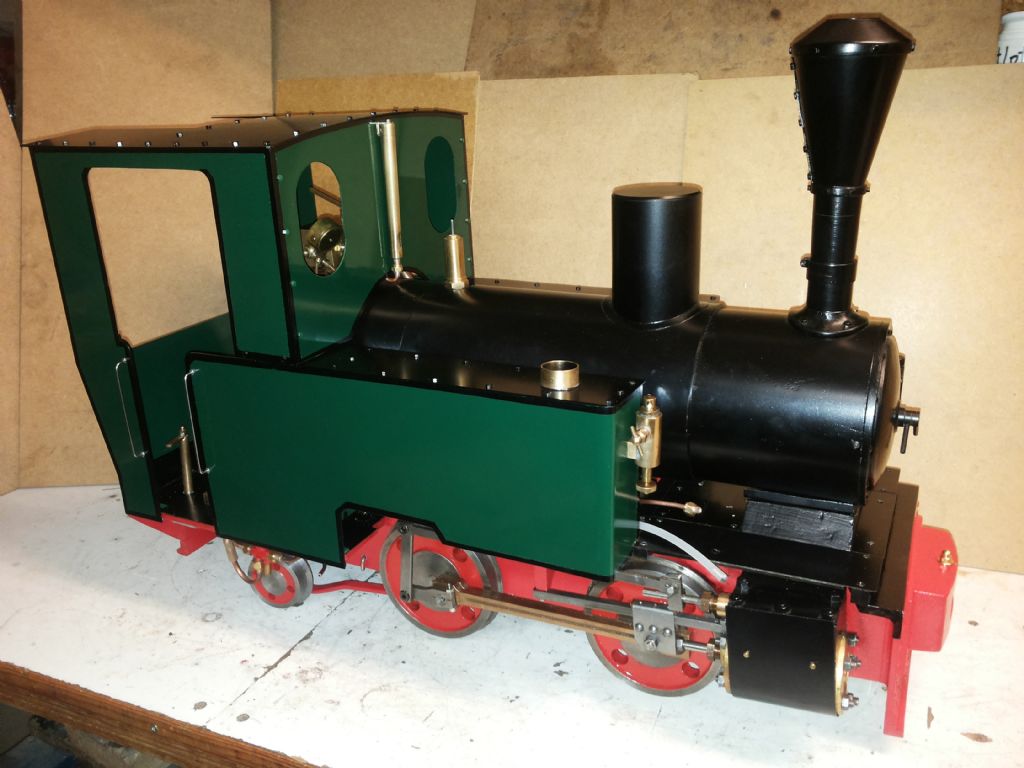
What a difference to the cardboard housing. The round edge of the watertank was made by quartering a copper pipe and soldering it in.

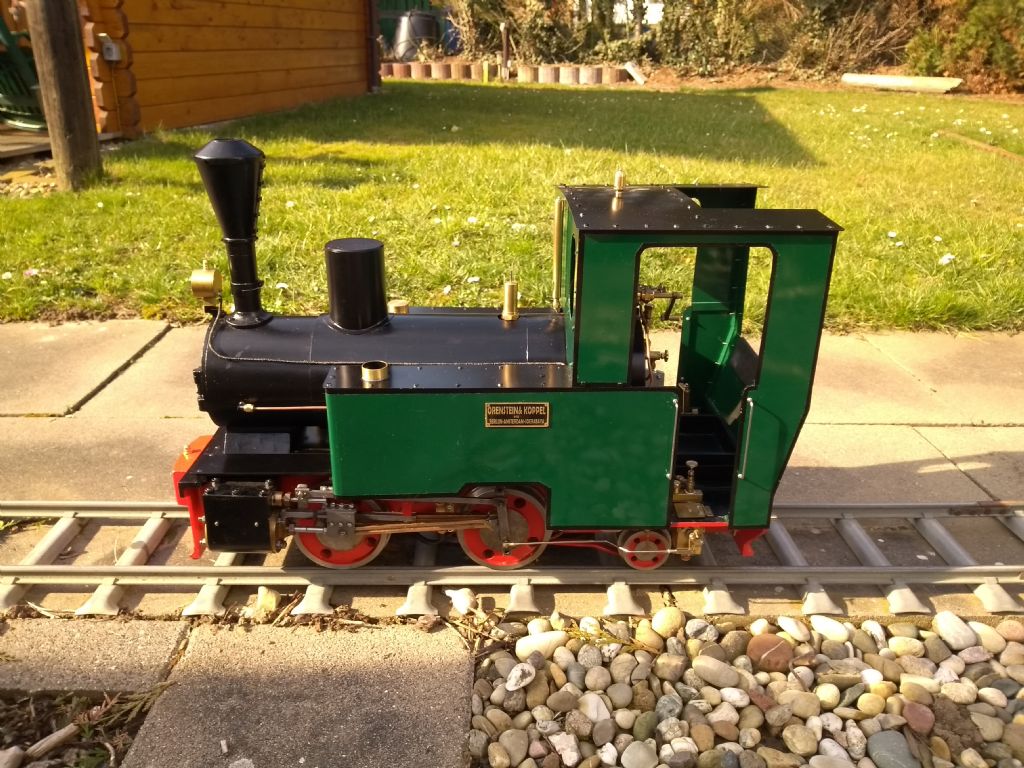
With colour it looks much better. Now only the steam pump is missing and the factory signs. It was summer last year and the build on hold.
We made with the street steam friends our steam rallies for one to seven . And we meet in the regulations of the corona laws. In our steam club it was not allowed to drive for a long time.
In the hot summer i started to build the steam pump , when ever i had some time. In the hot summer phase it was nice to go in the basement workshop, it was nice and cool there.

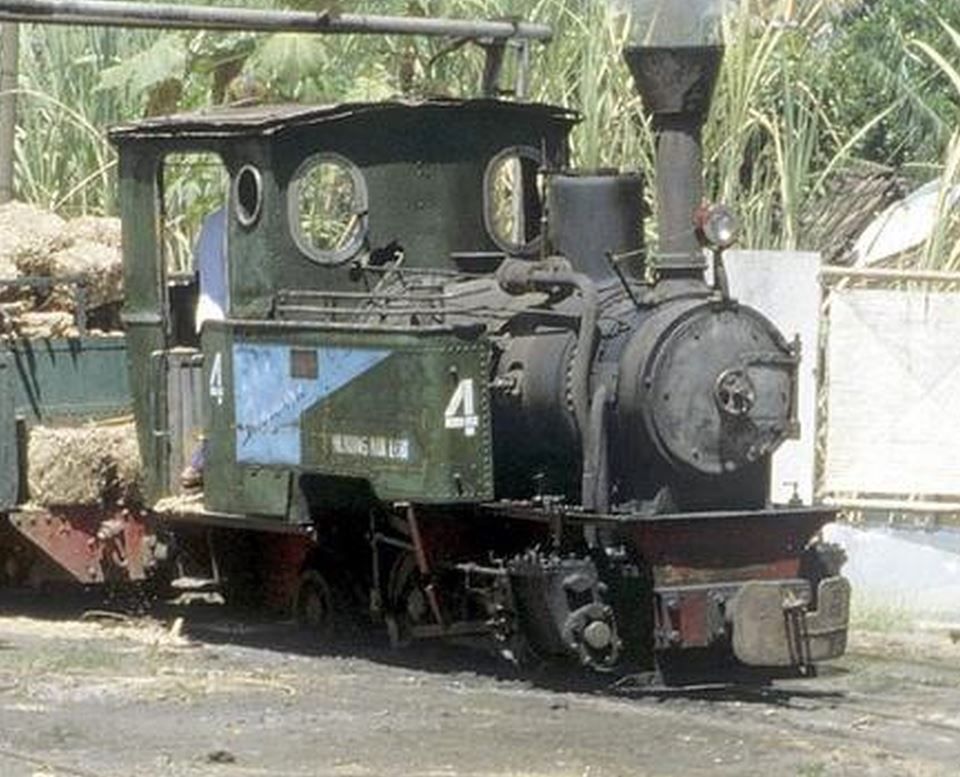
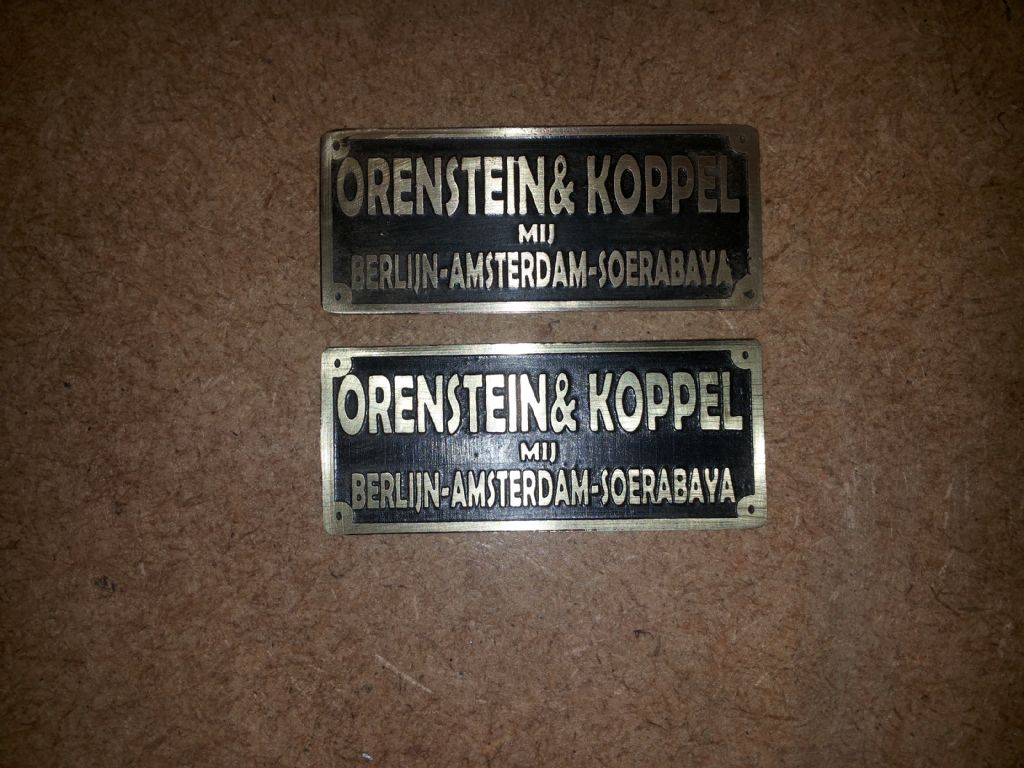
The etched factory signs have been developed with the software incscape after an original sheet i found from the Java Mallet in the Frankfurt Narrow Gauge museum. It is always interesting to make a visit there. For those who can not go there, here is the URL for a virtual visit **LINK**
The plates have been etched 0.15 mm deep and this last about an hour. They are glued with silicone to the side tanks. With tape they are fixed two days till the silicone is hard.
The steam pump was finished in october 2020. The steam control was the last element i had to make. This is the most complicated part and so i reserved time to build it. And I want not to set me under pressure to drive in the loco to the end of the year.
will be updated
Werner
Werner Schleidt.


