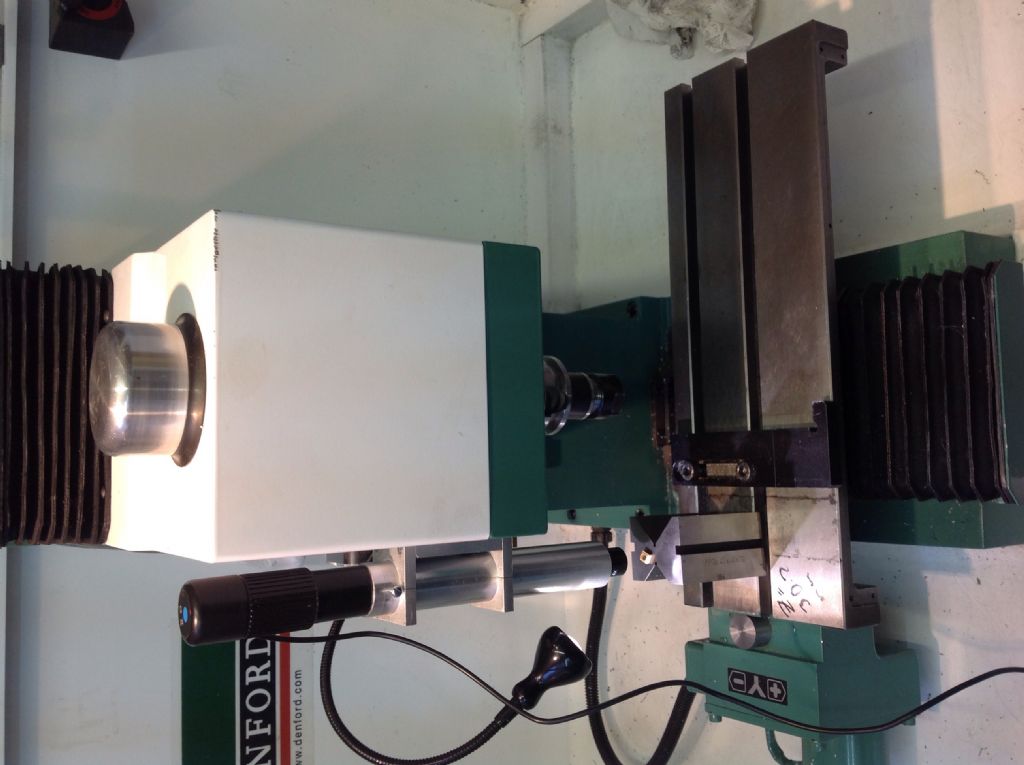
Two optical inspection devices which used to be found commonly in better class toolrooms and inspection rooms were the ShadowGraph and the Toolmakers Microscope .
The ShadowGraph shone an enlarged silouette of a workpiece – such as a special shape lathe tool – onto a screen where the profile could be closely inspected for size and shape . Could be a plain screen but usually it was onto a screen with a selection of graticules , circles , angled V’s and rulers etc for accurate assessment . Sometimes the screen had a one off particular purpose shape accurately drawn onto it – for example a gear tooth profile .
Could also be used for testing the fit of one component against another – for instance a punch and die set .
Microscope was similar in purpose to ShadowGraph but with direct viewing of face of workpiece and the additional capability of studying surface finish and minor defects . Again screens were available for accurate comparisons .
Also some microscopes could be fitted with X – Y compound slides tables so that work could be inspected in different places and very accurate profile measurements could be taken .
Not so many of either to be found now but they still turn up and lots of used ones for sale .
This thread though is about the application of something similar in home workshops using modern imaging technology .
A third optical inspection device more commonly found in science labs than industry was the travelling microscope . Usually one or two axis they were used for taking very accurate length and profile measurements .
With a modern digital camera , a bit of DIY electronics and software , some CAD and optional use of milling machine as a mount all the above functions can be realised very easily in one unit and provide a very useful facility .
Michael Williams .
Edited By MICHAEL WILLIAMS on 15/02/2014 13:21:44
Ian S C.


