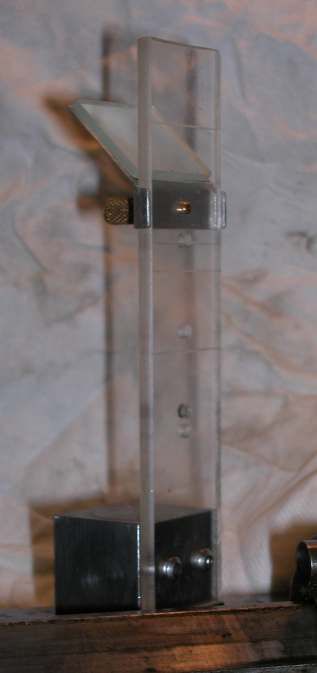
I find a simple optical tool centre height indicator versatile, effective and easy to use. Easy to make too and inherently right with no tricky adjustments. Mine is a "lightly modified to use components to hand" version of a design featured many years ago in Model Engineers Workshop. Probably second or third year of publication.
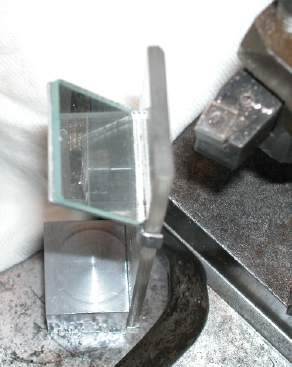
Concept is to set a suitable size blade of thick perspex, or other transparent plastic, vertically upright on a base heavy enough to stay put but small enough to slide into the right places on the lathe. Within reason the thicker the perspex is the better. Mine is only 4 mm, 10 or 12 would have been much better. Using a sharp centre in either spindle or tailstock scribe a line on each side of the perspex blade. Depending on the machine you may need to put a bridge piece across the ways to support the gauge or you may find it conveinient to work off the cross slide. I put two sets of lines on mine, one at each height. Arrange a small mirror at 45° so you can look down and see both lines in the mirror.
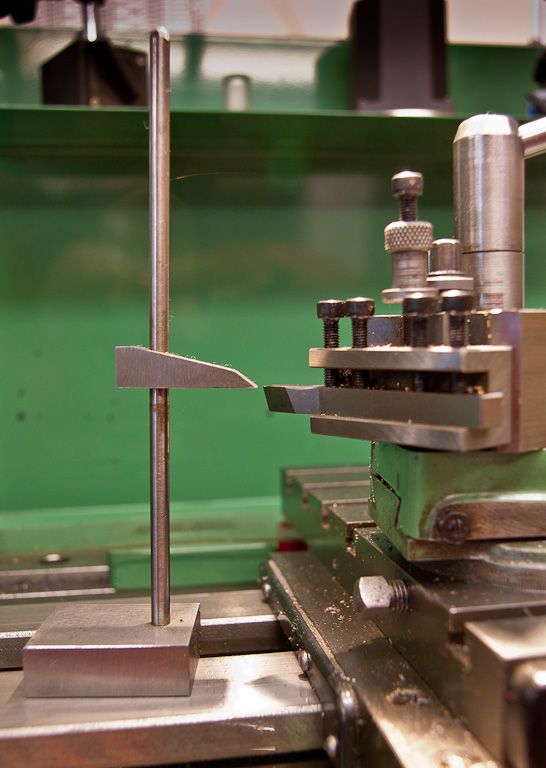
To set centre height put the gauge in a position where you can see both lines and the tool tip in the mirror. Adjust the tool height until the images of the tip and both lines co-incide so effectively you see a single line running across the cutting edge. Tool is now on centre height. Big advatage of this device is that tool tip and gauge don't have to be right up against each other, anywhere within a couple or three inches will do so long as you have a clear line of sight. It works fine if you simply brigh the tip up to lightly touch the appropriate line but obviously you don't want to scratch things.
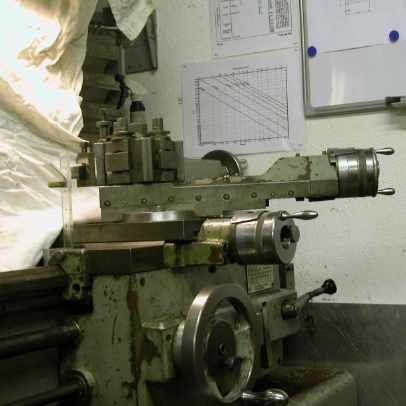
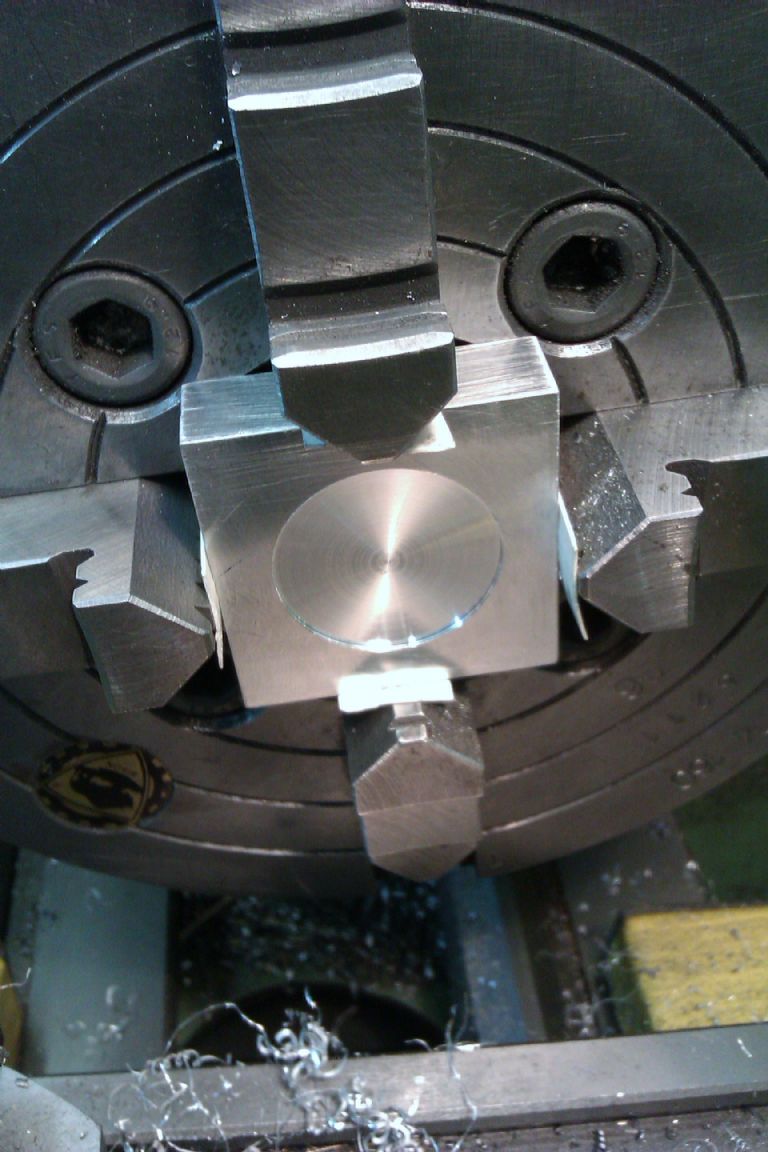
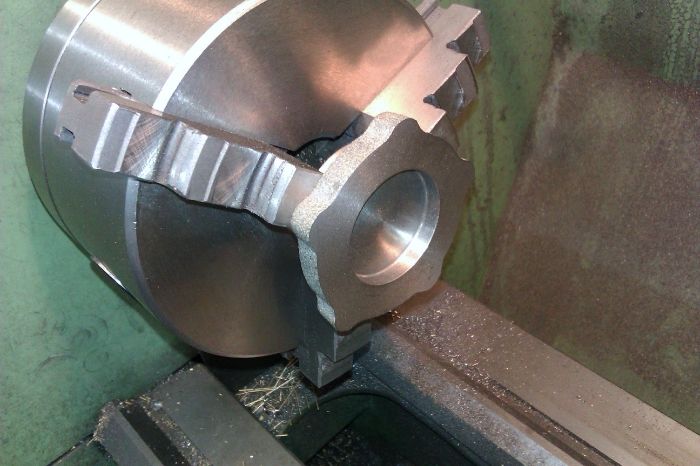
Three (poor) pictures of mine may help illustrate the idea. Two more in my photo album.


Extra lines and associated mirror bracket fixing holes are for other uses. One is in wrong place. Ooops!
Clive
Edited By Clive Foster on 12/08/2014 22:36:08
Ian S C.


