Hoglet Build

Advert

Hoglet Build

Viewing 25 posts - 51 through 75 (of 134 total)
  • Author
    Posts
  • #229988
    Nick_G
    Participant
      @nick_g
      Posted by Emgee on 14/03/2016 22:45:43:

      Nick, if you don't machine the fins before parting off the head I suggest you at least drill and ream for the guides as the 1st op on the parted off piece so you can fix the head to a jig by screwing thro the guide positions.

      Emgee

      .

      Cheers for the reply.

      Yes it's got to be done that way for the jig to be able to hold the heads for the other steps. It's the actual exhaust outlets and inlets through the sides of the head and the spark plug hole I was asking about before or after the fin grooves. I should have been clearer initially.

      Thanks, Nick

      Advert
      #229999
      JasonB
      Moderator
        @jasonb

        I did all the drilling first as its going to be very hard to drill across the fins without the drill wanting to wander and some of the holes start in the gap between two fins.

        Also check your spark plug spanner will fit the suggested 7/8" hole and adjust if needed.

        Aim for a press fit on the guides with a drop of 648 for good measure.

        J

        #230028
        Nick_G
        Participant
          @nick_g

          .

          Thanks Jason, that makes logical sense. smiley

          The thought of 648 I did consider but was concerned that the cylinder head temp with the engine running may go over the bond point of the locktite.

          The NGK CM6 plug specified has a 14mm spanner requirement yes.? – I have just measured the dia of my long reach socket and the external dia is 19.5mm so looks like I will get away with milling it to 20mm (a cutter I already have) and give me a bit more beef on the fins as the hole is quite close to the edge at 7/8th.

          Thanks again, Nick

          #230361
          Nick_G
          Participant
            @nick_g

            .

            After making the jig I have made a start upon the cylinder heads.

            The 2 blanks were faced off to the required length in the lathe then over to the mill where I used an edge finder to get the best centre of the cast iron stock. The DRO was then used with a spotting drill for marking out the holes.

            These holes will be the ref point for fitting to the jig for all the other machining stages to the heads.

            The jig was then fitted into a 4 jaw and dialed in true. The head blank was then fitted to the jig for machining the sides to a 2 1/2 in dia.

            Then to check they fitted.! smiley

            The jig and the blanks will be made friendly again upon the mill for the several hole drilling sessions of the inlet / exhaust and spark plug threaded hole. All hopefully indecision at the correct angles.

            I must also remember to make one head a left sided one and the other a right as they are not interchangeable. This being due to the inlet and exhaust port holes being of different sizes.

            Nick

            Edited By Nick_G on 16/03/2016 22:50:16

            #230449
            Nick_G
            Participant
              @nick_g

              .

              On with drilling and milling the heads. Used the jig once again for the angles required.

              Milled a recess for the spotting dill.

              Then drilled out with a 9 mm drill as the spark plug thread is 10×1 mm

              Then milled down to accept the spark plug body and giving enough room to also accept the spark plug spanner.

              smiley

              .

              Question.?

              The bottom of the electrode. (the 'earthy' one) is about 140 thou shy of the face of the cylinder head. This seems as if its sitting a bit high to me.! Should I make it lower by increasing the depth of the pocket above so that it's about flush with the cylinder head face.?

              Easy to do now as the jig is still set up at the correct angle and centered in the mill. But not so easy if I have to go back and do it later.

              Nick

              #230451
              Emgee
              Participant
                @emgee

                Hi Nik

                My choice would be to leave the electrode just shy of the head surface. If too recessed the compression ratio will be effected.

                I guess the .140" may be the difference between the start of cut in the head and the point where the full diameter was being cut with the slot drill, if so the designer perhaps used a different measuring method.

                Emgee

                #230454
                Nick_G
                Participant
                  @nick_g
                  Posted by Emgee on 17/03/2016 16:15:51:

                  I guess the .140" may be the difference between the start of cut in the head and the point where the full diameter was being cut with the slot drill,

                  Emgee

                  .

                  Hi and thanks very much for the reply.

                  The depth that the spark plug sits is down to the depth of the recess created in this step with the counter bore operation. :-

                  Cheers and thanks again, Nick

                  #230473
                  JasonB
                  Moderator
                    @jasonb

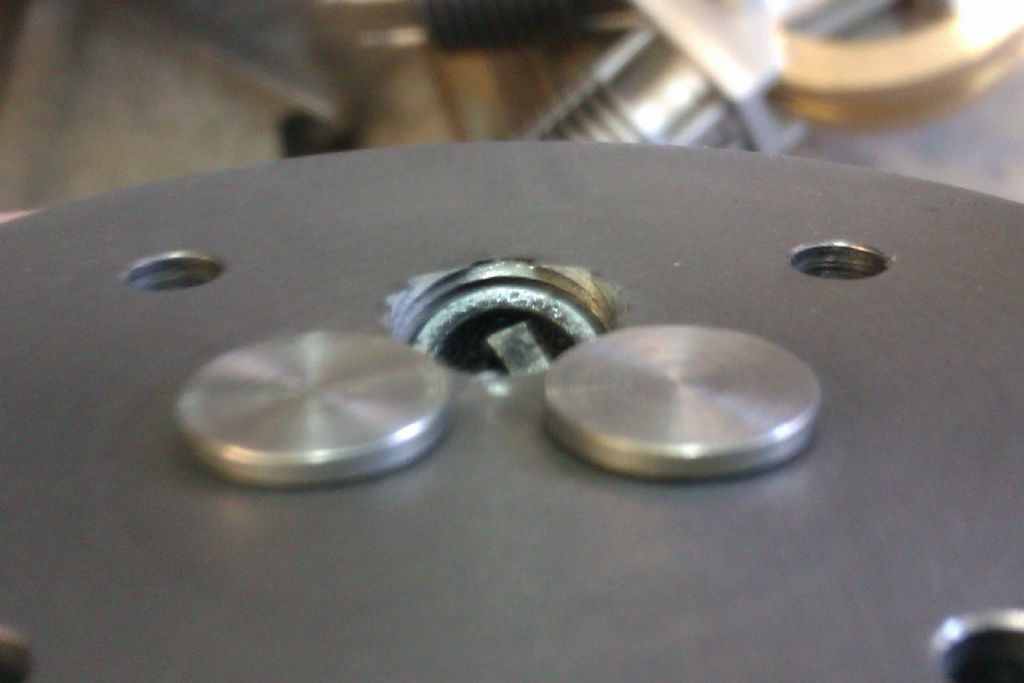
                    I just pulled the heads off mine and my plug sits a bit further down, this is just finger tight so will probably leave about 1mm of female thread showing on the shallow side when tightened up

                    hogplug.jpg

                    Edited By JasonB on 17/03/2016 18:12:42

                    #230482
                    Nick_G
                    Participant
                      @nick_g

                      .

                      Thanks once again Jason. smiley

                      That hoglet of yours will be back into all it;s component pieces before long. laugh 

                      I am going to cut the fins in the heads a little bit different than the drawing. – Just to make this engine 'mine' 

                      Valves.! ………… I am as yet undecided if to make them as one piece as per the drawing or make them as the stem and then the valve its self and then silver solder them together.?


                      Nick

                      Edited By Nick_G on 17/03/2016 19:08:54

                      #230486
                      JasonB
                      Moderator
                        @jasonb

                        I usually make mine from solid stainless, the only time I have used the two part method is on large valves where turning down 3.25" of 7/8" stainless to 3/16" seemed a waste of material and using a separate stem was more accurate than trying to turn it.

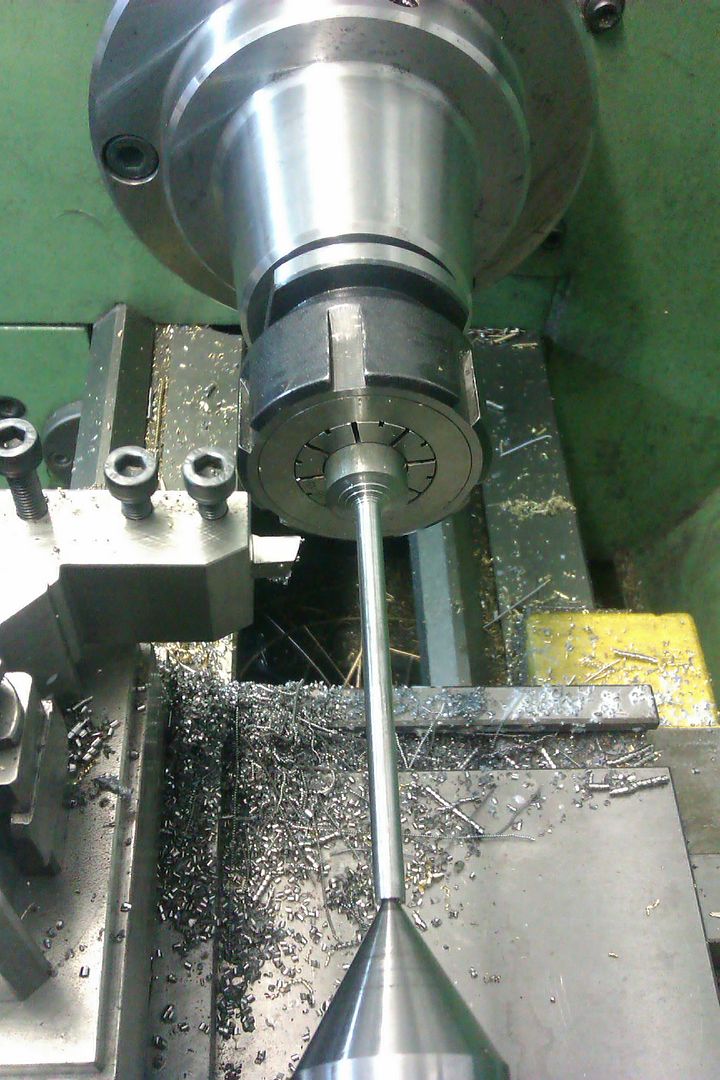
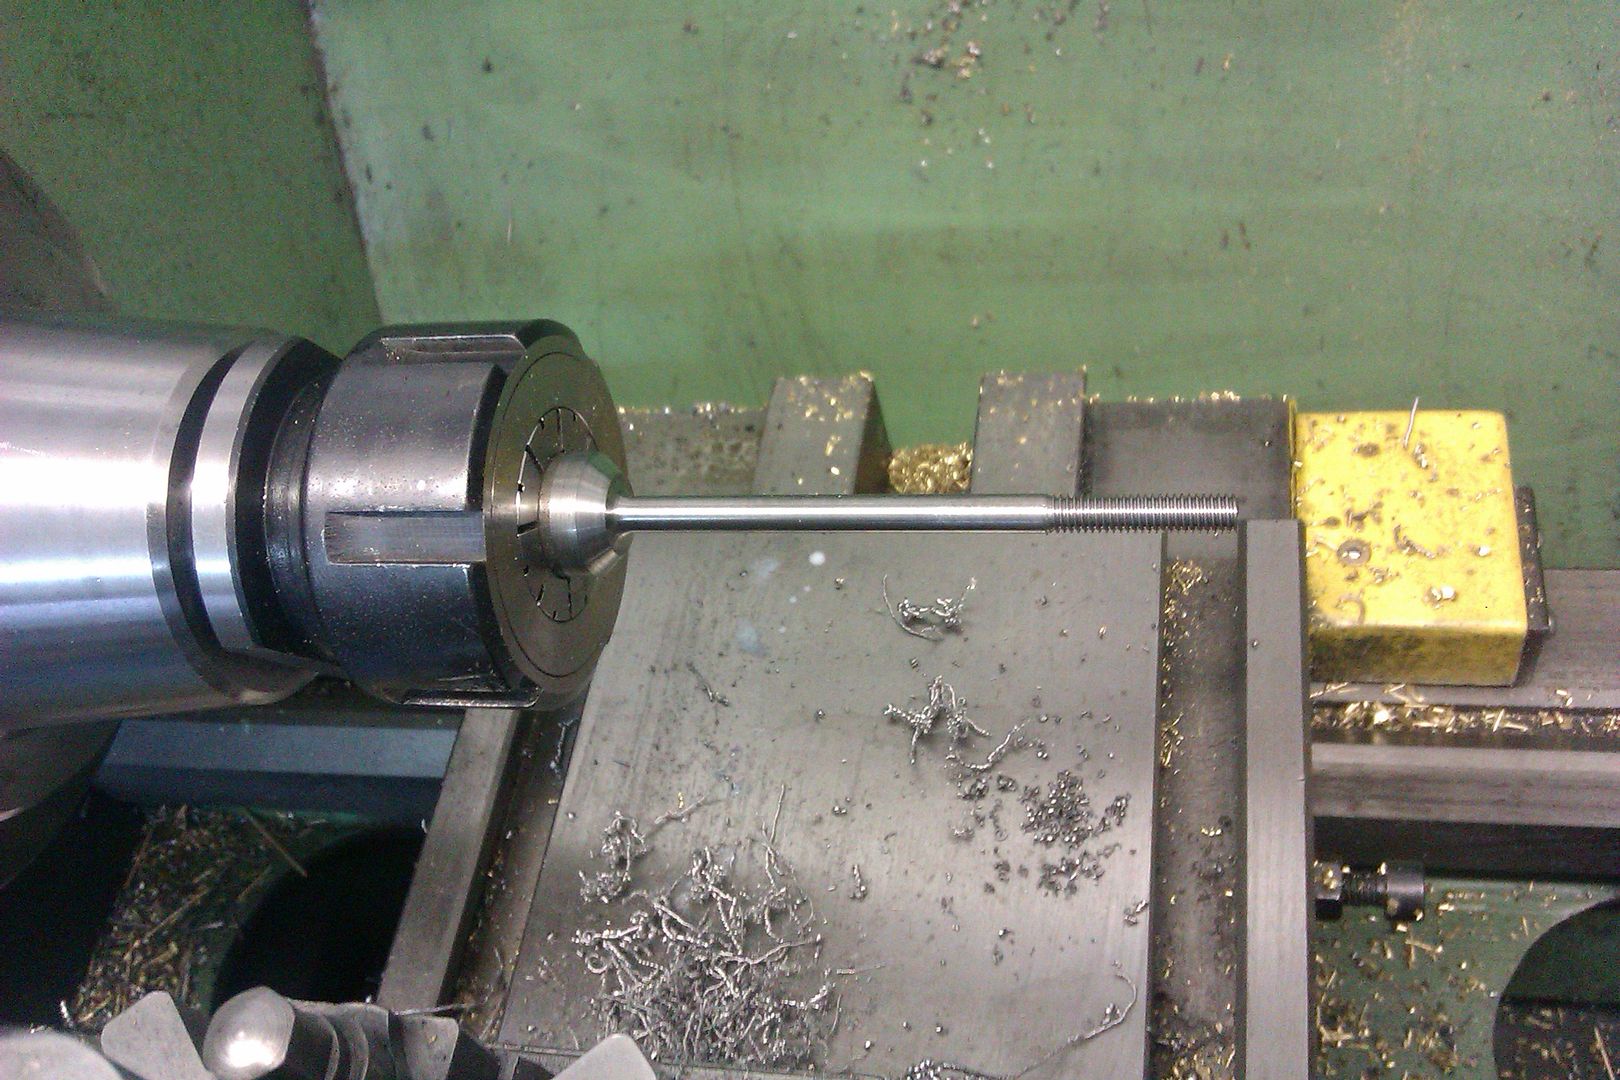
                        If you allow for the stem to be say 3/16" longer than needed a VERY small ctr hole can be put in the end to support it while the rest is turned. Part off, face the head to thickness and then using either a split bush or if you can poke it up from the back of a collet the ctr hole can be turned away.

                        Not a Hog but same method

                        Before parting off the length of bar makes a good handle to lap in the head

                        J

                        #230492
                        gary
                        Participant
                          @gary44937

                          hi nick, your making a lovely job, what did you use to cut the seats ?

                          #230535
                          Nick_G
                          Participant
                            @nick_g
                            Posted by gary shepherd on 17/03/2016 20:54:10:

                            what did you use to cut the seats ?

                            .

                            I used a 3 fluted chanfer tool just to start the seat that will be mated (hopefully) properly with the valve when they are lapped.

                            This was done at the same time and setting the hole through the head for the ports and valve guide was made so that (again hopefully) they will be aligned.

                            Nick

                            #230594
                            gary
                            Participant
                              @gary44937

                              thanks nick.

                              #230743
                              Nick_G
                              Participant
                                @nick_g

                                .

                                Pressing on with the cylinder heads. The jig was placed back into the lathe 4 jaw and dialed in with the heads mounted onto it. This was to enable the cooling fins to be cut with a modified parting tool having ground a rounded tip.

                                Nick

                                #230766
                                JasonB
                                Moderator
                                  @jasonb

                                  Bring on the Blingsmile d

                                  #230923
                                  Nick_G
                                  Participant
                                    @nick_g

                                    .

                                    I have made the valve guides and pressed them in and have made the 4 valves out of stainless OK (after making a cobblers of 2 'practice' ones) blush

                                    I have some fine valve grinding paste and I am wondering what is the best technique for lapping in such small valves.?

                                    Cheers, Nick

                                    #230930
                                    JasonB
                                    Moderator
                                      @jasonb

                                      If its valve grinding paste from the likes of Halfords then even the fine is too rough, you really want a lapping powder and drop of oil.

                                      Have you left the valves on the bar so they are easy to lap like I mentioned above?smile or have you parted them offsad

                                      #230942
                                      Nick_G
                                      Participant
                                        @nick_g
                                        Posted by JasonB on 20/03/2016 17:41:46:

                                        or have you parted them offsad

                                        .

                                        OOooooops. – Did not see that bit.! sad

                                        Nick

                                        #230943
                                        JasonB
                                        Moderator
                                          @jasonb

                                          So you now have the option of using a slitting saw to cut a slot in the head, then you can use a small screwdriver to turn the valve back & forth while you lap it in.

                                          Or use a small drill chuck or length of fuel tube on the stem of the valve to do the same thing.

                                          Just twist, lift, twist, etc

                                          #230945
                                          Michael Gilligan
                                          Participant
                                            @michaelgilligan61133

                                            Nick,

                                            Remember the old 'rubber sucker on a stick'

                                            Here; thanks to SMD electronics, is your salvation.

                                            MichaelG.

                                            #230951
                                            John Rudd
                                            Participant
                                              @johnrudd16576

                                              Posted by Michael Gilligan on 20/03/2016 18:54:37:

                                              Nick,

                                              Remember the old 'rubber sucker on a stick'

                                              MichaelG.

                                              I still have one in my tool chest for such things…..

                                              Gunson brought one out for use with a power drill that oscillated….

                                              #230964
                                              Nick_G
                                              Participant
                                                @nick_g

                                                .

                                                Cheers for the advice guy's.

                                                Nick

                                                #231812
                                                Nick_G
                                                Participant
                                                  @nick_g

                                                  .
                                                  Bit more progress.

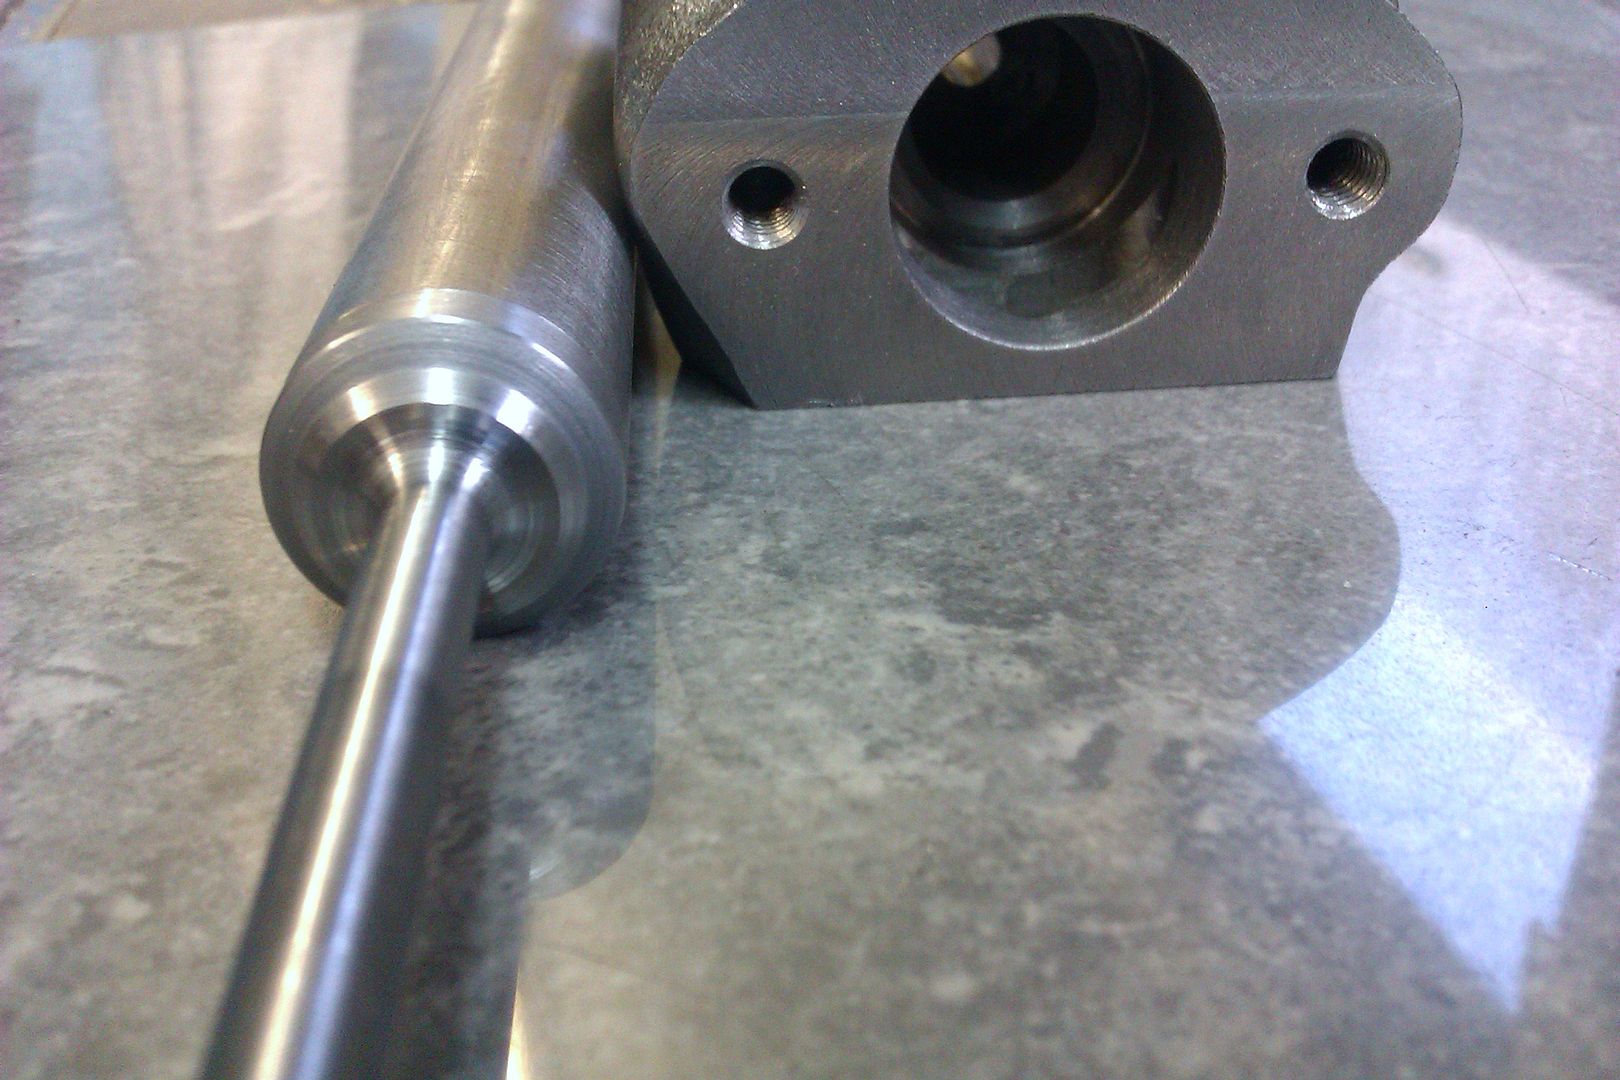
                                                  As I said previously I made the valves and guides. Made the 4 valves a bit too long so that the recess made for the live centre could be tuned away.

                                                  The supports for the rocker arms have also been made. It's the little bits like this that I find take far more time than you would think.

                                                  I also made the valve springs on the lathe out of music wire.

                                                  I have to yet still shorten the valves and cut a groove in them that will allow an 'E' clip to be pressed on and hold the valve keeper and it's spring into position.

                                                  Starting to 'look' like an IC engine. smiley …………. Although knowing eyes will be aware that the time consuming and tricky bits are yet to be made. cheeky

                                                  The valves still need to be lapped. Although I have done one of them which took about 2 hours while watching TV

                                                  Nick

                                                  #231971
                                                  Nick_G
                                                  Participant
                                                    @nick_g

                                                    .

                                                    I am thinking of using key steel to make the rockers out of. (drawing is American numbers) Is this suitable for the job and what is the stuff like to machine.?

                                                    Cheers, Nick

                                                    #231981
                                                    JasonB
                                                    Moderator
                                                      @jasonb

                                                      Whats wrong with mild steel?

                                                      Drawing only says "steel" smile p

                                                    Viewing 25 posts - 51 through 75 (of 134 total)
                                                    • Please log in to reply to this topic. Registering is free and easy using the links on the menu at the top of this page.

                                                    Advert

                                                    Latest Replies

                                                    Viewing 25 topics - 1 through 25 (of 25 total)
                                                    Viewing 25 topics - 1 through 25 (of 25 total)

                                                    View full reply list.

                                                    Advert

                                                    Newsletter Sign-up