Has anybody built Beng’s Danni Steam engine.

Advert

Has anybody built Beng’s Danni Steam engine.

Home Forums Stationary engines Has anybody built Beng’s Danni Steam engine.

Viewing 25 posts - 51 through 75 (of 304 total)
  • Author
    Posts
  • #255993
    Brian John
    Participant
      @brianjohn93961

      Would this 19mm fly cutter be suitable to do the cylinder ?

      **LINK**

      Advert
      #256030
      JasonB
      Moderator
        @jasonb

        Yes, probably go for the smaller of the two heads as the tool bit is not so thick and will need less grinding.

        #256161
        Brian John
        Participant
          @brianjohn93961

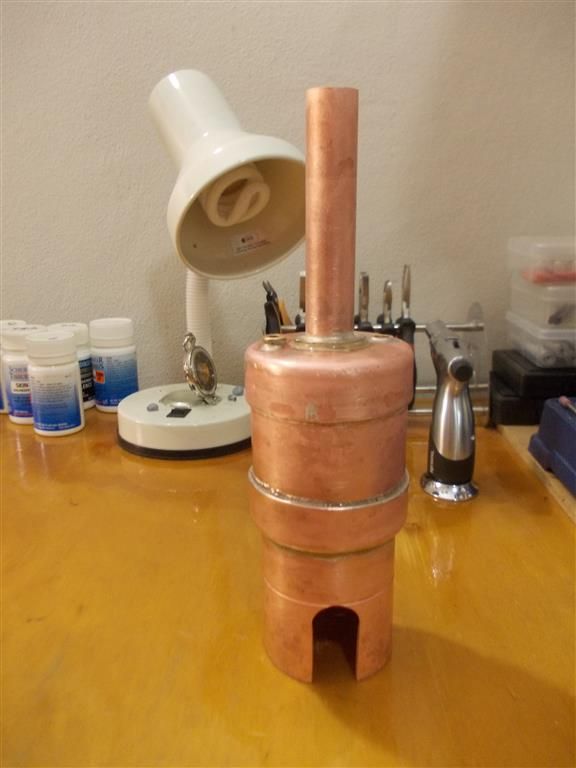
          This steam engine will be mounted on a base together with a boiler to form a steam plant. I finished silver soldering the boiler today : the main boiler section is made from 65mm diameter X 70mm long copper pipe. All this was salvaged from the scrap yard. I experimented with some silver solder purchased from the plumbers supply shop but although it is cheaper, I will not be using it again. The silver solder I buy from the Miniature Steam is far superior : it melts and flows very well.

          I still have to apply the insulation and the wooden lagging made from mahogany strips. I use a standard Mamod safety valve as the filler plug.

          boiler 1.jpg

          Edited By Brian John on 16/09/2016 11:39:08

          #256391
          Brian John
          Participant
            @brianjohn93961

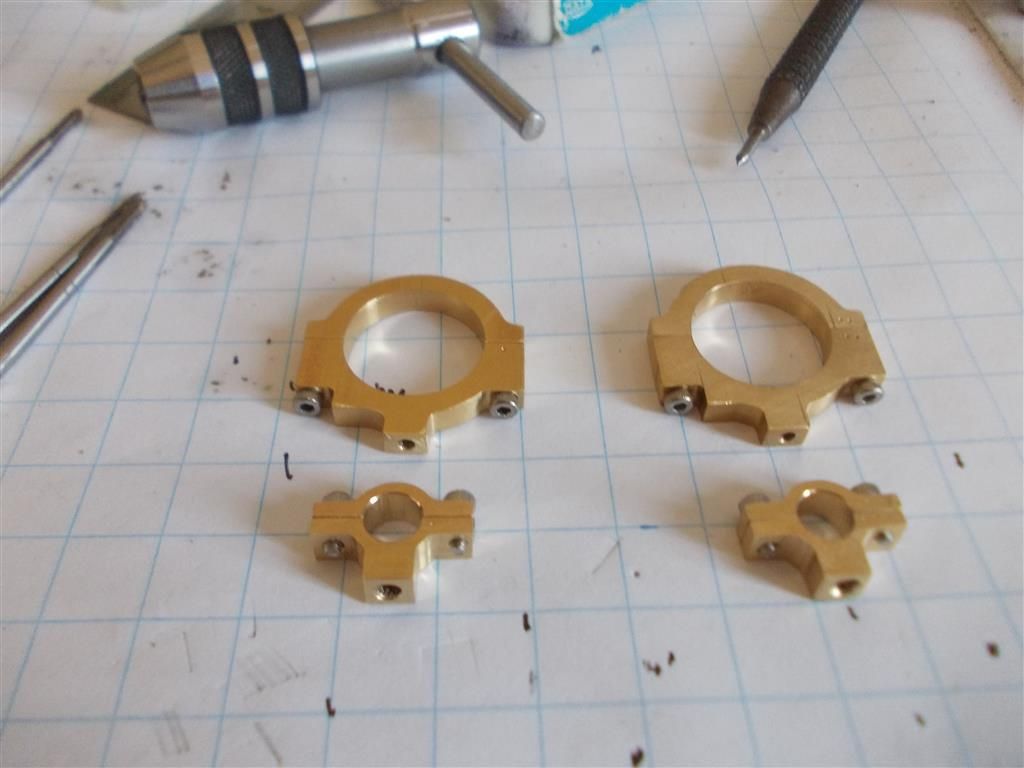
            More smaller parts completed : the connecting rod bearing(13), the bearing cover(12) and the eccentric outer race (19).

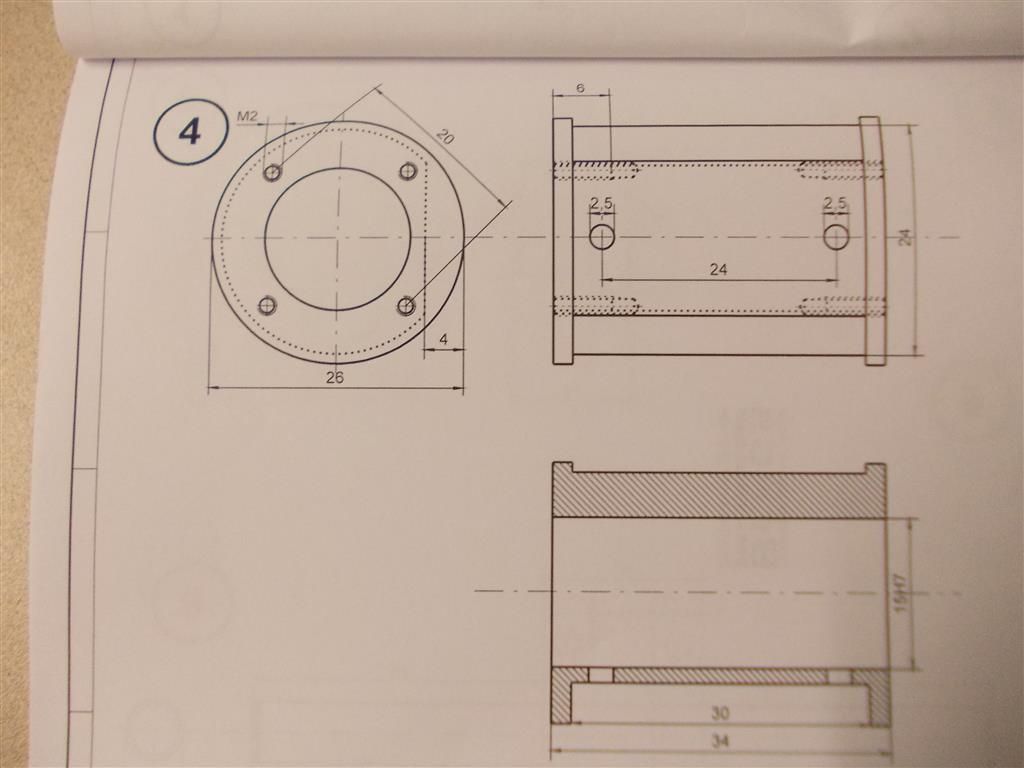
            I just realised that I have spent so much time thinking about the flat side of the cylinder that I have not given much thought to the cylinder itself. If I bore the 15mm hole first then that might make it difficult to turn the inner diameter of 24mm because I cannot support it between centres. But if I turn the inner and outer diameters(24mm and 26mm) first while supporting between centres than that will make it difficult to hold the piece securely in the chuck when I bore it later. How should this be done ?

            cylinder 1.jpg

            small parts 1.jpg

            Edited By Brian John on 17/09/2016 11:50:00

            #256406
            JasonB
            Moderator
              @jasonb

              Brian you can make a simple plug to fit nicely in teh bored hole with a shoulder to stop it sliding all the way in and ctr drille dfor your tailstock support

              #256409
              Ajohnw
              Participant
                @ajohnw51620

                Nice going Brian – fist I vaguely remember some one suggesting you should take up knitting.

                John

                #256439
                Ajohnw
                Participant
                  @ajohnw51620

                  In principle Brian you could do it between centre but driving it around will prove difficult. It's possible to use tube centres. All that really means is that the cone on the centre is larger than the bore.

                  When I have had this problem in the past I have more or less done what Jason suggest except drilling and tapping a hole in the centre of the arbour with a 2nd tap so that the thread is only fully cut say one tap dia in and then 2 slits with a hacksaw at roughly 90 degrees apart. The part that fits in the cylinder needs to be a bit short of the finished length so that the part can be reversed to face the other end. This is just a simple expanding mandrel as the arbour will expand when a screw is run into the hole. These can be bought but Arc don't seem to have found a well priced decent set so sell one at a time.

                  Not needed for a long time and suspect I used mild steel but as the fit before expansion needs to be pretty good aluminium should be ok. It needs to be a nice tightish sliding fit in the bore.

                  John

                  #256897
                  Brian John
                  Participant
                    @brianjohn93961

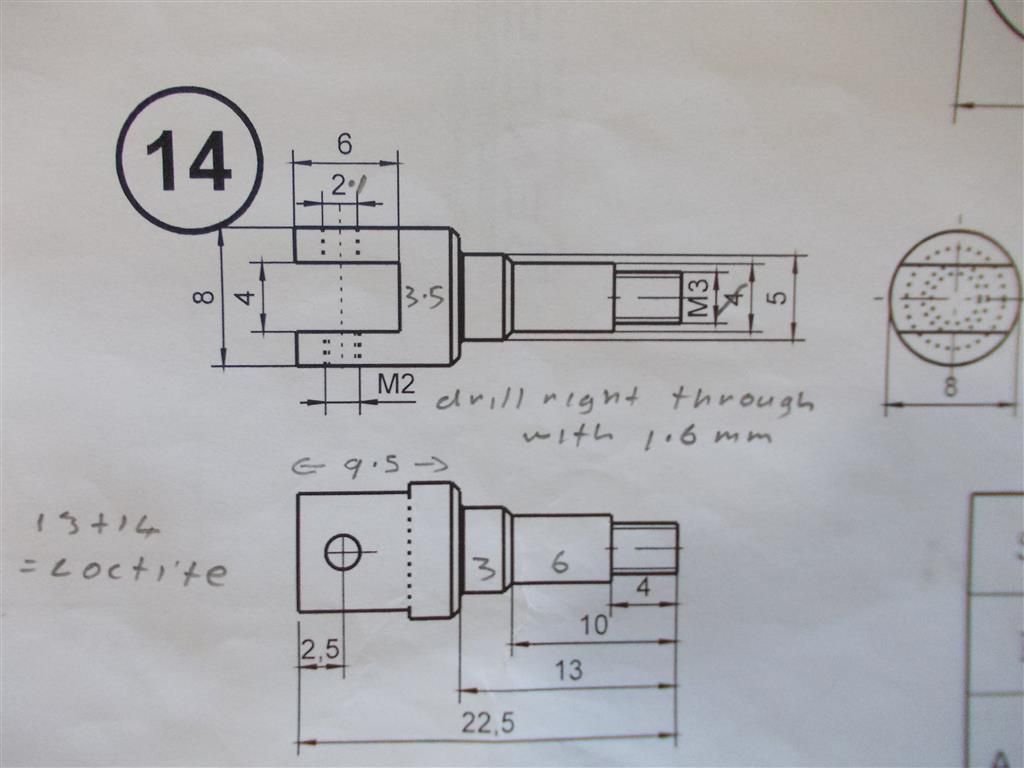
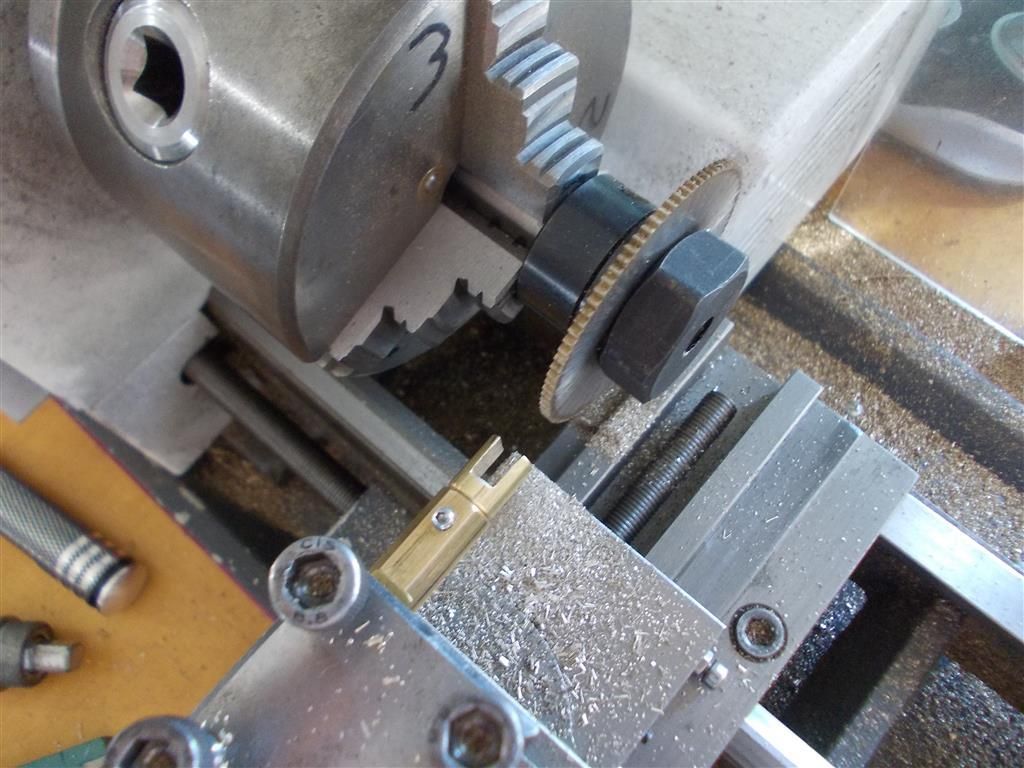
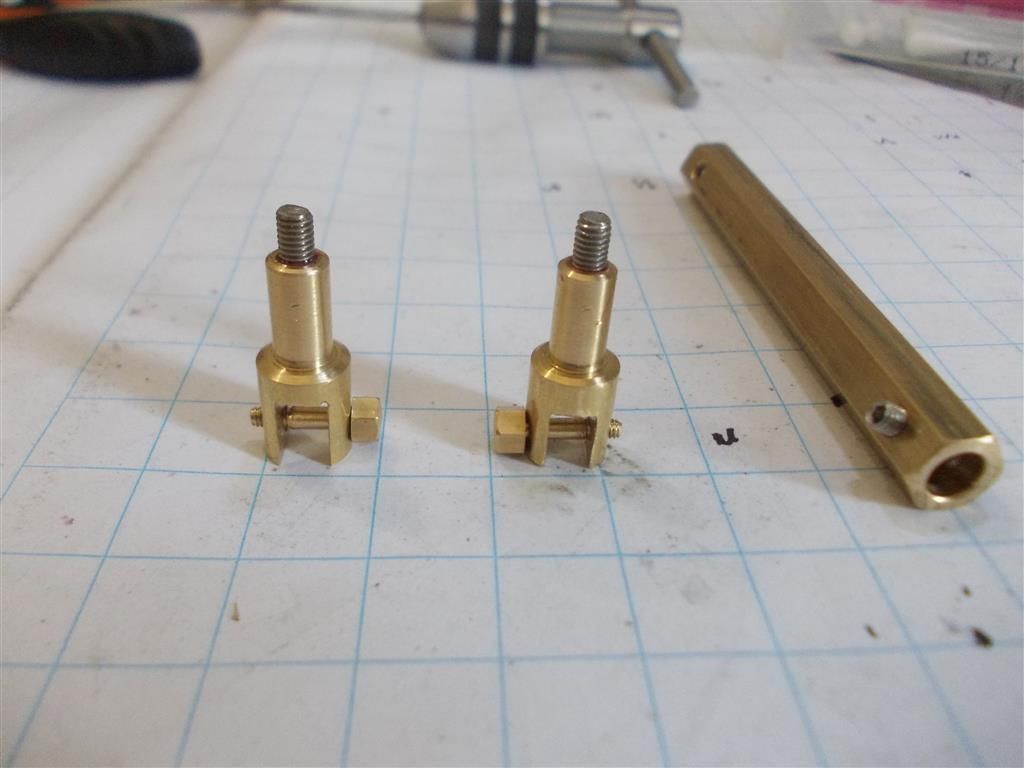
                    I completed two plunger joints (part 14) today using a jig I made from 8mm hex brass. I was able to hold the work piece in the tool post while I used the slitting saw to cut a slot and the jig was also used when drilling and tapping the cross hole. I did try to make the M3 thread using a die but the die is stuffed : I had forgotten to order a new one. So I just cut the end off the piece then drilled and tapped for M3. I did not have any M3 threaded brass (it is on a slow boat from China) so I cut the thread off a stainless steel M3 socket cap and then fixed it in position with high strength Loctite 263. It seems to have worked out okay. I made the minor shaft all 5mm in diameter rather than 4mm and 5mm as per the plans as this was easier to hold in the hex jig. The jig has two M3 grub screws on either side to grip the work piece. I think 10mm brass hex would have been better to give more thread for the grub screws.

                    plunger joint 1.jpg

                    plunger joint 2.jpg

                    plunger joint 3.jpg

                    Edited By Brian John on 20/09/2016 08:36:57

                    #257753
                    Brian John
                    Participant
                      @brianjohn93961

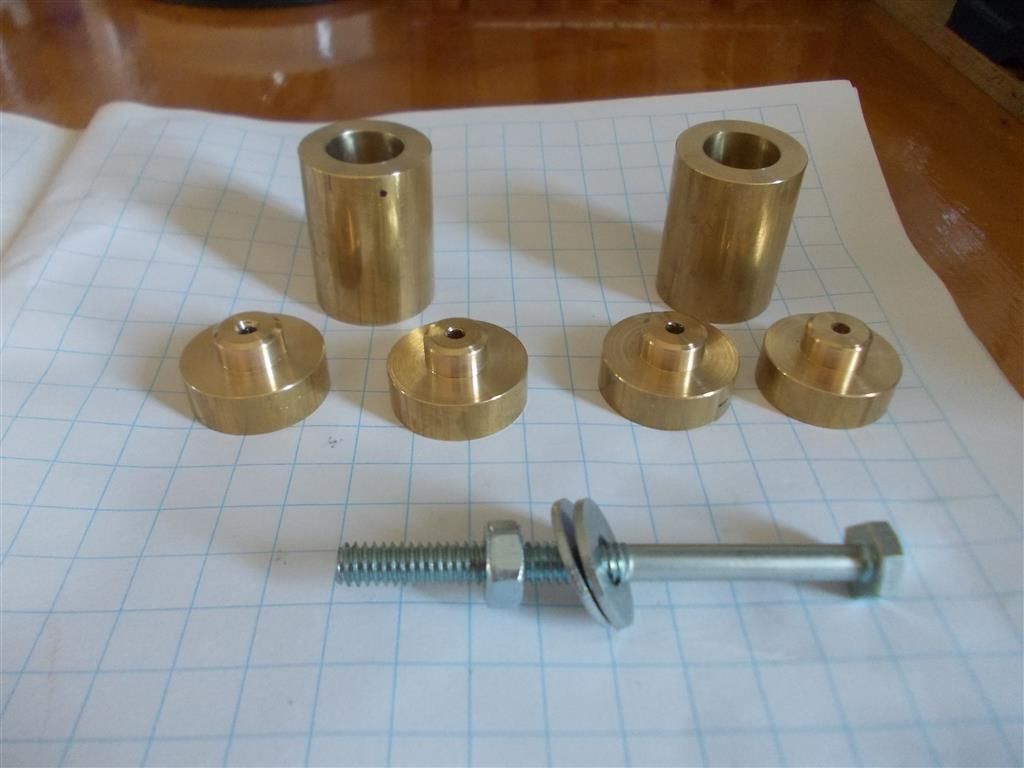
                      I have made two cylinders and started the cylinder covers. I was going to turn the other 15mm ends of the cylinder covers to fit the cylinders when I remembered that after I mill the flat on the cylinder then I have to bore two 2.5mm holes into the cylinder walls so this will ruin the smooth finish I have put on the bore. Is there some way to clean up the two holes on the inside of the cylinder without damaging the bore ? Or will I have to take a cleaning pass (0.1mm) with the boring bar and then repolish the cylinder bore ?

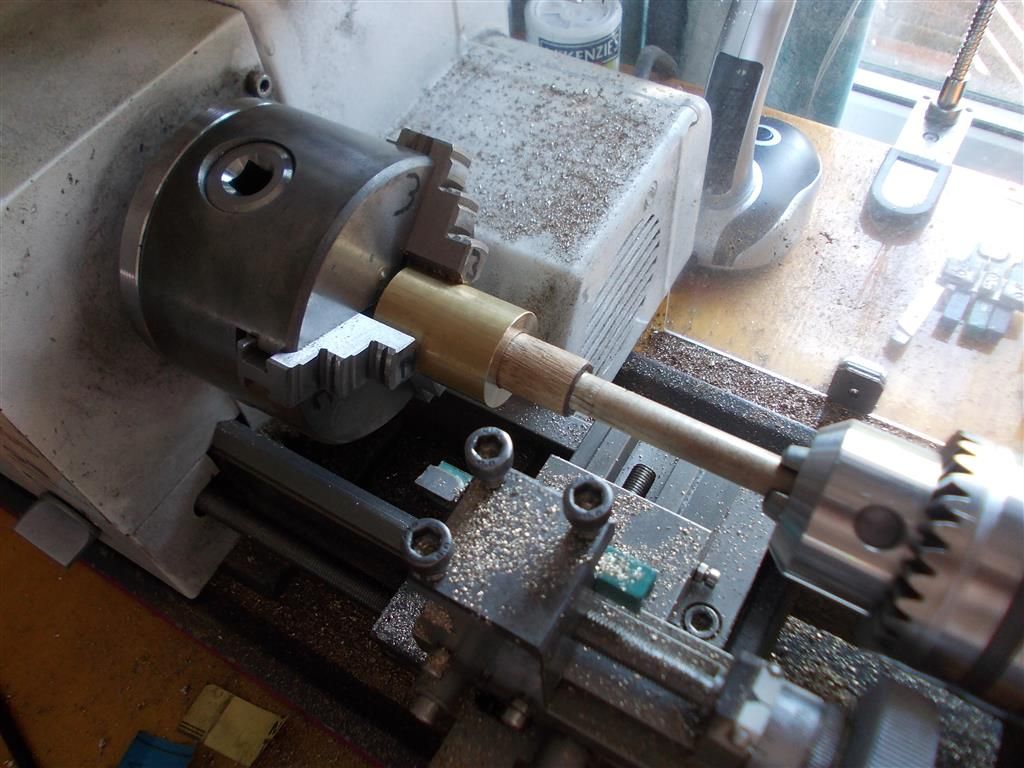
                      NOTE : I am thinking of buying a 4 jaw chuck to mill the cylinder. Machinery House have one left in stock but I am not sure if it will take the 34mm cylinder end on ; it might be at its limit doing that so I will ask first. The first photo below shows the wooden mandrel I made for polishing the cylinder bores with 800 and 1500 grit.

                      cylinder 4.jpg

                      cylinder 5.jpg

                      Edited By Brian John on 25/09/2016 05:26:09

                      #257756
                      JasonB
                      Moderator
                        @jasonb

                        The piston won't actually be sliding past those holes when running so just clean up any burrs with a half round needle file or small scraper. If need be just run your lap in again by hand.

                        You could well be limited with the 4-jaw as to what you can hold, probably OK if it were a 34mm long rectangular block as all jaws could be reversed but you won't be able unlikely to be able to grip the curved sides if you have teh ends held in the reversed jaws.

                        #257909
                        Brian John
                        Participant
                          @brianjohn93961

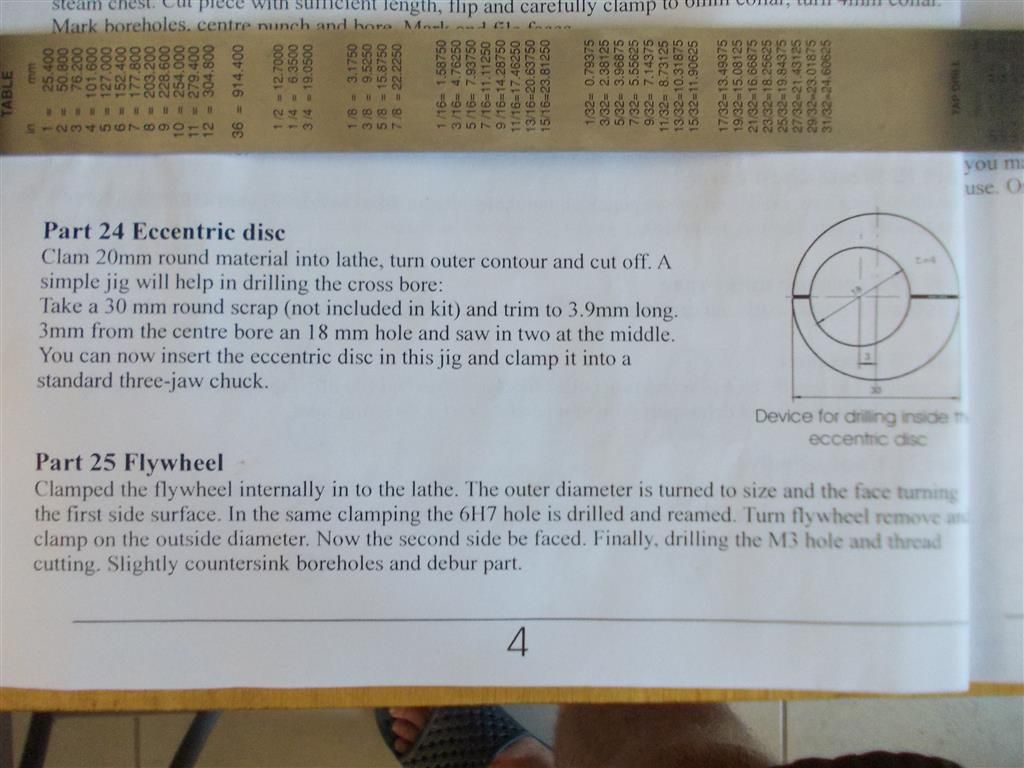
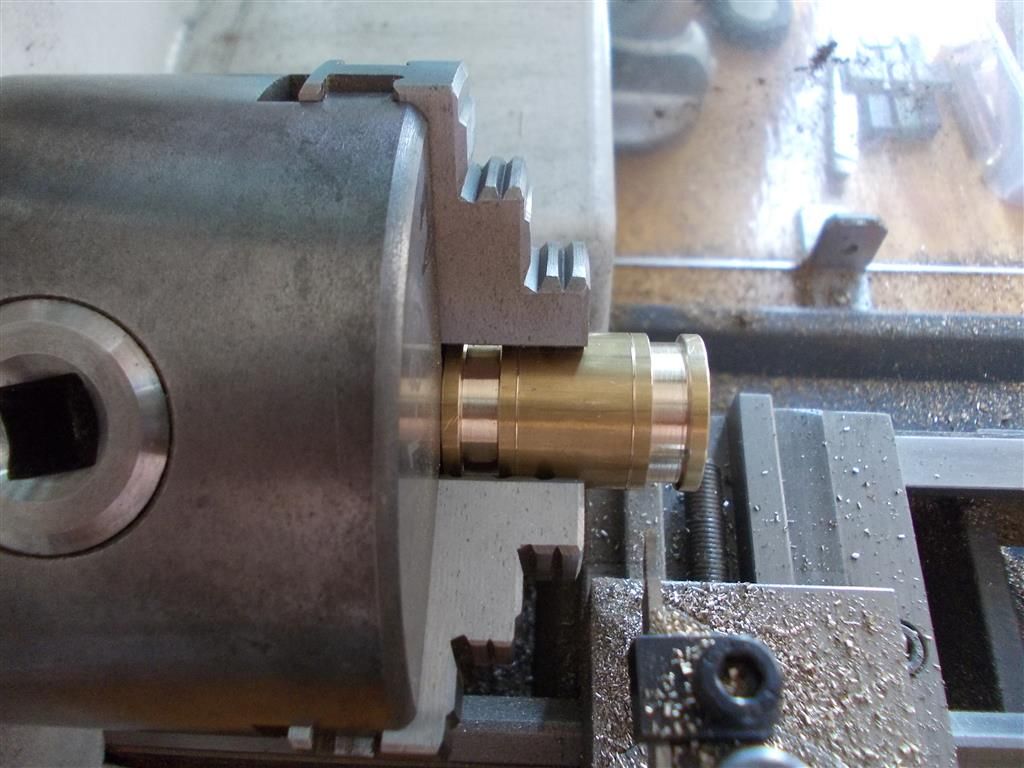
                          Okay, I will leave that piece for now. But I may need a 4 jaw chuck to make some of the other pieces. I started making the eccentric today using the flat edge of my parting tool. I kept shaving a small amount off my moving the tool from right to left until I got a good fit with the outer race as per photo #2. Now the instructions say to bore the 6H7 hole using a jig which I proceeded to make but how am I to bore the 18mm hole in the jig ? I have cut the 30mm X 3.9mm disc as per the instructions. Should this now be mounted horizontally in a vice and the 18mm hole drilled with the drill press ? I do have a set of large drill bits (12-24mm) of doubtful quality.

                          If I had a four jaw chuck I could mount the eccentric work piece from photo #2 off-centre with a 3mm ''chock'' then bore the 6H7 hole that way. Is that how it is done ? I think the 6H7 hole could also be bored in the steam chest using the same method.

                          eccentric 1.jpg

                          eccentric 2.jpg

                          eccentric 3.jpg


                          Edited By Brian John on 26/09/2016 08:25:10

                          Edited By Brian John on 26/09/2016 08:26:24

                          Edited By Brian John on 26/09/2016 08:30:22

                          #257910
                          Hopper
                          Participant
                            @hopper

                            Hi Brian. You can bore an eccentric hole, or turn an eccetric OD for that matter, in a three jaw chuck by placing a packing piece between the work and one jaw. This pushes the work off centre when you clamp the chuck jaws on it.

                            It takes a bit of trial and error to get the size of the packing just right. There may be a formula somewhere, I don't know, for it has two variables, the amount of offset and the OD of the work.

                            One way to do it is to mark up the work and put a tiny prick punch mark where the centre of the offset hole should be. Then place the work in the 3 jaw with the tailstock centre in the prick punch mark. Wind the jaws in until the two jaws just touch the work, then measure teh gap between the third jaw and the work. Make a packing piece that thick and put it in the gap.

                            #257921
                            Brian John
                            Participant
                              @brianjohn93961

                              I thought it could be done using a three jaw chuck but when I used a 3mm thick piece of packing it was all wrong. But as you have pointed out, if the hole is 3mm off centre then that does not mean the packing should be 3mm thick. I will experiment further tomorrow as per your suggestions.

                              What puzzles me is why the instructions did not mention this packing method rather than the more complicated jig method. I suppose the jig would make it easier to put a chamfer on both sides but that is hardly necessary.

                              Edited By Brian John on 26/09/2016 10:39:28

                              #257927
                              Journeyman
                              Participant
                                @journeyman

                                Brian, found a formula for you **here** haven't tried it myself though.

                                Packing = 1.5 x offset x (1 – (1/8 x (Offset / Bar Diameter)))

                                Cheers

                                John

                                #257932
                                Hopper
                                Participant
                                  @hopper

                                  I was thinking of making the jig in the method I described, rather than the finished product. Either way I guess.

                                  I think you have a faceplate don't you? You could more easily make the jig by clamping it to the faceplate and boring it out, again using tailstock centre and marked lines for initial set up. You could perhaps more easily control the offset on the face plate, indeed measuring it with a dial indicator and getting it dead right.

                                  Journeyman – thanks for the link. I knew there should be a way to work it out. Interesting stuff.

                                  #257934
                                  Brian John
                                  Participant
                                    @brianjohn93961

                                    Journeyman : thank you for the formula. I know I had seen it before somewhere but it did not mean much to me at the time.

                                    By my calculations, the packing should be 4.4mm thick.

                                    Hopper : I had forgotten about the faceplate. That is another option I can try.

                                    Edited By Brian John on 26/09/2016 11:25:56

                                    #257939
                                    Neil Wyatt
                                    Moderator
                                      @neilwyatt

                                      There's a formula in Tubal Cain's Workshop Handbook that works, I don't know if its the same but it probably is.

                                      For next time, its easier to bore the hole in the end of the (offset) bar, as you can hold it better, then make the eccentric.

                                      #257942
                                      Brian John
                                      Participant
                                        @brianjohn93961

                                        Neil : I have not cut the eccentrics off the bar yet.

                                        If this works I may be able to hold the steam chest in the circular jig I used for facing the ends and do something similar for the 6H7 bore in that. The ''bar diameter'' in the above formula will have to be modified.

                                        #258051
                                        Hopper
                                        Participant
                                          @hopper

                                          Good old Tubal Cain! I have his handbook in arm's reach of the armchair here. Yes he has a formula and yes it is more complex! He says it should get you to within half a thou of dead on. (Close enough for dead on for me!)

                                          I'll have a go at transcribing his formula but I don't know how to do the deep brackets really needed so here goes:

                                          He recommends using shim under all three jaws, of the same thickness, as well as the packing piece in order to not mark the work piece with the jaws.

                                          E is teh desired eccentricity (ie half the valve travel)

                                          D is the OD of the sheave, plus twice the shim thickness

                                          T is the thickness of the packing piece to set on the one jaw to give the offset.

                                          Then:

                                          T = 1.5E [1 — 1/2 E/D — 3/8 (E/D)3 ]

                                          That last 3 should be a small superscript 3 as it indicates "cubed" rather than " x3" but I can't do it right. "–" signifies "minus", I just cant do long dash on this system.

                                          He goes on to say this method works best if the eccentric sheave OD is done first then the hole bored by this method. the boss is then done by fitting to a mandrel "in the usual way". My head is a bit woolly this morning (flu) so I'm sure that means more to you than me!

                                          If I get a chance later, Brian, I will email you some info.


                                          I'm still thinking the faceplate might be a good lo-tech way to go and make that jig in your drawing. You could turn the OD round in the three jaw and part it off or whatever, then drill three small bolt holes in non-functional areas that align roughly with the faceplate slots. Then you could pack some washers etc in between the work and the faceplate so it is standing out from the faceplate. Then you could use a dial indicator to set the eccentricity to the hundredth of an mm and nip up the bolts to hold it in place firmly while you drill and bore the hole. By using the through bolts and no clamps,  you will have full circle access to the OD with the dial indicator plunger so it should be pretty easy to set up.


                                          Edited By Hopper on 27/09/2016 02:00:37

                                          Edited By Hopper on 27/09/2016 02:02:24

                                          Edited By Hopper on 27/09/2016 02:03:19

                                          #258060
                                          Brian John
                                          Participant
                                            @brianjohn93961

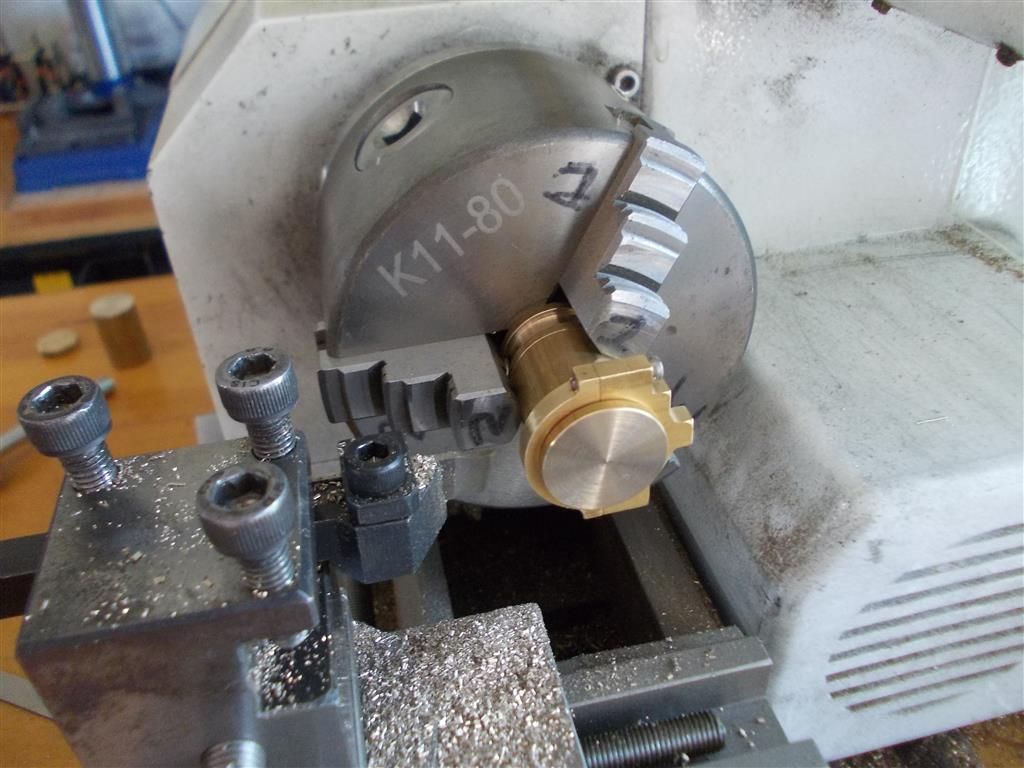
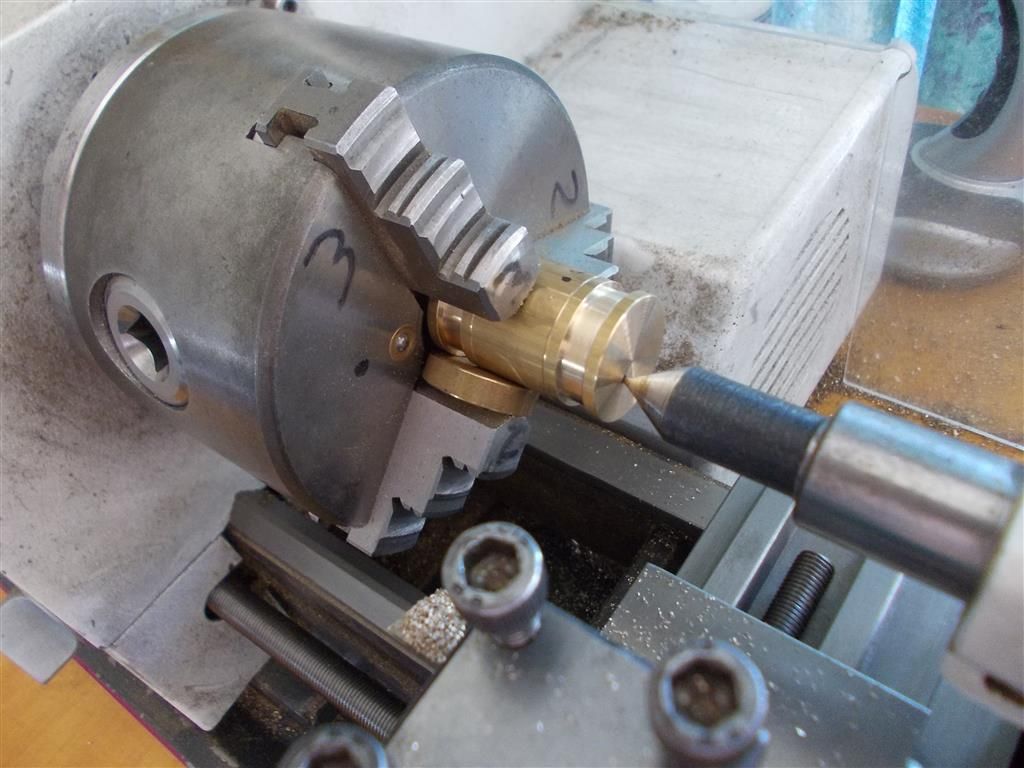
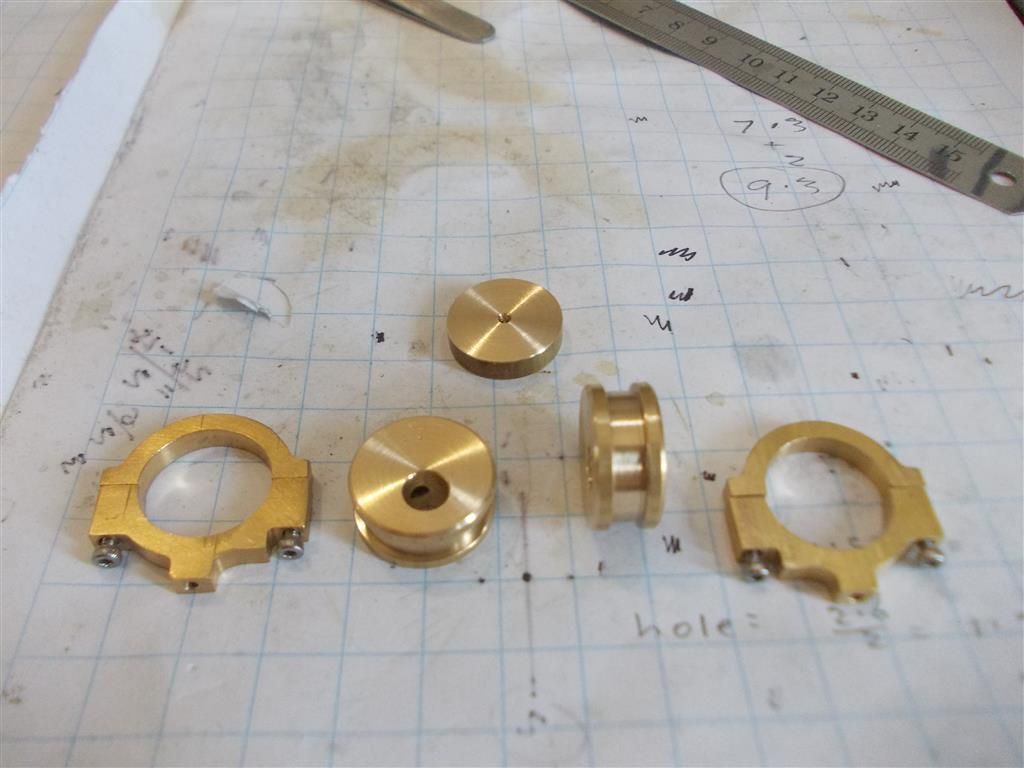
                                            I am not sure how to calculate E because I do not know what the valve travel is. So using the first formula and requiring 4.4mm packing I found a brass disc in my scrap box which was 4.8mm. I mounted this in the lathe and reduced it to the required thickness of 4.4mm. The work piece was marked with a black dot (3mm off centre) and when mounted with the packing it was correct. I checked it with the dead centre then started with the centre drill. All looked good so I bored about 1/4 of the way through with a 4mm drill bit then all the way through with a 5mm drill bit. (I am making two eccentrics, one at each end of the work piece). I then used 5.8mm and a 6H7 reamer to finish the hole.

                                            The edge of the bored holes are 4mm from the edge of the work piece so this correct : 2X(4+6)=20mm. I parted off and then cleaned up the ends by taking facing cuts. By carefully mounting the eccentrics in the chuck I was able to use a small file to chamfer the edges. The eccentrics were then drilled and tapped for M3 grub screws. The outer races are a perfect fit so everything looks good.

                                            I was going to try the other method and make two more eccentrics as outlined in the instruction manual using the jig but my drill press will not drill anything larger than 9mm : the drill chuck comes off ! It would have been nice to see if that method works but the packing method seems much simpler.

                                             eccentric 4.jpg

                                            eccentric 5.jpg

                                            Edited By Brian John on 27/09/2016 08:00:37

                                            Edited By Brian John on 27/09/2016 08:03:50

                                            Edited By Brian John on 27/09/2016 08:07:47

                                            #258110
                                            Brian John
                                            Participant
                                              @brianjohn93961

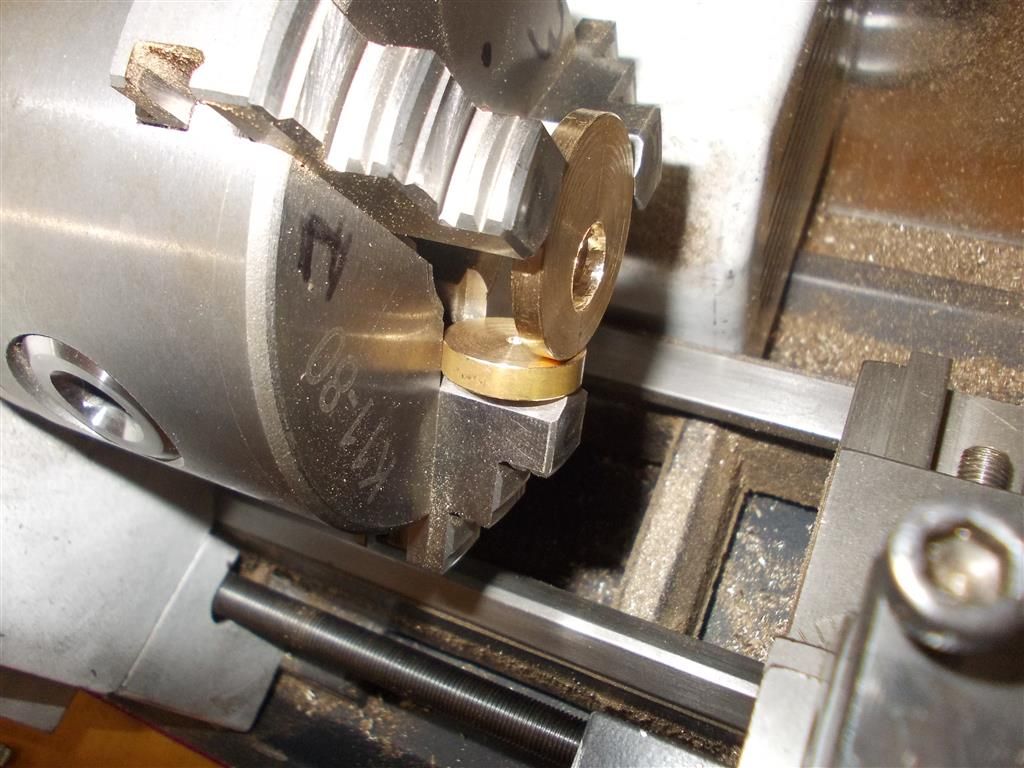
                                              Aha…so that is why a jig IS needed ! I have made the rims of the eccentric too thick at 2mm ; the rims should only be 1mm thick giving an overall thickness to the eccentric of 6mm. If the rims are 1mm thick then it could not be held in the lathe chuck for cleaning up the end which has been parted off. It was a major brain fade on my part. I have put the figures for the jig into the original formula (3mm offset and 30mm round bar) and I get the same 4.4mm packing result. So I can complete the jig using the same packing.

                                              Does this look safe for using the boring bar ? The disc is 3.5mm thick. Or should I bore another hole in some fresh 30mm brass and then part off ?

                                              I realise that I could bore the 18mm hole in the centre of a disc for the purpose of shaving a bit off the rims. The 18mm hole does not need to be offset for this but I have already drilled it out to 9mm so I thought I may as well use it.

                                              eccentric 6.jpg

                                              Edited By Brian John on 27/09/2016 13:40:43

                                              #258262
                                              Brian John
                                              Participant
                                                @brianjohn93961

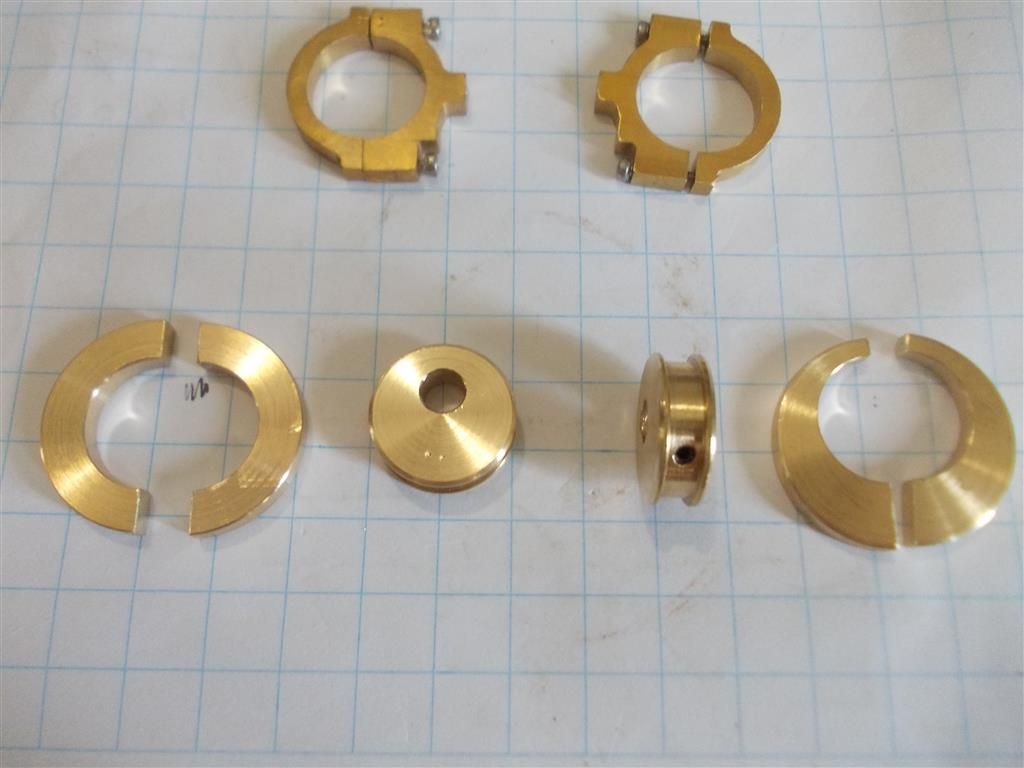
                                                I made up two jigs today : one jig with the 18mm hole bored 3mm off-centre and one jig with the 18mm hole on-centre. I could use the off-centre jig to make any future eccentrics but I think the packing method is better now that I know the formula. I used the jigs to reduce the thickness of the eccentrics today and it all went well.

                                                eccentric 7.jpg

                                                Edited By Brian John on 28/09/2016 08:09:43

                                                #258264
                                                JasonB
                                                Moderator
                                                  @jasonb

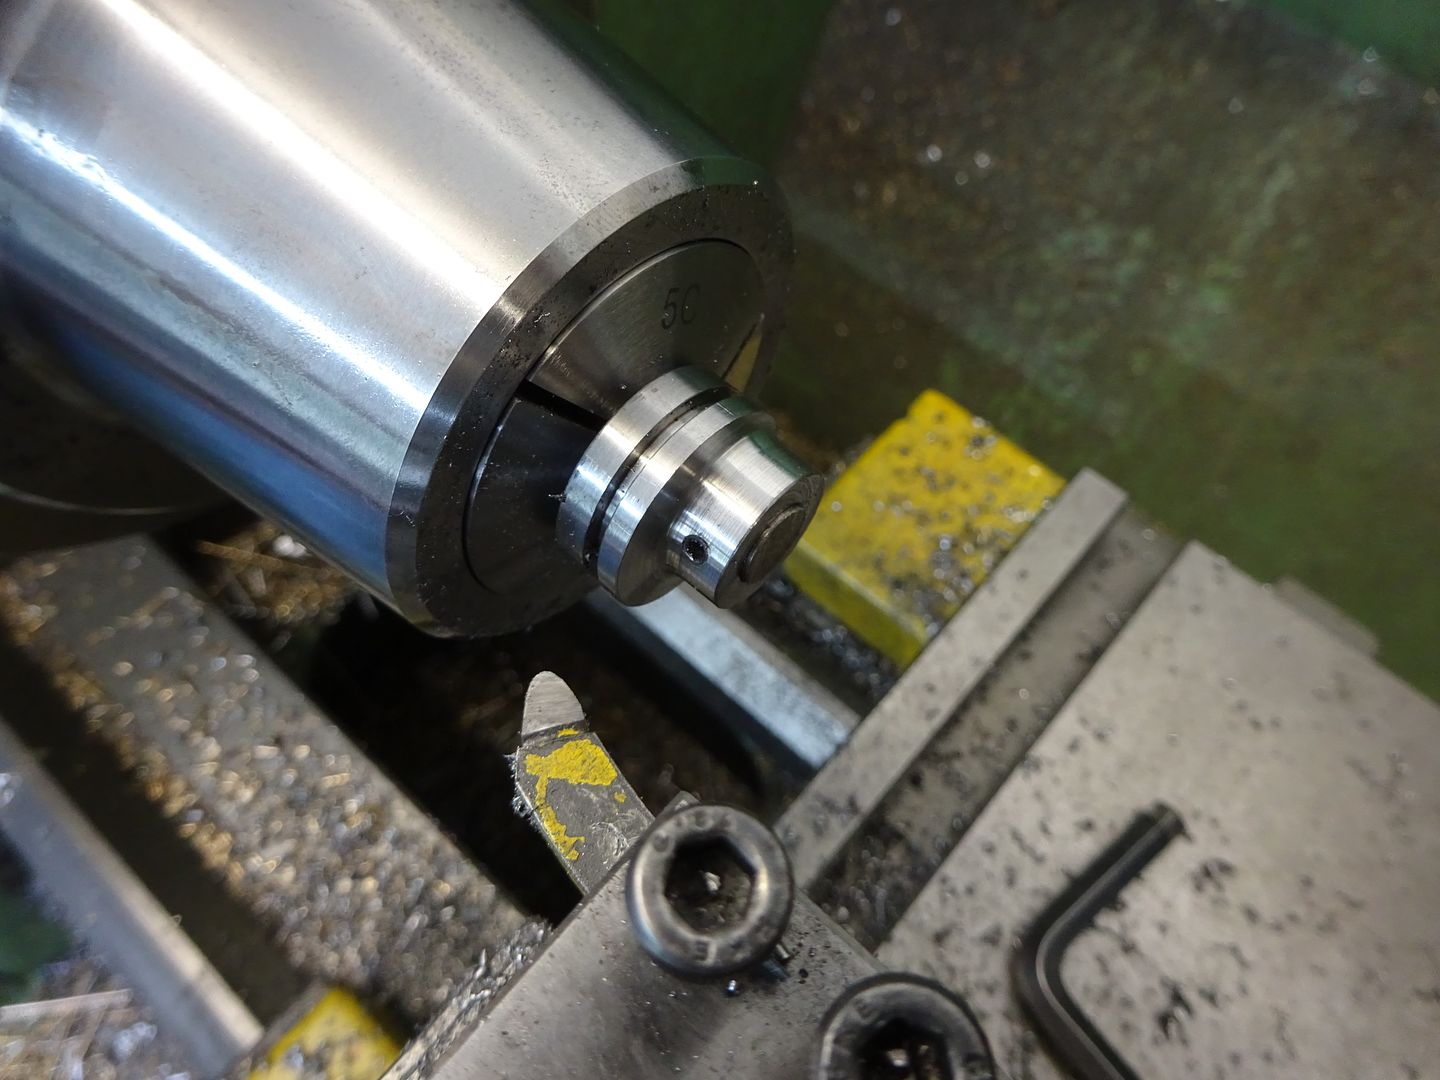
                                                  You could still have done it without any jigs, just put a bit of 6mm rod into the chuck, slip on the eccentric and retain with a grun screw then light cuts to reduce the thickness, much like this

                                                  #258265
                                                  Brian John
                                                  Participant
                                                    @brianjohn93961

                                                    Maybe, but I am not sure the grub screw would have had enough ''grip'' on the shaft. I will remember that next time and give it a try.

                                                    #258292
                                                    Neil Wyatt
                                                    Moderator
                                                      @neilwyatt
                                                      Posted by Hopper on 27/09/2016 01:55:35:

                                                      That last 3 should be a small superscript 3 as it indicates "cubed" rather than " x3" but I can't do it right. "–" signifies "minus", I just cant do long dash on this system.

                                                      On a computer you can use x^2 or x^3 to show squared and cubed.

                                                      a simple – for minus is best as — has a special meaning in some computer languages so you might create some confused nerds

                                                      Neil

                                                    Viewing 25 posts - 51 through 75 (of 304 total)
                                                    • Please log in to reply to this topic. Registering is free and easy using the links on the menu at the top of this page.

                                                    Advert

                                                    Latest Replies

                                                    Home Forums Stationary engines Topics

                                                    Viewing 25 topics - 1 through 25 (of 25 total)
                                                    Viewing 25 topics - 1 through 25 (of 25 total)

                                                    View full reply list.

                                                    Advert