Morning all,
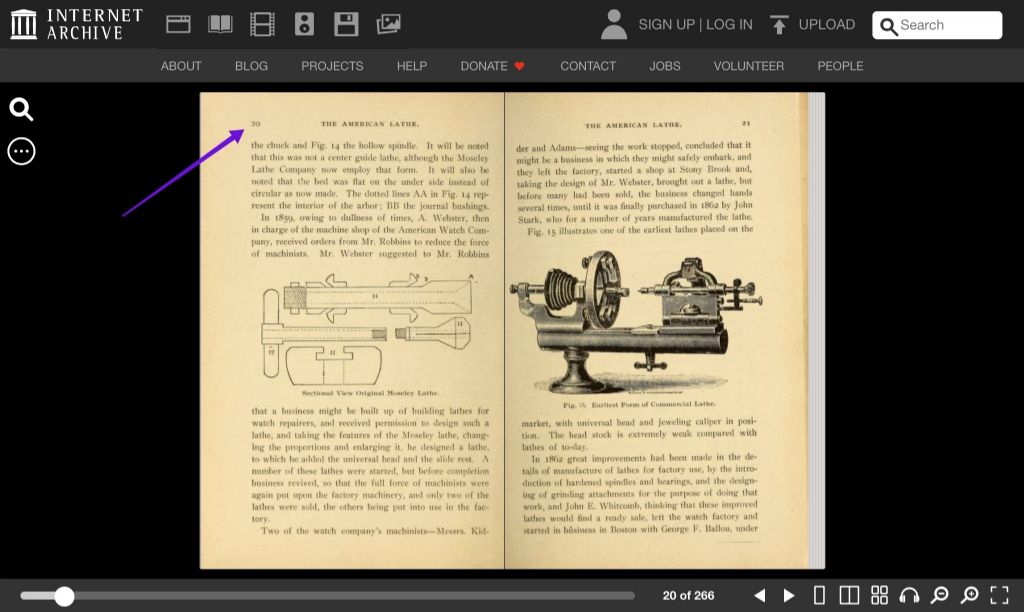
I am currently in the process of restoring the little George Adams 2 1/2" lathe that I recently purchased. Most parts seem in good condition and I am hopeful that I can turn it into a really accurate lathe for precision work.
The head stock cone bearings (look to be press fitted into the casting) and mandrel are both hardened and in overall good condition. I have blued the mandrel and I am getting good contact with the internal surface.
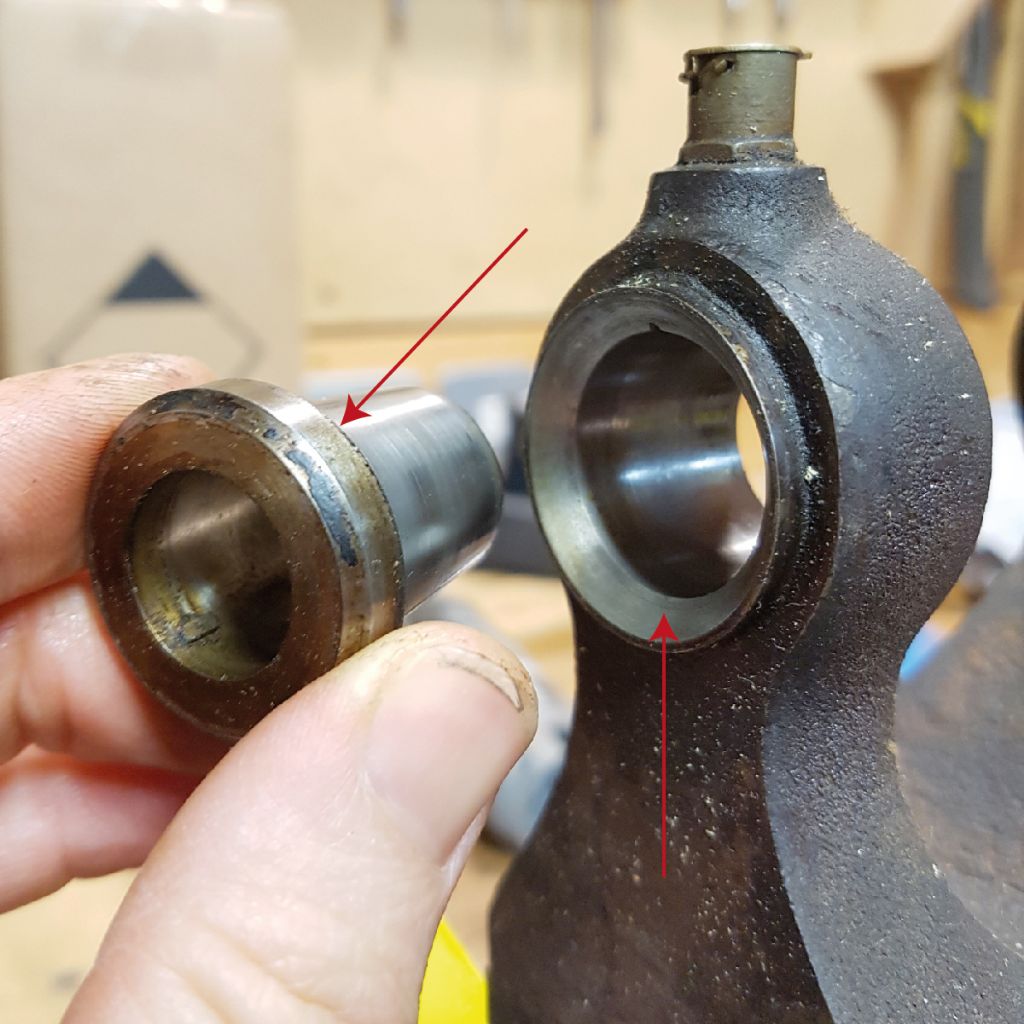
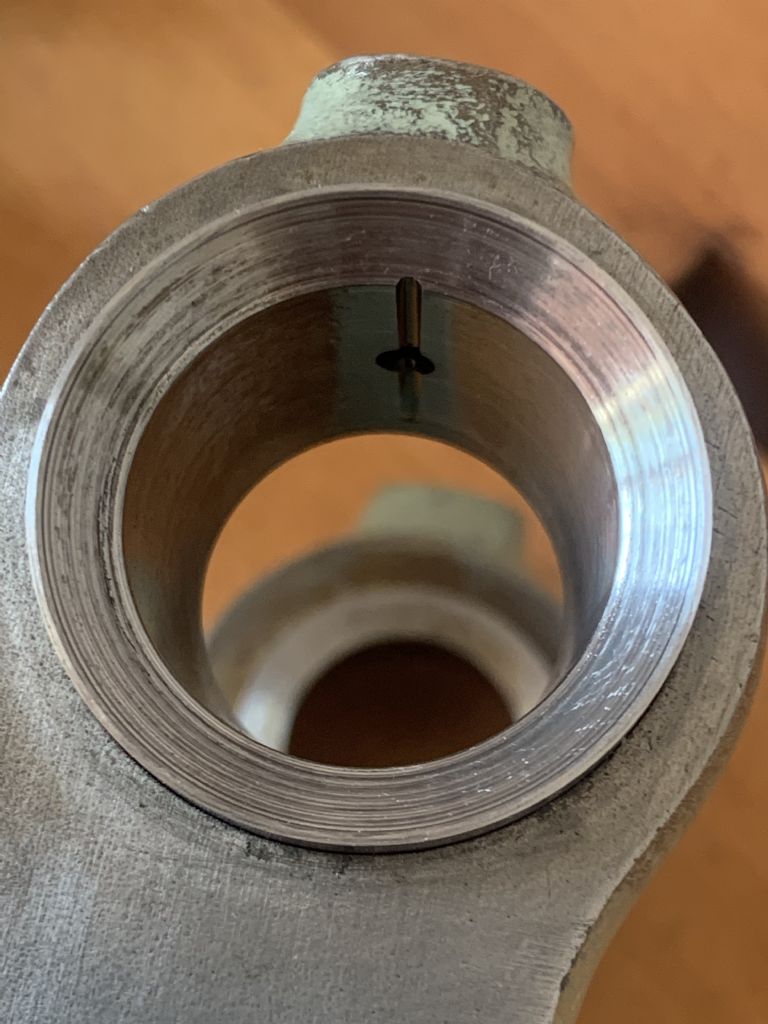
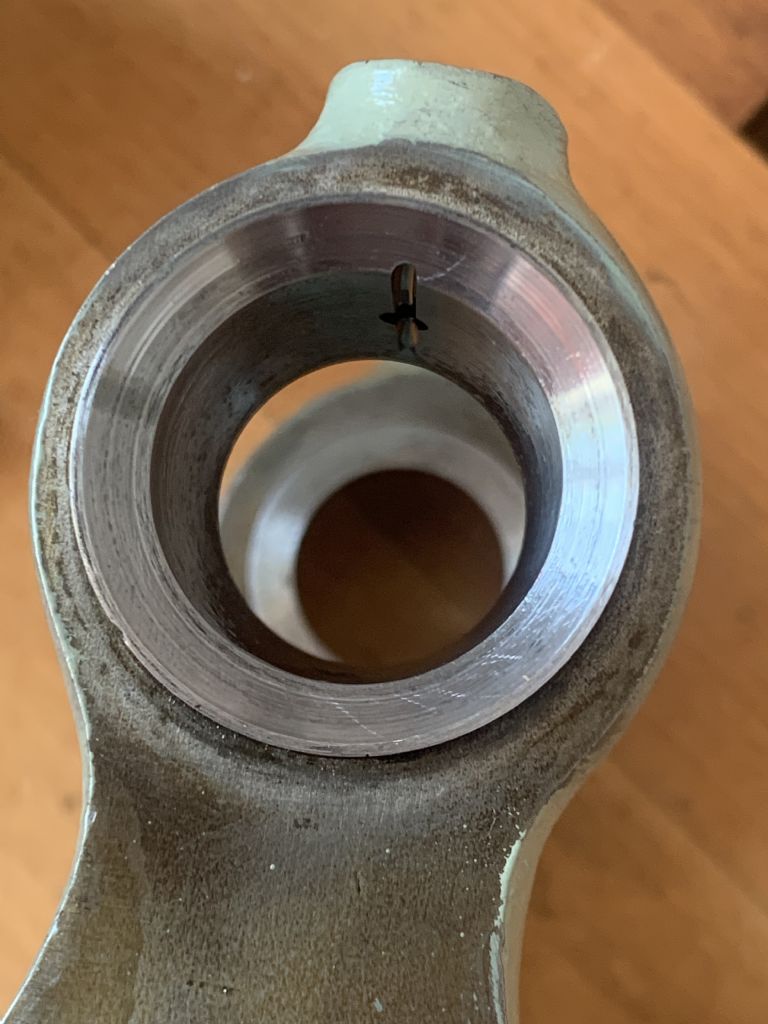
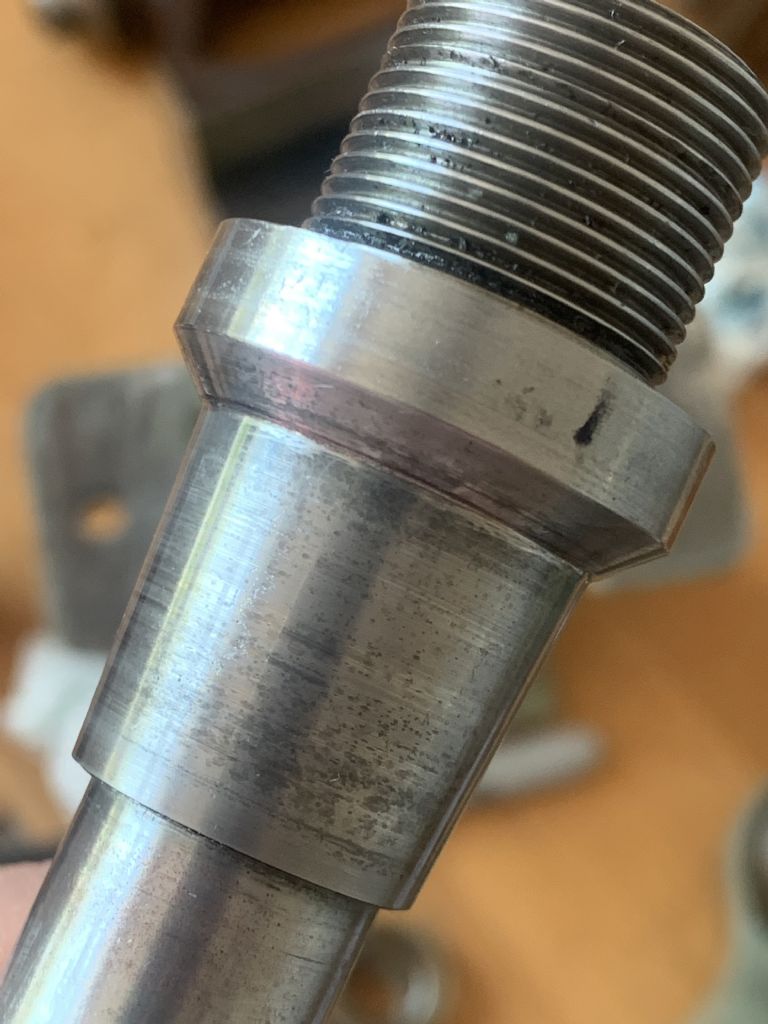
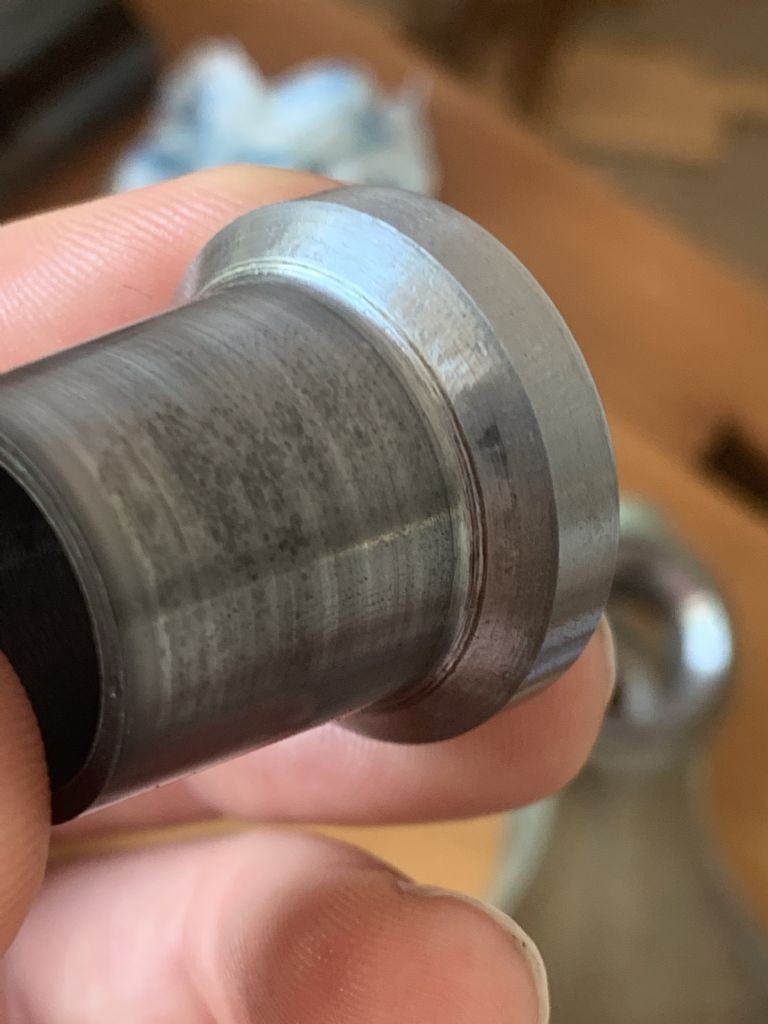
However, on the outer edges (that form a type of thrust bearing surface) there is some wear and galling, on both the bearing and mandrel and even a lip where it has worn in. This is causing some slight stiffness and roughness in half the headstock rotation.
Image below, but not my lathe, and actually showing the other end of the mandrel, but gives an indication of where I mean on the chuck end, which is broadly the same, but a feature of the mandrel.
Can you please help me with the following.
1/ Would it be possible to have just these surfaces reground?
2/ Would they be able to do this with the bearings in situ, or would they move them from the head stock? If they have to remove them from the headstock, will the other bearing surfaces realign again one re-fitted?
3/ Any suggestions on who to approach?
4/ Before I took the headstock off the lathe I measured the 8mm collet holder that sits in the main bore and got about 0.0001" run out. I also measured the amount of upward movement the mandrel could achieve within the bearings and this was about 0.001". This was without any adjustment – just as the lathe came. On this type of lathe, where I am looking to achieve as much accuracy as possible, how much movement should there be to allow for oil and heat expansion.
All and any other thoughts very welcome.
Many thanks,
James

James Jenkins 1.


