Sports Latest: GALE ATHLETIC 1 – COLLET ARBORS 0.
The fixture went well into extra time after far too many fouls, and there were fears that it would end up in a draw, barring a very heated penalizing shoot-out. In the end, the referee abandoned any hope of tempering the players as they became extremely hot under the collar with the situation. The one and only goal of the match came just as the Arbors lost their grip when the Gales flamed up the centre field and then delivered their final hammer blow which landed in the net.
The final effort involved rotating the mill head to horizontal (I didn't want the heat that I was going to use going upwards towards the bearings or any oil in the head), inserting a drawbar-sized steel rod in to meet the top of the arbor, then (again) freezing the exposed part of the chuck arbor,
I then used a small blow-torch to heat the collar which holds the arbor. I periodically turned the collar (using a spanner on the chuck arbor which was of course jammed in) to heat the collar evenly around, and occasionally giving a hammer (5Kg hammer) blow to the top of the steel rod.
For safety I obviously had the fire extinguisher at hand, and to protect the bed I laid a sheet of plywood atop the table with my car's fire blanket on top of that.
It took about 15 minutes of heating with the torch flame before one of my intermittent hammer blows showed some movement on the arbor. A few more (gentler) hammer blows caused the arbor to loosen and drop out of the collar neatly onto the fire blanket.
The temperature of the collar immediately prior to the release was around 270 degrees C according to the pistol-type IR thermometer I had at hand, and it was sufficient to ignite a safety match rubbed across the surface of the collar!
Examing the arbor afterwards showed no sign whatsoever of any corrosion or foul matter, in fact it looks as if it has just been carried away from the retailer; the inside of the collar taper also looks immaculate. To be on the safe side I am ordering a new collet chuck with arbor, and of course I will now proceed to check thoroughly the head to check for any other damage that may have arisen, and also check and lubricate the bearings.
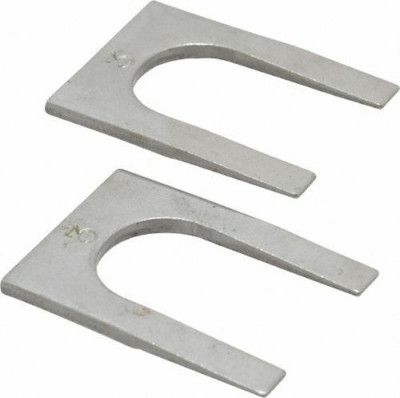
As far as the wedges I used earlier are concerned, for clarity I did have the 2 with sloping form as someone showed in a drawing above, I made these up during the beginning of all this effort!
Thanks again for the many responses and helpful ideas that so many people gave me on this topic, it just shows the value of the forum and the general helpfulness of the model engineer.
Howard Lewis.


