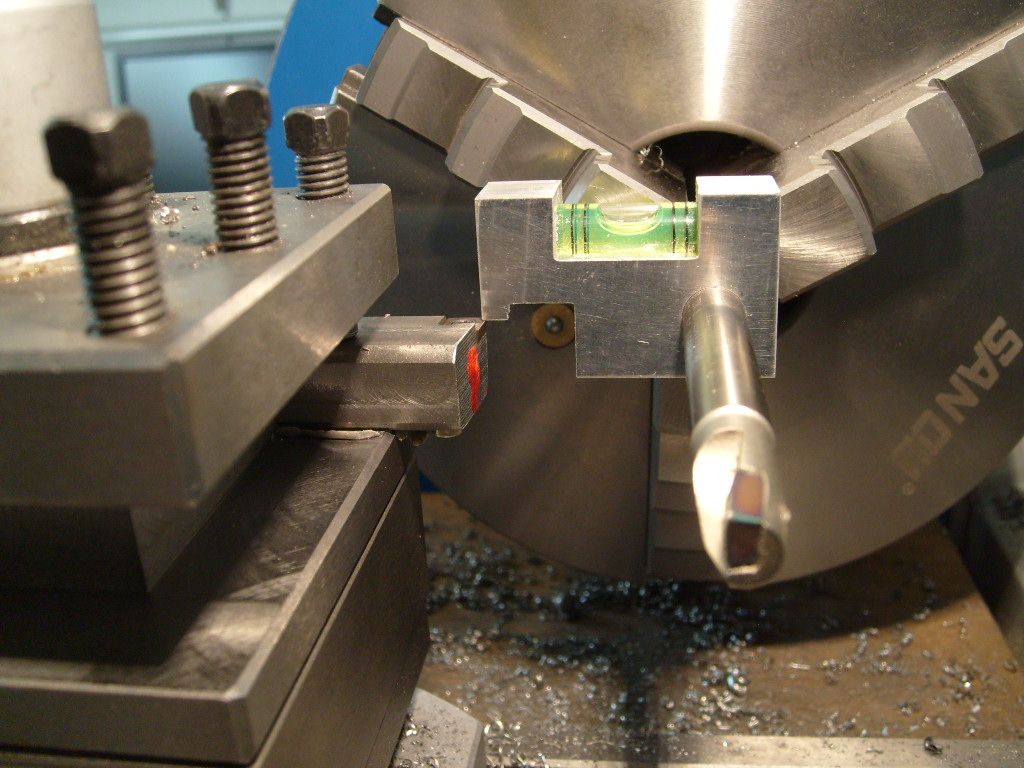
As many on here know, I am a great fan of making and using a Centre Height Gauge..
My method may sound a bit involved , but it works. And the gauge will be needed every time that you change or grind tools.
I used a piece of Silver Steel, as an Alignment bar but could be a short piece of steel which is known to be round (If in doubt take a light skim. This should remove any eccentricity. )
Making ans setting Centre Height Gauge is a useful learning (and confidence building ) exercise for a newbie, and the tool can be used for many years to come.
SETTING UP A CENTRE HEIGHT GAUGE.
The diameter of the Alignment Bar was measured and noted. The chuck was replaced, and the Alignment Bar gripped in it.
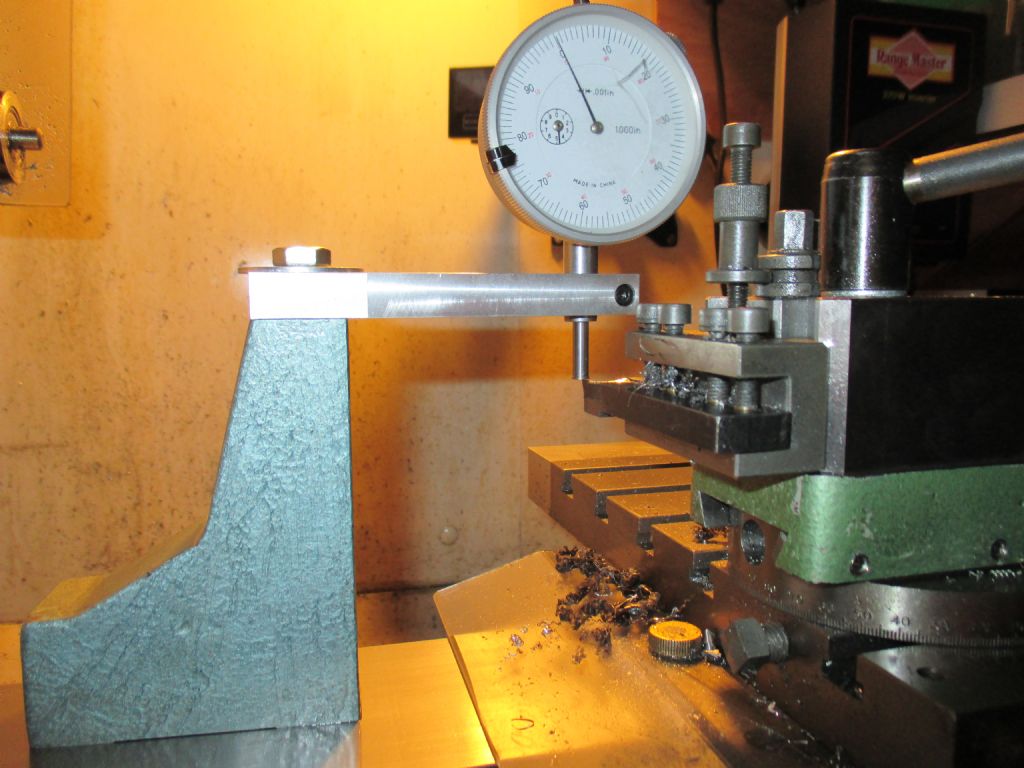
The DTI on the Magnetic base is fixed to the Cross Slide, and brought to bear on the top of the Alignment Bar. The Cross Slide is adjusted to and fro, until the DTI shows a maximum reading, indicating that it is on the centreline. The chuck is rotated until the DTI shows a maximum reading, and is reset to Zero. Rotating the chuck shows what eccentricity there is at that that diameter. The chuck is rotated again until the DTI again shows a maximum reading, before being reset to Zero .
An adjustable pillar had been made, with a ME 40 tpi thread, and this is placed between the bed and the DTI, and adjusted until the DTI again reads Zero, and locked with the knurled locking ring. The dimensions obtained are used to determine the Centre Height.
The adjustable pillar does not have to be 40 tpi, but the finer the thread, the easier it is to set accurately.
So M6 might be as coarse a thread as you would want to use.
The length of the pillar is measured, using a digital calliper, and the dimension noted, as the height of the top of the Alignment bar above the bed.
Half the diameter of the Alignment Bar and half the Eccentricity are subtracted from this figure to arrive at the Centre Height.
The figures obtained, for a particular small lathe were:
Height over Bar at Highest point 3.308”
Alignment Bar diameter 0.706” (Radius 0.353" ) Eccentricity 0.003”. (Not bad for a 3 jaw chuck!)
3.308 – (0.353 + 0.0015) = Centre Height above bed = 2.954” (75.03 mm)
The pillar was then adjusted to this dimension.and locked with the knurled locking ring, when this dimension was reached.
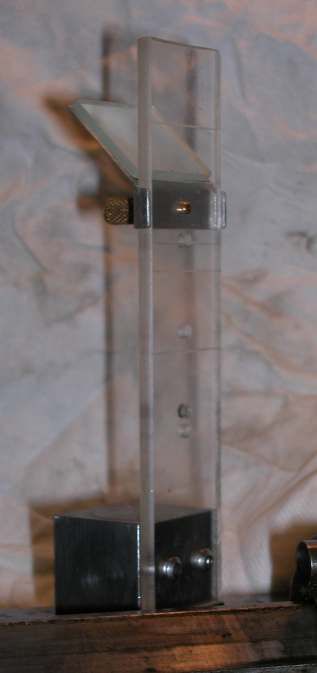
The pillar is then used to set the Centre Height Gauge,
Subsequently, all tools are set to the gauge.
If you look in my Albums, there is a picture of the Centre Height Gauge that I use on my lathe.
It has been used for nearly twenty years, and tools set to it leave no pip when facing!
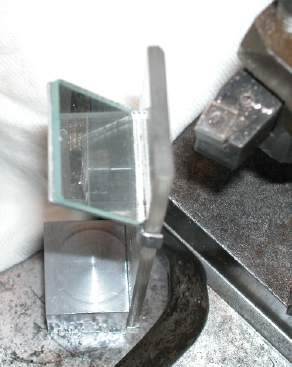
Tools in the front toolpost are set so that they just touch the underside of the upper blade..
It has two blades because the lower blade is used to set the inverted tools in the back toolpost (Shown a little lower down )
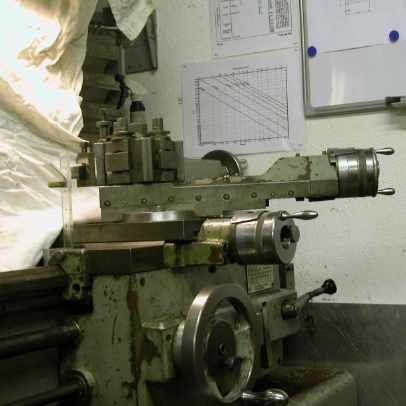
I've added pictures of a simple Centre Height Gauge and setting it to my Centre Height Gauge Album
HTH
Howard
Edited By Howard Lewis on 19/12/2022 15:01:54
Edited By Howard Lewis on 19/12/2022 15:05:22
Sakura.


