Farm Boy

Advert

Farm Boy

Home Forums I/C Engines Farm Boy

Viewing 12 posts - 76 through 87 (of 87 total)
  • Author
    Posts
  • #747765
    Ian Hewson
    Participant
      @ianhewson99641

      Hi

      As you have found, they are close, but there is enough meat in the taper for them. It needs carefully measuments when turning the boss, I nearly made them too small and had the same problem.

      Fortunatly the tapered wedges cover any viewing.

      Ian

      Advert
      #748224
      Dalboy
      Participant
        @dalboy
        On Ian Hewson Said:

        Hi

        As you have found, they are close, but there is enough meat in the taper for them. It needs carefully measuments when turning the boss, I nearly made them too small and had the same problem.

        Fortunatly the tapered wedges cover any viewing.

        Ian

        Yes they certainly are close but as you say due to the taper there is plenty of meat for the screws to hold them in.

        #748276
        Ian Hewson
        Participant
          @ianhewson99641

          Couple of pics of my finished Farm Boy.

          IMG_0625IMG_0628

          #748355
          Dalboy
          Participant
            @dalboy

            Very nice Ian. I hope mine turns out like that

            #749033
            Dalboy
            Participant
              @dalboy

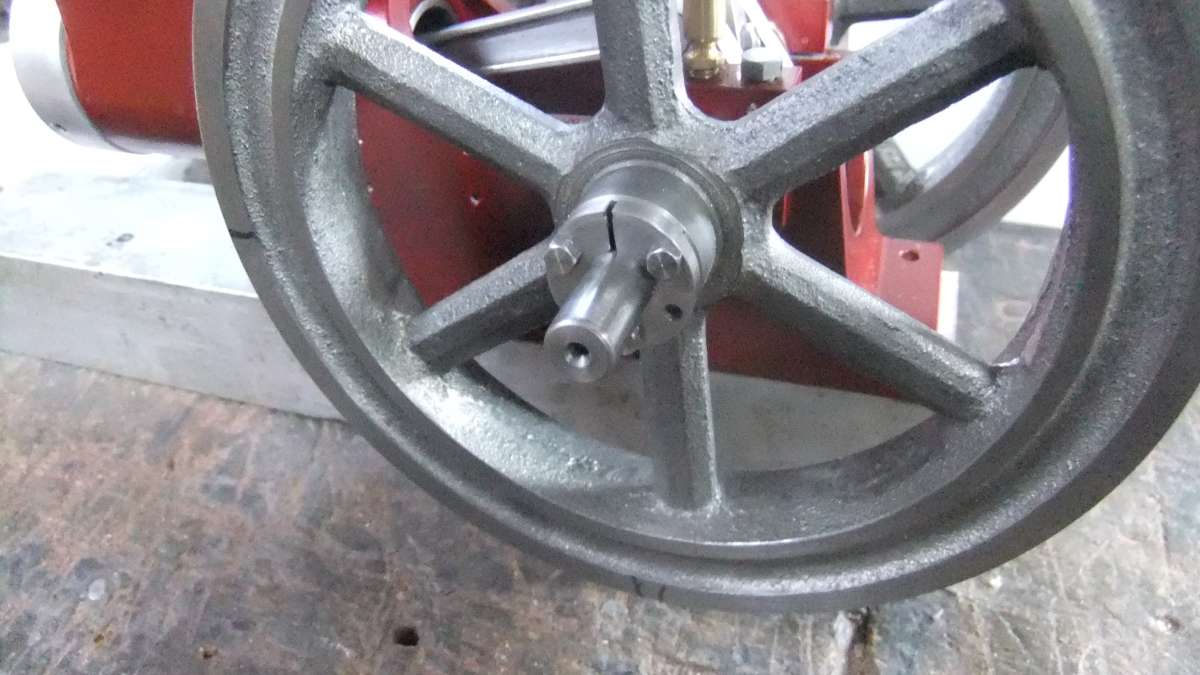
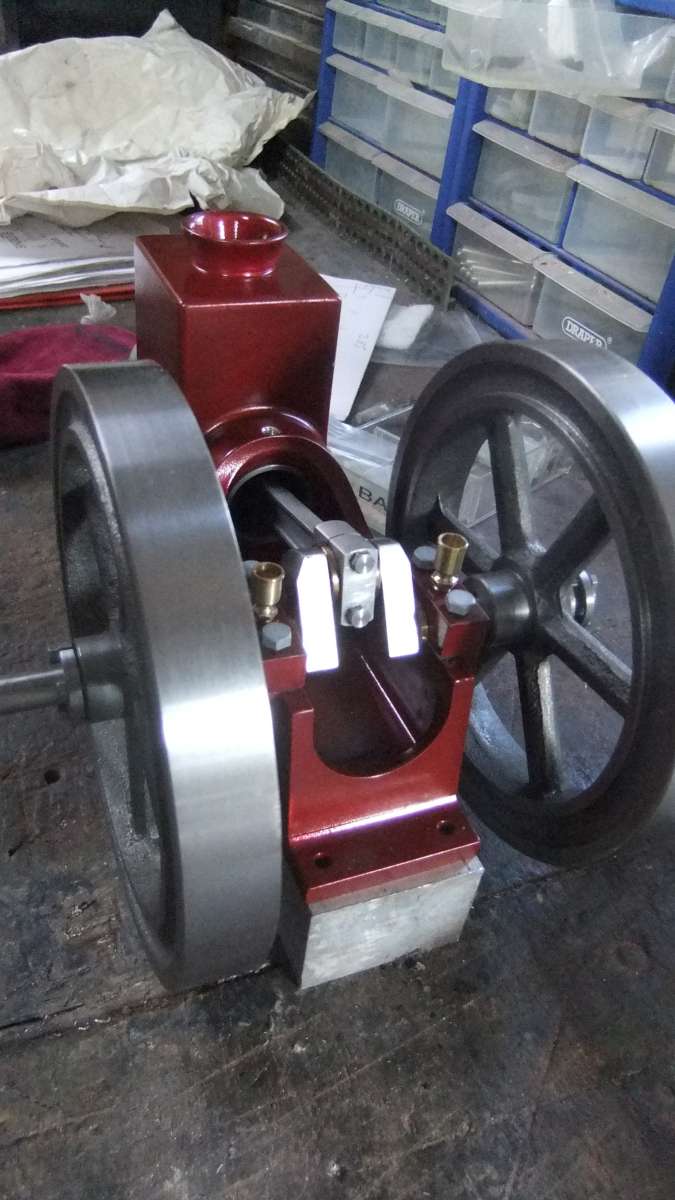
              Managed to get the Fly wheel locking collars completed and could not resist a part dry fit with they in place.

              Fly wheel part assembly (1)Fly wheel part assembly (3)

              Fly wheel part assembly (4)

              Fly wheel part assembly (5)

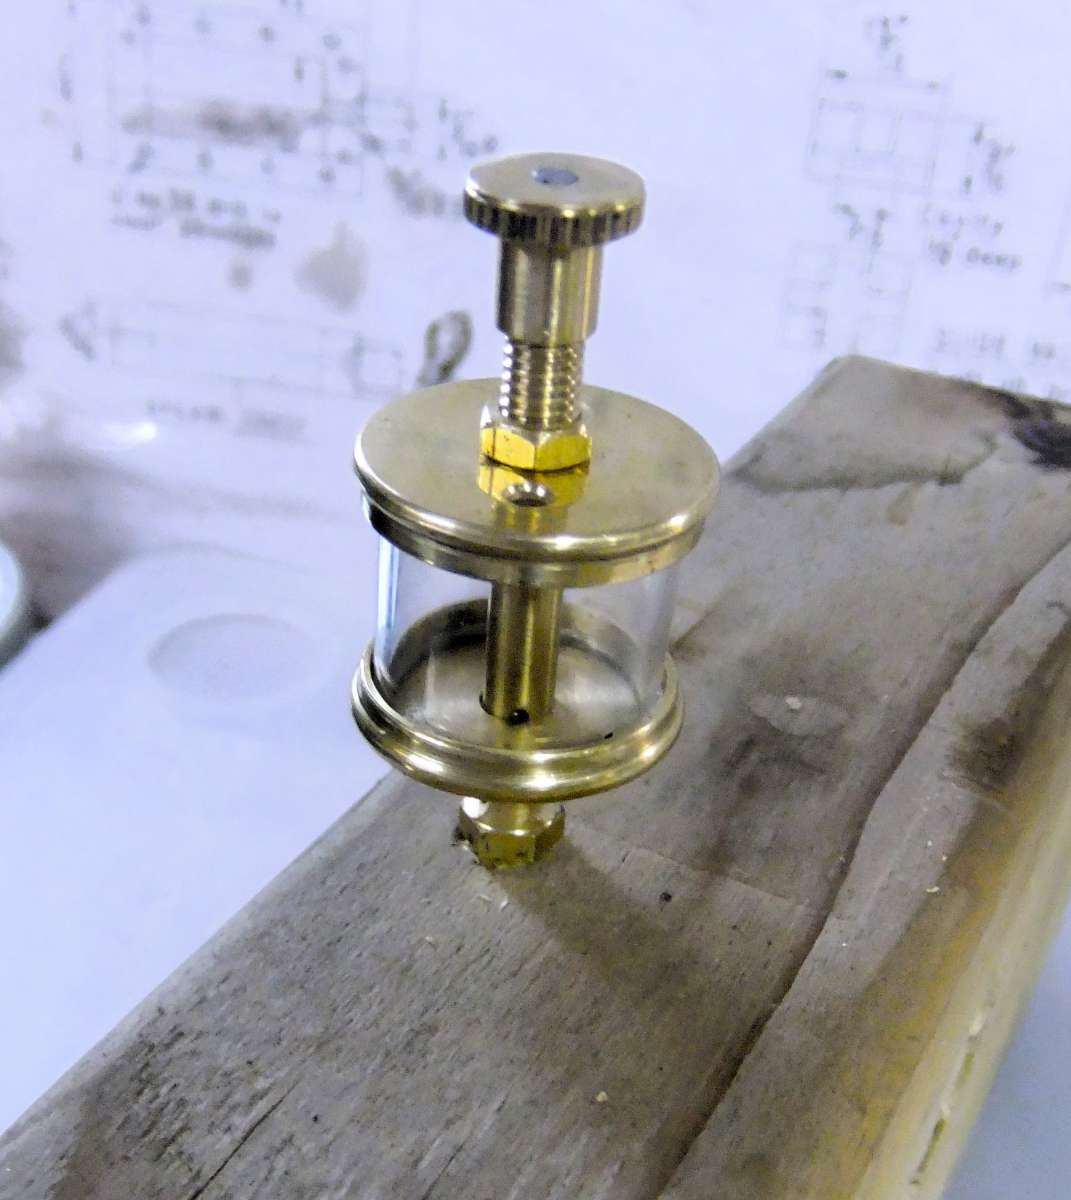
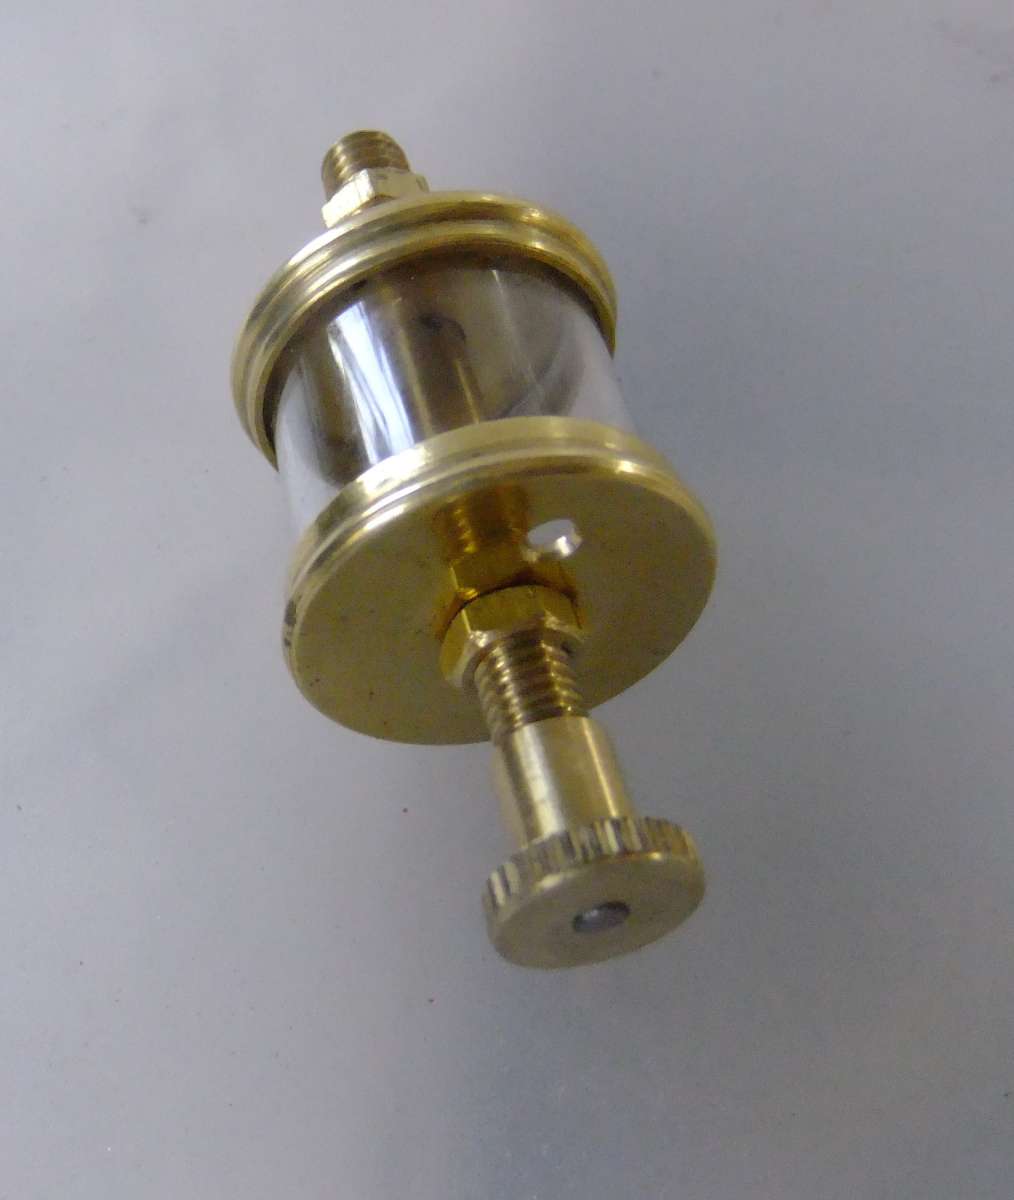
              I have been putting off cutting a test tube to complete the oiler for the engine. So I tried to use a glass tube cutter which failed, and it shattered, so a good clean up and vacuum got rid of the broken bits. Next I wrapped the tube in some masking tape (I have about ten tubes as that was the minimum I could get at the time) this was gently gripped in the lathe yet strong enough not to slip, a Dremel was used with a small diamond disk and a short section soon parted ways from the tube. This section was rubbed on some very fine wet and dry paper to get rid of any sharp edges (With the tablets I am on if a cut myself it takes forever to stop)

              As most of the parts were already made from brass, the only other part was the control needle, which is from silver steel (tool steel depends on where you are in the world). This needed a point on one end and then cut to length and fixed into the top adjustment piece.

              The complete oiler ready for the engine once completed as there are still bits that need making. Without measuring it I would say between 1 1/4″ to 1 1/2″ tall.

              complete oiler (5)

              complete oiler (4)


              A question about the oiler if you make your own what do you use to seal the glass tube to prevent oil leaks

              #749035
              JasonB
              Moderator
                @jasonb

                A couple of models I have made supplied cork “washers” about 1/32″ thick. But gasket paper would probably do as would liquid gasket, you can get a clear one.

                #749051
                Dalboy
                Participant
                  @dalboy
                  On JasonB Said:

                  A couple of models I have made supplied cork “washers” about 1/32″ thick. But gasket paper would probably do as would liquid gasket, you can get a clear one.

                  Thank you, Jason

                  #756676
                  Blue Heeler
                  Participant
                    @blueheeler

                    Thoroughly enjoyable thread.

                    #756951
                    Dalboy
                    Participant
                      @dalboy
                      On Blue Heeler Said:

                      Thoroughly enjoyable thread.

                      Glad you are enjoying this build. Things have slowed a little as one part I am remaking for the third time down to my silver soldering I have followed numerous people and still managed to stuff it up, I will get there in the end.


                      #758011
                      Dalboy
                      Participant
                        @dalboy

                        After two failed attempts at the governor assembly, I manage to silver solder the two arms on and now happy with the outcome.

                        Now onto some other small parts and a base for it to sit on so that I can attach the flywheels.

                        Gov assembly

                        Gov assembly. 3Gov assembly. 4Gov assembly. 5

                        #758528
                        Dalboy
                        Participant
                          @dalboy

                          After making some pins I am able to do a test fit of the governor assembly hopefully this makes a little sense where thing go

                          gov assembled (1)gov assembled (8)

                          #763922
                          Dalboy
                          Participant
                            @dalboy

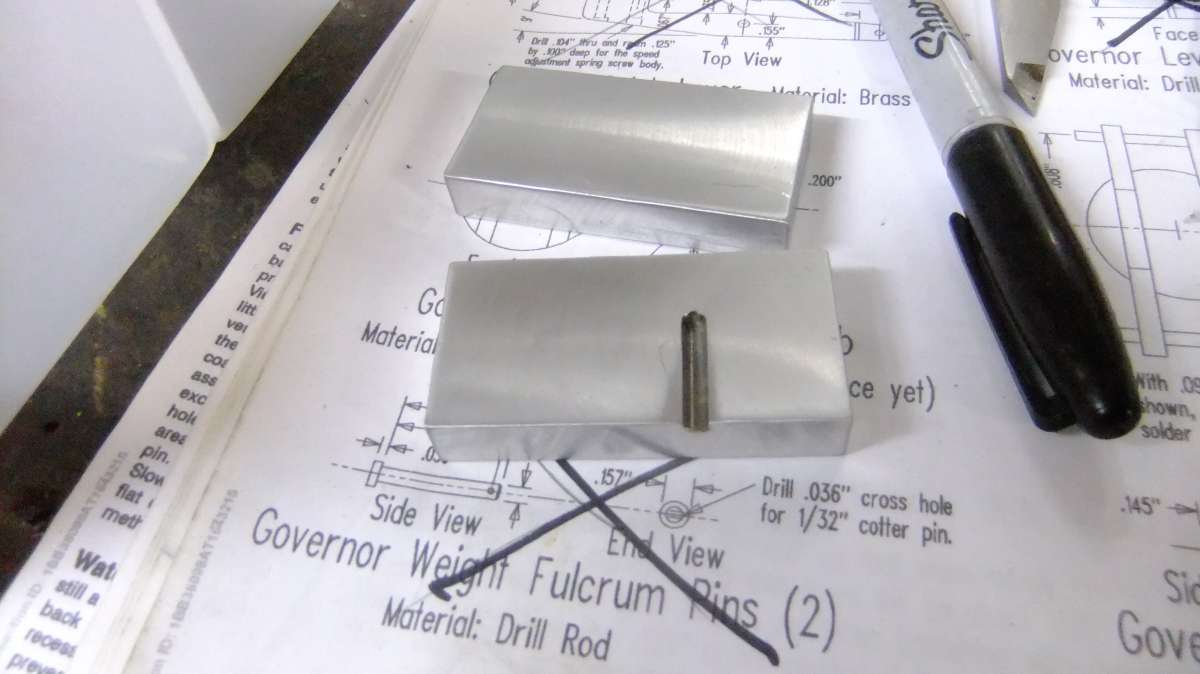
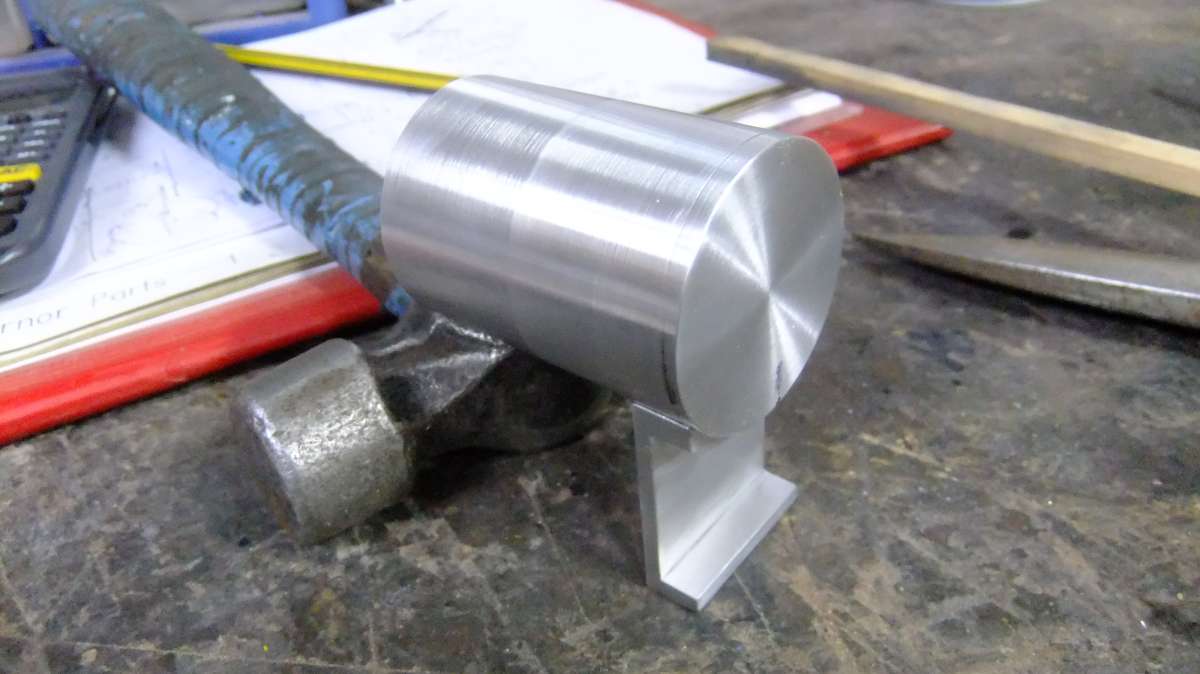
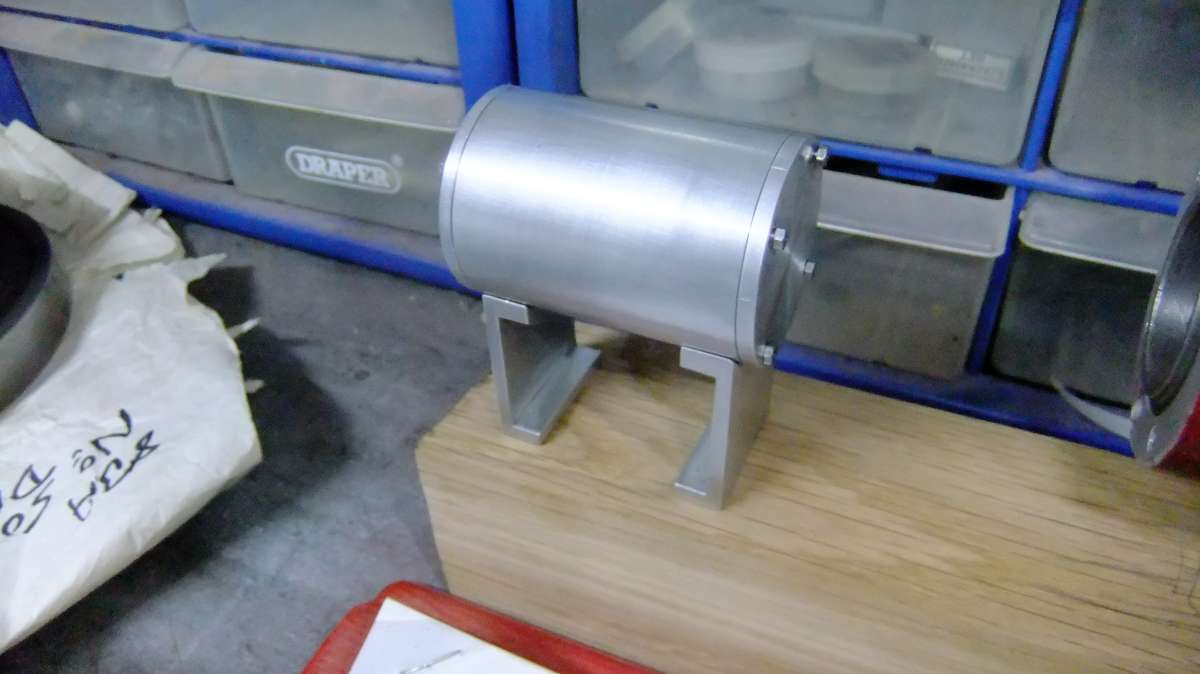
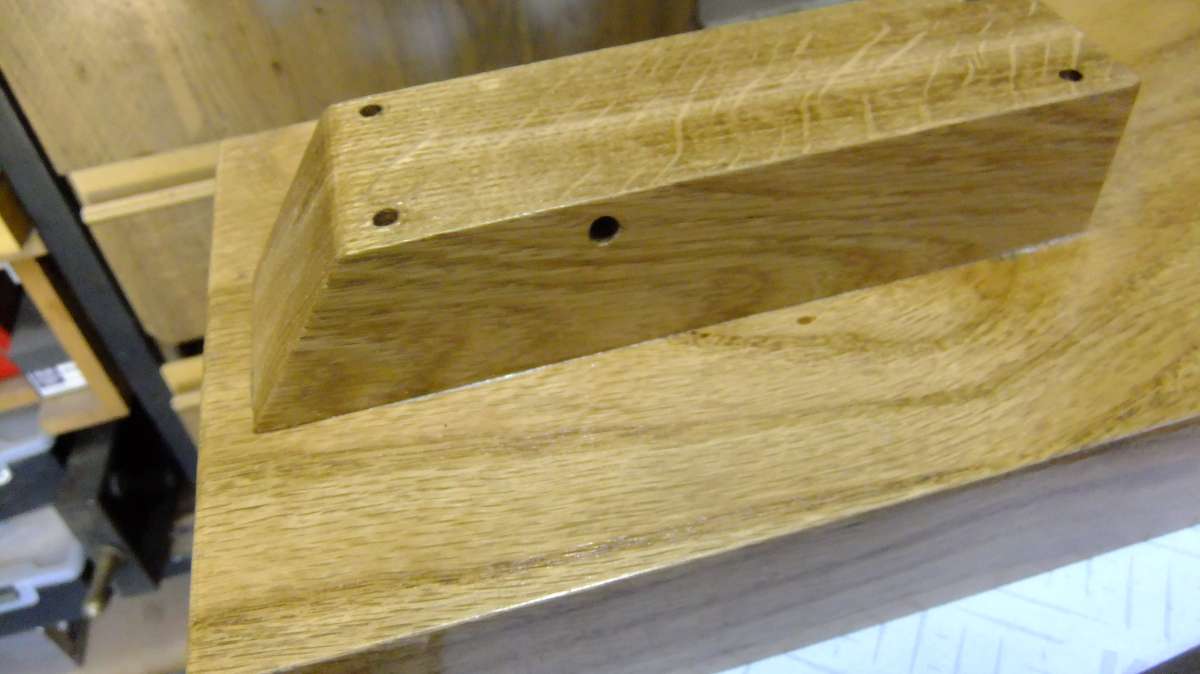
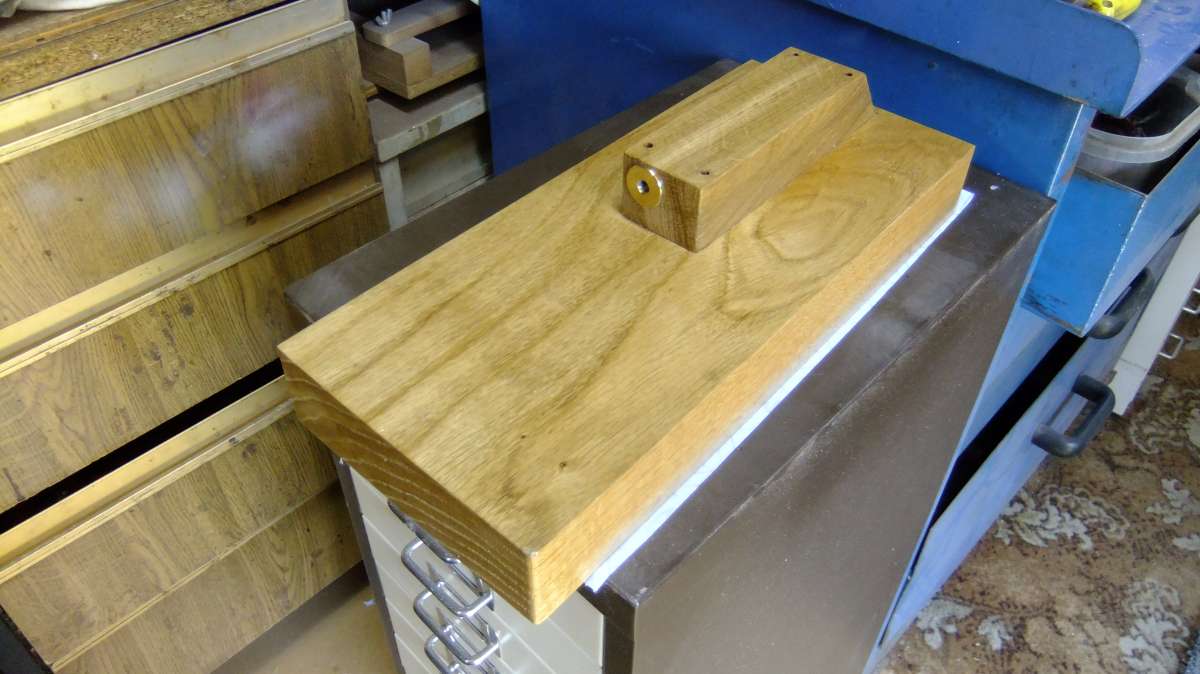
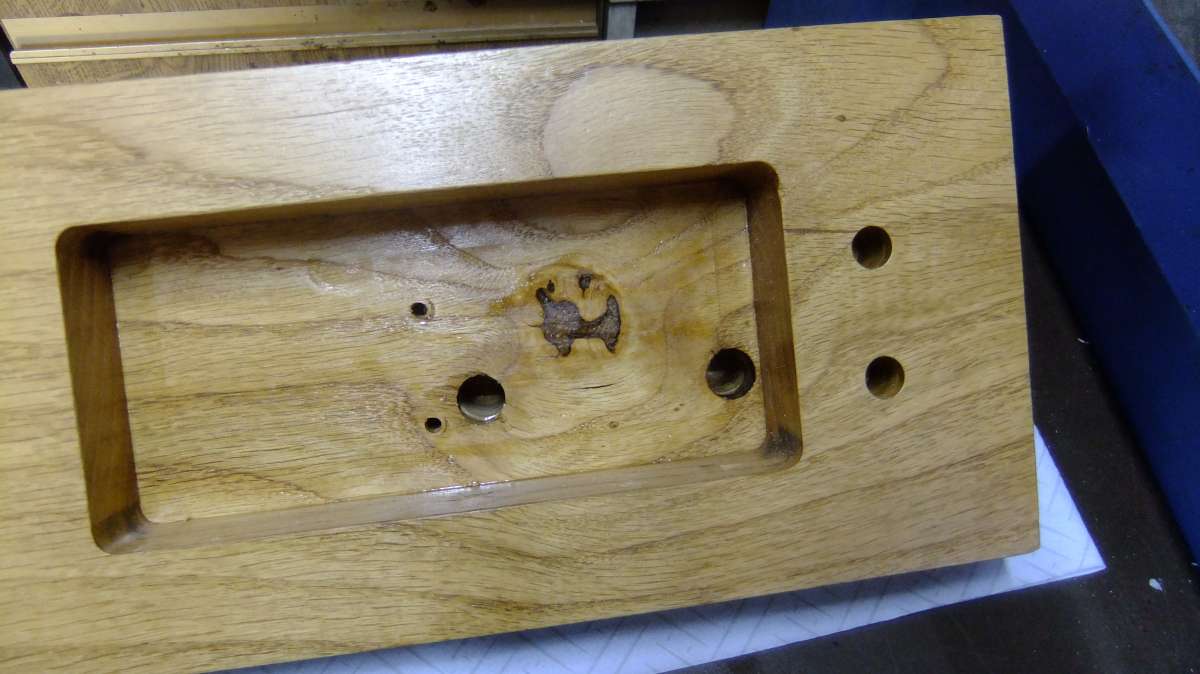
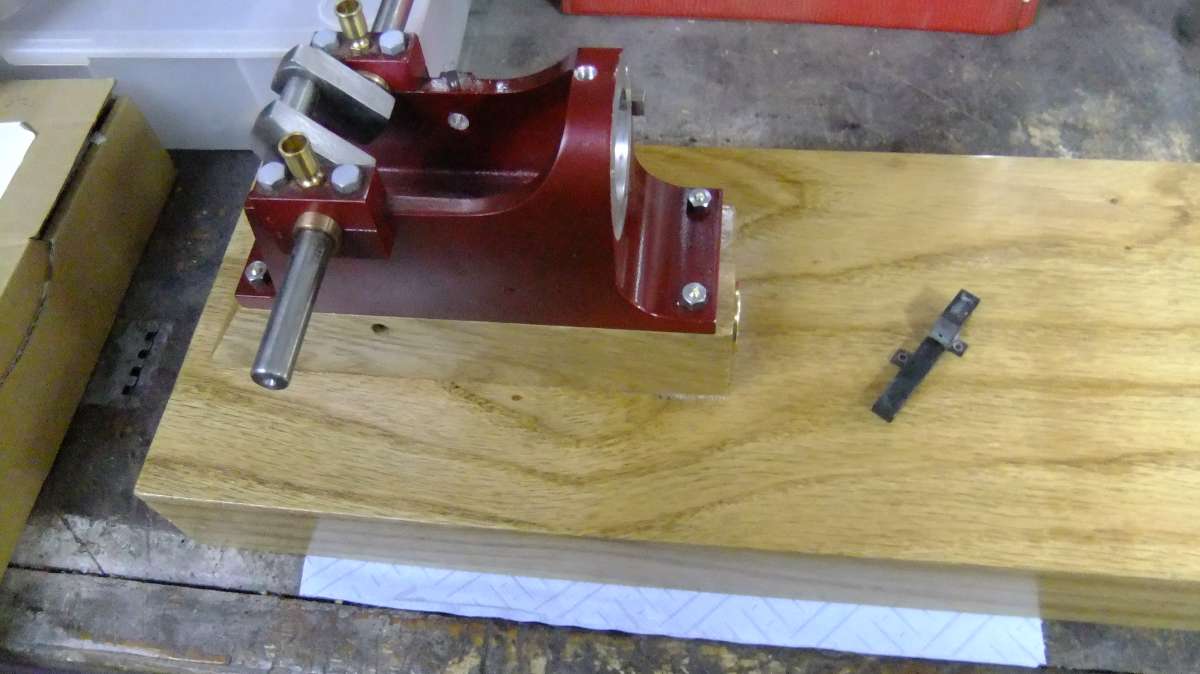
                            Not done much lately. But I have made a start on a fuel tank. Turned the main body and ends which is a cylinder at the moment need to make a filler cap and fuel cut off outlet.

                            Tank sitting on two blocks which will become the supports

                            fuel tank support (2)

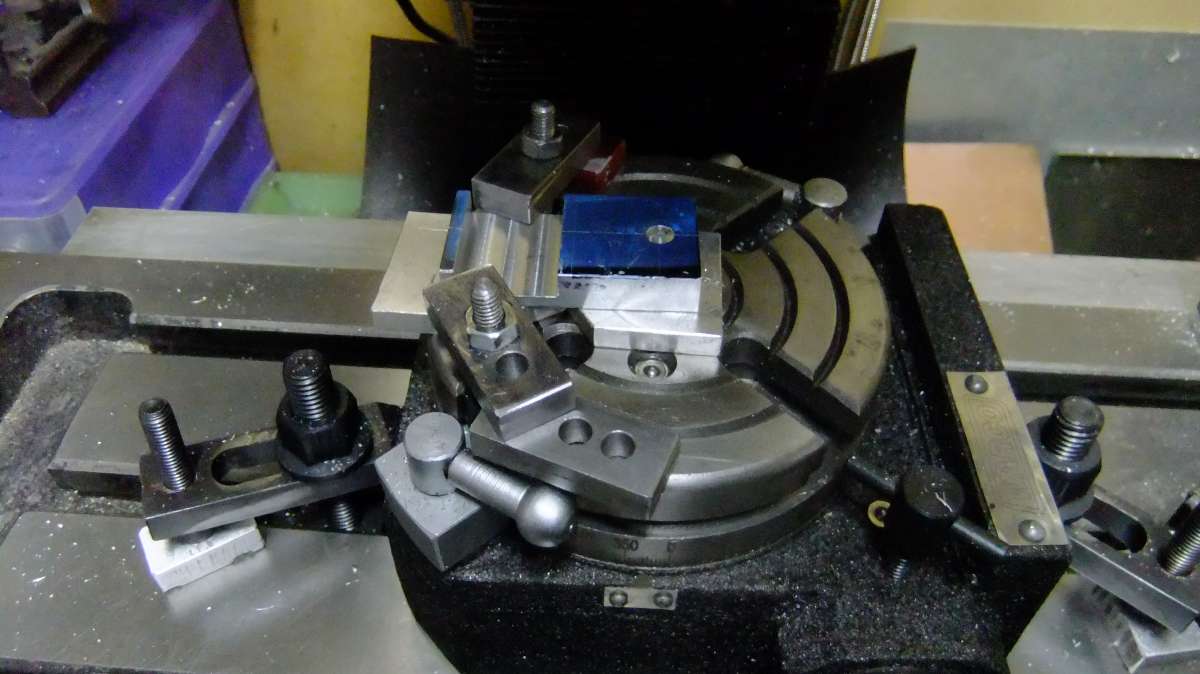
                            The supports cut from a larger piece which had some holes luckily the hole shown is machined out


                            fuel tank support (3)

                            Here I had machined out the bulk of what was not needed ready for some shaping.

                            fuel tank support (9)

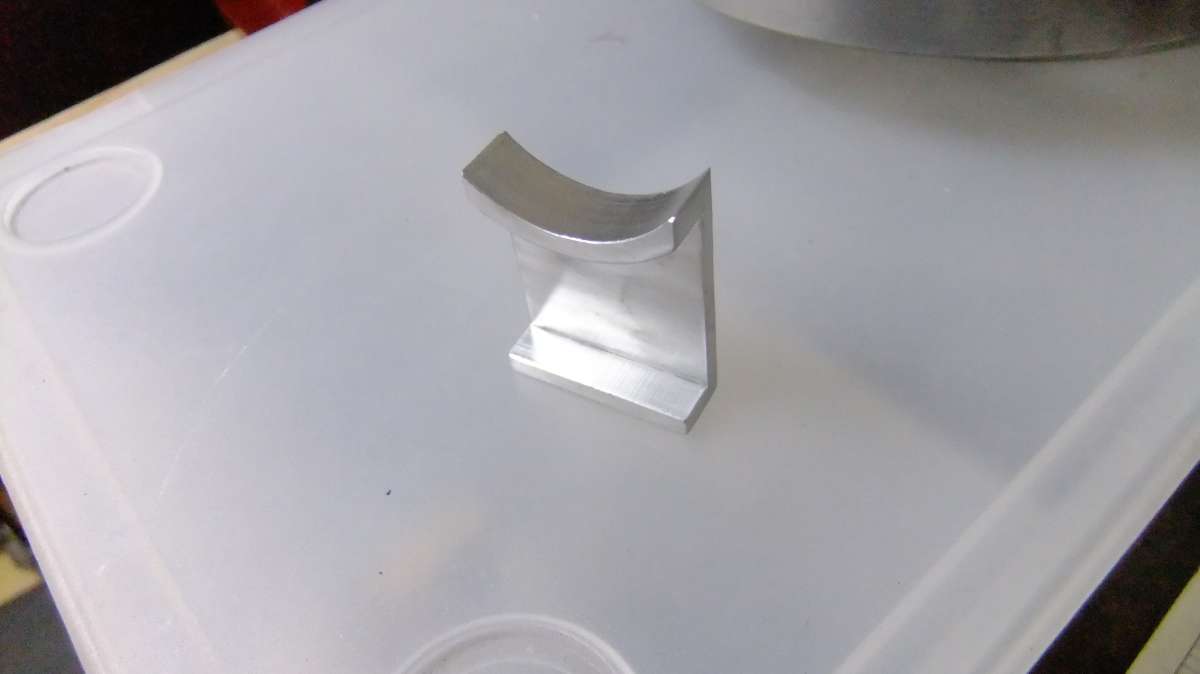
                            After machining the curved section, they are now a lot shorter but still leaving enough room for an outlet from the tank.

                            fuel tank support (4)

                            By machining them instead of using solid blocks makes for fixing to base and tank a lot easier as well as lightening the appearance of them.

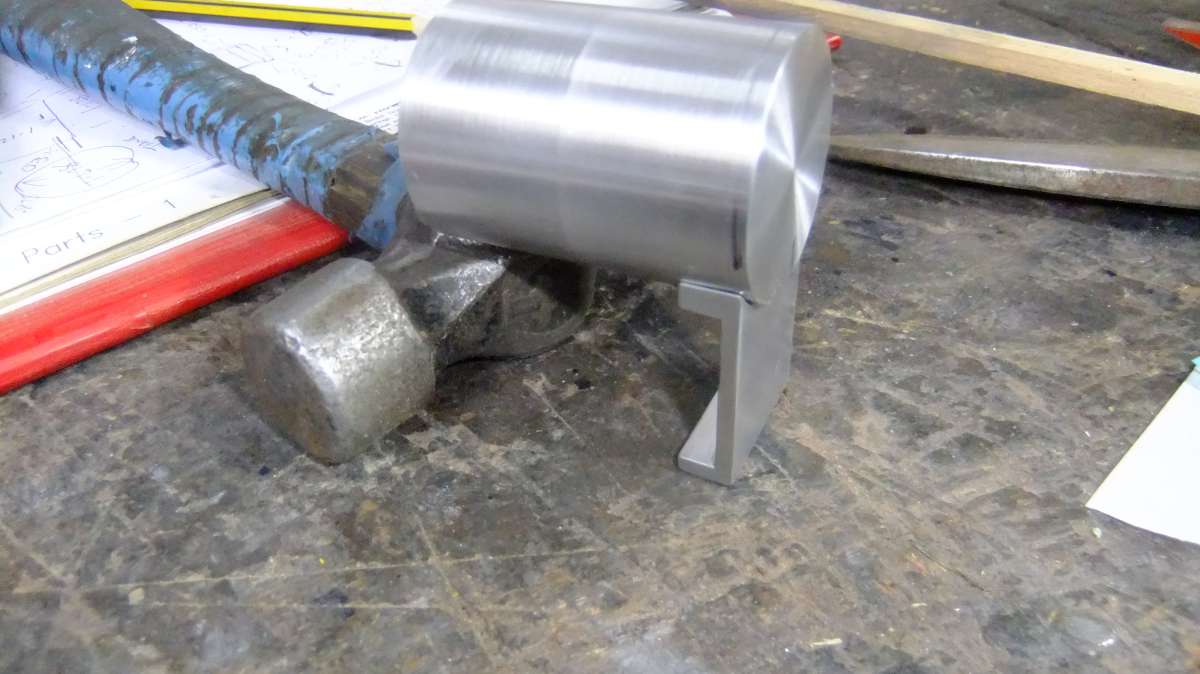
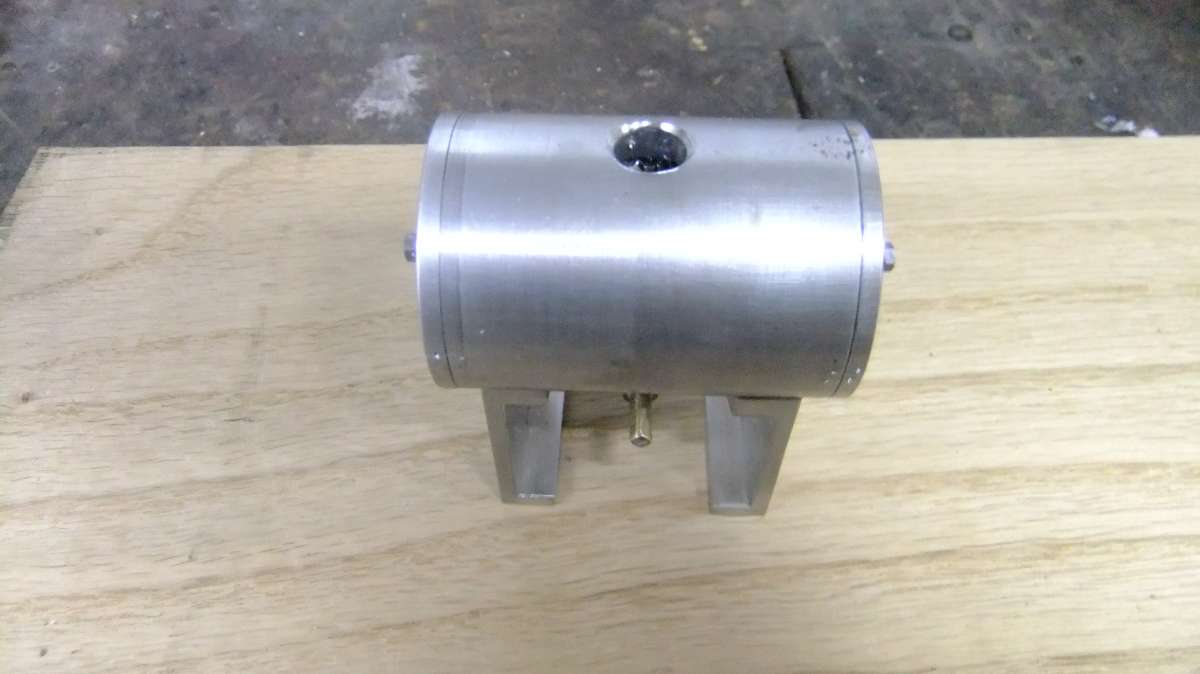
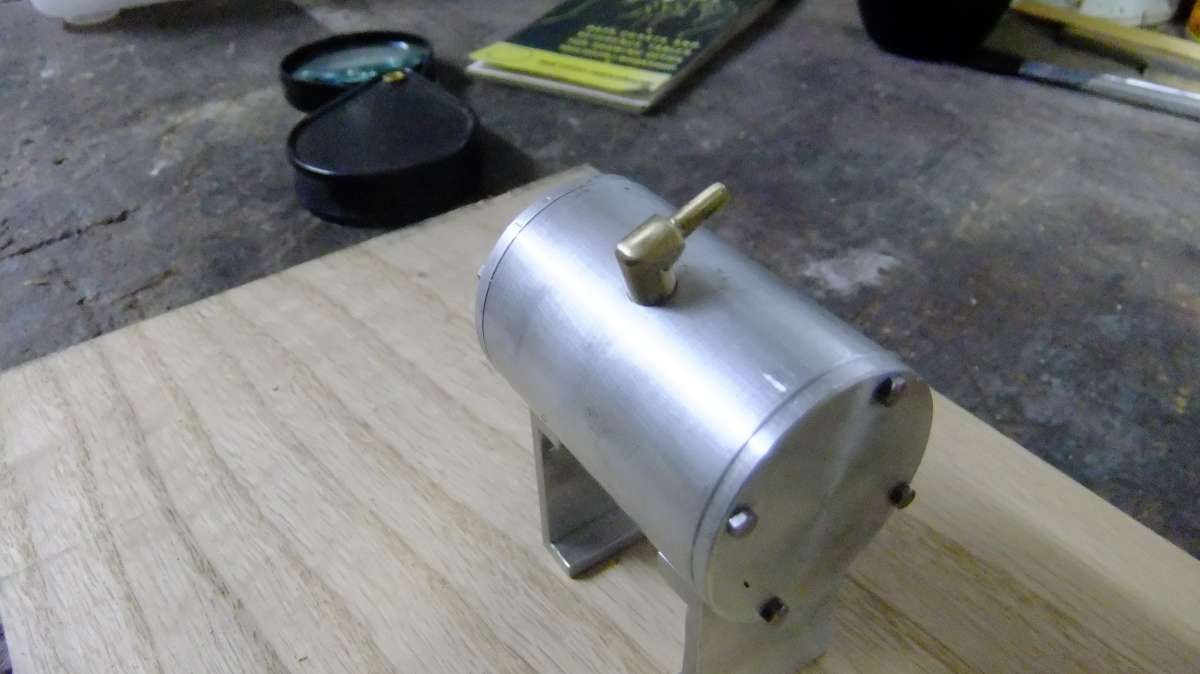
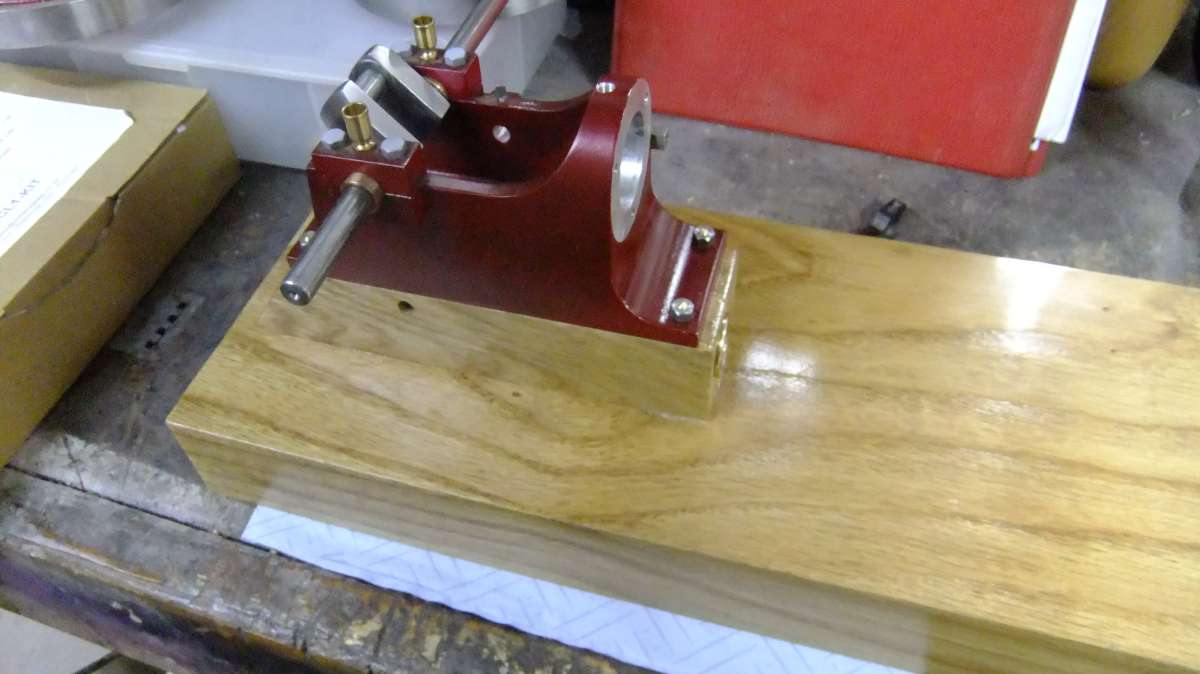
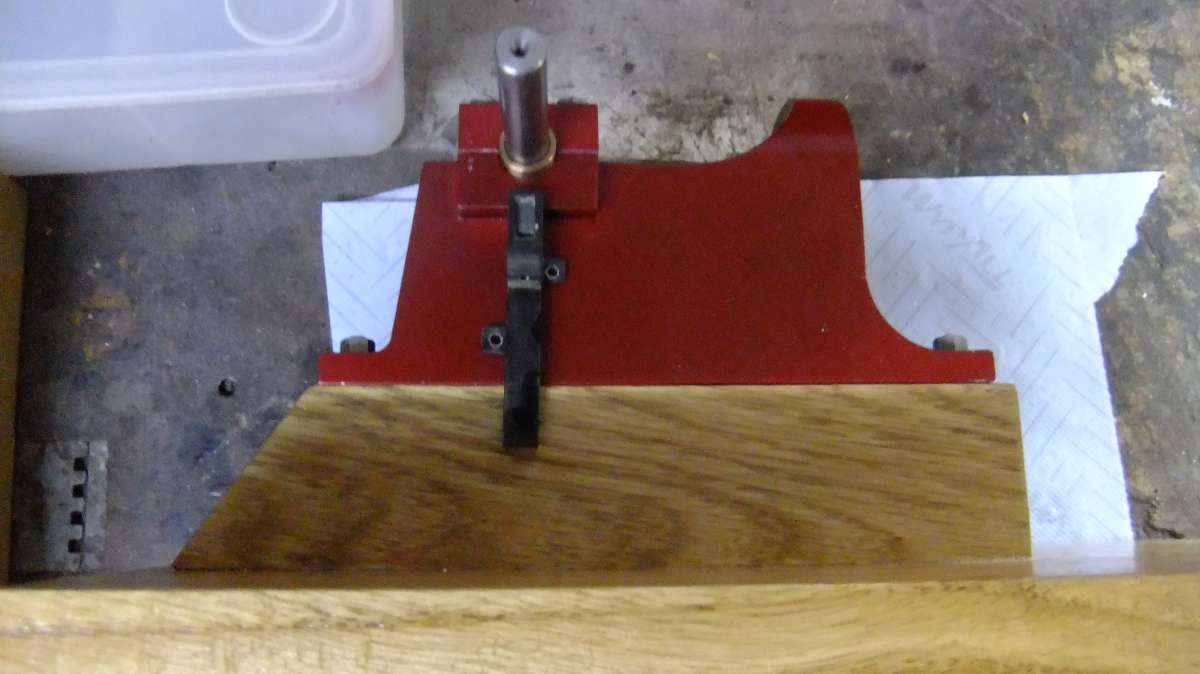
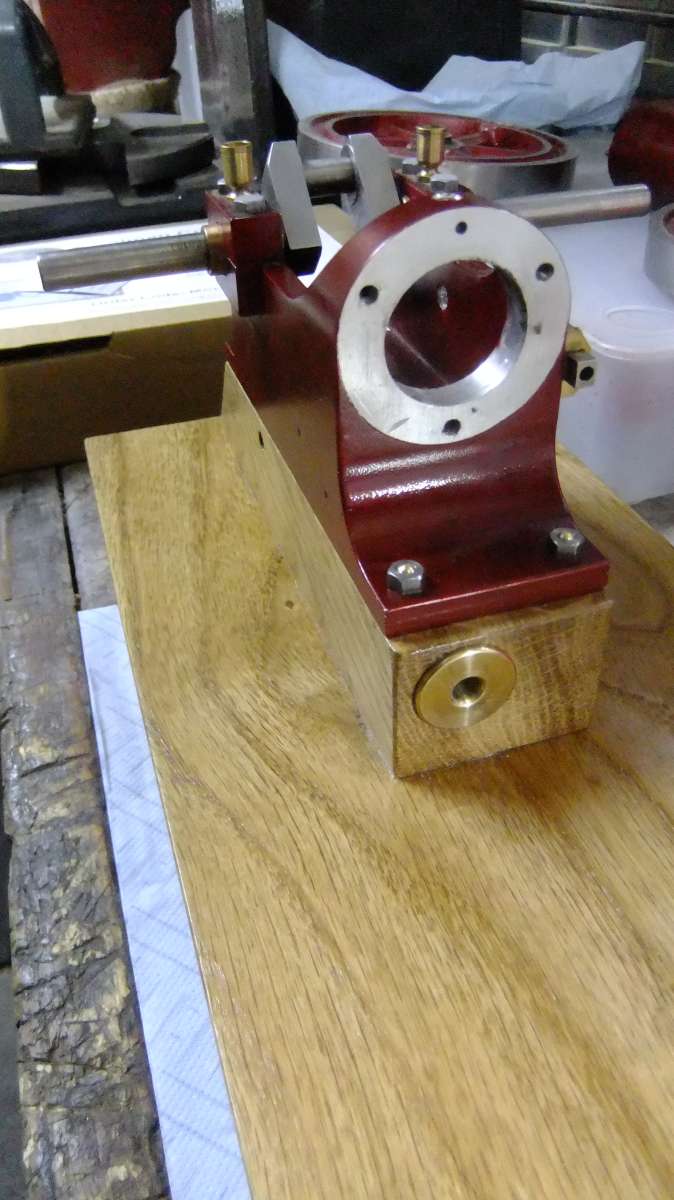
                            A test fit of one of the supports, not sure which will look better, the foot facing in or out. Facing in would give a little more room for the outlet if I need to work on it when it is complete.

                            fuel tank support (7)

                            fuel tank support (6)


                          Viewing 12 posts - 76 through 87 (of 87 total)
                          • Please log in to reply to this topic. Registering is free and easy using the links on the menu at the top of this page.

                          Advert

                          Latest Replies

                          Home Forums I/C Engines Topics

                          Viewing 25 topics - 1 through 25 (of 25 total)
                          Viewing 25 topics - 1 through 25 (of 25 total)

                          View full reply list.

                          Advert

                          Newsletter Sign-up