Farm Boy

Advert

Farm Boy

Home Forums I/C Engines Farm Boy

Viewing 25 posts - 1 through 25 (of 87 total)
  • Author
    Posts
  • #650918
    Dalboy
    Participant
      @dalboy

      I should have started this thread when I started the Farm boy hit and miss engine but I did put a few pictures in what I did today thread.

      I will put pictures but without all the detail until I get up todate.

      dscf2986.jpg

      dscf2990.jpg

      dscf2997.jpg

      dscf3046.jpg

      dscf3049.jpg

      dscf3052.jpg

      Advert
      #2659
      Dalboy
      Participant
        @dalboy
        #650921
        Dalboy
        Participant
          @dalboy

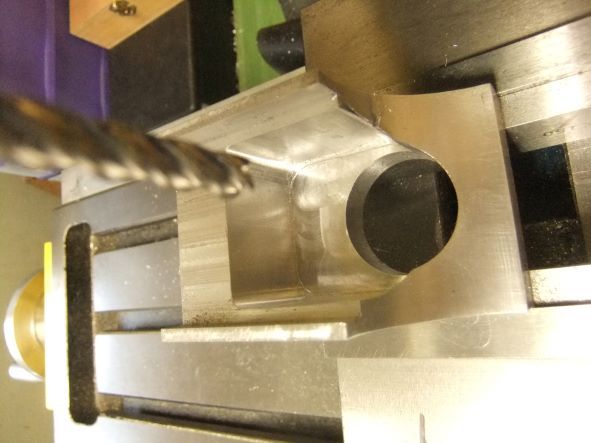
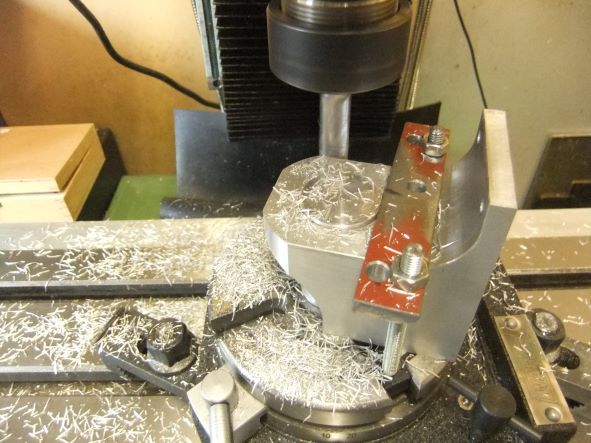
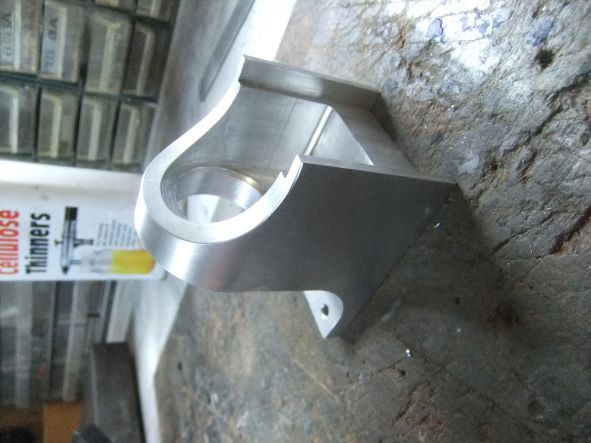
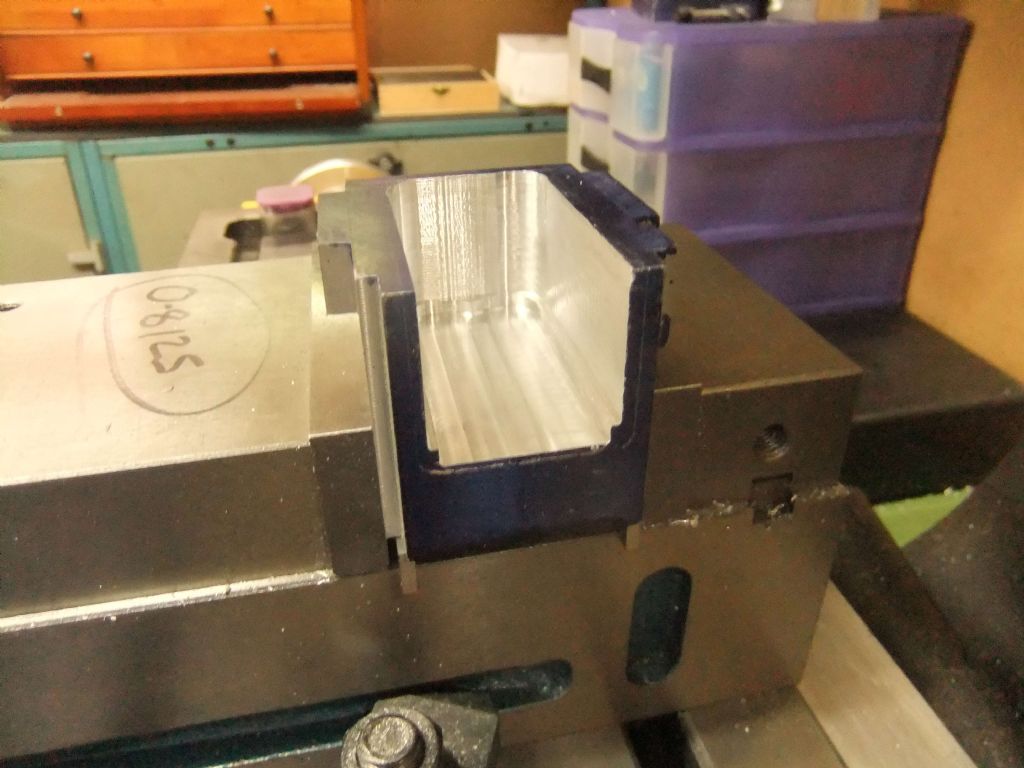
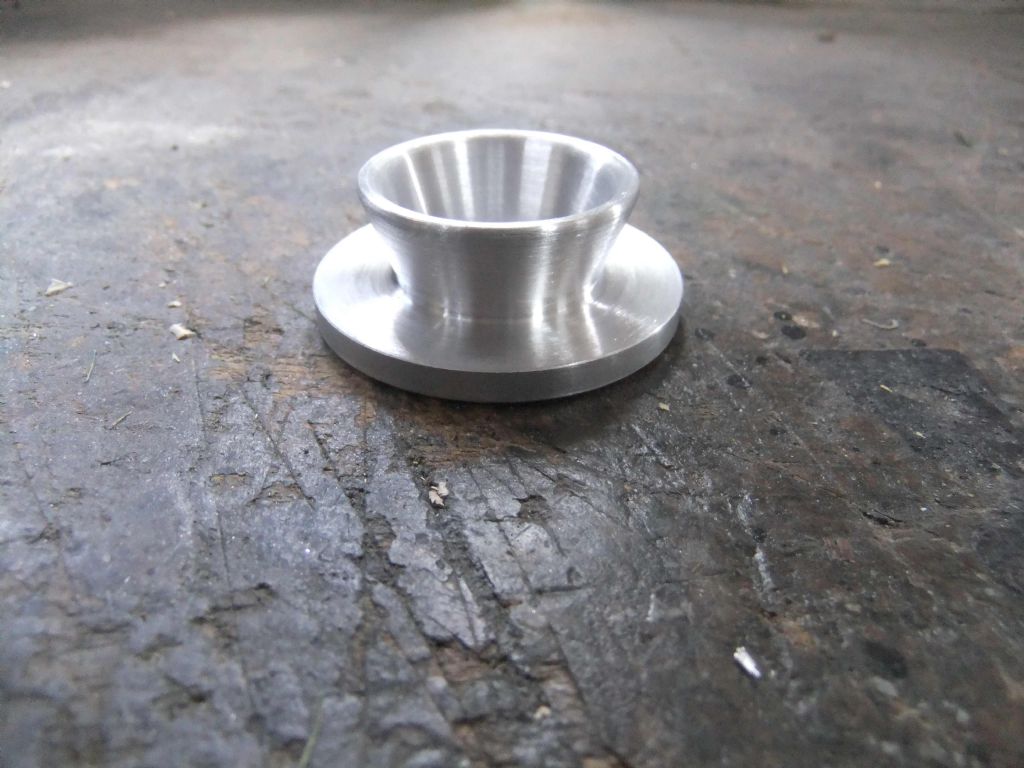
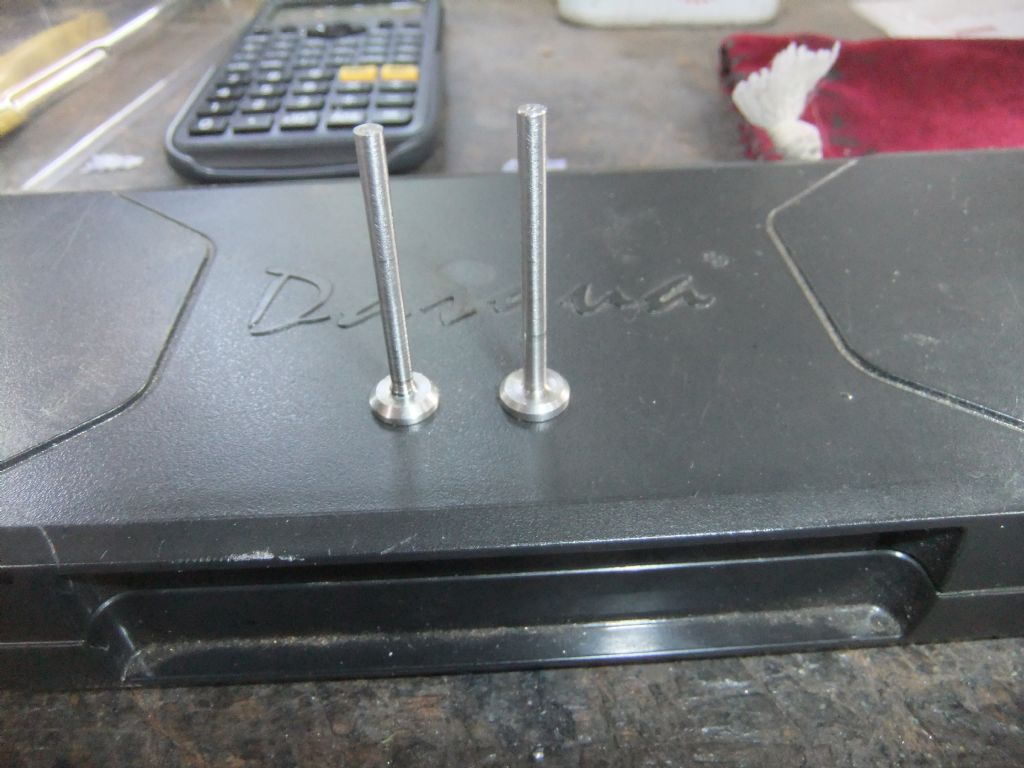
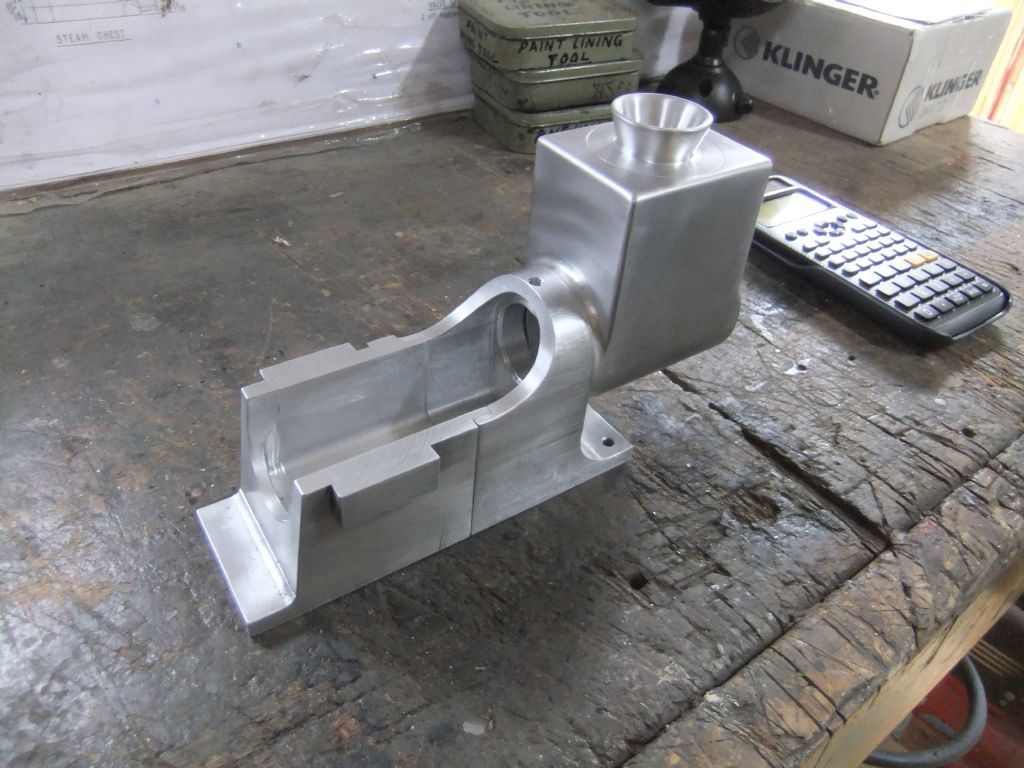
          Part two If there are any questions just shout from here in I will post as I go The dry fit photos are as of yesterday.

          dscf3060.jpg

          dscf3087.jpg

          hollowing out rear frame (1).jpg

          hopper machining (1).jpg

          hopper machining (3).jpg

          hopper machining (6).jpg

          hopper machining (8).jpg

          water hopper top (7).jpg

          valves (8).jpg

          smaal square head bolt (3).jpg

          first dry fit (5).jpg

          #650926
          Harry Wilkes
          Participant
            @harrywilkes58467

            Nice work

            H

            #650986
            Steviegtr
            Participant
              @steviegtr

              Looking good.

              Steve.

              #650998
              Dalboy
              Participant
                @dalboy

                Thank you guys. Not a lot done today except some holes drilled, possibly the same tomorrow.

                #651107
                Dalboy
                Participant
                  @dalboy

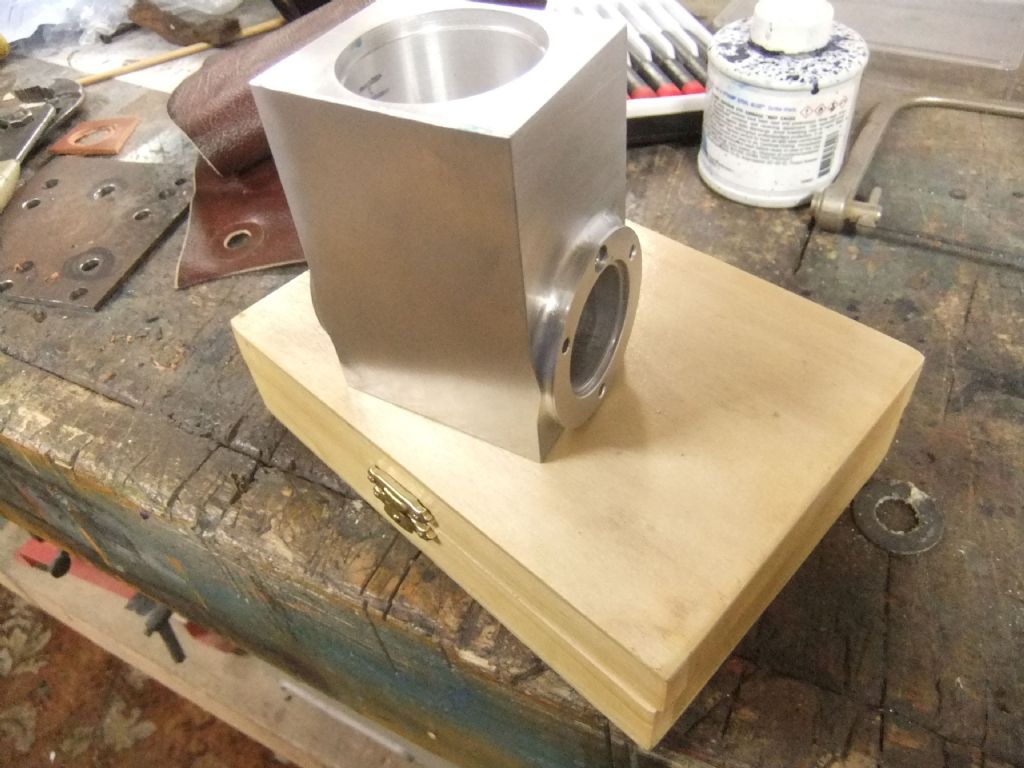
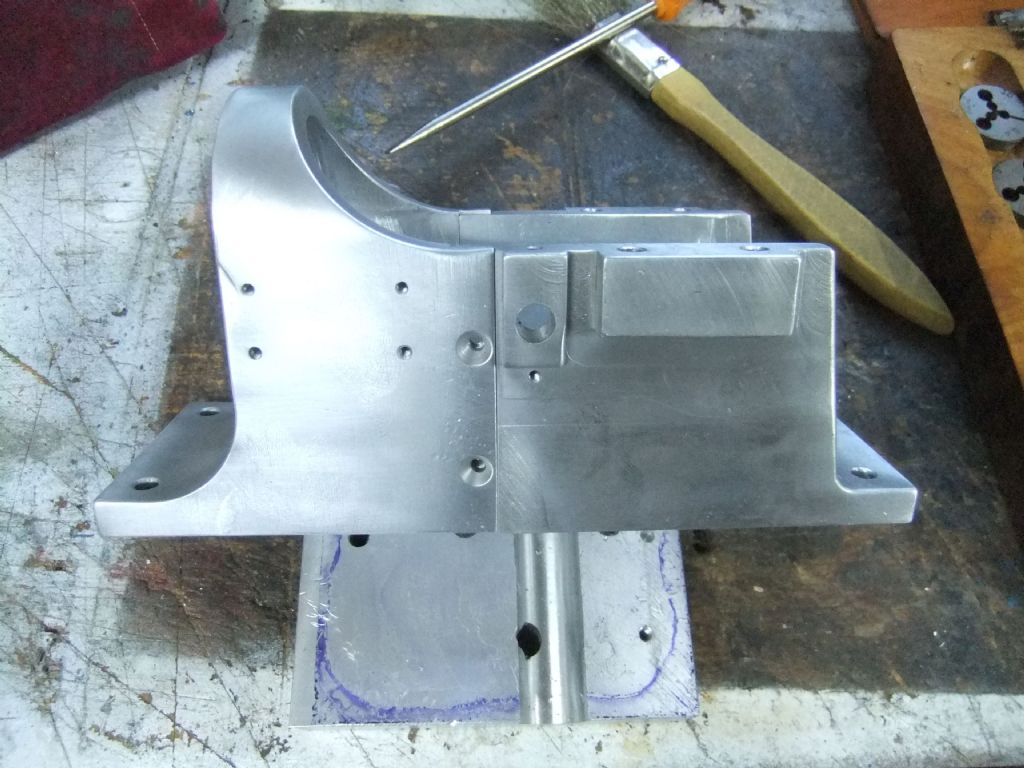
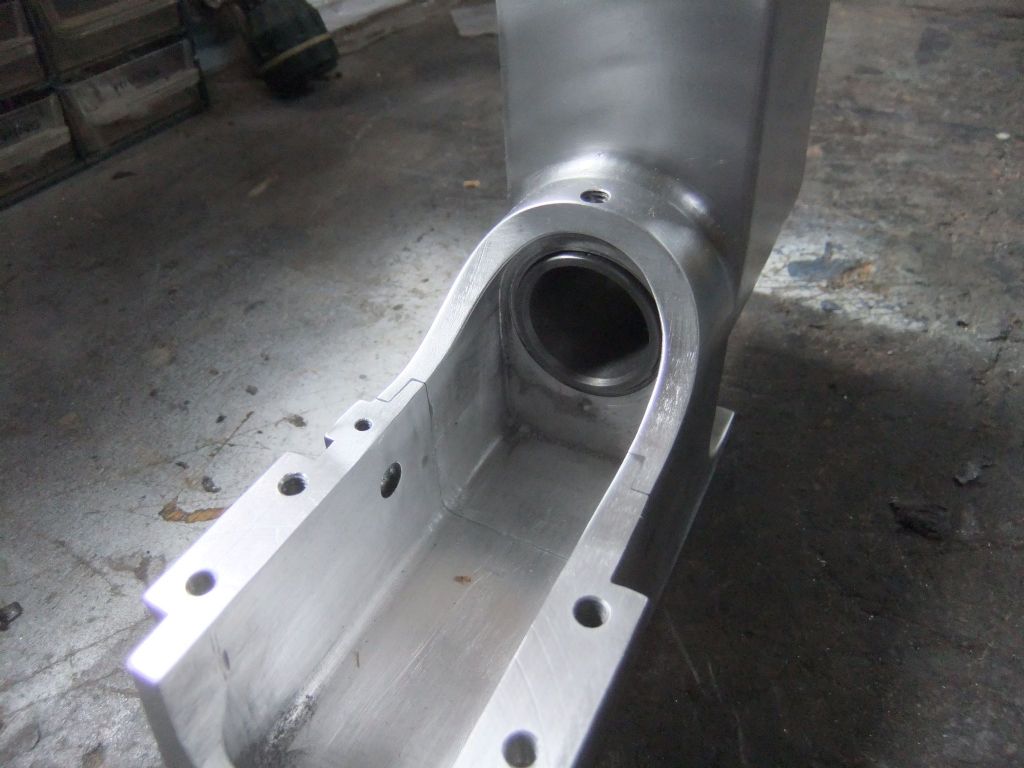
                  As above the hopper, front and rear frames are now complete all bar the assembly. Managed to complete all the holes including tapping where needed. Tomorrow I will join the front and rear sections with 4 screws and some metal epoxy this will then be the base unit done and I can add parts as i make them.

                  front and rear complete (2).jpg

                  front and rear complete (1).jpg

                  #651205
                  Dalboy
                  Participant
                    @dalboy

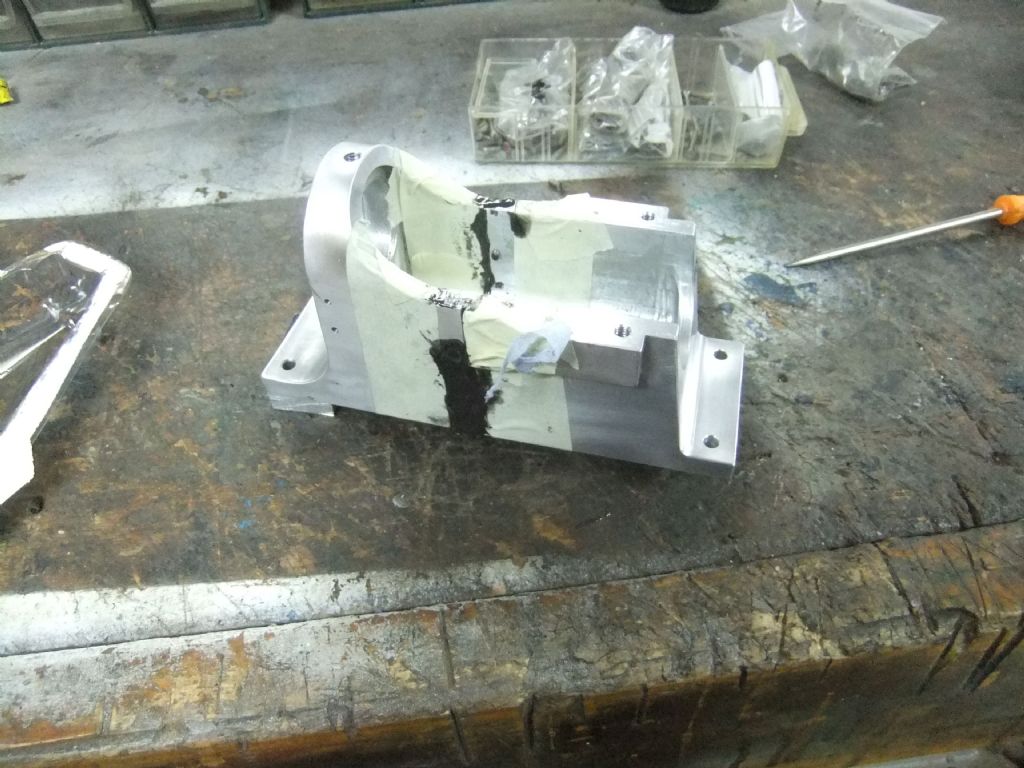
                    Today was joining the front and rear base units still need to clean them up the tape was there to prevent getting any epoxy into the threaded holes and any reamed holes.

                    joining rear and front base units (1).jpg

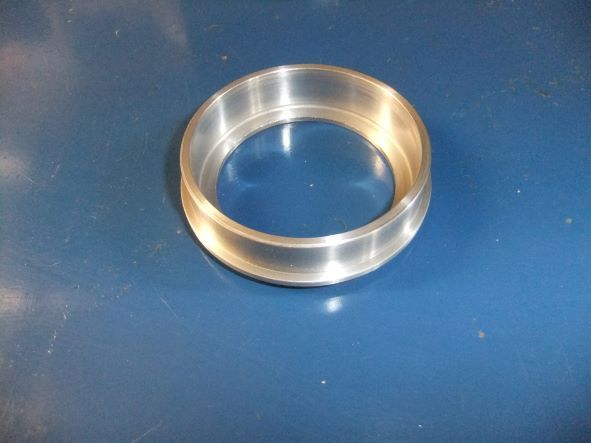
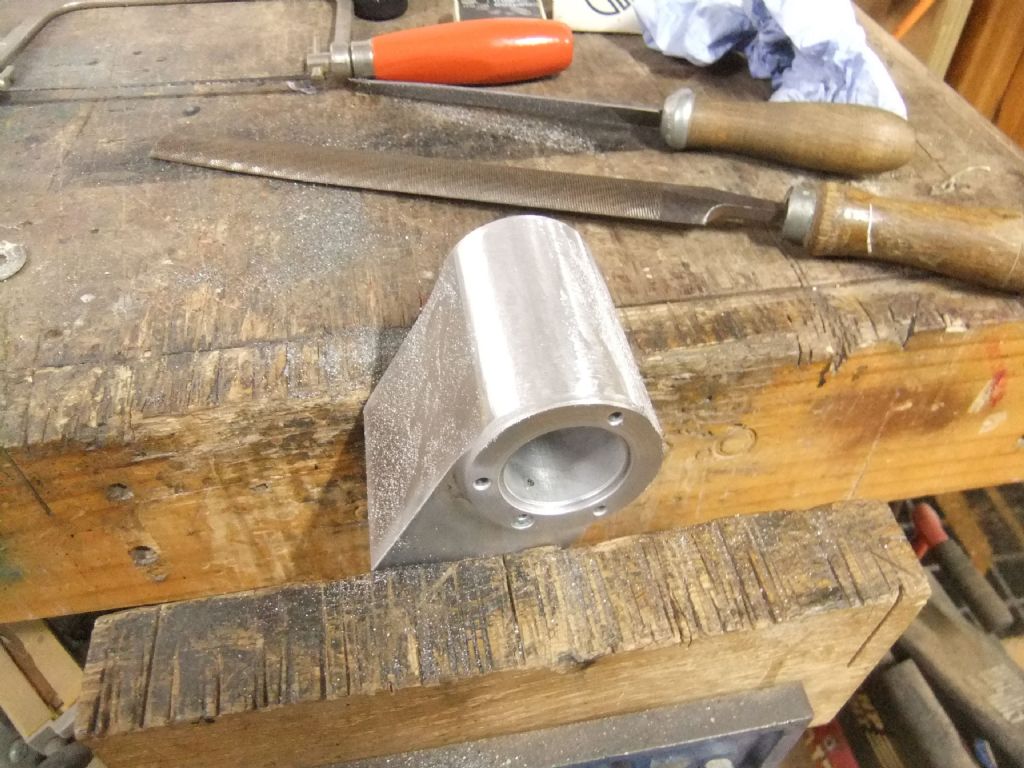
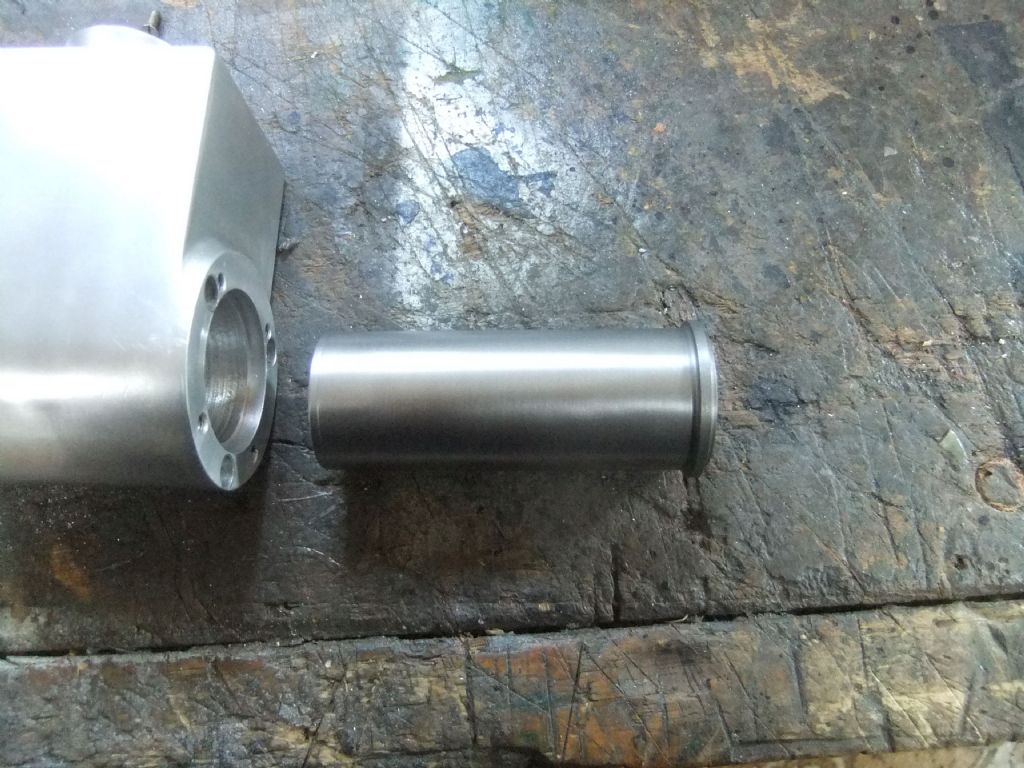
                    Then onto the cylinder liner which I got to 0.001" under size which will allow me to polish the bore for the piston to run in.

                    cylinder liner bored out (1).jpg

                    #651215
                    Steviegtr
                    Participant
                      @steviegtr

                      Blimey your putting my build to shame. Tortoise & a hare. Great work. Looking good.

                      Steve.

                      #651229
                      Dalboy
                      Participant
                        @dalboy
                        Posted by Steviegtr on 06/07/2023 22:37:29:

                        Blimey your putting my build to shame. Tortoise & a hare. Great work. Looking good.

                        Steve.

                        Thank you Steve.

                        This is not that fast as I started this back in March and this along with the Rob Roy I am building are my first attempts at model engineering.

                        #651246
                        Dalboy
                        Participant
                          @dalboy

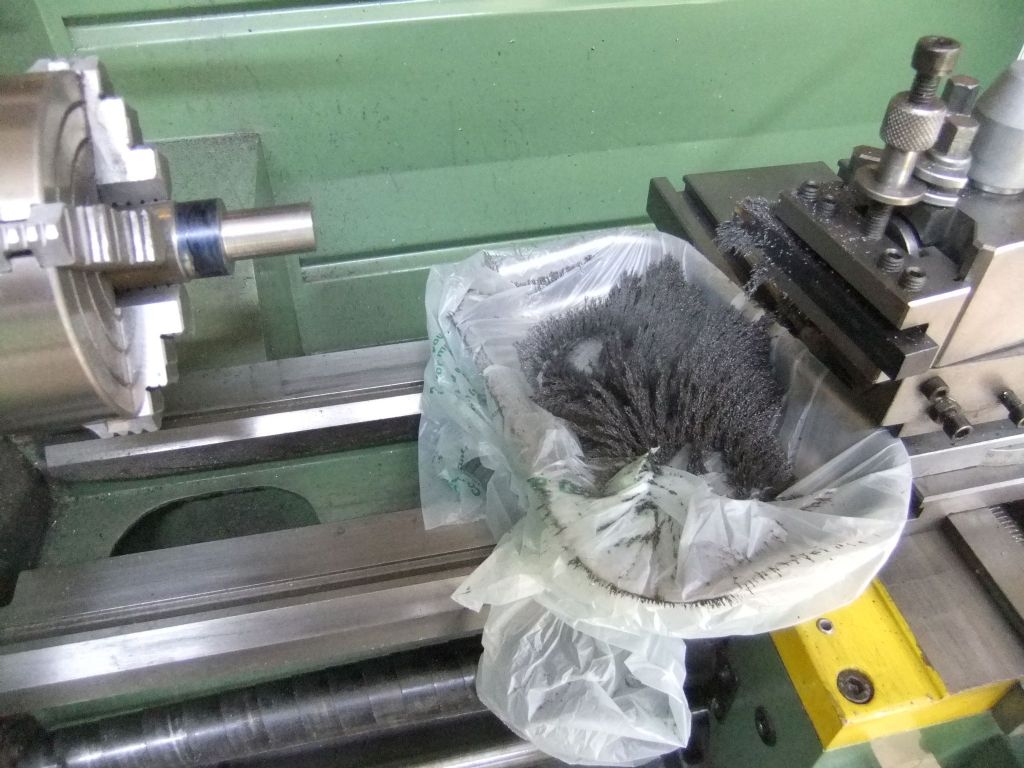
                          Cylinder complete all but one hole to drill which is for oiling. Lost count the amount of time I had to clean up luckily I had a magnetic tray in a plastic bag which collected a lot of the swarf, just turned the bag inside out to contain the cast iron swarf without it sticking to the magnet. It was a great slid fit as per the instructions on the plans

                          cylinder liner turned (1).jpg

                          cylinder liner turned (2).jpg

                          cylinder liner turned (3).jpg

                          #651570
                          Dalboy
                          Participant
                            @dalboy

                            After a Saturday at a car rally with my woodturning and a day of rest on Sunday(not because it is a religious day but due to being totally knackered after the Saturday). I returned to the workshop and realised that the liner was sticking out by a very small amount. Not sure why so proceeded to measure and remeasure all of my measurements.

                            Then it dawned on me I had left a small fillet on an internal corner so back into the 4 jaw chuck and with the parting tool banished it from the piece.

                            Now that I was happy with that I could set up in the milling machine and drill the oil hole, so now very happy with the liner.

                            With the two part metal epoxy dry(which I was not happy with got it from Halfords so now ordered some JBWeld) I cleaned up all of the joints on the rear and front halves of the main frame.

                            Tomorrow I will start on the piston.

                            No pictures of this silly mistake just a red face for not realising this when turning the liner, well you live and learn which is what I am doing a lot of with this project. It could have been worse.

                            #651772
                            Dalboy
                            Participant
                              @dalboy

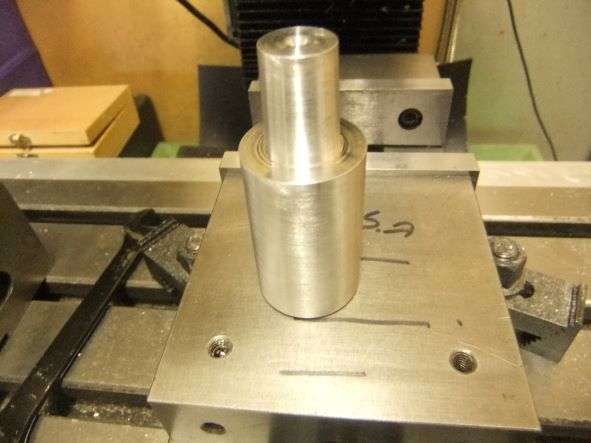
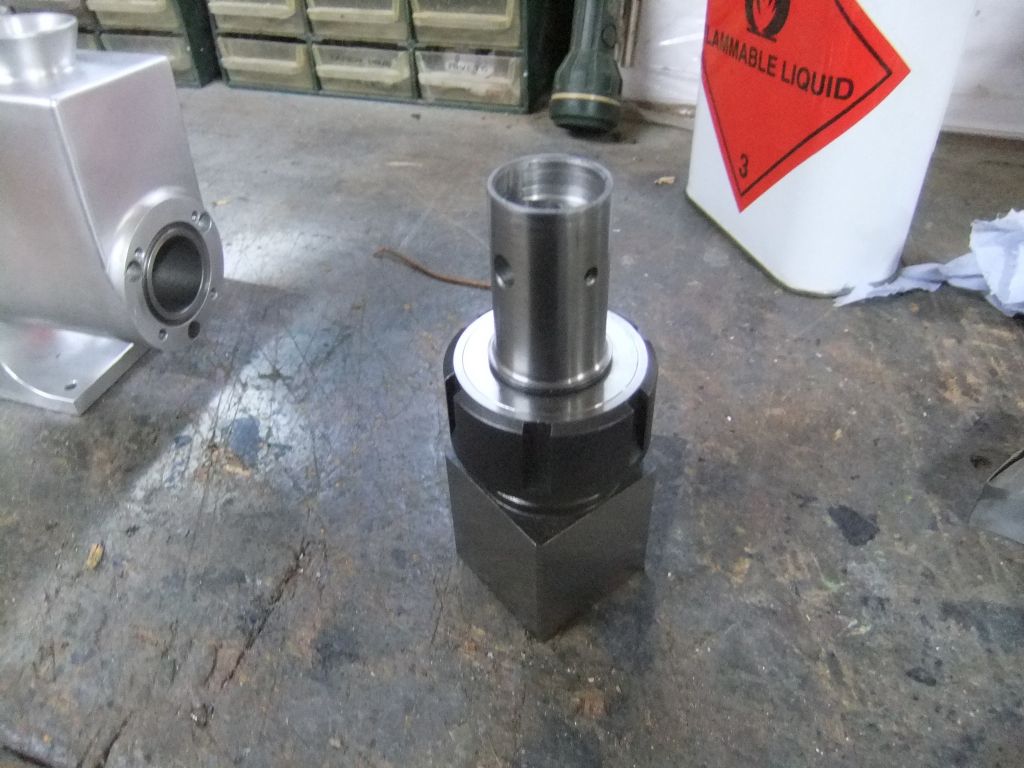
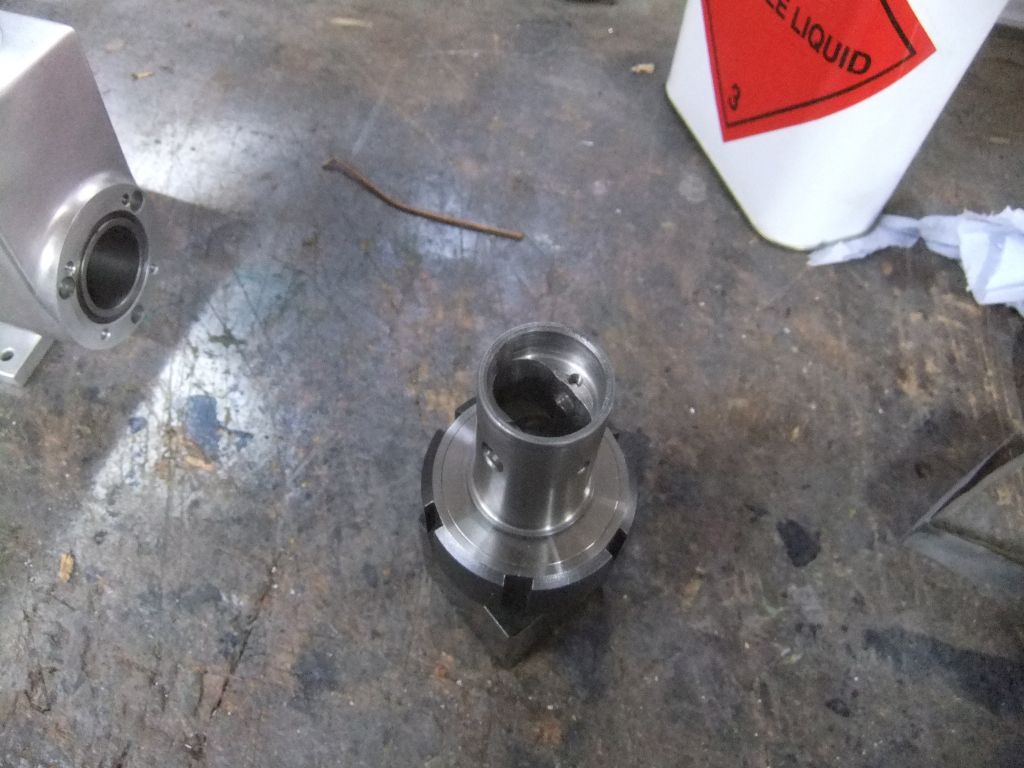
                              Today was a slow day I turned the end of a cast iron bar down to 19mm to fit a collet at one end and also a small section of the piston over size so I could reverse it in the 4 jaw chuck. I then reversed the blank in the chuck and turned down the piston to the correct size and faced off, this will be the bottom of the piston. so there is some drilling and milling the bottom as well as a cross hole.
                              That will be done in a square collet block as the features need to be at right angles to each other. Hopefully that will be done tomorrow as I spent a while getting the piston to a very comfortable fit in the cylinder. As a learner to the hobby like most things it takes a lot longer than a more experienced machinist.
                              The photos show the piston during machining with a magnetic tray in place catching the cast iron swarf very little ended up on the lathe, will need to turn the bag inside out to contain it. I must buy some plastic bags as the wife keeps on wondering where all the bags are disappearing to :LittleDevil:

                              start of piston (2).jpg

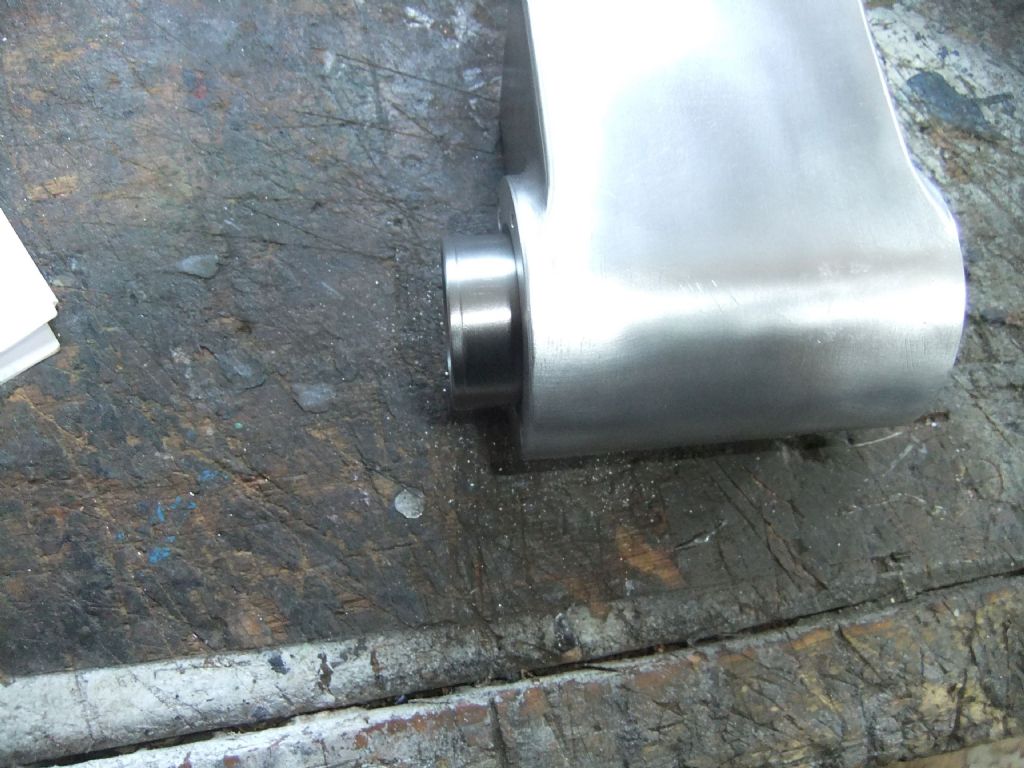
                              The last couple of photos show the cylinder liner in place. If you look carefully there is a small witness mark at each end this is so I can line up a oil hole in the cylinder with the one in the hopper

                              liner in place (1).jpg

                              liner in place (2).jpg

                              #654035
                              Dalboy
                              Participant
                                @dalboy

                                Not posted much but realised that I had not posted the progress on the piston all turned to diameter and the inside milled out and hole drilled and threaded. Still need to part off to length and do the piston ring groove when the o ring arrives


                                piston progress (1).jpg

                                Had a very minor mishap on the inside but nothing that would need any more than a little clean up as it I can barely feel the little ridge looks worse than it is.


                                piston progress (2).jpg

                                I did the piston above a few days ago and decided to make the con rod in the mean time while waiting for the o ring.

                                After two attempts at this I threw the parts in the scrape pile and ordered some replacement ali. Yes two made and both buggered up by me making stupid mistakes

                                Any way having a day off of the Farmboy I returned today and turned the blank for the head at least that went right after double checking and double checking again was not going to have another con rod episode.


                                head blank (3).jpg

                                Edited By Dalboy on 27/07/2023 21:34:29

                                #654176
                                Dalboy
                                Participant
                                  @dalboy

                                  Started on drilling the cylinder head first was the small hole for a post to take the exhaust rocker. Also drill and ream the two holes for the valve guides

                                  cylinder head (2).jpg

                                  Then onto the four holes for the head bolts also while it was there I did a small dimple which will be where the spark plug will go. The reason the spark plug is not drilled yet is that it needs to be at an angle

                                  cylinder head (3).jpg

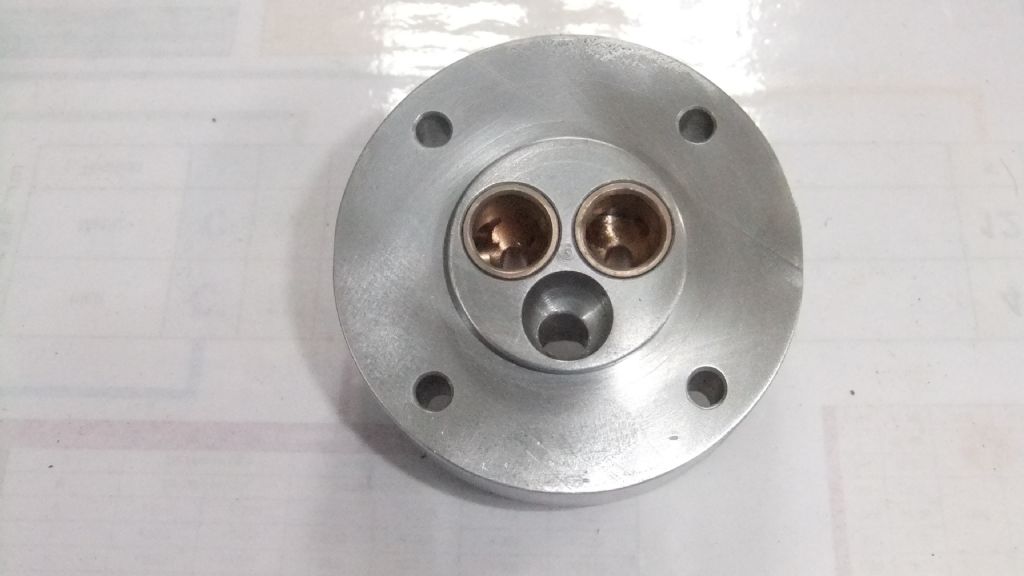
                                  top and bottom view of the head the dimple can be clearly seen. There are still more holes to drill some can't be done until the valve guides are made and in place

                                  cylinder head (4).jpg

                                  cylinder head (5).jpg

                                  Edited By Dalboy on 28/07/2023 20:41:14

                                  #654489
                                  Dalboy
                                  Participant
                                    @dalboy

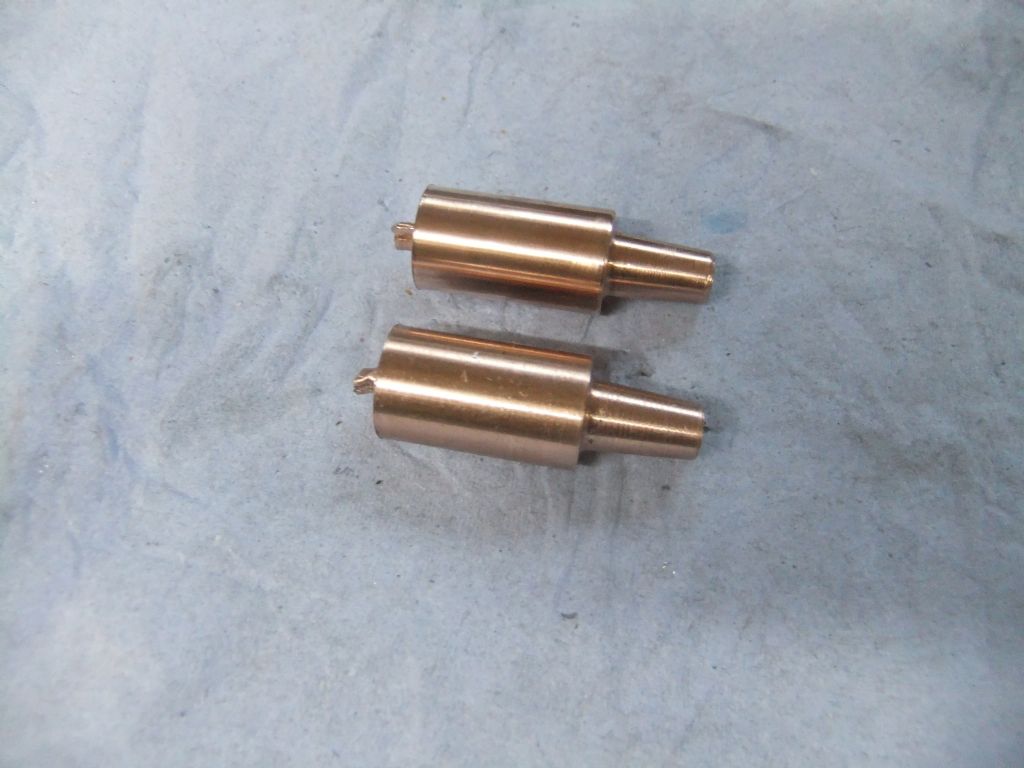
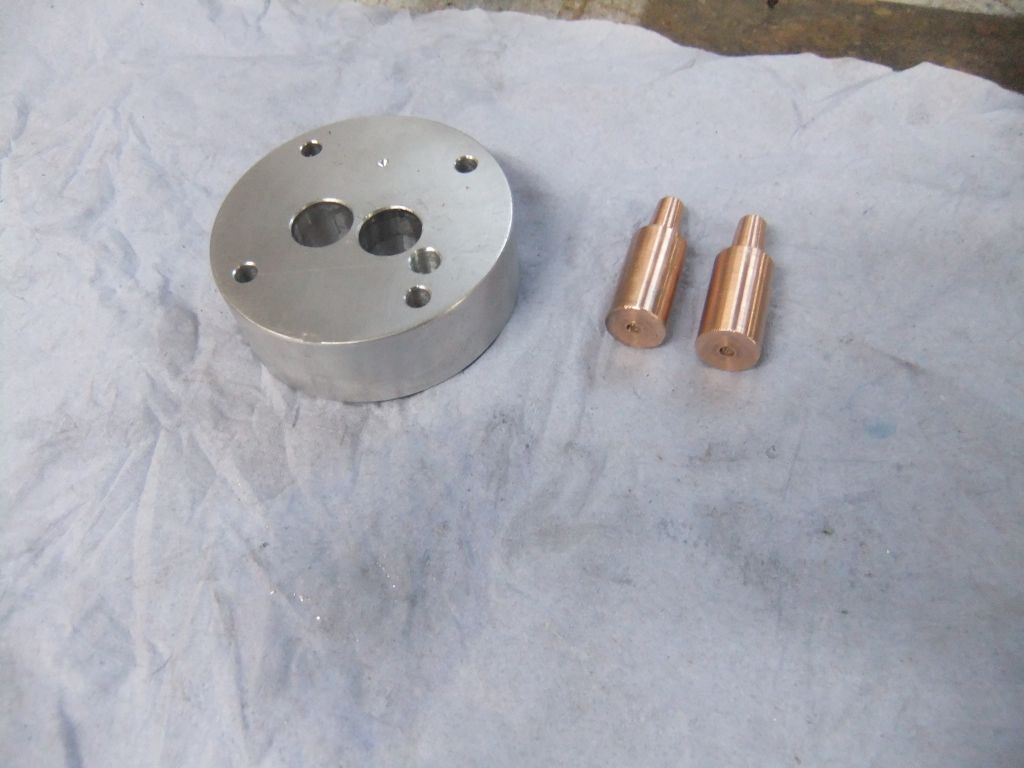
                                    Been working on the valve guides as these need to be inserted in the head before some holes need drilling

                                    Shaped the outside was the first job as well as drill and ream for the valve stems to fit. You can see that the bases are not yet opened up in the second photo.

                                    valve guides (4).jpg

                                    valve guides (9).jpg

                                    Changed to a collet chuck so that they can be opened up note the bull nose cutter in the drill chuck to give a rounded bottom to the inside
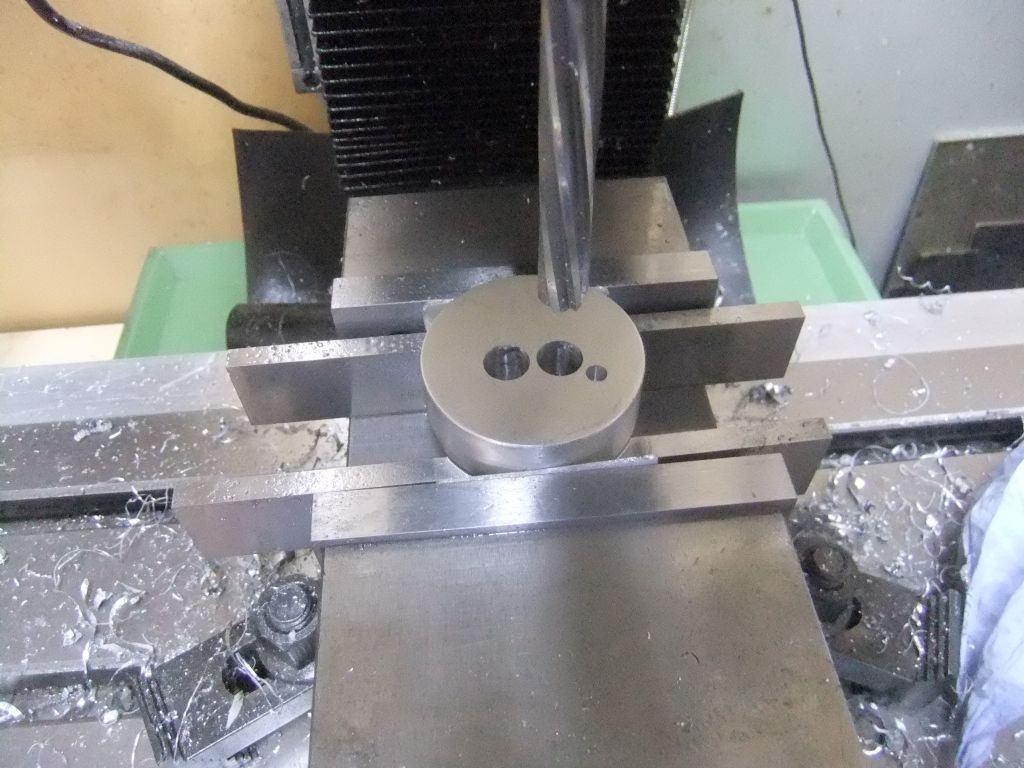
                                    valve guides (17).jpg

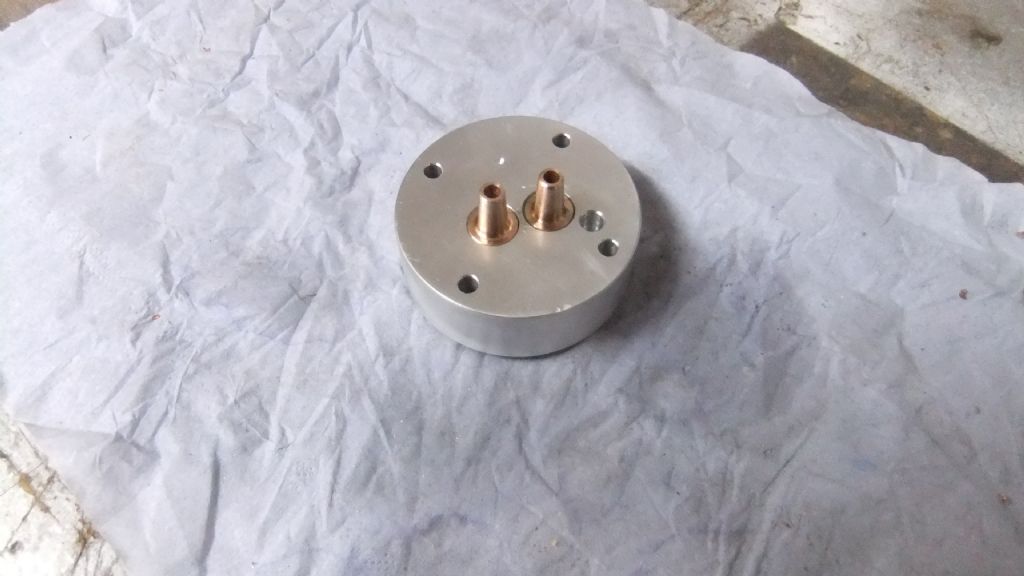
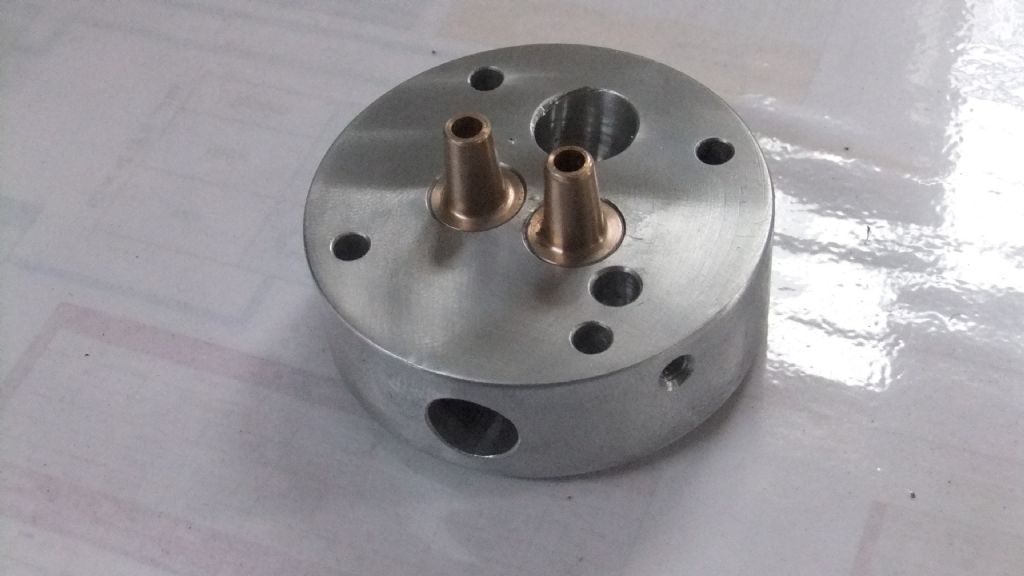
                                    All complete and pushed into the head. They are not going to move now not only can I now drill some holes into the valve guides from the side but they also will aid in getting the at the correct angle as well allow for lining up the fuel chamber where the spark plug pokes through into the cylinder. As well as this it will aid lining up the angled threaded hole for the spark plug which I spotted earlier on in the head(see previous post)

                                    valve guides (28).jpg

                                    valve guides (29).jpg

                                    Slid the valves in just for show, I will fit these properly when I have made some more parts for the head

                                    valve guides (30).jpg

                                    valve guides (32).jpg

                                    #654718
                                    Dalboy
                                    Participant
                                      @dalboy

                                      Except for the spark plug thread which is 1/4" X 32 and I only own a 1/4" X 40 which I seem to have a lot of, so have to order these are ME threads. The head machining is now complete, time to start on some of the furniture for the head like making valve springs and rocker assembly. In the last photo(sorry about the quality) you can make out where the inlet and exhaust ports enter the valve guides. The four holes which can be clearly seen in the bottom of the head photo are for head bolts, the other hole seen in the top of the head is for the rocker arm support and the little hole in the side for a grub screw to lock the support in place.
                                      It seems as if everything turned out OK as closer to completion of the head I was worried that if something went wrong there is a lot of work to get back to here.

                                      head complete except the plug thread (2).jpg

                                      head complete except the plug thread (10).jpg

                                      head complete except the plug thread (8).jpg

                                      #654731
                                      JasonB
                                      Moderator
                                        @jasonb

                                        Looking good

                                        One point to watch is that glow and miniature spark plugs are threaded 1/4 x 32 UNEF not ME – different angle

                                        #654740
                                        Roderick Jenkins
                                        Participant
                                          @roderickjenkins93242

                                          In practice, I have found that 1/4" x 32 ME works fine but if you have to buy a tap you may as well get the right one.

                                          Rod

                                          #654742
                                          Steviegtr
                                          Participant
                                            @steviegtr

                                            Dalby I have a new 1/4 32 UNEF. hat i bought to do mine I could lend you. Problem is postage will be more than buying one.

                                            Steve.

                                            #654749
                                            Dalboy
                                            Participant
                                              @dalboy

                                              Thank you Jason for that info it just seems to be missing on the plans. All it said was 1/4" X 32 TPI so I assumed it was ME thread


                                              Edited By Dalboy on 01/08/2023 21:27:24

                                              #654750
                                              Dalboy
                                              Participant
                                                @dalboy
                                                Posted by Steviegtr on 01/08/2023 20:24:30:

                                                Dalby I have a new 1/4 32 UNEF. hat i bought to do mine I could lend you. Problem is postage will be more than buying one.

                                                Steve.

                                                I have just ordered one Steve but thank you for the offer

                                                #654761
                                                Steviegtr
                                                Participant
                                                  @steviegtr
                                                  Posted by Dalboy on 01/08/2023 21:28:19:

                                                  Posted by Steviegtr on 01/08/2023 20:24:30:

                                                  Dalby I have a new 1/4 32 UNEF. hat i bought to do mine I could lend you. Problem is postage will be more than buying one.

                                                  Steve.

                                                  I have just ordered one Steve but thank you for the offer

                                                  No problem.

                                                  Steve.

                                                  P.S. The build looks great so far. Nice work.

                                                  #654857
                                                  Dalboy
                                                  Participant
                                                    @dalboy

                                                    Very little done today just the valve spring keepers, made from stainless steel the measure 0.400" X 0.125" with a 0.125" hole for the valve stem, and also sized a small piece of brass for the rocker arm ready to be drilled and machined.

                                                    valve spring cap (1).jpg

                                                    valve spring cap (4).jpg

                                                    #655389
                                                    Dalboy
                                                    Participant
                                                      @dalboy

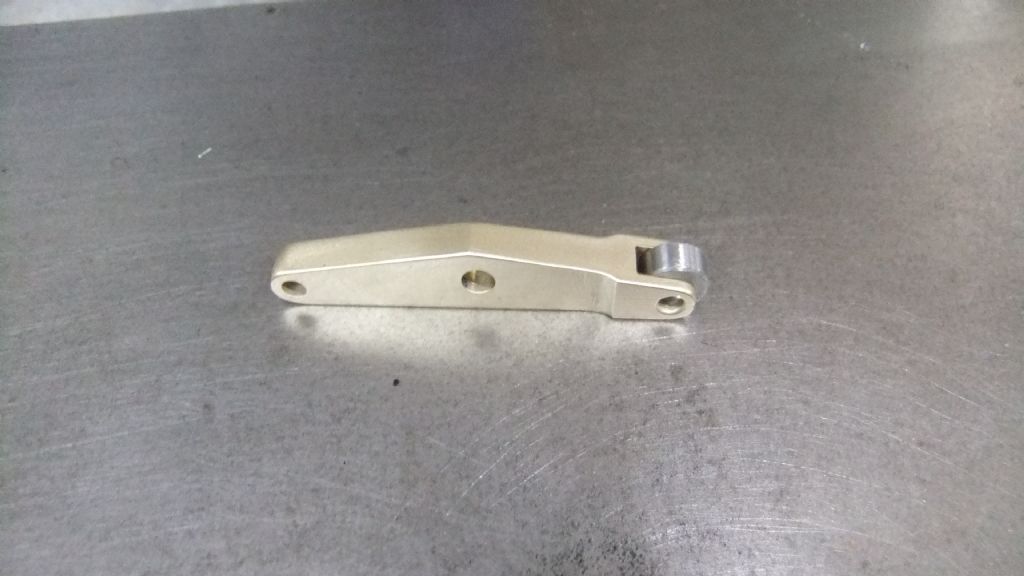
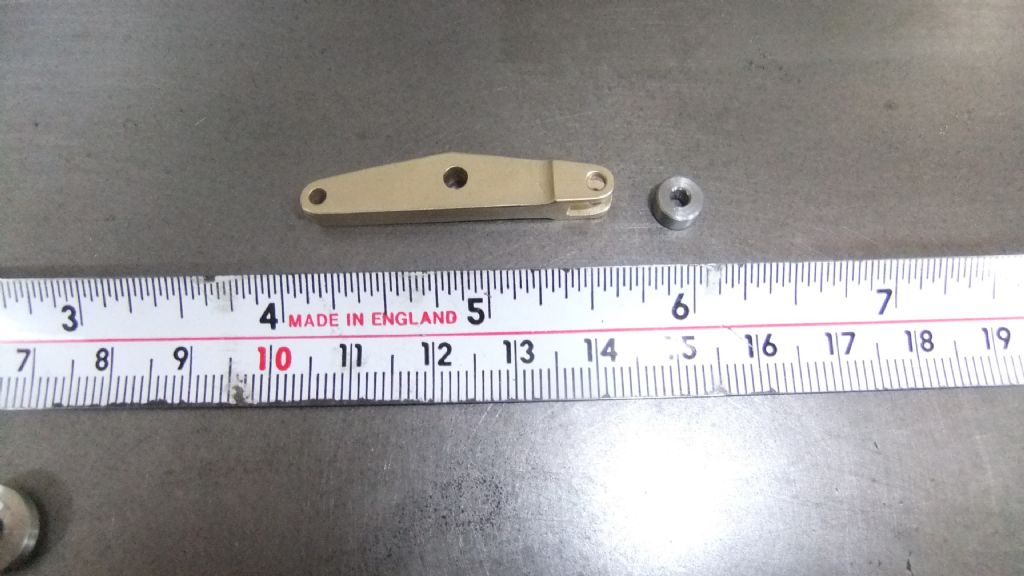
                                                      Finally got around to the rocker arm and a small steel bearing which will push on the exhaust valve. As can be seen it is just a fraction over 1 1/2" long.

                                                      rocker arm  (2).jpg

                                                      rocker arm  (3).jpg

                                                      rocker arm  (5).jpg

                                                      Next job the rocker arm support

                                                    Viewing 25 posts - 1 through 25 (of 87 total)
                                                    • Please log in to reply to this topic. Registering is free and easy using the links on the menu at the top of this page.

                                                    Advert

                                                    Latest Replies

                                                    Home Forums I/C Engines Topics

                                                    Viewing 25 topics - 1 through 25 (of 25 total)
                                                    Viewing 25 topics - 1 through 25 (of 25 total)

                                                    View full reply list.

                                                    Advert

                                                    Newsletter Sign-up