Cut the recess into the base casting and made spacers etc. so I could mount the timing plate and gears.
This meant I could get an accurate length for the crankshaft on either side. I also drilled and pinned the crank through the webs and shafts and drove in 638 covered 5mm silver steel. – Then to the mill to cut out the centre section of the shaft.
Time to bore the hopper which will take the cylinder liner. This took quite a bit of head scratching and ummm-ing and arrrrr-ing of where to start as being a casting there was no true reference point. So after some deliberation I made some milling cuts that I could use as such. There are several axis with this part that have to be correct. – Some visual and some important from an engineering point. One of the visual ones is that the liner protrudes as true / central as possible through the taper at the back of the hopper.
No going back now after this first boring cut to accept the liner.
The tricky one was to reverse the casting and bore the face on the cylinder head end so that it lined up spot on with the bore at the rear. This was done with the ref cuts I had made, a lazer edge finder and my blessed DRO. – there is also a step in this hole to accept a flange on the liner.
I resisted the temptation to check a good alignment for the liner as while I had the DRO settings with the casting in that position I figured it would be a good time to do the PCD bolt holes for the cylinder head.
Happy days.!! – If this had not worked out the cat would have had the kicking of it's life.
I still have to bore the liner out as it's just had a 38mm drill through it. It needs to be at 42mm with a good finish.
I can drink red wine and sleep contentedly tonight now.
The supplied aluminium was just long enough and was faced both ends.
This was then turned to diameter and grooves cut into it to accept the piston rings and a shallow groove to help small amounts of residual oil into the gudgeon pin. (think the Americans call this a wrist pin)
Taper into the piston skirt.
Then over to the mill to recess a pocket to take the little end of the conrod.
Then the chucking area was removed in the lathe and to the correct piston length.
Now I have this.
Still need to put some oil holes through to the bearings and make some caps from PB or brass to cover the gudgeon pin ends so that it will not damage the cylinder bore.
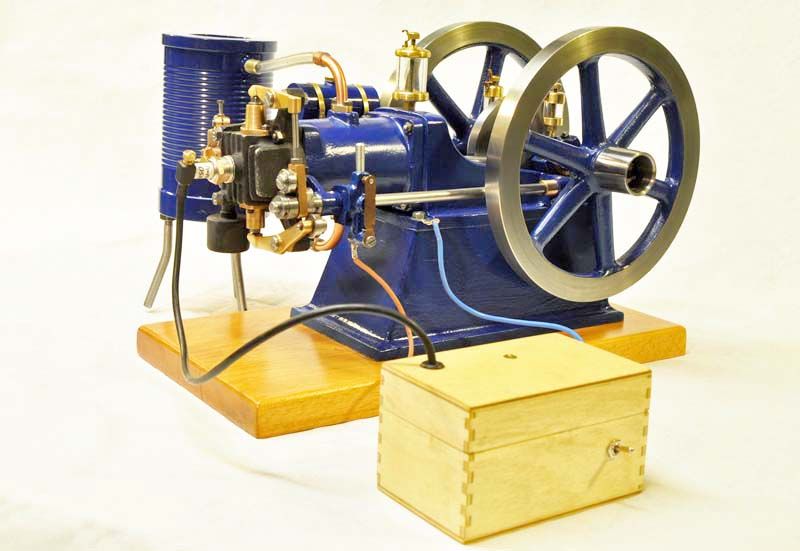
Well if you start with some Upol High5 filler primer that will give you a good idea of what the Mustard option would look like, a couple of times I have thought about putting clear straight over this.
All three are likely to use a grey primer so you will then get a good idea what the grey will look like when you blow that over the lot.
If neither of the abobe appealed then squirt some blue on, have alook at some "Stover" engines as they were that sort of blue.
The blue and grey options were more common, don't think I have seen many H&M engines in mustard, nice blue one here
TBH I was aware of the images of your Wyvern and I confess that it was they that made me consider blue.
I know that Grey and Green are also 'scale colours'. But the Engineers Emporium Economy / Hercules is not a scale model really. It's more of a representation of a multitude of hit and miss engines that were once manufactured. – If it was a scale model then I would without question go with an authentic colour.
Checked the alignment of the bore to crankshaft before I go much deeper. This is one of the few critical things on such an 'agricultural' engine as this. But quite a few factors effect it's alignment.
It was thankfully in the 'adjustment zone' of the fixing holes.
There are no piston rings fitted as I wanted to be able to feel for any binding spots in the stroke.
Quick video. – The slight knocking is that the flywheel has not got a properly sized key in it as yet. ……… Honest.!
Good product it seems and is 'low tack' so it will not pull off any existing paintwork yet gives a nice seal so there is no bleed underneath at the edges.
What I did was run around the rim with one layer of the 3mm to use as a former. Then another inside that. I then stripped the first one out leaving the area to be painted with a brush and Humbrol enamel.
Just done a test with it.
They make it in several widths and I could have probably got a tighter curve had I not ATM got a gammy thumb.