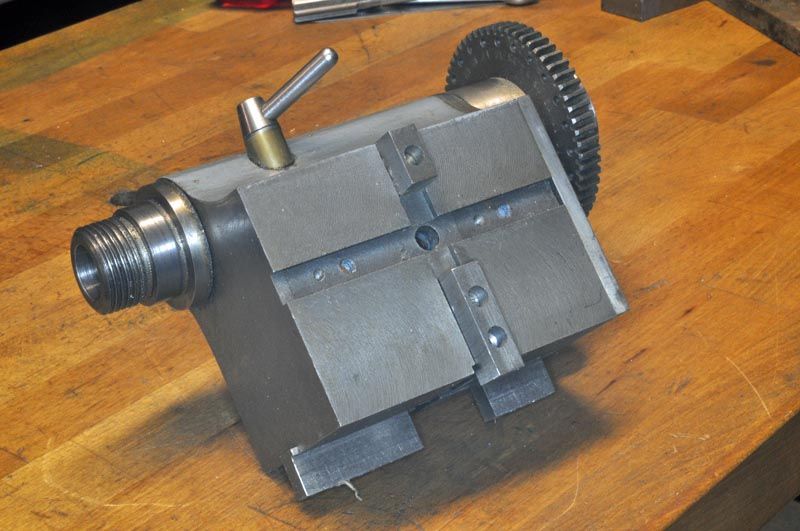
Easy Machine vice location

Advert

Easy Machine vice location

Home Forums Hints And Tips for model engineers Easy Machine vice location

Viewing 12 posts - 1 through 12 (of 12 total)
  • Author
    Posts
  • #149112
    Ron Vale
    Participant
      @ronvale24328

      First of all apologies if this has already been posted, but for years i have spent many fruitless hours gettig it to be true to the x axis.

      I saw this somewhere, and it is soooooo easy once made. First of all get a piece of MS bar that will fit tightly in the bed slot and stand proud about 0.25in above the bed.

      Then get the vice and turn it upside down and clamp the jaws onto the bar. Make surethe the bed of the vice is level in both planes.

      Then milla slot equal to the width of the bar in the slot and as deep as the bar protrudes above the bed, again make sure by testing with a spare length of bar that it is a tight fit.

      When the vice is turned correct way up you will find that the jaws a parallel to the x axis and can be removed and replaced with spending hours setting it up.

      Hope this makes sense!

      Advert
      #30487
      Ron Vale
      Participant
        @ronvale24328
        #149114
        Frank.N Storm
        Participant
          @frank-nstorm18349
          Posted by Ron Vale on 06/04/2014 22:45:01:

          ….. can be removed and replaced with spending hours setting it up.

          Hope this makes sense!

          No, does not. I thought you DON'T want spending hours for setting it up? laugh

          Rgds, Frank

          #149116
          Martin W
          Participant
            @martinw

            Ron

            I think that your last paragraph should have read 'without spending hours etc.' wink . and not "replaced with spending hours setting it up." As Frank noted.

            Martin

            PS Is that workshop fit for inspection yet??

            #149120
            Jo
            Participant
              @jo

              Ron: if you have the vice mounted on its rotary base then it is very easy to set up:

              Clamp both base and vice down, put your indicator in the centre of the vice jaws, take note of the measurement and move the mill bed out so the indicator is on the outer part of the vice jaw. unclamp the vice and rotate until the indicator reads the same as in the centre of the jaws. Move the bed so that the indicator moves to the other side of the vice jaws and you should find zero run out.

              Bars mounted under a vice is only as good as the original fit of the bar into the bed/vice: don't trust the fit always  always check by measuring. On my indexing head there was a 4 thou offset: it did not matter if using the head on its own but when used with the tailstock it caused a taper.

              Jo

              Edited By Jo on 07/04/2014 08:49:55

              #149121
              Paul Lousick
              Participant
                @paullousick59116

                Best modification I have done. Saves hours of set-up time for non precision milling.

                The fit between the key on my vice and the table slots is an easy slide fit, so always push against the side of a slot to locate key before tightening bolts.

                I still check alignment with an indicator for precision work.

                Paul.

                #149122
                Nigel McBurney 1
                Participant
                  @nigelmcburney1

                  The company where I first worked had all the machine vices fitted with keys held by csk screws,one keyway run parallel to the slot the other keyway was at 90 degrees,this allowed the vice jaws to located either parallel to the table slots or right angle to the slot,the keys had to be unscrewed and fitted in the other keyway , if keys were looked after, location was within about one thou.Saved a lot of time.

                  #149147
                  Bazyle
                  Participant
                    @bazyle

                    I have a dividing head with x & y slots milled from new. Not uncommon. So if you are doing it make both slots. Problem is you will keep having to switch slots.

                    An alternative method is to machine at least 2 sides of the base true to the jaws. Then fit a plate in the rear slot to butt the side up against, using parallels if necessary. For larger vices that overlap all slots use some thought and make reference points that are accessible eg on the bolt 'ears'.
                    That reference plate is often useful and can be held in place either with typesetters quoins or custom made with 2 tapped holes that have bolts of length just under slot width that are unscrewed to push the plate against the other edge. (from Mike Chrisp ex editor of ME).

                    Edited By Bazyle on 07/04/2014 13:49:53

                    #149163
                    Another JohnS
                    Participant
                      @anotherjohns

                      Clamp both base and vice down, put your indicator in the centre of the vice jaws, take note of the measurement and move the mill bed out so the indicator is on the outer part of the vice jaw. unclamp the vice and rotate until the indicator reads the same as in the centre of the jaws. Move the bed so that the indicator moves to the other side of the vice jaws and you should find zero run out.

                      Exactly what I do – takes maybe 20 seconds to do, and you know that it really is square.

                      JohnS.

                      #149164
                      Roderick Jenkins
                      Participant
                        @roderickjenkins93242

                        I've had keys on my milling vice and dividing head for the last 30 years. I believe one can call them feather keys since they are fixed in one part but are able to slide in the other. Mine are at 90 degrees but I almost always use them in the one orientation.

                        dhkey.jpg

                        The dividing head can fit on the cross slide of my Myford lathe or on my mill table. Whilst I've kept the seats in the dividing head the same size on both faces, you can just see in the picture that the keys for the mill have been reduced in width to fit its narrower T slots.

                        Thanks to Ron for publicising this feature, I've found it to be a great time saver

                        Rod

                        #149297
                        Ron Vale
                        Participant
                          @ronvale24328

                          Gents,


                          Yes there was a typo and well spotted.I have had the vice on and off the bed and milled a piece about 8in long. there isn t enough difference to worry about 2 thou end to end if you are lucky, and the first geek to notice it when its on the engine, will get something rather hot put somewhere!! Vindictive…… Me?, so i am happy and it takes me longer to pick the vice up and place it than it does to bolt it down!!


                          Martin.

                          Nearly there


                          Good talk Friday eh?

                          and if you want to see just how bl**y massive Rolls Royce front suspensions are, pop round Sun Am as i am changing the rubber on the bottom ball joint, The disc is the size of an LP. Replacement ball joint £150.00, replacement rubber £19.00. bit of a no brainer However a pair of 6 ton axle stands and a weapons grade ball joint splitter is eating into the theorectical savings!!!


                          Ron

                          Edited By Ron Vale on 08/04/2014 21:55:19

                          #149326
                          Glyn Davies
                          Participant
                            @glyndavies49417

                            I locate the milling vice on my Dore Westbury using a piece of 1×3/8 steel tapped M10. I set the vice dead square and tighten its clamp bolts. Then offer the 1×3/8 bar to the edge of the table and push it hard against the table while tightening the M10 bolt. I then just make sure I have the bar against the table whenever I refit the vice. No backlash and no modification to the mill or vice.


                            img_0546.jpg


                            Edited By Otley on 09/04/2014 10:10:06

                          Viewing 12 posts - 1 through 12 (of 12 total)
                          • Please log in to reply to this topic. Registering is free and easy using the links on the menu at the top of this page.

                          Advert

                          Latest Replies

                          Viewing 25 topics - 1 through 25 (of 25 total)
                          Viewing 25 topics - 1 through 25 (of 25 total)

                          View full reply list.

                          Advert

                          Newsletter Sign-up