Firstly I must say sorry to all those who eagarly clicked on the thread title that were looking forward to another off topic gardening thread
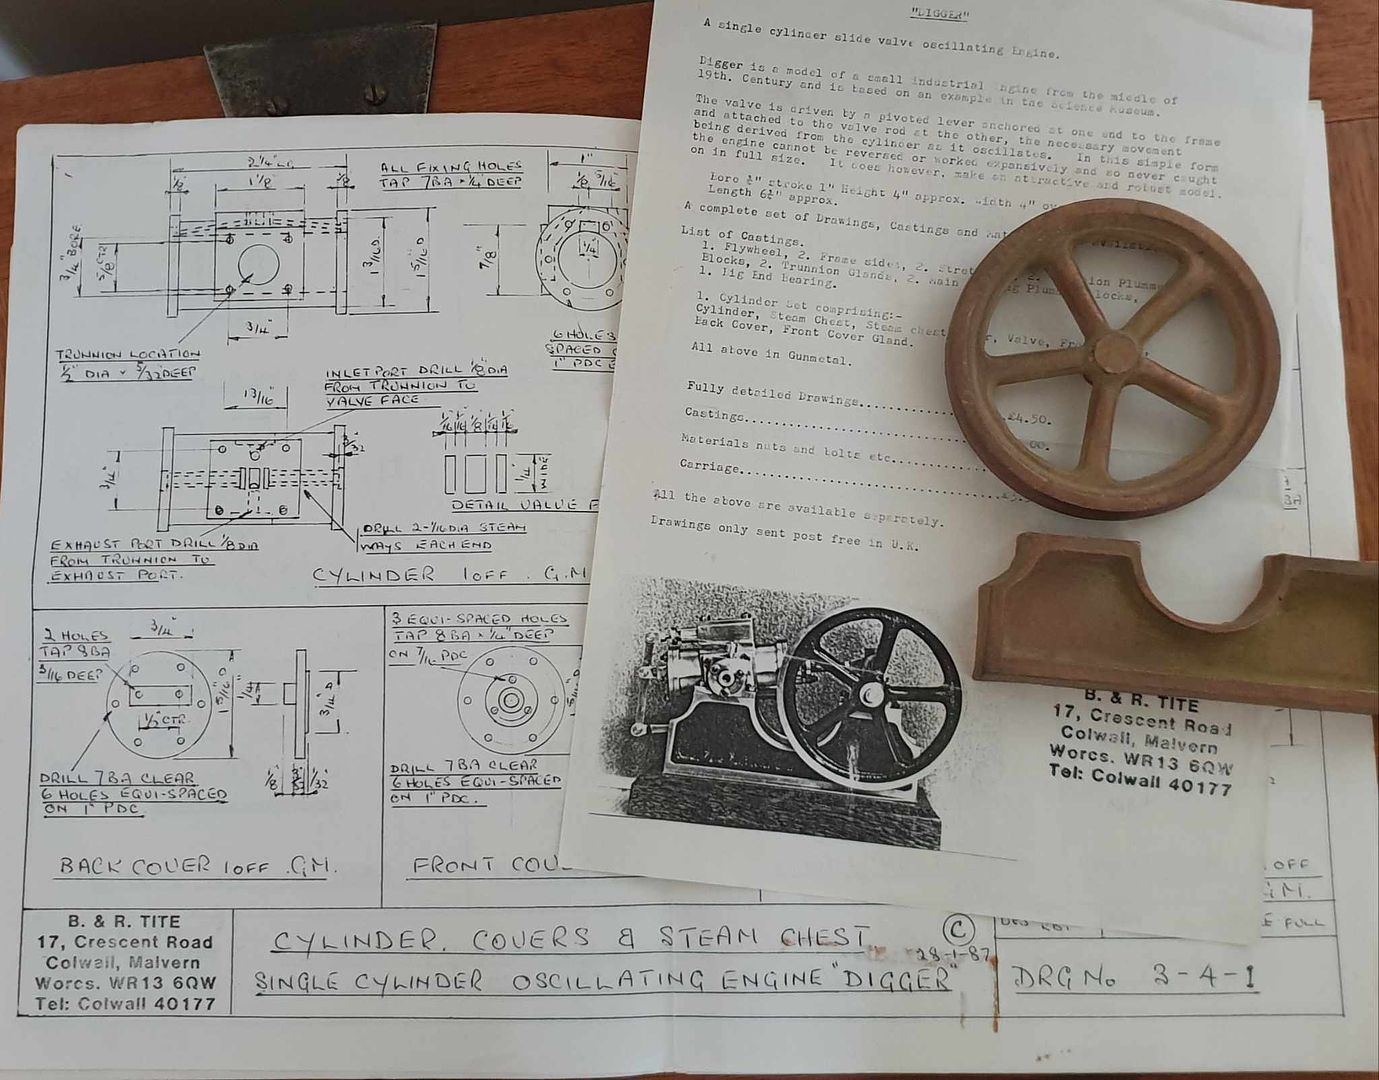
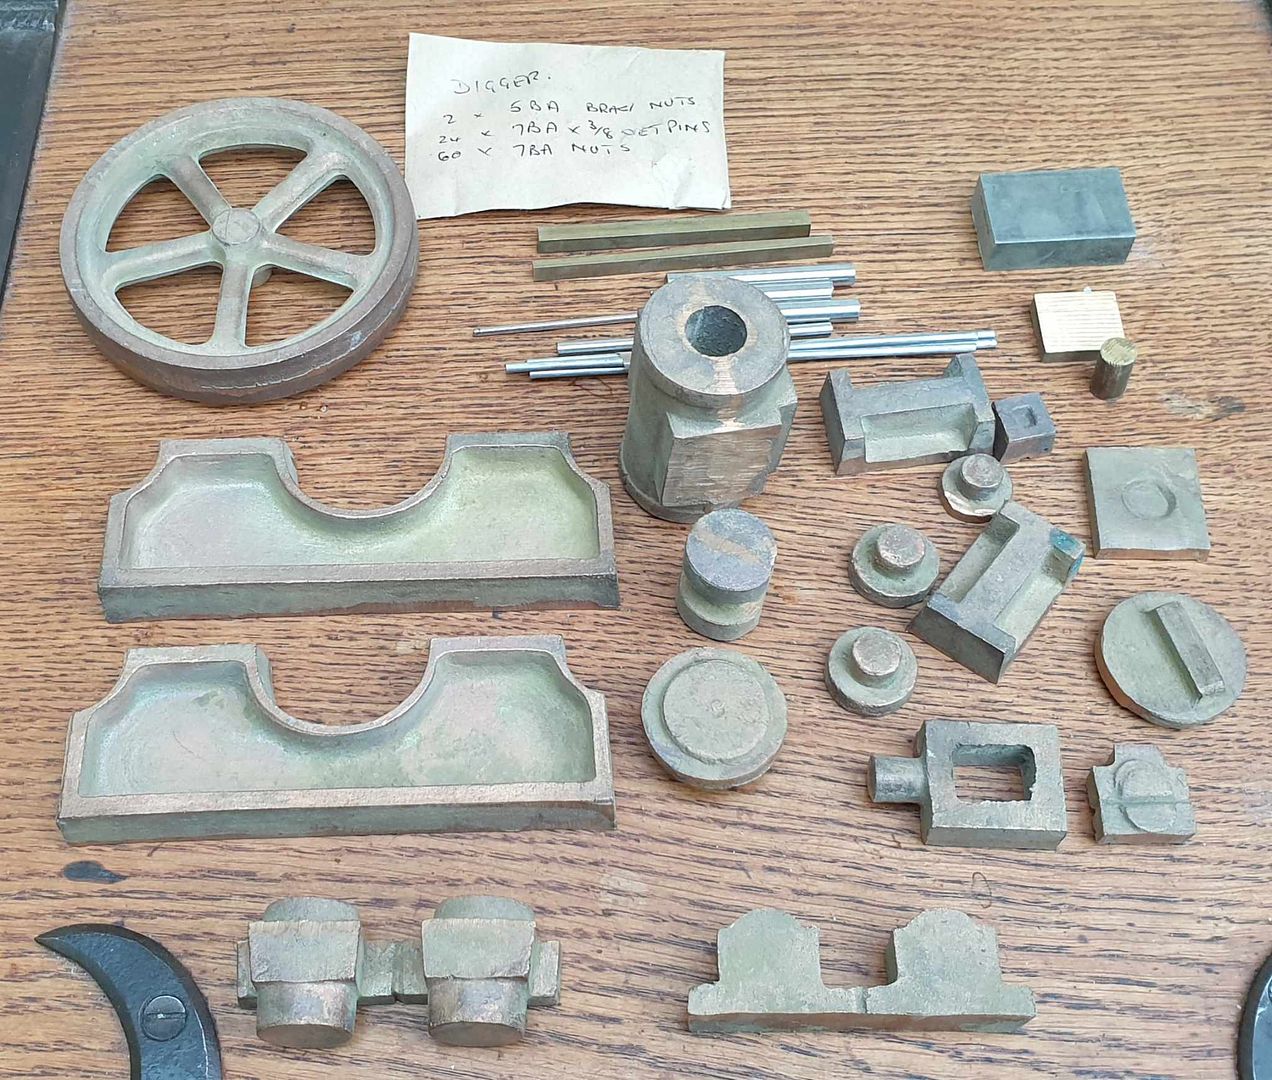
This one is actually about building "Digger" a slide valve oscillating steam engine from a set of castings that were at one time offered by B & R Tite. This seems to be a very rare engine the only previous mention of it on the net was buy the owner of these castings asking for information about it and a small entry in one of the "World of Model Enginnering" mags. I was contacted by said owner recently asking if I would consider building it for him as he felt it was beyond his ability and being so rare a mucked up casting would not be replacable particularly as he only wanted a limited amount of paint so any substitute materials would also have stood out out and he even hoped I'd be able to make an engine that ran well
The only image of a completed model was on the rather poor photocopied detail sheet and I was unable to track down the example in the Science Museum that it is said to be based on. If anyone has an image of the full size engine I'd love to see it.
I asked the owner for some images of the drawings and picture sof the castings and after looking through them and seeing that the castings looked to be of good quality I decided to take on the challenge. They are all Gun Metal which is not my favorite visually and it can also be a bit soft depending on what was boiled up in the pot. The one proviso for taking it on was that I could substitute metric fasteners in place of the BA ones shown as I prefer my spiral flute taps, stub length tapping size drills and it's easy to use cap head screws to hold it together during construction.
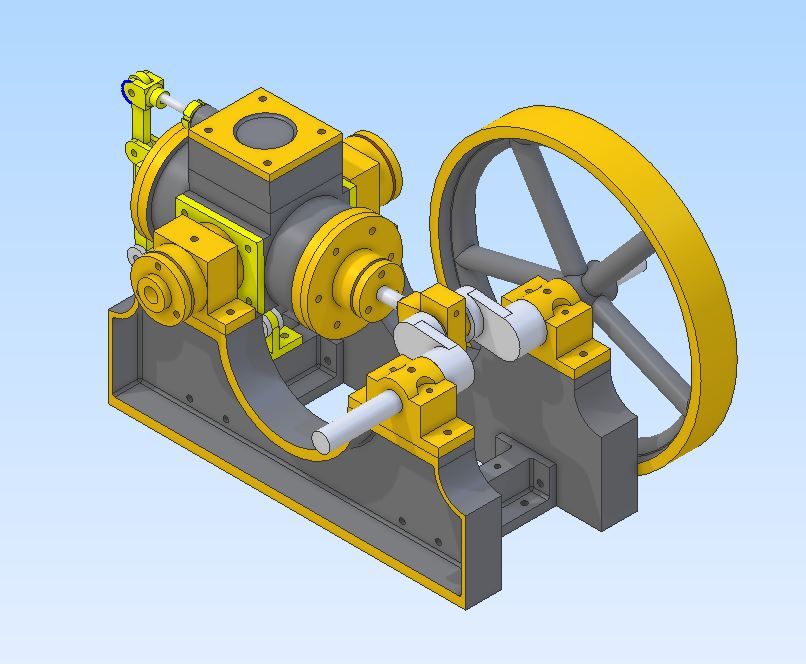
While waiting for the castings to arrive I quickly drew up the engine in Alibre to my often used 24mm bore which was an easy conversion from the models 3/4" bore using the ratio of 1/32" = 1mm and was able to determine a couple of missing dimensions and check that it all went round and round as it should. I may make one of my own at some time but will probably go for 18 or 20mm bore as the 24mm is a bit big unless I want to start adding more detail.
I'm not sure it is any better than an eccentric driven slide valve, if anything it is a bit more restricting as you can't alter the timing by moving the eccentric on the crankshaft. There are quite a few different arrangements for operating the slide valve with the links in various places relative to the cylinder's point of rotation but I've not seen many with this particular one.
I would think it is better than an oscillating engine where the valve arrangement is done by positioning holes in the two faces where cylinder meets trunions as it is easier to seal the shaft of the trunion and not have to worry about the flat faces.
As oscillator is also generally a shorter engine than one with trunk or bar guides for the cross head and a separate conrod but a bit harder to construct as the trunions need to be perfectly square to the cylinder/piston rod.
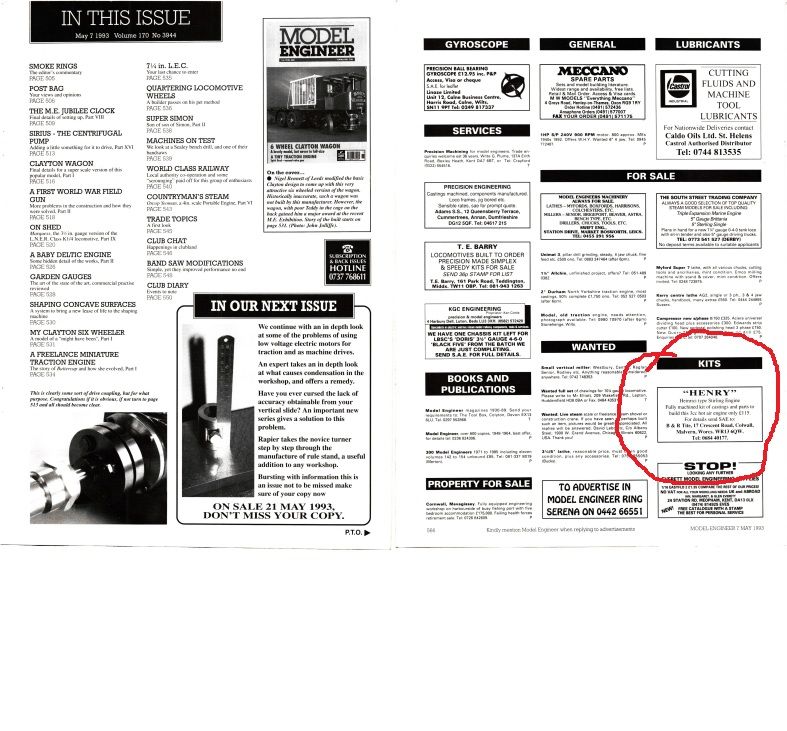
Thanks ADY1 so thats a third engine as I had seen mention of "Hoppy" a hit and miss engine kit they dis that sounds like it may have needed some crankshaft balancing. Though Henry would be the only ready machined of the three.
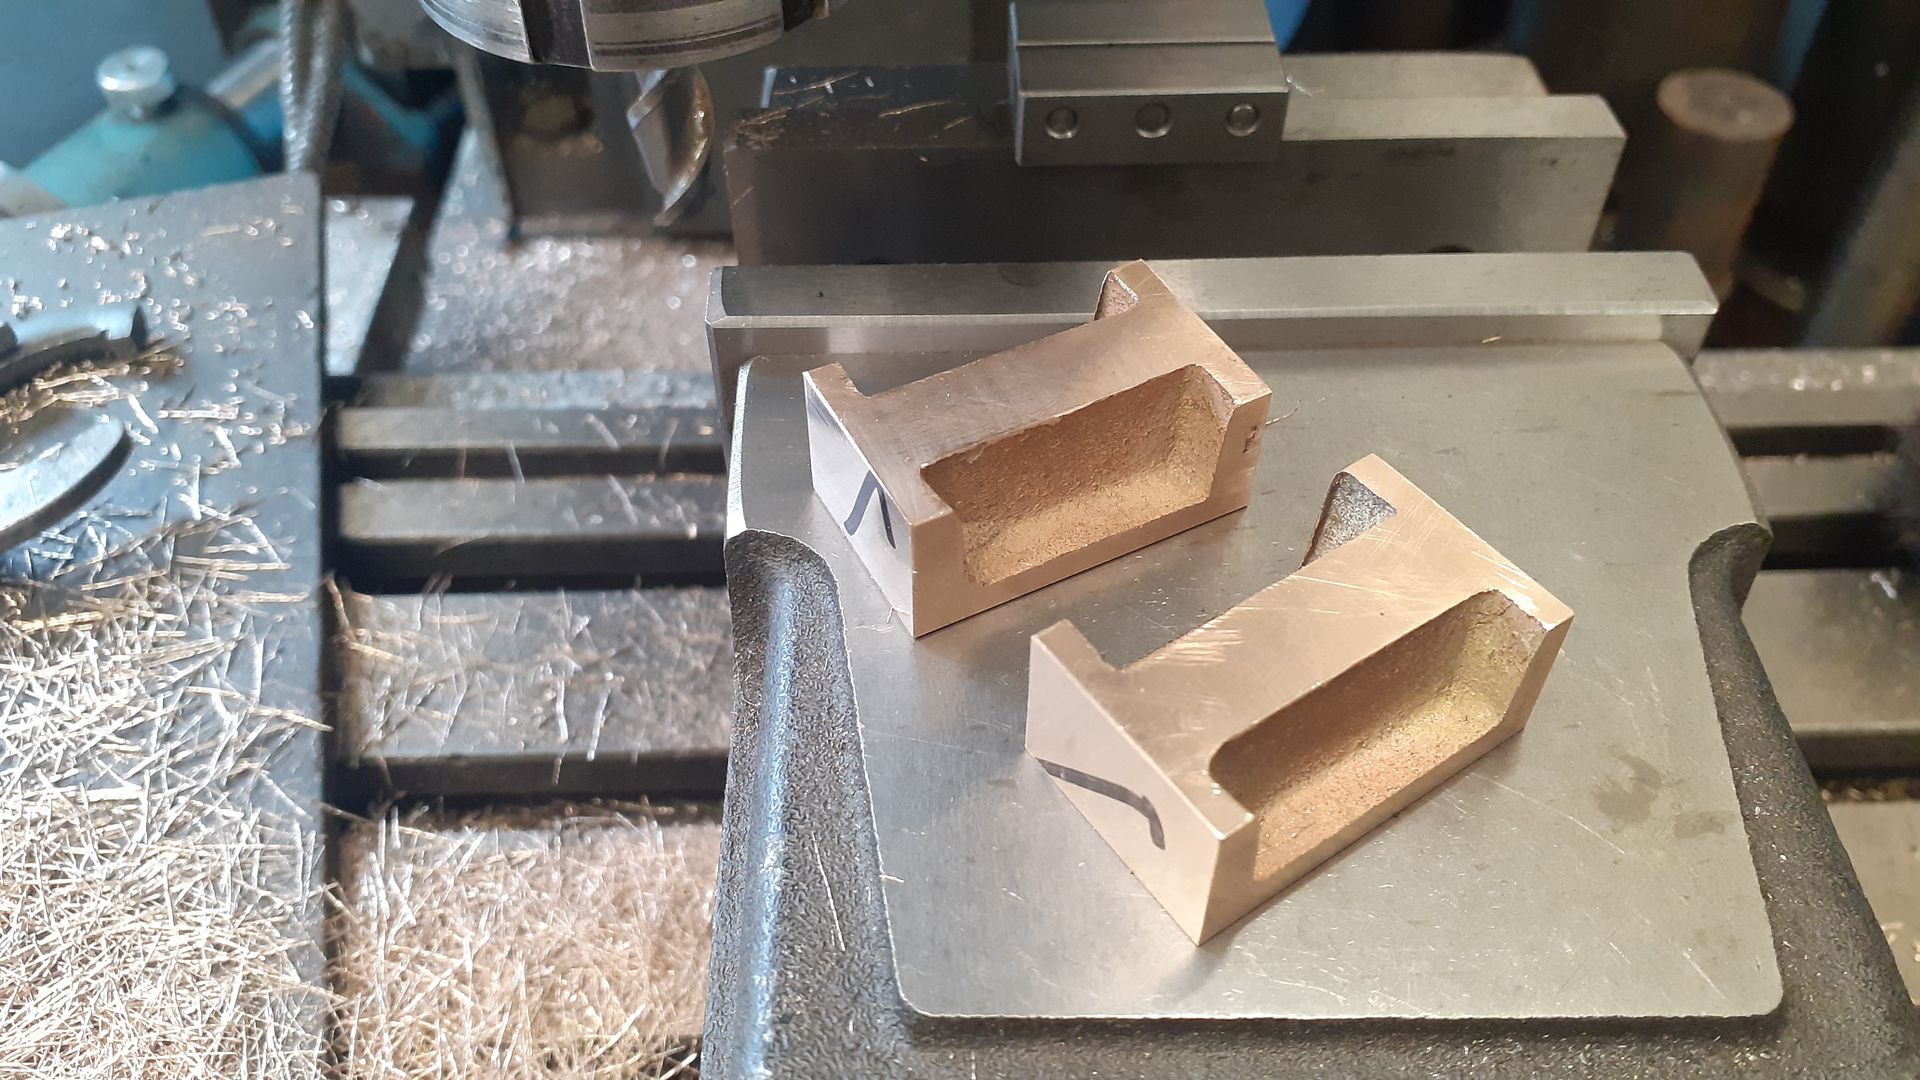
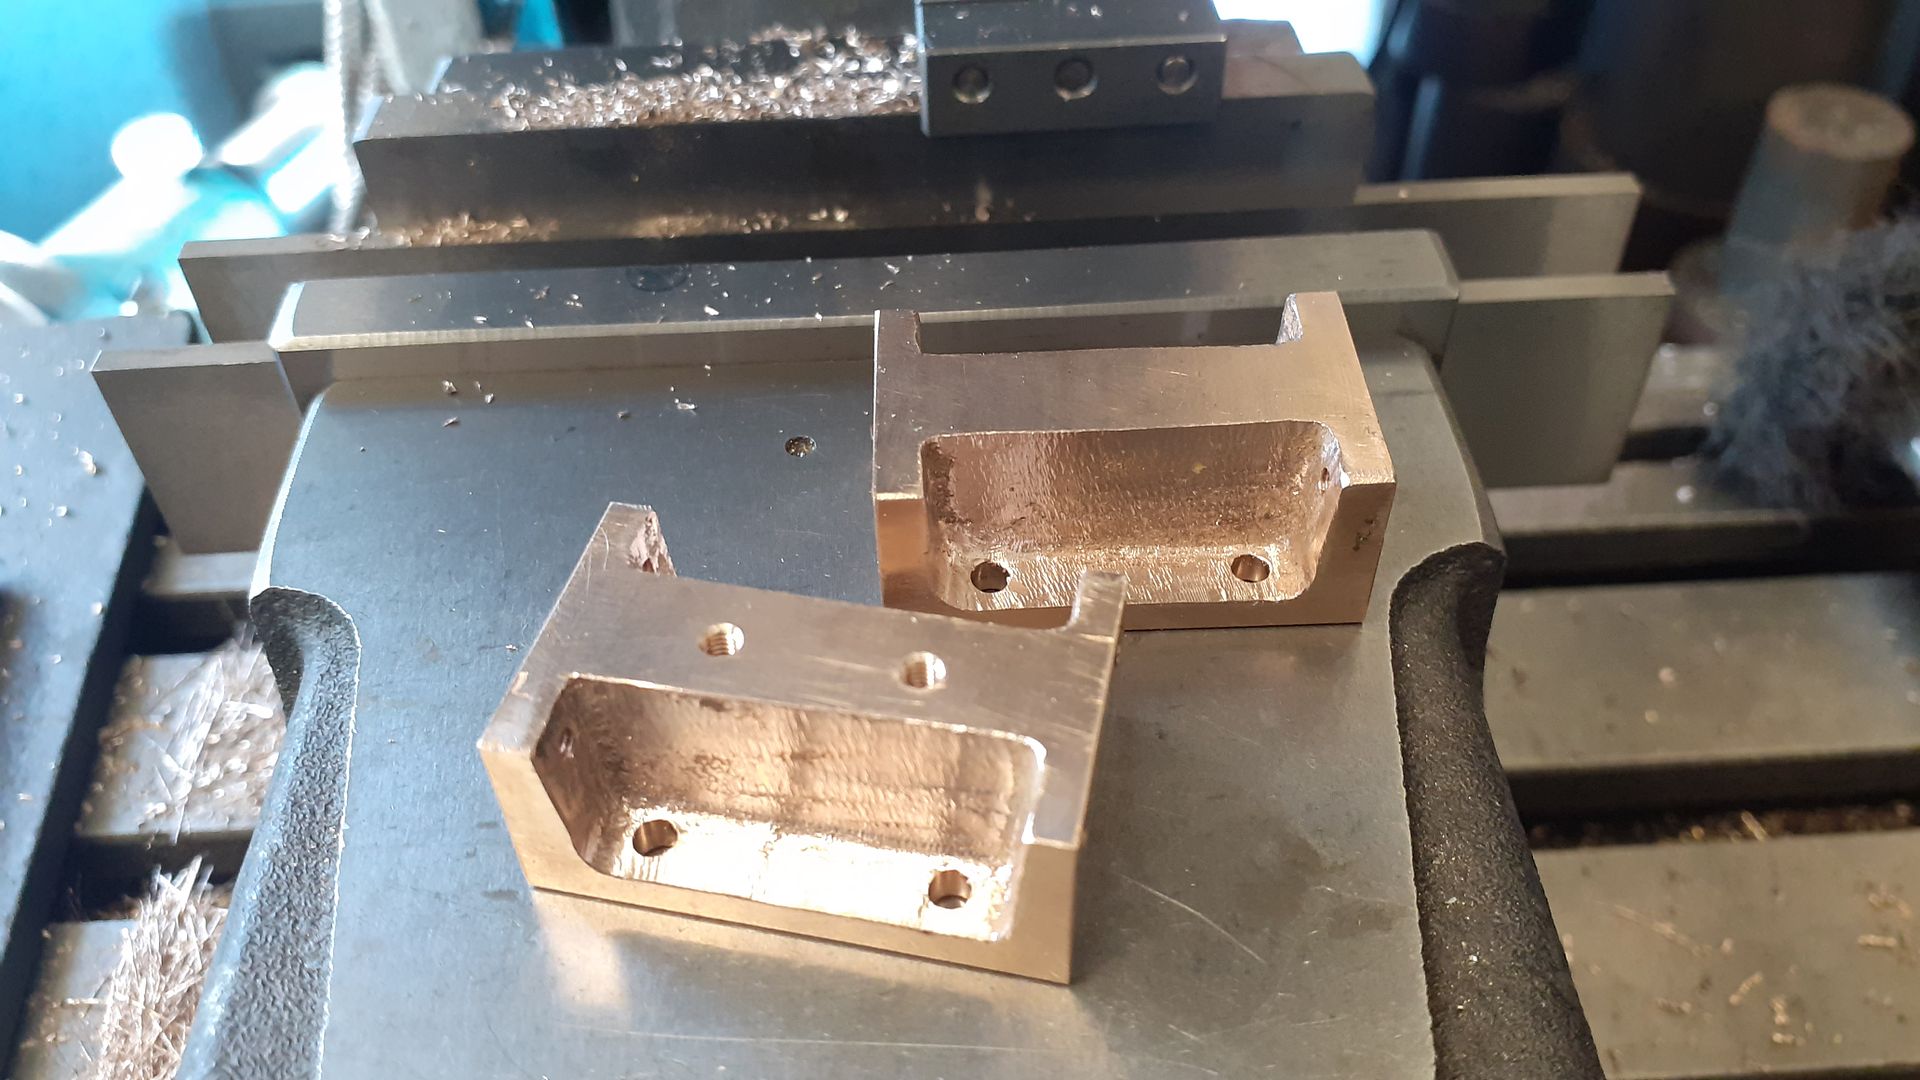
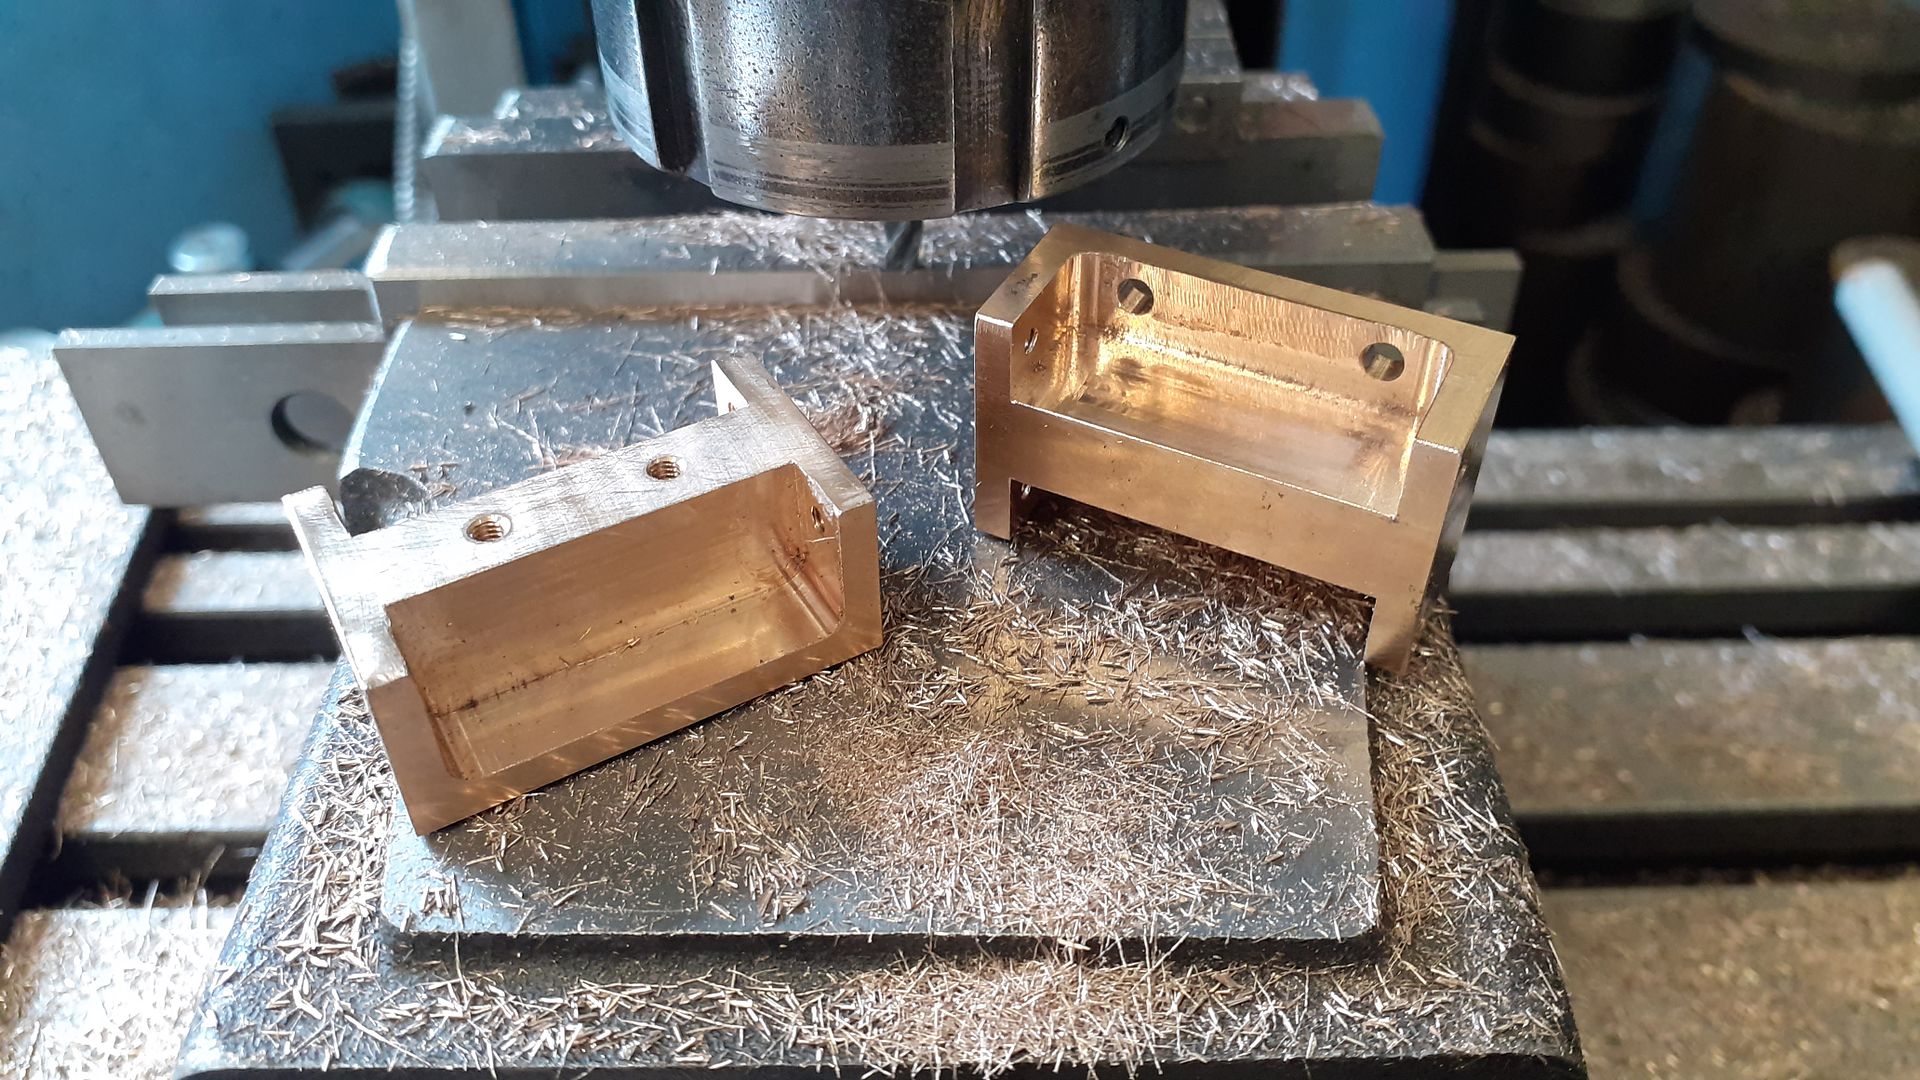
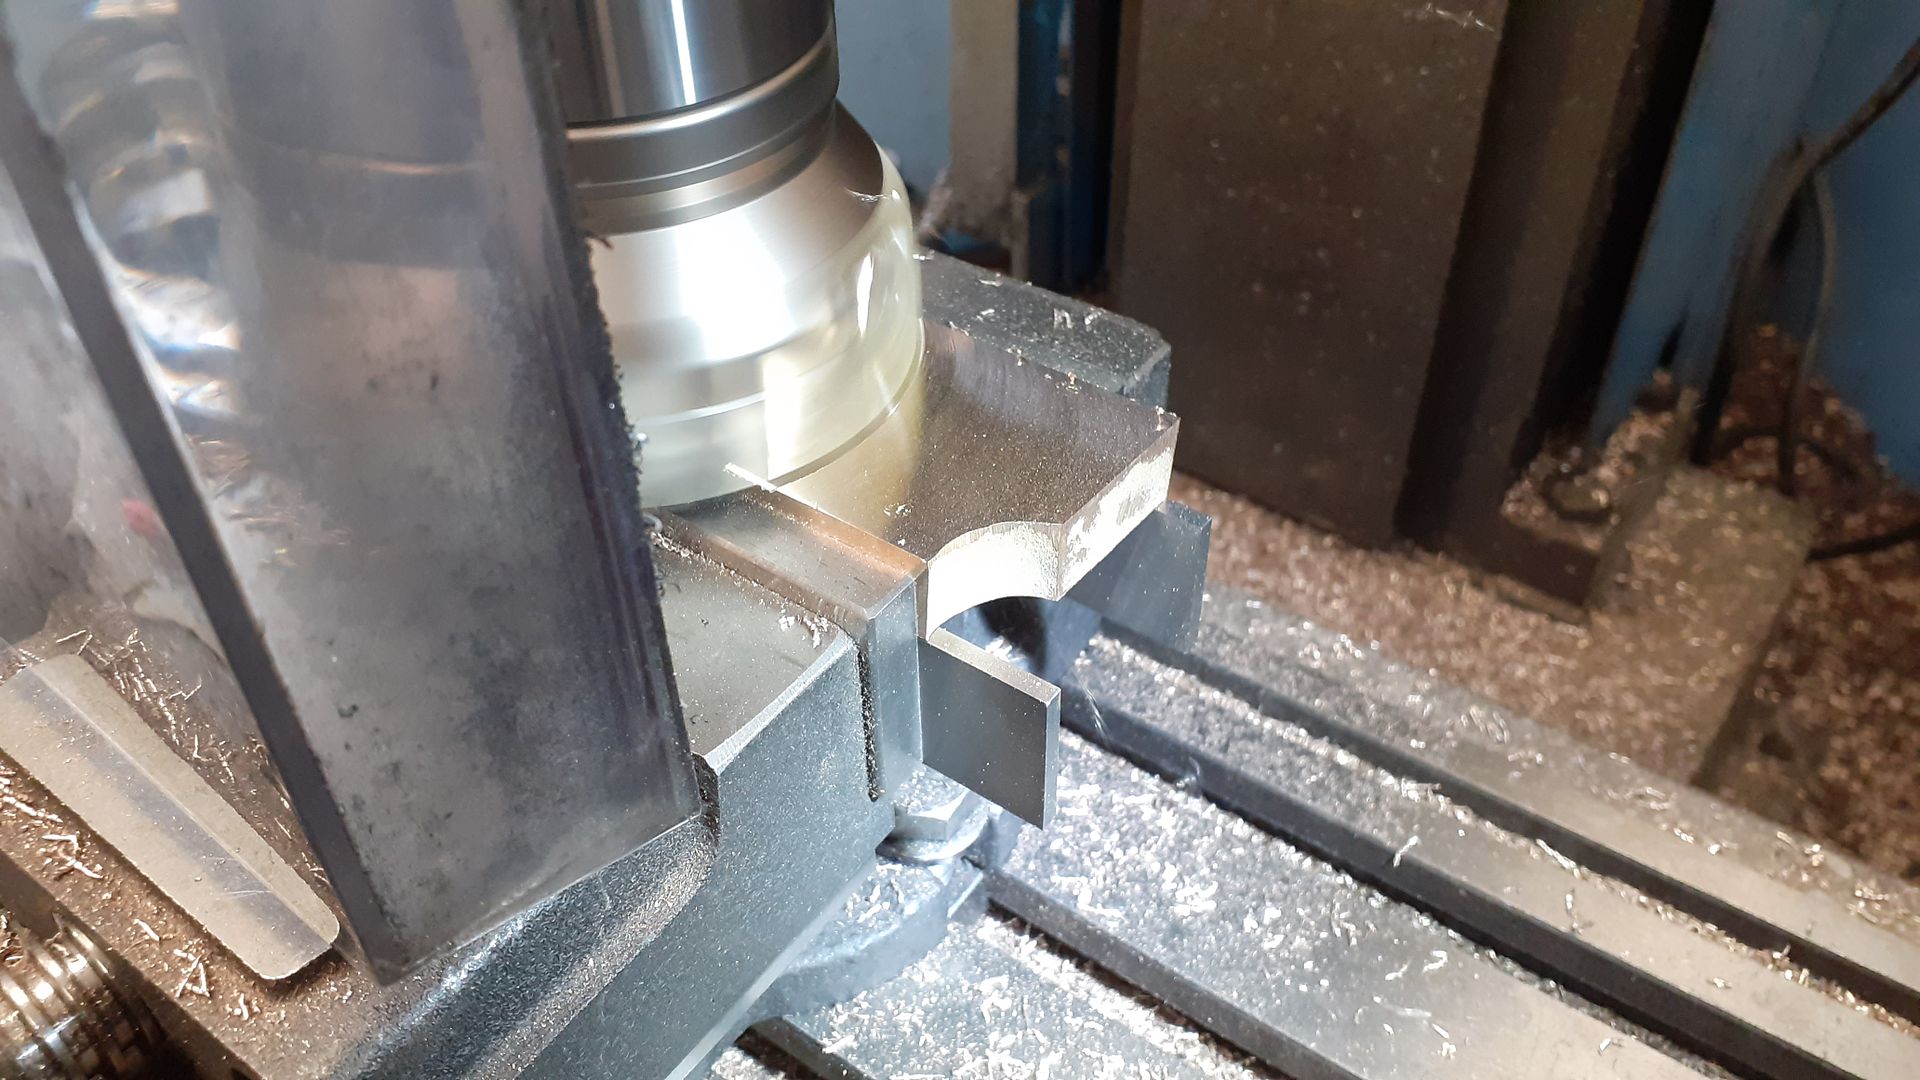
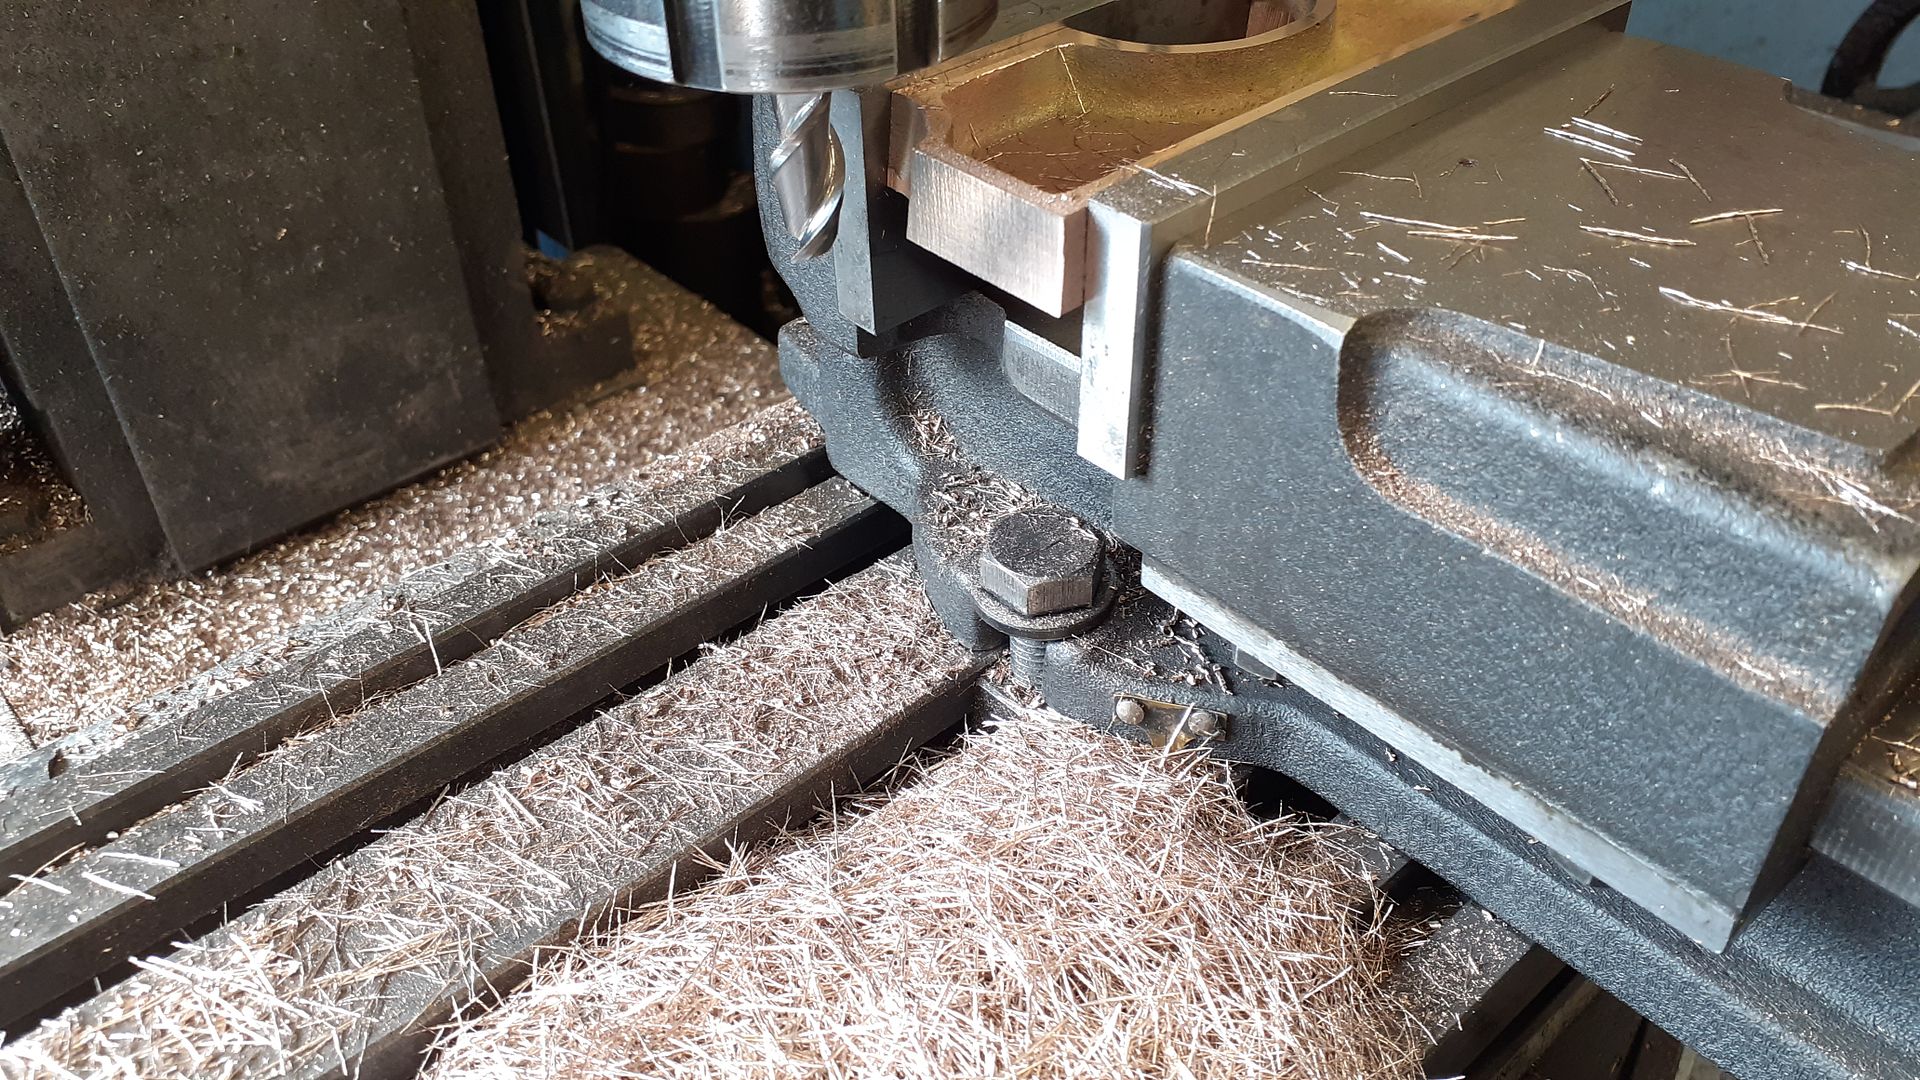
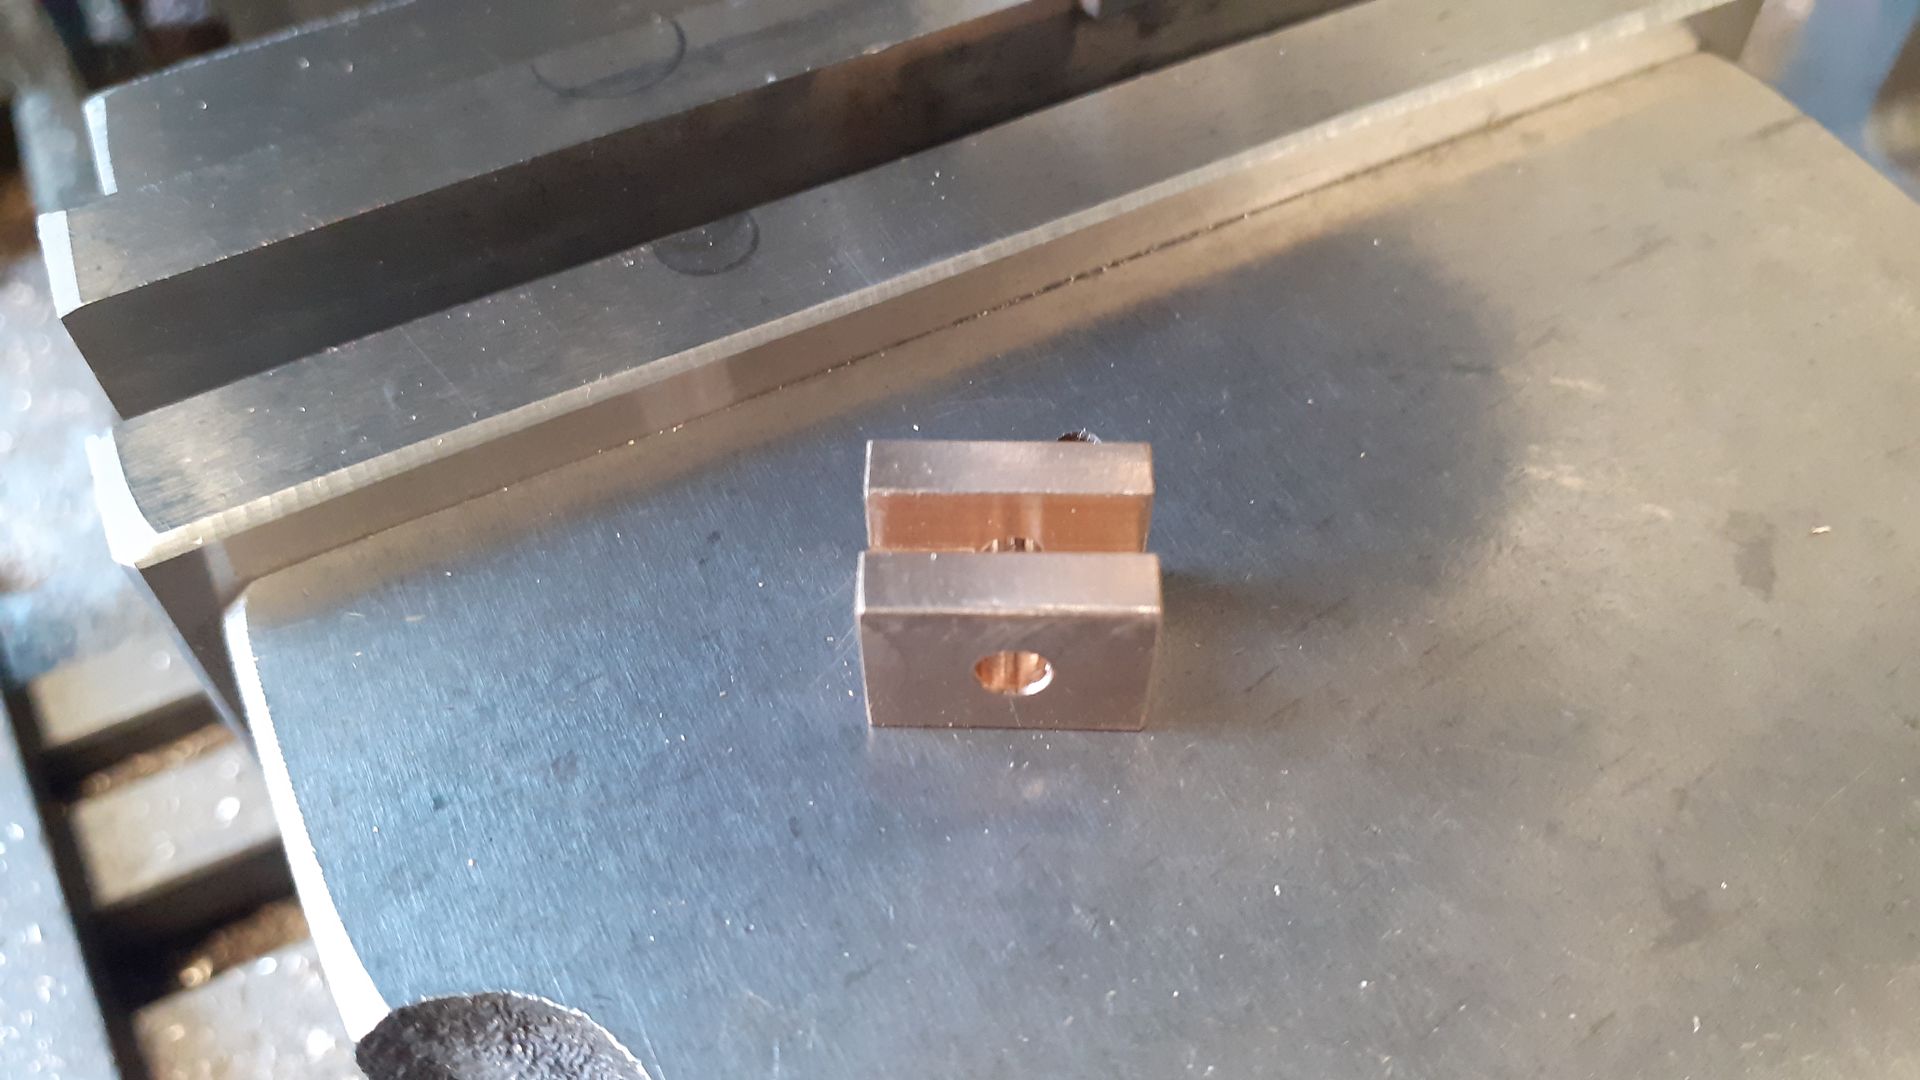
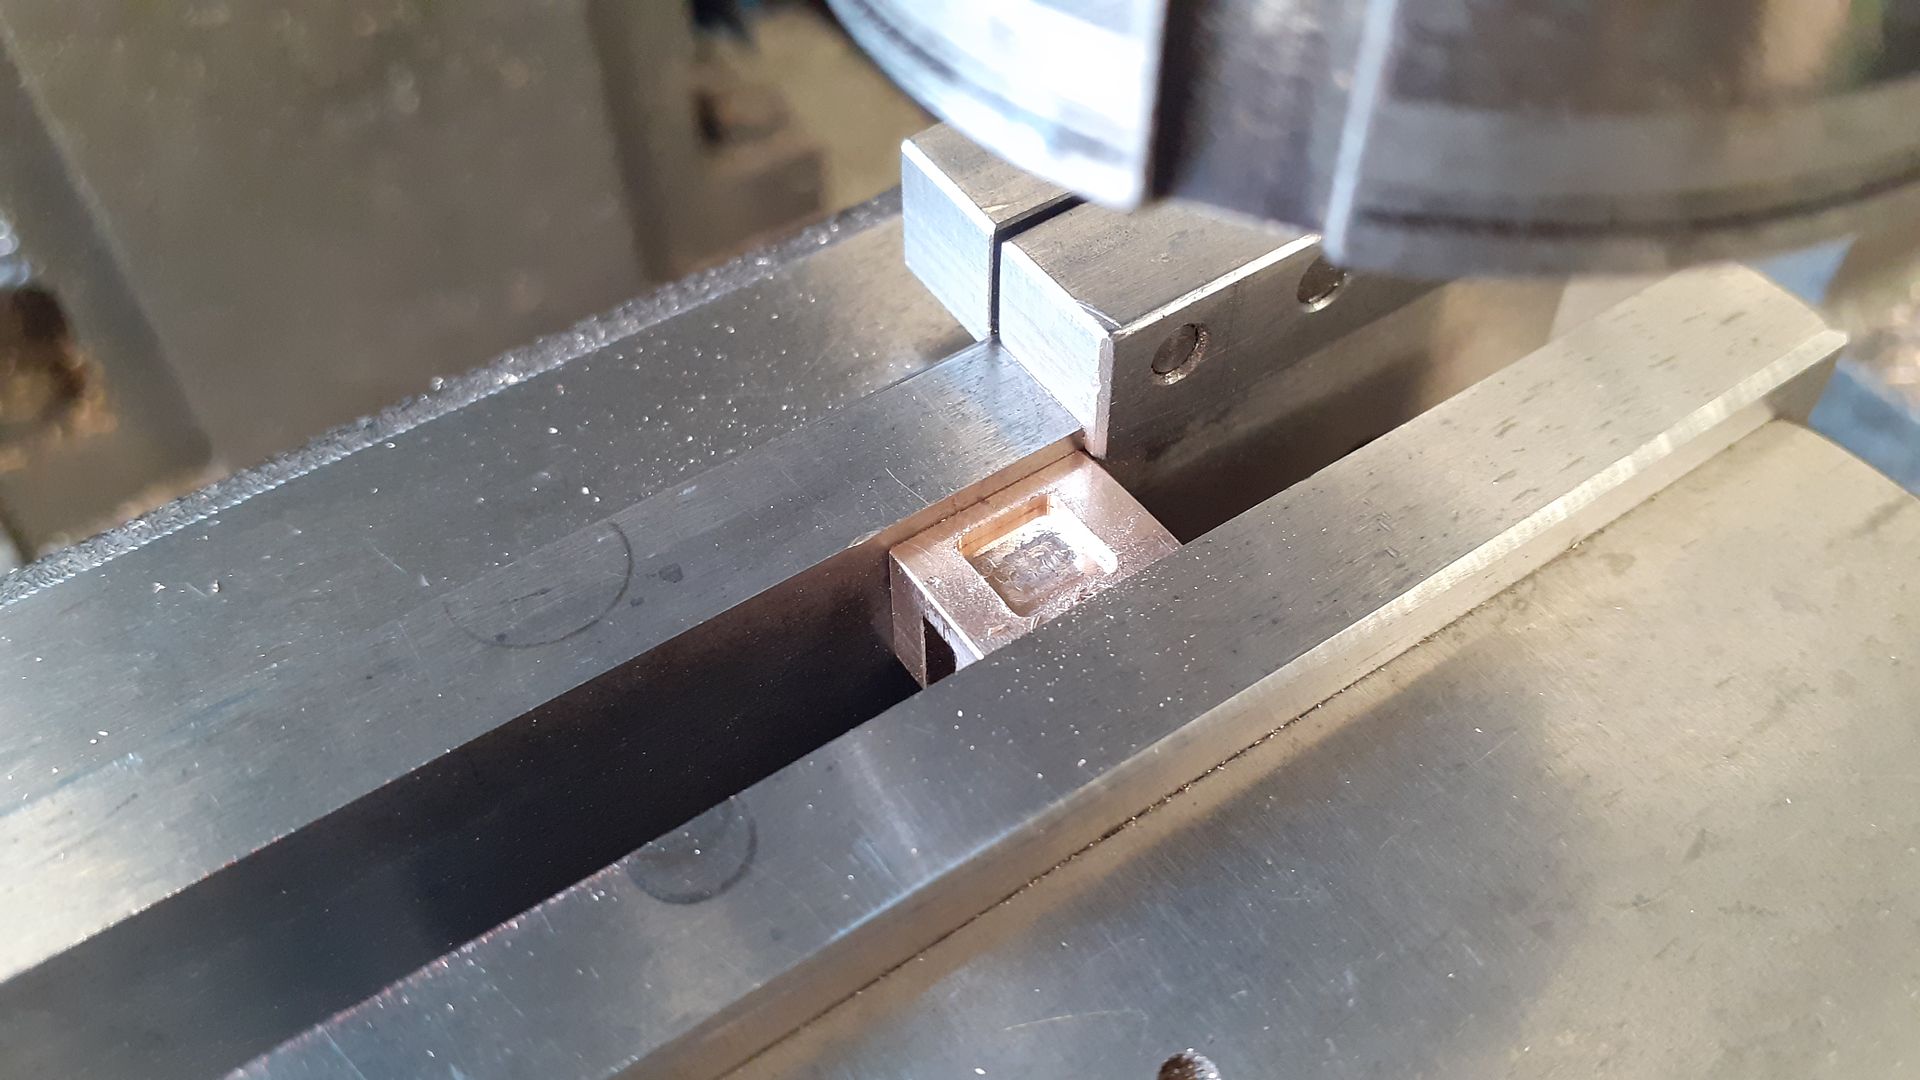
I decided to start with the two spacers that go between the side plates to get a feel for what the grade of Gunmetal was on some parts that were going to mostly be out of sight. I started by just taking skim cuts off to remove the quite steep draft angles thus giving me some flat surfaces to hold while the 4 long edges were brought down to final size taking similar amounts off opposite faces so that the inverted "T" section stayed central. For almost all the "flat" milling on this engine even the quite small parts I used a 6 insert facemill with APKT inserts which are made for use on non ferrious metals. Most other milling was done with cutters intended for use on Aluminium but they also work well on other non ferrious metal, here you can see a two flute cutter has been used to square up the ends.
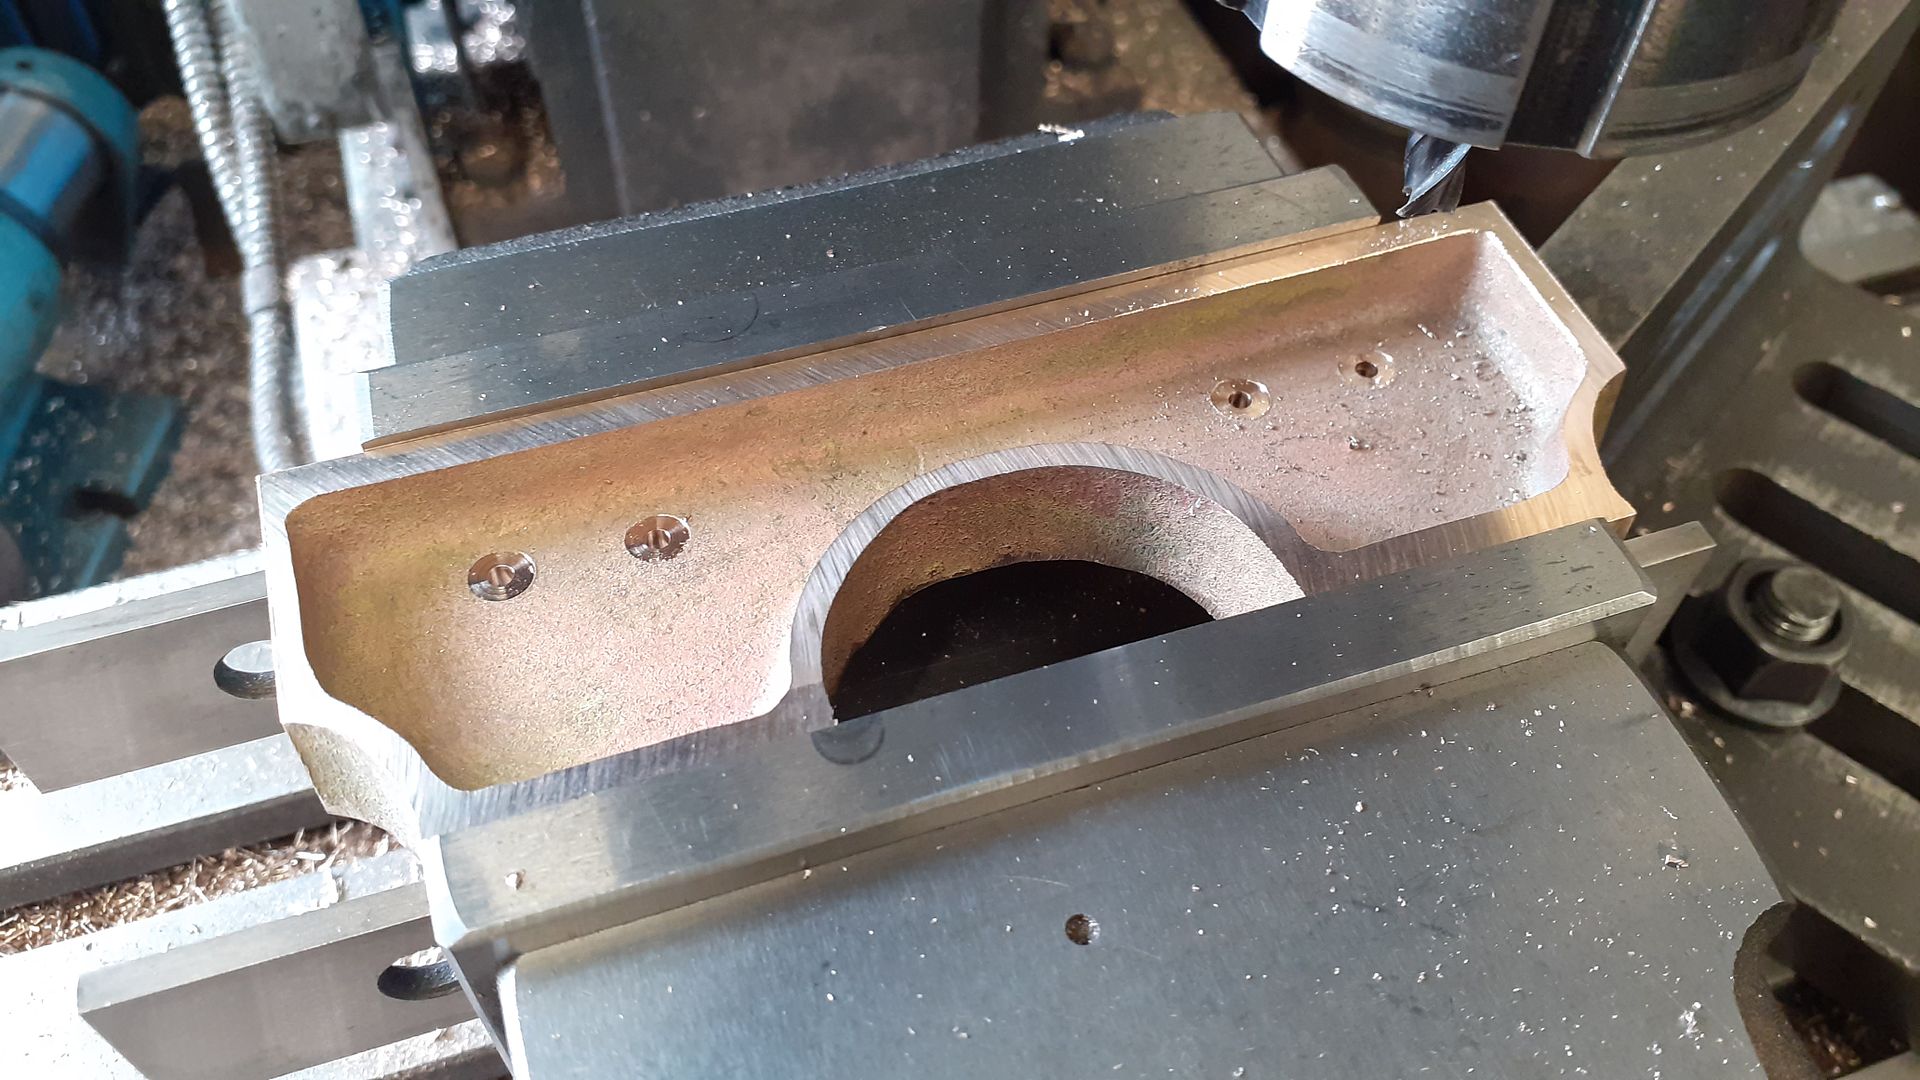
After a quick tickle of the remaining cast surfaces with a carbide burr in the Dremel the various holes were drilled and tapped M2.5 with a spiral flute tap
I was not that happy with the varying thicknesses of the end plated even after averaging out their thicknesses so decided to clean things up a bit more with a 4mm milling cutter which evened things up.
Using the face mill again I skimmed the top and bottom flanges of the side plates so that they could better be held in the mill vice to take off just enough material to clean up the flange edge. In most cases the castings were quite generous with machining allowances with the average being around 2.5mm (3/32" )
The casting was then flipped over to do the flat inner face and then a bit more off the top and bottom edges to bring the castings to the final height
The 2 flute 10mm cutter was put into use again to finish the ends with full depth passes of the 1/2" thickness, again taking a bit off each to leave as similar a flange thickness as possible each end.
Clearance holes were drilled and then spotfaced for the fixings into the spacers
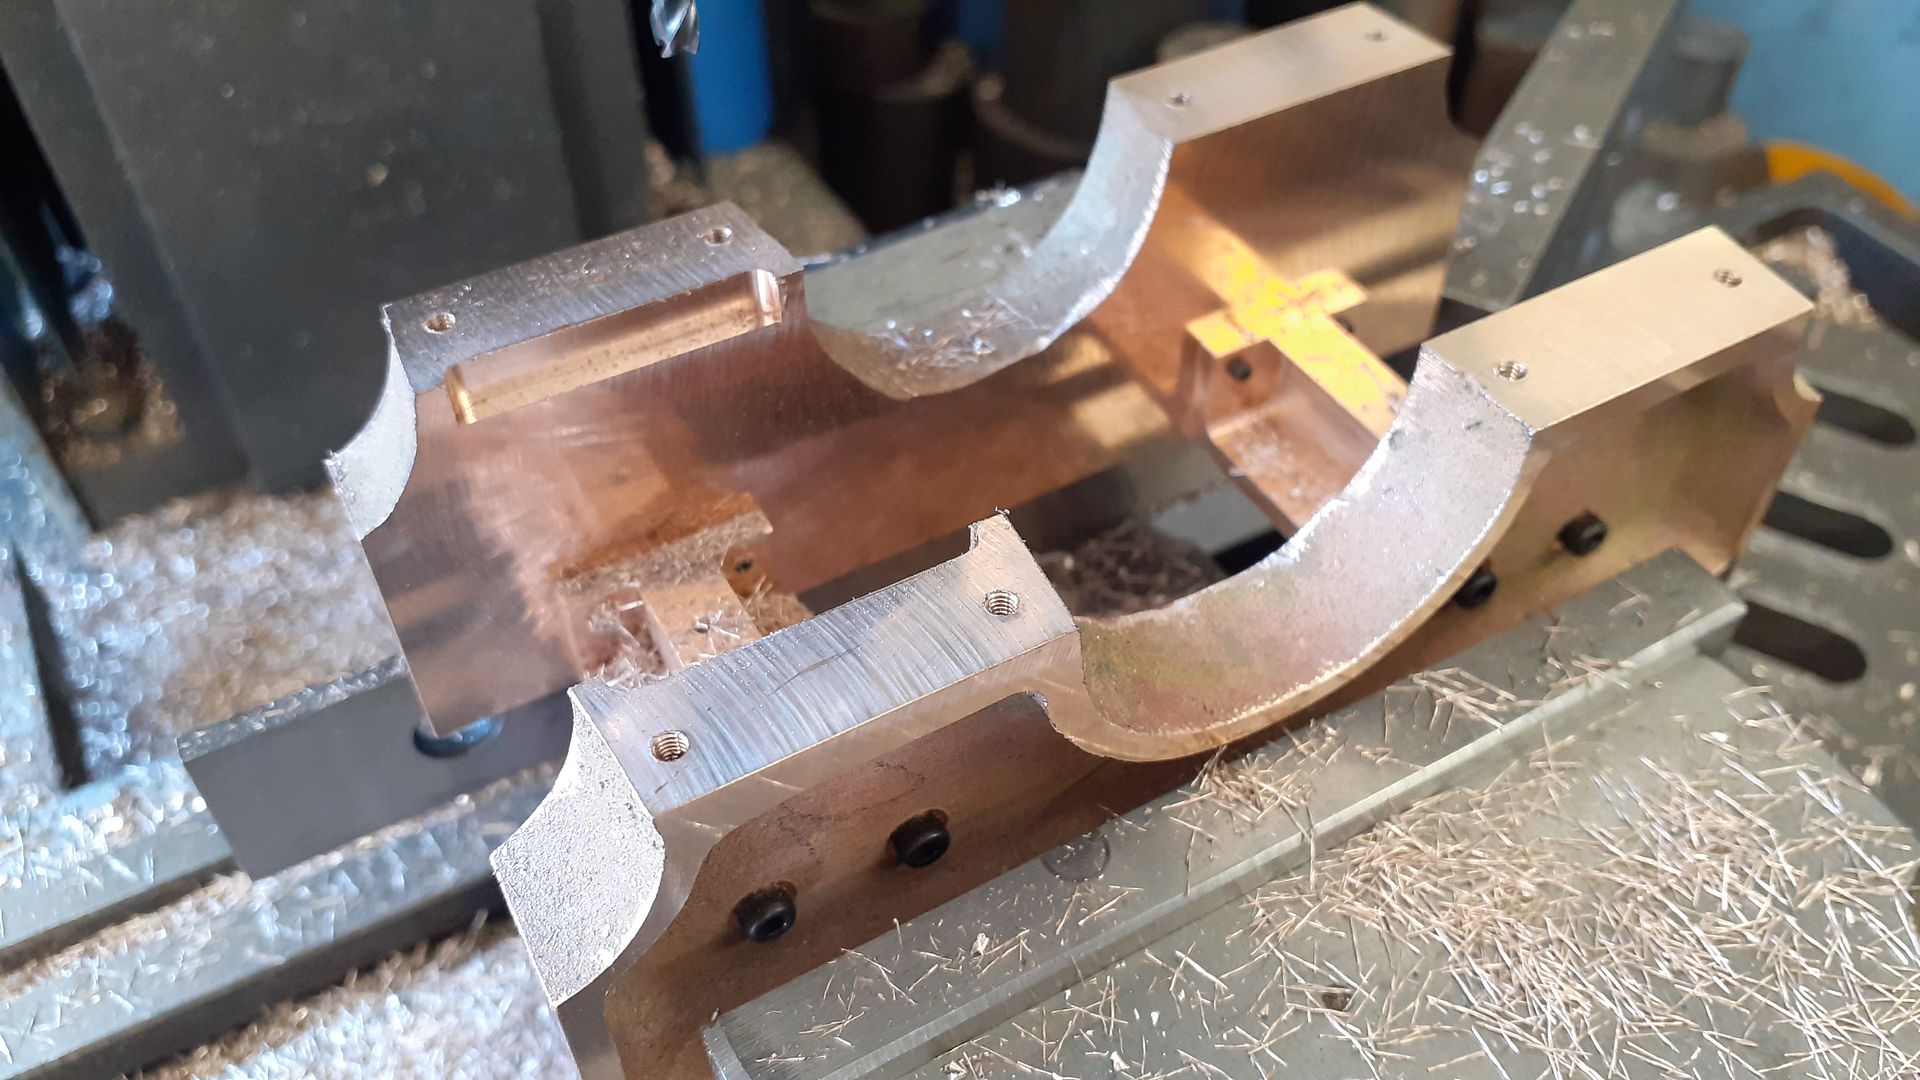
The parts where then screwed together with temporary cap head screws, the assembly centred up in the mill vice and the holes for the trunion and crankshaft bearing blocks drilled and taped. The drawings also call for a couple of notches to be milled out to give clearance for the plates where the trunions bolt to the cylinder otherwise they would collide as the cylinder oscillates.
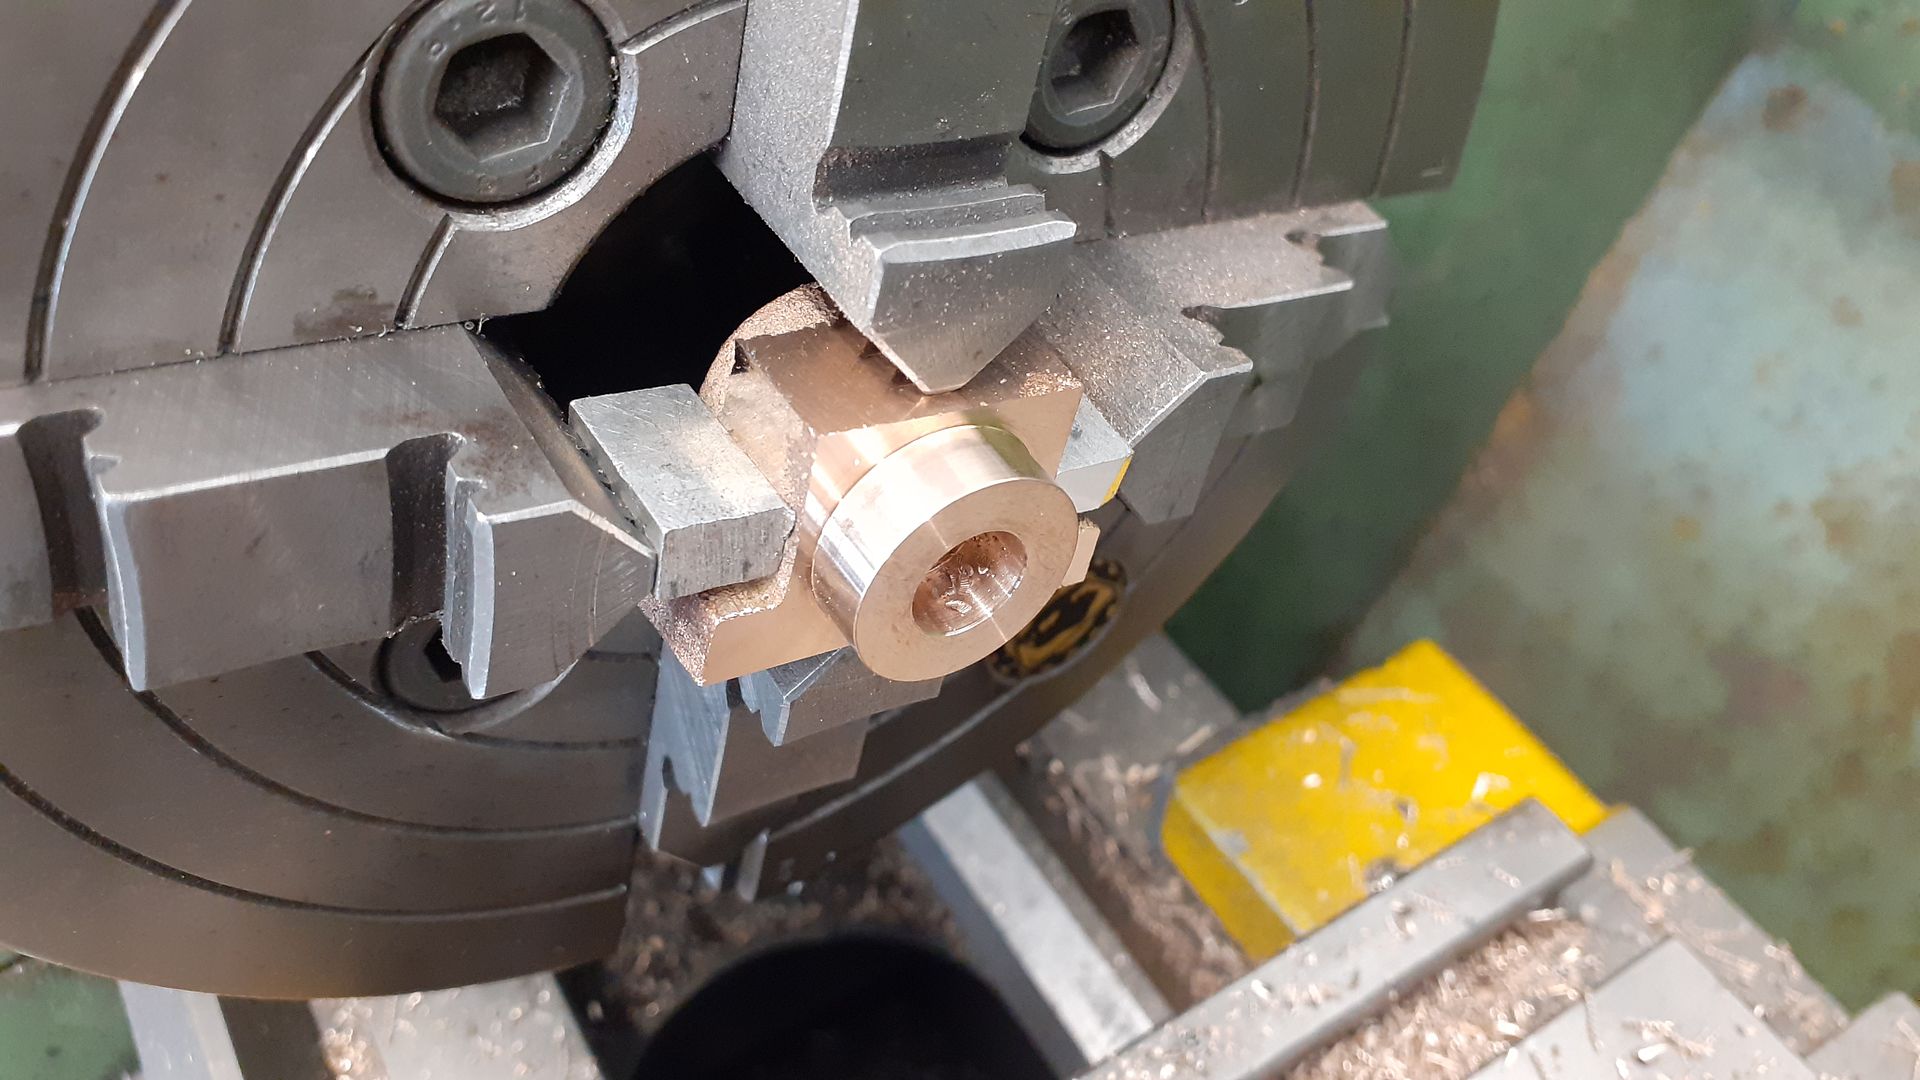
The cylinder pivots in two trunion bearings, I made a start by skimming the top, bottom and two side to get rid of the draft angle and was then able to close up the chuck jaws on these now flat faces, the sides needed a packer as the foot would have got in the way of the jaws otherwise. The 3/4" dia x 1/4" long outer spigot was turned, a 1/4" hole reamed right through and then counterbored 3/8" for the packing gland. Just like the milling I'm using CCGT polished and ground inserts for non ferrous metal here and did for just about everything lathe operation on this engine.
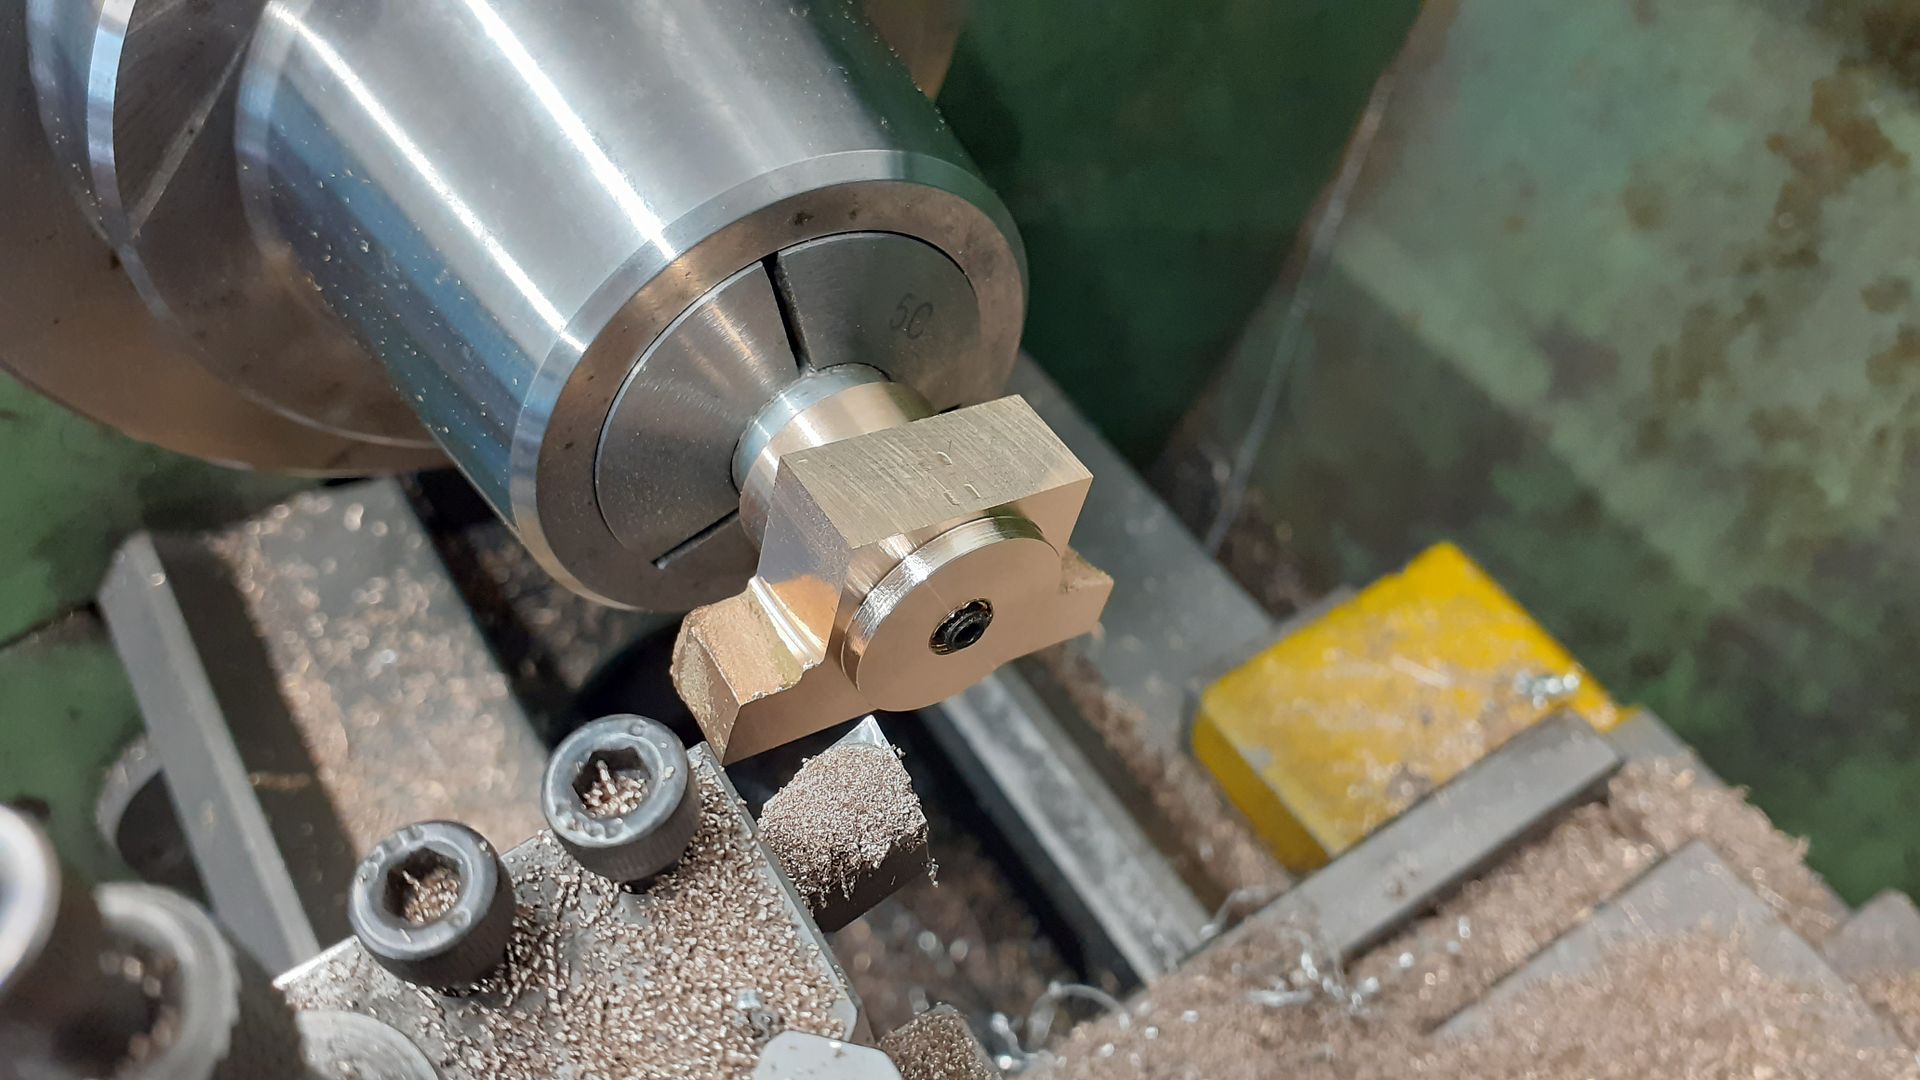
I made up an expanding mandrel so that the casting could be held the other way around, brought to width and a shorter 3/4" dia spigot formed and faced on the inner side.
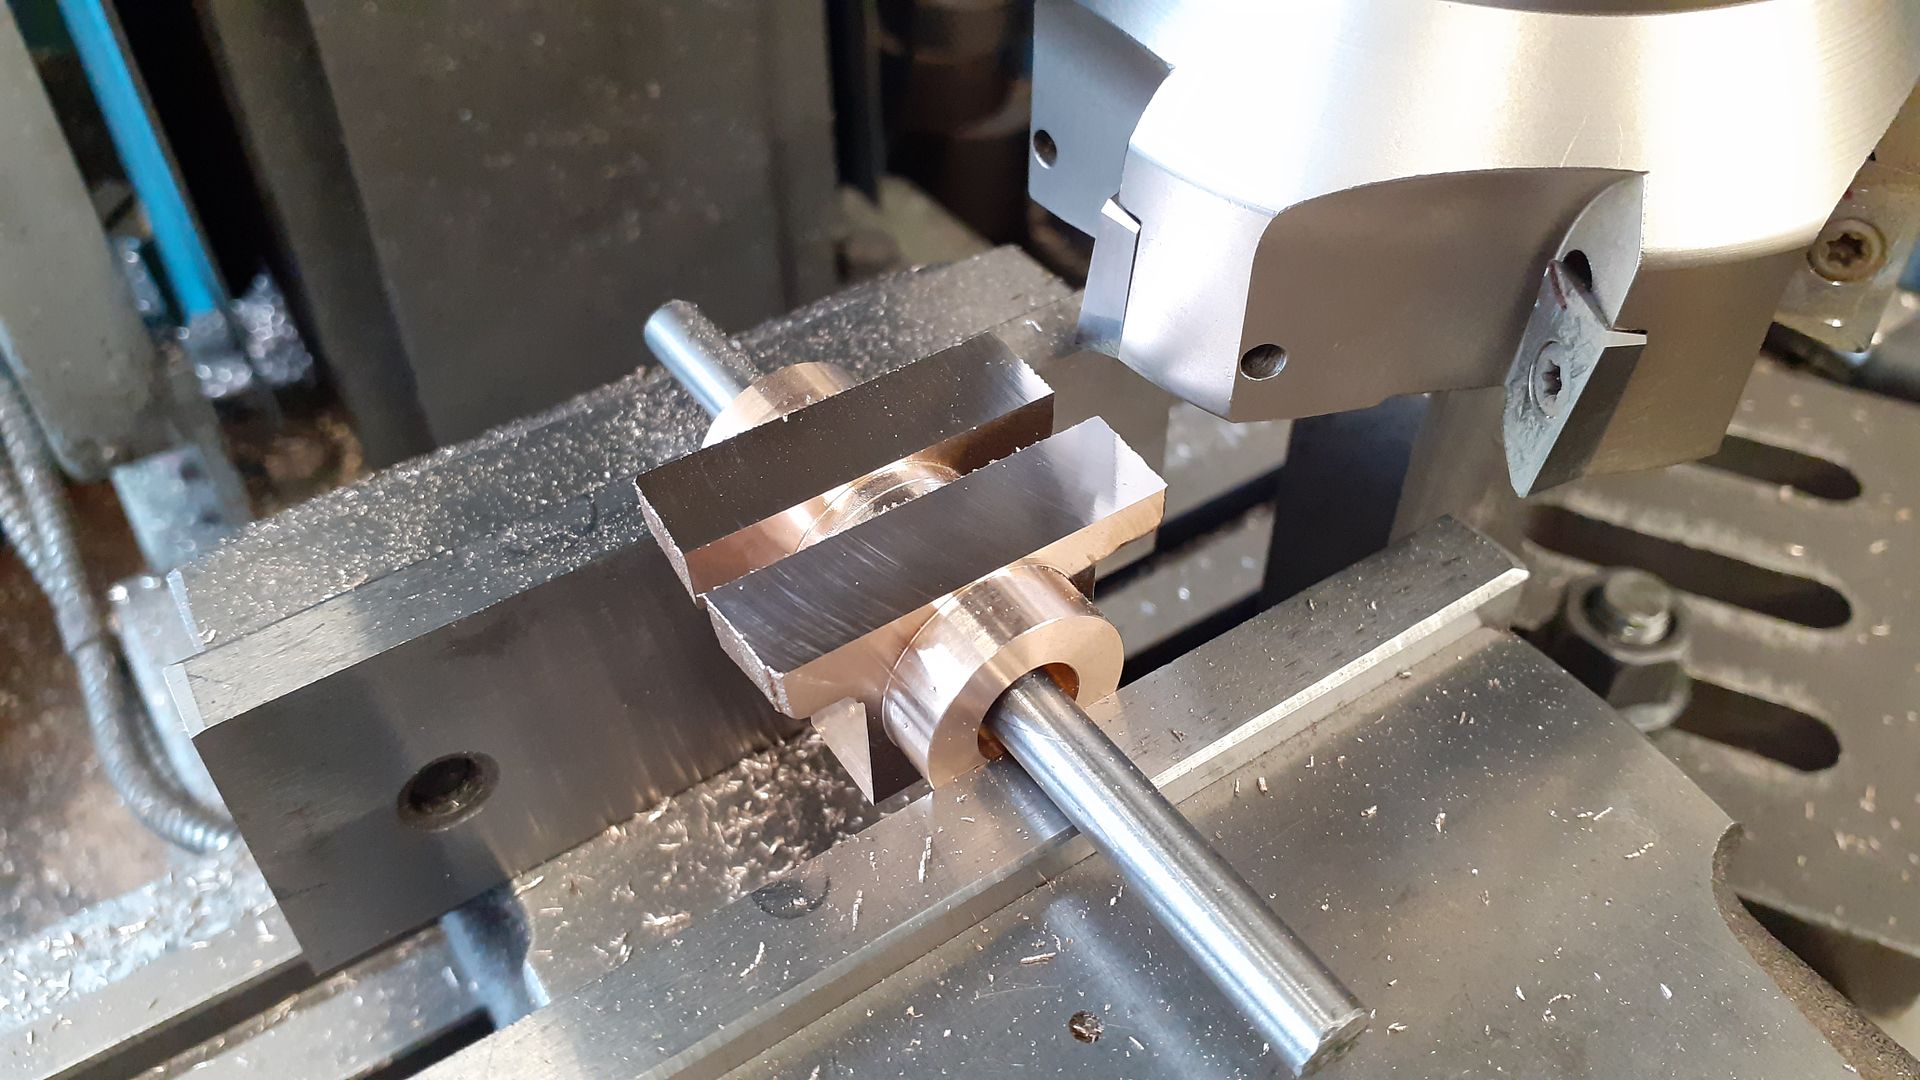
Over to the mill a piece of 1/4" Silver steel (drill rod) was used to support the work so the bottom could be milled to the correct distance relative to the bore. Face mill gives a good finish and minimal burrs which can be an ussue with gun metal unless the tools are good and sharp.
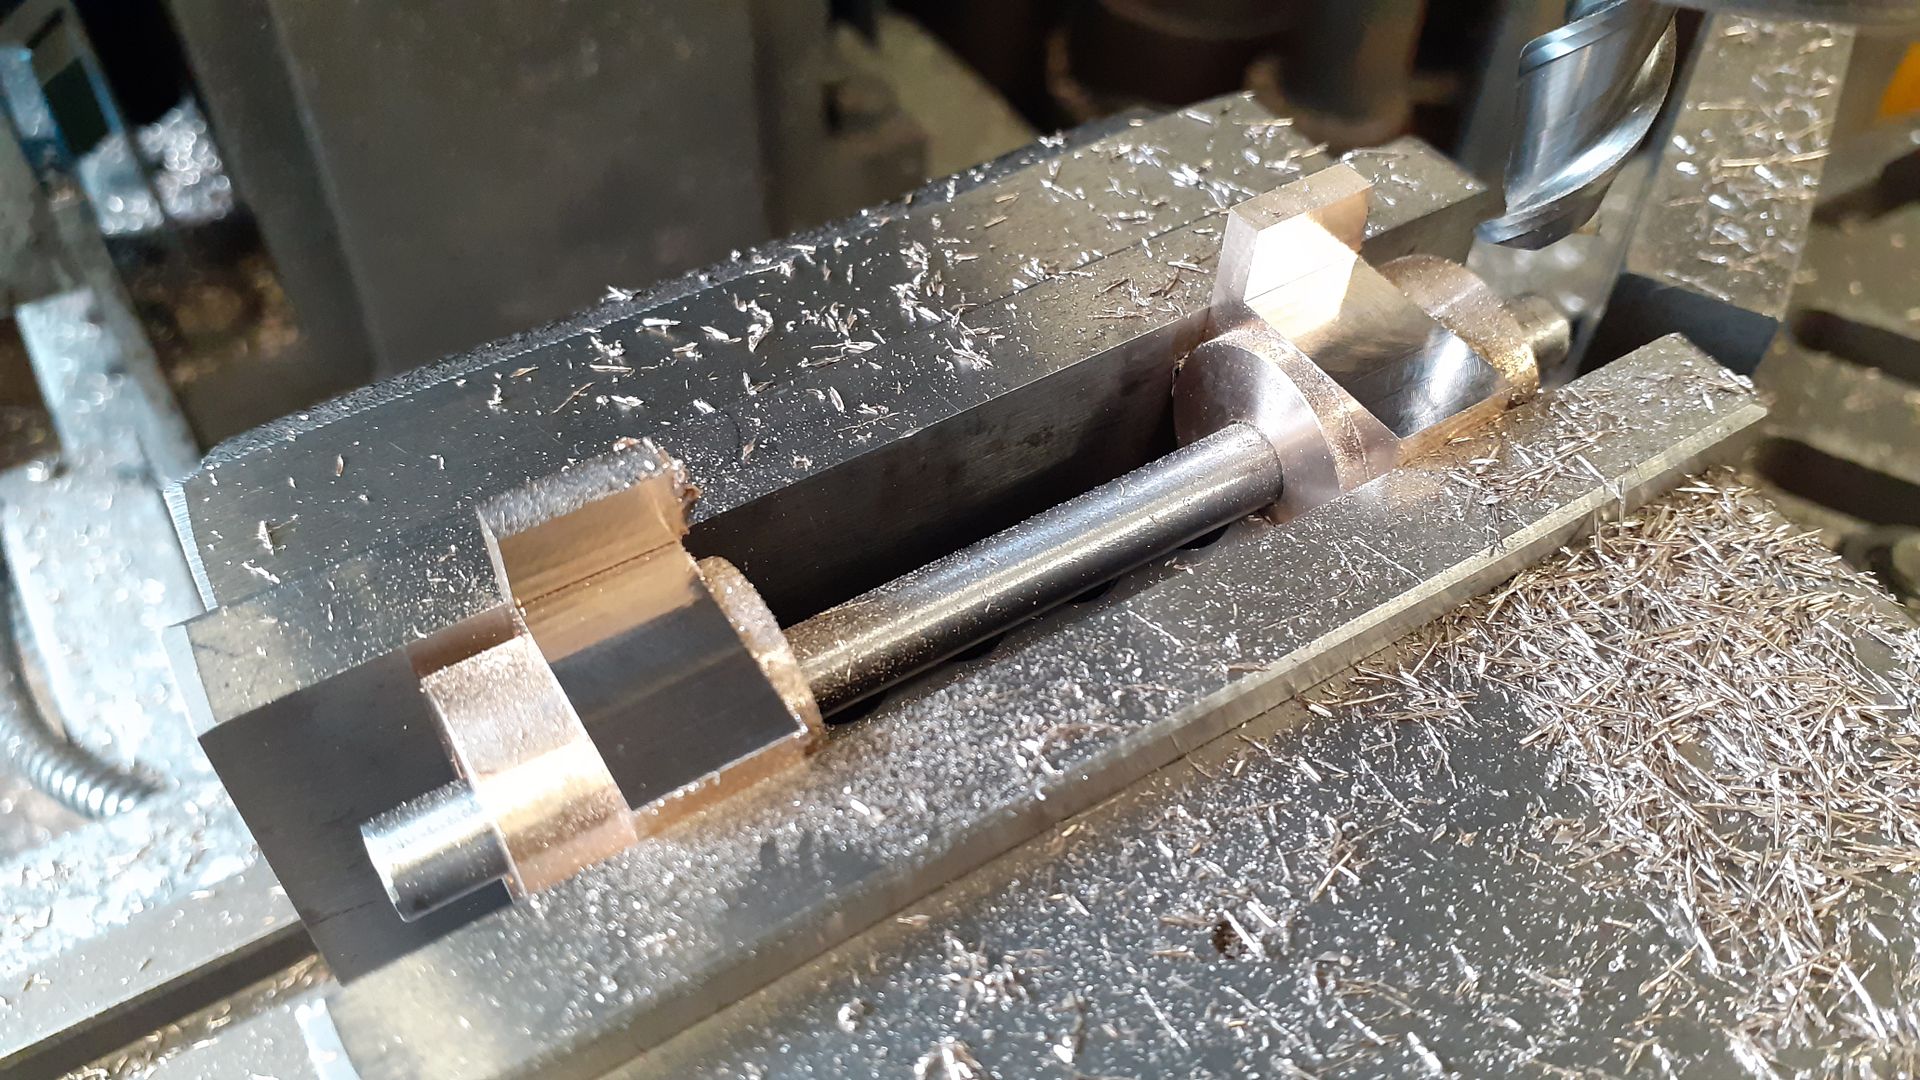
After bringing the castings down to finished height they were again slipped onto the piece of silver steel to mill the sides and finish the feet to thickness and overall length.
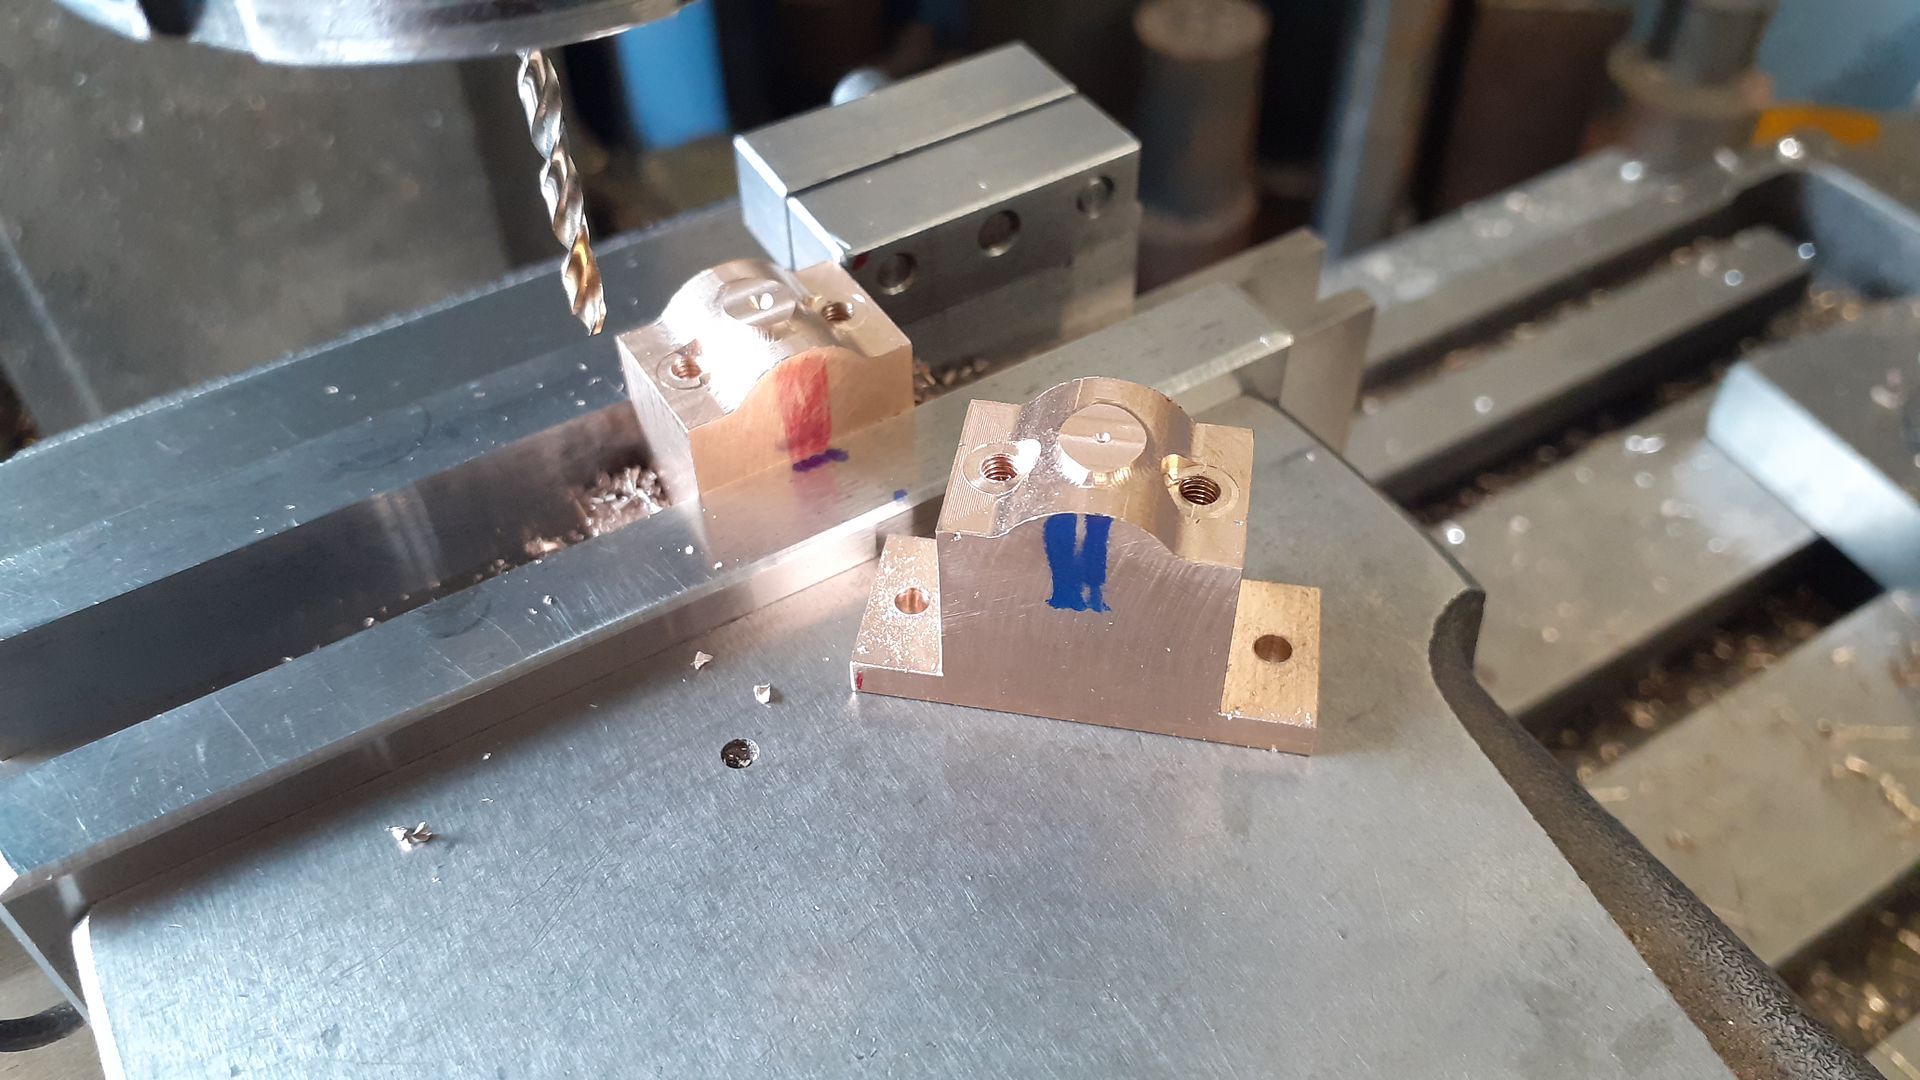
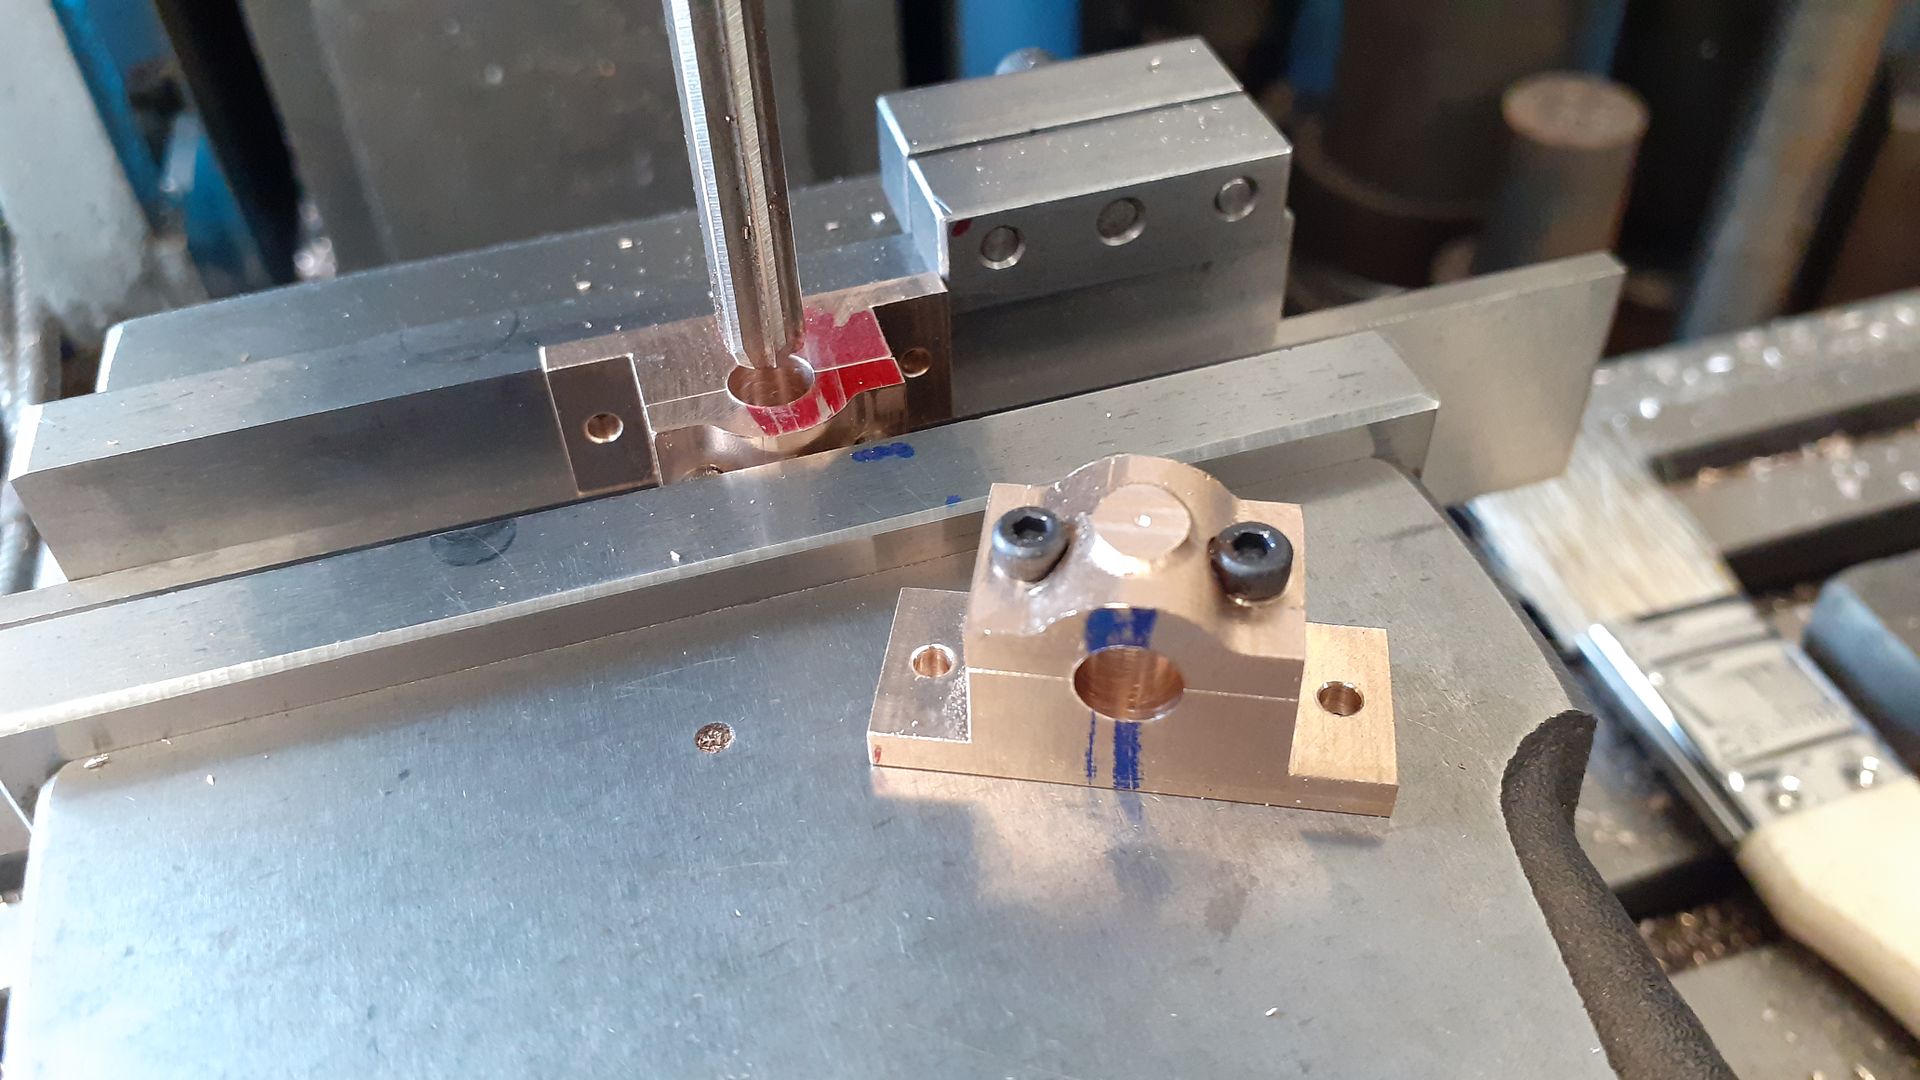
The crankshaft bearing supports are similar shaped castings, after some initial cleanup i decided to use the CNC to tidy the cast tops and at the same time incorporated a small raised boss to take the oil pot rather than just filing the top and having the pot screw into a convex surface. After bringing them down to final size the foot holes were drilled 2.5mm and the stud holes drilled and tapped M2.5 before opening up the ends of the holes to 2.5mm. Red and blue Sharpie marks ensured I knew my right from left before sawing off the caps with a slitting saw.
After cleaning up the sawn surfaces the caps were screwed into place so that the hole could be drilled and then reamed 1/4"
Rather then do all the big bits and then be left with the small fiddly ones at the end I decided to do a few of those. First was the slide valve for which a small casting is supplied, this was cleaned up all over and then the slot for the valve nut milled. Unlike a lot of valves which have a second slot for the valve rod this one has a hole which is a bit larger than the rod to allow the valve to lift if needed.
The cast in cavity was tidied up with a 1.5mm milling cutter
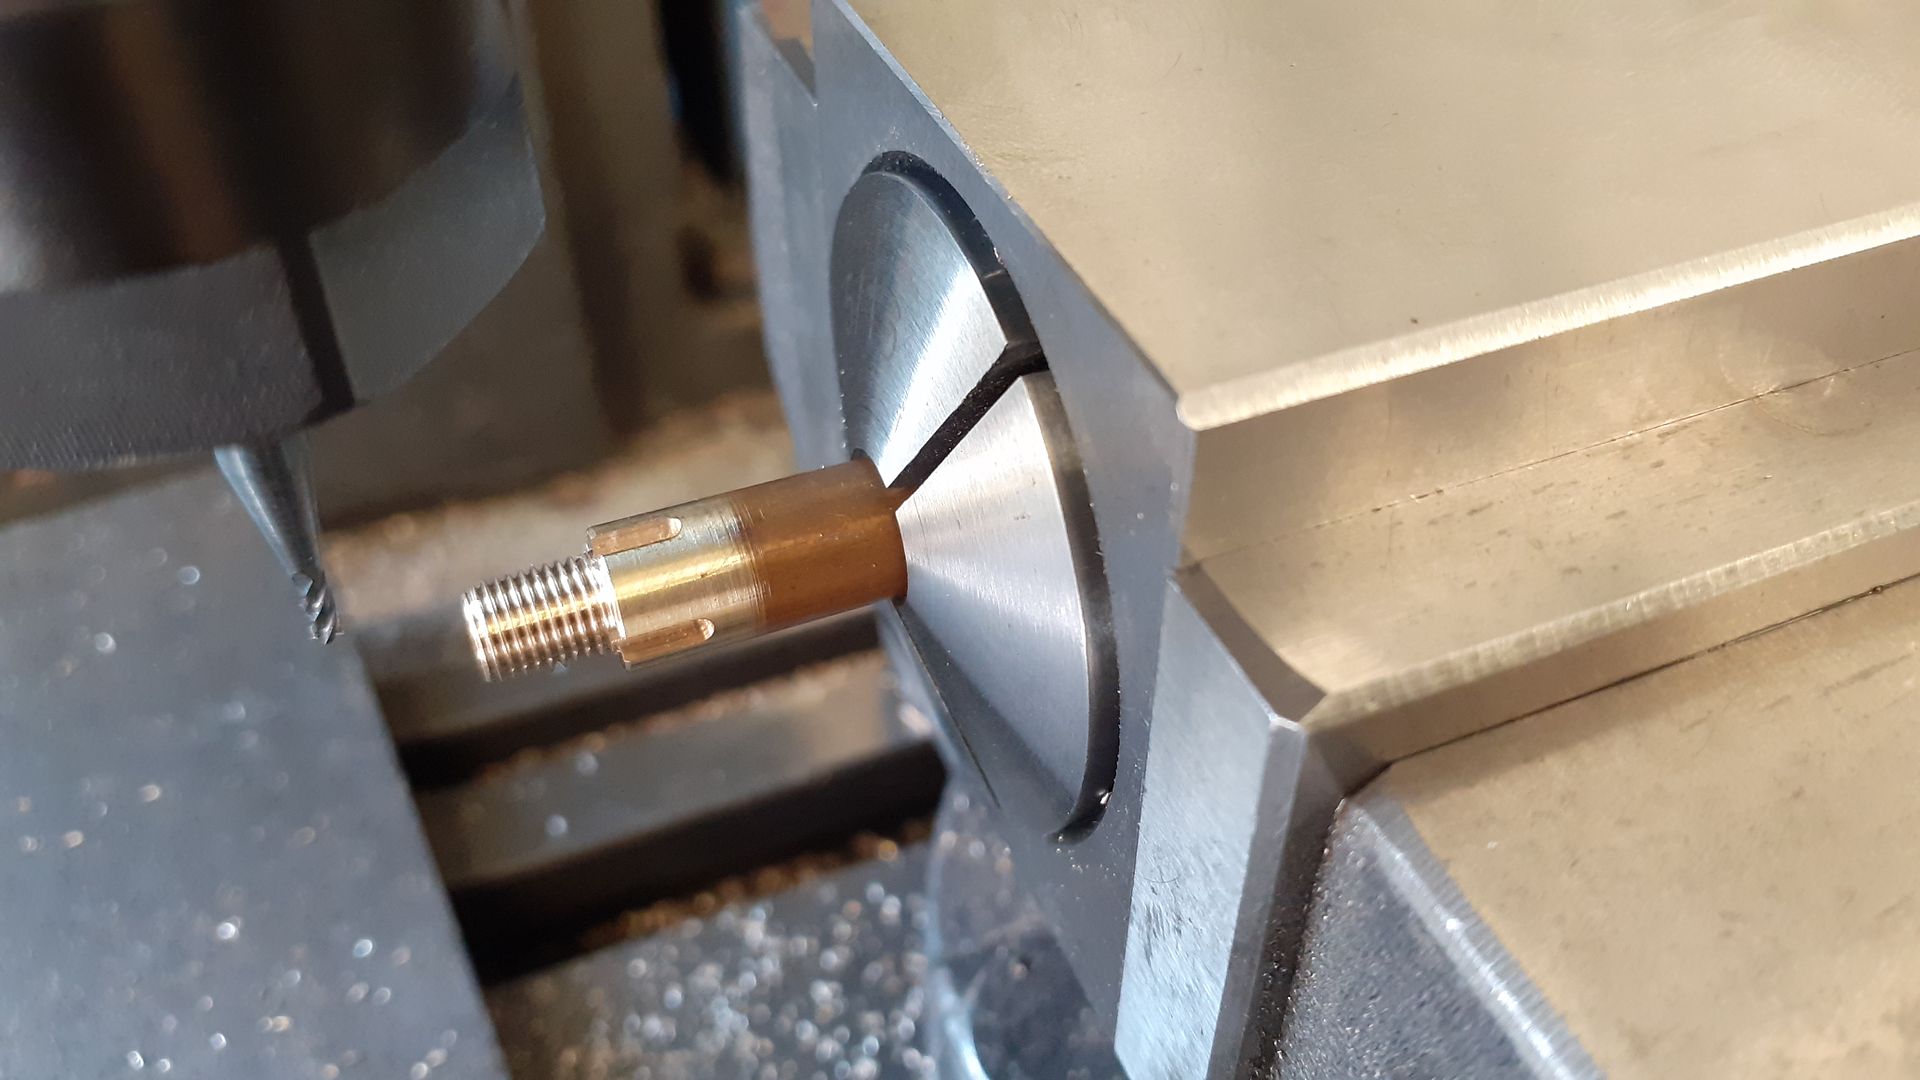
The valve rod gland was turned and threaded then the slots for adjustment cut using the 5C indexer to space them out.
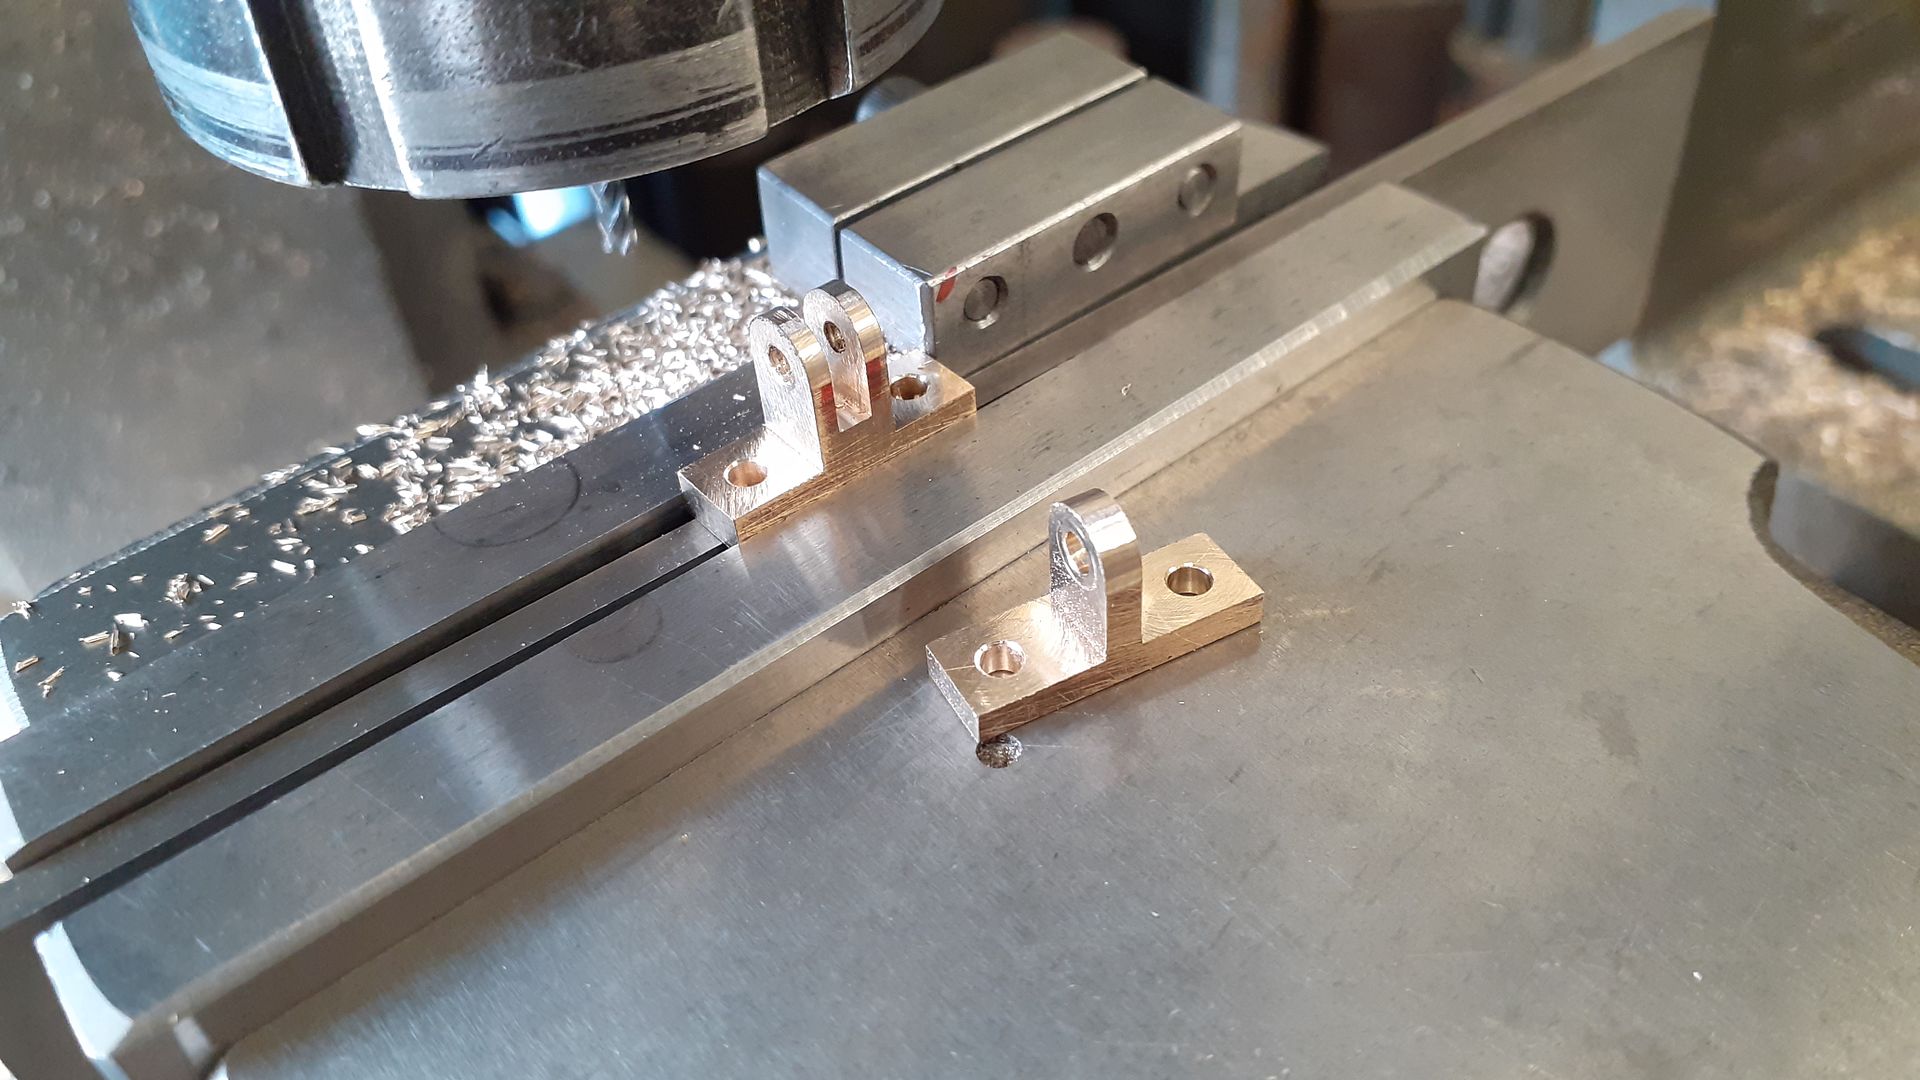
There are two fairly similar brackets for the valve linkages so I machined these at the same time so that the vice stop could be used which saves time centering up parts twice, the one with the forked middle fits onto the cylinder cover and the one with the single blade goes ontop of the spacing block under the cylinder.
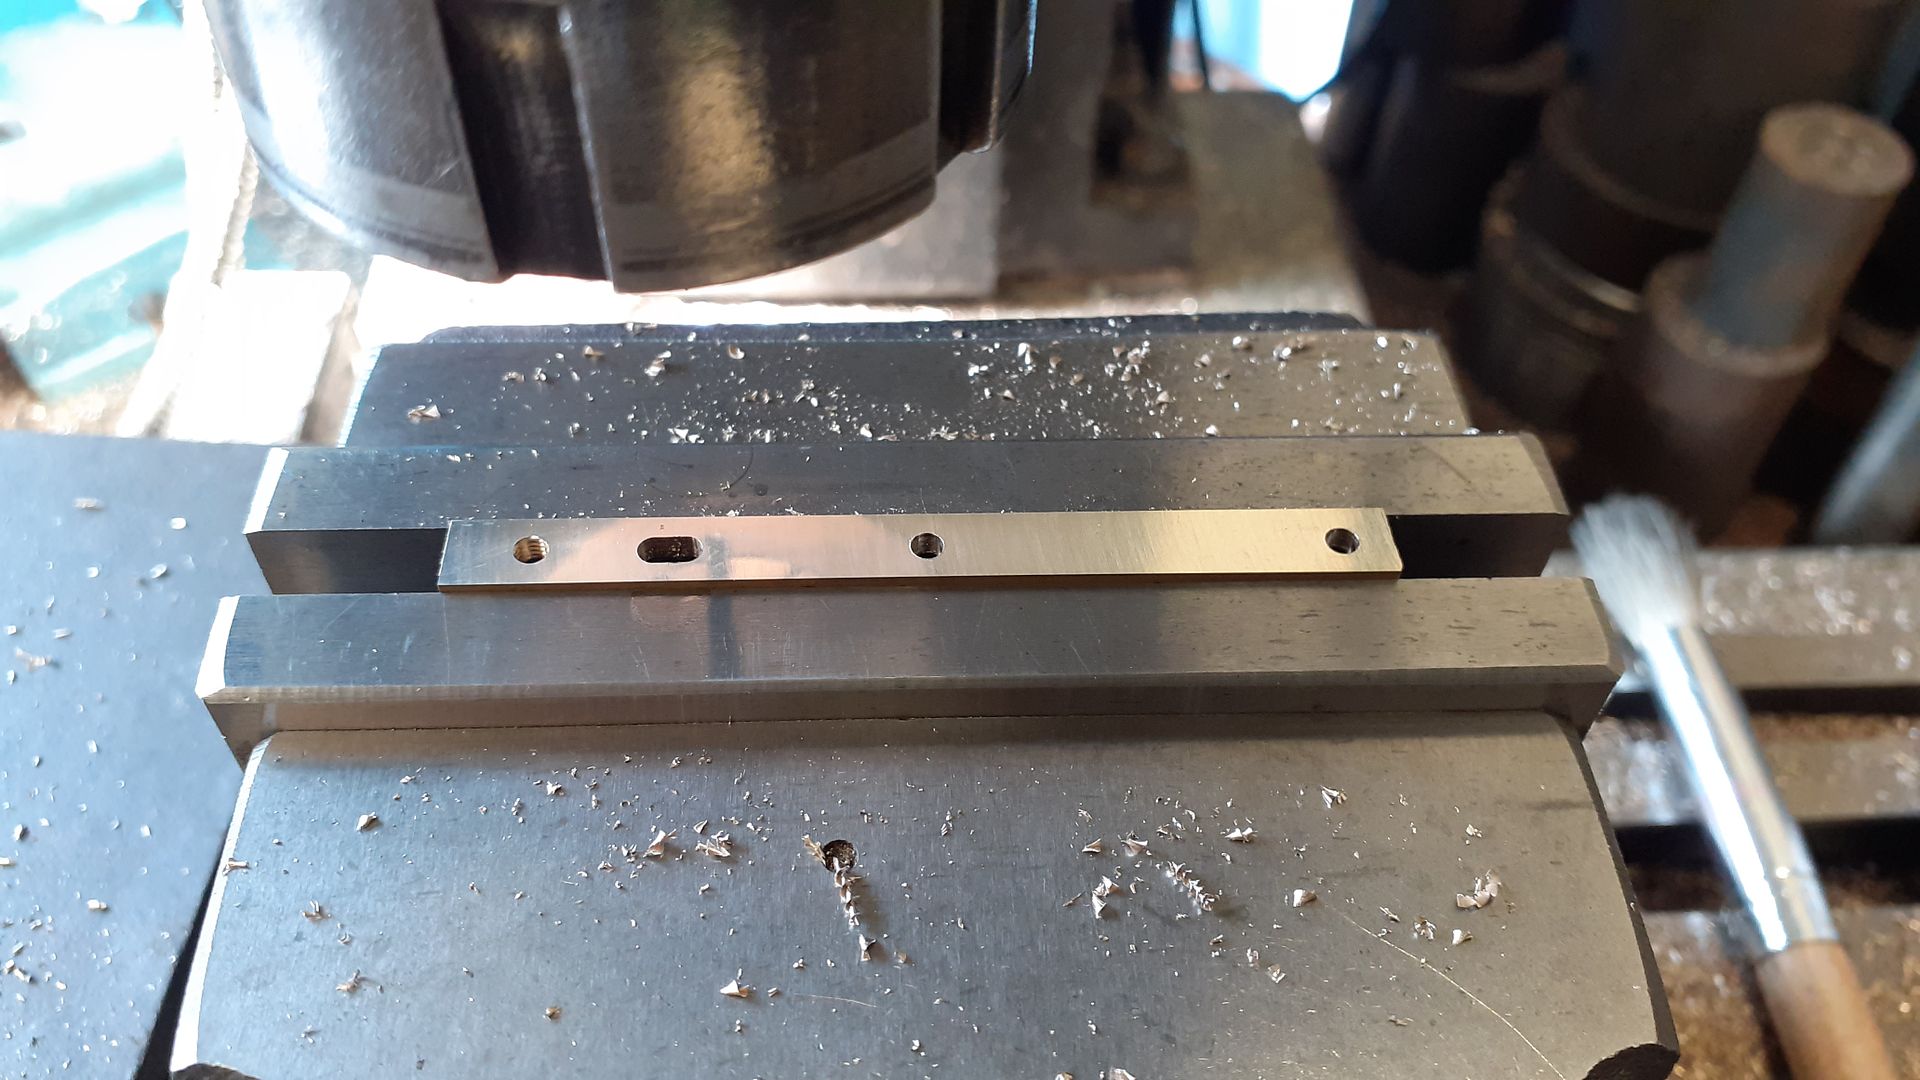
The vertical valve link was drilled and a slot milled before using the CNC to give it it's final shape which is with full 1/4" dia bosses around the holes/slot and than thining to 3/16" between. A piece of thicker steel as also prepared and shaped on the CNC to give the rounded ends.
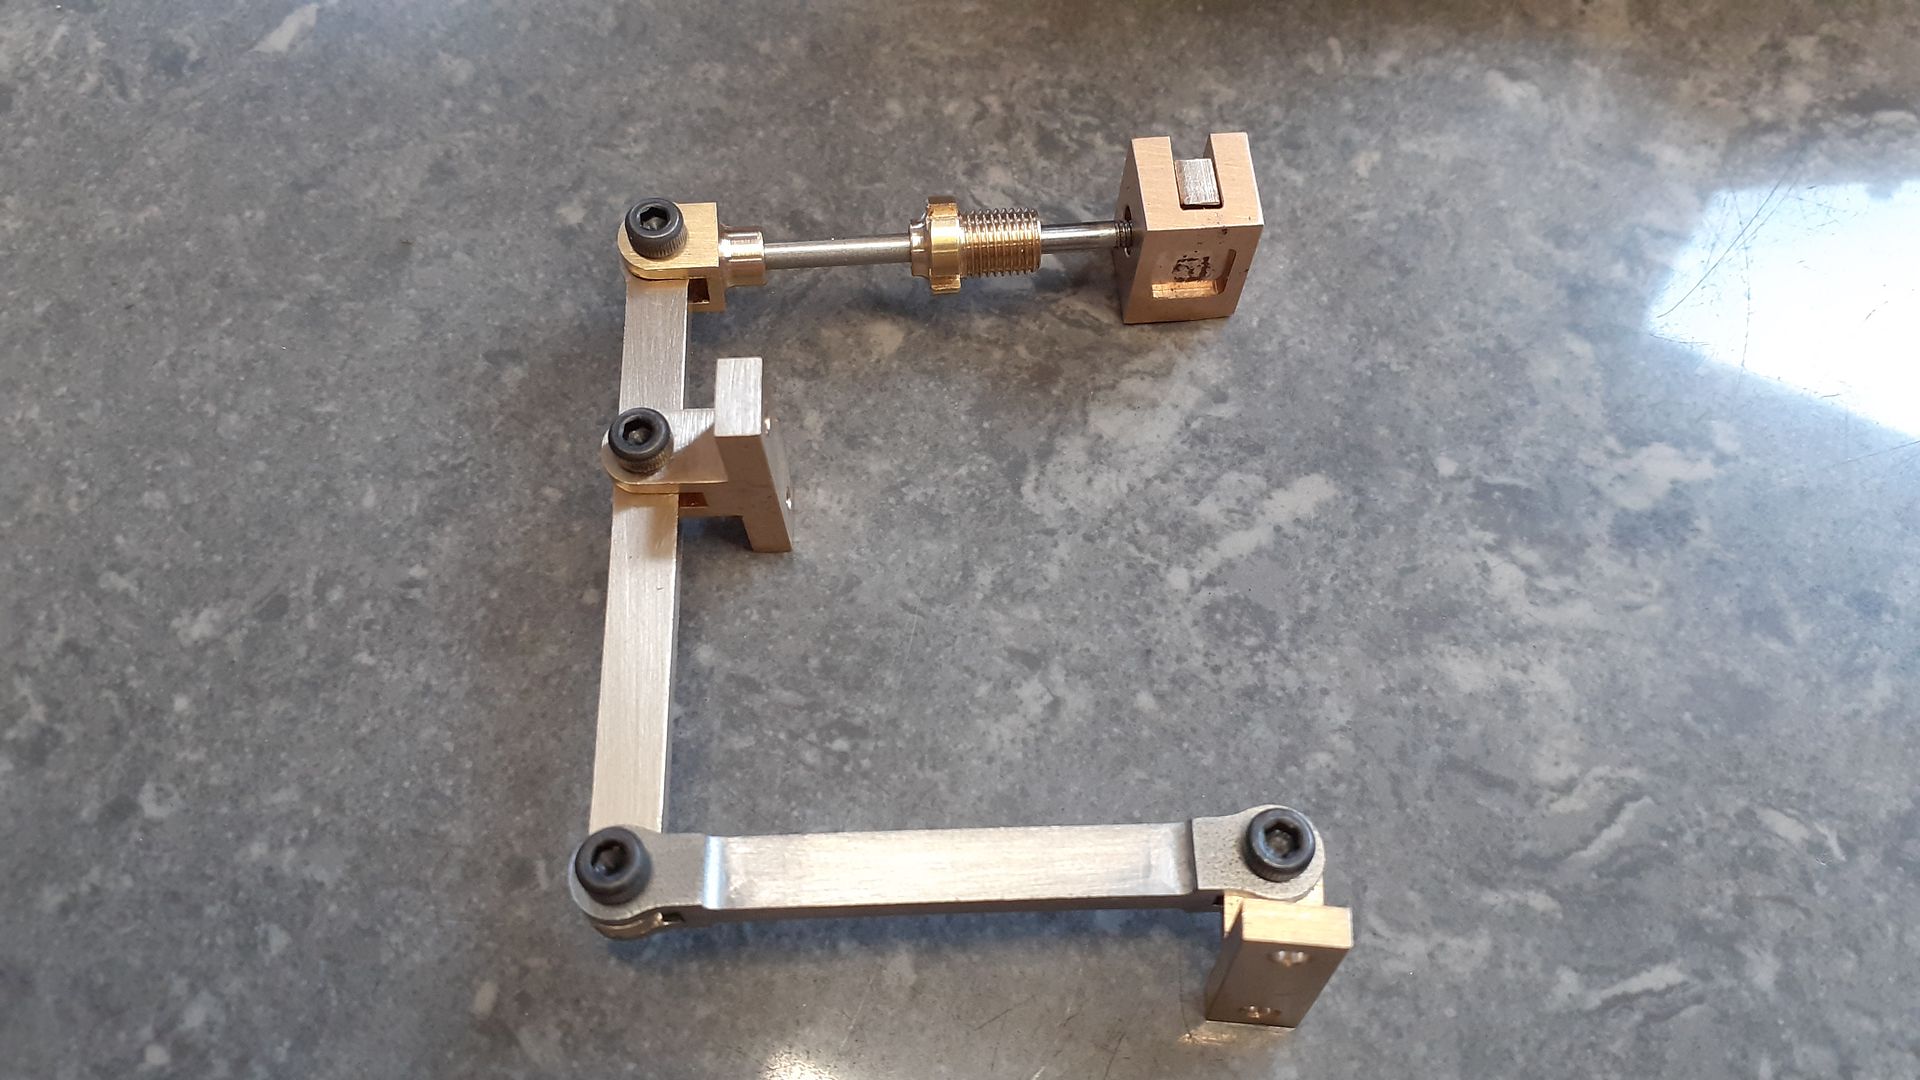
A quick test fit of the various parts using cap head screws which will be replaced with fitted bolts once the engine has been test run.
The big end casting was cleaned up, drilled and tapped and then screwed back together for final shaping and reaming of teh big end. I then made use of teh split arbor that I made for the trunion bearings to hold it while each side was turned down to leave a 1mm boss. An insert with a 0.8mm tip radius leaves a nice fillet in the corner.
I did not take a photo of the three glands that compress the packing around the trunions and piston rod as they are little more than top hat bushes with three 2mm holes in their flanges but there were machined at this time too.
The main challenge with the cylinder casting is getting the location of the trunions that fit either side exactly in line and at right angles to the bore, I hatched a plan to do the cylinder and then fit the part machined trunions to that before final machining and almost came a cropper but first lets look at the cylinder.
Like the other castings I took a skim off the flat surfaces first those being the port face and the two trunion mounting faces either side. Here you can see I have at least 0.100″ to play with at the ends and the red lines roughly show the extent of material to come off around the port face.
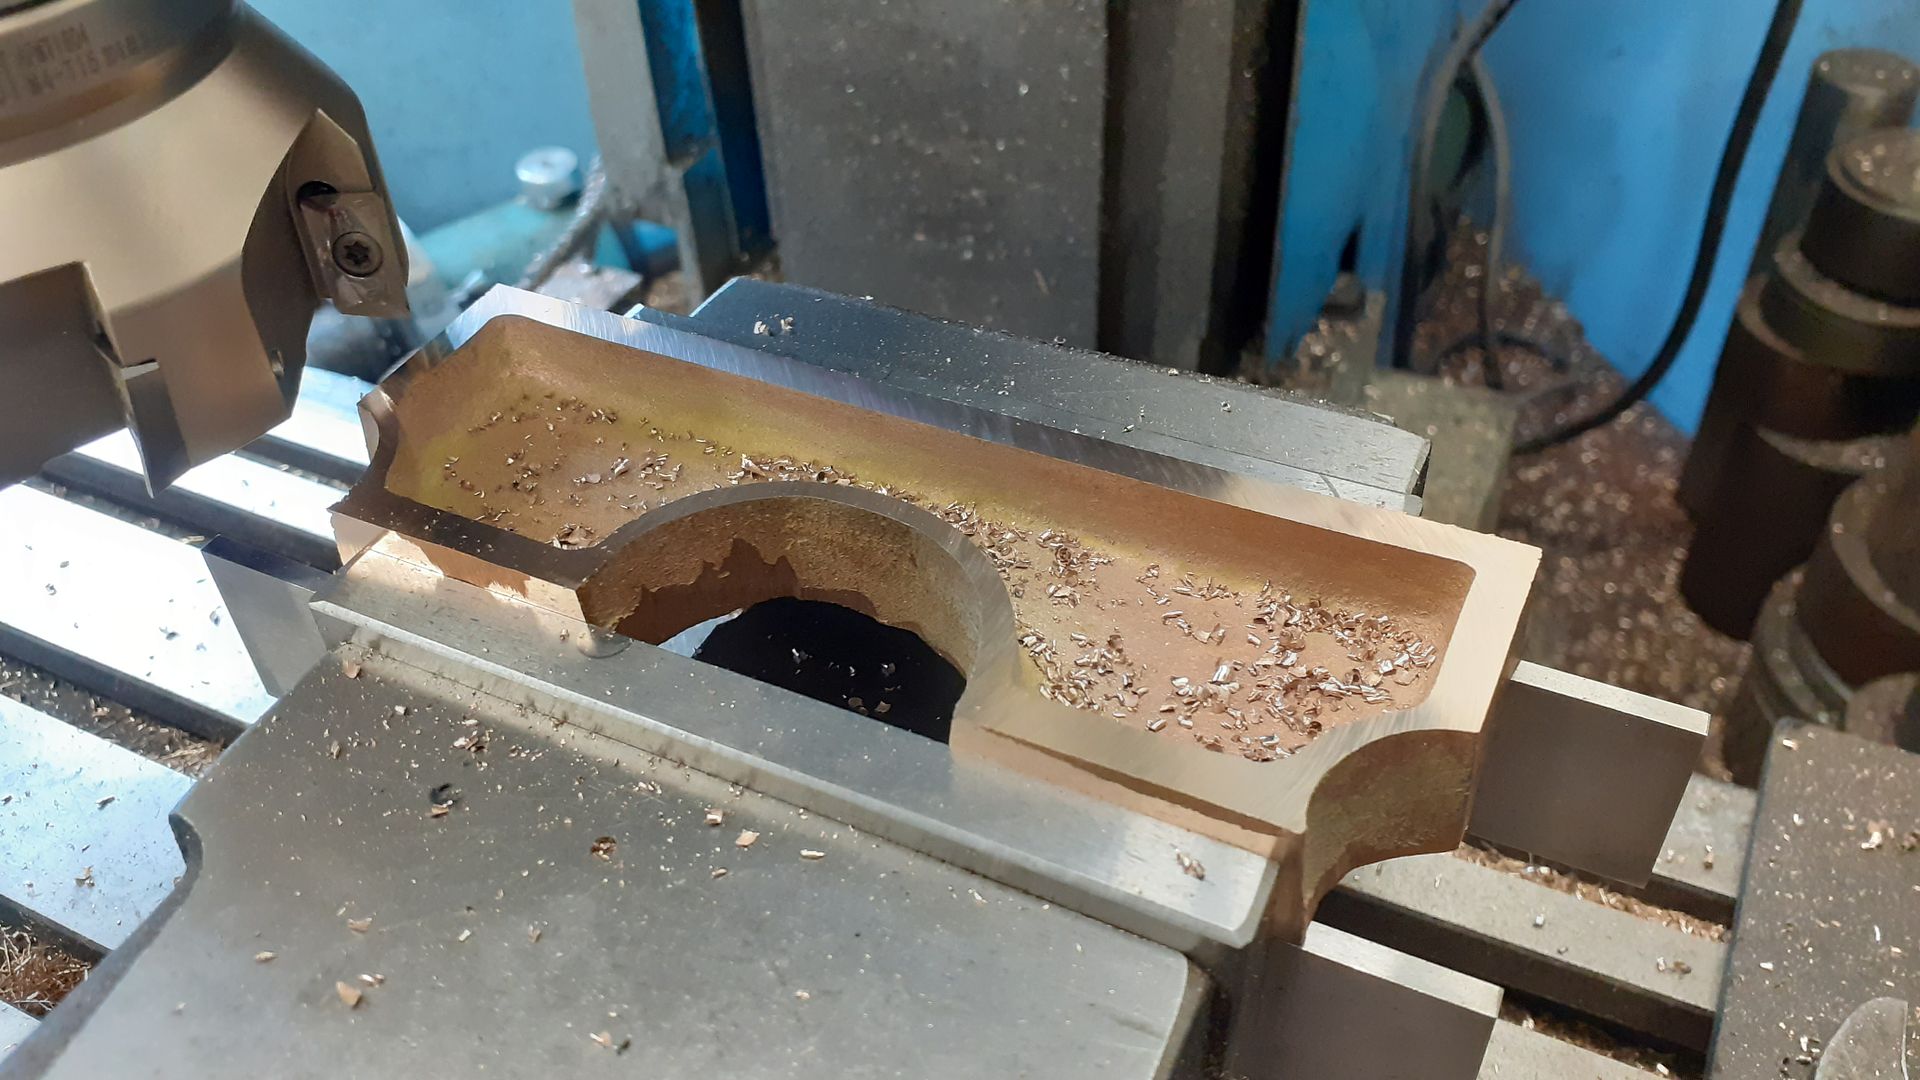
After skimming these faces I had three flat and true surfaces to go against the 4-jaw chuck’s jaws and used an aluminium packer on the curved underside. After facing off and boring the OD of the flange was turned which was actually smaller that the rest of the cast body of the cylinder so to add a bit of shape a round ended tool was used to reduce the area between flange and portface/trunion mount by 1/8″ in diameter, you can just see the generous amount of metal left on the curved surface under the ali packer. The other end was then treated the same.
To aid in holding the cylinder casting for some further machining I made one of the end covers at this stage, it was the one with the gland for the piston rod, the boss of which was left over long at this stage to give me more to grip.
This group shot shows the current state of play.
Next was to drill the two 2mm dia holes to where the inlet ports will be and also the six M2.5 holes for the cylinder cover studs and finally mill a notch so the steam passages connect to the cylinder. This was repeated at both ends.
Using some bar in the bore the casting was centered and the port face milled to the correct height above the bore. The width was done at the same setting taking the cut sdown to form the top edge of the trunion mounts Most of the material was removed with the facemill then the final finish cuts with a new carbide 3-flute 6mm cutter using a 4mm stepover. The inlet and exhaust ports were milled at this same setting.
The two trunion mounting surfaces were then milled in a similar way. A 5/8″ x 5/32″ deep hole is required to locate a spigot on the trunion so these were plunge cut working up through sevaral sizes of 3-flute cutters actually finishing with a 16mm one as the size is not critical and I’ve more sharp cutters in that size than 5/8″.
To mill the curved underside to size I screwed on the end cover and held that in the 5C indexer adding tailstock support to the other end with the addition of a quickly knocked up plug. I also used this setup to drill the steam passages from the trunion recesses to the valve cavity and exhaust port. The angles and hole positions were taken from a section of my cad drawing, there is not much metal to play with.
The other end cylinder cover was faced and turned to diameter and the spigot formed to fit the cylinder before transfering to the mill where the face mill was used to bring the block for the valve rod bracket down to final height.
Then a 6mm cutter with 1mm convex corner radius was used to both size the block and face the rest of the cover down to 3/32″ thickness leaving a nice internal fillet.
Finally the six stud holes were drilled 2.5mm and the two that secure the pivot tapped M2.5
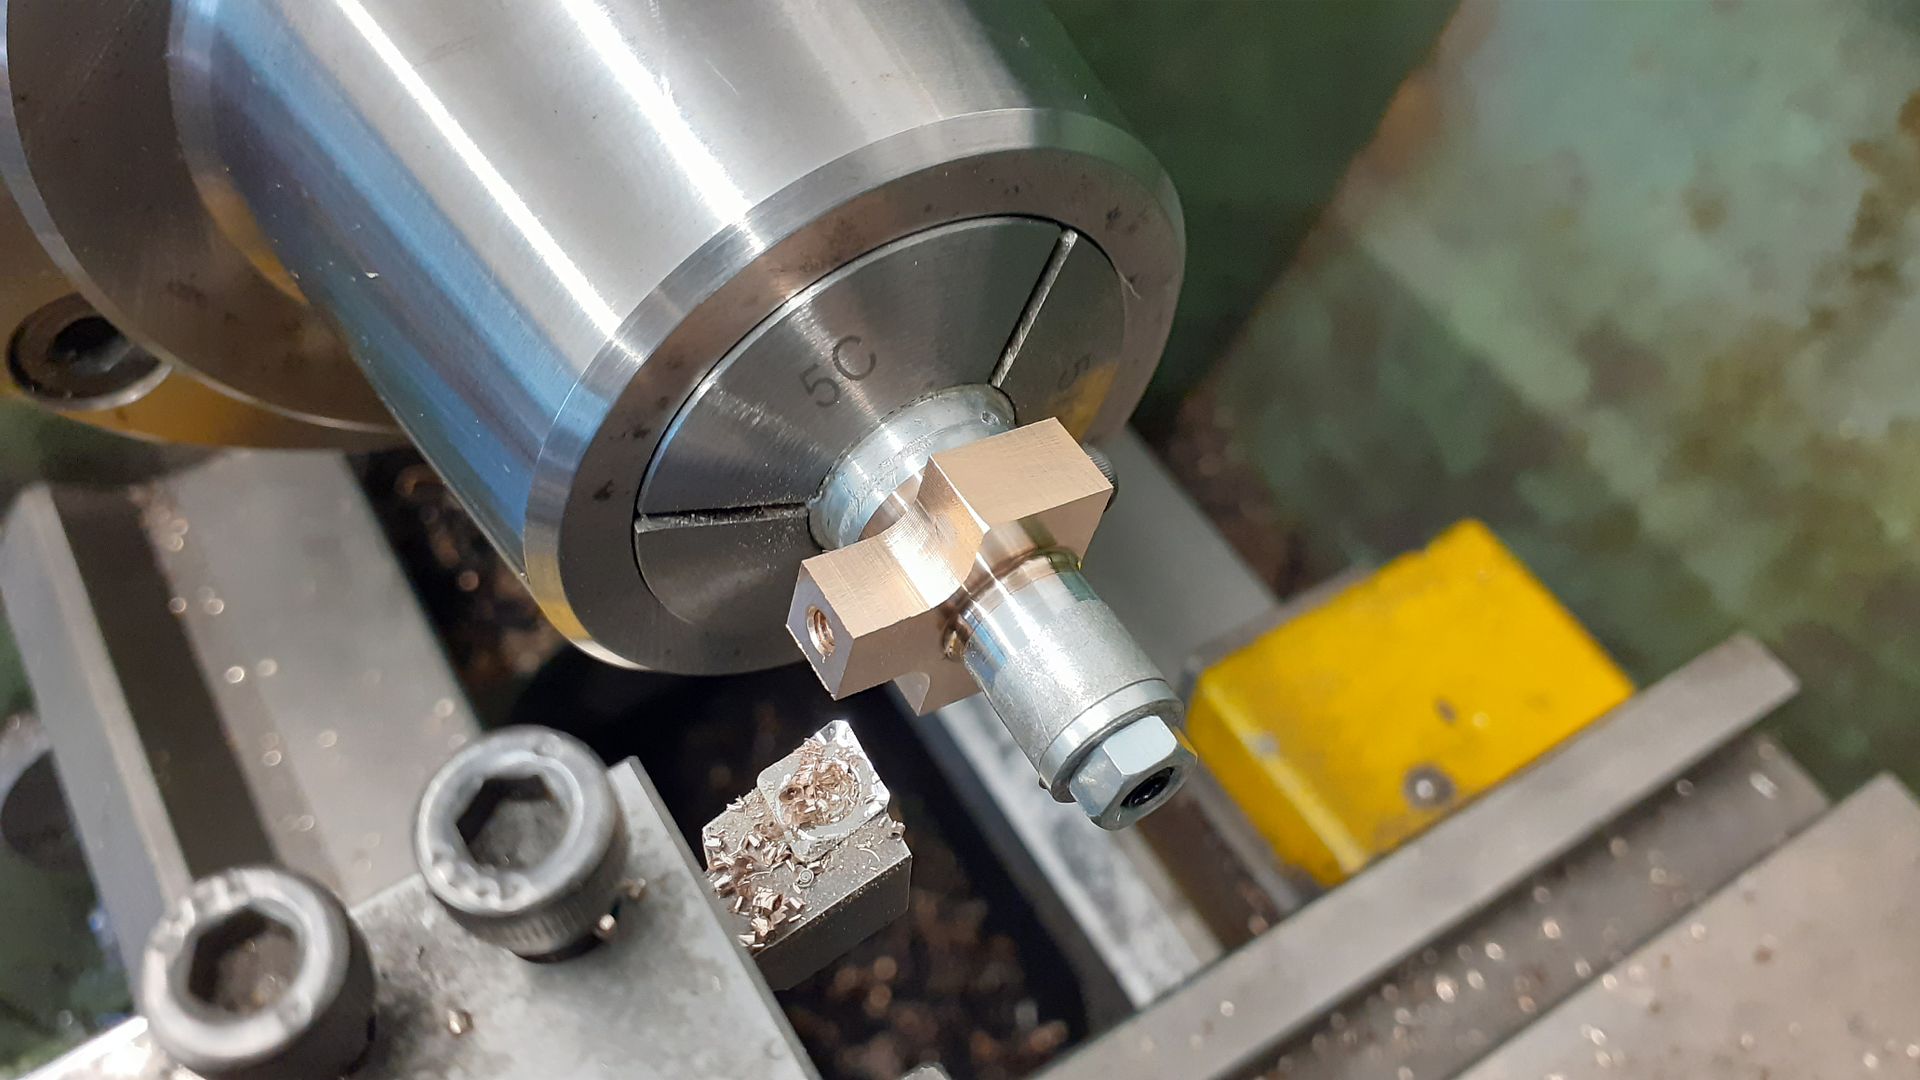
The drawings call for the trunions to be fabricated from a flat piece of brass and some stainless rod. I started out with two pieces of 8mm dia 303 stainless and reduced a suitable length down to 7mm and added a deep ctr to the ends and part drilled 1/8″ dia. Two oversize rectangles of 1/4″ thick brass were drilled 7mm and then silver soldered to the stainless rods. Once cool They were held by the remaining 8mm dia so that the face of the brass could be turned true to the shaft and a light skim taken off the 7mm dia just to clean it up.
After sawing off from the 8mm bar the inner faces were machined along with the spigot to locate into the holes in the side of the cylinder
Here I have used the cylinder to gauge a firm fit of the two parts as I don’t want them to loose there positions when taken apart after the final insitue machining.
After this the rectangle was milled to the final overall size and the mounting holes drilled
The cylinder and it’s trunions were then assembled with temporary cap head screws so that the trunion shafts could be turned to final 1/4 “diameter between ctrs. I almost came a cropper here as it was difficult to get any turning tools in without either hitting the tailstock ctr or catching the screw heads, In the end I managed with a home made 6mm dia dead ctr held in an ER16 Collet chuck to support the work and a boring bar and bit to do the actual turning.
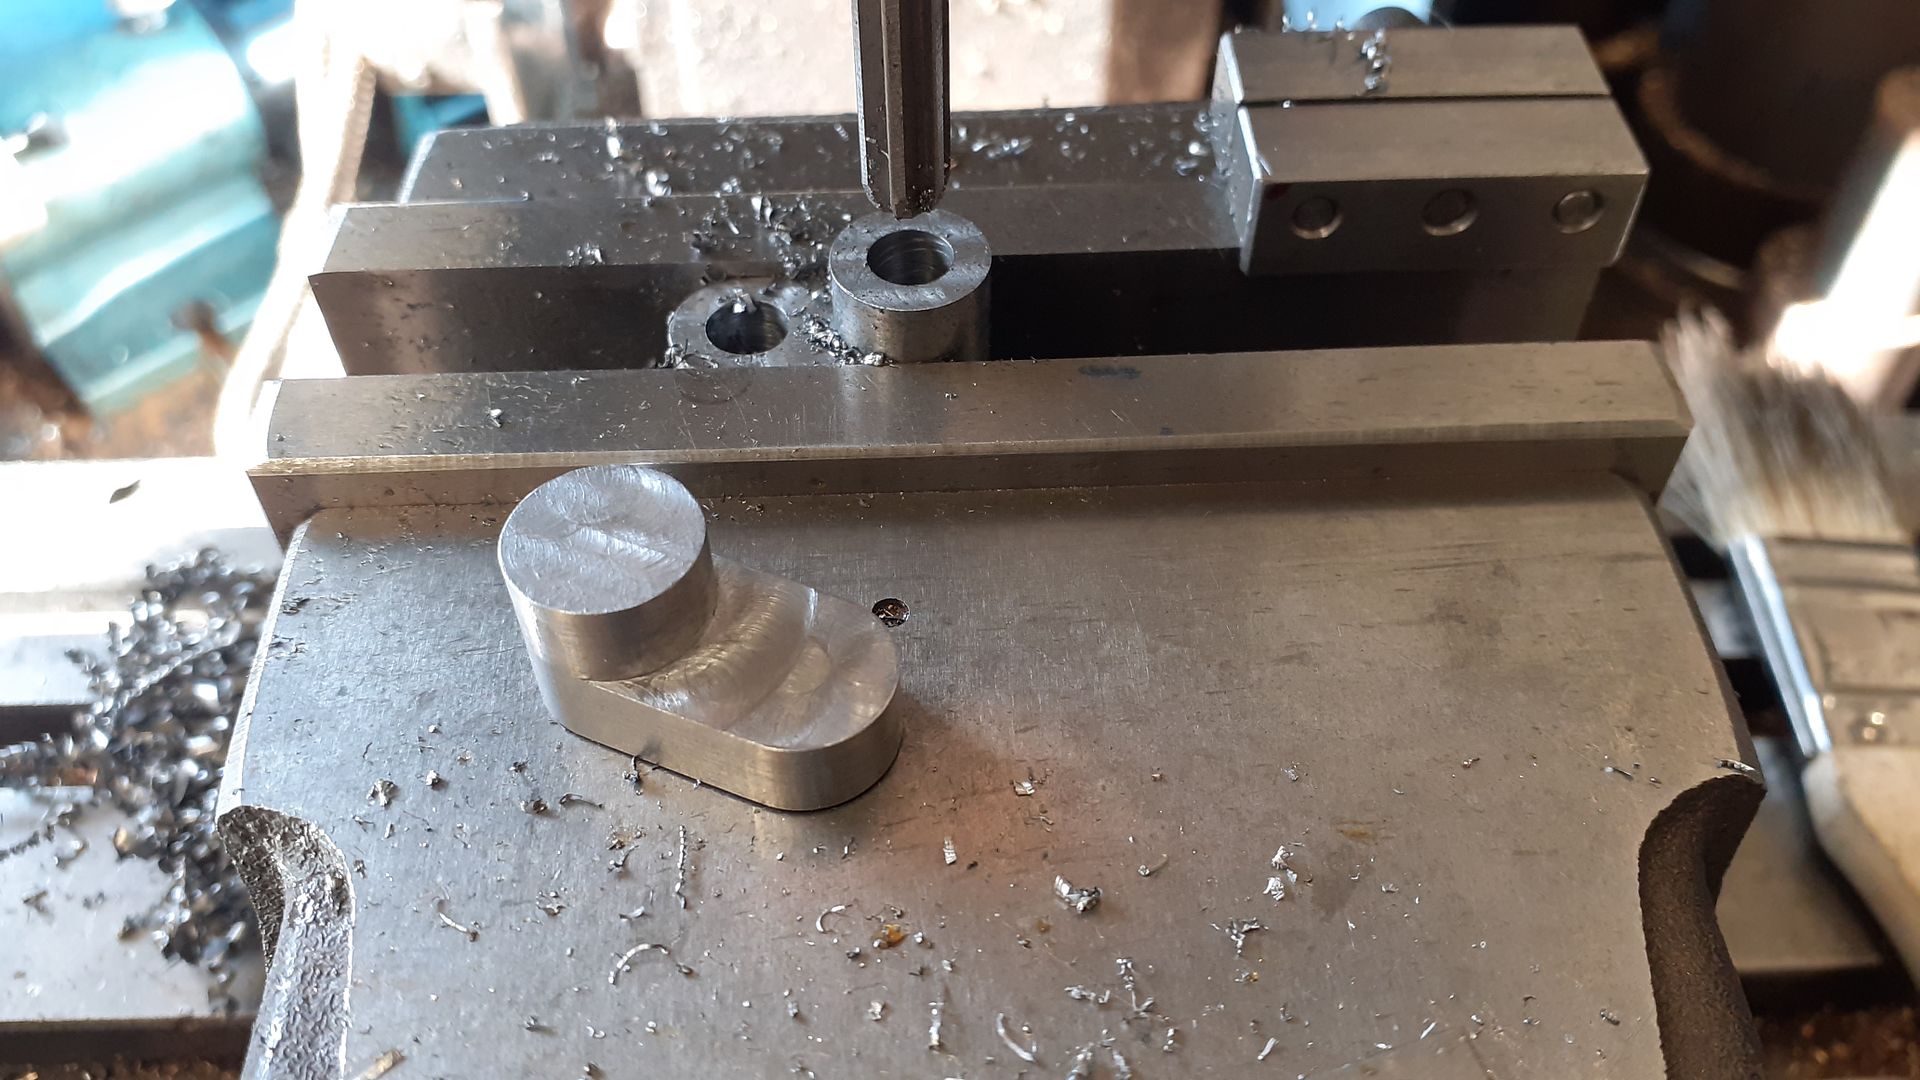
The drawings call for the two crank webs and pin to be machined from a supplied short piece of 1″ x 1/2″ steel flat with the two shafts held into the webs with epoxy. I did not like the sound of this so decided to use the more common way of slipping the two webs onto a single shaft and a short pin, all held together with 648 Loctite and pinned for good measure. I used the CNC to do the basic oval shape of the webs and the raised boss on one side but then transferred to the manual mill to ream the two holes in each and then the lathe to do the shorter round boss on the opposite side with teh web mounted on an arbor.
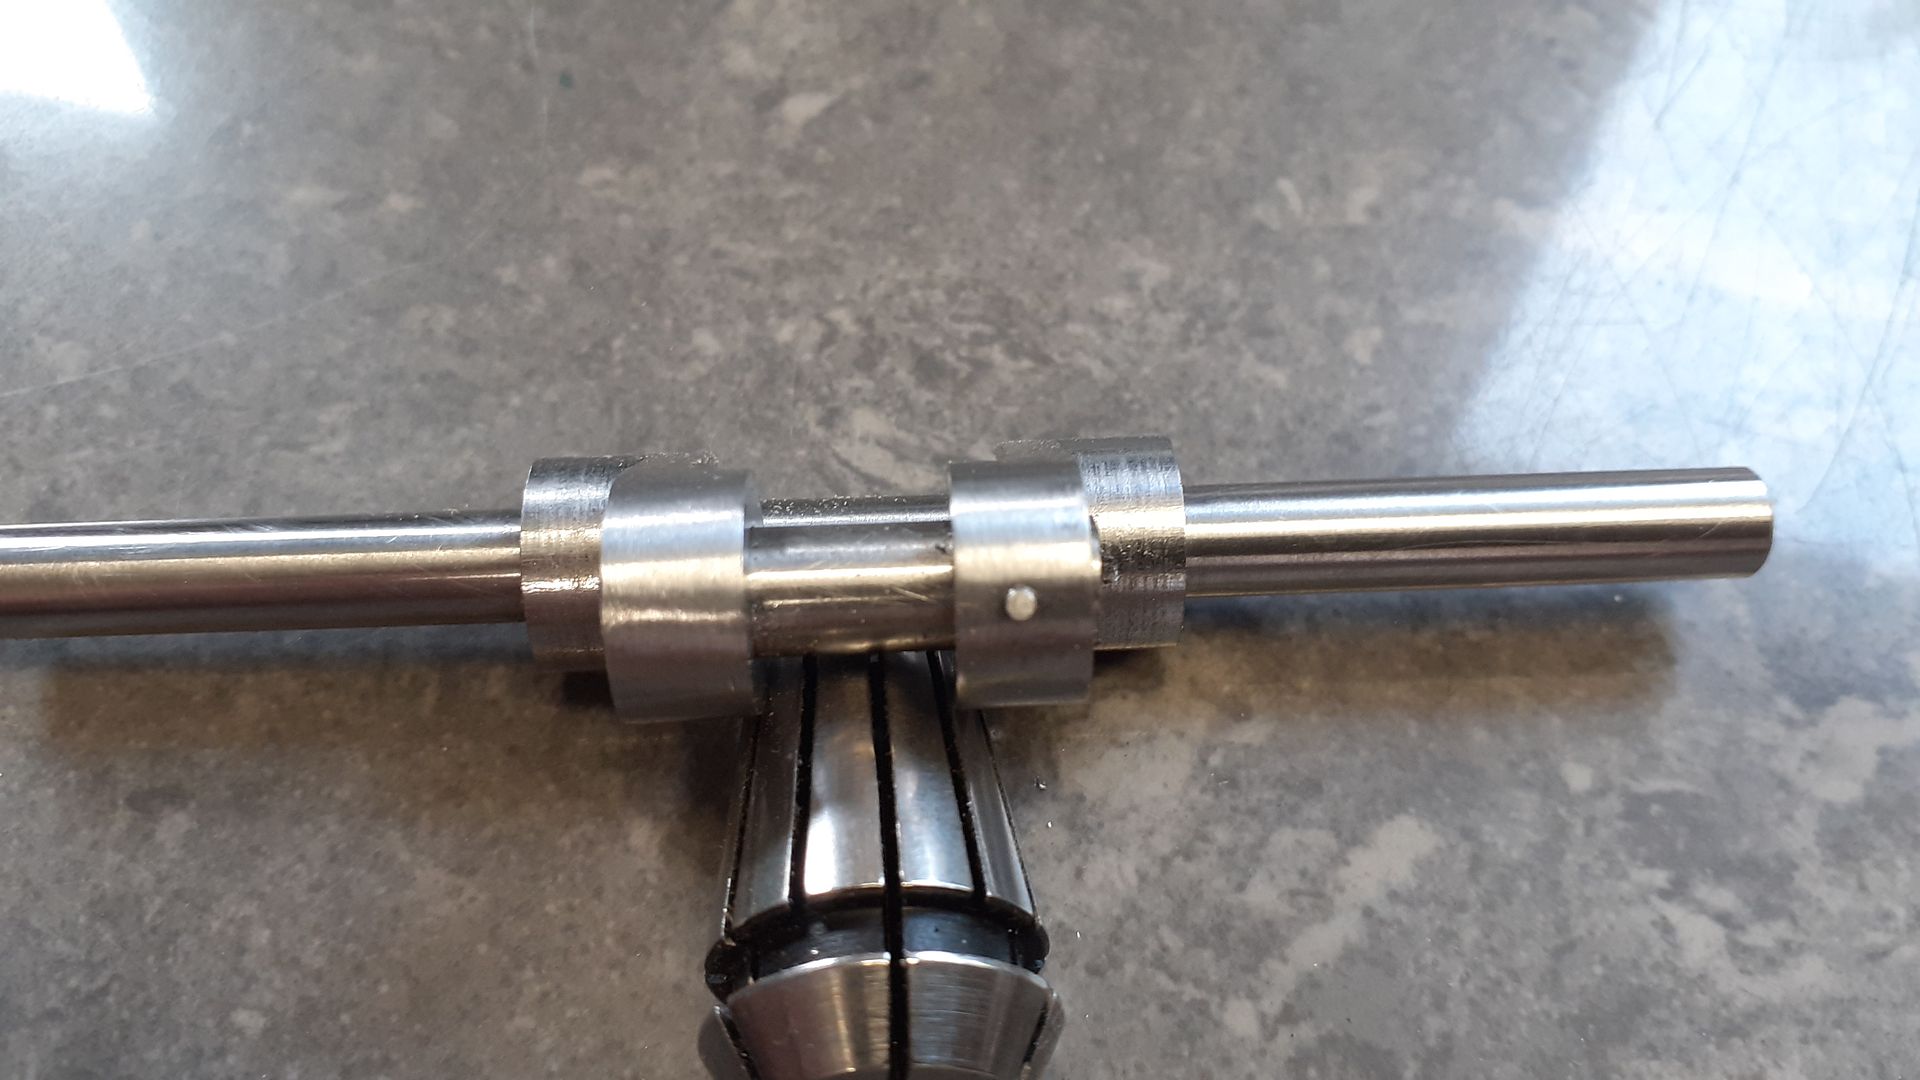
Not the best focus but hopefully you can see one pin and not the other that has been filed flush
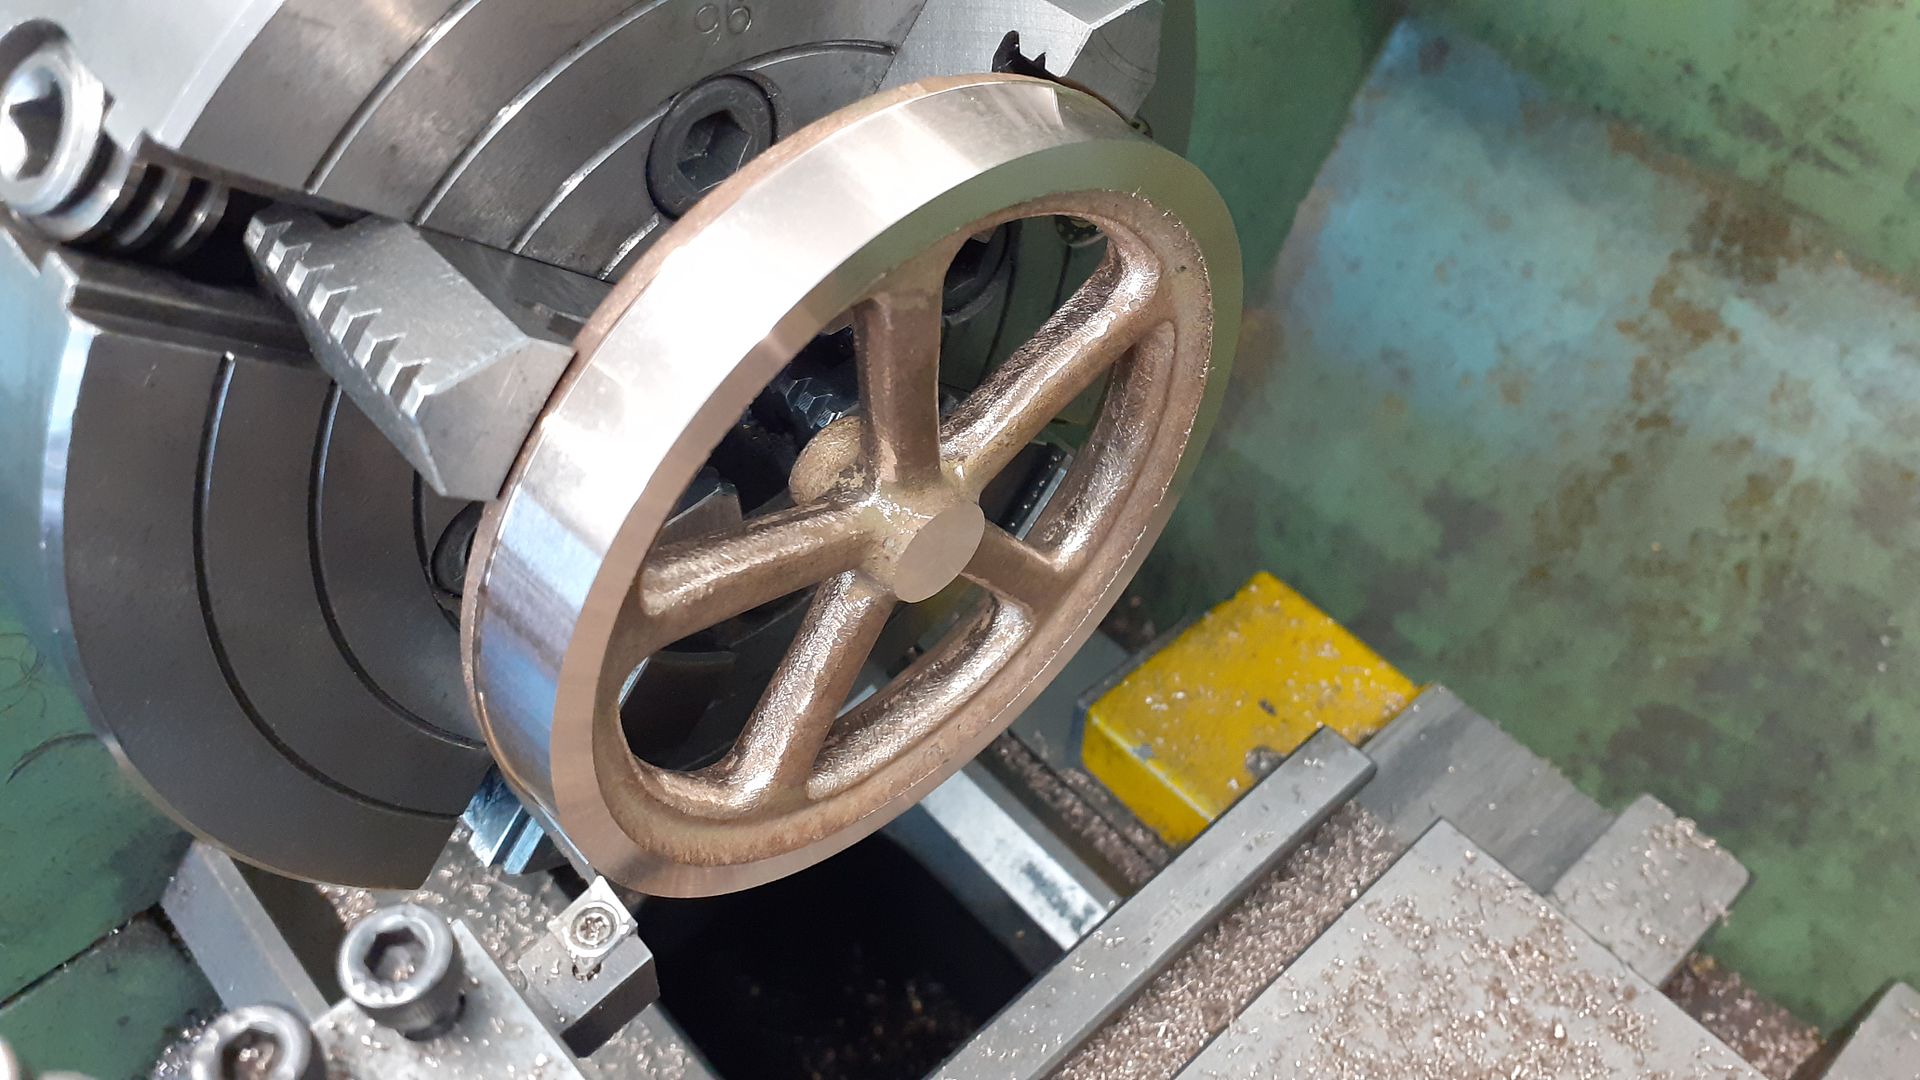
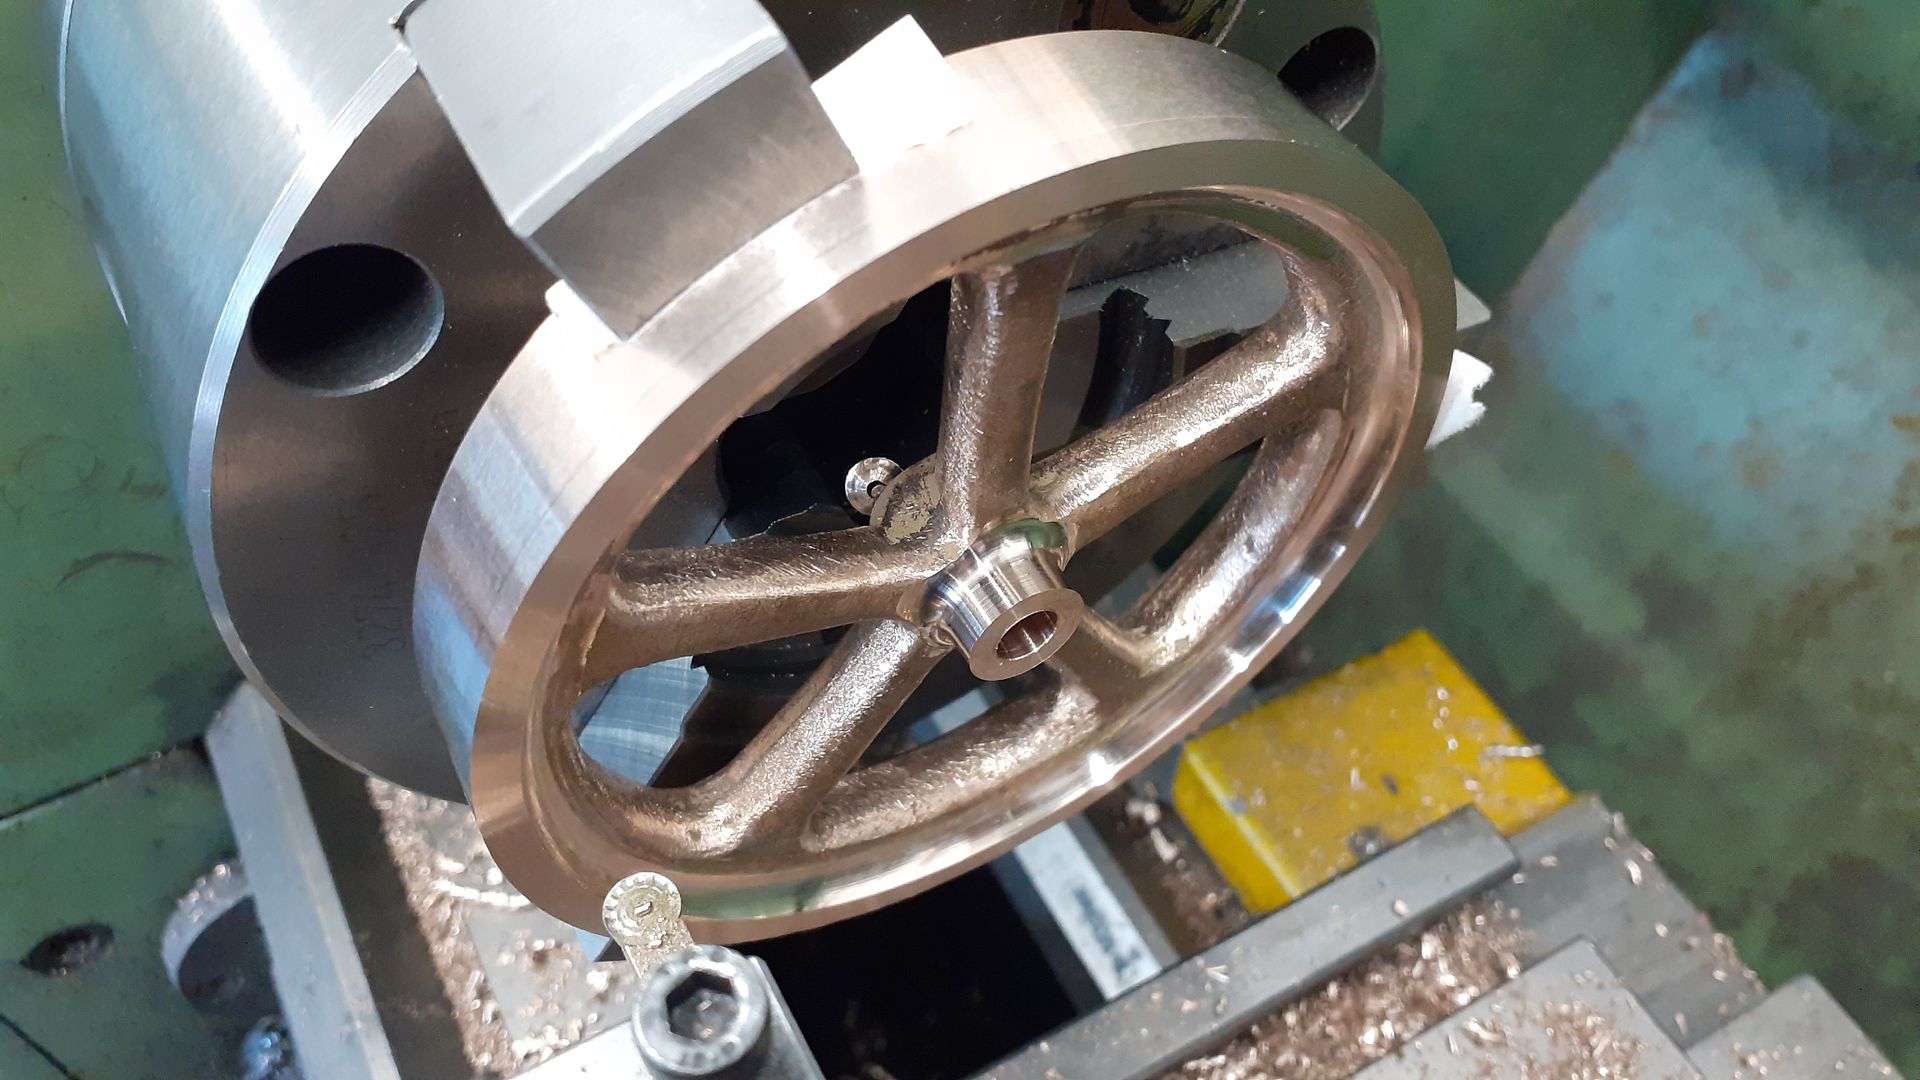
Five spoke flywheels are never the easiest to hold by the inside of the rim as neither a 3-jaw or 4-jaw chuck seems to have the jaws in a position to miss all the spokes so I took the option of using the 4-jaw to hold by the minimum amount of the OD while one side was faced and as much as the OD turned (a little over diameter) as possible.
Swapping the the 3-jaw I completed the OD, opposite face and hub before reaming the bore 1/4″. I also tidied up the inside of the rim with a 6mm round insert. After painting the flywheel can be mounte donto the previously used 1/4″ mandrel and the OD and sides of the rim skimmed to both blend the two cuts on the OD and remove any stray paint at the same time. Drawing says to fix the flywheel to the crankshaft with epoxy but I went with an M3 grub screw bearing onto a small flat to protect the shaft.
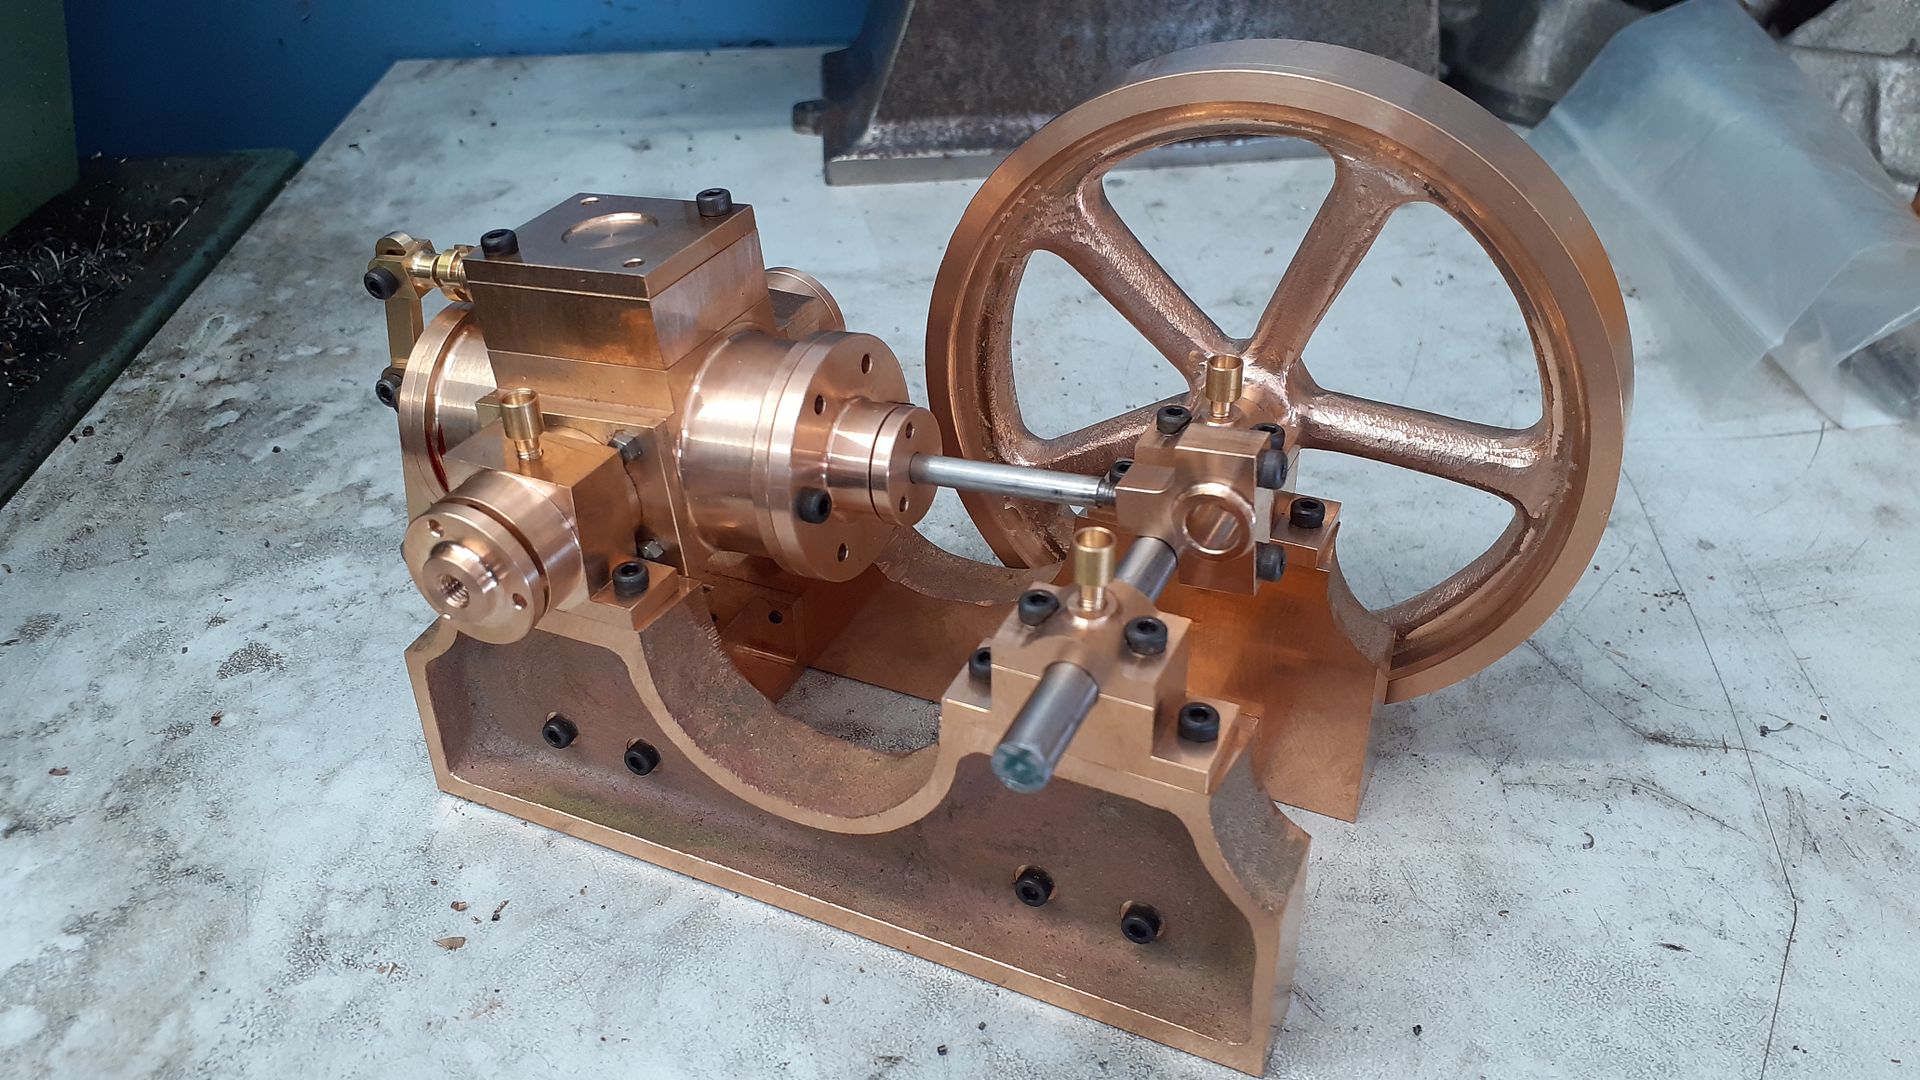
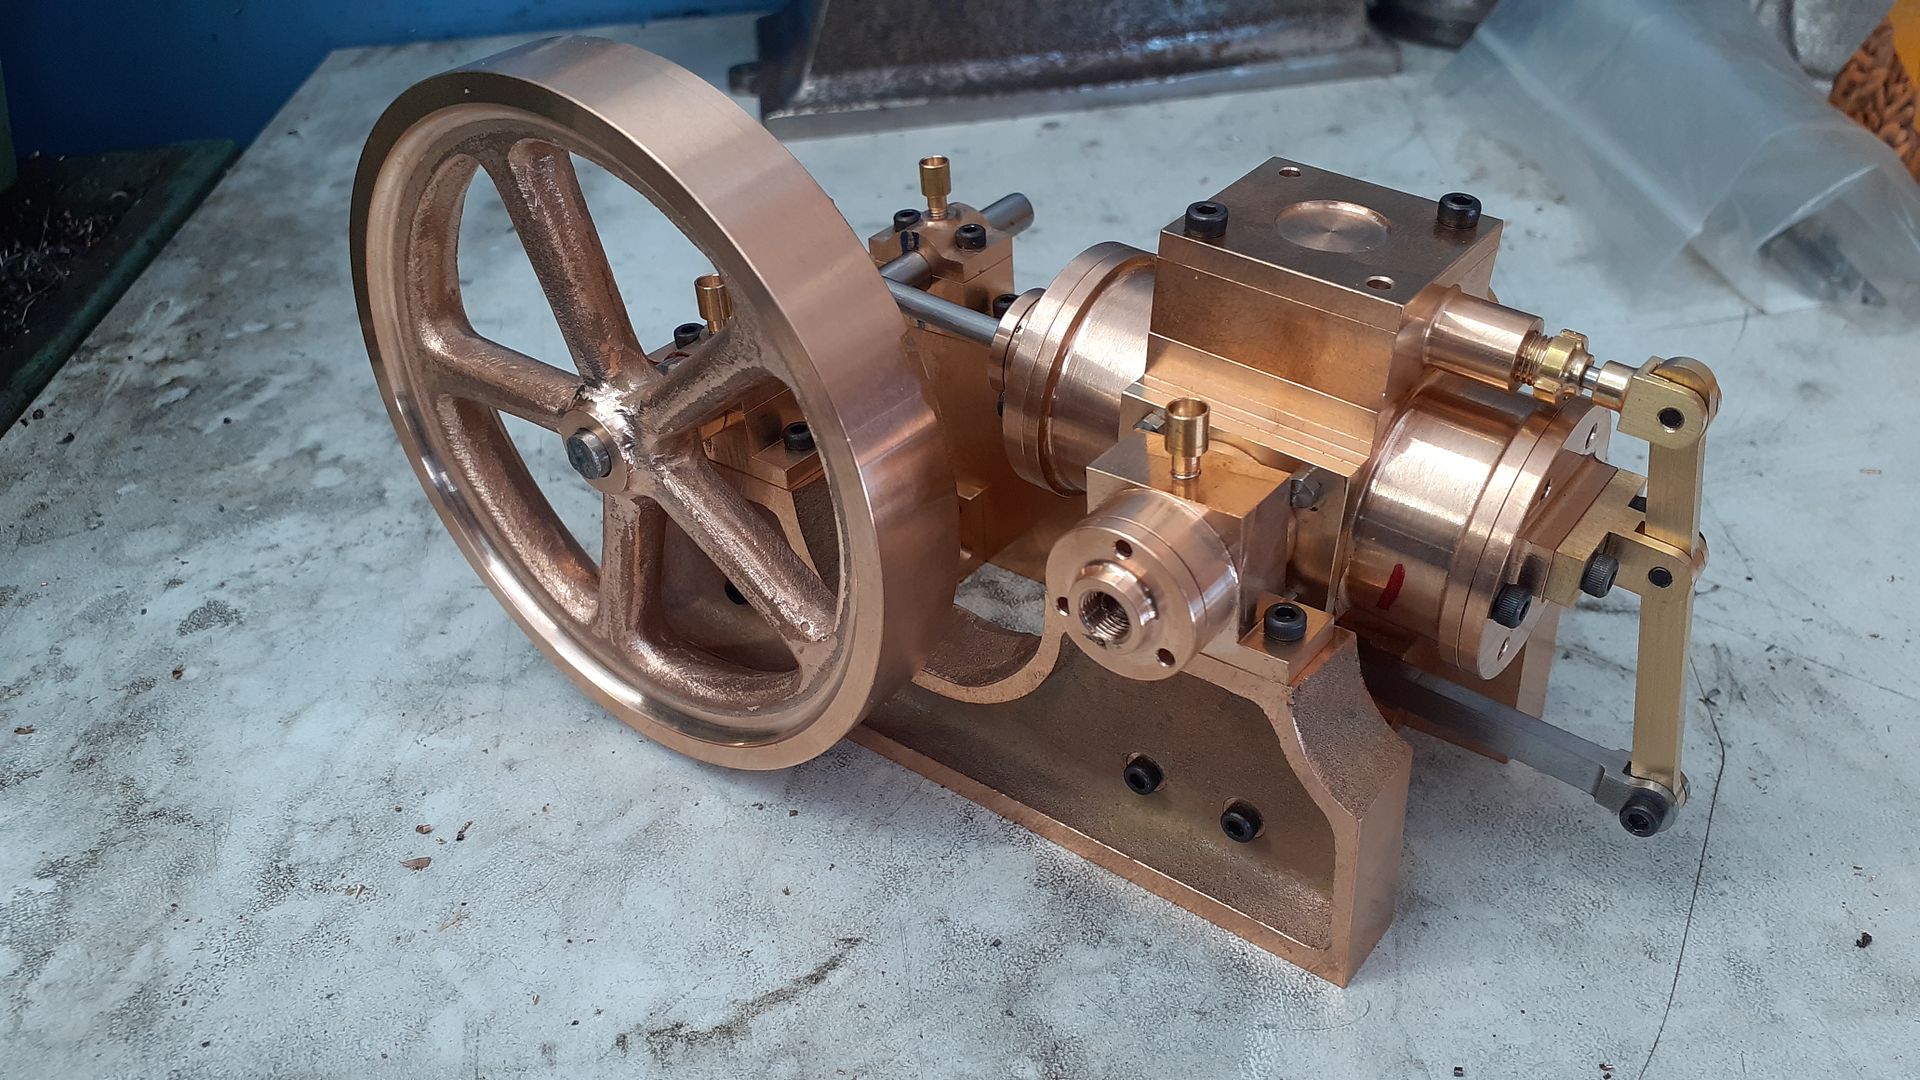
That completes the machining and here are a couple of slightly out of sequence shots of the almost completed engine. I test ran it like this with just cap heads and no gland packing and all seems good so I’ll post again soon with some images and video of the painted engine complete with nuts and studs in place of the cap heads.
To finish of this thread here are some pictures and a video of the finished engine. As I said a bit more bright metal than I would personally go for but quite happy with how it looks, the satin black sets off the bright metal well which is almost all straight off the machine no additional buffing or polishing except the flywheel rim and rear cylinder cover that got a bit of emery.
I’m still none the wiser as to why they called it “Digger” If I get round to making my own I think it will be called “Shaker” as the cylinder reminds me of a cocktail shaker not because it jumps about even at speed – all that heavy bronze keeps it quite firmly planted.