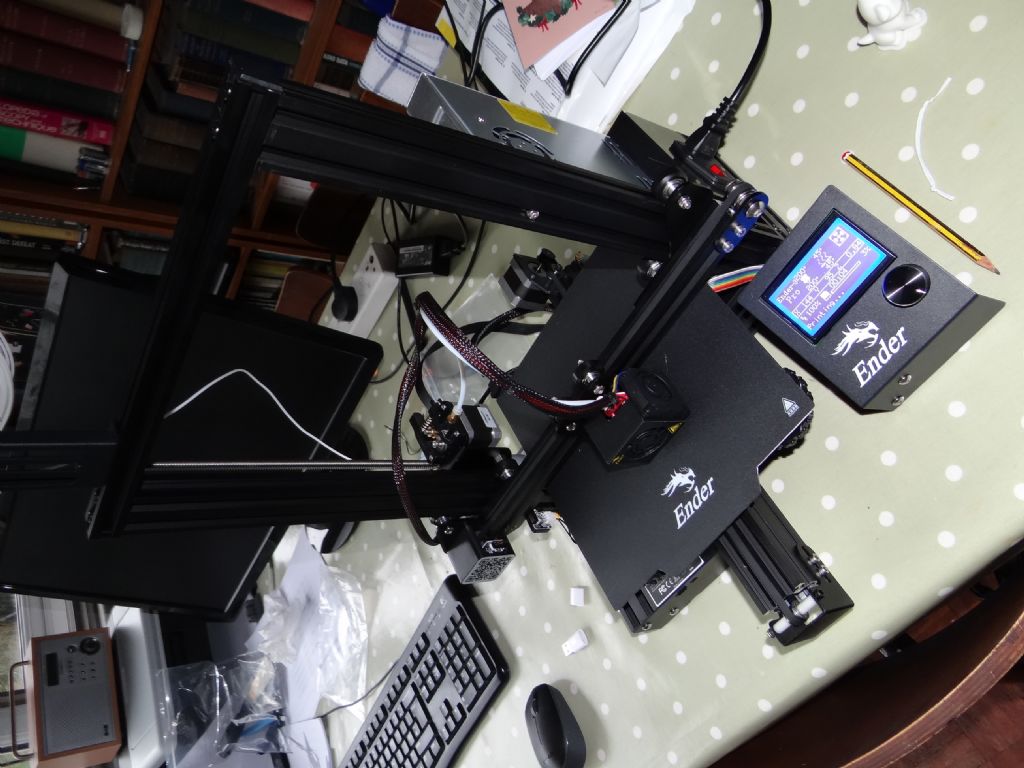
Although assembly isn't complicated, I found the instructions to be a shade too minimal. There's a single sheet self-build furniture style picture sequence showing how the parts join together. Then the new owner has to find the Operating Manual and Troubleshooting Guide. The Troubleshooting Guide looks quite good, but the Operating Manual is also a shade too terse for me. Nonetheless, I got the printer to power up without having to seek advice on the Internet.
In preparation I'd drawn two test objects with FreeCAD. The workflow is:
- Create the object by extruding 2D sketches into 3D objects as usual with FreeCAD (Much the same as other 3D CAD)
- Export the object as an STL File. STL is short for 'Stereolithography', and is a common way of describing the shape of 3D objects.
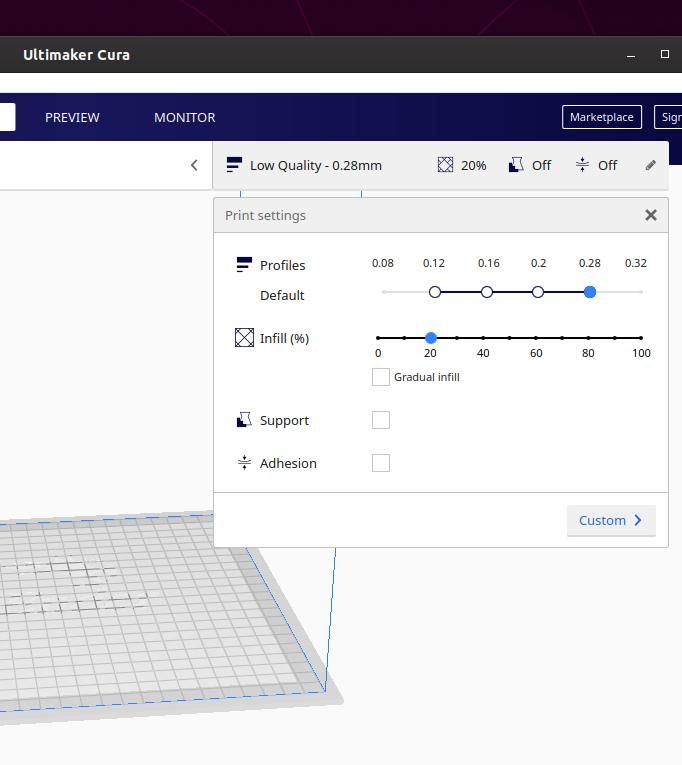
- Import the STL file into Creality Slicer; this is a Windows application provided with the Printer. It 'slices' 3D shapes into multiple layers, bottom up, and outputs the gcode needed to control the printer (or other CNC machine).
- Copy the gcode file to a memory card held in a USB converter (both provided(
- Switch on the printer, level the bed, and zero the print head.
- Warm up the print-head and feed plastic stock (provided) into the mechanism until a little plastic blobs out of the print nozzle.
- Set the print-head to 200C and the bed temperature to 45C
- Insert the memory card with gcode into the slot provided. The contacts face UP!
- Follow the slightly confusing instructions for Printing via menu option 'Init TF Card', and a list of what's on the card should appear on screen. Select the wanted gcode file. (Although I had no problem reading it with Windows and Linux, I had to reformat the supplied memory card before the printer recognised it.)
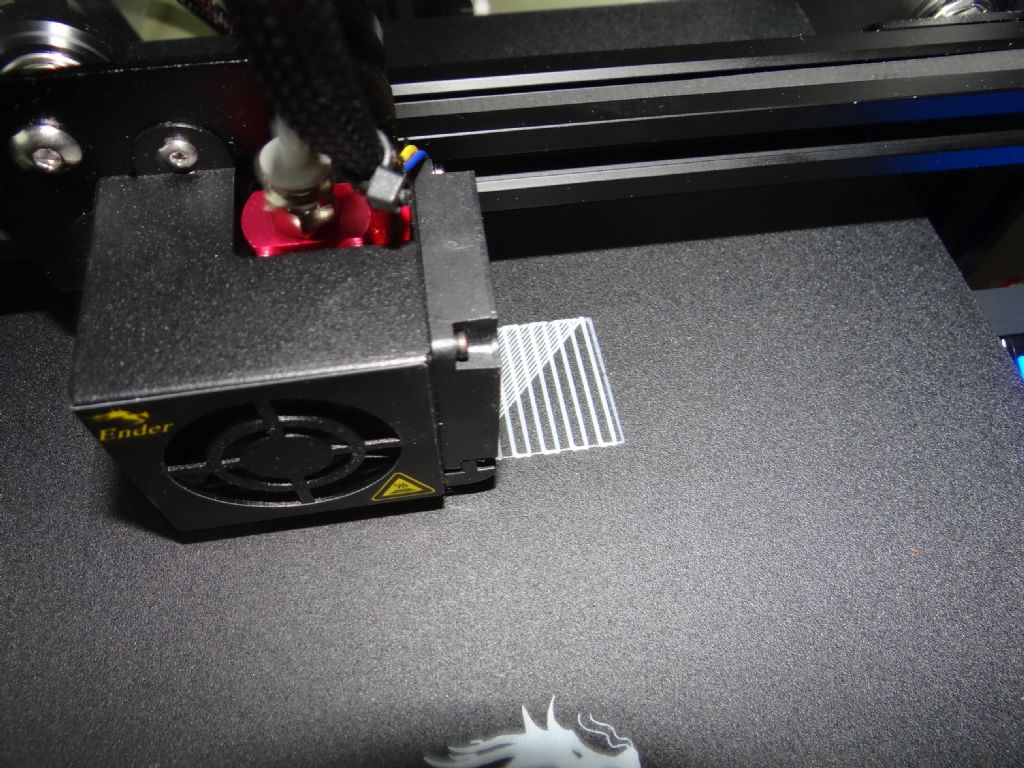
- Watch the head and bed temperatures take a few minutes to rise, before printing starts by laying down a foundation layer.
- Wait a very long time for printing to finish!
The Creality Ender 3 Pro is a slightly improved version of the popular Ender 3. The pro comes with a stiffer frame, better base, beefier power supply, and a flexible magnetic plate that sits on the hot bed. The latter makes it easier to get models off the printer bed – no need for Hairspray or other tricks. Not everyone thinks these goodies are worth the extra money, but the magnetic plate works well for me.
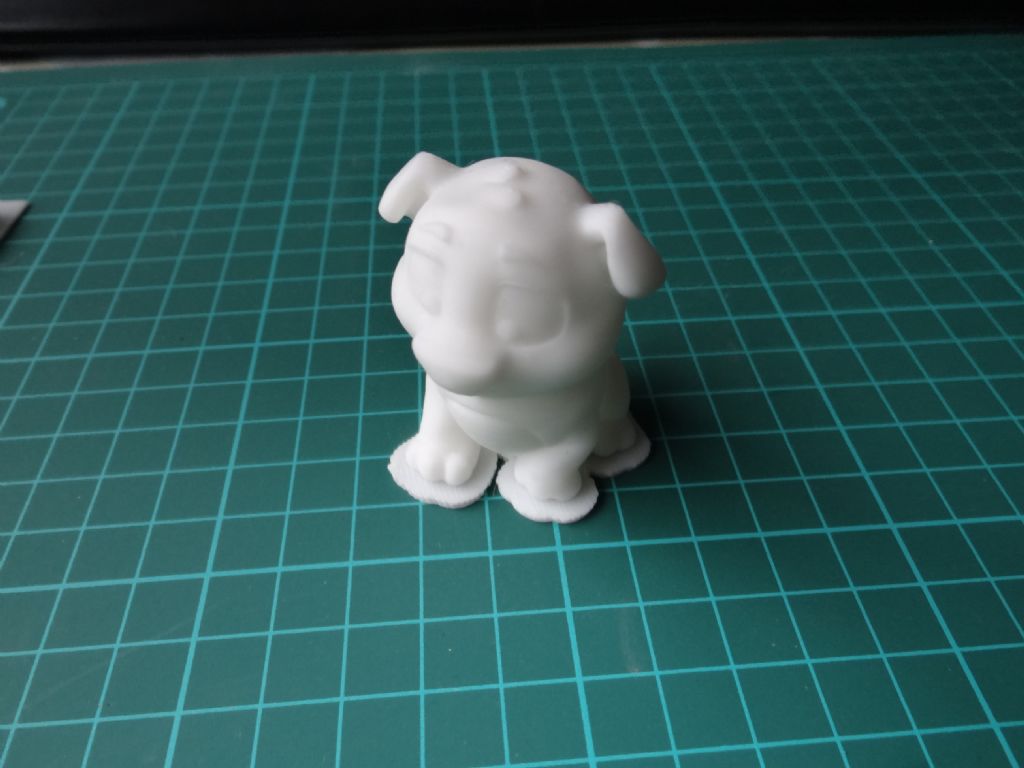
First model is the dog supplied by Creality to test the printer. Although I don't want a dog, I printed one to see how well the printer would behave with a model supplied by the seller. It should be good, and it was.

Apart from taking 3 hours to print!
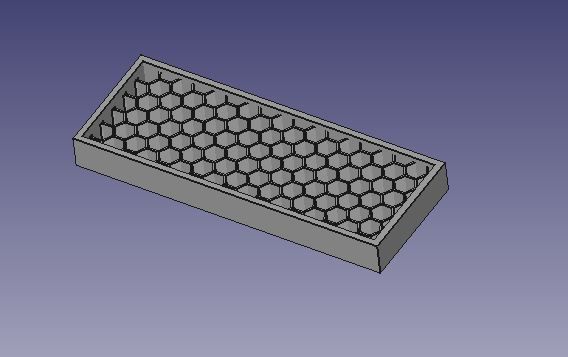
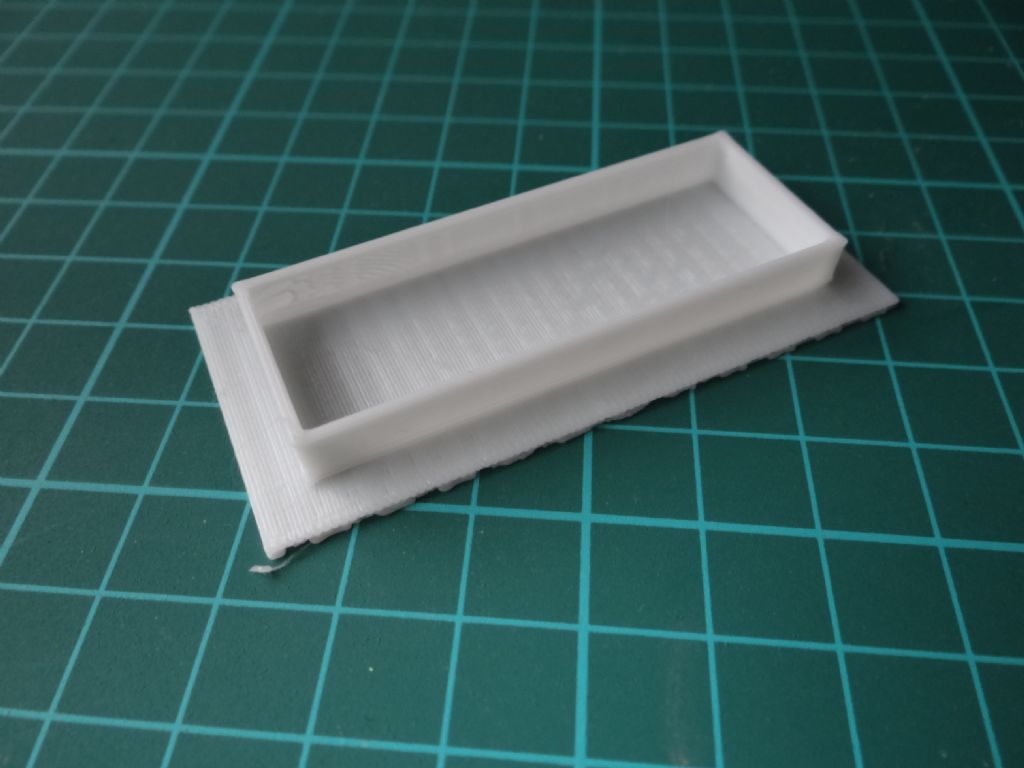
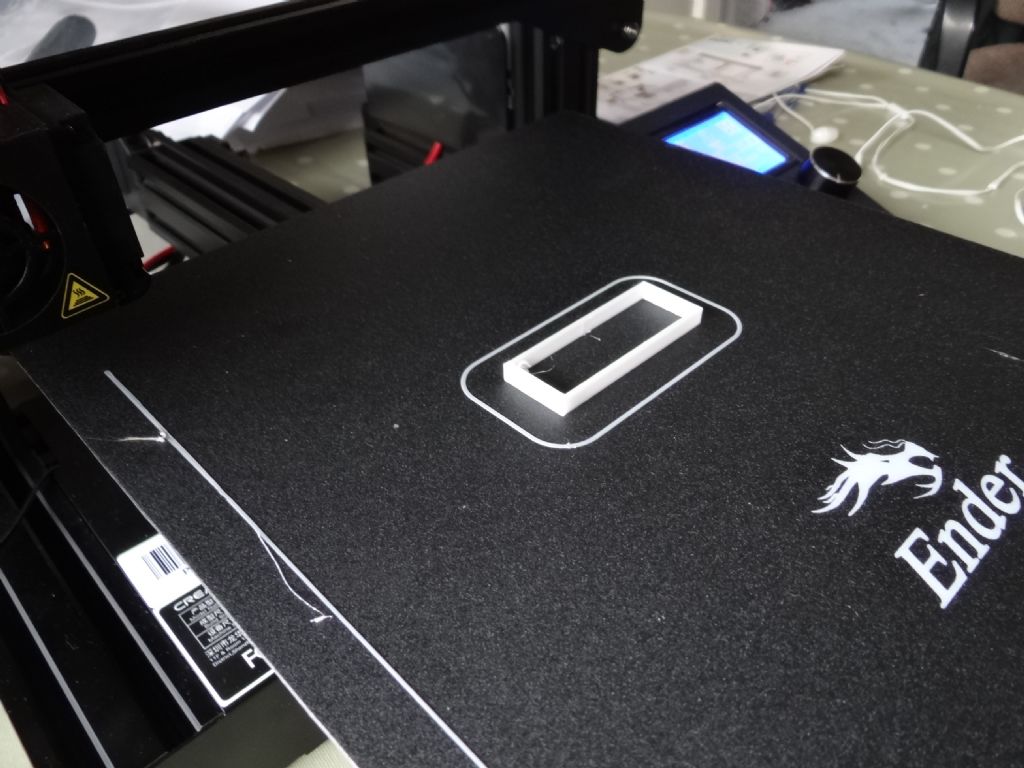
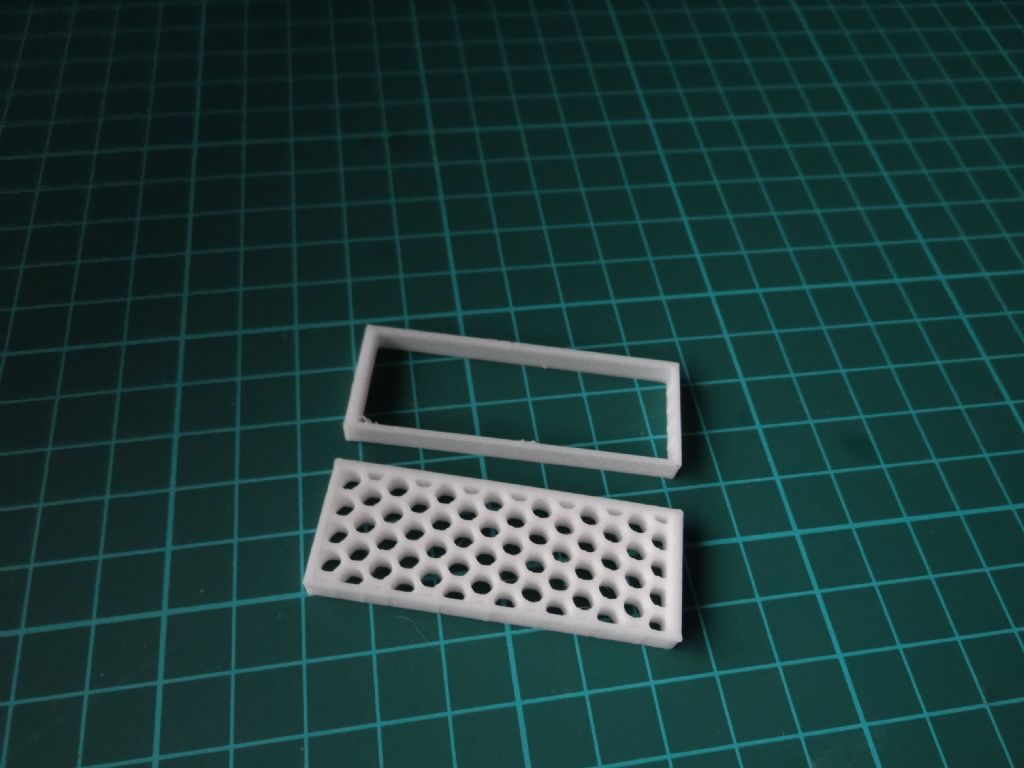
Next, I tried a home-designed honey-comb structure intended to see how well the printer would cope with a fine internal structure.

Didn't work properly, checking back there's an error in the honey-comb section of my FreeCAD model. However, the outer frame printed OK. Specified to be 58.38mm x 21.75mm, it printed as 58.2 x 21.7mm.

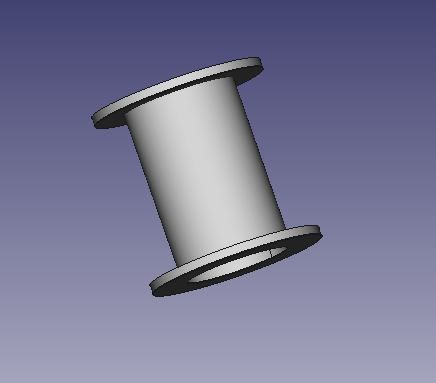
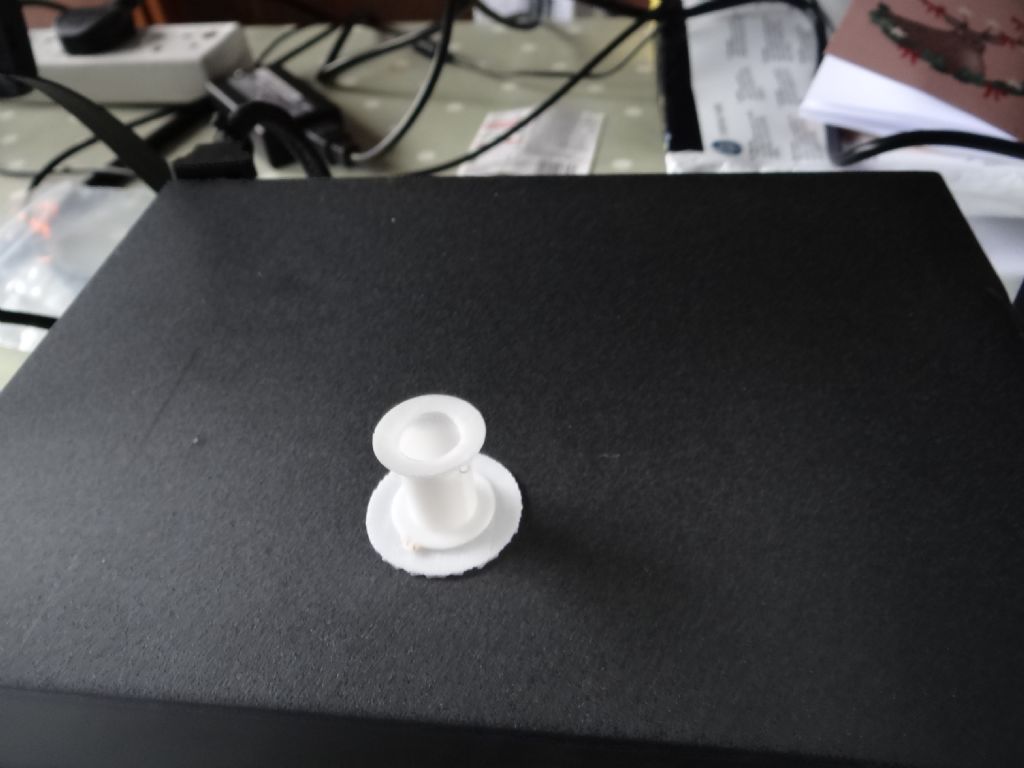
Next was the coil bobbin needed for my solenoid valves. This is 20mm diameter, 20mm high, with a 12mm diameter hole. All surfaces are 1mm thick.
This printed well in 21 minutes, and I was particularly pleased to see a reasonable top-plate – I expected it to sag, but the software was intelligent enough to build the overhang in sensible stages. Dimensionally quite good; 20.00mm base diameter, 20.03 top diameter. The centre hole is most faulty, a rim formed narrowing the 12mm interior to 11.52mm at the very top.
The dog is near perfect The most obvious problem with the honeycomb and bobbin are the solid raft laid down first, which will have to be removed. The raft must be a software feature. The bobbin has a minor flaw due to a blob of plastic building up on the print nozzle. The underside of the top-plate is slightly untidy, but the bobbin is perfectly serviceable.

Conclusions: Pretty impressed for the money. Not ultra-accurate and printing takes ages. No problems on the software side that can't be blamed on me. Objects are likely to come off the printer needing some remedial work. There's a lot more to learn.
Dave
not done it yet.


