Colchester chipmaster rebuild

Advert

Colchester chipmaster rebuild

Home Forums Work In Progress and completed items Colchester chipmaster rebuild

Viewing 22 posts - 26 through 47 (of 47 total)
  • Author
    Posts
  • #371010
    Adam
    Participant
      @adam

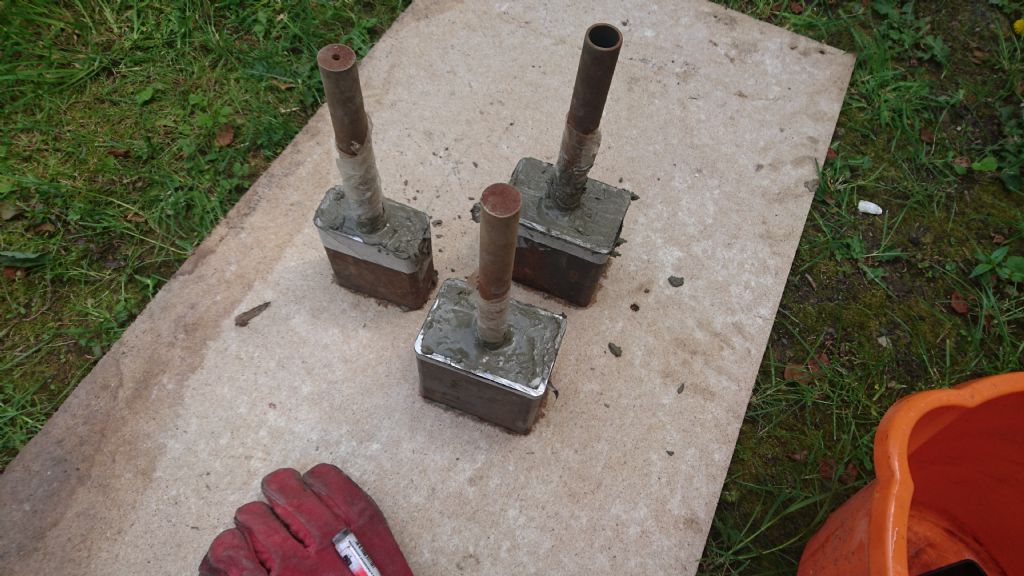
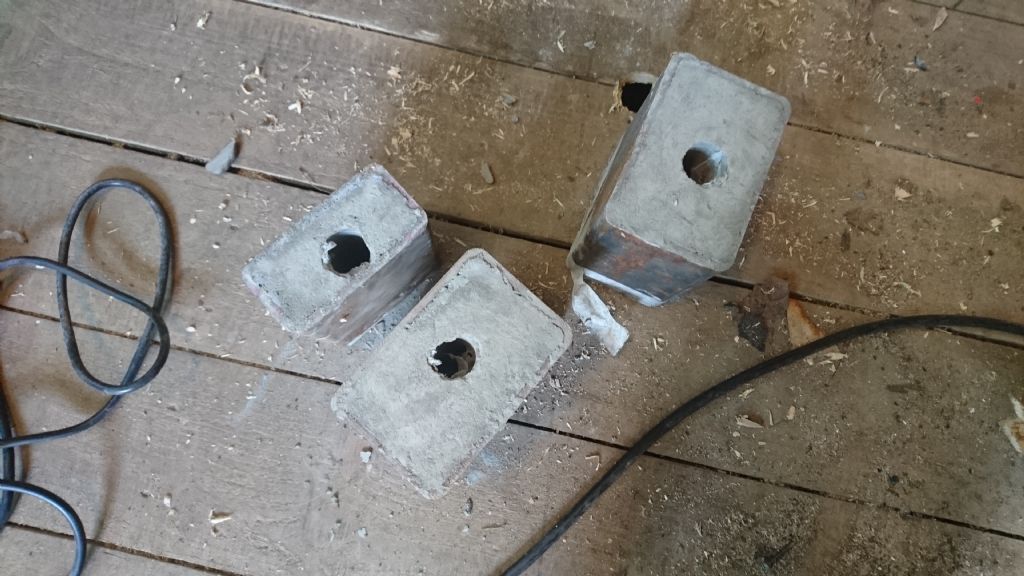
      Then to get the lathe in the shed I had to cut parts of the floor so I can mount the lathe on steel and concrete mounts. I made them using box section filled with cement. I used bar to enable a bolt hole if required.dsc_3748.jpgdsc_3751.jpgdsc_3753.jpg

      Advert
      #371023
      thaiguzzi
      Participant
        @thaiguzzi

        Wow! Outstanding.

        #371036
        Neil Wyatt
        Moderator
          @neilwyatt

          Lovely job!

          Neil

          #371050
          Journeyman
          Participant
            @journeyman

            Excellent job on the refurbishment, the Colchester should serve you very well. But, I notice from your album pictures that you seem to have it in a wooden shed which is unlined and uninsulated. To preserve and care for you nice clean lathe you could well install some insulation for the roof and walls, a couple of inches of Kingspan or similar all round would be a worthwhile investment together with a small amount of background heating it would prevent your good work being got at by the dreaded rust bug! While you are at it lining the walls with ply or similar will make it much easier to fix shelves, hooks and cupboards and as a bonus will much increase the strength and security of the shed.

            You probably have all this in mind already but if not before winter gets here would be a good time.

            John

            #371128
            Adam
            Participant
              @adam

              Thanks Journeyman, I do plan on putting insulation into the shed. I’m just collecting materials for it as I go. I left enough space behind the lathe to do this.

              #371129
              Adam
              Participant
                @adam

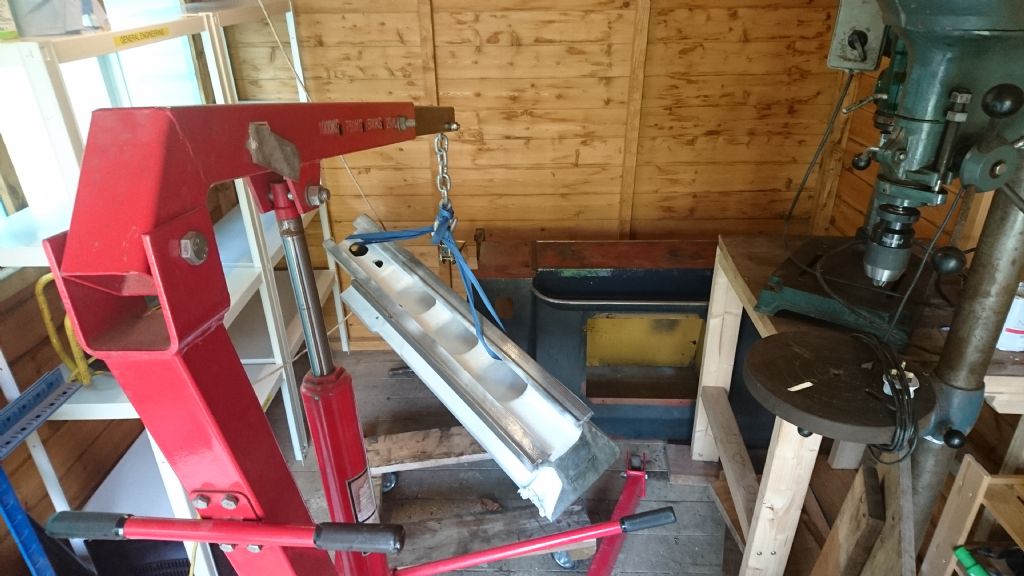
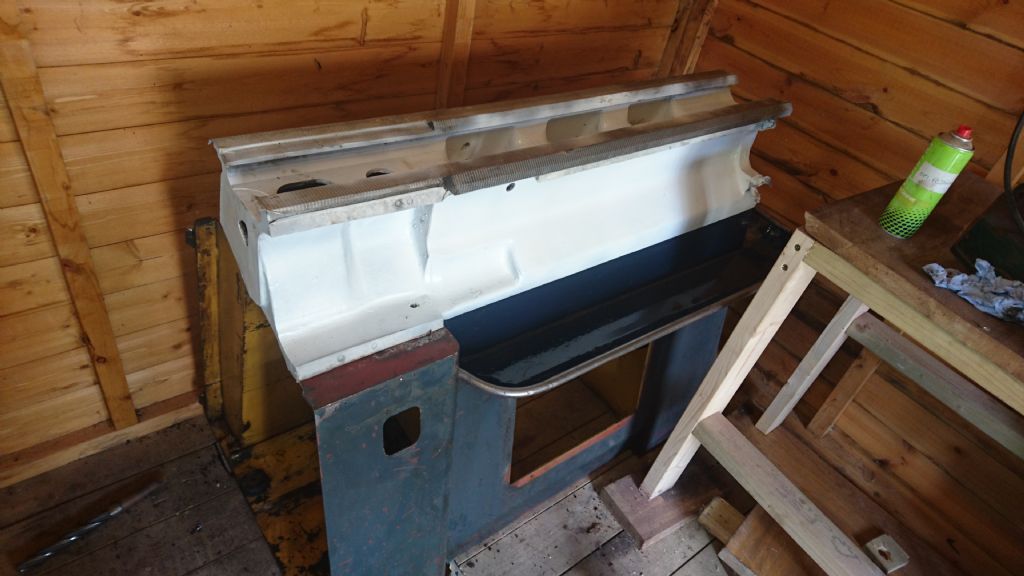
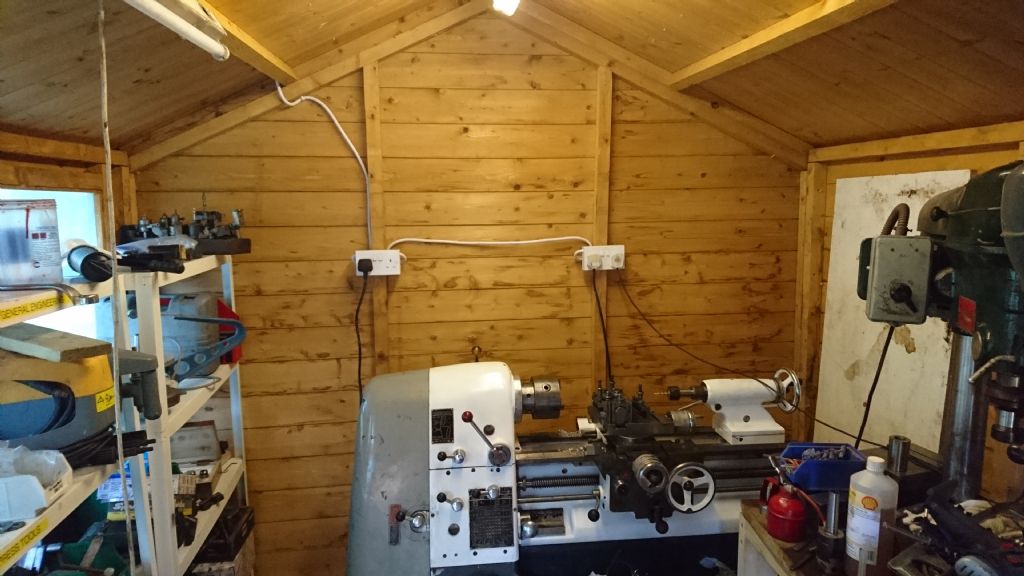
                Next I had to get the base of the lathe into the shed. The shed has about a 9 inch step but by using a trolley getting the stand from the garage to back of the shed was surprisingly easy. And all on my own too. The harder part was the lathe bed. This was painfully heavy but my trusty engine crane took it in its stride. The base and the bed mount on only three points, triangulated. According to the manual this keeps it very steady.dsc_3754.jpg

                #371131
                Adam
                Participant
                  @adam

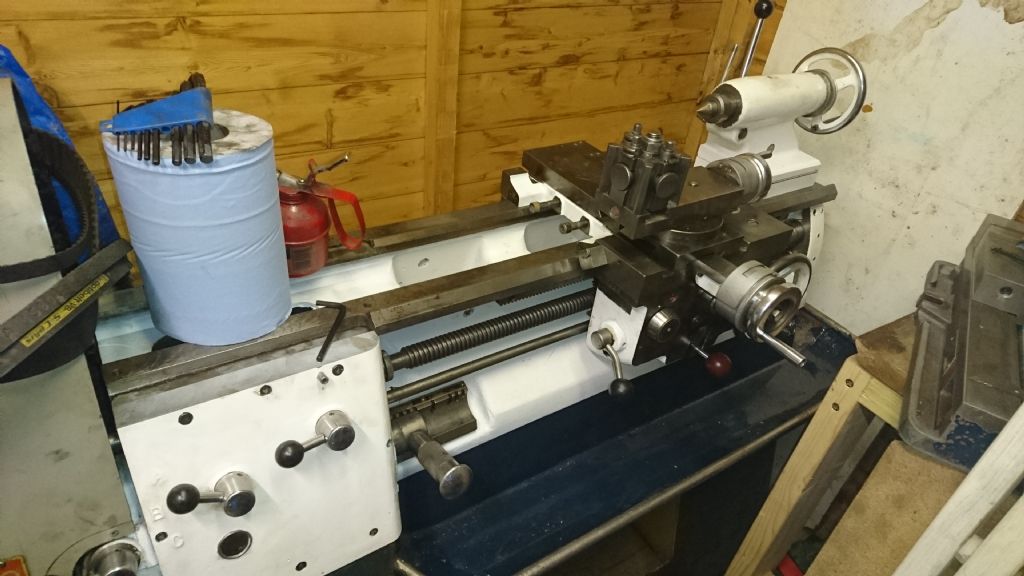
                  Once the bed was bolted down I assembled everything. dsc_3755.jpg

                  dsc_3756.jpg

                  #371132
                  Adam
                  Participant
                    @adam

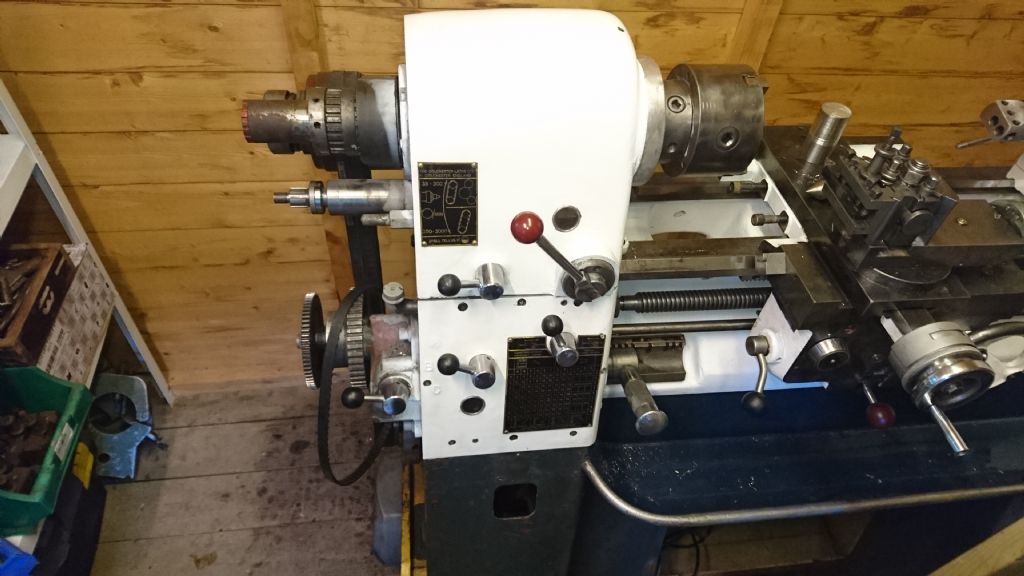
                    The headstock was the only thing I needed help with as it was just too heavy for myself. But once it was on everything else fell into place. dsc_3768.jpg

                    #371133
                    Adam
                    Participant
                      @adam

                      dsc_3791.jpg

                      #371134
                      Adam
                      Participant
                        @adam

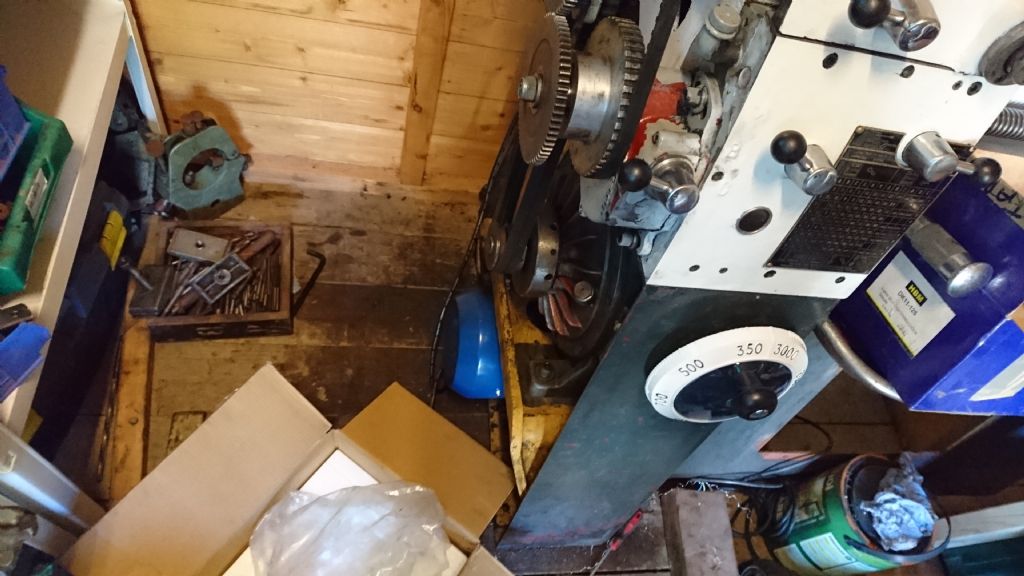
                        Not sure if it’s easy to see but I changed to a single phase motor. I don’t really need reverse but it works from the standard switch so you can’t tell to look at it. The motor is 3 he. The variation works on all speeds with no bad noises although I don’t run it at particularly high speed.dsc_3792.jpg

                        #371135
                        Adam
                        Participant
                          @adam

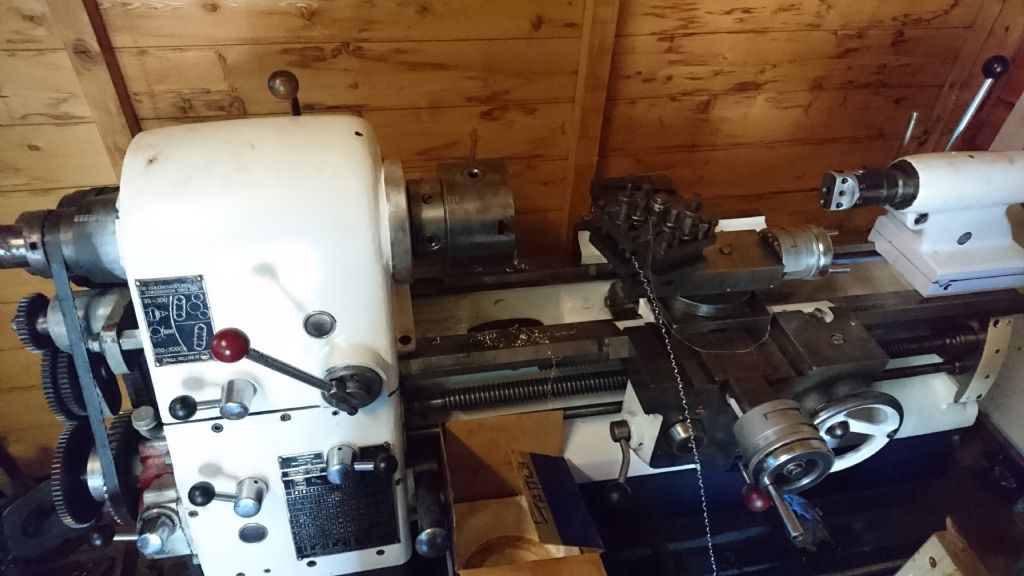
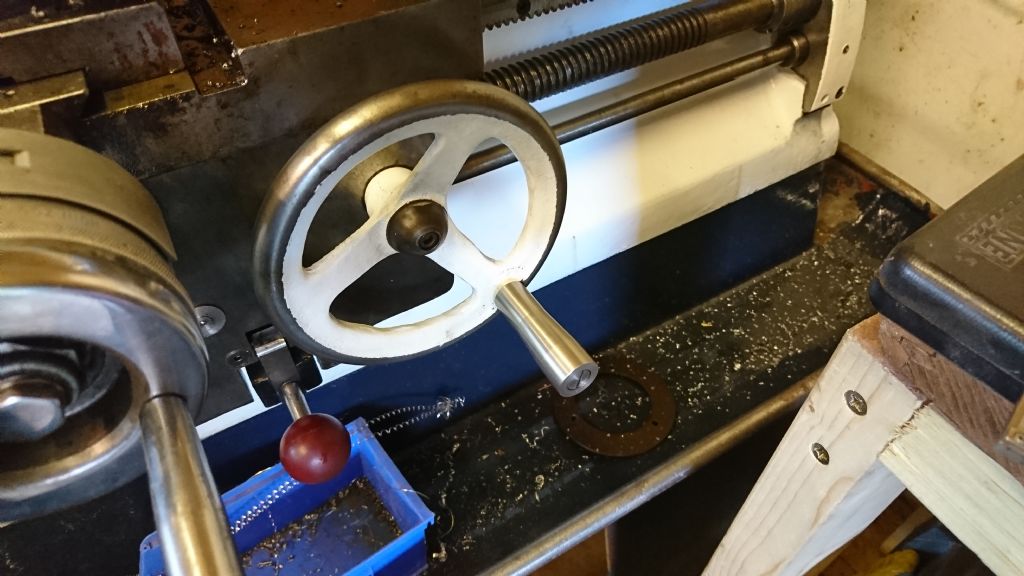
                          The lathe all complete and tested works a treat and is awesome . The only annoying thing is the missing handle on the carriage wheel so that will be my first project dsc_3795.jpg

                          #371136
                          Adam
                          Participant
                            @adam

                            First test of the lathe and going well. I still need to finish painting the motor cover and bottom of the stand but it will have to wait dsc_3811.jpg

                            #371137
                            Adam
                            Participant
                              @adam

                              The handle was an interesting first project. At first glance it seemed easy but it required facing, taper turning and screw cutting and using a slitting saw on my Kerry super 8 converted mill. For a novice it was rather interesting to do. I think it came out well. The outer handle is stainless steel and the inner bolt is mild steel. I wanted the handle to rotate like the others on this lathe. I found the surface finish was excellent and the lathe could take very big cuts although those we just test cuts. dsc_0066.jpg

                              #371138
                              Adam
                              Participant
                                @adam

                                So in conclusion, whilst this lathe is not completely finished as it requires a little more paint it is finished in terms of being able to turn and cut. I’m very very happy with this beast and once my classic mg is at the painter I can spend more time getting the shed insulated, installing a proper milling machine and getting the too long storage sorted. I’ll keep posting as I go along.

                                #371196
                                thaiguzzi
                                Participant
                                  @thaiguzzi

                                  Wow 2.0.

                                  Very nice.

                                  #371201
                                  Alan Jackson
                                  Participant
                                    @alanjackson47790

                                    Well done Adam, I am quite sure you will be very happy with this lathe

                                    Alan

                                    #371509
                                    norman royds 2
                                    Participant
                                      @normanroyds2

                                      I adam good work on the Colchester I need some information were did you get oil for variator. I from .I tried to find oil off the internet but luck regard norm

                                      #371530
                                      Nick Taylor 2
                                      Participant
                                        @nicktaylor2

                                        https://www.smithandallan.com/products/shell-industrial/2242-shell-morlina-s2-bl10-formerly-shell-morlina-10/

                                        https://www.metalworkingfluids.net/shell-morlina-s2-bl-10.html

                                        I bought a 20L drum, around £80 with the VAT. I use it in the headstock of the chipmaster and a few other machines.

                                        #371540
                                        Brian Wood
                                        Participant
                                          @brianwood45127

                                          Smith and Allan are based in Darlington, Valley Road

                                          Kopp Variators will sell you 5 litres for about £45 plus delivery at £15 which when you add in the VAT is not that far removed from the cost of a 20 litre drum at Smith and Allan

                                          Brian

                                          #371611
                                          Adam
                                          Participant
                                            @adam

                                            I got the oil from eBay. Was cheap too.

                                            #372079
                                            Ian Burgess 1
                                            Participant
                                              @ianburgess1

                                              This is a very interesting thread for me. I own two of these, one from the early 60's and the other late 70's. I too have a capstan and a huge amount of tooling for both machines. I followed a Chipmaster restoration thread on usinages and the owner stripped the machine to the bone too. My $64,000 question is where did you start and how did align the key pieces? The head swings on one location dowel IIRC then you have the sole plate on the tailstock to deal with. So both ends of the bed to be realigned. Did you use an MT3 test bar in the spindle nose hens teeth adapter and clock it? Also did you compile a list of seals and any other consumables that got replaced? While i am asking too many questions does the tailstock sole have any "rocking chair" motion? Did you encounter anything troublesome apart from missing the hidden pin in the half nut engagement?

                                              Please excuse my multiple question post but it's easier than posting question after question. My compliments to you for taking the time to create this thread in between carrying out a substantial rebuild. Chapeau!

                                              #372934
                                              Adam
                                              Participant
                                                @adam

                                                Hi Ian, didn’t have any real issues in the build, to align the head I used the Morse taper attachment for the headstock. As you say I’ve heard it’s rare but I have one. I then used a centre on the rail stock with a known straight bar and used a dti on the saddle and measured, adjusted and measured.

                                                Seemed to work. I didn’t require any seals apart from the oil seal in the gearbox which was cheap.

                                                When it came to the rebuild I just started with the carriage and just stripped everything one piece at a time. Do too much at once and it gets confusing.

                                                The tail stock didn’t have any rocking motion and went together easily. Is your model the dial gauged type? Mine has both imperial and metric.

                                              Viewing 22 posts - 26 through 47 (of 47 total)
                                              • Please log in to reply to this topic. Registering is free and easy using the links on the menu at the top of this page.

                                              Advert

                                              Latest Replies

                                              Viewing 25 topics - 1 through 25 (of 25 total)
                                              Viewing 25 topics - 1 through 25 (of 25 total)

                                              View full reply list.

                                              Advert

                                              Newsletter Sign-up