coffee cup Stirling

Advert

coffee cup Stirling

Home Forums Work In Progress and completed items coffee cup Stirling

Viewing 25 posts - 1 through 25 (of 29 total)
  • Author
    Posts
  • #221496
    tom bates
    Participant
      @tombates28045

      Hi all have decided to attempt the Jan Ridders coffee cup stirling engine and have downloaded the plans, to study them and work out a material list. more up dates to follow when shed times permit

      regards tom b

      Advert
      #31113
      tom bates
      Participant
        @tombates28045
        #221504
        Neil Wyatt
        Moderator
          @neilwyatt

          Good luck with it Tom.

          Neil

          #221735
          mechman48
          Participant
            @mechman48

            Looking forward to seeing it Tom, I have the plans but have yet to get 'round2it'… although some one posted me a pic of a 'round2it' last year… face 20

            George.

            #222139
            tom bates
            Participant
              @tombates28045

              Hi all

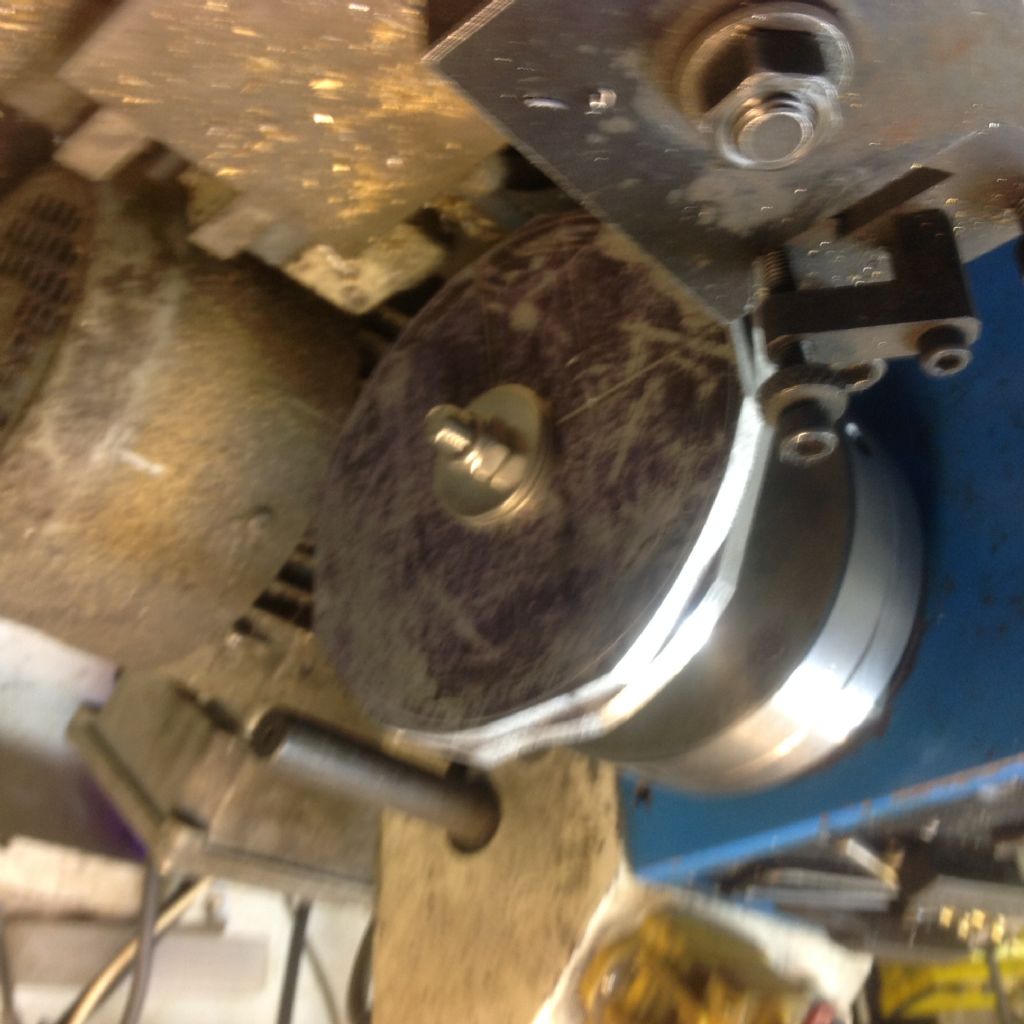
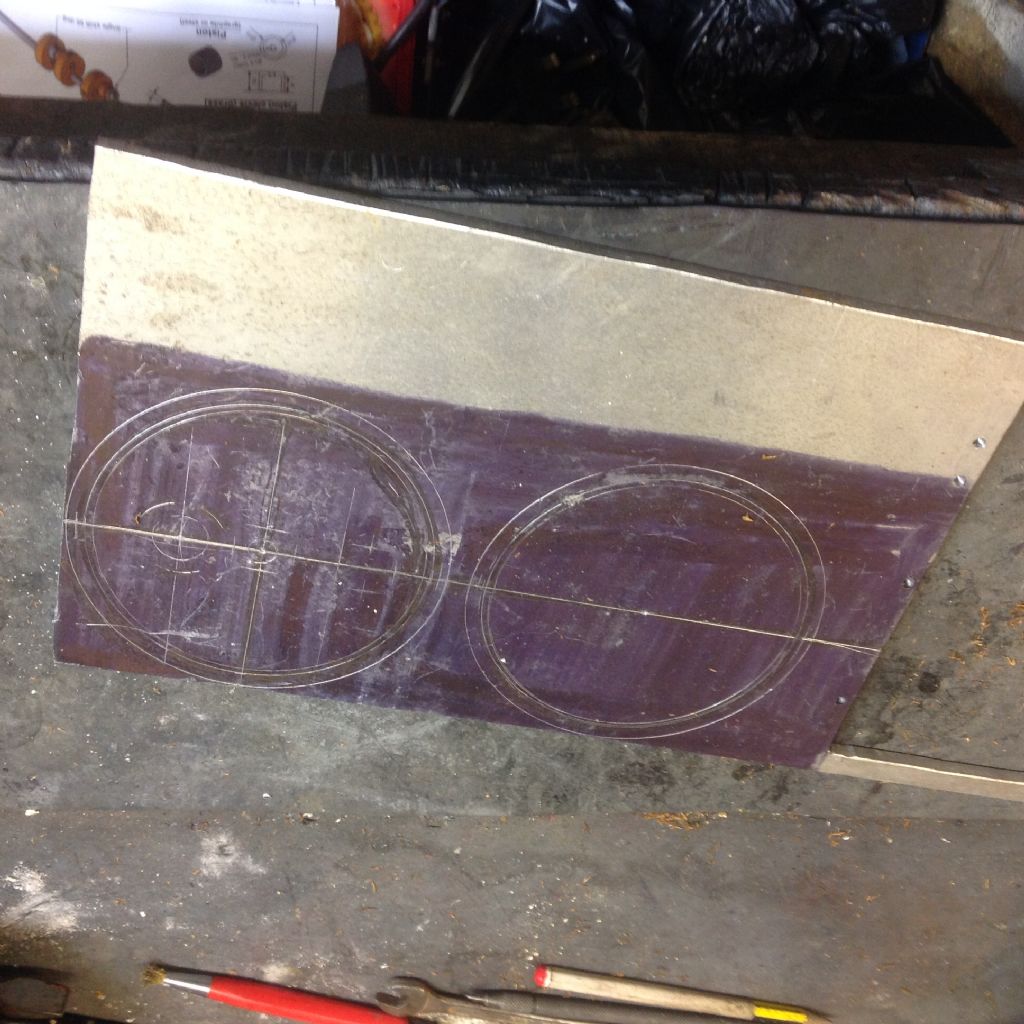
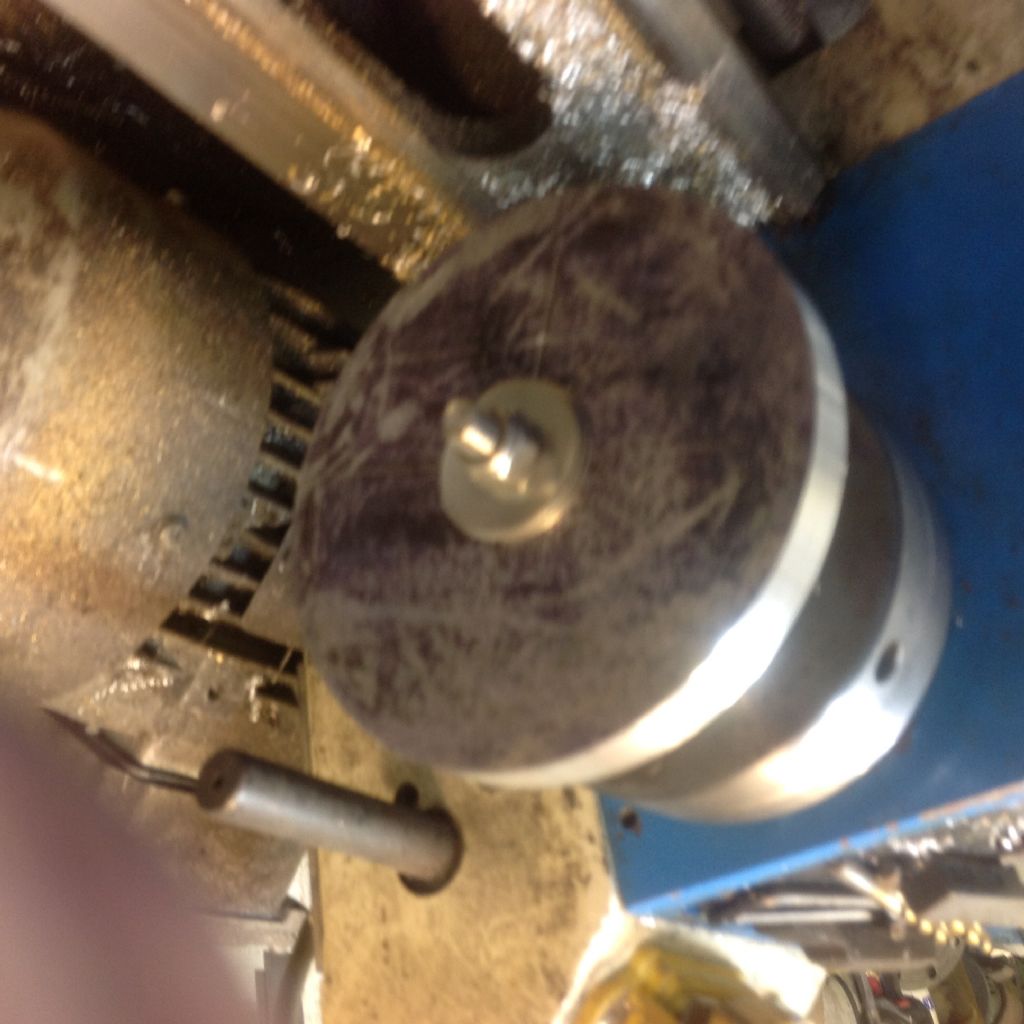
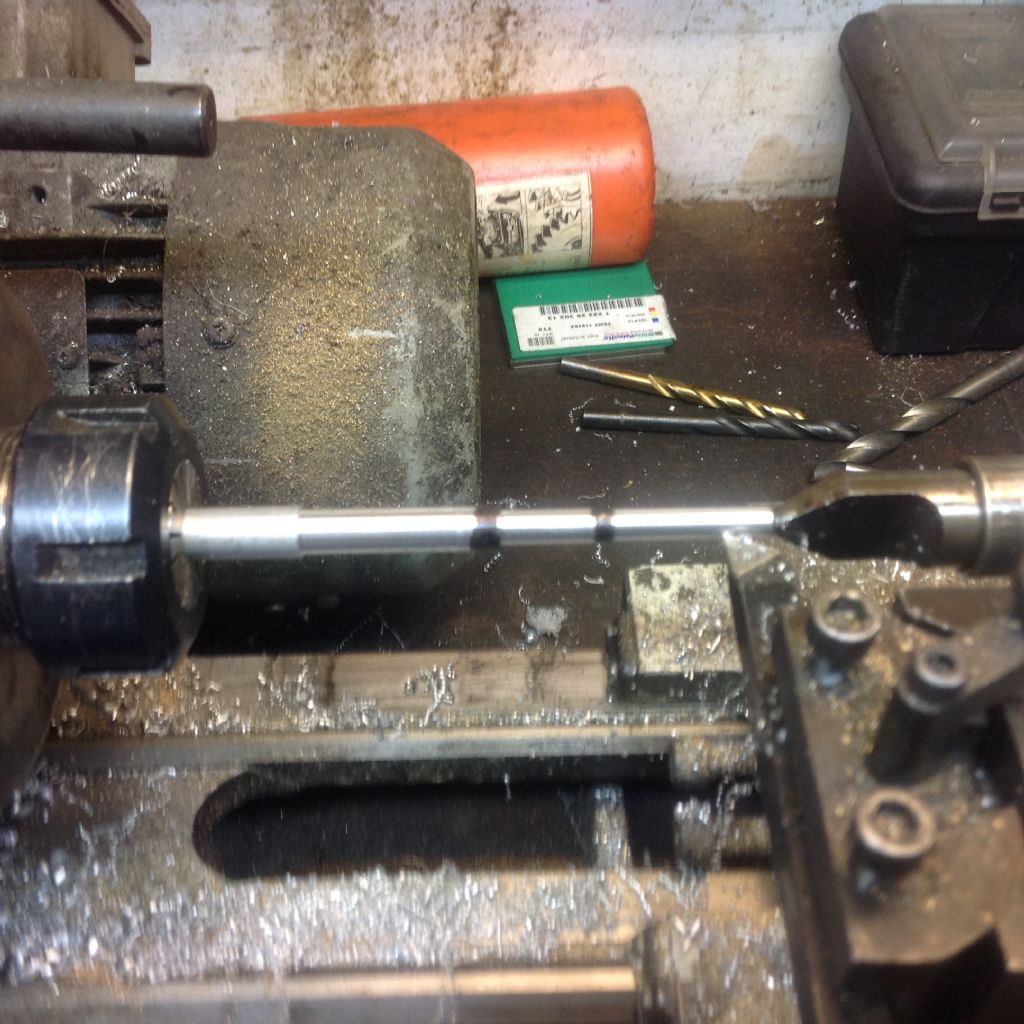
              have made a start on the coffee cup engine dispacer ends used some 'scrap' aliminium plate marked it out,made a mandrel to clamp rough the plates together and turned to size in lathe.some photos in album but unable to upload to this thread.Any clues please ?

              #222143
              tom bates
              Participant
                @tombates28045

                image.jpeg

                image.jpeg

                think i,ve got it .picture not in order.why are they upside down ?image.jpeg

                Edited By tom bates on 22/01/2016 17:39:42

                #222163
                Neil Wyatt
                Moderator
                  @neilwyatt

                  Looks like you have taken them on a phone which rotated them automatically? This rotation doesn't always actually 'stick' to the file when its uploaded.

                  Neil

                  #222167
                  tom bates
                  Participant
                    @tombates28045

                    Neil thanks for the prompt reply. I took these photos on my i pad should I be using a seperate camera to upload pics to avoid this problem ?

                    #222204
                    mechman48
                    Participant
                      @mechman48

                      Hi Tom

                      I have had similar probs with pics; what I end up doing is to take the pic with camera / phone, save it to 'My pictures' album as JPEG then can alter it with whichever photo editing software you have… crop / rotate etc. I also resize all pics using 'FSResizer' to approx' 640 x 480 then 'save' , then I can use as needed to 'upload' to album, also saves a huge amount of space on your hard drive. Pics can also be resized in the reply box by clicking pic until it shades in blue then click again to get resize squares on the borders, alter accordingly then click again to embed… at least that's the way I do it, others may have different methods.

                      George.

                      #222264
                      Enough!
                      Participant
                        @enough

                        …. and here's me thinking it was one of those new-fangled machines that Arc came up with – designed for ceiling mounting to save workshop space.

                        #222296
                        tom bates
                        Participant
                          @tombates28045

                          Bandersnatch. if only they did i,d buy the mirror image tools to fit on the floor to double my shed sizeidea

                          #222299
                          tom bates
                          Participant
                            @tombates28045

                            Mecman48 I,m doing something very similar to what you suggest,but on the posting i made today in what did you do today I posted 6 photos 2 were inverted and all were in the wrong order maybe i should be using alap/desk top to upload photos, all comment/suggestions welcome

                            #222305
                            tom bates
                            Participant
                              @tombates28045

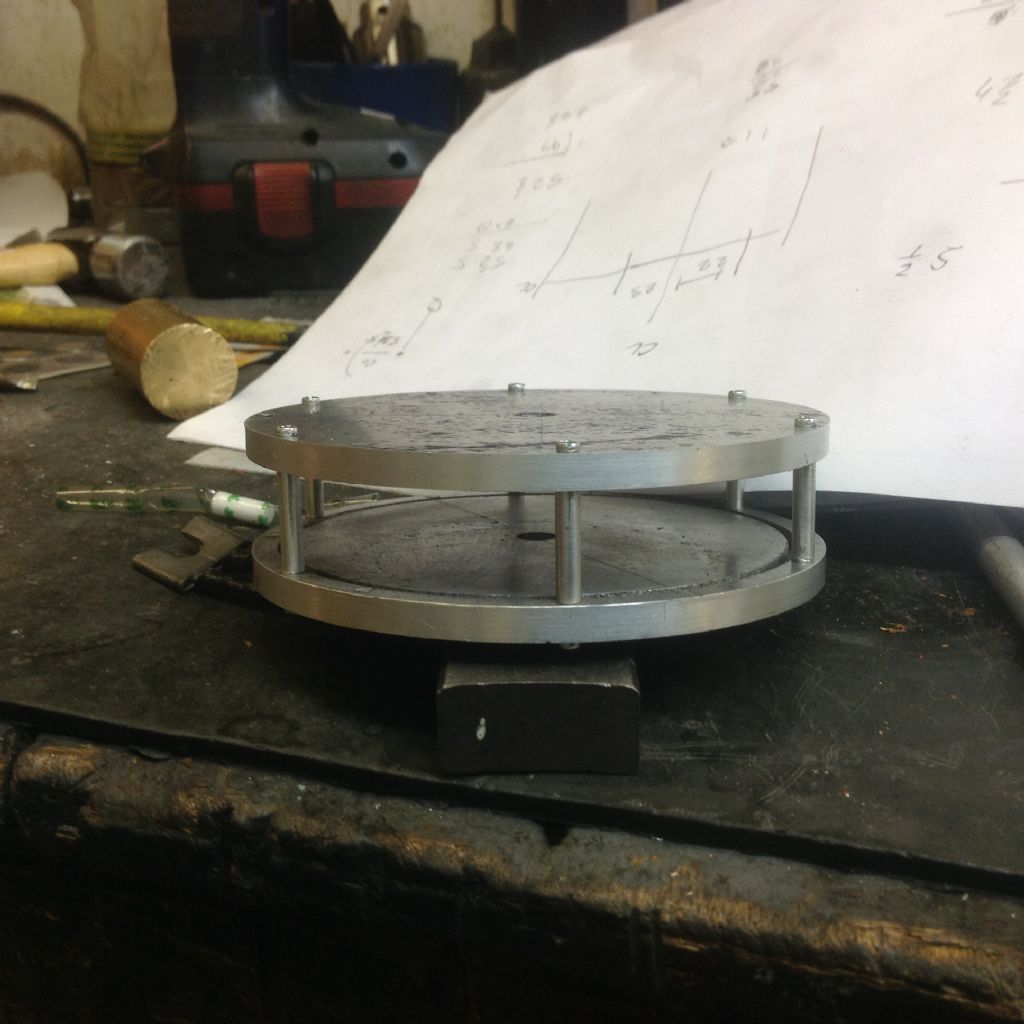
                              image.jpegMade the 6 x18 mm spacers for the displacer cylinder today easy turning exercise (really?) only broke 1x2mm tap😢 so only took photo of a assembled displacer

                              #222353
                              Ian S C
                              Participant
                                @iansc

                                Only problem doing the discs that way, you get a spare hole in the bottom one that you don't really need. A way around that in future, glue (PVA) the plate on a bit of wood, get a small steel disc with a centre hole in it, mount the wood either on a face plate, or a 4 jaw chuck, take the small disc and bring the tail stock up and sandwitch it against the aluminium disc.

                                Ian S C

                                #222354
                                Ian S C
                                Participant
                                  @iansc

                                  Only problem doing the discs that way, you get a spare hole in the bottom one that you don't really need. A way around that in future, glue (PVA) the plate on a bit of wood, get a small steel disc with a centre hole in it, mount the wood either on a face plate, or a 4 jaw chuck, take the small disc and bring the tail stock up and sandwitch it against the aluminium disc.

                                  Ideally the spacers around the displacer chamber should be of an insulating material, some sort of plastic. My LTD motor is held together with 12 x 5 mm Nylon bolts tapped into the top plate.

                                  Ian S C

                                  #222368
                                  tom bates
                                  Participant
                                    @tombates28045

                                    Ian thanksfor the info, but the reason I did it that way was that my rotary table is too small to fit the displacer disc if I try to fit my 4 or 3 jaw chucks I do not have enough height to fit any tooling

                                    with regard to the spacers I did consider making them from delrin but decided to stick to the plan. Might make delrin at a later date. Cheers Tom b

                                    #222380
                                    Gordon W
                                    Participant
                                      @gordonw

                                      I made the spacers from hardwood dowels and c/sunk woodscrews into each end. The spacing is not ultra critical and careful marking off should be ok.

                                      #222418
                                      tom bates
                                      Participant
                                        @tombates28045


                                        Thanks for the idea Gordon.Just an aside I was visiting one one of my companies site where they had to remove a door frame to install some new equipment, came away with lenght of mahogany 4ftx8''x5'' might make the dowels from this!

                                        cheers tom b

                                        p.s its big enough to make the displacer tube.(now theres a thoughtidea)

                                        Edited By tom bates on 24/01/2016 18:21:12

                                        #222426
                                        tom bates
                                        Participant
                                          @tombates28045

                                          Had another idea if i turn the wood to the out side diameter of the displacer plates and machine the top and bottom of the disc to fit in the 2mm anular grove I ,d get a combined spacers and tube in a low heat transfer material,would this this work ? feed back would be appreciated

                                          #222433
                                          tom bates
                                          Participant
                                            @tombates28045

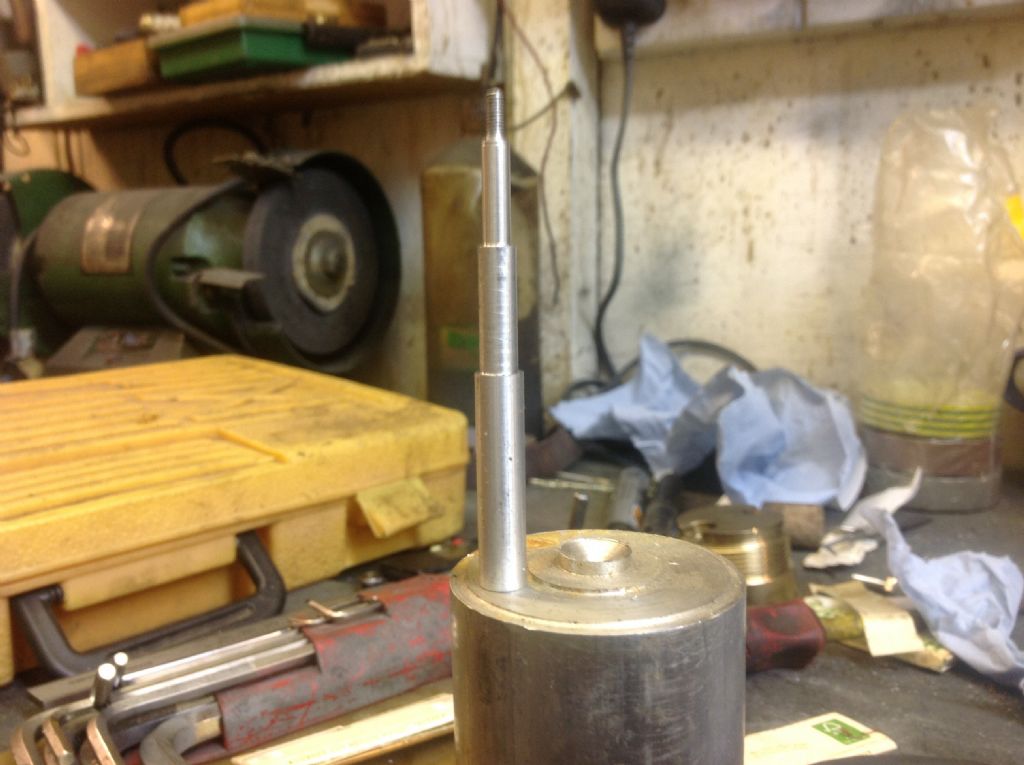
                                            Started the bearing standimage.jpeg

                                            #222436
                                            tom bates
                                            Participant
                                              @tombates28045

                                              finished the bearing stand jus t need to trim the thread to lengthimage.jpg

                                              #222510
                                              Gordon W
                                              Participant
                                                @gordonw

                                                No reason why a wooden tube could not be used, except for the obvious movement with temp. changes and water absorption. There are plans for one with a thick walled plastic tube. I would use the wood to stiffen up the bench, mine has an ex doorframe made in teak.

                                                #222646
                                                Ian S C
                                                Participant
                                                  @iansc

                                                  There are a number of things you can make the tubular part of the displacer chamber from, my one is a piece of plastic water pipe , about 150 mm bore and 5 mm wall thickness. If you are any good at glass cutting, a section from a suitable sized bottle would be excellent. Perspex is good, either a tube, or a strip wrapped to a tube, and glued. A thick walled cardboard tube should work quite well, as would your suggestion of using wood.

                                                  Ian S C

                                                  #222728
                                                  tom bates
                                                  Participant
                                                    @tombates28045

                                                    Gordon and Ian thanks for these suggestions they are appreciated. Have been out skip hunting over the last couple of days found several different diameters of plastic pipe of the approx. diameters a piece of delrin 4'' dia x7'm length,also aquired some large motor brushes 16x30x32 mm hopefuly I,ll be able to make the bearings and bushes from these when I get back in the shed

                                                    regards Tom b.         ( should read 7'' not 7'm )

                                                    Edited By tom bates on 26/01/2016 20:32:39

                                                    #222778
                                                    Ian S C
                                                    Participant
                                                      @iansc

                                                      The advantage (?) of glass, or Perspex is that you can see what's going on inside, more important other people can see, they'll still be none the wiser but they will see the displacer going up and down.

                                                      Ian S C

                                                    Viewing 25 posts - 1 through 25 (of 29 total)
                                                    • Please log in to reply to this topic. Registering is free and easy using the links on the menu at the top of this page.

                                                    Advert

                                                    Latest Replies

                                                    Viewing 25 topics - 1 through 25 (of 25 total)
                                                    Viewing 25 topics - 1 through 25 (of 25 total)

                                                    View full reply list.

                                                    Advert

                                                    Newsletter Sign-up