Hi all,
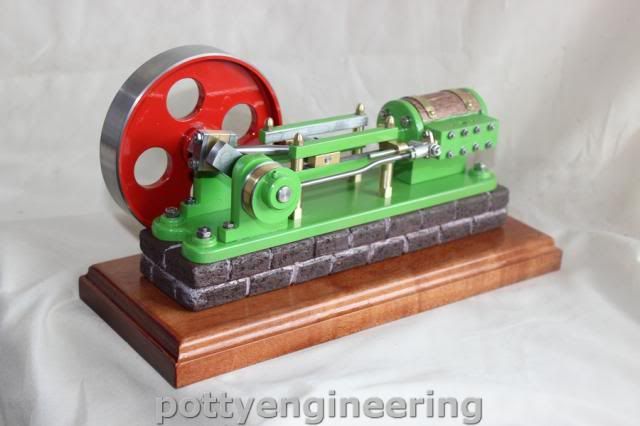
For the last few weeks I've been looking for a fairly simple steam engine to build, after much searching online and some helpful advice from a few members here I was directed towards the 'Potty mill' engine. The engine was designed to be built without the need for a mill so it suits the tooling I have at present and I decided to give it a go.
At the moment the plans I have aren't in Jpeg form so I'm having difficulty uploading them here but one I've figured how to do it I'll upload for the benefit of anyone following the thread.
For now here's a picture of this rather attractive little horizontal engine and hopefully mine will at least look similar when completed. 

I've got a better drill vice and a few other materials on order so for a few days I'm a bit limited in the parts I can build but I've decided to make a start on those that I can do for now.
I'd like this thread to be useful to beginners like myself and would be grateful if more experienced members can post their comments, ideas, suggestions, criticisms etc in the hope I can learn something as well as other beginners following.
Anyway enough of that lets make a start ;-
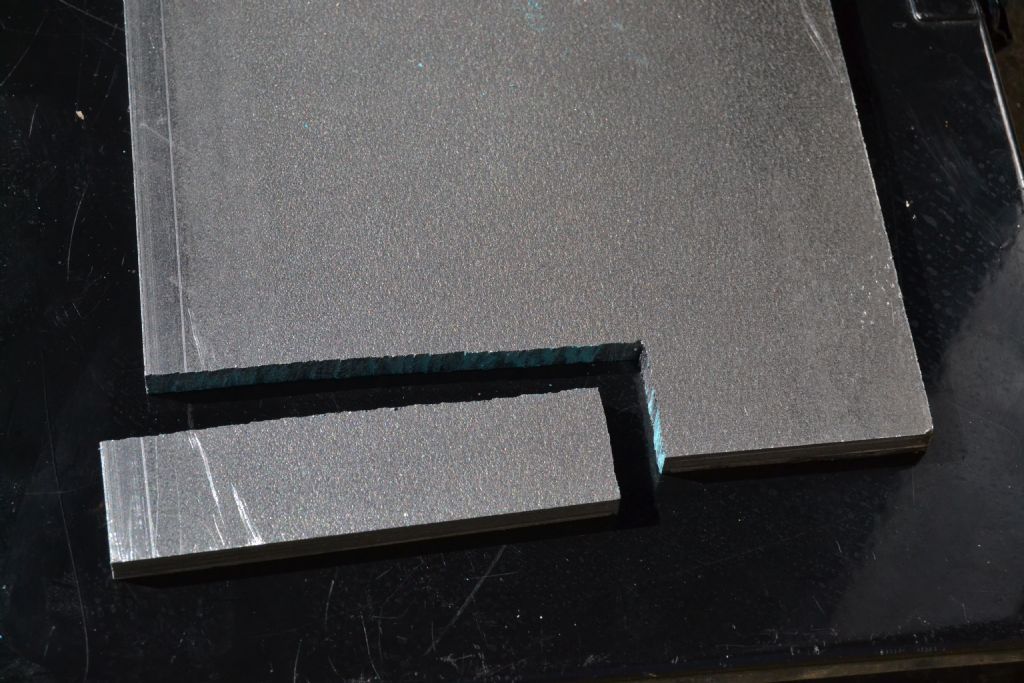
I decided the con rod looked achievable with the resources I have and began with a piece of 1/4 " thick steel plate which ultimately needs the centre turned to a fishbelly shape, a foot at one end and bearing fixture to attach to the cross head on the other end.

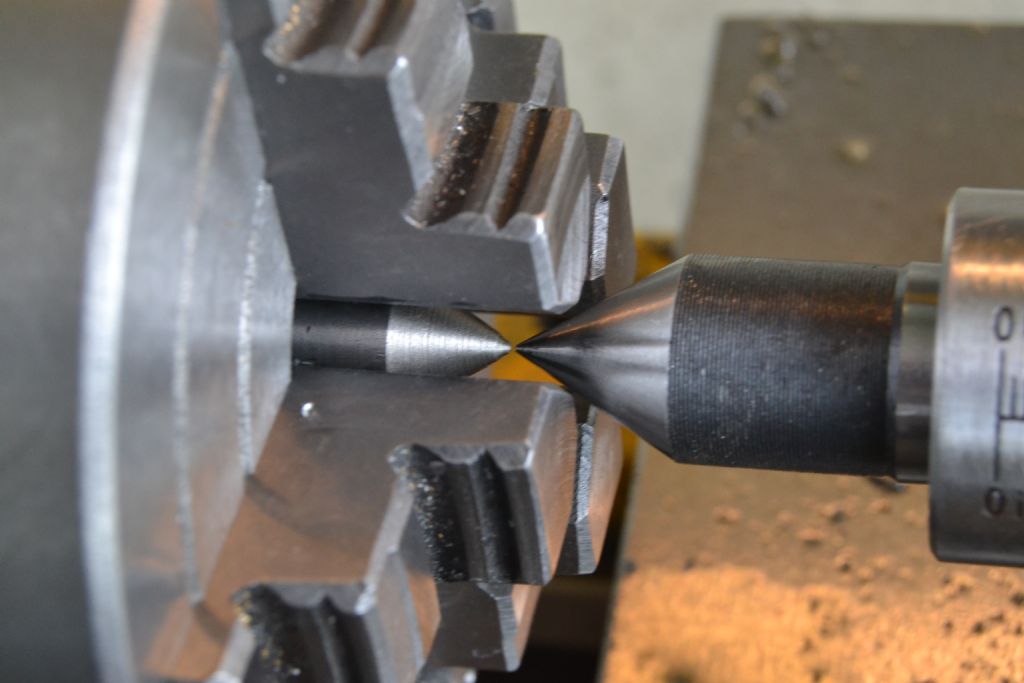
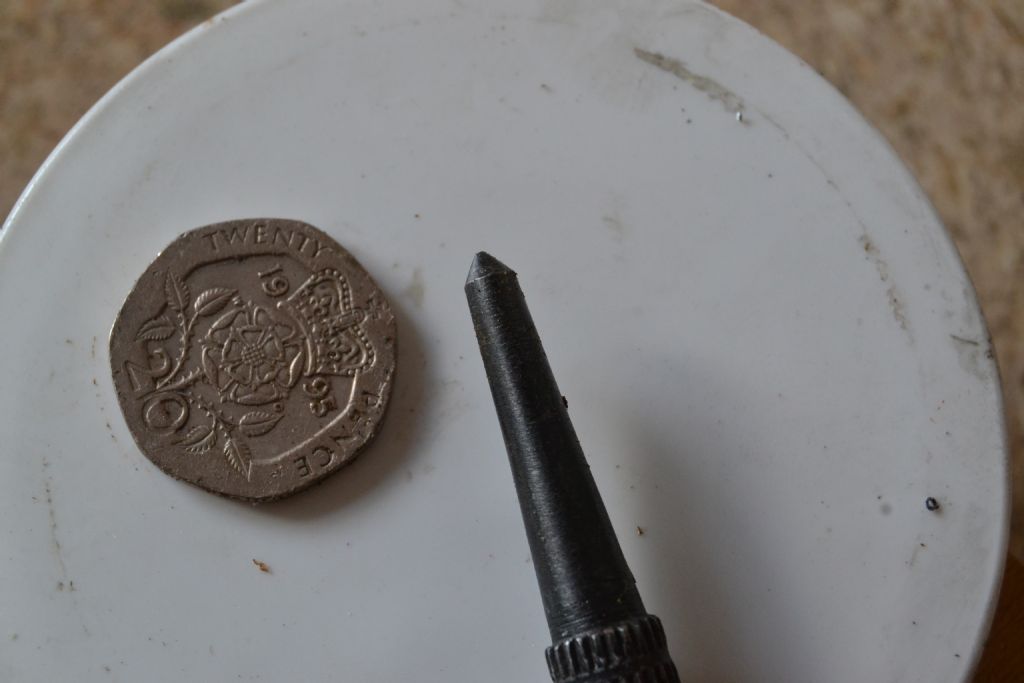
I decided I turn between centres so centre drilled either end and having read someone elses novel way of not needing to change to a face plate I though I'd do the same.
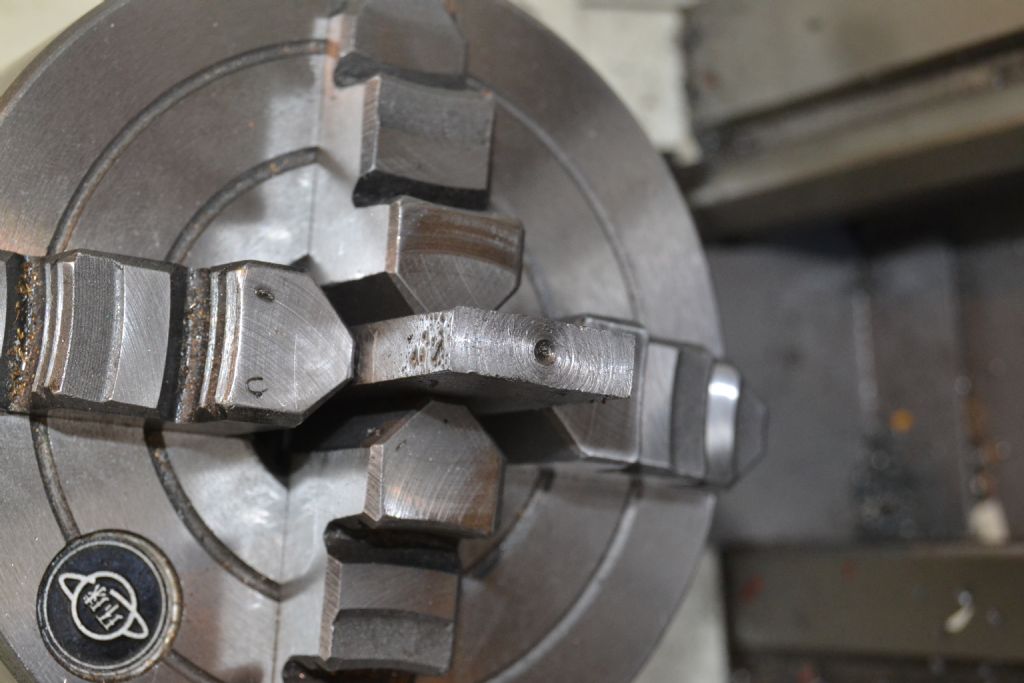
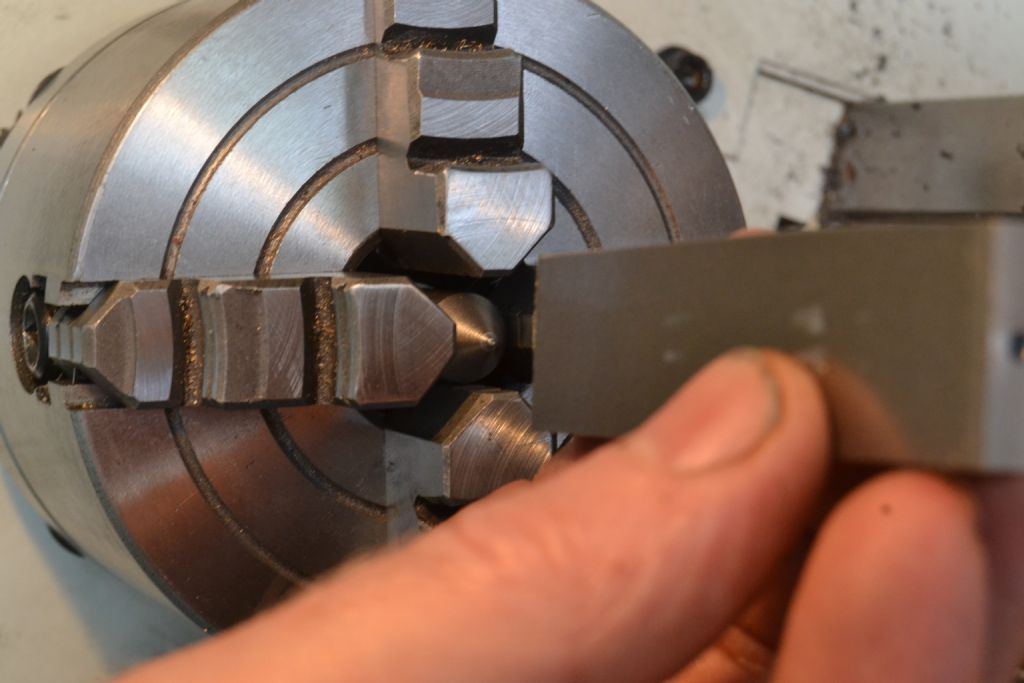
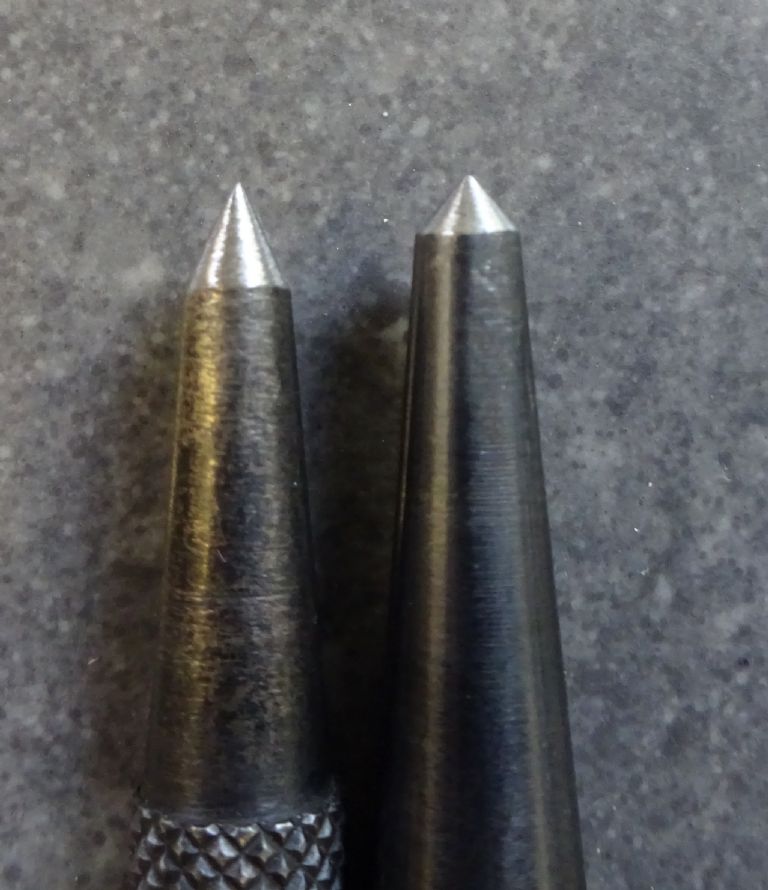
The idea involved making a small temporary centre to sit inside the chuck and hopefully use the jaws to drive the work.


What seemed like a good idea might have worked with larger diameter stock but with the small piece I used my workpiece wouldn't fit past the jaws !

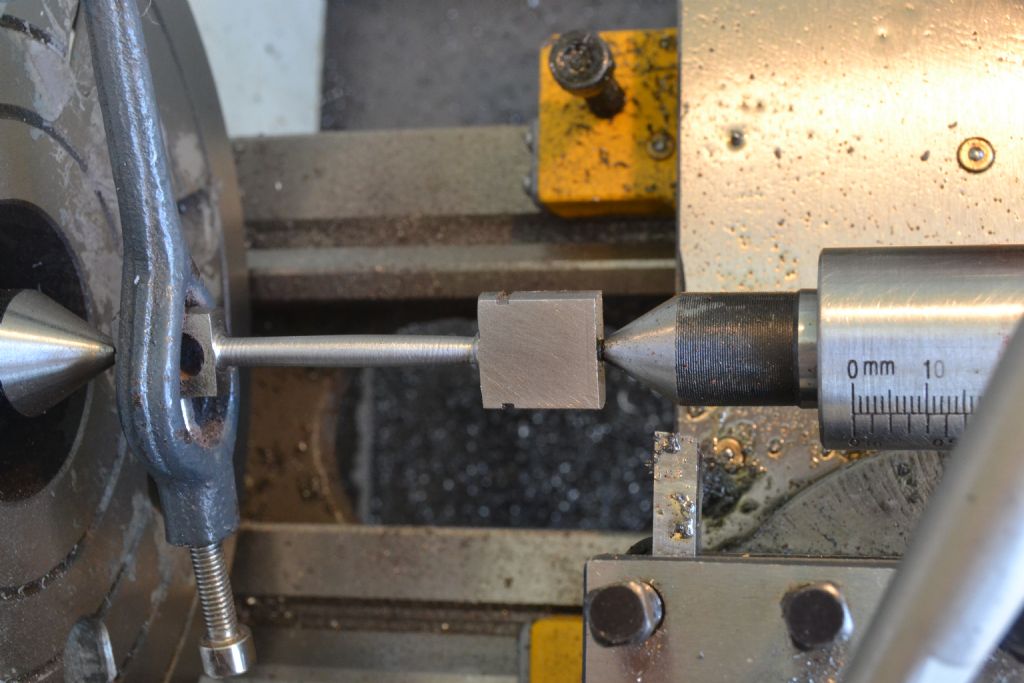
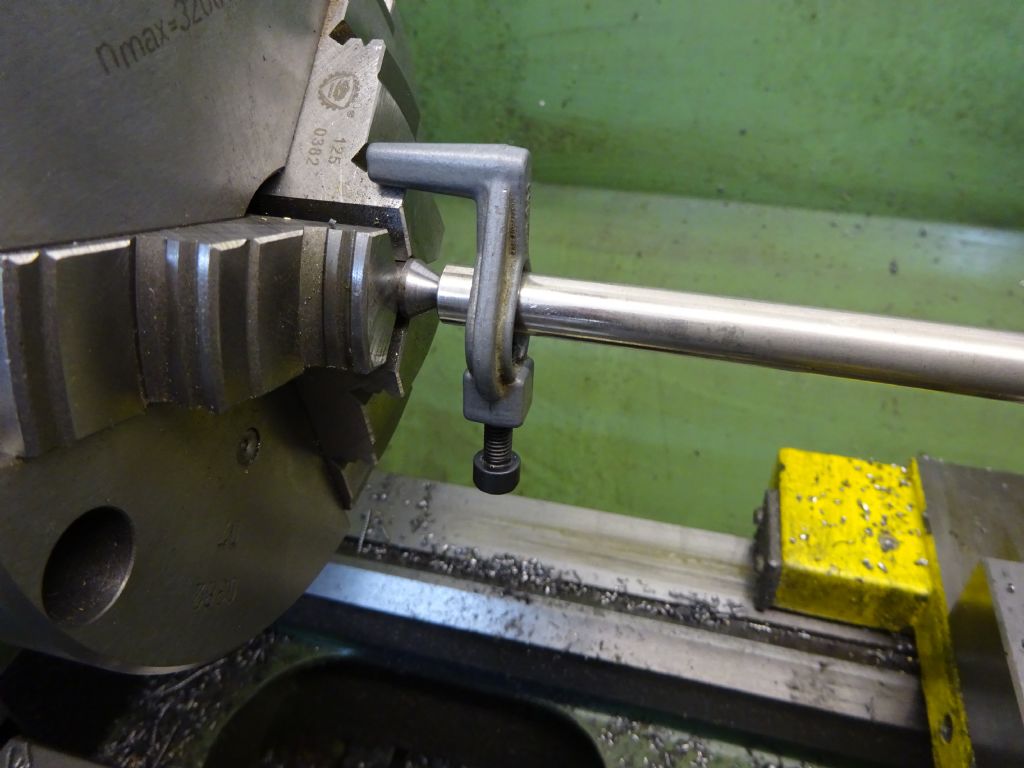
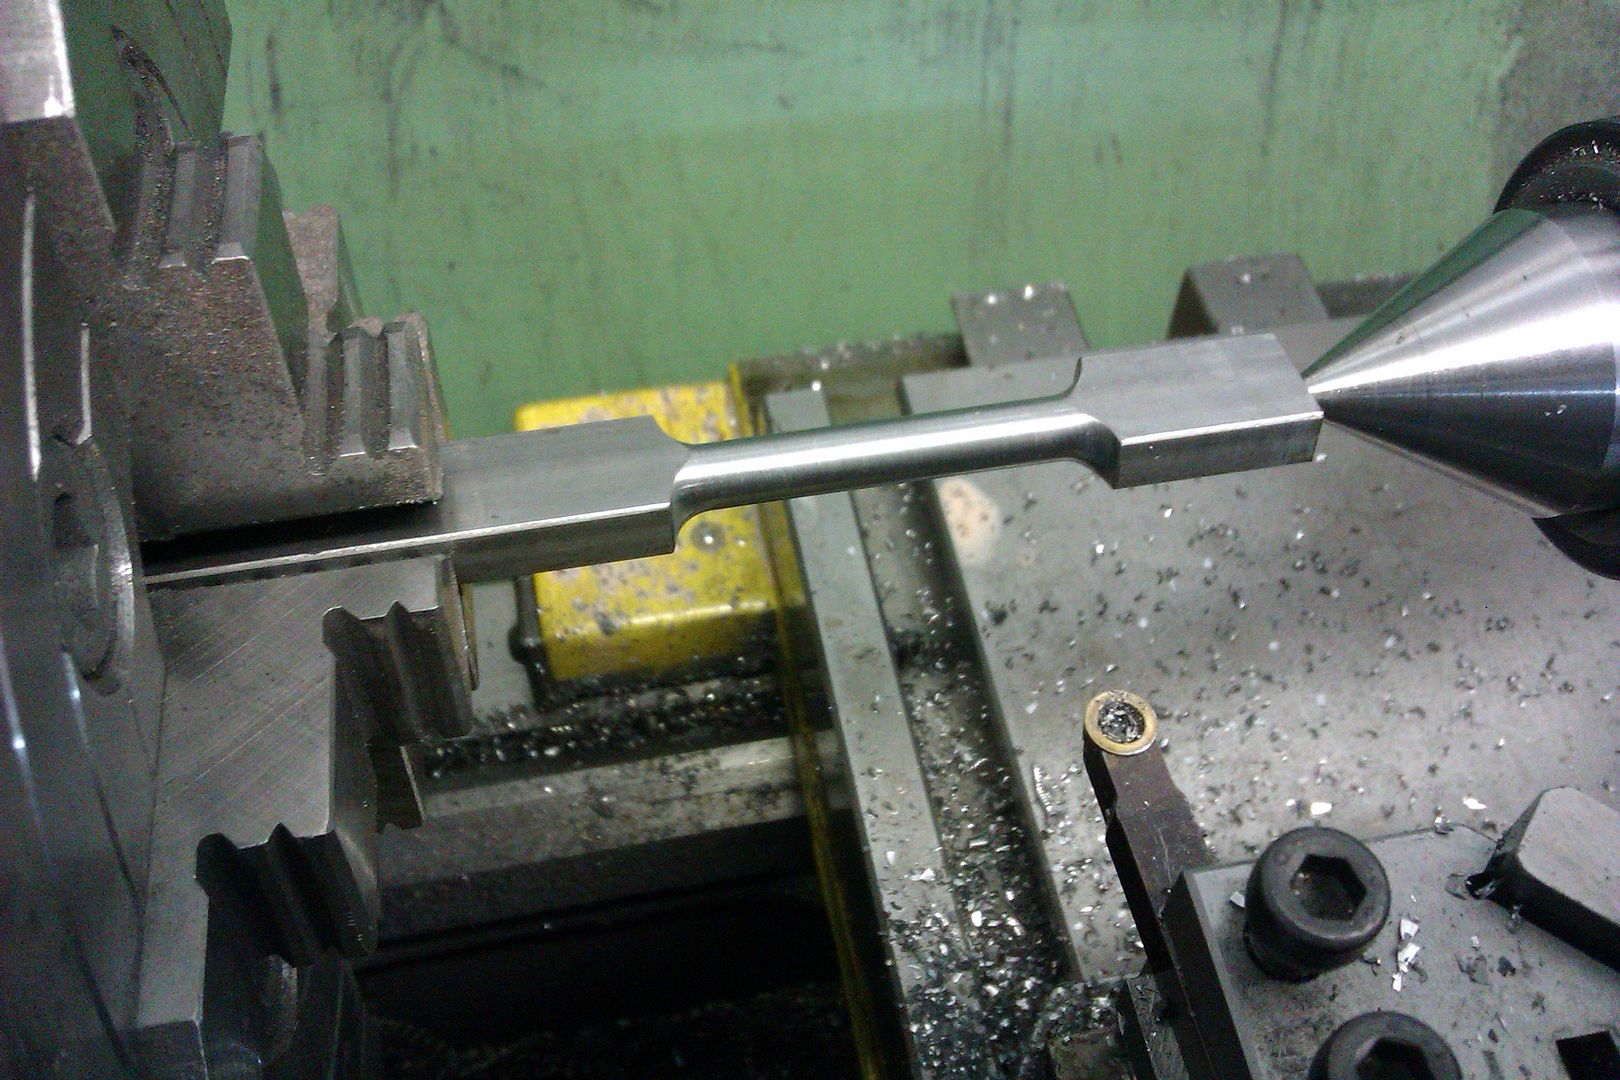
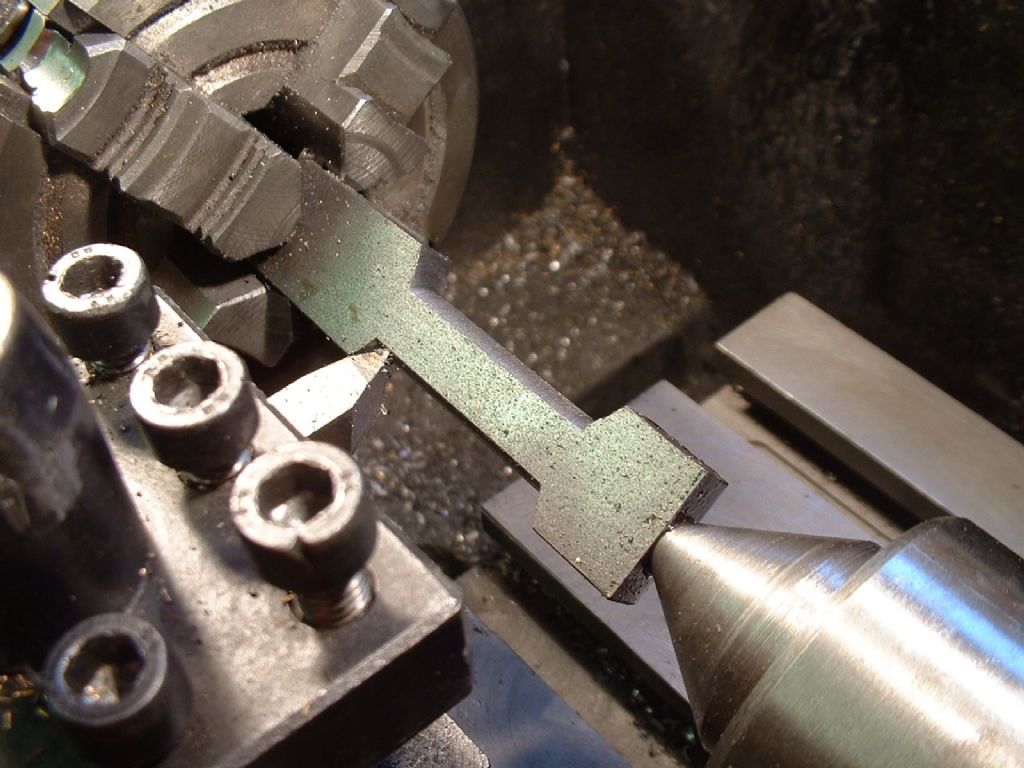
In the end I decided to use the face plate and dog and after what seemed like an eternity the piece was starting to take its rough shape.

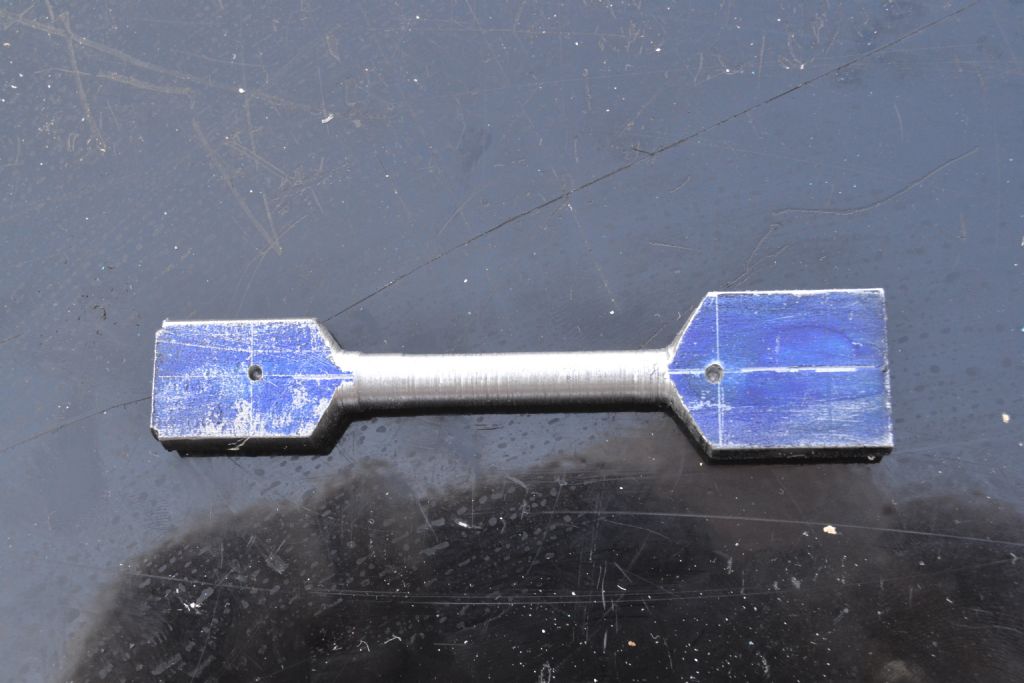
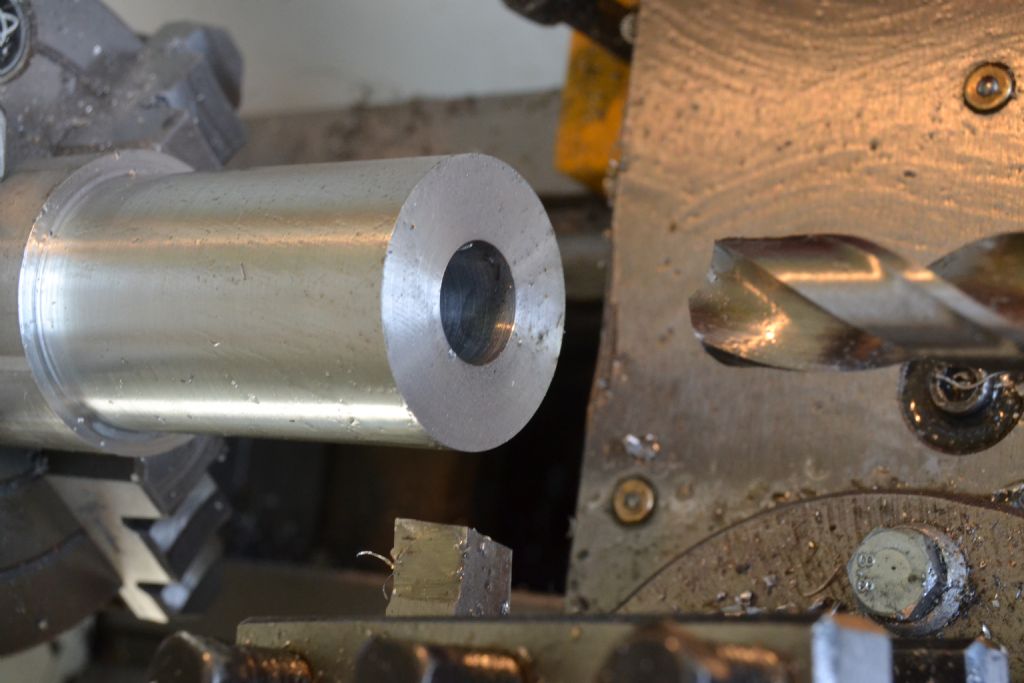
The left hand end will become the crosshead end and needs drilling out to 8mm. There are 2 punch marks as I had originally done the righthand one for drilling purposes but decided it was slightly off the centreline so decided to redo it and use the other end. It may look in the photo that the righthand mark is more central but the lefthand one is far better.
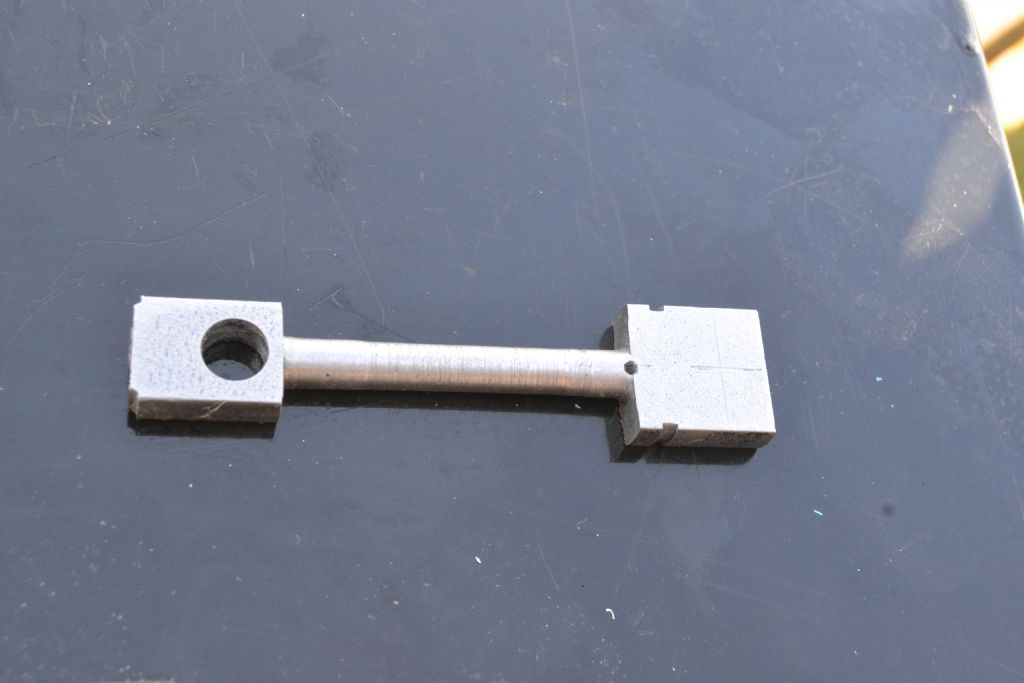
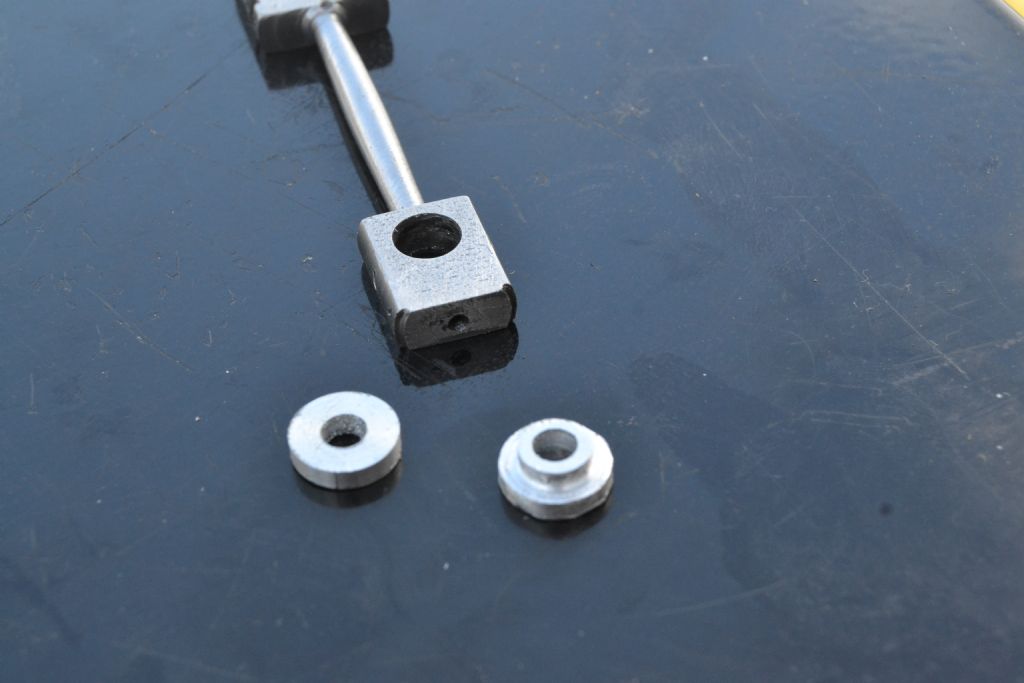
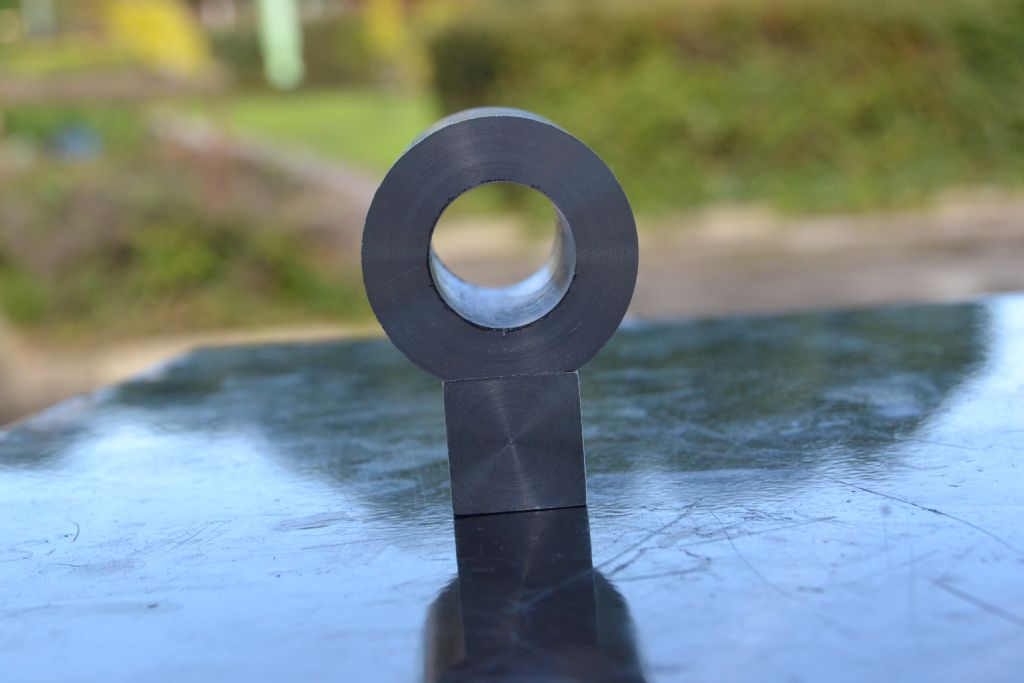
As the next photo shows the 8mm hole looks to be accurately centred and overall I'm pleased with it. Of course I've now got the rogue first punch mark to get rid off but the ends of the rod are yet to be tapered so I think with a bit of luck and some gentle filing I lose it.
The 2 small cuts in the main bearing end show where the 3mm deep foot will finish.

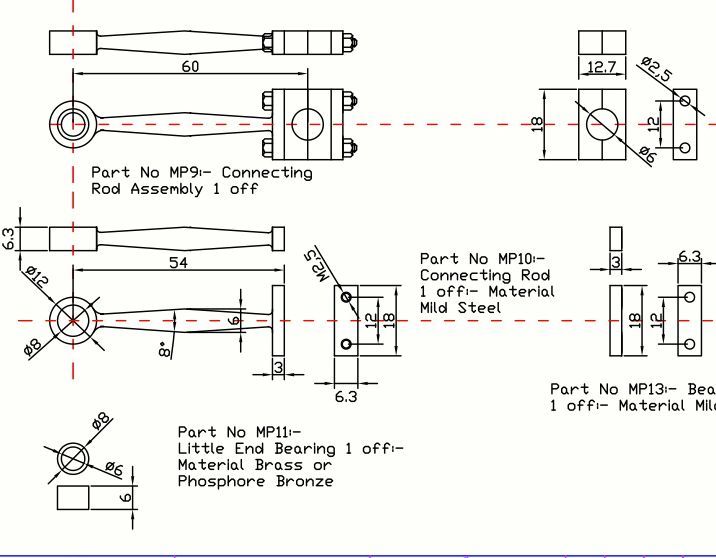
The plans show a 6mm dia central area in the rod tapering down at 8* in either direction to give a fishbelly shape. After about an hour of trying to align the compound slide, readjust the tool post etc I found no matter how I set up I couldn't postion things so I didn't foul either the driving dog at one end or the tailstock at the other.
In the end I decided that for a 50mm long rod where the taper is purely cosmetic I'd be quicker doing it with a file.

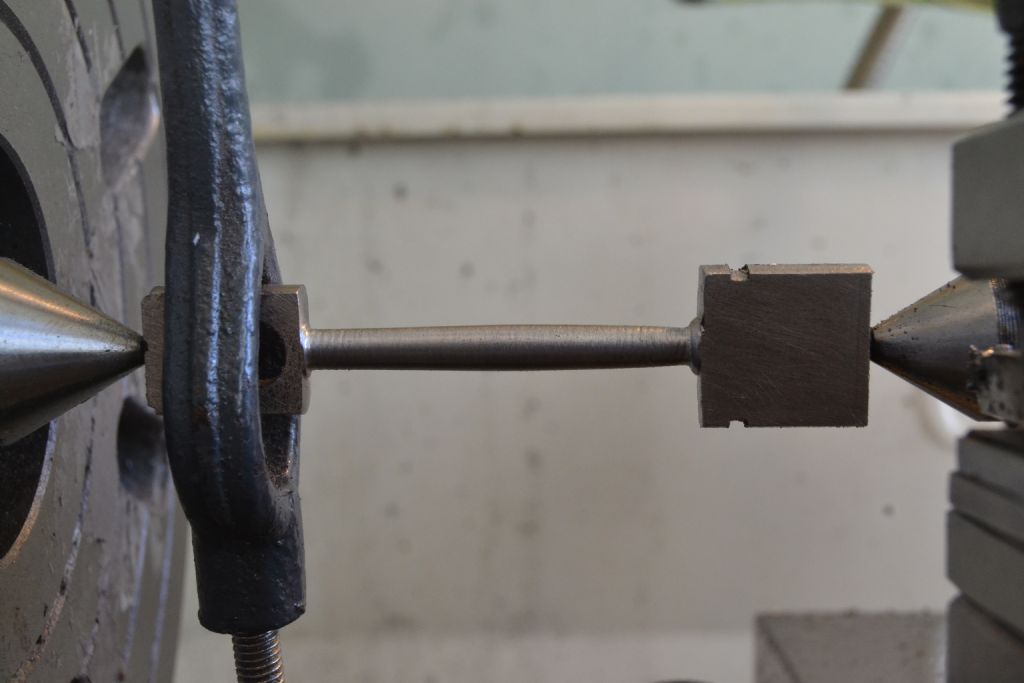
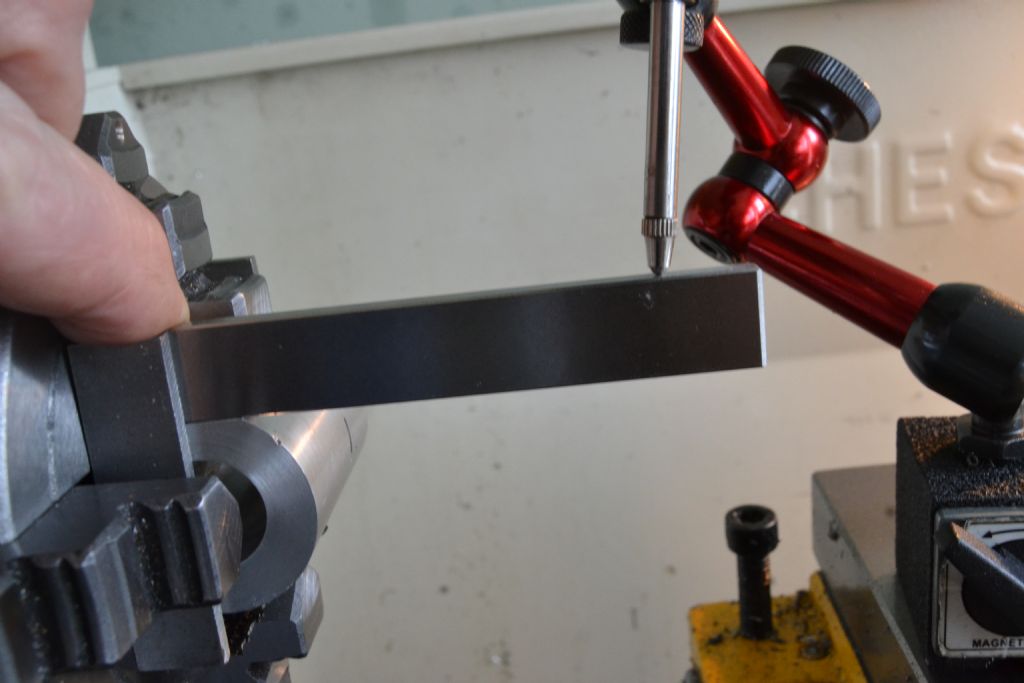
It can be seen here that it's not yet even at either end but there's more to come off yet and I'm hopeful that with another bash at it tomorrow it will be far more attractive when finished.

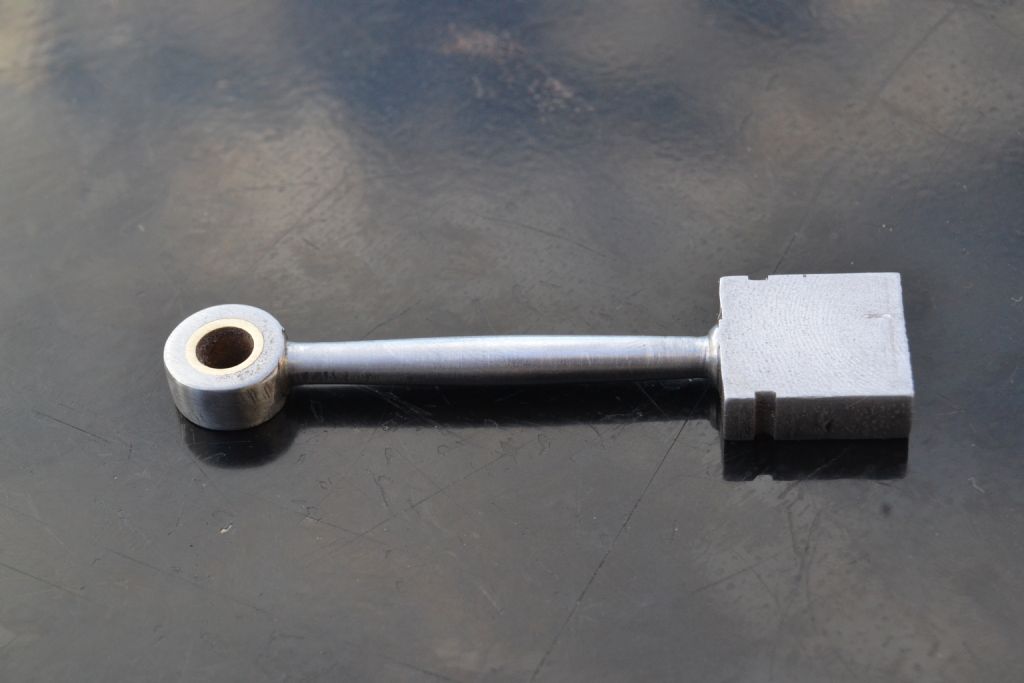
So this is what I have so far, despite a few glitches I'm reasonably happy. After finishing the taper all that remains is to hand file the circular cross head end, reduce to the foot depth to 3mm and give it a bit of tidying up 
Edited By Peter Nichols on 27/08/2015 17:32:24
Edited By Peter N
Gas_mantle..


