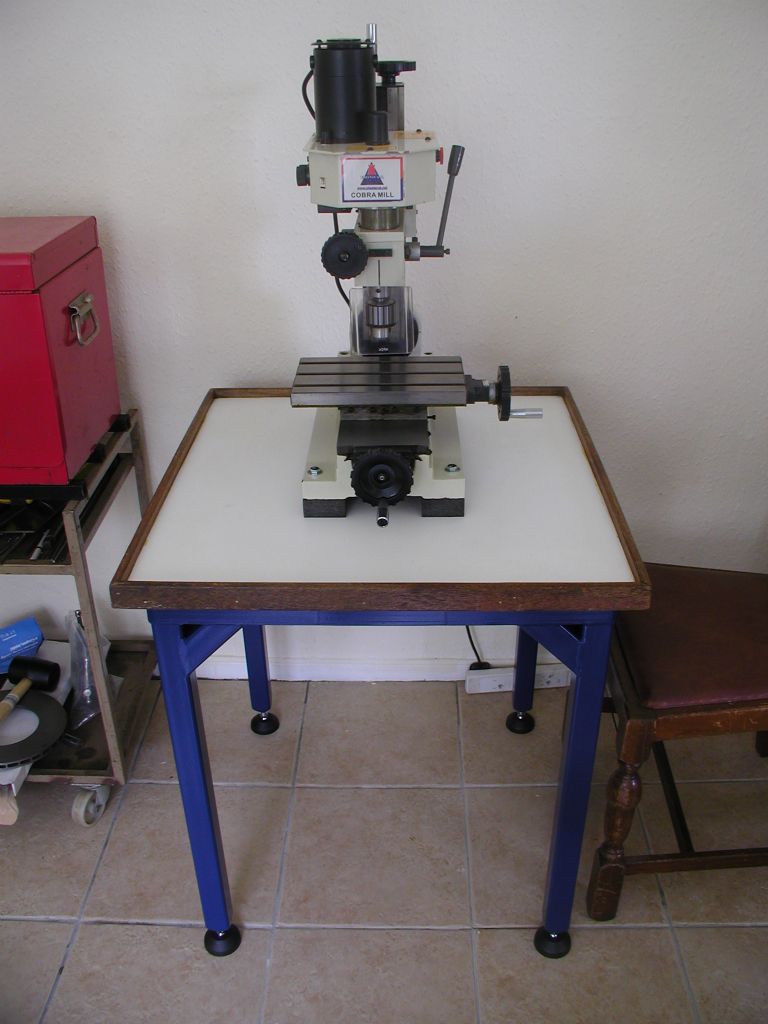
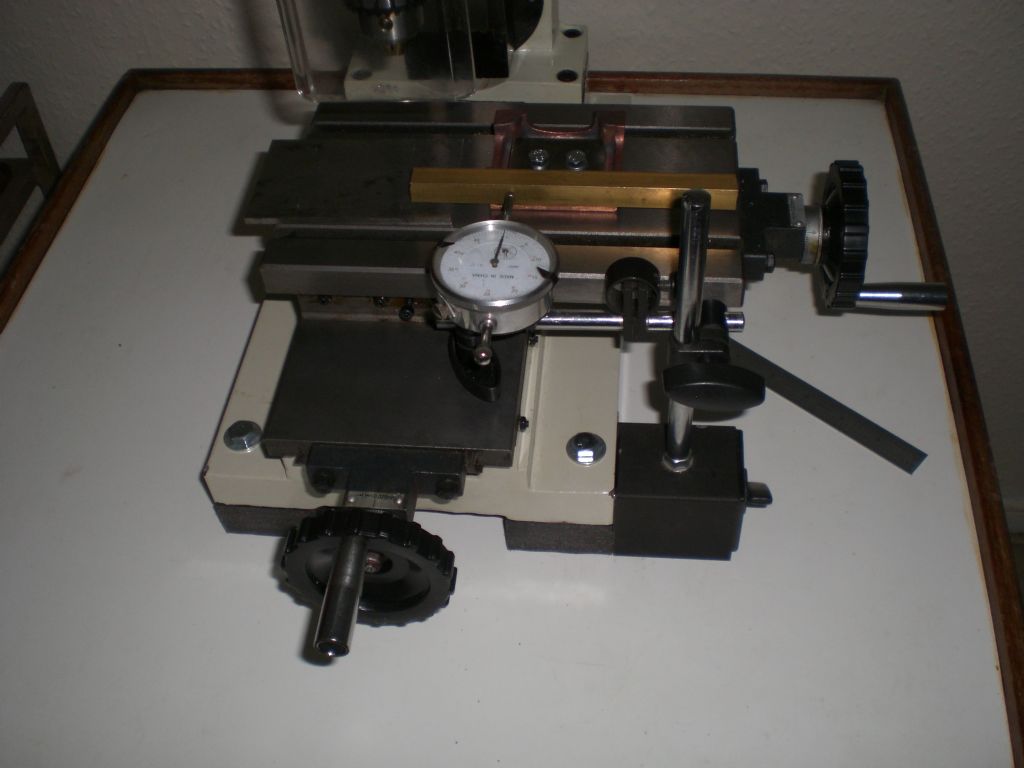
I have completed my mini mill stand this weekend and would like all you guys to see some photos of it.
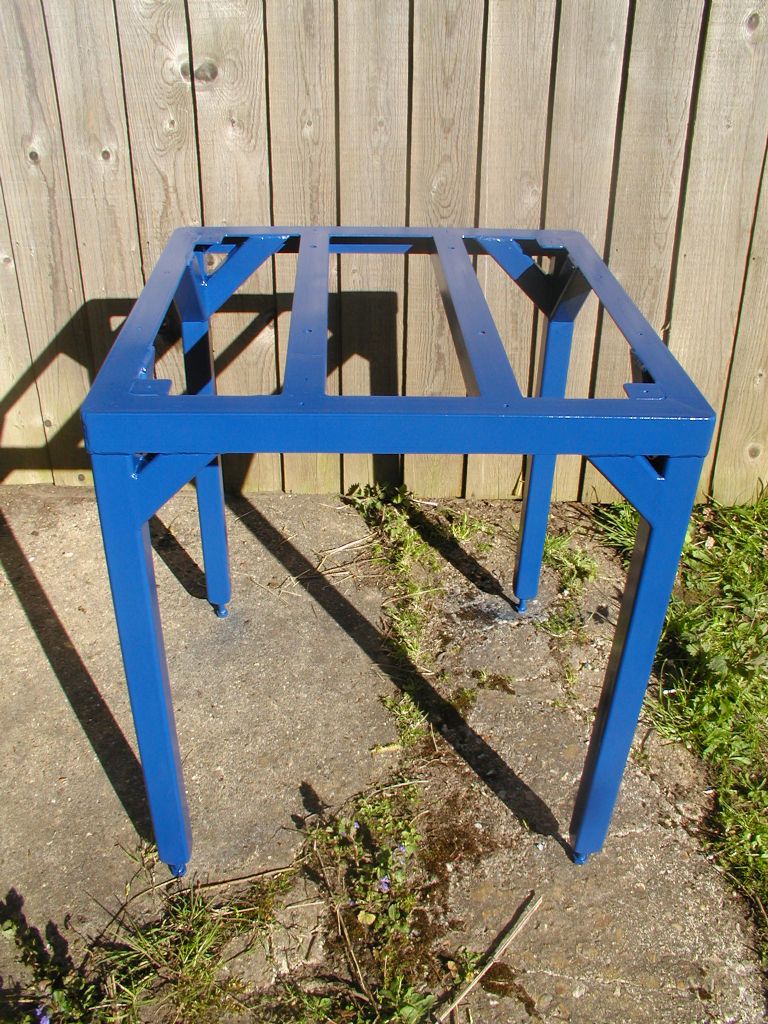
Apart from the machine mounts, the paint and the bolts that hold the mill down, every part of it was free. The legs are made from used 40 X 40 X 2mm box which I aquired from a job modification last year that a work colleague and myself did last year. The angle iron frame that holds the top on was given to me by a neighbour who moved away a few years ago.
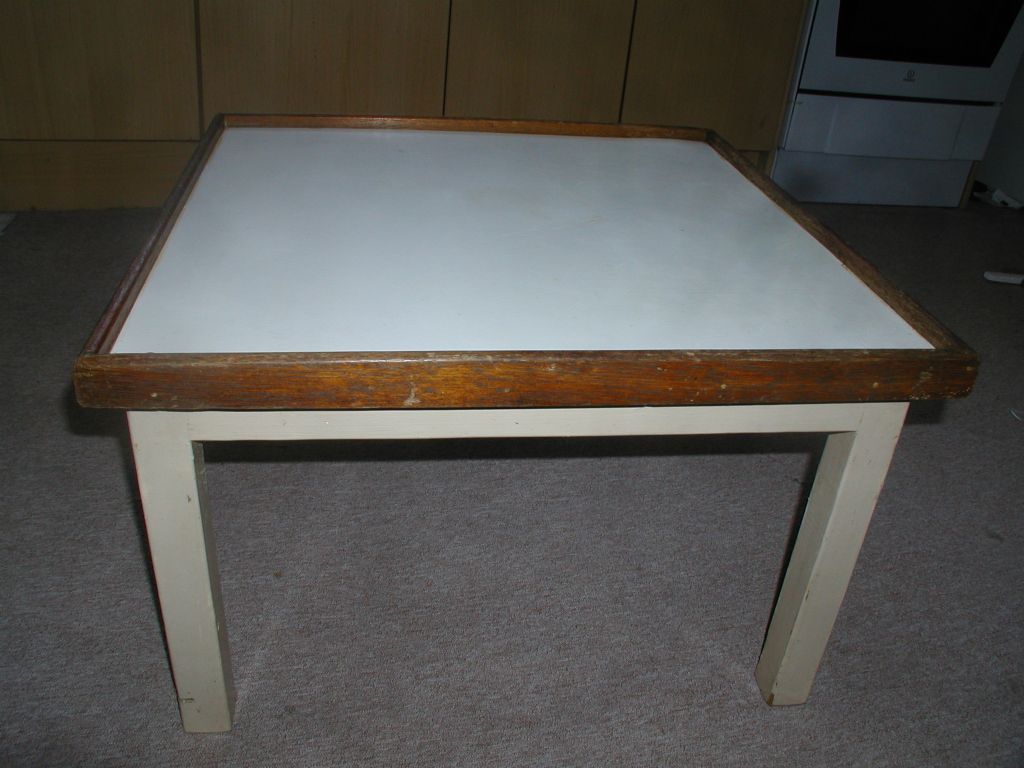
The top was from a makeshift coffee table that I used some time ago when funds were not able to buy one.
This I got from my old employment many many years ago which was part of a taller stand for a two way radio system. The legs were removed to leave just the upper board.
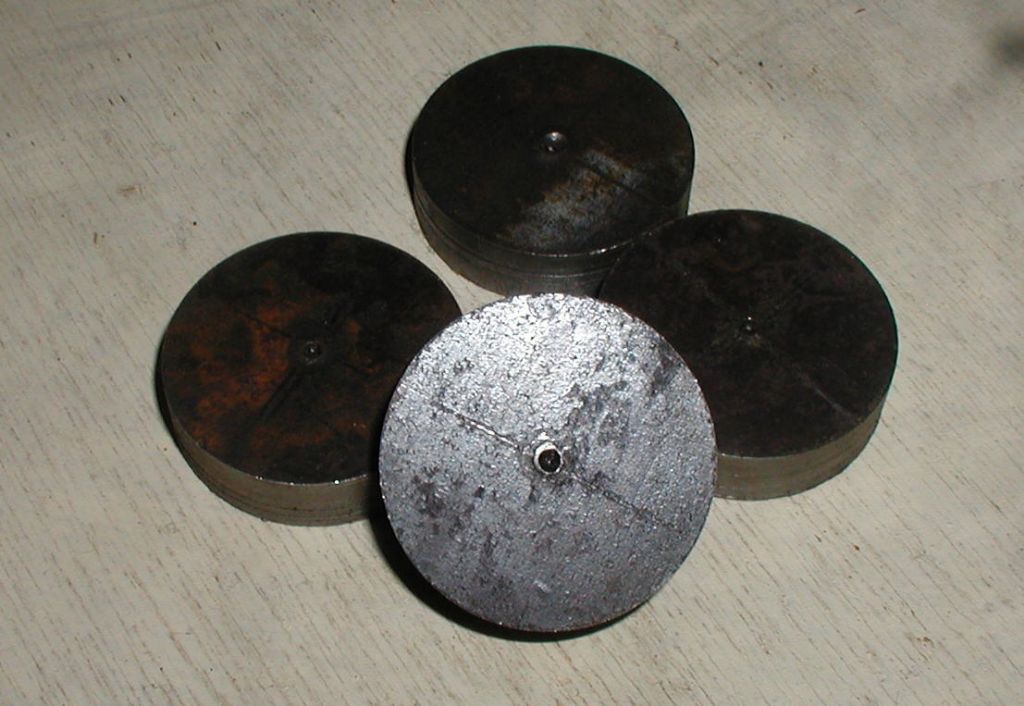
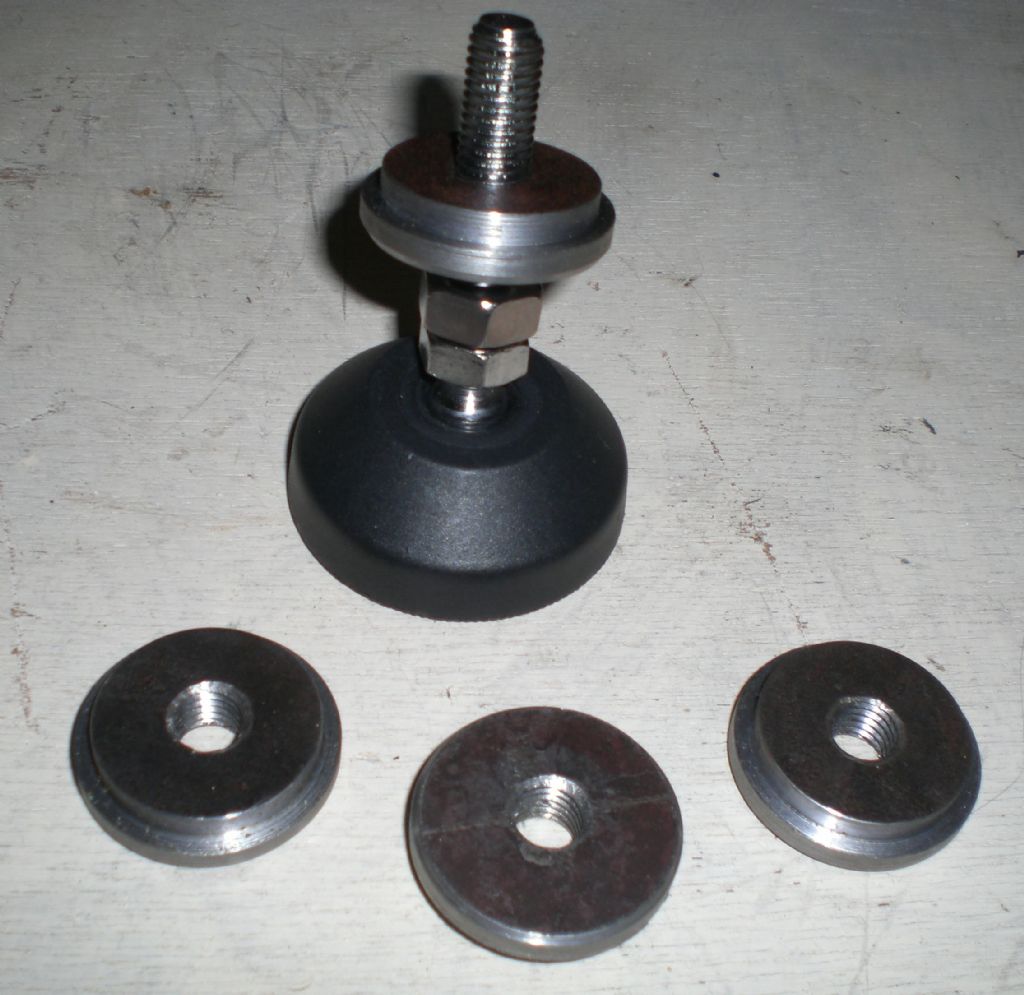
Four waste bits about 11mm thick from a heavy section of channel iron, which I cut out with a 50mm rotor broach on a job a work a couple of months ago were used in the bottom of the box section legs were drilled and threaded for the machine mounts.
Here is a photo of the frame when it was painted.
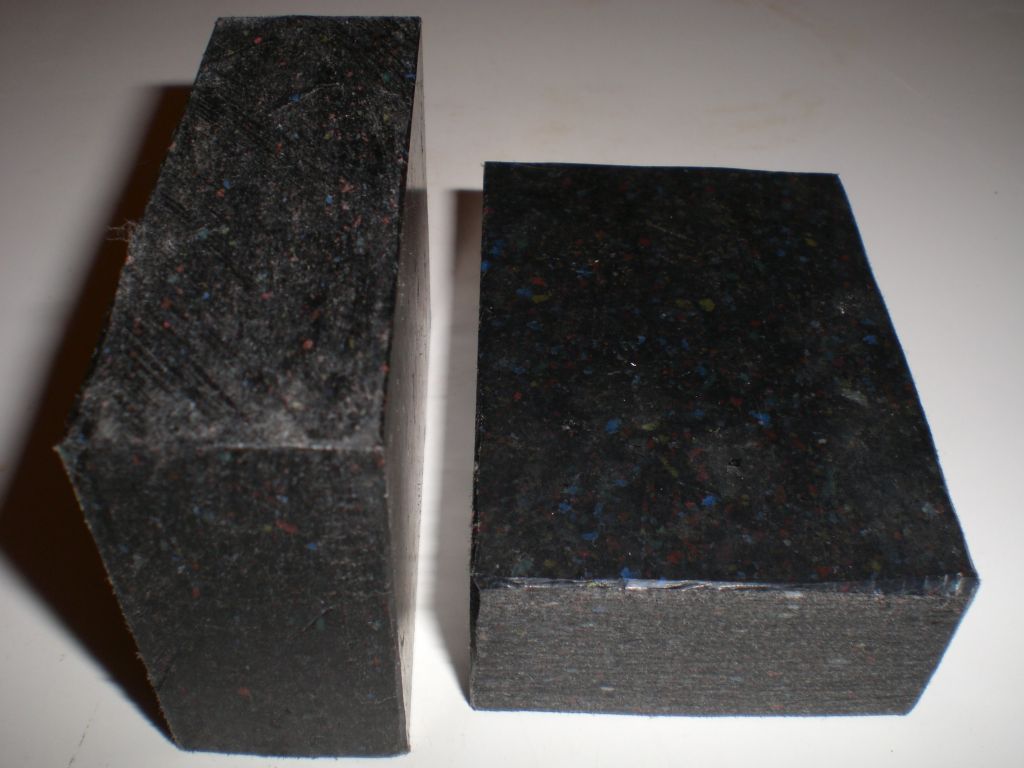
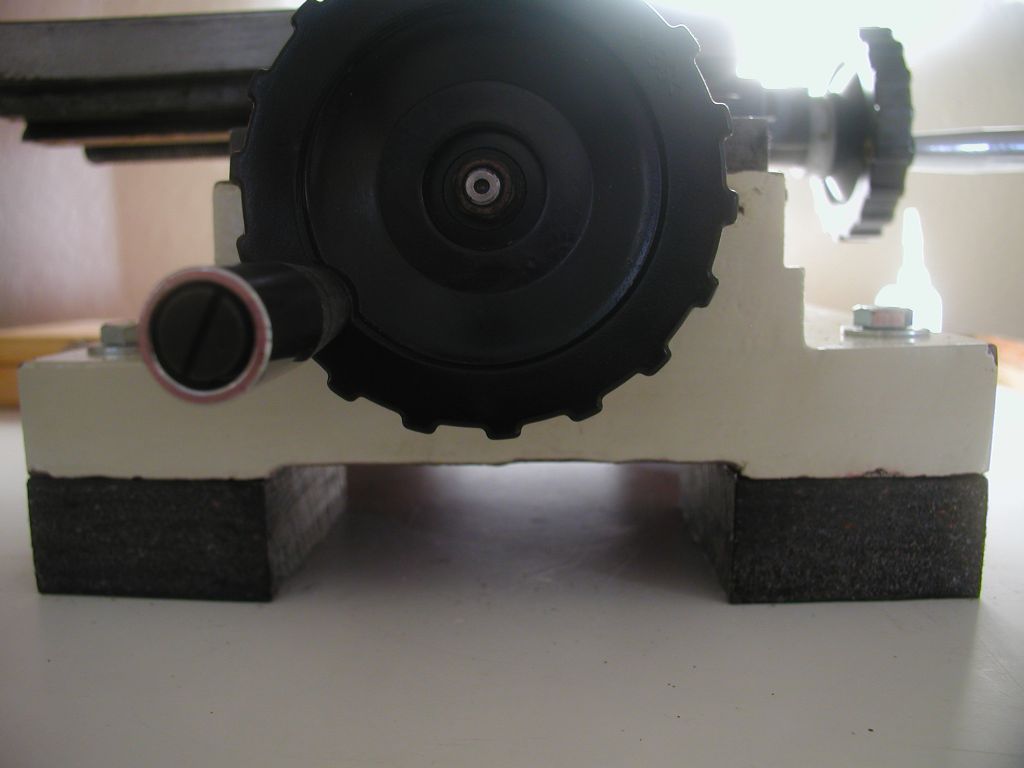
Four raising blocks were made from high abrasion risitant plastic. This was an off cut from 28mm sheet when I used to work for my old employer, which were used as replacment liner plates in their Attrition Scrubbers, (nothing to do with red light areas or domestic servents) for those who are interested in knowing about attriction scrubbers look at this http://www.floatex.co.uk/brochures/Floatex%20Scrubber.pdf the first photo is of the two banks are the actual ones that my then colleagues and myself used to maintain.
There are more photos of the genaral construction proceedures in my Bespoke Mini Mill Stand album for anyone who would like to look at them.
The final stand was designed to be used sitting down, but it's not to low to be used standing for short periods.
Always nice to see a machine on a purpose built stand of the right proportions .
I note that the table area and floor footprint are quite big relative to the machine size – always a good principle .
I've never liked the set up seen in some model engineer workshops where all machines are mounted on one long narrow bench . Obviously space dictates what is possible but having each machine on its own separate stand gives much better access all round , makes taking measurements easier , allows easier cleaning and gives more possibilities for doing awkward jobs which stretch the machines capacity .
I have the Warco MiniMill, and have fastened it onto an old wheeled steel workshop trolley. I have added about 40mm of wood type stuff onto the top tray, then a homemade slightly larger steel tray on top of the wood. The supports for the machine base are made from 50mm (or thereabouts) dia steel and the whole lot is then bolted together with long bolts passing right through everything and fitted with thick load spreading washers under the bottom tray.
Hi, thanks every one for taking an interest in my stand and the positive comments which have been made.
Michael the footprint was predomently chosen by the fact that from the start I intended to be able to sit at the machine with my legs underneth without being sqashed in, the top being large enough for this to be achieved. I agree with you, that being able to get access all round is a big advantage, as measuring from the back is so much easyer. Being able to clean around the floor area without having to move the machine, makes it so simple with this design.
Setting up this little casting was such a easy option being able get to the right hand side.
Neil, it is actually Royal Blue according to the label on the tin. Never did any of the blunging or washing, I just had to fix them when they went wrong, anyway it was clay and mud the company was getting rid of, as it was industrial sand they are interested in.
Peter your set up sounds pretty sturdy, I never made any calculations for my stand, but I guess being experienced in fabrication and welding in my line of work it becomes a secound nature.
I suppose mine was made up on a "what can I do to get round this", and "what have I got that might do" basis.
I needed to be able to move it, hence a wheeled trolley. The trolley is steel with a top and bottom shelf, both with lips and not really thick enough to be strong enough. Also the Y handwheel is too low if the machine is just set on a bench (hand catches on the bench). Hence the 40mm of wood to help strengthen the top shelf and the long spacers to get the machine high enough to give clearance for the hands.
Hi Peter, my stand was largely made with the same "what have I got that Might do" basis and my plastic raising blocks do the same as your long spacers, because as you say to give clearance for my hand to work the Y handle without scraping my knuckles.
Regards Nick.
Author
Posts
Viewing 13 posts - 1 through 13 (of 13 total)
Please log in to reply to this topic. Registering is free and easy using the links on the menu at the top of this page.